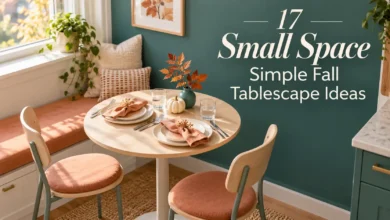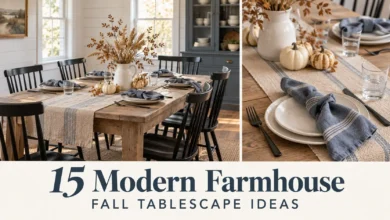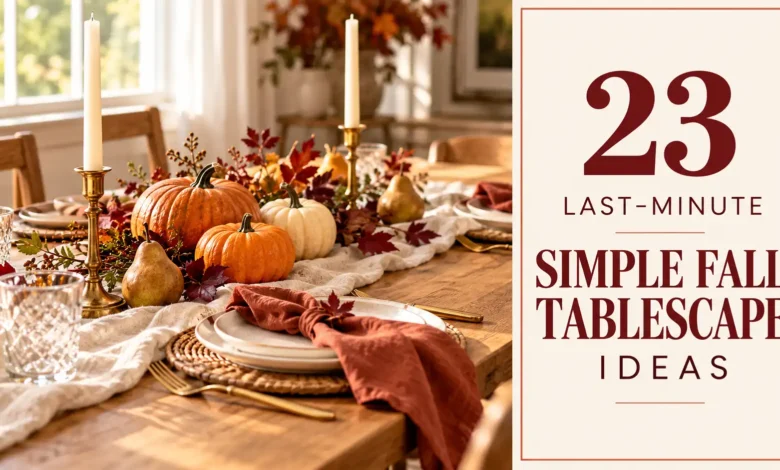
If dinner is nearly ready and the table still looks ordinary, start with your everyday plates, one fall accent, and a clear place for the food. A bowl of apples, three mini pumpkins, or a patterned napkin can give the table a direction without another shopping trip.
These 23 simple fall tablescapes are organized around things you may already have. Choose one complete idea rather than combining several. The setup times are planning estimates for decorating a small table with supplies ready; shopping, laundering, flower preparation, and setting extra seats take longer. Keep your own dishes and glasses; the featured change matters more than copying every background layer in a concept image.
The visuals are AI-generated styling concepts. They illustrate the suggested arrangements and do not document completed or tested table setups.
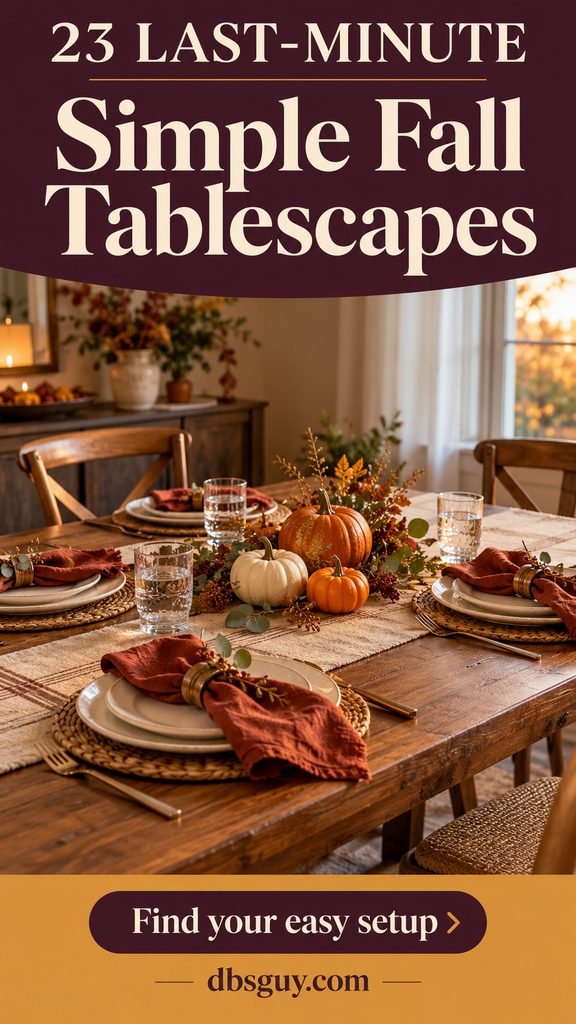
Choose a Setup Before You Add Anything
- Only a few minutes: use the pumpkin runner, apple bowl, or plaid napkins in ideas 1, 2, and 7.
- No flowers to buy: choose fruit, a candle tray, ribbon, or the squash basket in ideas 3, 6, 10, and 14.
- A very small table: try the corner accent in idea 18 or move the arrangement to the sideboard in idea 19.
- A full Thanksgiving meal: put the detail at each seat in ideas 8–11, or plan around the serving dishes in idea 23.
Put out the plates, glasses, and empty serving pieces before decorating. That shows you the space you actually have. Sit down at a place setting and check that you can see the person opposite you, lift your glass, and reach a shared dish without brushing the decor.
1. Line Up Three Mini Pumpkins on a Rust Runner
Estimated setup: About 5 minutes. Gather: Three mini pumpkins and a rust runner or long, clean tea towel.
Lay a narrow rust runner down the middle of a bare wood table and space three mini pumpkins along it. Leave fabric visible between the pumpkins. White plates and oatmeal napkins let the simple line of orange and cream supply the seasonal detail.
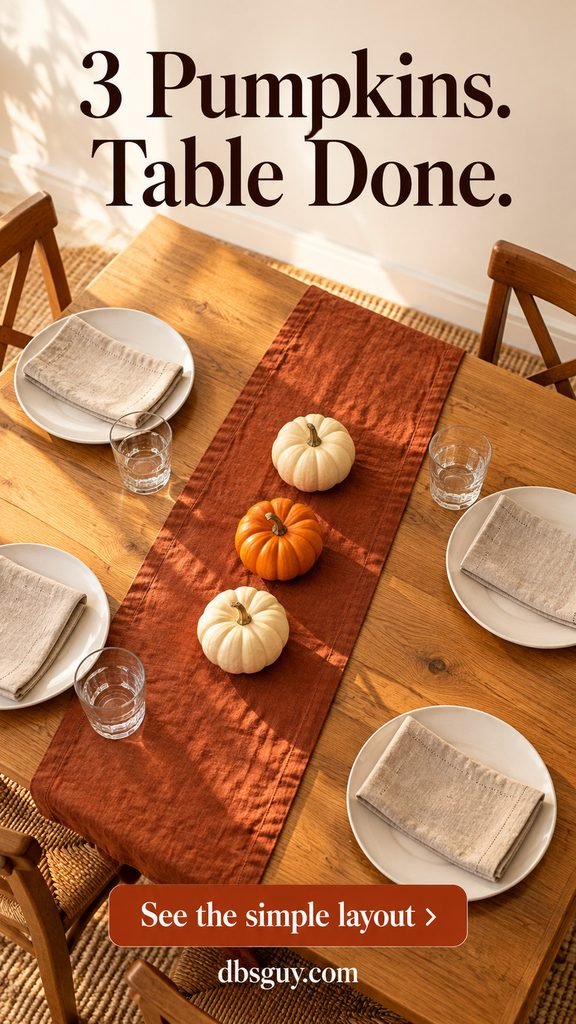
Use an existing runner, or fold a long tea towel into a narrower band for a smaller table. Clean and dry the pumpkin bases before setting them down, and protect a delicate tabletop as its care instructions require. Keep fabric flat and away from plate bases.
2. Let the Fruit Bowl Anchor a Gingham Table
Estimated setup: About 3 minutes. Gather: A shallow bowl, whole red apples, and a gingham cloth you already own.
Put the apples in a low bowl and use the checks as the table’s main pattern. Keep the surrounding plates and napkins white so the setup reads as a casual fall breakfast or lunch rather than a pile of competing prints.
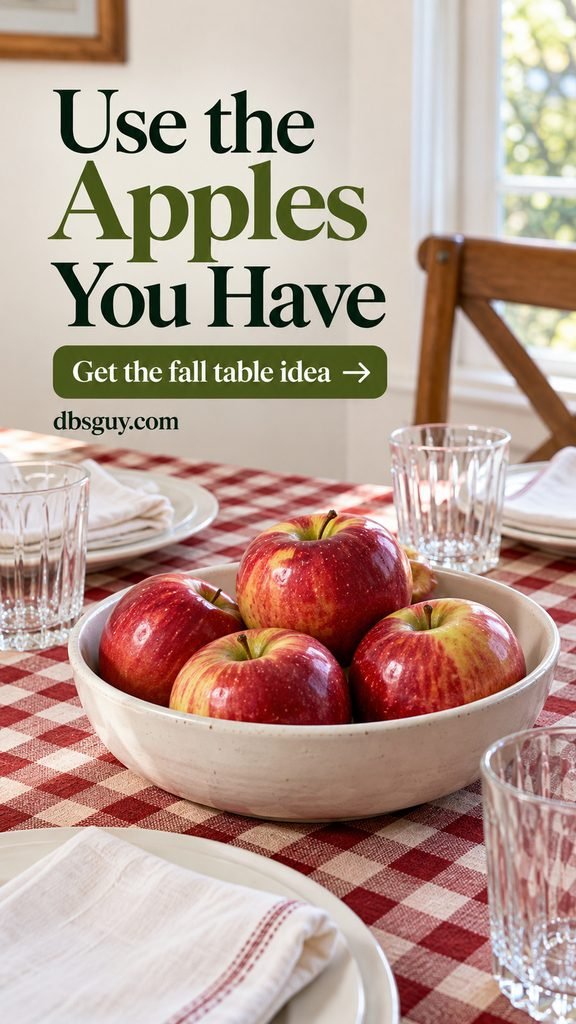
Use enough fruit to cover the bowl’s bottom without building a tall mound. If you have no gingham, a plain kitchen cloth gives the apples a quieter background. Leave the fruit whole and separate from decorative sprays, glitter, or paint if you plan to eat it later.
3. Use an Oval Pear Platter on a Round Table
Estimated setup: About 4 minutes. Gather: Three pears, a low oval platter, and dark blue napkins.
Lay the pears in a loose single layer on a platter at the center of a round table. Their warm brown skins sit comfortably beside navy napkins and cream dishes. The low, elongated platter gives the center a shape without stretching a runner across the circle.

Try one full place setting before choosing the platter. Glasses and elbows need space around it, and the pears should stay inside its rim. If a family-style meal fills the table, move the platter to the counter when you bring out the serving dishes. The concept includes a few decorative leaves; omit them when you want the fruit display to stay entirely food-focused.
4. Split One Bouquet Among Three Short Jars
Estimated setup: About 10–15 minutes. Gather: One small bunch of fall-colored flowers and three clean, short jars.
Three small jars let you spread one bouquet along the table and move individual arrangements when serving bowls arrive. Rust, cream, and muted pink flowers work with pale pink napkins.
- Fill three clean, stable jars with fresh water.
- Remove leaves that would sit below the water and divide the stems loosely among the jars.
- Trim stems so the blooms sit just above each rim, then space the jars between the place settings.

Keep each little arrangement narrow enough that its blooms do not brush a glass. The jars can move independently when a serving bowl arrives, which makes this more flexible than one sprawling centerpiece. Use fresh water and stable jars; elaborate floral mechanics are unnecessary for this loose look.
5. Put a Faux Fall Branch at the Unused End
Estimated setup: About 5 minutes. Gather: A sturdy pitcher and one or two faux autumn branches.
For a table with an unoccupied end, place a pitcher there and bend the branches into a loose fan above it. Amber or copper-colored leaves give the room its fall cue while the middle stays available for dinner. Use simple oatmeal napkins to connect the pitcher to the seats.
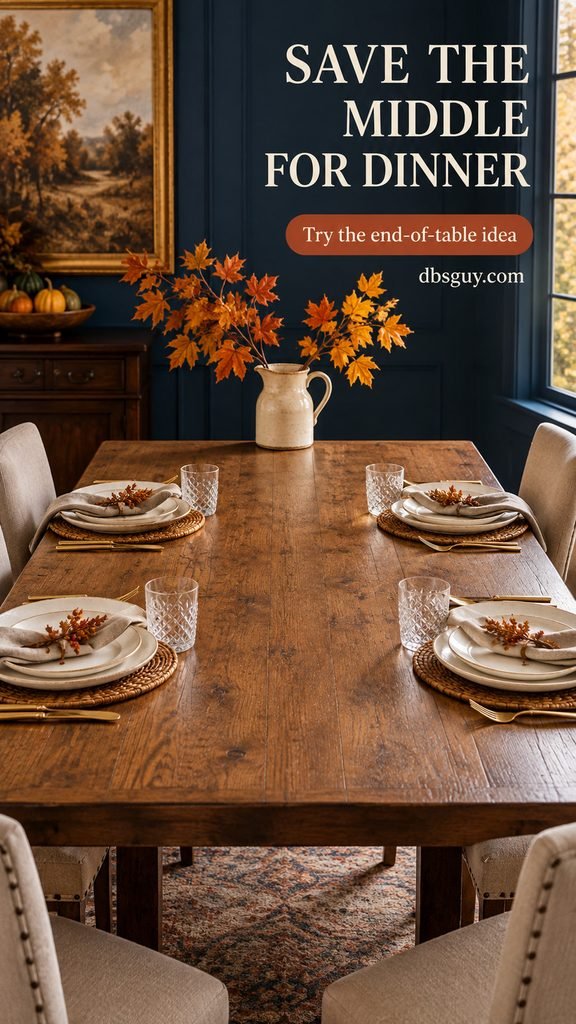
Keep the branch out of the occupied guests’ sightlines and away from a walkway. Test that the pitcher does not rock or tip with the stems in place. If someone needs that end seat, move the entire arrangement to nearby furniture rather than asking them to eat around it.
6. Make a Lift-Away LED Candle Tray
Estimated setup: About 5 minutes. Gather: A low tray, three battery-operated pillar candles, and a few clean pinecones.
Group the LED pillars on a tray and place the pinecones around their bases. A dark tray against an oatmeal cloth makes the warm light stand out for an evening meal. Leave a little empty tray surface so the group looks deliberate rather than packed.
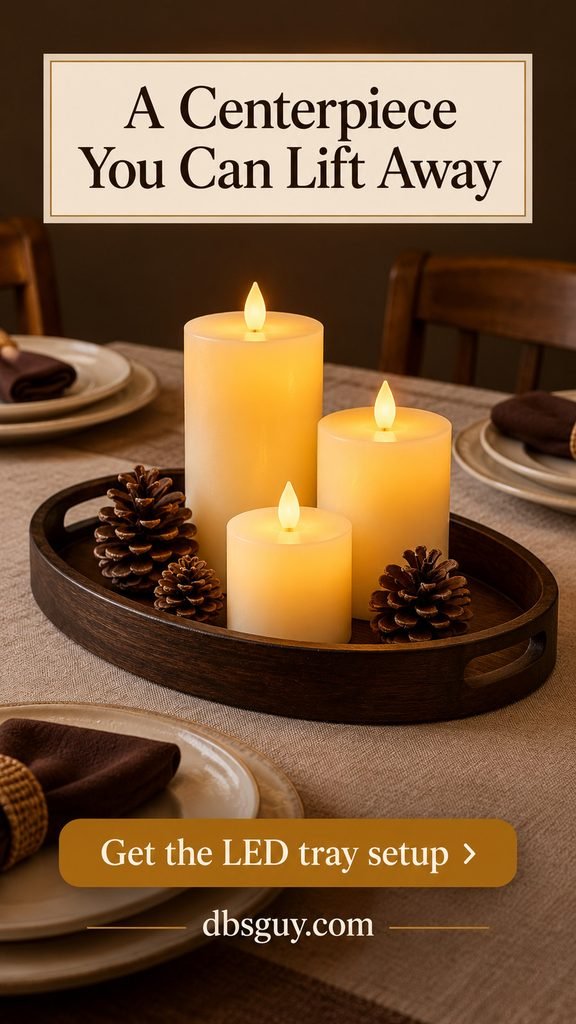
Switch on the candles before guests arrive, check their batteries, and keep the tray light enough to lift comfortably. Move it to a console when dinner needs the space. Use flameless candles for this close arrangement; pinecones, fabric, and paper do not belong beside a real flame.
7. Make Plaid Napkins the Entire Decoration
Estimated setup: About 5 minutes. Gather: Fall-colored plaid napkins and your everyday tableware.
Fold a plaid napkin into a broad rectangle on each plate. Rust, mustard, and brown checks give a plain white setting enough pattern for fall, especially on a wood table. Keep the center completely clear if the meal needs it.
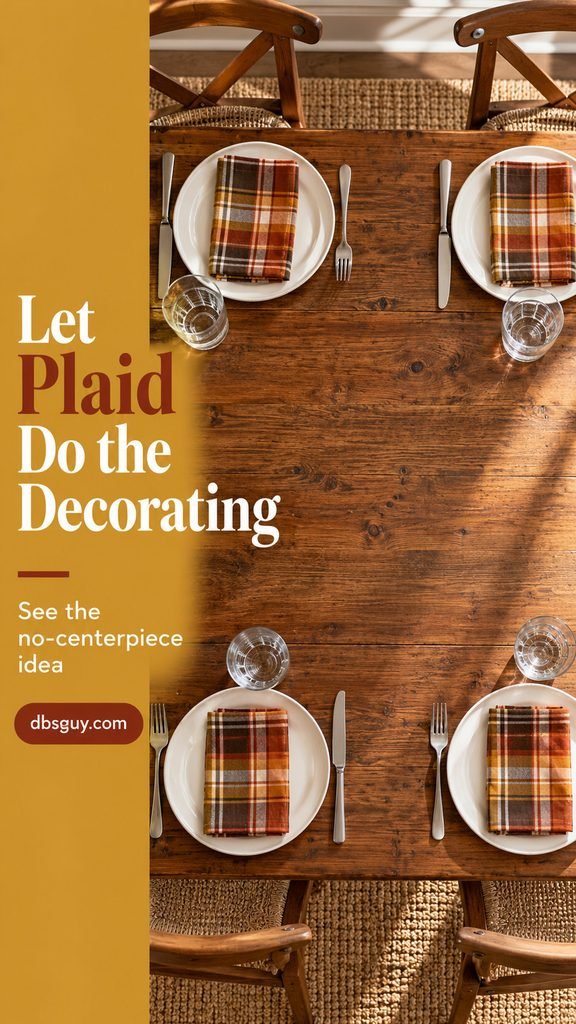
Choose this when you are short on both time and surface space. There is no centerpiece to build or remove. Turn each napkin the same way so the repeated folds look orderly, and skip a second patterned tablecloth that would compete with the checks.
8. Turn Kraft Place Mats into Gratitude Notes
Estimated setup: About 10–15 minutes. Gather: Kraft paper, scissors, a pen, and one pencil per guest.
Cut a paper mat for each place and write “Thankful for…” in a corner that will remain visible beside the plate. Add a pencil, a cream plate, and a mustard napkin. The writing area becomes both decoration and an optional Thanksgiving conversation starter.
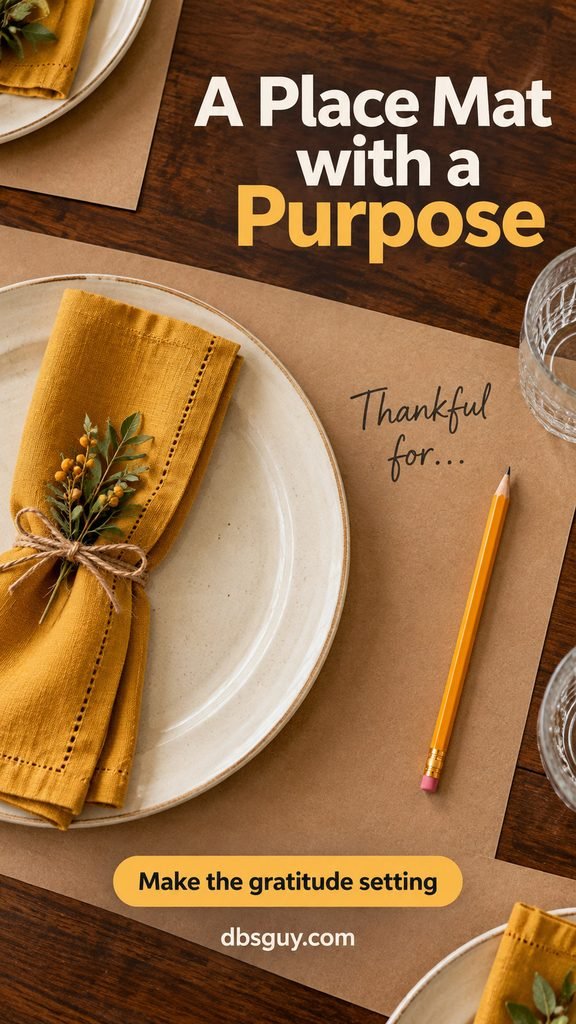
Test the first mat with your actual plate and glass before cutting the others. Keep the prompt beyond the plate’s edge and let guests decide whether to share what they write. Kraft paper does not protect a table from a hot casserole; use proper trivets for serving dishes.
9. Use Paper Leaves as Place Cards
Estimated setup: About 10 minutes for four seats. Gather: Brown or copper paper, scissors, a light-colored pen, and small folded name cards.
Cut a few broad, simple leaf shapes and write one guest’s first name on each. Rest each leaf against a folded ivory card on the empty plate, as shown here, or place the card just above it if space allows. Cream linens and clear glasses give the paper detail room to show, with no central display required.
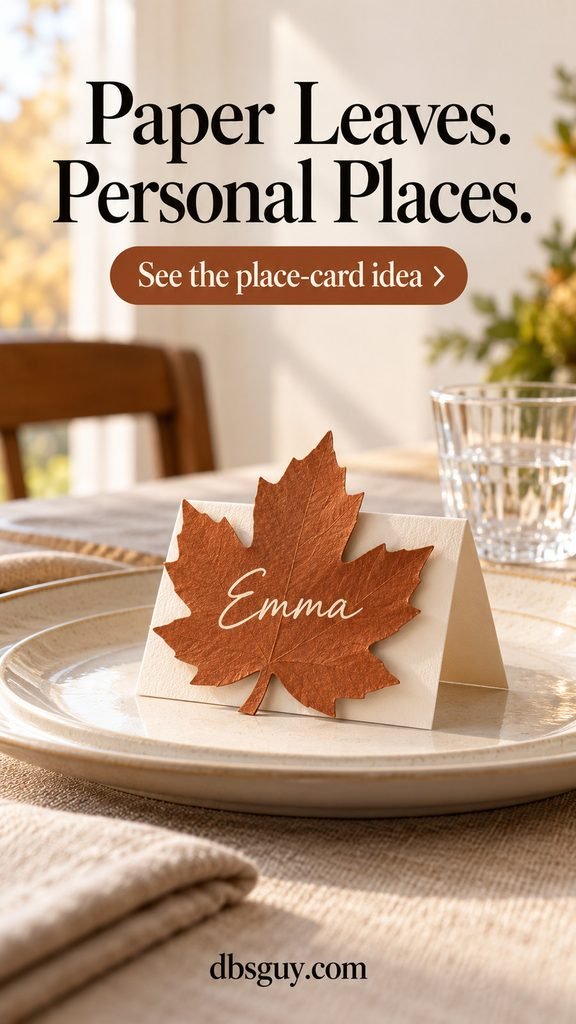
A leaf silhouette does not need tiny cutouts or realistic veins. Make one sample large enough to read from a standing position, then use it as the pattern for the rest. Guests can move the card before food is served. A simple fold supplies the support without waiting for wet glue to dry.
10. Tie Flat Napkins with Ribbon You Already Have
Estimated setup: About 8 minutes for four seats. Gather: Plain cloth napkins and clean ribbon in burgundy, rust, or brown.
Burgundy ribbon against ivory cotton adds a little occasion to everyday dishes. Use a soft fabric ribbon so the finished napkin bundle is easy to undo.
- Fold the napkin into a slim, flat rectangle.
- Wrap ribbon around the middle and make a loose bow.
- Lay it across the plate and trim the tails so they stay inside the plate area.
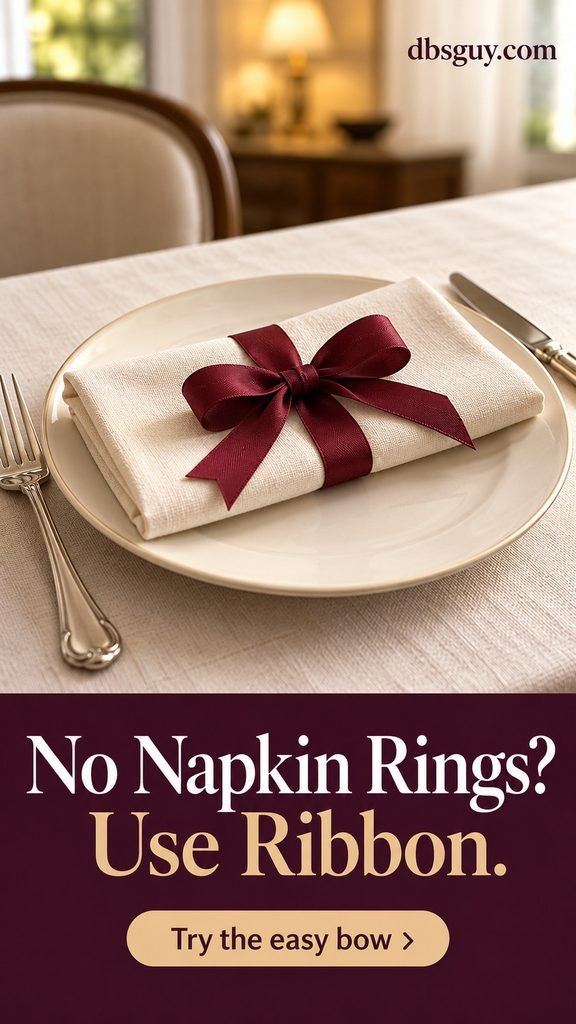
Make one bow before cutting all the ribbon lengths; thicker napkins need more slack. Trim trailing ends so they stay within the plate area. Avoid wired or shedding gift ribbon next to tableware, and do not tie the napkins so tightly that guests have to pull at them.
11. Add a Handwritten Menu Beside Each Plate
Estimated setup: About 10 minutes for four seats. Gather: Small cream cards and a brown or burgundy pen.
Write a short menu on each card and set it beside the plate, with its lower edge lightly tucked beneath the fork handle. Oatmeal napkins and a single rust-colored line across the card give the table a restrained fall palette. Keep the middle available for the meal.
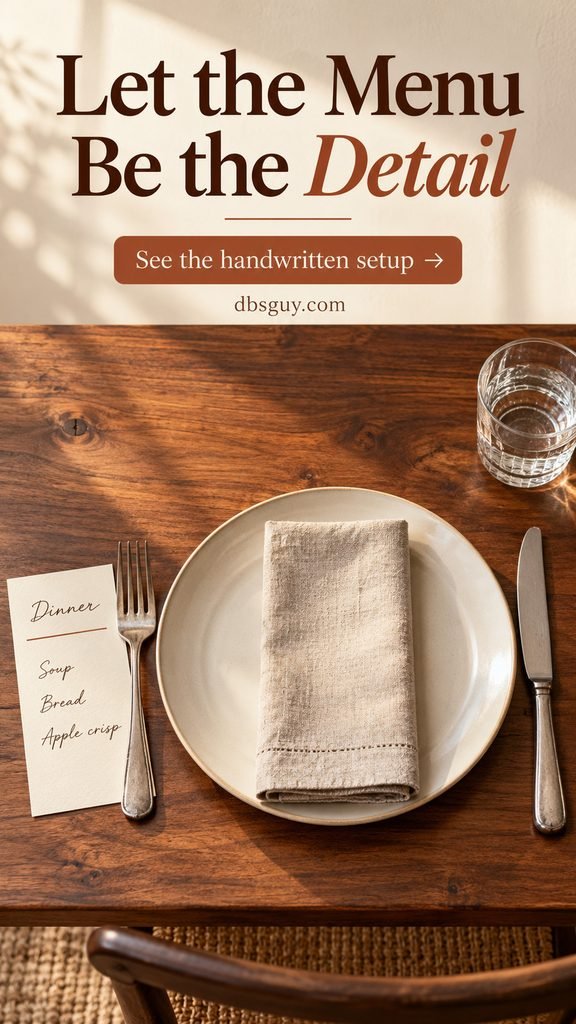
List only what you are serving; a handwritten three-line menu can feel more considered than a hurried printed design. Make the cards narrow enough to sit inside each guest’s space. If the menu is still changing, write a welcome message instead of committing to dishes you may not serve.
12. Borrow Three Small Herb Pots from the Kitchen
Estimated setup: About 5 minutes. Gather: Small potted herbs, clean saucers, and neutral napkins.
Arrange three small pots of rosemary, thyme, or sage along the table’s middle, each on its own saucer. The muted greens and terracotta add texture without flowers or pumpkins. Leave the pot rims and saucers visible instead of wrapping everything in decorative fabric.
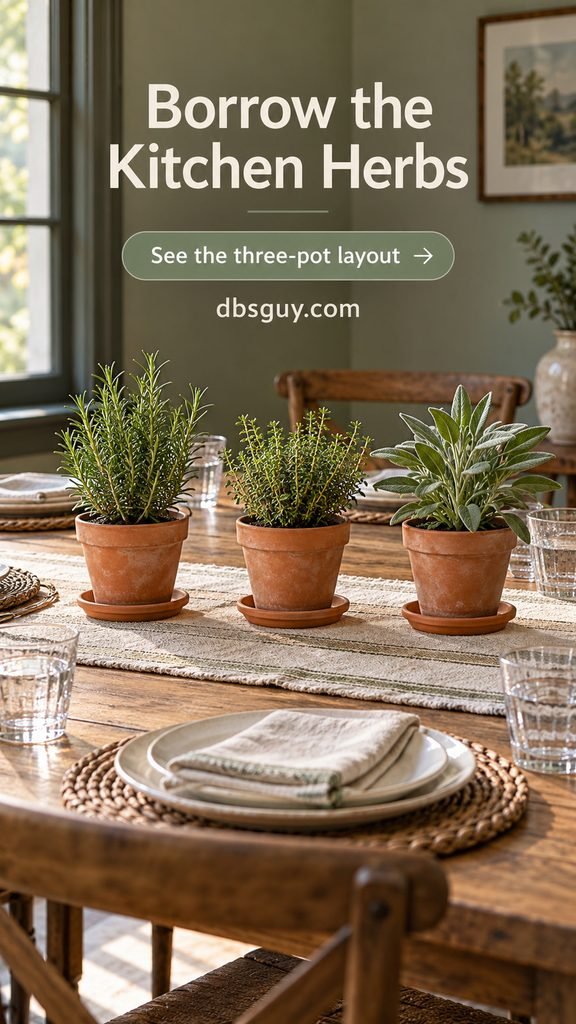
Use pots that are already small enough for the table; a large, sprawling kitchen plant will get in the way. Wipe the exteriors and check for loose soil or drips before carrying them over. Keep the foliage away from plates, and move the pots out when passing dishes becomes awkward.
13. Slip One Small Potted Mum into a Cachepot
Estimated setup: About 5 minutes. Gather: A small potted chrysanthemum and a clean decorative outer pot.
Use a compact yellow or bronze mum as the only central feature. Set its nursery pot inside a simple cream cachepot, then pair it with brown napkins and ivory plates. This suits a table where a small, rounded flower mound fits more easily than several separate vases.
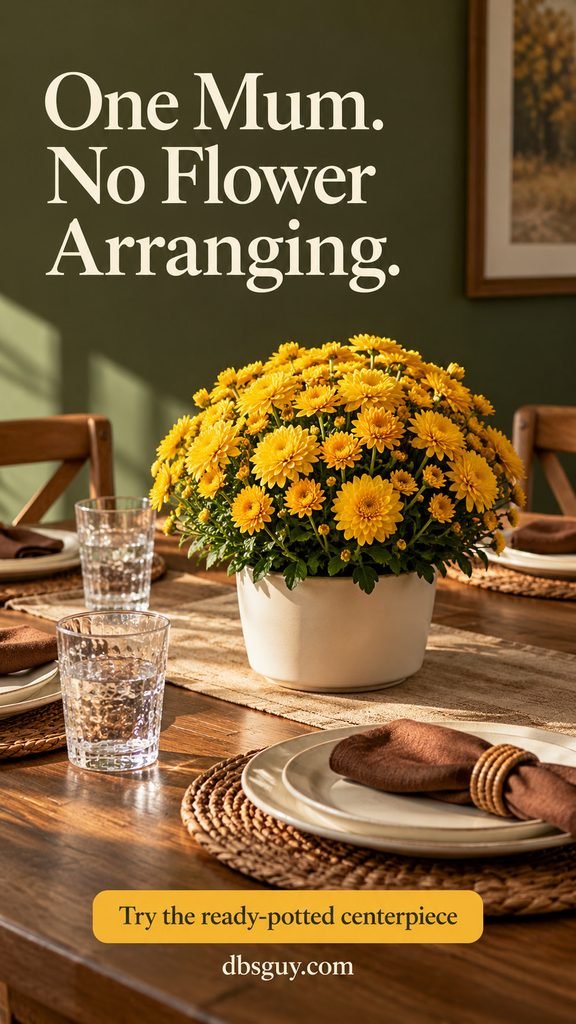
Check the plant’s full width, including its outer blooms, against the space between glasses. Keep the nursery pot removable and check that the outer container will catch moisture. Do any watering away from the table. If the plant blocks faces from a seated position, use it on the sideboard instead.
14. Fill a Shallow Basket with Whole Squash
Estimated setup: About 4 minutes. Gather: A low basket and a few small squash in different shapes.
Nestle a small acorn squash, a delicata, and a mini pumpkin into a shallow basket. Keep them resting securely against its base, with the longest squash following the basket’s length. Plain napkins and clear glasses let the shapes do the decorating.
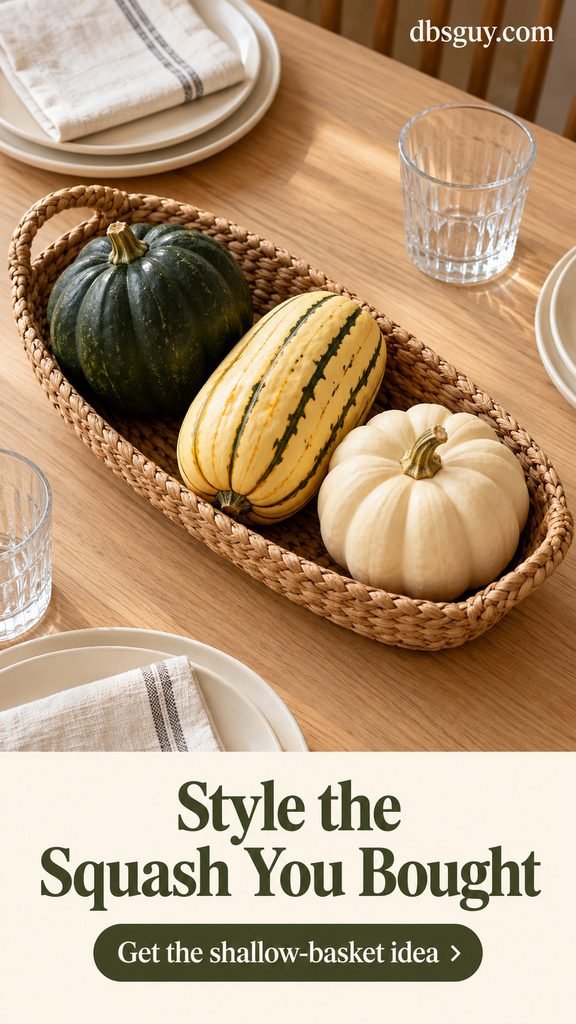
Choose smaller produce instead of stacking heavy pieces high. Clean and dry the squash before styling, and keep it away from craft finishes if you intend to cook with it. For more ways to work with a quiet palette, browse our 15 Neutral White Simple Fall Tablescape Ideas.
15. Lay a Ready-Made Wreath Around an LED Hurricane
Estimated setup: About 5 minutes. Gather: An existing small faux fall wreath, a glass hurricane, and a battery pillar candle.
Lay the wreath flat and place the hurricane inside its opening. Use a wreath with muted rust leaves or wheat-colored foliage, then keep the place settings plain. The circular arrangement works especially well when you want a single defined centerpiece on a round table.

Check the opening before you start: the glass should stand flat on the table, not balance on the wreath. This idea uses a flameless pillar. Do not substitute a burning candle inside close decorative foliage. If the wreath reaches into anyone’s setting, put it on a console and choose a smaller table accent.
16. Unify Borrowed Plates with the Same Napkin Fold
Estimated setup: About 10 minutes. Gather: The plates you need, one coordinated napkin color, and simple glasses.
When extra guests mean borrowed dishes, repeat the same oatmeal napkin at every seat. A mix of brown transferware, ivory stoneware, and plain white plates can feel coherent when each setting has the same neat fold and similar spacing. Let the dinnerware provide the pattern.
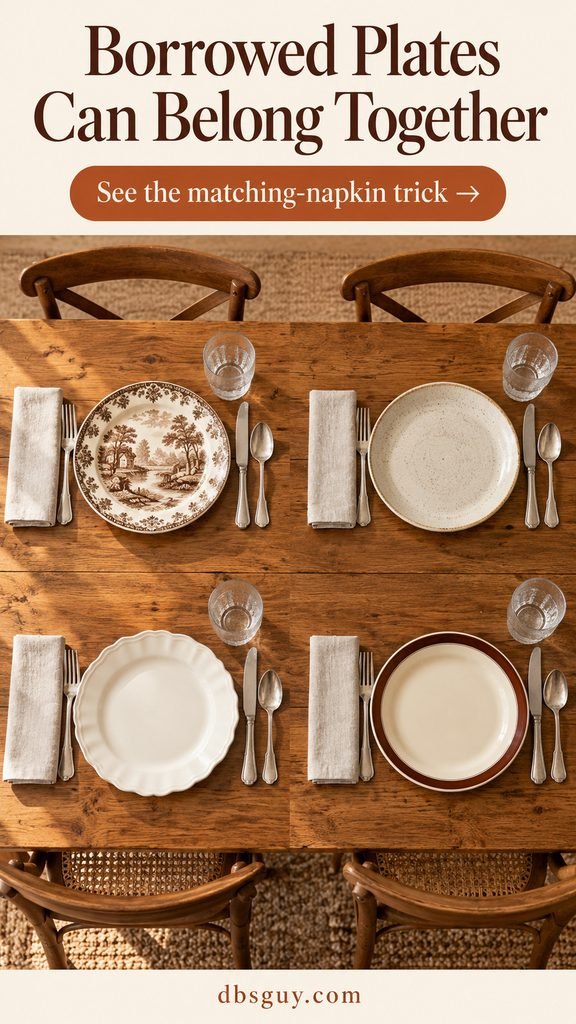
Distribute patterned plates around the table instead of collecting all of them at one end. Use the utensils each guest needs rather than adding decorative layers to hide the differences. If you want a green textile to connect the settings, our olive green fall tablescape ideas show ways to use it.
17. Use Two Tea Towels as Cross-Runners
Estimated setup: About 5 minutes. Gather: Two coordinated, freshly washed tea towels and four place settings.
On a small rectangular table with two guests along each long side, two parallel fabric bands connect the opposing pairs of seats. Brown ticking stripes against bare wood give this simple fall table its texture.
- Lay one towel across the table’s short width beneath each pair of opposing places.
- Fold the two towels to equal widths, leaving a strip of exposed wood between them.
- Place the plates over the flat fabric and keep bulky hems out from under their bases.
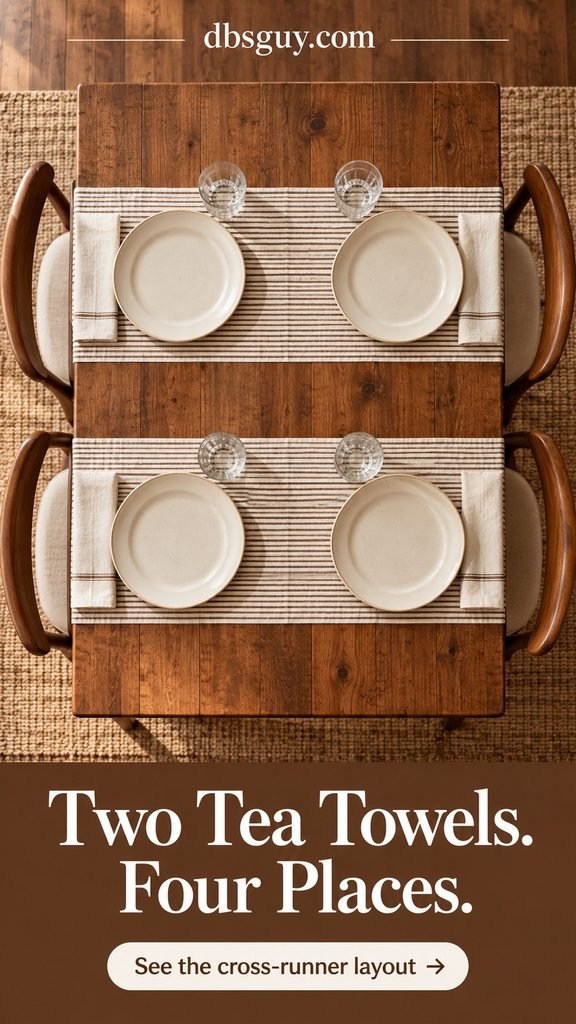
Check that both ends reach their intended settings and that each plate sits steadily. This is most useful when you have short textiles but no tablecloth that fits. Keep the central gap available for a small serving dish rather than filling it with another runner.
18. Give a Two-Person Table One Corner Accent
Estimated setup: About 4 minutes. Gather: Two napkins, two everyday place settings, and one persimmon on a saucer.
For a small kitchen or bistro table, put a persimmon on a plain saucer near the back edge. Use cinnamon-colored napkins at the two seats and leave the center open. The orange fruit gives the tiny table a fall focal point without placing a centerpiece between you.
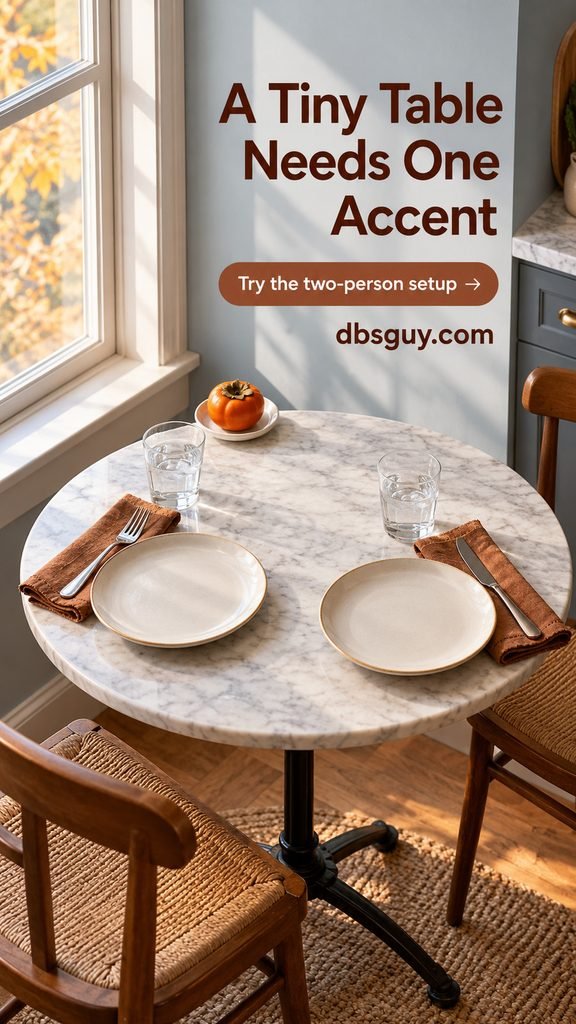
Try lifting both water glasses and setting down your largest shared dish before you settle on the saucer’s position. If the table still feels crowded, move the accent to the windowsill. A two-person dinner needs room for the meal more than it needs a full-size dining-table arrangement.
19. Move the Fall Centerpiece to the Sideboard
Estimated setup: About 5 minutes. Gather: A nearby sideboard, a vase of faux fall foliage, and simple table linens.
If serving platters will occupy every spare inch, put the decorative arrangement behind the table. A vase of burgundy foliage on the sideboard can supply the fall atmosphere while the dining surface holds only plates, glasses, and warm brown napkins.

Choose a spot that is visible from the table but separate from the area where you will set hot dishes or refill drinks. Avoid leaving a fragile vase on the edge of a busy serving surface. This is one of the most practical Thanksgiving tablescape ideas when the food is the main event.
20. Style the Beginning of a Buffet
Estimated setup: About 8 minutes. Gather: A manageable stack of plates, a napkin basket, and two pumpkins.
For buffet service, gather the decorative detail where guests pick up their plates. Place folded rust napkins in a low basket, put the plates beside it, and add two pumpkins behind the pickup area. Let the food continue along the rest of the surface.
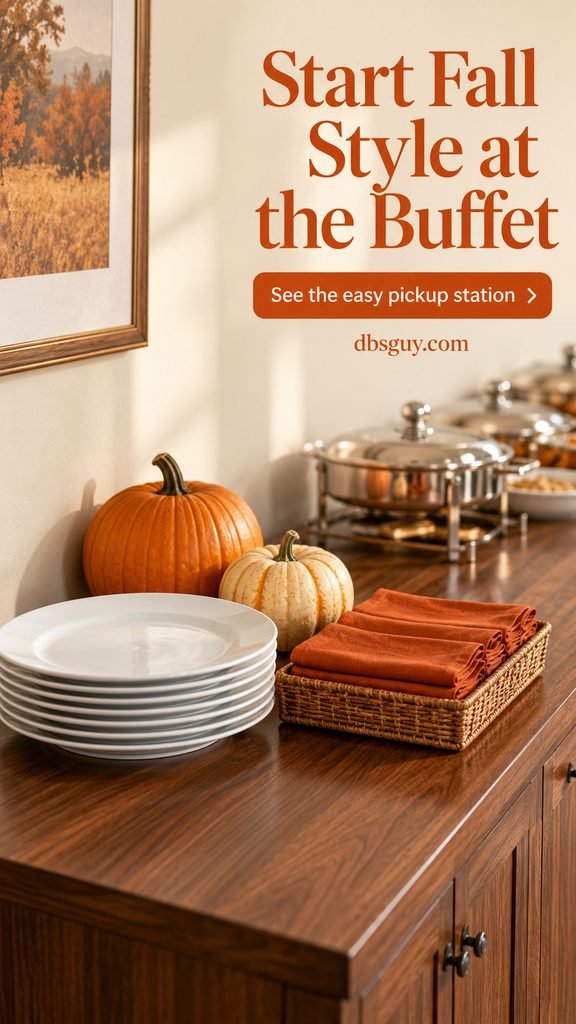
Keep plate stacks low enough to handle comfortably and replenish them instead of building one tall tower. Set the pumpkins behind, rather than in front of, the plates so guests can reach easily. Keep the route to hot serving dishes clear. The seated dining table can stay simple because the buffet supplies the fall detail.
21. Use a Low Enamel Bowl for an Outdoor Table
Estimated setup: About 8 minutes. Gather: A low enamel bowl, small gourds, washable napkins, and tablecloth clips if using a cloth.
For a sheltered patio meal, cluster a few small gourds inside an enamel bowl. A clipped cream cloth and rust napkins give the table a seasonal base without tall vases or loose paper decorations. Keep the bowl low and use dishes that suit your outdoor space.
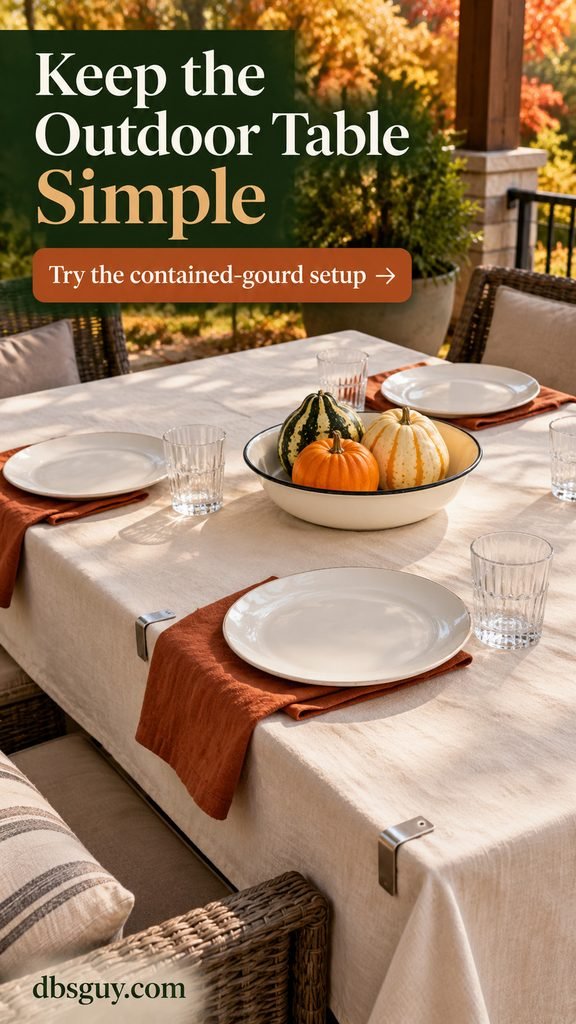
Check the weather before carrying everything out, secure the cloth with clips that fit your table, and bring the meal indoors if conditions become uncomfortable. Tuck napkins beneath the edge of empty plates until guests sit down. Use this arrangement for a calm outdoor meal rather than relying on decor to withstand strong wind.
22. Let a Bread Board Finish a Soup Supper
Estimated setup: About 5 minutes for the table. Gather: Soup bowls, rust napkins, and a food-safe board for bread.
Set cream soup bowls on plates and place the spoons beside rust-colored napkins. A low board of sliced bread can be the central feature, with the soup itself supplying the warm fall color. Add the food when you are ready to eat rather than styling it far in advance.
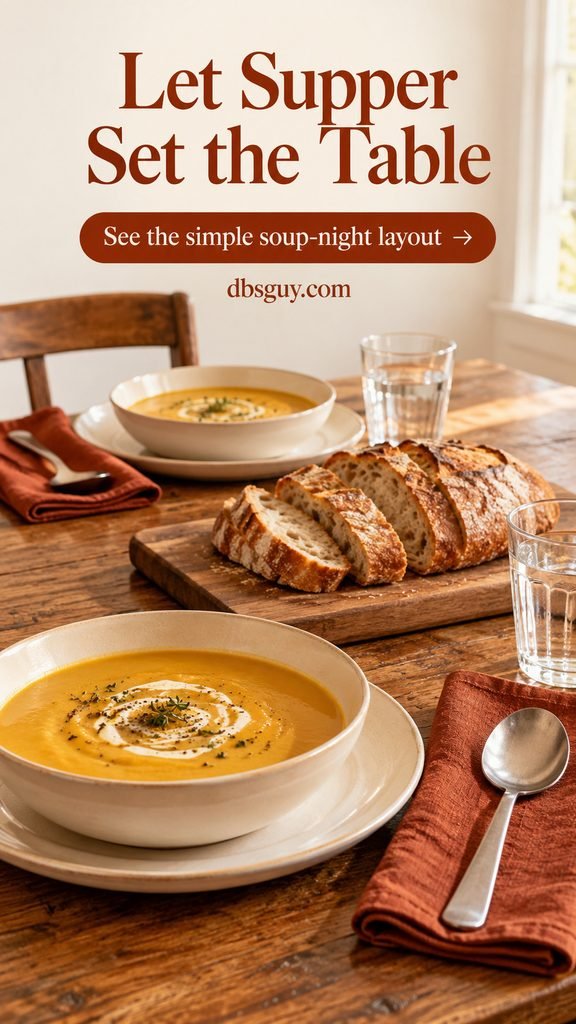
Keep decorative greenery off the bread board and use a separate proper trivet for the hot soup pot. Put napkins where guests can reach them without lifting a filled bowl. This setup suits a casual autumn supper when another decorative object would only take the place of something useful.
23. Break a Faux Leaf Garland into Serving-Space Accents
Estimated setup: About 10 minutes. Gather: A flexible faux fall garland, your serving dishes, and suitable trivets.
Put the empty serving dishes and trivets on the table first. Fold a short faux garland into two or three loose sections in the gaps, or use separate sprigs if that is what you have. The leaves create a broken line of fall color rather than a solid runner that fills every landing spot.

Keep stems and leaves clear of dish handles, eating surfaces, and hot cookware. Do not wrap the garland around the trivets or let it slide underneath them. If there is no useful gap, leave that section out. This arrangement should adapt to the meal’s footprint, not force serving bowls into awkward positions.
A Quick Check Before Guests Sit Down
Carry a serving dish from the kitchen to the table and back. Check its landing place, the route around the chairs, and whether you can move the centerpiece in one trip. If an arrangement looks good but makes that awkward, remove a piece.
The candle concepts here use battery-operated LEDs. If you choose real candles elsewhere, follow NFPA candle safety guidance: use sturdy, heat-resistant holders, keep flames at least 12 inches from anything that can burn, and extinguish them before leaving the room. A glass container does not remove the need for clearance.
Keep decorative stems, craft paper, and painted objects separate from food and hot serving pieces. Use proper trivets where needed. Skip tiny loose accents on a table where young children may pick them up, and keep plants out of reach of pets that chew foliage.
Frequently Asked Questions
What is the easiest last-minute fall centerpiece?
A shallow bowl of whole apples is a useful starting point when the fruit and bowl are already in the kitchen. Set it down, add plain dishes, and stop there. If you need the middle for serving, use patterned napkins instead of a centerpiece.
How do I make a fall table look finished without a tablecloth?
Use the bare tabletop as the background and repeat one detail at each seat, such as a rust napkin, plaid fold, or cream menu card. Add a single low feature only if space allows. Matching the napkin folds often brings more order than adding another layer.
Can simple fall tablescapes work for Thanksgiving?
Yes. The main adjustment is space for the meal. Choose small accents at each seat, a centerpiece that moves easily, or a display on nearby furniture. Put the actual serving pieces in place before adding decor so you do not have to rebuild the table as dinner arrives.
How tall should a fall centerpiece be?
Judge it from a seated position rather than relying on a fixed height. The vessel, flowers, and outward-reaching stems all count. You should be able to see the person across from you and pass food comfortably; shorten the stems or move the arrangement if you cannot.
How can I decorate without buying anything?
Start with a bowl of fruit, a clean folded kitchen textile, an existing small plant, or napkins with a fall color. Choose the idea that fits those supplies. Carving, painting, printing, or shopping will turn a quick styling task into a longer project.