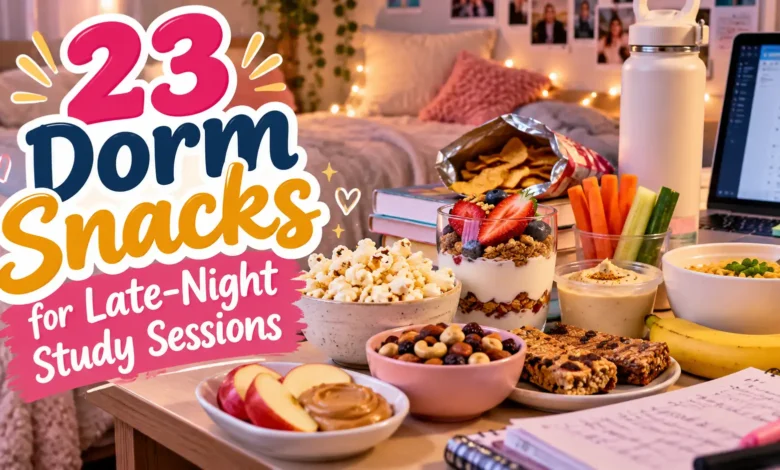
Need something to eat after the dining hall closes? Start with apple and peanut butter if you have no fridge, a yogurt parfait if you have cold storage, or a bean-and-cheese tortilla if you want something warm. These 23 dorm snacks cover sweet, salty, crunchy, and soft options without a stove or oven.
Each idea below makes one suggested snack portion. Adjust the amount to your appetite; if you missed dinner, a small snack may not be enough. You do not need to buy ingredients for all 23—pick a few that share the foods you already keep.

The visuals are AI-generated serving concepts. These snack ideas have not been kitchen-tested; use the written quantities as your starting point. Prep and microwave times are estimates.
Pick a Snack for Your Setup
- No fridge or microwave: Start with ideas 1–11. Choose shelf-stable products and read storage directions after opening.
- Mini-fridge available: Ideas 12–18 add yogurt, dips, cheese, eggs, and freshly prepared toppings.
- Want something warm: Ideas 19–23 use a microwave. Only the oatmeal made with water and the cinnamon apple can skip refrigerated ingredients.
- Keeping things quiet: Try yogurt, cottage cheese, or oatmeal. Open noisy packaging before your roommate goes to bed.
Have a bowl, spoon, fork, measuring spoons, and a clean prep surface ready. A small knife and cutting board help with fruit and vegetables. Wash produce under running water and clean your hands and utensils before preparing food.
No-Fridge Dorm Snacks
These ideas work without cold storage when you choose the appropriate packaged ingredients and eat the prepared portion right away. “Shelf-stable” describes the product before opening unless its label says otherwise.
1. Apple Slices With Peanut Butter
No fridge needed with a shelf-stable nut butter · About 3 minutes
What you need: 1 small apple, 1–2 tablespoons peanut butter, and a pinch of cinnamon if you like.
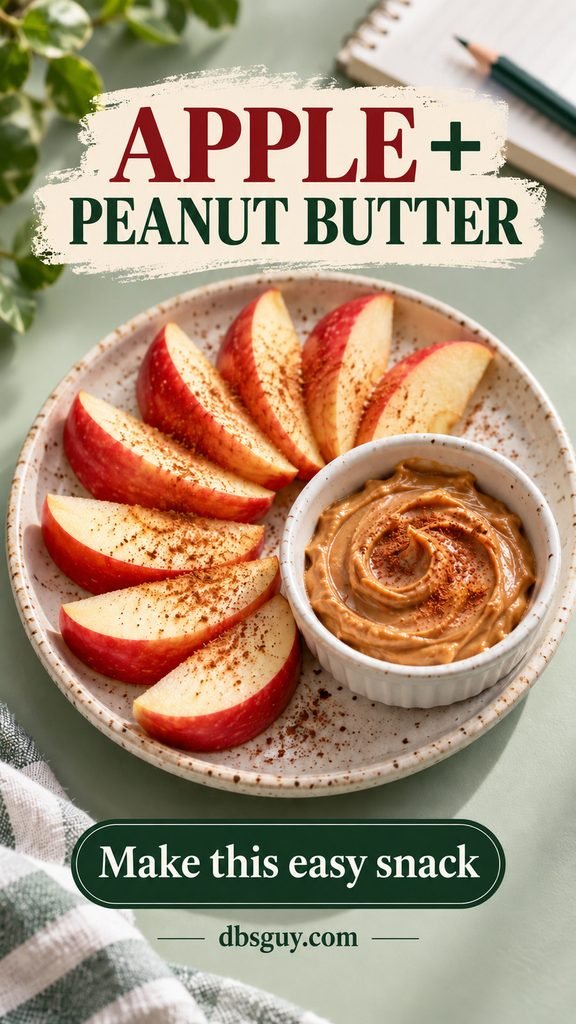
Wash the apple, cut it into wedges, and spoon the peanut butter into a small bowl for dipping. Leave the skin on for a quicker prep and a firmer bite. No safe cutting surface? Eat the apple whole and use a spoon for the nut butter.
Slice it when you are ready to eat; a whole apple is easier to keep in your room than a container of cut fruit. Check the nut butter label for storage directions after opening.
2. Peanut Butter Banana Wrap Bites
No fridge needed if the tortilla and peanut butter labels allow · About 4 minutes
What you need: 1 small soft flour tortilla, 1 tablespoon peanut butter, and 1 small banana.

Spread the peanut butter over the tortilla, set the peeled banana near one edge, and roll snugly. Trim the banana to fit if needed. Slice into thick rounds, or leave it as a wrap when you want fewer dishes.
A soft tortilla matters here: a stiff one cracks when rolled. Make this right before eating rather than leaving banana-filled slices on the desk for later.
3. Chocolate Chip Trail Mix
No fridge · About 2 minutes
What you need: 2 tablespoons unsalted almonds, 1 tablespoon pumpkin seeds, 1 tablespoon raisins, and 1 teaspoon chocolate chips.
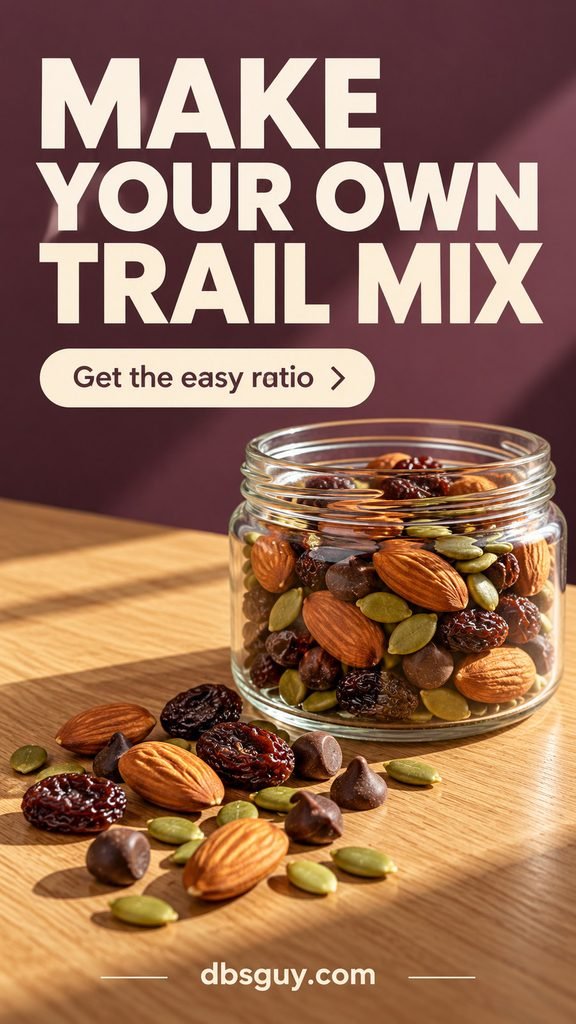
Stir everything in a small cup or portion it into a reusable container before sitting down. The mix gives you crunchy, chewy, and chocolatey bites without opening four packages beside your laptop.
For a peanut- or tree-nut-free version, use a seed mix with an appropriate allergy label. Shared scoops and bulk bins can be a problem when cross-contact matters.
4. Paprika Popcorn With Pepitas
No fridge; microwave optional · About 2 minutes with pre-popped popcorn
What you need: 2 cups ready-to-eat popcorn, 1 tablespoon shelled pumpkin seeds, and a pinch of smoked paprika.

Toss the popcorn with the seeds and paprika in a bowl. Pre-popped popcorn keeps this completely appliance-free. If you use a microwave bag instead, follow its directions, stay nearby, and open it away from your face before measuring out a bowl.
Seeds tend to sink, so give the bowl a gentle toss occasionally. Choose the seasoning after tasting the popcorn; a salty bag may not need anything beyond paprika.
5. Roasted Chickpea and Pretzel Crunch
No fridge · About 1 minute
What you need: ¼ cup packaged dry-roasted chickpeas and ¼ cup mini pretzels.
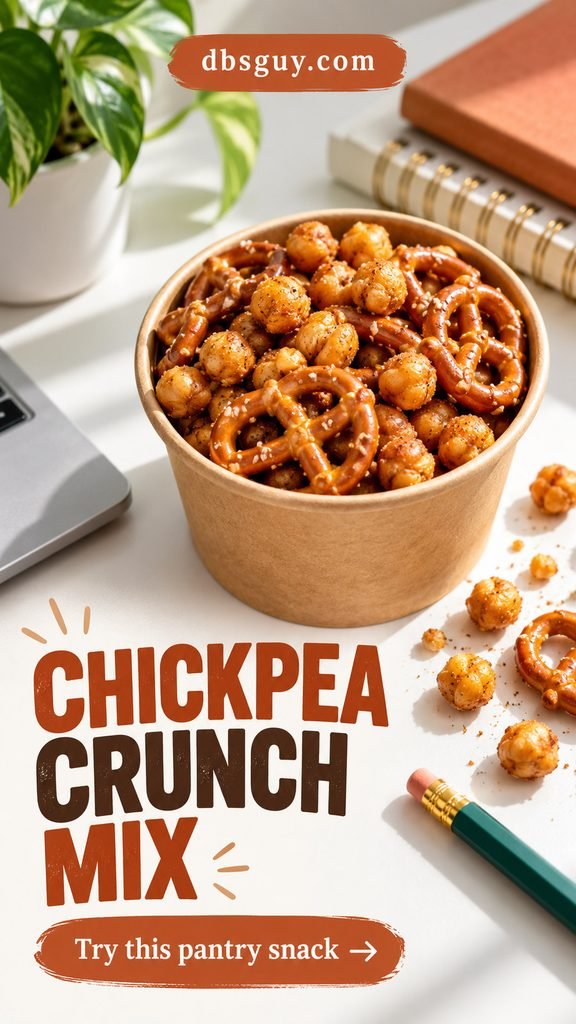
Combine the two in a snack cup. Pick chickpeas already sold as a ready-to-eat crunchy snack; drained canned chickpeas will be soft and damp, and they are a different food for storage purposes.
Match the flavors rather than piling them on: plain pretzels work with barbecue or lightly salted chickpeas. Close both packages tightly afterward so the next serving stays crisp.
6. Sunflower Butter and Jam Rice Cakes
No fridge with suitable seed butter and an unopened jam portion · About 2 minutes
What you need: 2 plain rice cakes, 1 tablespoon sunflower seed butter, and 2 teaspoons strawberry jam.

Divide the sunflower butter between the rice cakes, then add a small swirl of jam to each. Spread gently so the rice cakes do not break under the spoon.
For a room without a fridge, use a single-serve jam packet and a seed butter labeled for room-temperature storage. An opened jar of jam may require refrigeration. Assemble just before eating so the toppings do not soften the rice cakes.
7. Cinnamon Applesauce With Granola
No fridge before opening the applesauce · About 1 minute
What you need: 1 single-serve applesauce cup, 1–2 tablespoons granola, and a pinch of cinnamon.
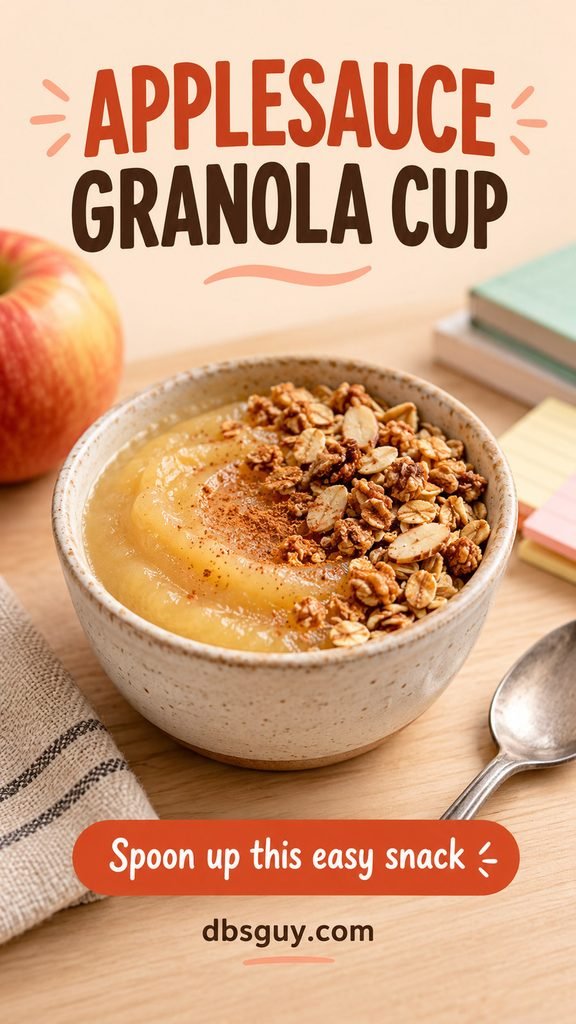
Open the applesauce, sprinkle the granola over one side, and eat with a spoon. You can use the original cup if it has room; otherwise tip it into a small bowl.
Keep the granola separate until the last minute. This is a useful sweet option when you do not want to wash a knife or deal with fresh fruit, but an opened applesauce cup should not sit out for tomorrow.
8. Tahini-Stuffed Dates
No fridge only if both product labels allow · About 3 minutes
What you need: 3 Medjool dates, 1 tablespoon well-stirred tahini, and an optional pinch of sesame seeds.

Open each date along one side and check for any pit, removing it before you add the filling. Divide the tahini among the centers. A thick, well-stirred tahini is easier to tuck inside than the separated oil at the top of a jar.
Dates are already sweet, so no syrup is needed. Some tahini brands require refrigeration after opening; use a suitable single-serve portion if you have no fridge. Tahini contains sesame.
9. Tuna and Whole-Grain Crackers
No fridge before opening a shelf-stable tuna pouch · About 2 minutes
What you need: 1 small ready-to-eat tuna pouch, about 2½ ounces, 6–8 whole-grain crackers, and black pepper.
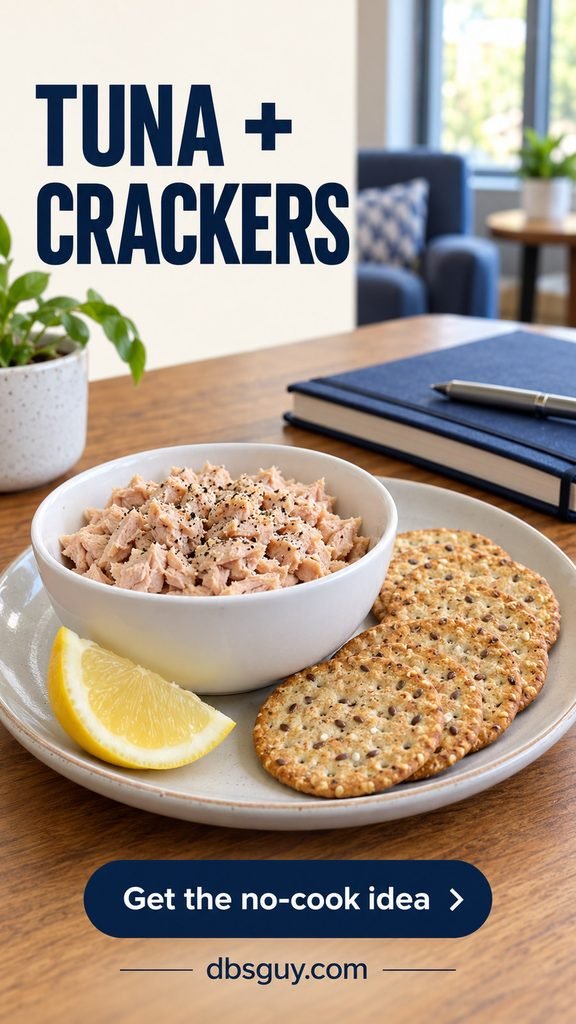
Open the pouch, drain if its instructions call for it, and spoon the tuna onto crackers as you eat. Black pepper or a squeeze of lemon is enough to finish it; mayonnaise is not necessary.
Save this for a common-area snack break if your roommate is sensitive to food smells. Use the whole small pouch, throw away the wrapper promptly, and refrigerate any uneaten tuna right away.
10. Strawberry Cereal Crunch
No fridge · About 1 minute
What you need: ½ cup dry whole-grain cereal and 2 tablespoons freeze-dried strawberries.
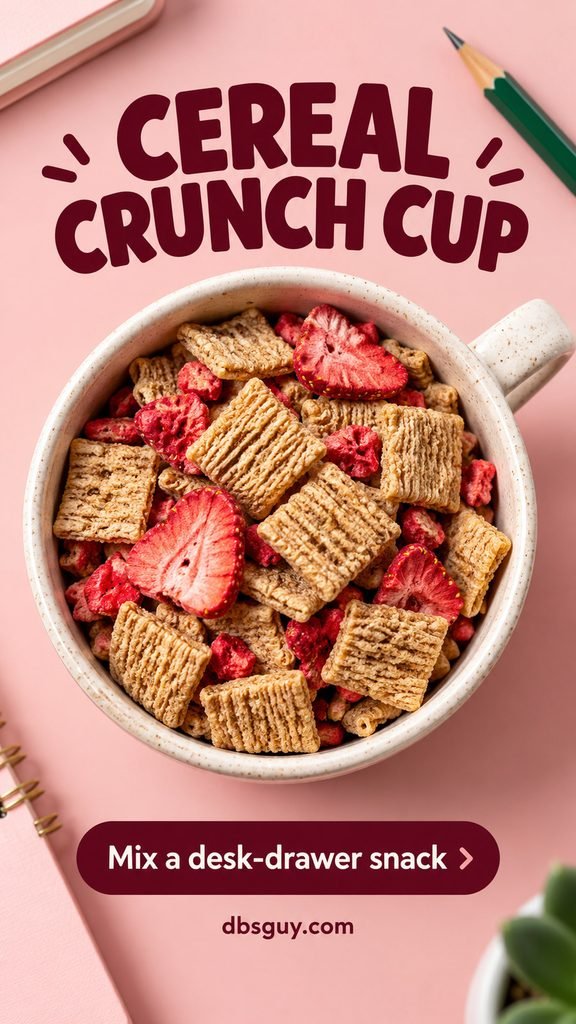
Mix both in a cup and eat it dry. Cereal squares or O-shaped cereal are easier to pick up than tiny flakes, and freeze-dried fruit gives a crisp bite rather than the chew of raisins.
No milk is needed. Keep the fruit package sealed because freeze-dried strawberries lose their crispness when exposed to moisture. This is especially handy when the fridge is full and you want a sweet crunch.
11. Seaweed, Edamame, and Rice Cracker Mix
No fridge with dry-roasted edamame · About 2 minutes
What you need: ¼ cup packaged dry-roasted edamame, ¼ cup bite-size rice crackers, and 2–3 roasted seaweed sheets.

Tear the seaweed into small pieces and gently toss it with the edamame and crackers. Use crunchy roasted edamame sold as a snack, not frozen or refrigerated edamame.
Add the seaweed when you plan to eat so it stays crisp. Check the seasoning labels if you avoid soy, sesame, or wheat; rice crackers are not automatically gluten-free.
Mini-Fridge Snacks for a Study Break
A little fridge space opens up creamy dips, fresh produce, and quick savory plates. Take out what you need, then put the containers back before settling in.
12. Berry Greek Yogurt Parfait
Mini-fridge · About 3 minutes
What you need: ½–¾ cup plain Greek yogurt, ¼ cup washed berries, and 1–2 tablespoons granola.

Spoon half the yogurt into a cup, add some berries, then finish with the remaining yogurt and fruit. Scatter granola on top immediately before eating. A regular bowl works just as well as a layered glass.
For fewer dishes, put the toppings directly into a single-serve yogurt container. A dairy-free yogurt can work too; choose one you enjoy and check its label if protein content matters to you.
13. Hummus, Baby Carrots, and Pita
Mini-fridge · About 2 minutes
What you need: ¼ cup hummus, about ½ cup washed baby carrots, and ½ small pita cut or torn into triangles.
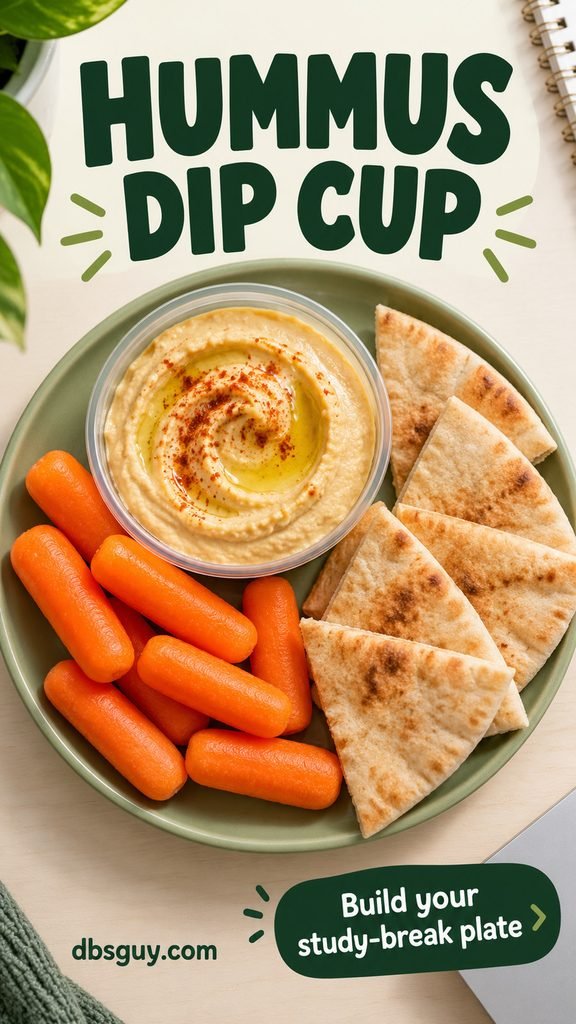
Spoon the hummus into a dipping cup and set out the carrots and pita. The soft bread gives you a change from the carrots, so you are not working through a plate of hard crunch alone.
Portion hummus with a clean spoon instead of dipping repeatedly into a shared tub. For a backpack snack later, pack the hummus and carrots in an insulated bag with cold packs.
14. Cheddar, Grapes, and Crackers
Mini-fridge · About 3 minutes
What you need: 1 ounce cheddar, ½ cup washed grapes, and 4–6 whole-grain crackers.

Cut the cheese into small cubes or use a cheese stick broken into pieces. Put it on a small plate with the grapes and crackers; no elaborate snack board is needed.
Store the crackers separately if you pack this ahead. Moist grapes and cheese can soften them in the same container. This is a good pick when you want several flavors without turning a study break into a cooking project.
15. Pineapple Cottage Cheese Bowl
Mini-fridge · About 2 minutes
What you need: ½ cup cottage cheese and ¼ cup drained pineapple chunks.

Spoon the cottage cheese into a bowl and add the pineapple. If you use a fruit cup, drain off the excess juice first so the cottage cheese stays thick rather than watery.
Choose this when you want a soft snack without crunchy packaging or crumbs. A shelf-stable fruit cup is convenient, but the cottage cheese still needs refrigeration; put its tub back before you start studying.
16. Cucumber Rounds With Tzatziki
Mini-fridge · About 4 minutes
What you need: ½ small cucumber and ¼ cup prepared tzatziki.
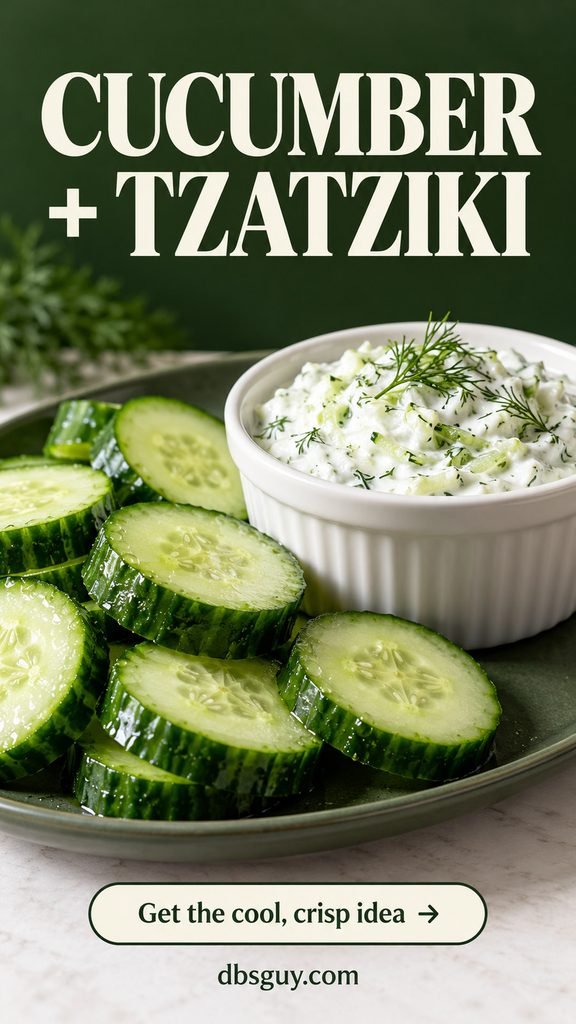
Wash and slice the cucumber into thick rounds, then serve with the dip in a separate cup. Pat very wet slices dry so they do not thin out the tzatziki.
This suits a lighter, cool snack craving. If you are still hungry, add pita rather than expecting cucumber alone to replace a missed dinner. Follow the dip label for storage and use after opening.
17. Hard-Boiled Egg and Crackers
Mini-fridge · About 2 minutes with a ready-cooked egg
What you need: 1 packaged, fully cooked hard-boiled egg, 6 whole-grain crackers, and black pepper.
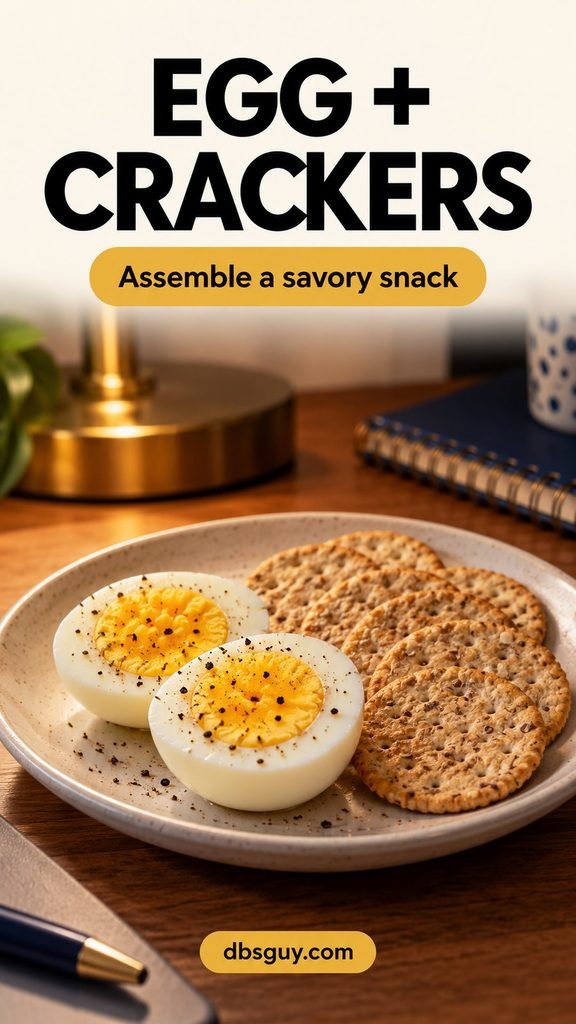
Halve the egg on a clean cutting surface and add pepper, or eat it whole with the crackers on the side. Buy ready-cooked eggs for this idea; there is no need to boil or microwave an egg in your room.
Keep the egg refrigerated according to its package directions. Skip reheating: a cold cooked egg makes this a quick savory option and avoids trying to warm a whole egg in the microwave.
18. Avocado Cracker Smash
Best made fresh; refrigerate any cut avocado you keep · About 4 minutes
What you need: ½ small ripe avocado, 4 large whole-grain crackers, 1 teaspoon lime juice, and black pepper.
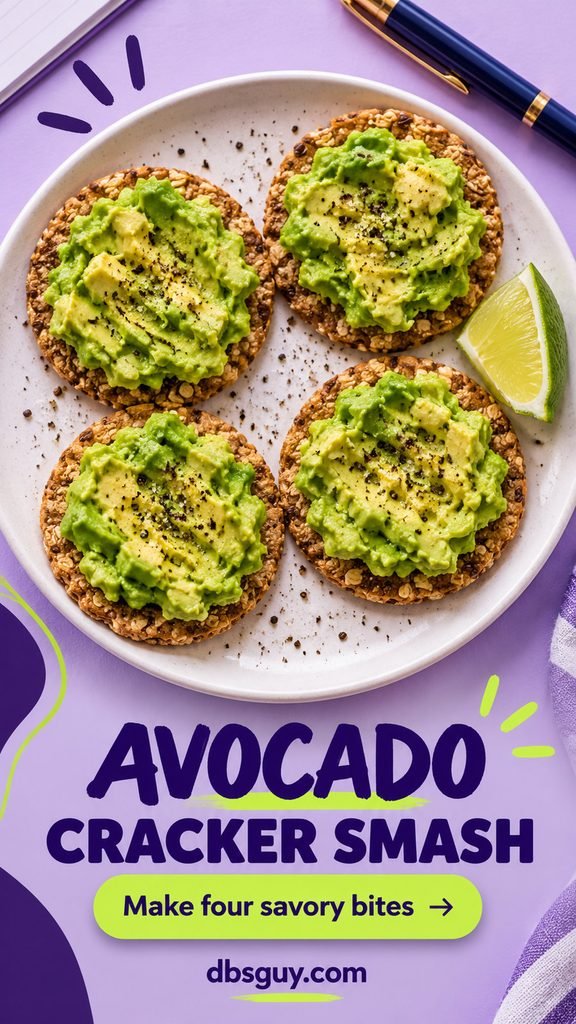
Mash the avocado with the lime juice and pepper using a fork. Spoon it onto the crackers just before eating. A ripe avocado should yield gently to pressure; an unripe one will be hard to mash.
Spread the mash across broad crackers rather than tiny ones that snap under the fork. A single-serve refrigerated guacamole cup is an easier substitute when you do not want to handle an avocado pit.
Warm Dorm Snacks From the Microwave
Check your residence hall’s appliance rules first. Use microwave-safe dishes, vent covers, and handle hot bowls with a dry mitt. The short heating estimates below assume about a 1,000-watt microwave; package directions take priority. Stay nearby and check between bursts.
Need dinner rather than a snack? The easy microwave recipes for dorm rooms include more substantial meal options.
19. A Small Bowl of Cinnamon Oatmeal
Microwave; fridge only if using refrigerated milk · About 4–6 minutes
What you need: ¼ cup quick oats, ½ cup water or milk, a pinch of cinnamon, and 1 teaspoon maple syrup if wanted.

Combine the oats and liquid in a 4-cup microwave-safe bowl. Follow the oat package’s microwave instructions for its serving ratio, scaling the liquid if its directions differ. Stir, let stand as directed, then add cinnamon and optional syrup. Use short additional bursts only if needed.
A roomy bowl gives bubbling oats space; a tiny mug invites a spill. For a no-fridge version, use water or open a small shelf-stable milk carton and refrigerate any remainder promptly.
20. Black Bean and Cheese Tortilla Fold
Microwave + mini-fridge · About 4–5 minutes
What you need: 1 small flour tortilla, ¼ cup drained canned black beans, 2 tablespoons shredded cheddar, and a pinch of cumin.
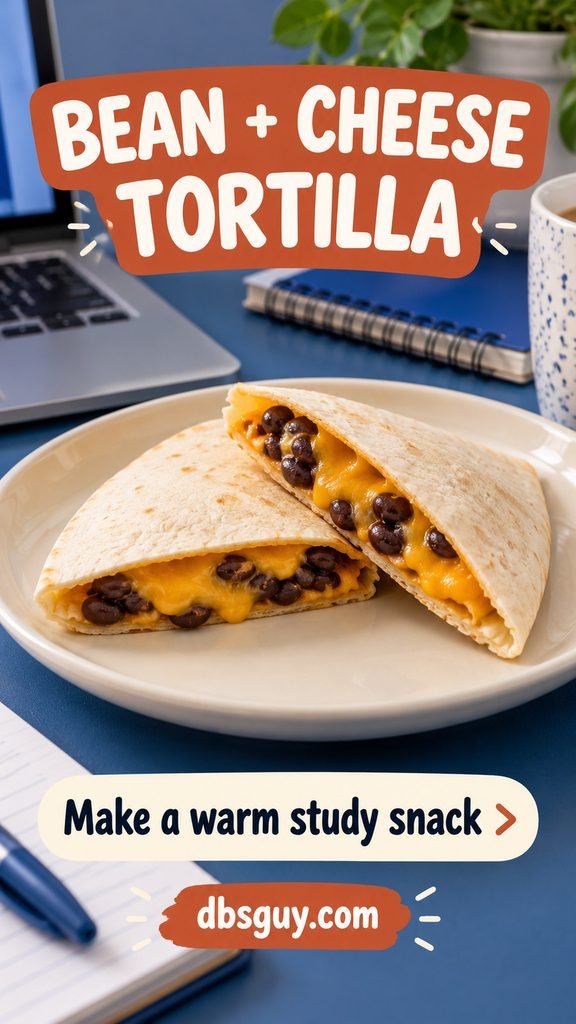
Mash the beans lightly with cumin. Spread over half the tortilla, scatter cheese on top, and fold closed on a microwave-safe plate. Heat on HIGH for about 30 seconds, then in 15-second bursts until the filling is hot throughout and the cheese melts. Let stand 1 minute and check the center before eating.
The tortilla will be soft rather than crisp. Drain the beans well so the filling does not soak through, and refrigerate the unused beans in a covered container right after opening the can.
21. Soft English Muffin Pizza
Microwave + mini-fridge · About 3–4 minutes
What you need: ½ English muffin, 1 tablespoon prepared pizza sauce, and 2 tablespoons shredded mozzarella.

Put the muffin half cut-side up on a microwave-safe plate. Spread on the sauce and add the cheese in a thin layer. Microwave on HIGH for about 20–30 seconds, then in 10-second bursts until the cheese melts and the sauce is hot. Let stand 1 minute.
Expect a soft pizza bite; a microwave will not toast the muffin or brown the cheese. Use only a little sauce, and do not microwave the bread for several minutes trying to make it crisp.
22. Corn and Cheese Nachos
Microwave + mini-fridge · About 3–4 minutes
What you need: About 1 ounce tortilla chips, 2 tablespoons drained ready-to-eat canned corn, and ¼ cup shredded cheese.

Arrange the chips in one loose layer on a microwave-safe plate. Add well-drained corn, then cheese. Microwave on HIGH for about 20–30 seconds and continue in 10-second bursts until the cheese melts and the corn is warm. Let cool briefly before eating.
Make one layer rather than a tall pile: the center chips otherwise get soggy while the outer cheese overcooks. A spoonful of salsa can go on the side after heating if you have some open in the fridge.
23. Warm Cinnamon Apple Bites
Microwave · About 5–7 minutes
What you need: 1 small apple, 1 tablespoon water, ⅛ teaspoon cinnamon, and 1 teaspoon maple syrup if desired.
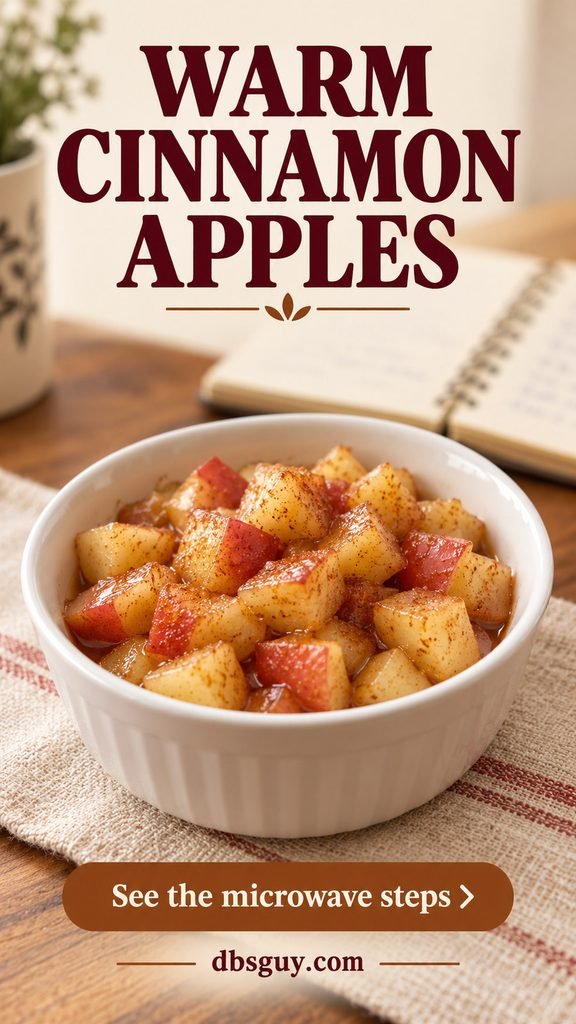
Wash and core the apple, then cut it into roughly ½-inch pieces. Put it in a 4-cup microwave-safe bowl with the water and cinnamon. Cover with a vented microwave-safe lid. Heat on HIGH for 1 minute, stir, then use 30-second bursts until the pieces are fork-tender, often another 1–2 minutes. Let stand 1 minute and add optional syrup.
Lift the cover away from your face and stir again before tasting; the liquid and fruit can be hotter than they look. This is a warm spoon snack, so you can skip the syrup if the apple is already sweet.
Stock a Small Snack Shelf Without Buying Everything
Choose one crunchy base, one spread, one fruit, and one extra you actually enjoy. For example, crackers, peanut butter, apples, and a bag of popcorn already give you several useful combinations. Add yogurt and cheese only if you have room to keep them properly cold.
Buy smaller packs of ingredients you rarely use. A large hummus tub is poor value if it gets pushed behind your roommate’s groceries and forgotten. Portion dry mixes into reusable cups, close bags tightly, and keep food separate from cleaning products.
Keep Cold Snacks Cold
Keep your mini-fridge at 40°F or below and check it with an appliance thermometer. Refrigerate perishables promptly; discard them if they have been out for more than 2 hours, or 1 hour when the surrounding temperature is above 90°F. That includes dairy, cooked eggs, opened tuna, and other foods that require refrigeration. The FDA’s food-storage guidance explains these limits.
Do not leave a dip, yogurt cup, or open can on the desk for an entire study session. Take a serving and put the rest away. Follow each product’s label for storage after opening; a food looking or smelling fine does not establish that it is safe.
Dorm Snack Questions
What can I keep in my dorm without a fridge?
Dry cereal, crackers, pre-popped popcorn, dry-roasted chickpeas, trail mix, and unopened applesauce cups are straightforward choices. Whole apples and bananas work for short-term room storage. Nut butters, tahini, tortillas, and jam need a label check, especially after opening.
Which snacks need the least cleanup?
A trail mix cup, dry cereal mix, or a banana wrap eaten whole leaves very little to wash. A single-serve yogurt with toppings is another easy option if you have a fridge. Put a napkin or small plate under crumbly crackers before opening your laptop.
What if I want a more filling snack?
Start with the bean-and-cheese tortilla, tuna and crackers, yogurt parfait, or peanut butter banana wrap. Adjust the portion to your hunger rather than treating the suggested amounts as a rule. If you need a full meal, the microwave mug meals guide offers a different starting point.
Can I make these snacks ahead?
Dry mixes are the easiest to portion ahead in clean, airtight containers. Keep refrigerated components cold and pack crackers, granola, and seaweed separately from moist ingredients. Cut fruit, avocado toppings, and filled rice cakes are better assembled close to eating time.
How do I adapt the list for food allergies?
Read the labels on the exact products you buy, including spreads, granola, crackers, and seasonings. Sunflower butter can replace peanut butter when its ingredients and cross-contact labeling fit your needs. Tahini contains sesame, edamame contains soy, and dairy-based dips need their own suitable substitutes. Use separate clean utensils for shared food.
For your next study session, pick one snack before opening the books. Keep its ingredients together, prepare only what you want, and put away anything that needs refrigeration before you get absorbed in the next chapter.