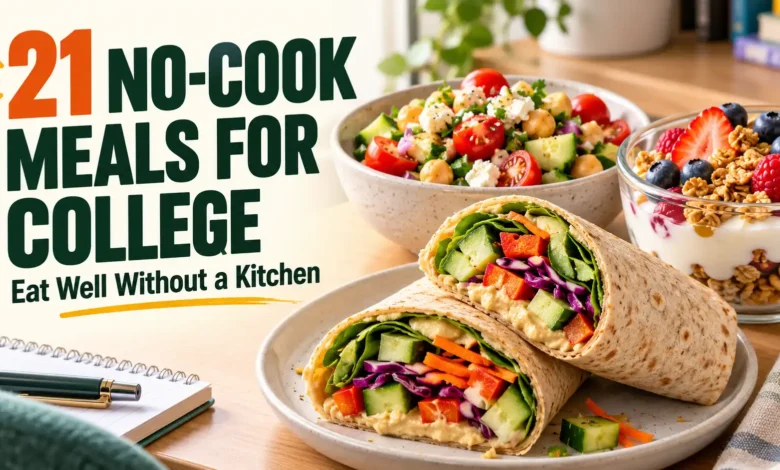
You can put together a real meal in a dorm room without a stove, microwave, kettle, toaster, or blender. Start with a peanut butter banana sandwich if you only have pantry food, a hummus pita if you have a mini-fridge, or a black bean and corn bowl when you want dinner from cans.
These 21 no-cook meals for college include single-serving quantities and assembly steps. Some use food that was cooked before you bought it, such as canned beans, baked tofu, or hard-boiled eggs. You will not need to cook it yourself.
No fridge? Look for meals 1, 2, 9, 10, 15, 18, 19, and 20. Their ingredients can start on the shelf or as whole produce, with the package choices noted in each recipe. Prepare them immediately before eating; this does not make the finished food or opened leftovers shelf-stable.
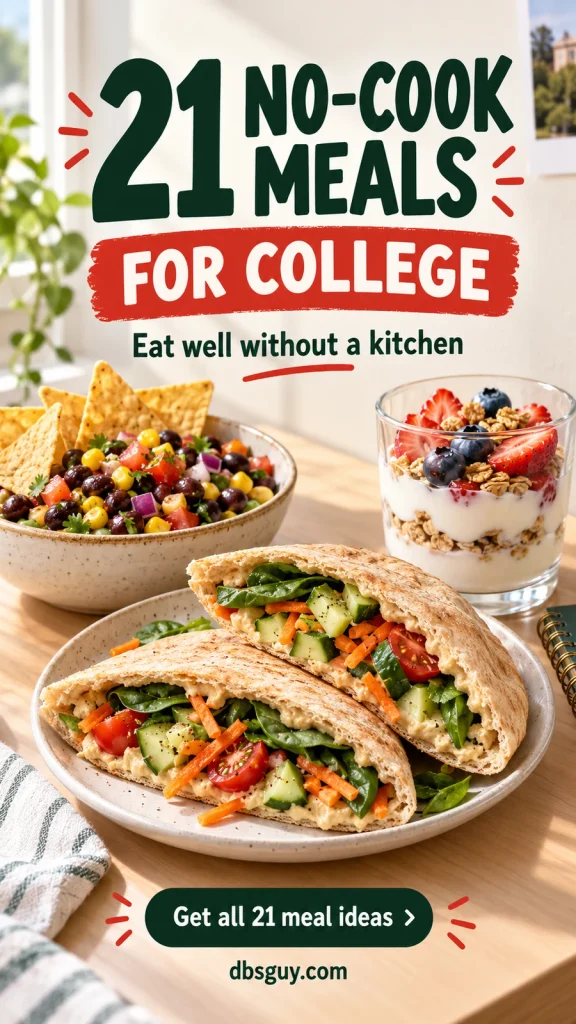
The images are AI-generated meal concepts, not photographs of kitchen-tested results. These original assembly recipes have not been kitchen-tested; prep times are estimates.
Set Up a Small No-Cook Meal Station
A bowl, plate, fork, spoon, spreader, measuring cup, small knife, cutting board, and can opener cover these meals. A lidded container helps with oats and refrigerated leftovers. Choose pull-tab cans or pouches if you do not have an opener, and use a proper sink with running water and dish soap for cleanup.
Wash your hands and clean the work surface before you start. Rinse produce under running water before cutting, including produce with a peel you will remove; do not use soap on it. Ready-to-eat or prewashed greens can be used according to their labels. Clean can lids before opening.
Read These Two Storage Notes First
- Fridge meals: Keep the mini-fridge at 40°F or below, checked with an appliance thermometer. Refrigerate perishable food promptly, within 2 hours of purchase or preparation, or within 1 hour when the temperature is above 90°F. Discard food that exceeds those limits; smell is not a reliable safety test.
- Pantry options: Start with unopened shelf-stable products and whole produce. Once you open milk, fish, beans, salsa, or other items requiring refrigeration after opening, follow the label. Without cold storage, use a small pack, share the extra immediately, or discard it rather than saving it on the shelf.
The FDA’s safe food handling guidance explains the temperature and handling basics behind these precautions. When taking a perishable lunch to class, use an insulated bag with frozen gel packs and keep the food at 40°F or below; an insulated bag alone does not cool food.
Every recipe below makes one serving. Portions are starting points, not a fixed calorie plan. Adjust bread, crackers, fruit, or the main filling to your appetite. All canned beans, corn, chicken, and fish here must be fully cooked and ready to eat; follow the exact package if it requires heating.
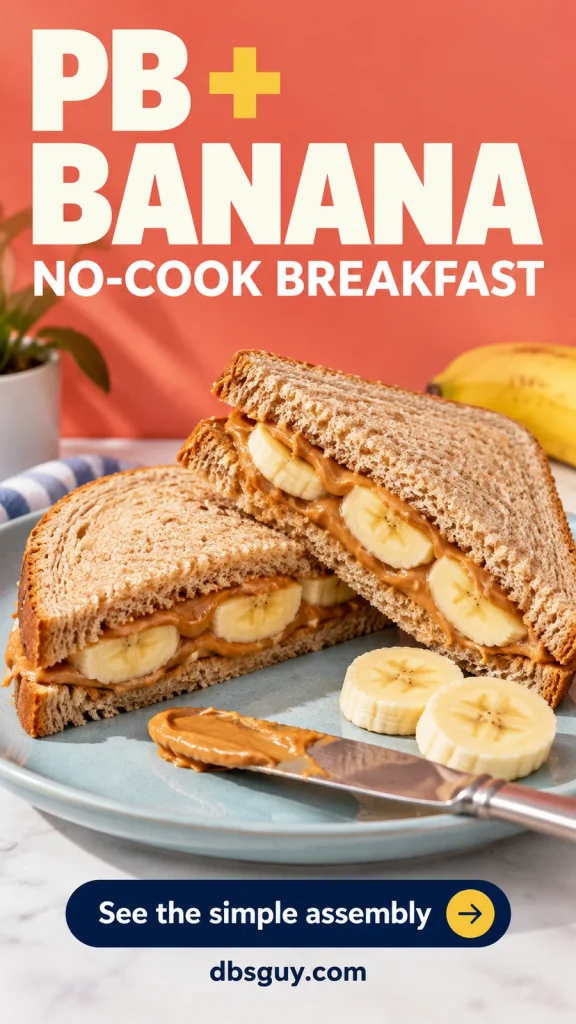
1. Peanut Butter Banana Sandwich
Serves: 1 · Estimated prep: 3–5 minutes · Storage: No-fridge option: open and assemble at mealtime
Start here when you have a loaf of bread and very little else. Peanut butter gives the sandwich some substance, while a ripe banana makes jam unnecessary.
Ingredients
- 2 slices whole-wheat bread
- 2 tablespoons peanut butter
- 1 medium banana, sliced
- Pinch of cinnamon, optional
How to Make It
- Spread the peanut butter across both slices of bread.
- Layer the banana over one slice, add cinnamon if using, and close the sandwich. Cut in half if you like.
Choose a peanut butter labeled for pantry storage and follow its storage directions. Sunflower-seed butter is an alternative for a peanut allergy, provided its label and your shared food-prep area meet your needs.
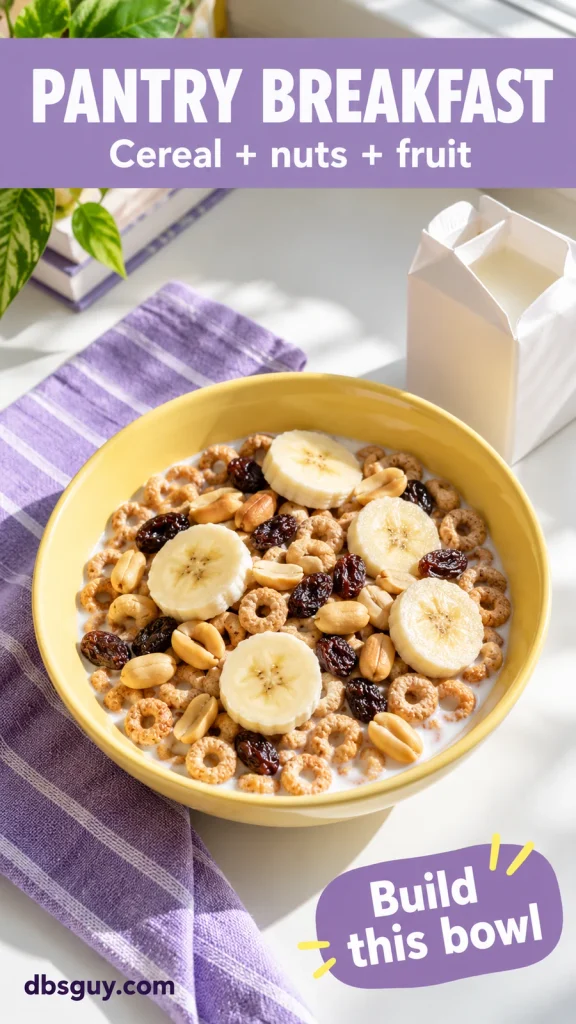
2. Trail-Mix Cereal Bowl
Serves: 1 · Estimated prep: 3 minutes · Storage: No-fridge option: open and assemble at mealtime
A handful of nuts and fruit turns cereal into a more substantial breakfast. An unopened single-serving shelf-stable milk carton is useful when there is no fridge space.
Ingredients
- 1 cup whole-grain O-shaped cereal
- 1 cup milk from a newly opened 8-ounce shelf-stable carton
- 2 tablespoons unsalted peanuts
- 2 tablespoons raisins
- 1 small banana, sliced
How to Make It
- Put the cereal, peanuts, raisins, and banana in a bowl.
- Pour in the milk just before eating so the cereal keeps its crunch. Finish the carton with the meal.
Shelf-stable milk needs refrigeration after opening. For a dairy-free version, choose a shelf-stable fortified soy beverage; compare labels because plant beverages differ in protein and other nutrients.
3. Berry Greek Yogurt Parfait
Serves: 1 · Estimated prep: 5 minutes · Storage: Mini-fridge needed
This is a useful breakfast when you want something cold and spoonable before class. A plain yogurt base lets the berries do most of the sweetening.

Ingredients
- 1 cup plain Greek yogurt
- ½ cup mixed strawberries and blueberries; slice the strawberries
- ⅓ cup granola
How to Make It
- Spoon half the yogurt into a bowl or wide glass. Add half the fruit and a little granola.
- Repeat with the remaining yogurt and fruit. Add the rest of the granola immediately before eating.
If you assemble breakfast the night before, refrigerate the yogurt and fruit together and keep the granola in a separate dry container. That small separation prevents a soggy topping.
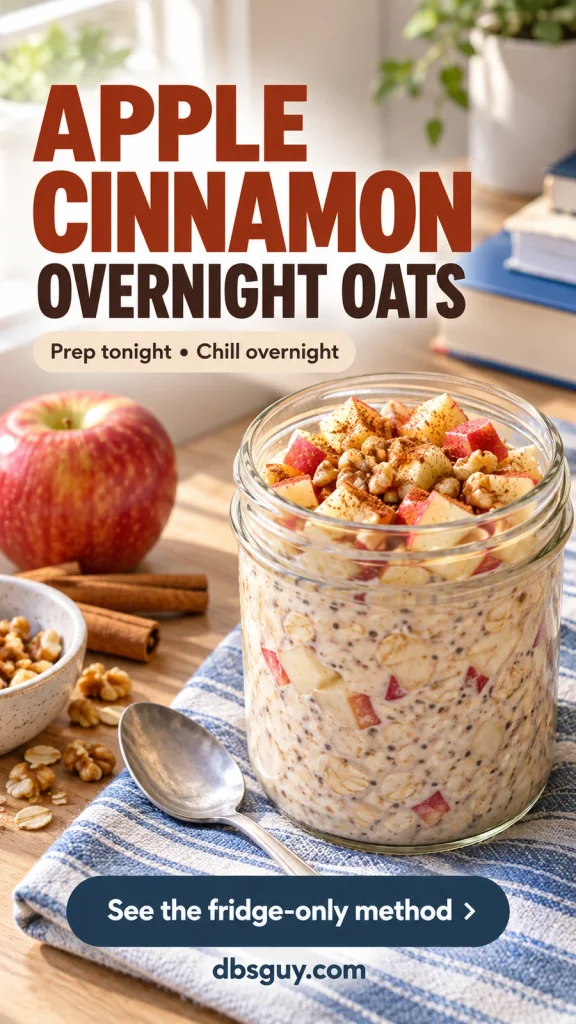
4. Apple Cinnamon Overnight Oats
Serves: 1 · Estimated prep: 5 minutes, plus at least 8 hours chilling · Storage: Mini-fridge needed
Make this before bed when your morning schedule leaves no room for breakfast prep. The oats soften in the refrigerator; no kettle or microwave is involved.
Ingredients
- ½ cup old-fashioned rolled oats suitable for overnight oats
- ½ cup milk
- ¼ cup plain Greek yogurt
- ½ cup diced apple
- ⅛ teaspoon cinnamon
- 1 tablespoon chopped walnuts; 1 teaspoon chia seeds, optional
How to Make It
- Stir the oats, milk, yogurt, cinnamon, and optional chia in a clean lidded container of at least 16 ounces.
- Cover and refrigerate at 40°F or below for at least 8 hours. Refrigerate the diced apple separately in a covered container.
- In the morning, stir the oats and top with apple and walnuts. Add a small splash of milk if needed. Plan to eat within 24 hours.
Use rolled oats with manufacturer guidance for cold soaking. Dry steel-cut oats are not an equivalent swap. Keep the entire soaking period refrigerated, even if you use water or shelf-stable milk.
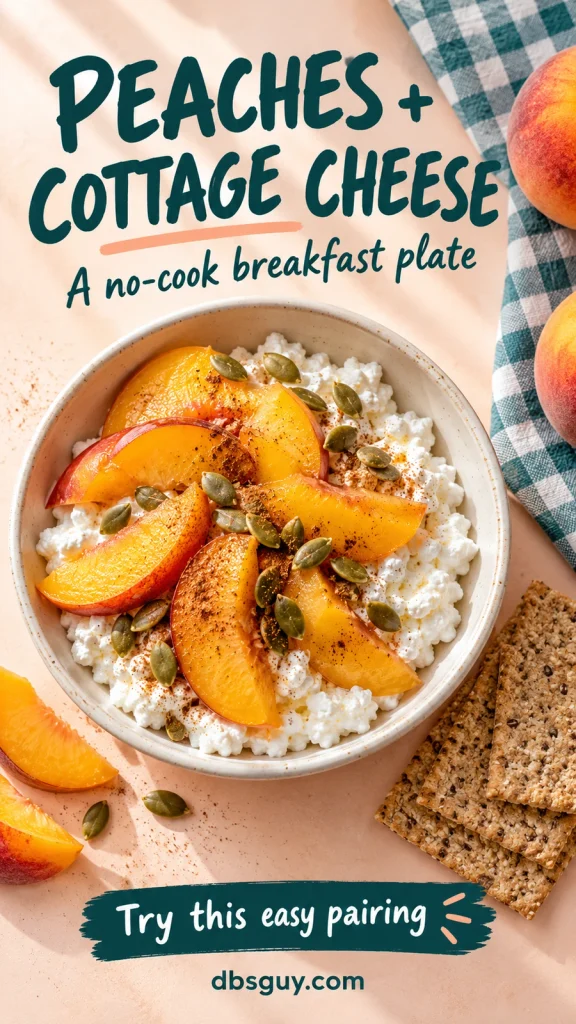
5. Peach Cottage Cheese Breakfast Plate
Serves: 1 · Estimated prep: 5 minutes · Storage: Mini-fridge needed
Cottage cheese gives you a savory base for a sweet fruit topping. Crackers on the side make the bowl feel more like a small breakfast plate than a dessert.
Ingredients
- ¾ cup cottage cheese
- ½ cup sliced fresh peach or drained peaches from a fruit cup
- 1 tablespoon pumpkin seeds
- Pinch of cinnamon
- 1 ounce whole-grain crackers, using the package serving size as a guide
How to Make It
- Spoon the cottage cheese into a bowl and arrange the peaches on top.
- Sprinkle with pumpkin seeds and cinnamon. Serve the crackers alongside for scooping.
Drain canned or cup-packed peaches well so their juice does not water down the cottage cheese. Fresh peach slices, as shown, work too.
6. Hummus Veggie Pita Pockets
Serves: 1 · Estimated prep: 7 minutes · Storage: Mini-fridge needed
A pita pocket contains loose vegetables better than an open sandwich. Hummus coats the inside of the bread and helps the shredded carrot stay put.

Ingredients
- 1 whole-wheat pita, about 6–7 inches wide
- ⅓ cup prepared hummus
- ¼ cup thinly sliced cucumber
- ¼ cup shredded carrot
- ¼ cup baby spinach
- ¼ cup halved cherry tomatoes
How to Make It
- Cut the pita in half and gently open both pockets. Spread hummus inside each half.
- Pat the cucumber and tomatoes dry. Divide the vegetables between the pockets without packing them so tightly that the bread splits.
Bagged shredded carrots save chopping. If a pita tears, place the same filling on top and fold it like a soft taco; the meal still works.
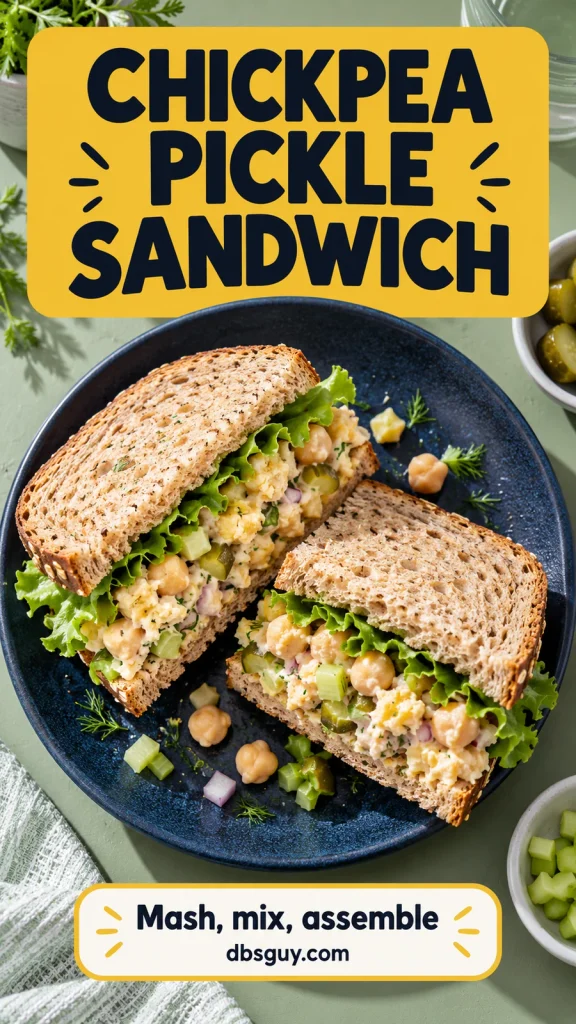
7. Chickpea Pickle Salad Sandwich
Serves: 1 · Estimated prep: 8 minutes · Storage: Mini-fridge needed
Fork-mashed chickpeas make a chunky sandwich filling that holds together without a food processor. Pickle and celery keep the texture from becoming pasty.
Ingredients
- ¾ cup canned chickpeas, drained and rinsed
- 2 tablespoons plain Greek yogurt
- 1 teaspoon mustard
- 1 tablespoon finely chopped dill pickle
- 2 tablespoons finely chopped celery
- 2 slices whole-grain bread and 1 lettuce leaf
- 1 teaspoon chopped red onion and a pinch of dill, optional
How to Make It
- Mash the chickpeas with a fork, leaving some pieces intact.
- Stir in yogurt, mustard, pickle, celery, and optional onion and dill.
- Place lettuce on the bread, spoon on the chickpea filling, and close the sandwich.
Drain the pickle before chopping it. Too much brine makes the filling loose and the bread wet. For a dairy-free filling, use a suitable plant-based yogurt or a small amount of vegan mayonnaise.
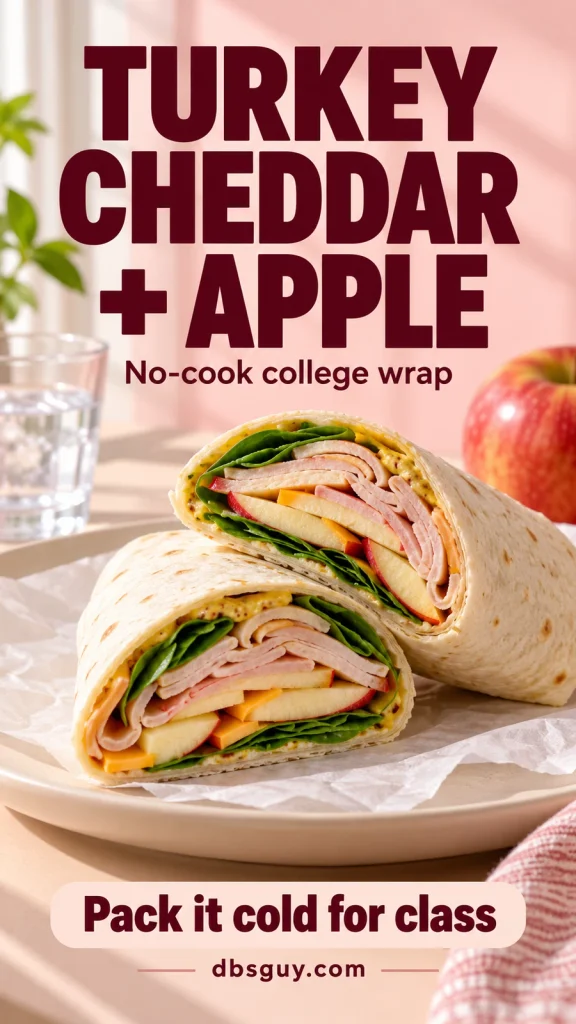
8. Turkey, Cheddar, and Apple Wrap
Serves: 1 · Estimated prep: 5–7 minutes · Storage: Mini-fridge needed
Thin apple slices add a crisp bite to deli turkey and cheddar. This wrap is a useful way to use the same apple you bought for overnight oats.
Ingredients
- 1 soft 10-inch flour tortilla
- 3 ounces ready-to-eat deli turkey
- 1 slice cheddar, about ¾ ounce
- ½ small apple, very thinly sliced
- ½ cup baby spinach
- 1 teaspoon mustard
How to Make It
- Spread the mustard down the middle of the tortilla, leaving the edges clear.
- Layer on the spinach, turkey, cheddar, and apple. Fold in the sides, roll tightly, and cut in half.
Use a soft tortilla labeled ready to eat without heating. Thick apple wedges make rolling harder. Keep this wrap cold if you carry it to class.
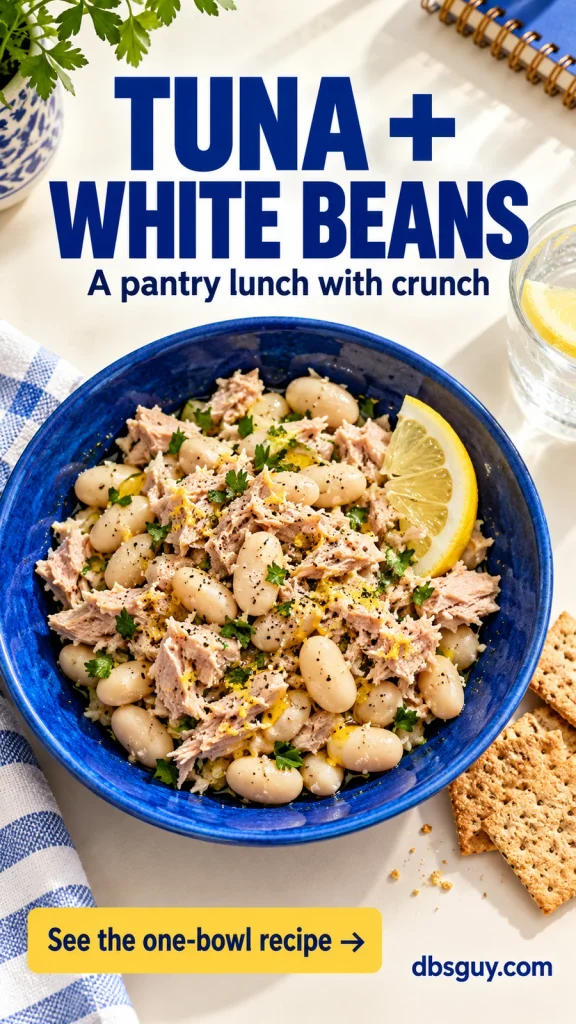
9. Lemon Tuna and White Bean Bowl
Serves: 1 · Estimated prep: 5 minutes · Storage: No-fridge option: open and assemble at mealtime
A tuna pouch and a small portion of white beans make a savory lunch without mayonnaise. Crackers add the crunch that a soft bean-and-fish mixture needs.
Ingredients
- 1 pouch canned light tuna, about 2.6 ounces
- ½ cup canned cannellini beans, drained and rinsed
- 1 teaspoon olive oil
- 2 teaspoons fresh lemon juice
- Pinch of black pepper
- 1 ounce whole-grain crackers
- 1 teaspoon chopped parsley and a little lemon zest, optional
How to Make It
- Flake the tuna into a bowl. Gently fold in the beans, olive oil, lemon juice, pepper, and optional parsley and zest.
- Serve with crackers on the side so they stay crisp.
Without a fridge, start with unopened shelf-stable tuna and beans, skip fresh herbs you cannot keep cold, and make this immediately before eating. Buy a small bean portion or share the remainder right away; do not store an opened can on your desk.
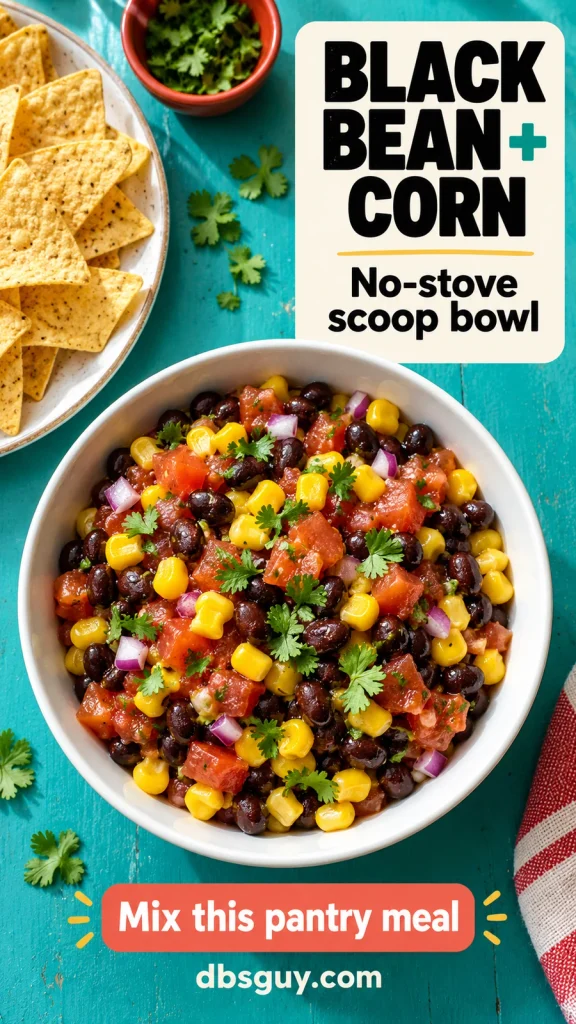
10. Black Bean and Corn Salsa Scoop Bowl
Serves: 1 · Estimated prep: 5 minutes · Storage: No-fridge option: open and assemble at mealtime
This is a pantry dinner you can eat with a spoon or scoop with chips. It uses canned corn rather than frozen corn, which may require cooking.
Ingredients
- ¾ cup canned black beans, drained and rinsed
- ½ cup canned corn, drained
- ¼ cup tomato salsa
- 1 teaspoon lime juice, optional
- 1 ounce tortilla chips
- 1 tablespoon chopped red onion and 1 teaspoon cilantro, optional
How to Make It
- Stir the beans, corn, salsa, and optional lime juice together. Add onion and cilantro if you have them.
- Serve with the chips on the side. Add the bean mixture to each chip as you eat.
Choose canned ingredients ready to eat without heating. The no-fridge version starts with newly opened shelf-stable packs, including the salsa; follow after-opening directions and finish or share the unused portions immediately.
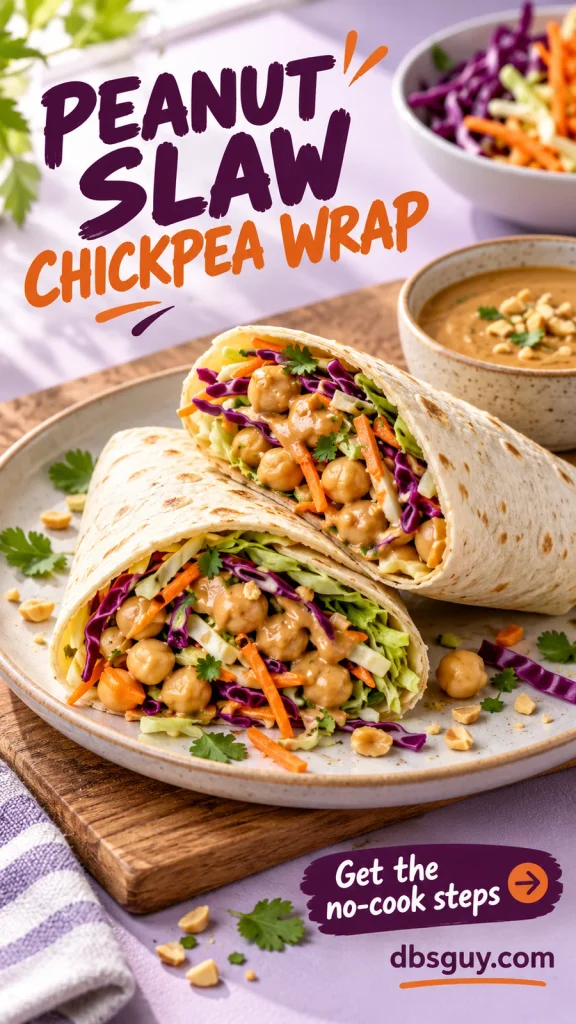
11. Peanut Slaw Chickpea Wrap
Serves: 1 · Estimated prep: 8 minutes · Storage: Mini-fridge needed
Bagged cabbage slaw adds crunch without the work of shredding a whole head of cabbage. A small amount of peanut sauce brings the chickpeas and vegetables together.
Ingredients
- 1 soft ready-to-eat 10-inch flour tortilla
- ½ cup canned chickpeas, drained and rinsed
- ¾ cup ready-to-eat bagged cabbage-and-carrot slaw
- 1 tablespoon peanut butter
- 1 teaspoon low-sodium soy sauce
- 1 teaspoon rice vinegar
- 1–2 teaspoons drinking water
- 1 teaspoon chopped peanuts and a little cilantro, optional
How to Make It
- Stir the peanut butter, soy sauce, vinegar, and 1 teaspoon water until smooth. Add the second teaspoon of water only if needed.
- Toss the chickpeas and slaw with the sauce. Add optional peanuts and cilantro.
- Pile the mixture in the middle of the tortilla, fold in the sides, and roll.
Use only enough sauce to coat the slaw. A runny dressing leaks from the wrap. Check slaw packaging for washing directions, and keep refrigerated until assembly.
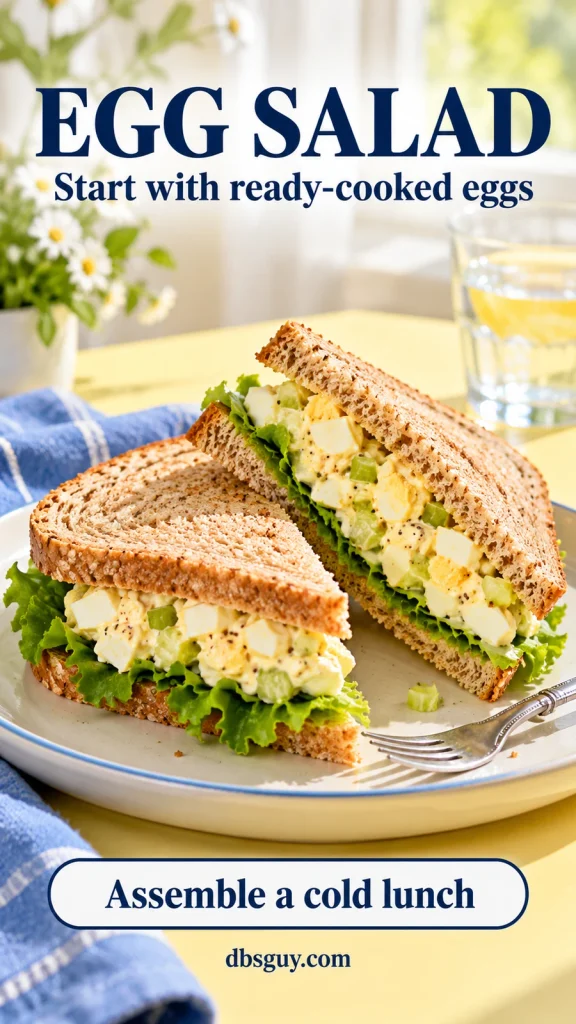
12. Ready-Cooked Egg Salad Sandwich
Serves: 1 · Estimated prep: 7 minutes · Storage: Mini-fridge needed
Store-bought, peeled hard-boiled eggs remove the cooking step entirely. Chopping them instead of mashing them smooth keeps the sandwich from feeling heavy.
Ingredients
- 2 purchased fully hard-boiled, peeled eggs, kept refrigerated
- 1 tablespoon plain Greek yogurt
- 1 teaspoon mustard
- 2 tablespoons finely chopped celery
- Pinch of black pepper
- 2 slices whole-wheat bread and 1 lettuce leaf
How to Make It
- Chop the eggs in a small bowl. Fold in the yogurt, mustard, celery, and pepper.
- Put lettuce on one slice of bread, add the egg salad, and top with the second slice.
Start with eggs sold fully cooked and ready to eat. Raw eggs are not a substitute. Return the egg package to the fridge promptly and follow its after-opening directions.
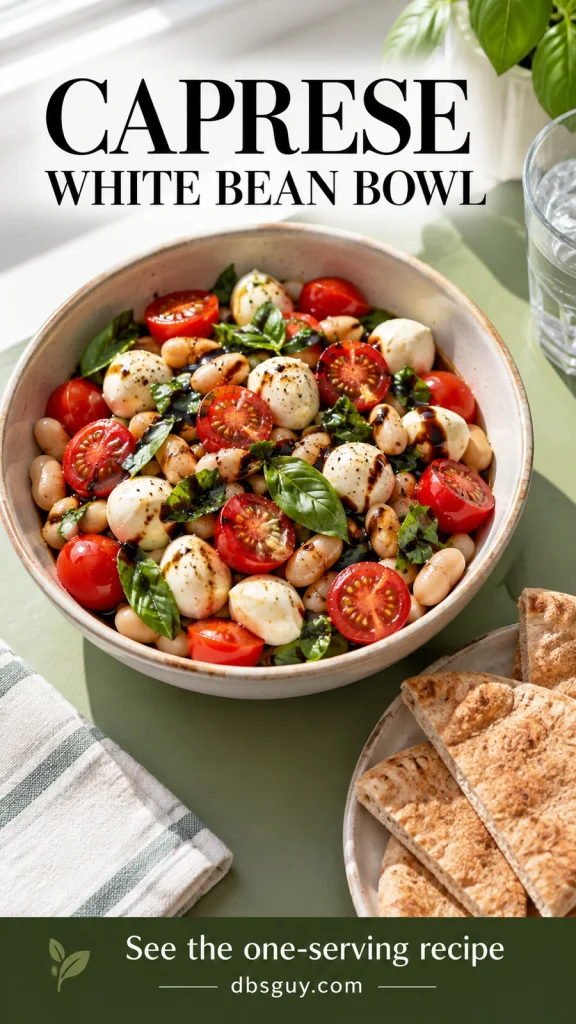
13. Caprese White Bean Bowl
Serves: 1 · Estimated prep: 7 minutes · Storage: Mini-fridge needed
Mozzarella, tomatoes, and basil give this bowl a familiar caprese flavor. White beans add enough substance that it works as lunch with a pita alongside.
Ingredients
- ¾ cup canned cannellini beans, drained and rinsed
- ½ cup halved cherry tomatoes
- 2 ounces mozzarella pearls or diced fresh mozzarella
- 3–4 basil leaves, torn
- 2 teaspoons olive oil and 1 teaspoon balsamic vinegar
- Pinch of black pepper
- 1 small whole-wheat pita, cut into wedges
How to Make It
- Toss the beans, tomatoes, mozzarella, and basil in a bowl.
- Drizzle with oil and vinegar, add pepper, and fold gently. Serve with the soft pita wedges.
Drain mozzarella packed in liquid before adding it. If you are taking this meal out, keep the pita separate from the dressed bowl and keep the cheese cold.
14. Cranberry Chicken Salad Pita
Serves: 1 · Estimated prep: 8 minutes · Storage: Mini-fridge needed
Canned chicken keeps this lunch practical when you cannot cook or store a whole rotisserie chicken. A little dried fruit adds contrast to the celery and tangy yogurt.

Ingredients
- 3 ounces drained, fully cooked canned chicken
- 2 tablespoons plain Greek yogurt
- 2 tablespoons finely chopped celery
- 1 tablespoon dried cranberries
- Pinch of black pepper
- 1 whole-wheat pita, cut into two pockets
- ¼ cup baby spinach; 1 clementine for the side
How to Make It
- Break the chicken into small flakes. Mix with yogurt, celery, cranberries, and pepper.
- Line the pita pockets with spinach and divide the chicken mixture between them. Eat the clementine alongside.
Press excess liquid from the canned chicken with a clean fork before mixing. That matters more here than adding extra dressing. This yogurt-based filling needs refrigeration.
15. Sardine Mustard Cracker Plate
Serves: 1 · Estimated prep: 5 minutes · Storage: No-fridge option: open and assemble at mealtime
A tin of sardines becomes lunch with crackers, something crisp, and a piece of fruit. Assemble it when you are ready to eat rather than opening the fish before class.

Ingredients
- 1 can ready-to-eat sardines, about 3.75 ounces, drained
- 1 ounce whole-grain crackers
- 1 teaspoon mustard from a single-serving packet
- 1 small whole cucumber, washed and sliced just before eating
- 1 clementine, peeled
How to Make It
- Arrange the sardines, crackers, cucumber, and clementine on a plate.
- Spoon mustard onto the plate and add a little to crackers as you eat.
For the no-fridge option, buy unopened shelf-stable sardines and use whole produce you will cut at the meal. Do not leave opened fish or cut produce sitting around. Seal and discard the fish packaging promptly in a shared dorm room.
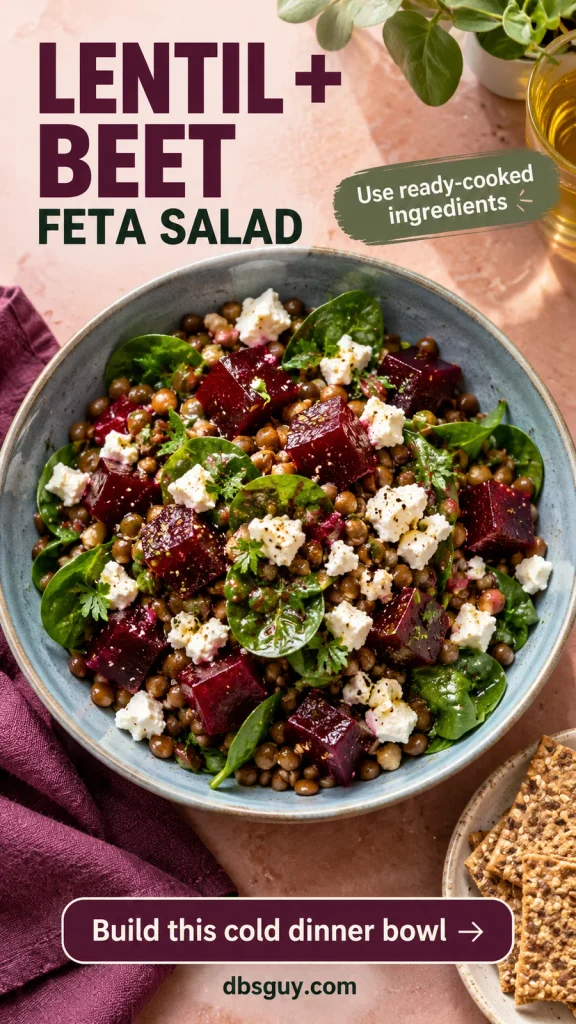
16. Lentil, Beet, and Feta Salad
Serves: 1 · Estimated prep: 8 minutes · Storage: Mini-fridge needed
Earthy lentils and sweet beets make a change from sandwich fillings. Ready-cooked ingredients are essential; this recipe does not start with dried lentils or raw beets.
Ingredients
- ¾ cup canned cooked lentils, drained and rinsed, or packaged lentils explicitly labeled ready to eat cold
- ½ cup drained canned beets or refrigerated ready-cooked beets, diced
- 1 cup baby spinach
- 1 ounce crumbled feta
- 2 teaspoons olive oil and 1 teaspoon red wine vinegar
- Pinch of black pepper; chopped parsley, optional
- 1 ounce whole-grain crackers
How to Make It
- Combine the lentils, beets, oil, vinegar, and pepper.
- Fold in spinach and feta just before eating. Add parsley if using and serve with crackers.
Beet juice stains easily. Drain the beets over a suitable sink and use a washable cutting board. Pack the spinach separately if you want it to stay crisp until lunch.
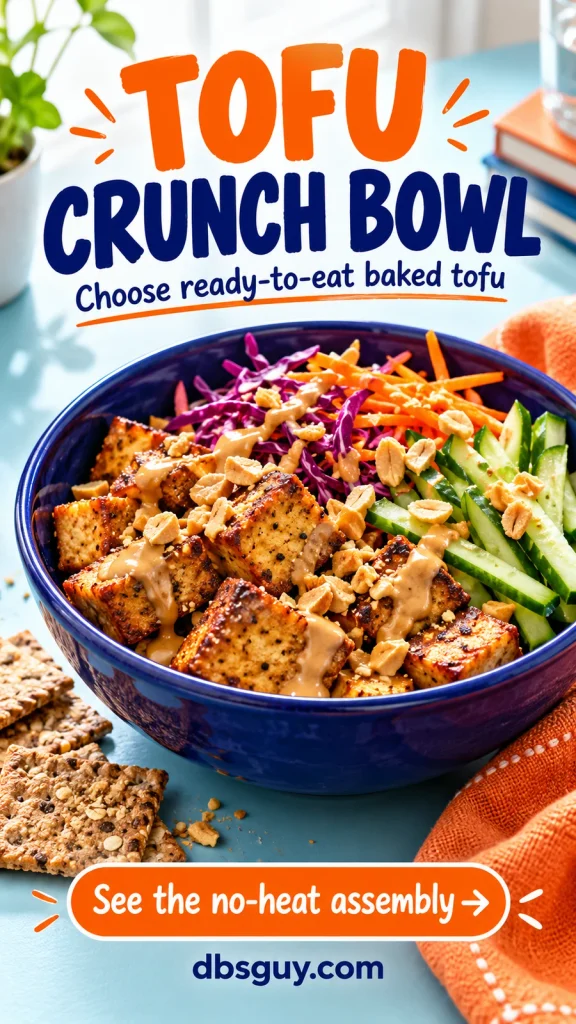
17. Ready-to-Eat Tofu Crunch Bowl
Serves: 1 · Estimated prep: 8 minutes · Storage: Mini-fridge needed
Baked tofu sold ready to eat gives you a savory dinner base without pressing, draining, or cooking a plain block. Slaw and crackers provide two different kinds of crunch.
Ingredients
- 4 ounces packaged baked tofu explicitly labeled ready to eat, cubed
- 1 cup ready-to-eat cabbage-and-carrot slaw
- ¼ cup cucumber strips
- 1 tablespoon peanut butter
- 1 teaspoon low-sodium soy sauce
- 1 teaspoon rice vinegar and 1–2 teaspoons drinking water
- 1 teaspoon chopped peanuts, optional
- 1 ounce whole-grain crackers
How to Make It
- Mix the peanut butter, soy sauce, vinegar, and enough water to make a thick drizzle.
- Put the slaw and cucumber in a bowl. Add the tofu and drizzle on the sauce.
- Finish with optional peanuts and serve the crackers on the side.
Read the exact tofu package: “ready to cook” alone does not establish that it can be eaten cold. Choose one that explicitly permits eating straight from the package, and follow its refrigeration directions.
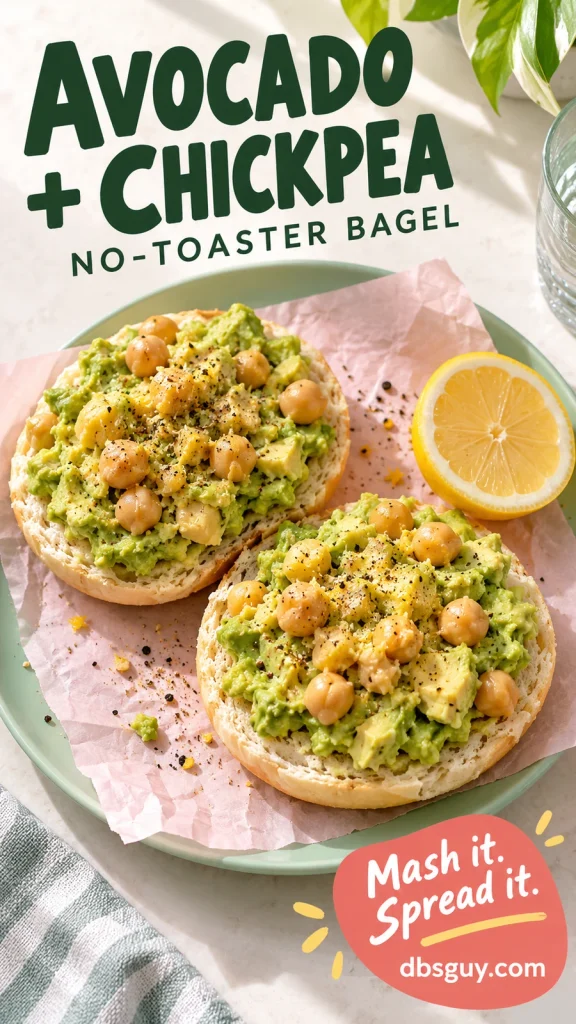
18. Avocado Chickpea Bagel
Serves: 1 · Estimated prep: 7 minutes · Storage: No-fridge option: open and assemble at mealtime
A soft bagel does not have to be toasted. Mashed avocado binds chickpeas into a spread that is thick enough to sit on both halves without sliding off.
Ingredients
- 1 medium soft bagel, split
- 1 small ripe avocado
- ½ cup canned chickpeas, drained and rinsed
- 2 teaspoons lemon juice
- Pinch each of salt and black pepper
How to Make It
- Scoop the avocado into a bowl and roughly mash it with the chickpeas and lemon juice. Leave some chickpea pieces for texture.
- Season lightly and spread over both bagel halves. Eat open-faced.
This is a no-fridge option only when you cut a whole avocado and open the chickpeas at mealtime. Finish the avocado and handle unused chickpeas immediately. Lemon slows browning but does not make the mixture safe to store at room temperature.
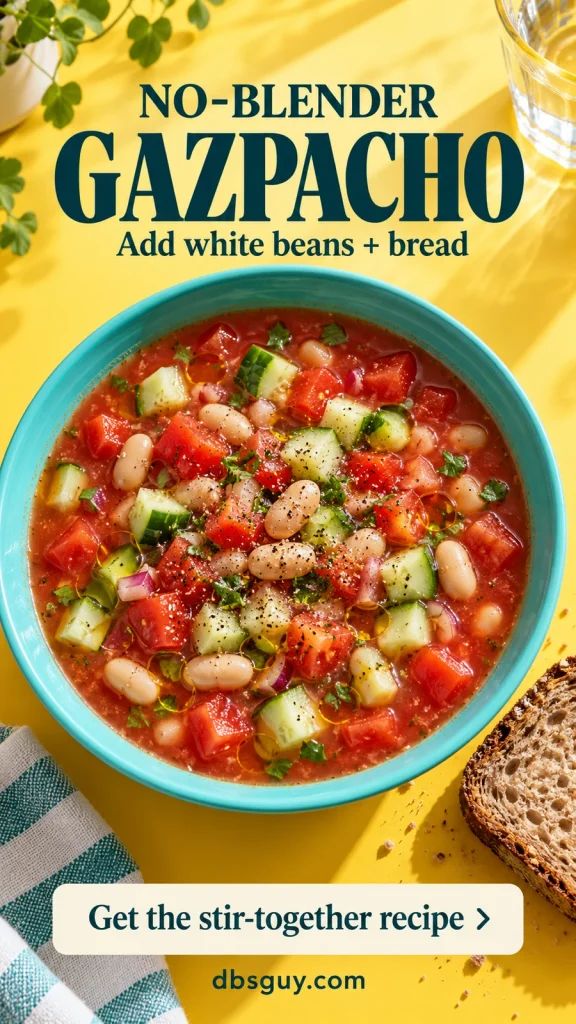
19. No-Blender Gazpacho with White Beans
Serves: 1 · Estimated prep: 10 minutes · Storage: No-fridge option: open and assemble at mealtime
This is a chunky gazpacho-style bowl, rather than a smooth blended soup. Tomato juice supplies the liquid, so a spoon and a little chopping are all you need.
Ingredients
- 1 cup ready-to-drink tomato juice, preferably lower sodium
- ½ cup canned cannellini beans, drained and rinsed
- ¼ cup diced cucumber and ½ cup diced tomato
- 1 teaspoon olive oil and 1 teaspoon red wine vinegar
- Pinch each of garlic powder and black pepper
- 1 slice whole-grain bread
- 1 teaspoon minced red onion and chopped parsley, optional
How to Make It
- Stir the tomato juice, beans, cucumber, tomato, oil, vinegar, and seasonings together in a bowl holding at least 3 cups. Add optional onion and parsley.
- Eat with the bread alongside. If a fridge is available, chill the prepared bowl briefly for a colder soup.
Without refrigeration, use a newly opened shelf-stable juice container and beans, and cut whole produce just before making the meal. Eat it immediately. Follow the juice label for any unused portion; a large opened bottle is inconvenient without a fridge.
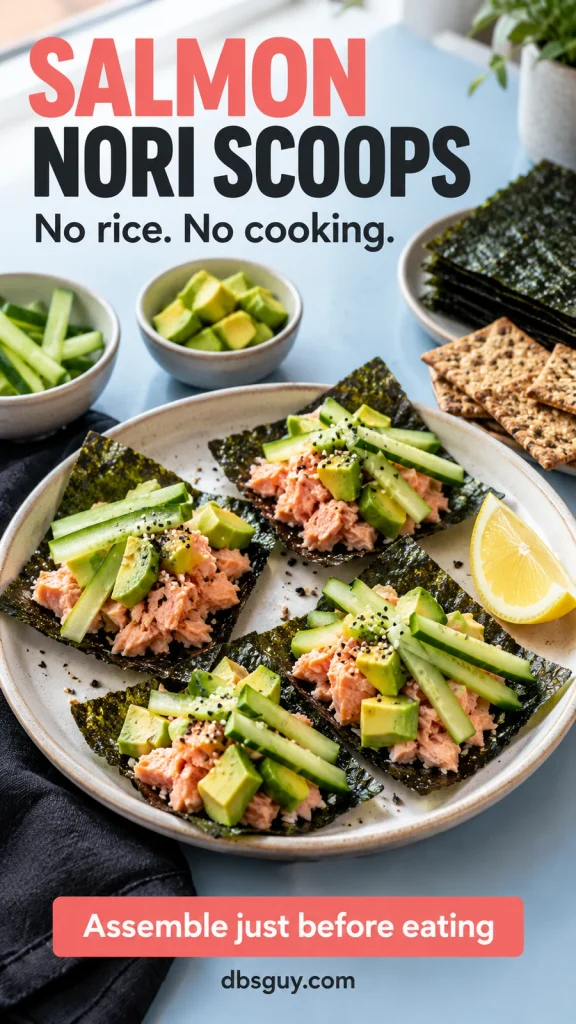
20. Salmon Nori Scoops
Serves: 1 · Estimated prep: 8 minutes · Storage: No-fridge option: open and assemble at mealtime
These are small seaweed scoops, with no cooked rice to prepare. Crackers alongside make the light scoops a more substantial plate.
Ingredients
- 1 pouch fully cooked salmon, about 2.6 ounces
- 1 small ripe avocado, diced
- ¼ cup thin cucumber sticks, cut from a whole cucumber
- 1 teaspoon lemon juice
- 1 small pack ready-to-eat nori snack sheets, about 5 grams
- 1 ounce whole-grain crackers
- Pinch of sesame seeds, optional
How to Make It
- Flake the salmon and mix it gently with the avocado and lemon juice.
- Spoon small portions onto nori sheets and top with cucumber. Add optional sesame seeds.
- Eat each scoop promptly and serve crackers alongside. Keep unused dry nori in its package until needed.
Wet filling softens nori quickly, so assemble a few scoops at a time. For no-fridge use, start with an unopened shelf-stable salmon pouch and whole produce, then eat immediately; this is not a room-temperature packed lunch.
21. Roast Beef and Roasted Pepper Sub
Serves: 1 · Estimated prep: 7 minutes · Storage: Mini-fridge needed
Jarred roasted peppers bring a different flavor to a cold deli sandwich without requiring you to roast anything. A small soft roll makes this manageable on a dorm-room plate.

Ingredients
- 1 soft whole-grain sub roll, about 6 inches
- 3 ounces ready-to-eat deli roast beef
- 1 slice provolone, about ¾ ounce
- ¼ cup drained jarred roasted red pepper strips
- ½ cup baby spinach
- 1 teaspoon mustard
How to Make It
- Split the roll and spread mustard inside.
- Layer in spinach, roast beef, provolone, and pepper strips. Close and cut in half.
Pat the peppers dry before adding them. Their packing liquid can soak the roll surprisingly fast. Buy a deli portion you can use promptly, and keep the meat and cheese refrigerated.
Shop for a Small Rotation, Not All 21 Meals
Pick two breakfasts and two lunches or dinners before shopping. A long ingredient list stops being useful when half of it will not fit in your fridge.
- One shelf and no fridge: Start with bread, pantry-stored peanut butter, bananas, small tuna or salmon pouches, crackers, and single-serving shelf-stable milk. Add small ready-to-eat bean packs for a savory option. Buy whole produce in amounts you can finish.
- One mini-fridge shelf: Hummus, a small plain Greek yogurt, ready-to-eat slaw, cucumber, and pita can cover several meals. Yogurt also becomes dressing for chickpeas, chicken, or eggs; choose one of those fillings rather than buying them all.
- Use the leftovers deliberately: With refrigeration, the ¾ cup chickpeas in meal 7 and ½ cup in meal 11 use 1¼ cups total. Measure the drained yield from your can, store the rest promptly in a covered container, and follow the label’s after-opening limit. Schedule both meals close together rather than assuming every prepared dish lasts a full week.
Compare unit prices, but also consider what you can finish. A larger tub may cost less per ounce and still be a poor buy if you have to throw most of it away. Frozen vegetables and dry rice are not interchangeable with ready-to-eat ingredients in these recipes.
For meals that feel complete, combine a main filling such as beans, eggs, tofu, fish, dairy, or deli meat with bread or another grain and some fruit or vegetables. Many of the combinations already do this. Choose lower-sodium canned foods when practical and taste before adding salt.
If you later have access to a permitted microwave, 23 Easy Microwave Recipes for Dorm Rooms: No Kitchen Needed gives you a separate set of warm-meal options with the equipment each one requires.
No-Cook College Meal FAQs
Does no-cook mean no refrigeration?
No. Yogurt, hummus, dairy, deli meat, prepared eggs, and many ready-to-eat products still need cold storage. The pantry options here work by starting with unopened packs and whole produce at mealtime, not by keeping prepared food at room temperature.
Can I eat canned beans straight from the can?
Plain commercially canned beans sold fully cooked and ready to eat can be drained and used cold, unless their label says otherwise. Rinse them if the recipe calls for it. Dried beans are a different ingredient and must be properly cooked; soaking alone does not make them a no-cook substitute.
Can I prepare a whole week of these meals at once?
Use these as a rotation of meals to assemble, rather than a seven-day batch-prep plan. Storage limits vary with the ingredient and package, and dressed greens, filled bread, and nori lose texture. Keep ingredients separate when useful, follow the shortest applicable storage instructions, and prepare the oats for the next morning.
Which meals are vegetarian or easy to adapt?
Meals 1–7, 10–13, and 16–19 can be vegetarian with suitable ingredients. For vegan meals, use a suitable plant-based milk or yogurt where needed and choose dairy-free versions or omit cheese; check bread, granola, dressings, and other package ingredients. Check hummus and tofu for sesame, sauces for soy and wheat, and nut-containing meals for allergy needs. Shared utensils need the same attention as labels.
What if I have nowhere suitable to wash dishes?
Choose meals with little prep, such as the sandwich or cereal bowl, and use ready-to-eat produce and single-serving packs where appropriate. You still need clean hands and utensils. Ask housing staff which sink is designated for food preparation and dishwashing before planning meals that require draining and chopping.
Choose one meal you can make from what you already have, then add only the ingredients for your next two or three meals. A small, repeatable rotation is easier to keep stocked between classes.
Also Read
- 23 Easy Microwave Recipes for Dorm Rooms: No Kitchen Needed — for days when you have a permitted microwave.
- Easy Iced Coffee Recipe at Home for Perfect Refreshment — drink ideas to pair with breakfast; choose a method that fits the equipment you have.