Dollar-store fall decor goes further when you buy one repeating detail instead of a matching set of everything. Three small pumpkins, a roll of ribbon, or one packet of printed napkins can change the table while your everyday dishes do the rest.
These 15 budget-friendly fall tablescape ideas focus on small shopping lists and arrangements you can actually eat around. Pick one as your starting point. You do not need to combine all the layers shown across the images.
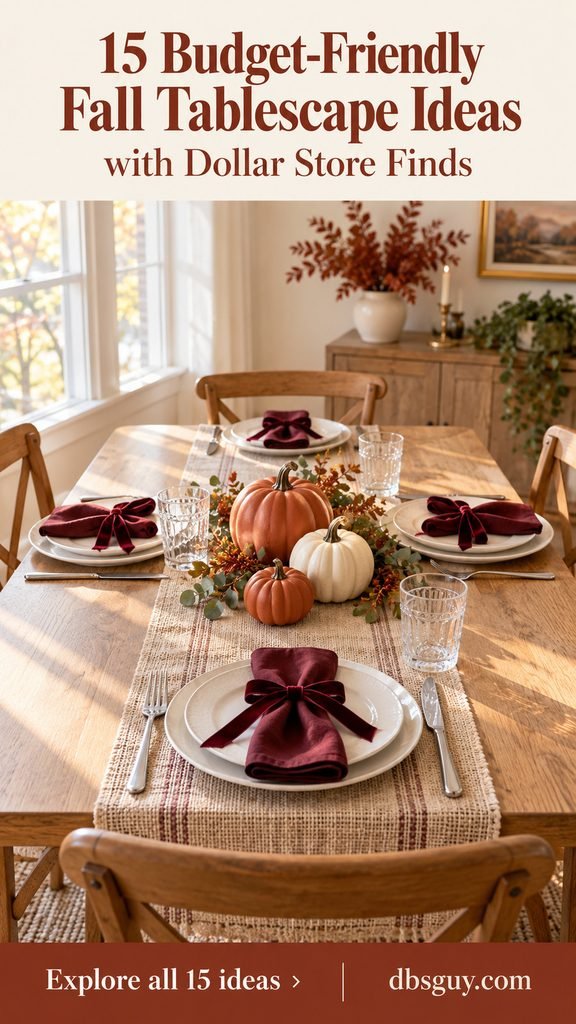
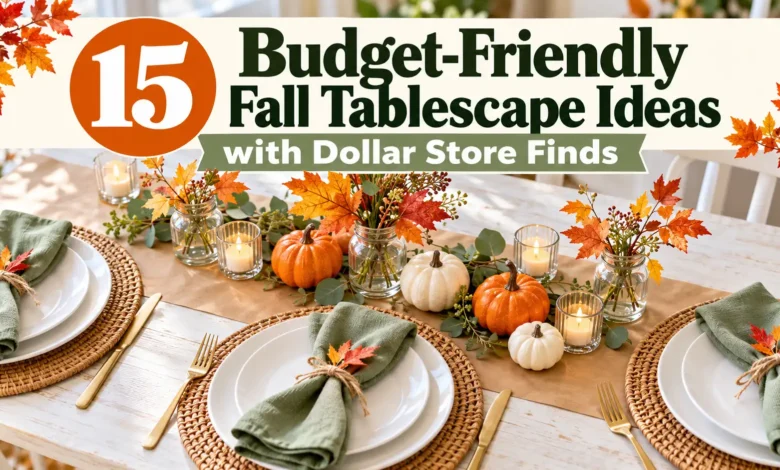
The images are AI-generated styling concepts, not photographs of purchased products or tested projects. They illustrate placement and color; exact dollar-store styles will vary.
Make a Small Shopping List Before You Go
Set out your plates, glasses, flatware, napkins, and empty serving dishes first. Then decide what is missing: color at each seat, a little height, or one focal point. Buying for that gap is easier on the budget than decorating from an empty cart.
- For almost no crafting: try the pumpkin trio in idea 1 or patterned paper napkins in idea 6.
- For a table full of food: use ribbon ties, leaf place cards, or the end-of-table menu in ideas 4, 8, and 15.
- For decorations to reuse: choose the felt leaves, small basket arrangement, or terracotta pots in ideas 7, 10, and 12.
How to use the budgets: The dollar amounts below are suggested US-dollar spending caps for the listed new decorating supplies, before sales tax. They are not verified shopping-cart totals or promises of current prices. Count whole rolls and packages, including enough pieces for the setup; check labels, package quantities, and shelf prices before buying. Store and online availability can differ.
The plans assume you already have everyday tableware, napkins, scissors, a pen, tape, and any household containers specifically listed for reuse. Most seat-based ideas cover four people; idea 13 shows a two-person table. Add the cost of anything you need to buy, plus tax, batteries when not included, and any delivery charges. If a supply exceeds its cap, choose the simpler alternative rather than letting small extras quietly double the bill.
1. Let Three Matching Mini Pumpkins Carry the Table
Choose three small foam pumpkins in the same color and leave the rest of the table fairly plain. Repeating one shape gives a bare wood table a clear fall accent without buying a runner, garland, and matching chargers.
Line them up along the middle, with a little open tabletop between each one. Start with pumpkins around 3 inches wide so they do not crowd the place settings. If your serving bowl needs the space, move one pumpkin to each end and put the third on the counter.
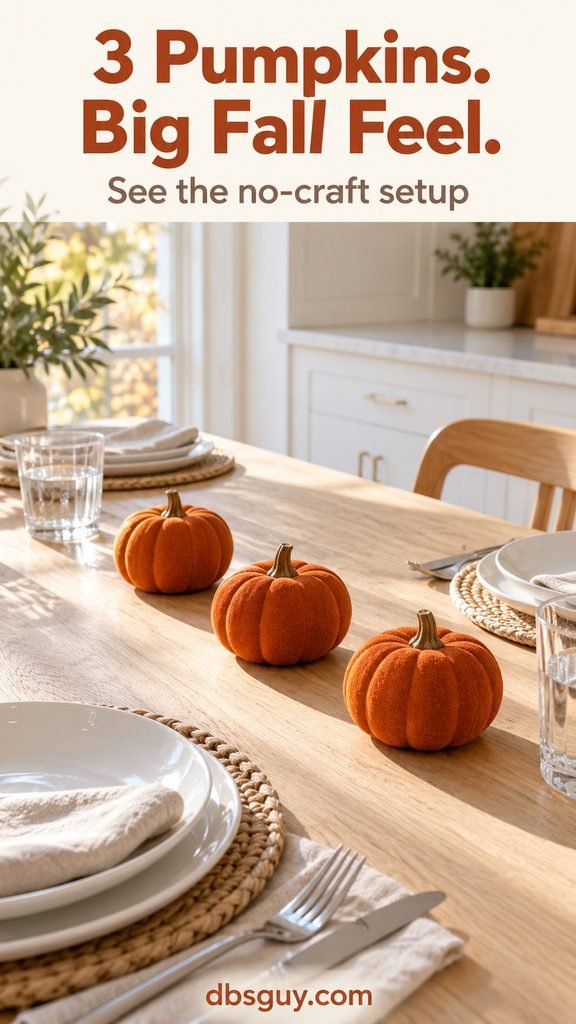
Dollar-store list and spending cap: Three loose mini foam pumpkins, or a multipack that supplies three: $6 total.
Use your own white dishes and neutral napkins. Check the bases before checkout: a pumpkin that rocks on a flat shelf will be frustrating beside a drinking glass. If matching colors are unavailable, choose one cream pumpkin and two orange ones rather than buying paint just to make them match.
2. Divide One Faux Floral Bush Among Three Little Jars
One full floral bush can give you several small arrangements if you choose it for its usable stems. Look for at least six flower heads that can be separated, with enough stem below each head to sit securely in a short jar.
Wash and dry three empty spice or jam jars, remove the labels, and group two or three flower heads in each, depending on what the bush supplies. Ochre mums and muted green leaves look warm beside cream dishes. Spread the jars down the table instead of crowding them into one bouquet.
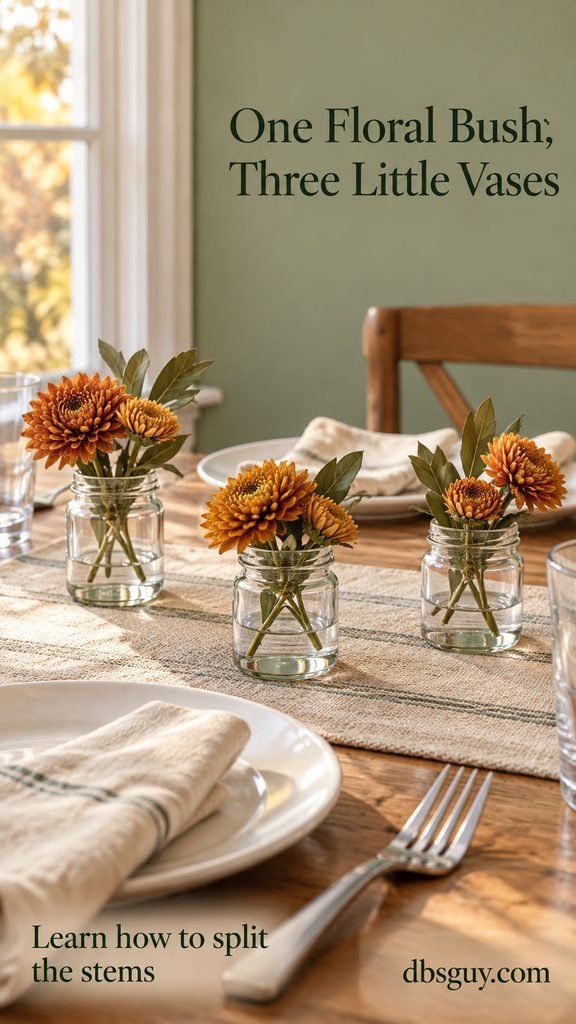
New purchase: One sufficiently full faux floral bush: up to $4. Reuse three short jars; buying new vases changes the total.
Use wire cutters you already own for wired stems; do not force them through household scissors. If you have no cutters, choose stems that separate by hand according to their construction, or keep the bush intact in one existing vase. Keep the heads below your seated sightline and turn exposed cut ends into the jars.
3. Draw a Leaf Border on a Kraft-Paper Runner
A narrow paper runner can supply the pattern for the whole table. Cut kraft paper about 10–12 inches wide, then draw loose leaf outlines along the two long edges. Leave the middle blank so the design still makes sense when serving bowls cover part of it.
Choose a few simple oak or oval leaf shapes rather than trying to produce a perfect illustration. Repeat them loosely, let the ink dry, and flatten the paper before setting the table. Gray napkins and white plates keep the hand-drawn border visible.
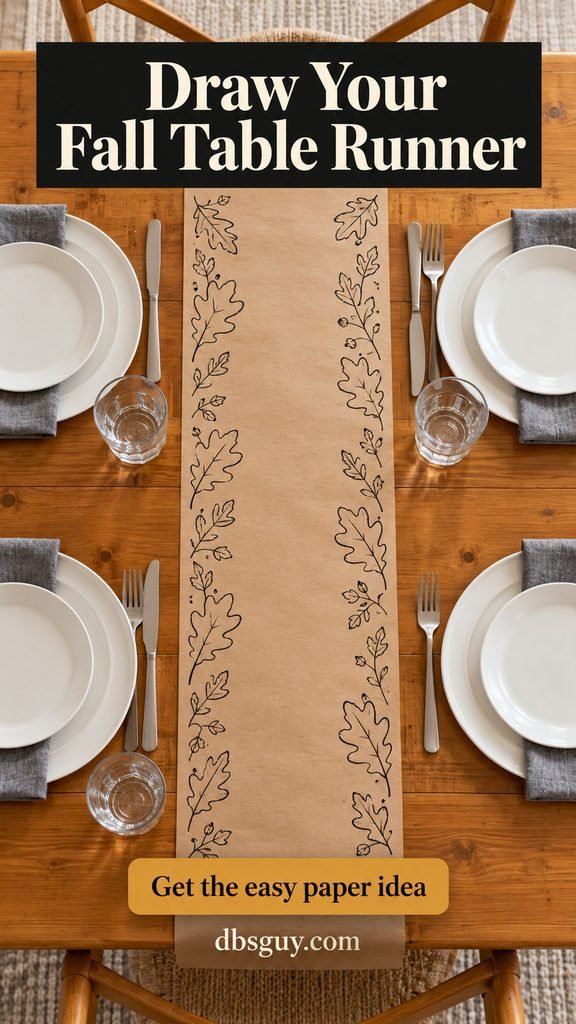
Shopping cap: One kraft-paper roll, $4; one black marker, $2: $6 total. Measure your table before choosing the roll so you do not need a second one.
For the least expensive version, join clean, unprinted paper grocery bags with tape underneath. Keep paper clear of hot serving vessels; use the trivets those dishes require. A pale background like this also works with the restrained settings in 15 Neutral White Simple Fall Tablescape Ideas.
4. Tie Burgundy Ribbon Around the Napkins You Own
If the center of your table needs to stay open, put the seasonal color at each seat. A burgundy ribbon bow around an ivory napkin adds a soft, dressier detail without a new set of napkin rings.
Fold the napkin into a long rectangle, pinch it gently at the middle, and tie a loose bow. Test one before cutting the whole roll. A piece roughly 22–24 inches long is a useful starting point, but a thick napkin or a large bow may need more.
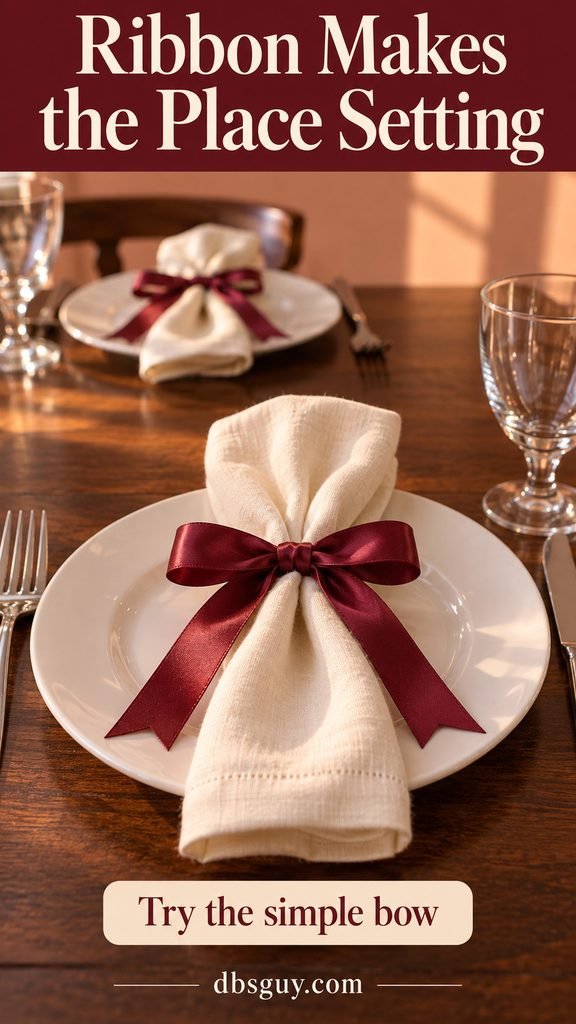
Buy: One ribbon roll at least 3 yards long for four modest ties: up to $3. Reuse four cloth napkins.
Shorten the tails if they extend into the flatware or beyond the setting. Choose ribbon that does not shed glitter, and lift it off before using the napkin. For a deeper color scheme using the same dishes, see 17 Burgundy & Plum Simple Fall Tablescape Ideas.
5. Use One Gold Charger as a Centerpiece Base
You can enjoy the warm metallic finish of a charger without buying one for every guest. Put a single gold charger in the middle and arrange three short glass holders with battery-operated tea lights inside its rim.
The visible gold edge pulls the small lights into one composition. Navy napkins make the gold stand out, while plain white plates keep the table from feeling busy. An existing folded runner or towel underneath is optional.
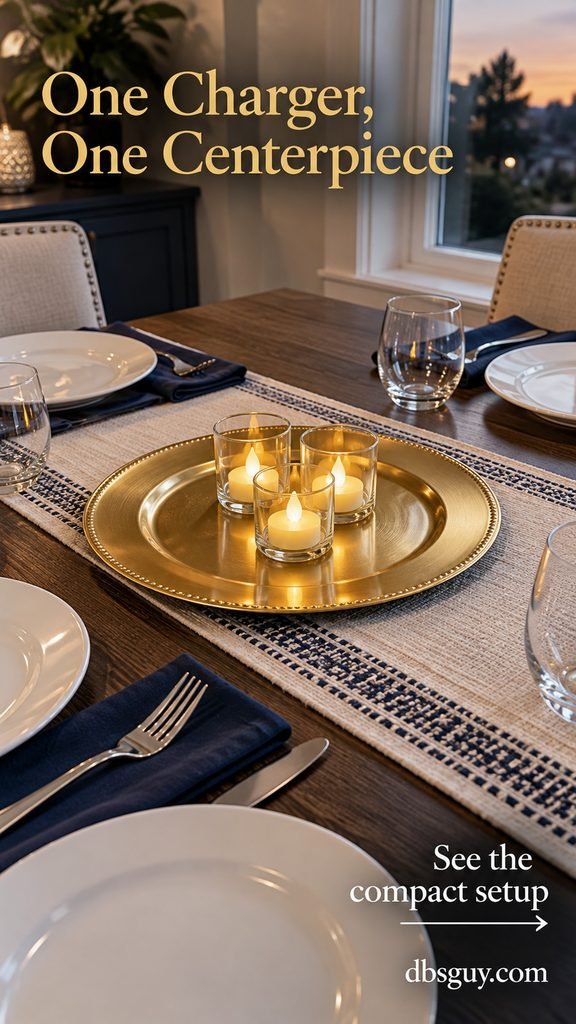
Spending cap: One charger, $3; three simple holders, $6 altogether; enough LED tea lights with included batteries for all three holders, $6: $15 total.
Compare multipack quantities before buying the lights. Reuse holders you already own to bring the new spending down. Treat the charger as a decorative base unless its label specifically allows food contact, and keep every holder fully supported by the flat area. More warm-metal combinations appear in 17 Gold & Amber Simple Fall Tablescape Ideas.
6. Tuck a Fall Paper Napkin Between White Plates
A printed dinner napkin is a practical place to spend your pattern budget. Choose a leaf print with two or three muted colors, fold it neatly, and tuck it diagonally between a white dinner plate and a smaller salad plate. Leave enough of the printed corner showing to read as an intentional accent.
This suits a casual lunch where you already plan to use paper napkins. It also keeps the table center completely available for food. You can skip the extra plate and place the folded napkin on top if that is how you normally set the table.
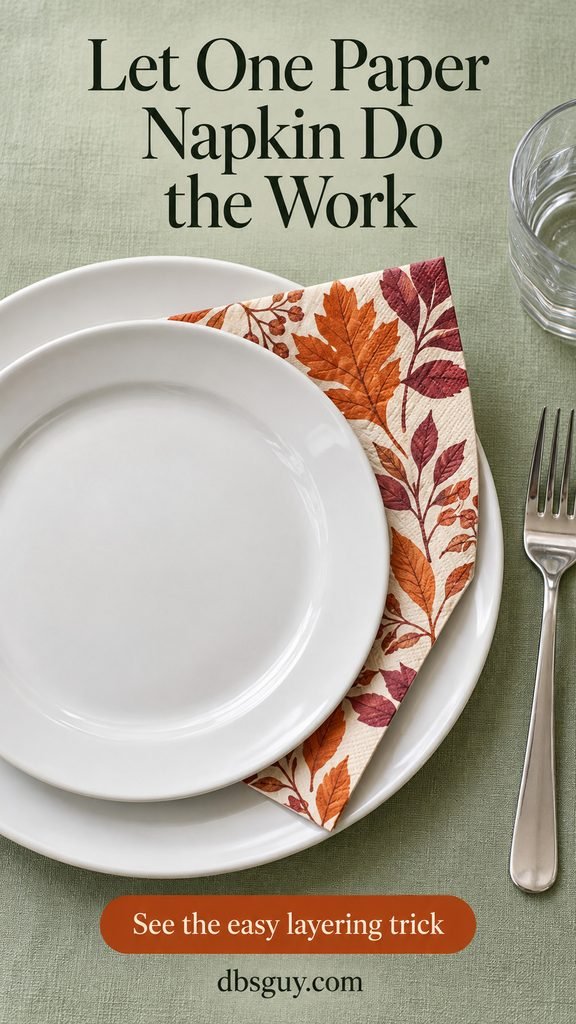
Dollar-store purchase: One pack of paper dinner napkins containing at least four: up to $3.
Check the unfolded size on the package. Tiny beverage napkins may show the pattern, but they are less useful through dinner. Avoid buying seasonal plates to match; the napkin already supplies the fall detail.
7. Make an Off-Center Path with Felt Leaves
Flat felt leaves give a long table color without the height or bulk of a garland. Arrange them in a loose trail slightly to one side of the middle, alternating rust, mustard, and olive. Leave visible gaps so the shapes do not become a solid strip.
Lay out the glasses and serving dishes first. The path should fit the remaining space, not force everything else toward the edge. On a shorter table, use fewer leaves and stop well before the end settings.

Shopping allowance: One packet, or enough small packets, to provide roughly 20–30 flat felt leaves: $4 total. A shorter trail may need far fewer.
Choose plain, non-glittered pieces and keep them off eating surfaces. There is no need to glue them into a permanent runner; loose pieces let you shorten the trail for dinner and store them flat afterward. If the packet is too small for your table, make two short clusters rather than buying enough to cover every inch.
8. Cut Kraft-Paper Leaves into Place Cards
A guest’s name can be the detail that makes an inexpensive setting feel considered. Draw a broad leaf shape about 4 inches long on kraft cardstock, cut it out, and write the name across the middle. Make one paper template first so the cards feel related without tracing every vein.
Set each leaf on a folded cloth napkin. The stiff brown paper stands out against ivory, and the flat shape leaves room for a salad plate. A plain oval leaf is easier to cut than an intricate maple shape if you are making several.
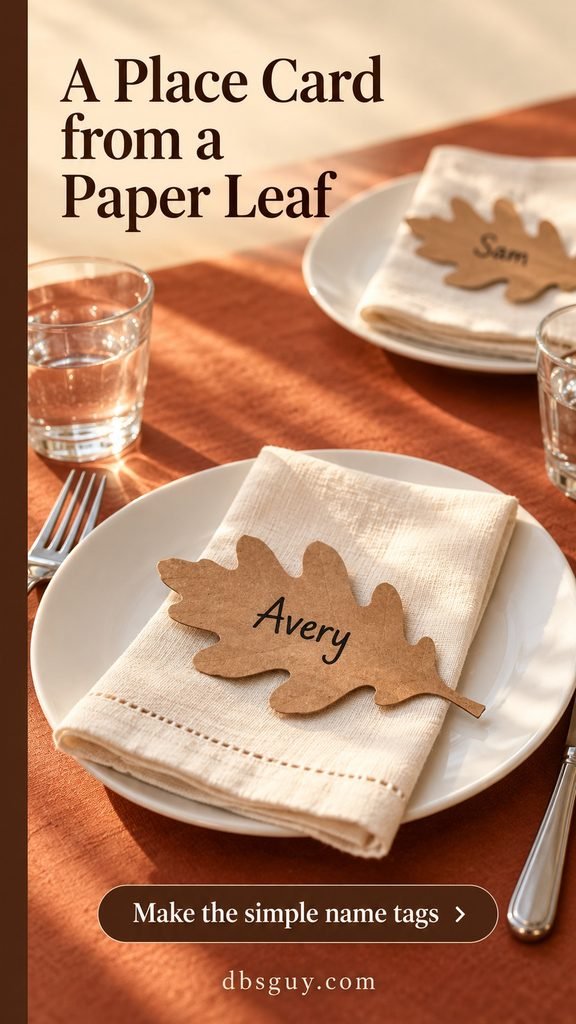
Buy if needed: One small kraft-cardstock pack, $3; one dark fine-tip marker, $2: $5 total, with supplies left for more than four names.
Write the names before cutting all the shapes so you can allow extra space for longer ones. Skip holes, twine, and clips; laying the card on the napkin is enough. Remove it before serving food on that surface.
9. Repaint Foam Pumpkins in a Muted Palette
When the inexpensive pumpkins on the shelf are the wrong color, repainting can help—but it makes the most budget sense when you already own some craft supplies. Plum, dusty taupe, and warm ivory turn three ordinary foam pumpkins into a quieter arrangement.
Choose water-based craft paint labeled suitable for the pumpkin material. Test a hidden spot, follow the paint’s preparation instructions, and apply thin coats with the recommended drying time. Leave the stems brown if their existing finish works. Arrange the fully dry pumpkins in a shallow charcoal bowl you already own.
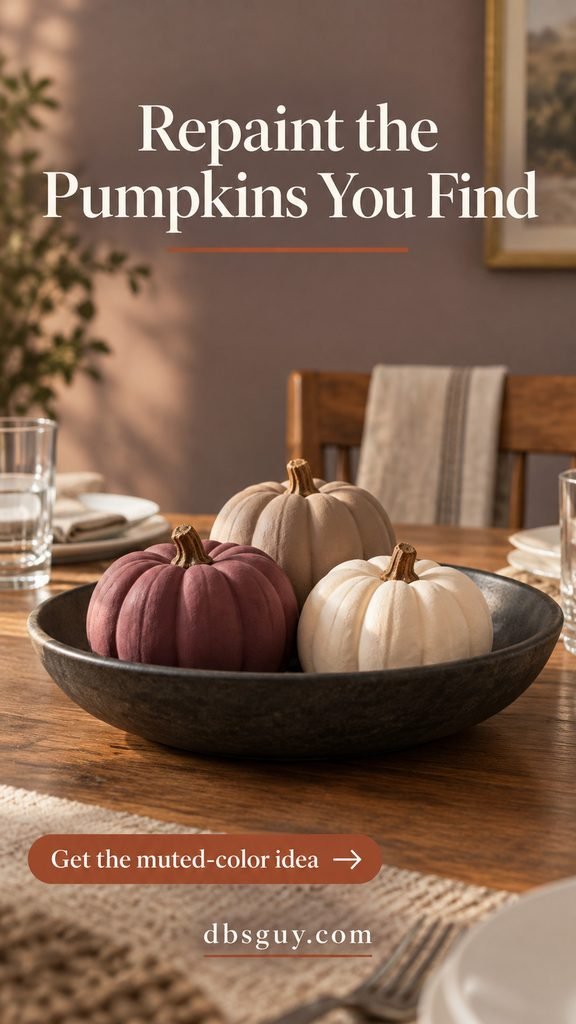
Full-supply spending cap: Three mini foam pumpkins, $6; three small paint bottles, $6 altogether; a brush pack, $2: $14 total. Subtract supplies you already have.
Do the painting away from the dinner table and protect the work surface. If buying three paint colors pushes the project past your comfort level, paint all three with one owned color. The matte finish and low bowl matter more than an exact color match. For similarly spare styling, browse 21 Sleek Modern Fall Tablescape Ideas.
10. Fill a Low Basket with Faux Mums
A shallow basket gives faux flowers texture that a plastic pot cannot. Look for a small, stable basket and two full mum bushes in cream and ochre. Inspect the heads before buying: the flowers need enough fullness to cover the opening without requiring several extra bunches.
Fit crumpled scrap paper firmly inside the basket to wedge the dry stems in place. Angle the flowers outward, keeping the heads just above the rim and the paper hidden. Turn the basket around as you work so the arrangement looks finished from both sides of the table.

New-supply cap: One shallow basket, $4; two full faux floral bushes, $8 together: $12 total. Reuse clean scrap paper and any required wire cutters.
Choose the basket size around the flowers available. A smaller opening with a modest cluster is preferable to a large basket that needs another shopping trip. Sit down before calling it finished; shorten or bend the stems if the flowers hide the person opposite you. No fresh-flower water is needed for this faux arrangement.
11. Wrap Glass Holders in Amber Tissue for LED Lights
Amber tissue paper can give plain glass holders a warm autumn color for an evening meal. Cut a band slightly shorter than the holder, wrap it around the outside, and secure the overlap with a small piece of tape. Add a simple twine tie if you like the texture.
Leave the glass rim and open top uncovered, and place a battery-operated LED tea light inside. A single thin layer lets more light show through than several tight wraps. Try one holder first so you can judge the glow before cutting the remaining paper.

Shopping cap: Three short glass holders, $6 altogether; tissue-paper pack, $2; twine roll, $2; enough LED tea lights with included batteries for three holders, $6: $16 total. Using owned holders reduces that to $10.
This is an LED-only project. Never put a burning candle in a paper-wrapped holder. The National Fire Protection Association’s candle safety guidance recommends flameless candles. Keep paper and faux foliage away from open flames elsewhere on the table, too.
12. Put Short Faux Wheat in Two Terracotta Pots
Two tiny terracotta pots bring a harvest feel to a table that does not need pumpkins. Split a faux wheat bush between them and keep the stalks short enough that each pot reads as a small accent, not a tall arrangement.
Wedge the stems into tightly folded scrap cardboard or paper inside the pots. Place one toward each end of the table’s middle strip, beyond the main serving area. The open gap between them is useful for a casserole or shared bowl.

Buy: Two small terracotta pots, $4 together; one divisible faux wheat bush, $4: $8 total. Reuse paper or cardboard to support the stems.
Start with pots around 3 inches across, and use existing coasters underneath if your tabletop needs protection. Faux wheat is the planned material here; a dried-stem substitute may shed and should be kept away from food. Terracotta also sits comfortably with the wood and cream combinations in 15 Modern Farmhouse Fall Tablescape Ideas.
13. Use a Plaid Dish Towel as a Small Table Square
On a round breakfast table, a folded kitchen towel can provide all the fabric you need. Choose a rust-and-cream plaid, wash it according to its label, and fold it into a flat square that sits well inside the place settings.
Top it with an existing shallow bowl holding three pinecones and a few plain faux acorns. The bowl contains the loose pieces, while the little square of plaid adds pattern without a full tablecloth. This version is sized for two people.

Spending cap: One seasonal dish towel, $3; one pack of decorative pinecones, $3; one pack of faux acorns, $2: $8 total. Reuse the bowl.
Check that the towel lies flat enough for the bowl to sit securely. Skip scented or glitter-coated fillers at a dining table; plain pieces let the plaid do the work. If the table feels crowded once the plates are down, use just the towel under your usual fruit bowl. For other compact layouts, see 17 Small Space Simple Fall Tablescape Ideas.
14. Frame Your Fruit Bowl with a Removable Leaf Garland
Give the fruit bowl you already use a seasonal outline. Curve one short faux leaf garland loosely around the outside base of a low bowl, keeping every decorative leaf on the tabletop and out of the fruit.
Red apples look good against rust and ochre foliage, especially on an existing pale blue cloth. Keep the bowl’s rim clear so someone can take an apple without pulling the garland along with it. You can lift the bowl away when it is time to serve.
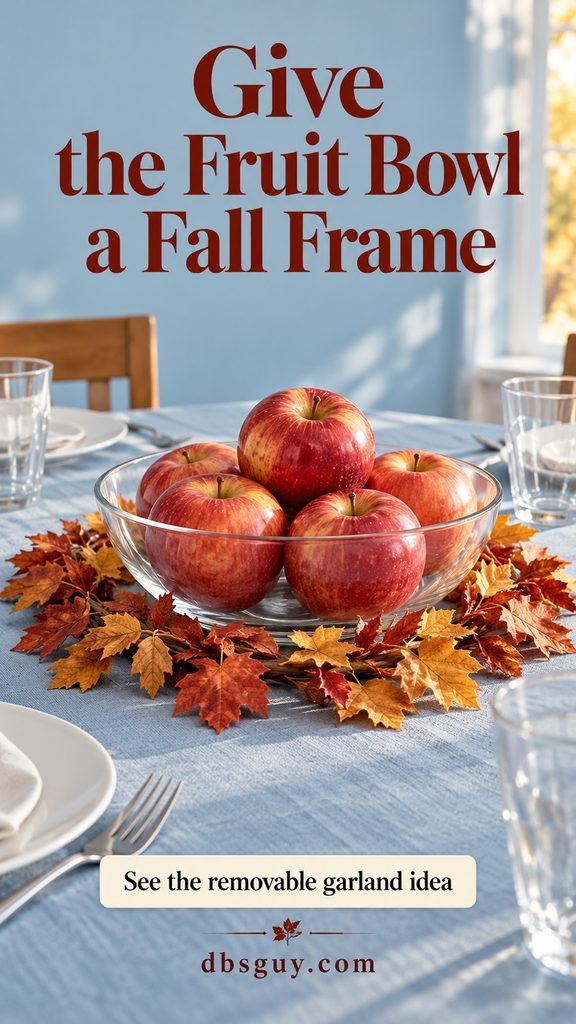
Dollar-store list: One short faux fall-leaf garland: up to $4. Reuse a bowl and whole fruit already in your kitchen; buying additional fruit adds to the total.
Measure around the bowl before shopping, and choose a garland that bends without forcing its wire. A loose horseshoe around the front works if the available length does not make a full circle. Avoid glittered foliage, and remove the garland entirely if it crowds serving dishes.
15. Put a Framed Menu and One Pumpkin at the Table End
For a meal with several shared dishes, shift the decorative focal point beyond the place settings. A small standing frame with a handwritten menu and one mini pumpkin gives the table a fall detail while leaving the center open.
Use a plain 5-by-7-inch frame and cream cardstock. Write only the dishes you are actually serving, with a heading and a few large lines. The pictured Thanksgiving menu is an illustration; swap it for your own dinner rather than shrinking the lettering to list every condiment.
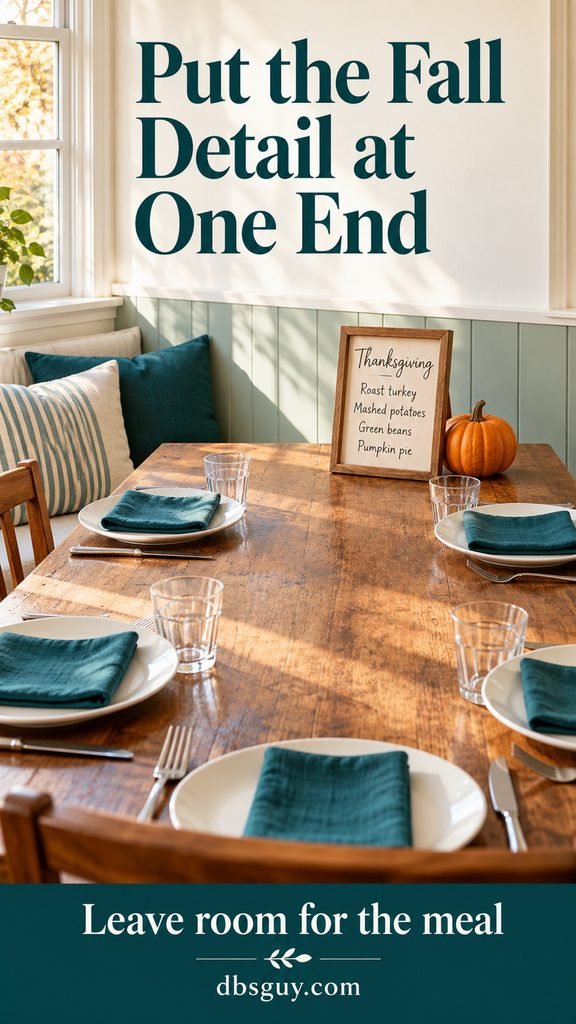
Shopping cap: One small frame, $4; one cardstock pack, $3; one mini faux pumpkin, $2: $9 total. Reuse a dark pen.
Check that the frame’s stand is stable. Keep it beyond guests’ elbows and away from a hot platter’s landing place. If every end seat is occupied, put the pair on the nearby buffet instead and repeat its pumpkin color in napkins you already own.
Keep the Final Shopping Basket Small
Before checkout, ask whether each item belongs to the one idea you chose. A second ribbon color, extra filler, and a set of seasonal glasses may all look inexpensive separately, but they are not needed to finish the setup.
For more guests, separate supplies that scale by seat from those that do not. Eight ribbon ties need more length than four; a centerpiece does not automatically need to double in size. Check the actual package yield before buying another roll or bunch.
Once the table is styled, put the empty serving pieces back in place. Remove anything that blocks a comfortable reach or the view across dinner. Simple fall tablescapes work best when the decorative choices leave room for the gathering.
Questions About Dollar-Store Fall Tablescapes
What should I buy first if my decorating budget is very small?
Choose one packet of usable paper dinner napkins or one roll of ribbon for napkins you already own. Both put color where each guest will see it, without requiring vases, fillers, or new dishes. Check the pack size or roll length against your guest count.
How do I keep dollar-store decorations from looking mismatched?
Pick the finish or color that works with your existing dishes before shopping. Repeat it, leave some bare tabletop, and pass on extra pieces that introduce a different theme. Plain felt, matte pumpkins, and one botanical print are easier to combine than several unrelated slogans and glitter finishes.
Which ideas suit a Thanksgiving table with lots of serving dishes?
The ribbon ties, paper-napkin accents, and leaf place cards keep the center clear. The framed-menu arrangement can sit at an unused table end or on a buffet. For Thanksgiving tablescapes, plan the serving space before choosing a centerpiece, especially if guests will pass hot dishes.
Can I still use these ideas if seasonal stock has sold out?
Yes. Look for plain ribbon, kraft paper, tissue, simple glass holders, frames, and small pots in the year-round aisles. You can draw the leaf detail yourself or use a warm color instead of a fall-specific product. Do not buy a bulk case just to obtain the one style pictured.
Also Read
- 19 Budget-Friendly Fall Tablescapes Under $30 — broader decorating plans when you want a complete shopping allowance.
- 23 Last-Minute Simple Fall Tablescape Ideas — quick arrangements when shopping time is limited.
- 15 Elegant Fall Tablescapes That Are Easier Than They Look — more polished combinations for a dressier dinner.