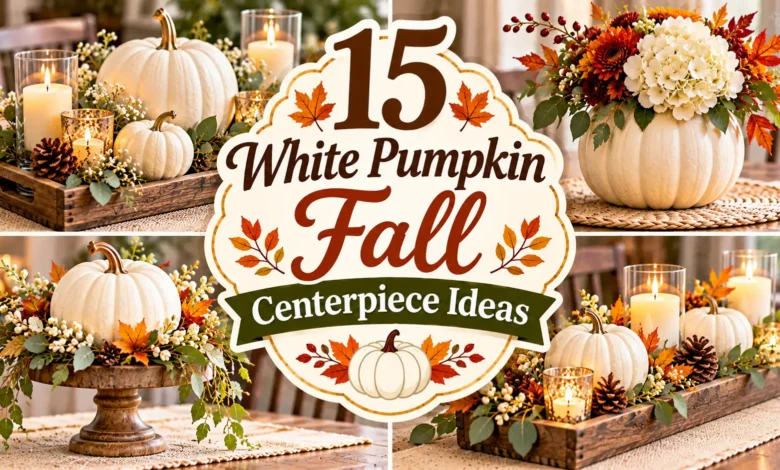
For a white pumpkin centerpiece, start with the container your table can comfortably hold: a black platter for one pumpkin, a dough bowl for a longer display, or a woven tray you can lift away at dinner. Then add one contrasting material or color. The white pumpkins stay recognizable, and the arrangement has a clear focus.
These 15 fall centerpiece ideas range from a single-object setup to a small decoupage project. Choose by the space you have and the kind of upkeep you want, rather than buying supplies for every look.
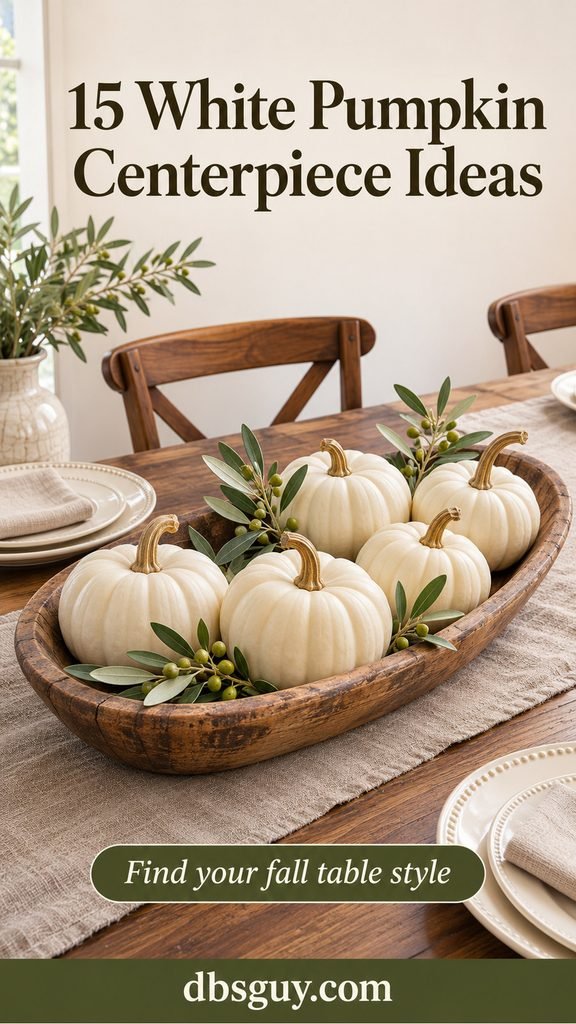
The images are AI-generated styling concepts. They illustrate the arrangements below and do not document completed or tested projects.
Pick a Centerpiece That Fits Your Table
- For the fewest supplies: choose the black platter in idea 1 or the checked runner in idea 13.
- For a long table: try the dough bowl in idea 2, the amber-glass row in idea 7, or the corn trough in idea 12.
- For a special dinner: consider the pumpkin vase in idea 3 or the burgundy flowers in idea 11.
- For reusable decor: use the mixed-finish pumpkins in idea 9 or the botanical faux pumpkins in idea 14.
- When dinner needs the entire table: put the display on the sideboard as in idea 15.
Set out your plates, glasses, and empty serving dishes before placing the centerpiece. Sit down and check the view across the table. The quantities below describe the concepts; reduce them if the arrangement crowds a place setting or leaves nowhere to set a bowl.
Natural white pumpkins may look creamy beside bright white china. Compare them together before deciding on linens. For real pumpkins, choose firm, unblemished examples with dry bases; for faux ones, check that the seams and stems look good at seated eye level.
1. Set One White Pumpkin on a Black Platter
A matte black platter gives a pale pumpkin a strong outline. This works especially well on light wood, where an ivory pumpkin alone can blend into the tabletop.
Use one medium pumpkin with a flat base and a platter wide enough to show a clear black border around it. Set the pumpkin in the middle and stop there. Leaves and filler would cover the contrast that makes this arrangement work.
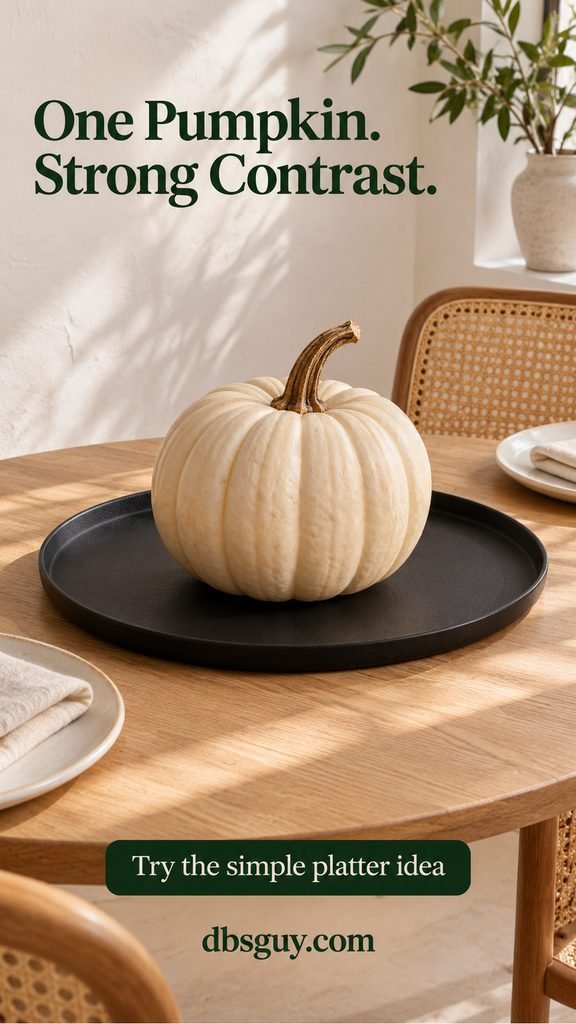
On a small round table, try the platter between two complete place settings before adding anything else. A large platter can take up more space than expected. If you need a shared serving dish, lift the whole display onto a nearby surface before dinner. Protect a delicate tabletop from a rough platter base.
2. Line a Dough Bowl with Mini White Pumpkins
A shallow wooden dough bowl gives a rectangular table a defined center without a sprawling garland. The worn brown surface also makes the pale pumpkin ribs easier to see.
Start with five mini white pumpkins in a single row, choosing a bowl that lets each one sit on its own base. Tuck a short faux olive sprig at each end. Keep enough wood exposed to see the bowl’s shape instead of filling every gap.

This is a useful option if you already own the bowl and want easy fall centerpieces for a table that needs to return to everyday use. Check the loaded bowl’s weight before moving it. With real pumpkins, lift them out regularly to inspect their undersides and keep the interior dry.
3. Make a White Pumpkin Vase with a Glass Insert
Here, the pumpkin becomes the vessel’s outer shell. A separate glass cup holds the flower water, so you can lift out the bouquet without pouring water into the pumpkin itself. Choose this for an occasion when you can make and monitor a fresh arrangement.
Gather a broad, stable white pumpkin, a small watertight glass cup, a protective saucer, white roses, and a few short eucalyptus stems. Fit the cup to the pumpkin before cutting; its rim should sit just above the finished opening.
- On a stable work surface, carefully remove the pumpkin’s top and scoop out the seeds and loose pulp. Leave the bottom intact. An adult should handle cutting.
- Set the cup inside. It must rest upright on a stable interior surface rather than hang from the cut rim. If it rocks or will not fit securely, choose a different pumpkin or cup.
- Add water to the cup, then arrange a compact bouquet of roses and eucalyptus. Keep the blooms low enough for conversation.
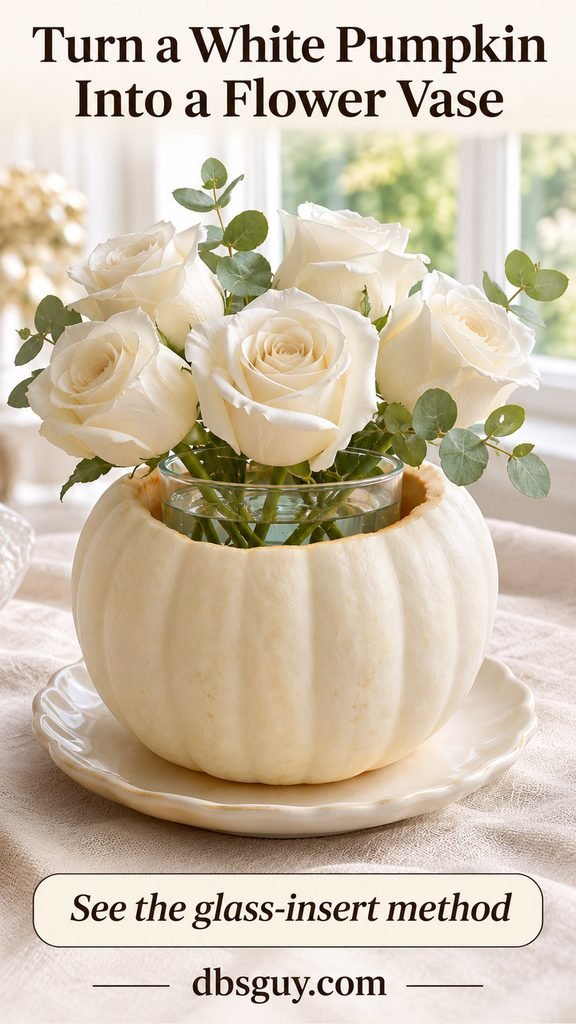
The concept leaves the glass rim visible so you can see how the insert works. Plan to assemble this close to the event; a carved pumpkin is a temporary floral shell, not a vase to leave unattended for the season. Lift out the cup to refresh the water, inspect the shell, and remove it if it softens or leaks. For a no-carve alternative, use the separate vase in idea 11.
4. Fill a Blue-and-White Bowl with Pale Pumpkins
If you own patterned blue-and-white ceramics, let the bowl supply the decoration. Three small white pumpkins give it an autumn role without introducing orange into a blue room.
Choose pumpkins that sit below enough of the rim to leave its pattern visible. Tuck two short faux dusty-blue hydrangea stems toward the back, with their cut ends concealed inside the bowl. A folded blue cloth underneath repeats the color without requiring matching dishes.

Use faux flowers for this dry arrangement. Fresh flowers would need their own water containers, which can make the bowl cramped. Look at the display from both sides if people will sit around it; reposition the blooms if the backs of the artificial stems are conspicuous.
5. Group LED Pillars and Pumpkins on a Tray
A tray of softly glowing LED pillars suits an evening meal when you want light without arranging open flames among decorations. White pumpkins and ivory candles keep the grouping quiet; the dark tray defines its edges.
Place three battery-operated pillars of different heights at the back of a shallow wooden tray and three mini pumpkins across the front. Leave each object standing independently, with no loose filler underneath. Test the candles before setting the table, and keep their switches accessible.

The candles shown are LED concepts. Use actual battery-operated products and follow their instructions. Choose modest heights so the rear row does not block your guests’ view. For more evening place-setting combinations, also read 21 Gold & Amber Fall Tablescape Ideas for Candlelit Dinners.
6. Alternate White Pumpkins and Green Pears in Rattan
A round woven tray brings texture to a breakfast table, while green pears add color without flowers. Use three mini white pumpkins and three firm green pears, alternating them loosely around the tray.
Keep everything in one layer with a little woven surface visible between the pieces. The different silhouettes do the arranging: squat pumpkin, narrow pear, squat pumpkin. There is no need to build a mound or add faux moss.
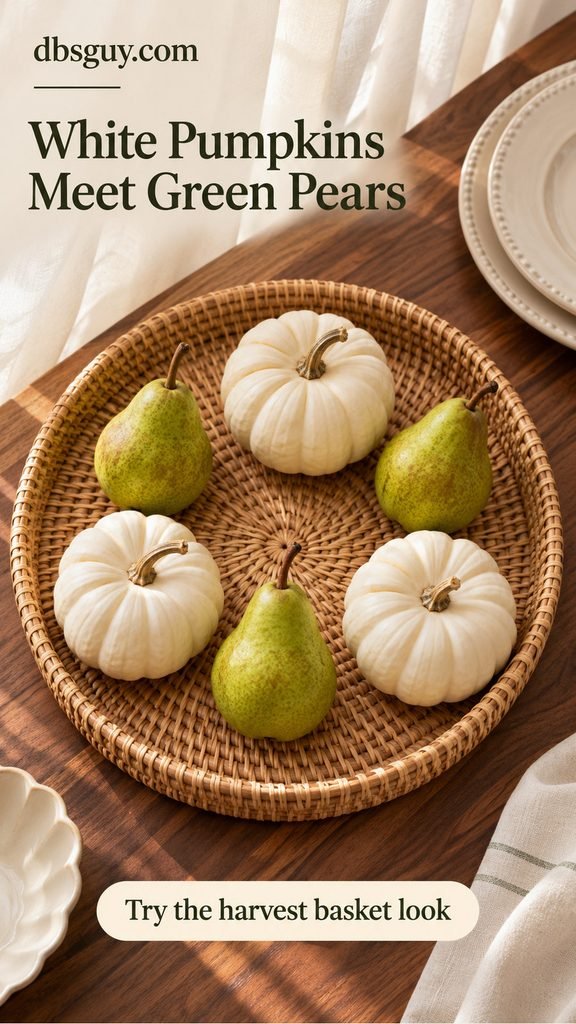
This works best as a short-term display you can check easily. Remove fruit as it ripens or softens, and replace any real pumpkin that develops decay. Keep the pears separate from glue, paint, and decorative treatments. A tray with a sound, easy-to-grip rim makes the whole arrangement simpler to clear away.
7. Space Amber Bud Vases Between Mini Pumpkins
Instead of one dense centerpiece, make a low rhythm along a narrow runner. Three short amber bud vases alternating with two mini white pumpkins create a row you can shorten or separate as serving dishes arrive.
Give each vase just a few short dried stems. Trim them before arranging so the row stays below the faces of seated guests. A broad branch or a large pampas plume would change the footprint and overwhelm the small pumpkins.

Choose vases with stable bases; slender bottles are easier to knock when reaching across a table. Leave visible gaps, then test those gaps with the bowls you intend to use. On a shorter table, one vase between two pumpkins carries the same idea with fewer pieces.
8. Warm Up White Pumpkins with a Copper Bowl
Copper brings a warm reflection to white pumpkins without needing a second pumpkin color. A low, broad bowl is useful here because its rim remains part of the view.
Arrange four small white pumpkins in a loose single layer. Add a few dry oak leaves near the outside edge, keeping the pumpkin shapes and copper border visible. The concept uses a shallow bowl rather than a tall urn, which would hide much of the display.
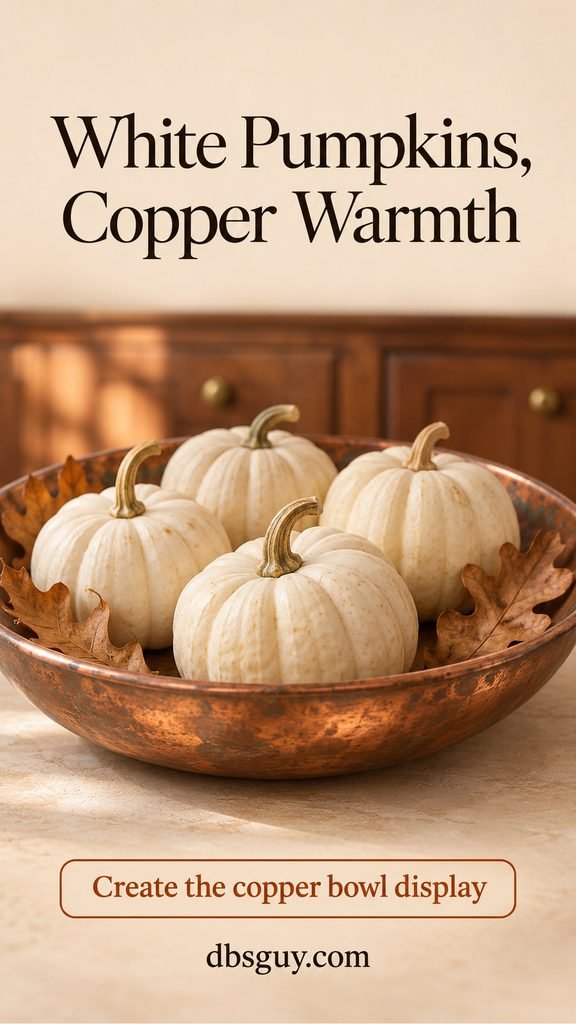
If your copper piece is a decorative vessel with an unknown finish, reserve it for decor. Keep the arrangement dry and remove loose leaves before carrying it. On a highly polished dining table, check that the bowl’s underside is smooth and use an appropriate protective layer.
9. Mix Glossy, Matte, and Velvet White Pumpkins
An all-white centerpiece needs differences you can see up close. Pair one glossy ceramic pumpkin with one matte faux pumpkin and one ivory velvet pumpkin on a simple white oval platter.
Keep their sizes close enough that none hides another. Place the velvet piece where light reaches its stitched segments, and turn the ceramic piece until its glossy surface catches a highlight. A textured white runner gives the platter an edge against the table.

This is a reusable choice without fresh flowers or produce to replace. Compare the whites under your evening lighting before buying extra pieces: a cream velvet pumpkin can look noticeably warmer than bright white ceramic. If you want to extend the palette to the place settings, see 17 All-White Fall Tablescape Ideas.
10. Set White Pumpkins Beside Potted Succulents
Use plants you already own as separate elements rather than gluing cuttings onto a pumpkin. In a shallow gray tray, arrange three small potted succulents and two mini white pumpkins. The terracotta pots provide warm color against the cool tray.
Turn the fullest plant toward the back, then bring one pumpkin forward so the grouping has depth. Each pot and pumpkin should sit flat, with enough room to lift it out independently.

Remove the plants from the tray for watering, let excess water drain, and return them only when their bases are dry. Follow each plant’s own care needs and move it back to suitable light after the meal. This is a table arrangement, not a reason to change a plant’s watering schedule or leave it in a dim dining room.
11. Frame Burgundy Flowers with White Pumpkins
Deep burgundy blooms give a white pumpkin centerpiece a stronger fall accent. Use a small, low glass vase with a few burgundy dahlias, then place three mini white pumpkins around it in a loose triangle.
Arrange the flowers first, keeping their heads close to the vase. Set the pumpkins beside it rather than underneath the stems. The clear glass and visible water separate this look from the carved pumpkin vase in idea 3.

A burgundy napkin at each seat is enough to carry the color across the table; the rest can stay cream. Lift the vase out to refresh the water so spills do not collect beneath the pumpkins. If your available flowers have much larger heads, use fewer stems and check the overall width before finishing.
12. Arrange White Pumpkins and Dried Corn in a Trough
Ornamental dried corn adds a harvest detail through its kernels and husks. A long, low wooden trough keeps that texture contained, making this a good option for a rustic table without a leafy runner.
Set three small white pumpkins along the trough, then lay two small dried corn ears lengthwise between them. Turn the colored kernels upward and keep the husks inside the rim. Choose a trough wide enough for the pumpkins to stand without leaning.

Skip extra wheat, pinecones, and scattered leaves; the corn already provides a contrasting texture. Keep the display separate from food service, and remove any loose kernels or brittle husk pieces before guests sit down. For a narrow table, scale down the entire trough instead of letting its contents spill onto the place settings.
13. Place Three White Pumpkins on Sage Gingham
A checked runner can do the work of a container. Lay a sage-and-cream gingham runner flat on bare wood, then stagger three small white pumpkins slightly along its middle.
Choose one pumpkin a little larger than the others and set it near the center. Offset the smaller two gently rather than making a rigid straight line. Keep their bases on smooth fabric; a folded ridge can make a pumpkin tilt.

Among DIY fall centerpieces for a table, this is one of the simpler options when you already have suitable fabric. Use plain napkins so the checks remain easy to read. The pumpkins can move individually when food arrives. For more ways to work around limited space, also read 17 Small Space Simple Fall Tablescape Ideas.
14. Decoupage Fern Motifs onto Faux White Pumpkins
For a craft project, add green botanical motifs to three matte white faux pumpkins and group them on a slate platter. Small fern cutouts leave plenty of white visible and are easier to fit around ribs than a large sheet of paper.
Gather faux pumpkins, fern-patterned paper napkins, scissors, a soft brush, and a decoupage medium suitable for the pumpkin’s surface. Test an inconspicuous spot first.
- Cut out individual fern motifs and separate the napkin layers, keeping only the printed top ply.
- Brush an even coat of decoupage medium onto one small area. Place the motif onto it and gently press the paper into the ribs with the brush.
- Let the paper dry before applying the finishing coat. Follow the medium’s directions for drying, finishing, and curing.

Avoid repeatedly brushing wet tissue; it can tear. Work around the pumpkin a section at a time, changing the direction of the motifs rather than lining them up identically. These finished pumpkins are decorative objects, so keep them off food-contact surfaces and let them fully dry before placing them on the platter.
15. Raise a Pumpkin Trio on the Buffet
When the dining table needs to hold dinner, give the centerpiece a nearby home. A single sturdy cake stand with three mini white pumpkins creates a focal point on a sideboard without taking a serving spot between diners.
Arrange the pumpkins in a low triangle and leave them unstacked. Put the stand at the decorative end of the sideboard, away from where guests will set down hot dishes or pick up plates. The concept shows a separate plate stack with open surface between it and the stand.

Test the stand’s stability with the pumpkins in place, and avoid balancing another pedestal on top. If your buffet is already crowded, choose a flat platter instead. For an island that serves as both work surface and display area, read Fall Decorations Kitchen Island to Brighten Your Space.
Keep Real White Pumpkins Dry and Easy to Inspect
Room-temperature table decor is different from cool storage, so there is no dependable promise that a real pumpkin centerpiece will last all season. Its starting condition, damage, moisture, and room conditions all matter. Check beneath the pumpkins as well as around their stems, and remove any that show decay.
For storage between displays, Iowa State University Extension’s pumpkin storage guidance recommends a cool, dry location around 50–55°F, good air circulation, and a single layer with pumpkins separated. A heated dining room will not provide those same conditions. Use faux pumpkins if you want a display you can pack away and reuse.
White Pumpkin Centerpiece Questions
What colors work with white pumpkins for fall?
Start with the room’s existing finishes. Dark wood and copper add warmth; sage and olive add green; amber glass gives a golden accent. Burgundy flowers make a stronger contrast, while blue-and-white china suits a room that already uses blue. Choose one accent first so you can see whether another is necessary.
Can I use real and faux pumpkins together?
Yes, as a styling choice. Compare their size, finish, and shade of white before grouping them. Keep real pumpkins accessible for inspection, and separate them from fabric pumpkins so moisture or decay cannot go unnoticed against the cloth.
How do I make a white pumpkin centerpiece look fuller?
Try a smaller container before adding more objects. A deep bowl can swallow miniature pumpkins, while a broad empty rim can make a small group feel undersized. Use a shallow vessel that fits your pumpkins, or choose one deliberate large pumpkin as in idea 1. Avoid building a concealed pile beneath real pumpkins.
Can I make these without buying white pumpkins?
Use white ceramic or fabric pumpkins you already own. For a craft option, paint a faux pumpkin only with products suitable for its material, following their preparation and drying instructions. A painted object will have a different finish from a natural white pumpkin, which can be useful in the mixed-texture arrangement.