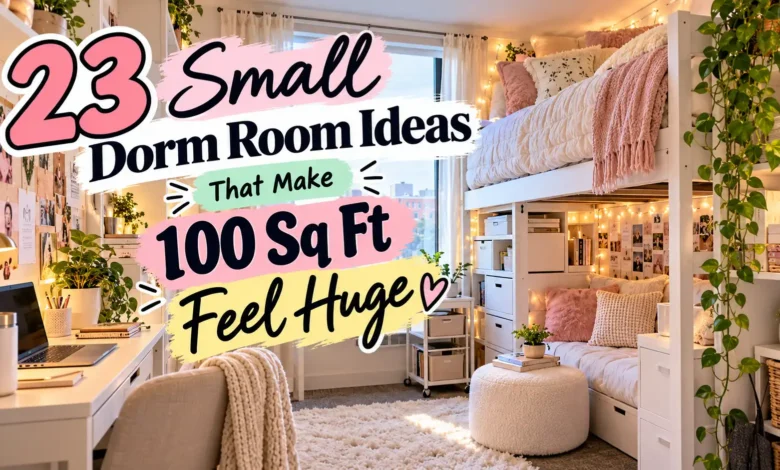
A small dorm starts to feel better when you can pull out the desk chair, open the closet, and reach your things without moving a pile. Start with the layout, give daily belongings a defined home, then use color and lighting to make the room feel settled.
These 23 small dorm room ideas cover different problems, from a crowded bedside to a closet that never stays organized. Treat them as a menu: choose the layout and a few storage changes that fit your room.

The visuals are AI-generated design concepts. They illustrate possible arrangements; check your room measurements, furniture instructions, and residence hall rules before adapting them.
First, Find Out What Your 100 Square Feet Includes
A 10-by-10-foot room has 100 square feet of floor area. Confirm whether your figure describes the whole room or your share of a larger space, and whether it includes a closet or entry recess. The same area in a narrow rectangle will arrange differently from a square.
Before shopping, measure the room and supplied furniture, then record the bed’s under-frame clearance, closet opening, drawer travel, and chair space. Include handles, baseboards, and door swings. A tape measure and a quick paper sketch are enough to reject an organizer that is too wide.
Check your current housing rules for furniture movement, lofts, mounting products, rugs, and lighting. Keep exits, required window access, vents, heaters, sprinklers, and alarms clear. In a shared room, agree on the layout before moving anything.
- Floor feels crowded: start with ideas 1–4 and test the chair and door movements.
- Belongings keep piling up: choose the storage ideas that match the items you own.
- Layout works but the room feels busy: try the palette, art, and lighting ideas in 16–18.
1. Run the Bed Along a Wall and Protect One Clear Route
Start with the longest wall that can hold the bed without blocking a window, vent, closet, or door. In a single room, placing the long side of the bed against that wall can leave a useful strip of floor beside it. Keep that strip connected to the entrance and your desk.
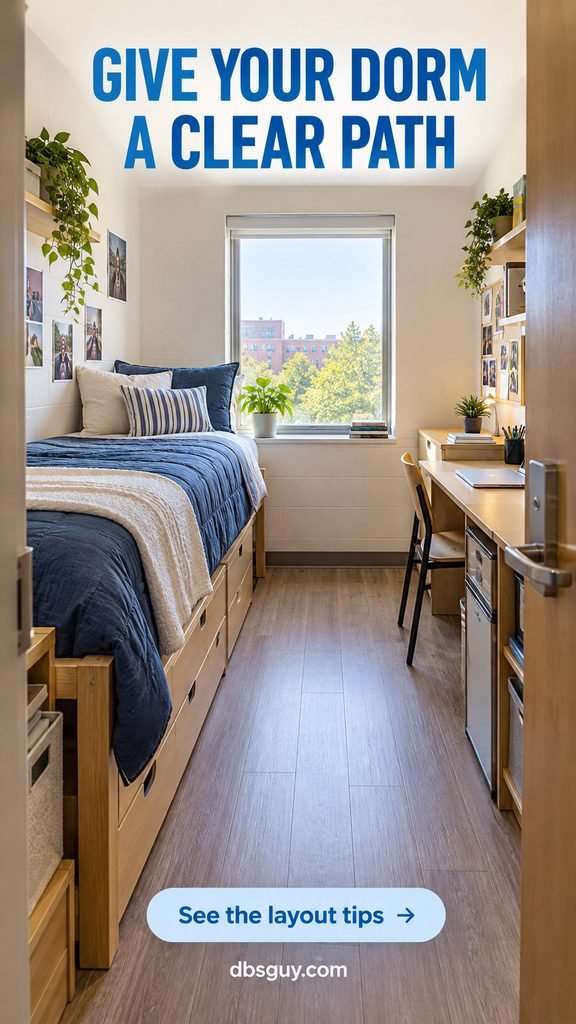
Walk through the arrangement with your everyday bag, then open the closet and dresser. If you have to turn sideways around a basket, move the basket before adding decor. A wall-side bed is harder to make on one side, so choose bedding you can tuck and straighten from the open edge.
2. Place the Desk for Daylight and a Working Chair
A desk beside a window can give you useful daytime light while keeping the window accessible. Try positioning the desk so light comes from the side, then check the laptop screen for glare. Leave room to operate the blind and reach any controls.
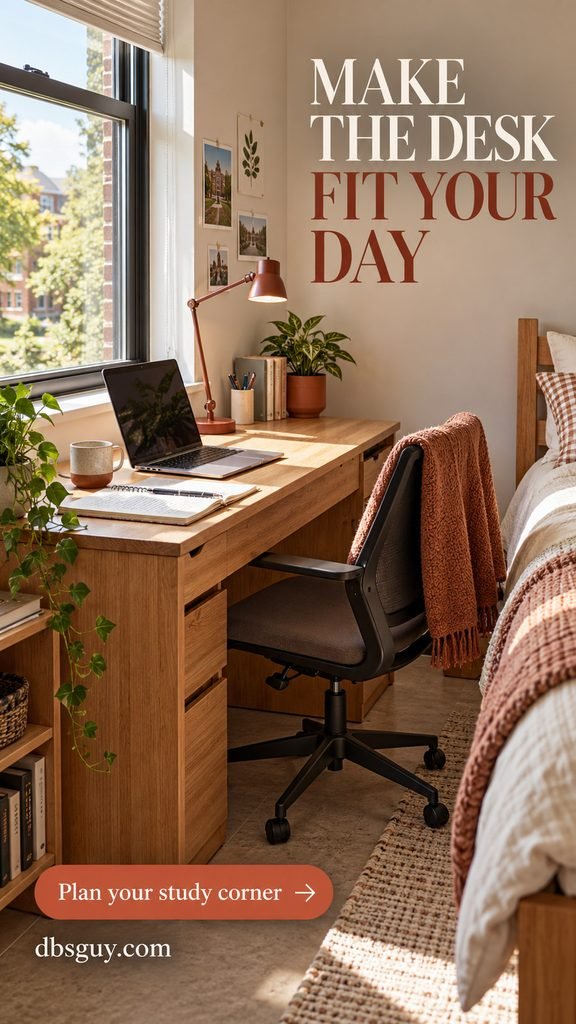
Judge the arrangement with someone sitting down. The chair needs space to pull back, and a roommate still needs a way past it. If that does not work, move the desk to another permitted wall and add a compact task light. Being able to study comfortably matters more than placing the desk in the prettiest corner.
3. Try Parallel Beds in a Shared Room
When both beds must stay at floor level, a bed along each opposite wall is worth testing. It gives each roommate a defined side and can preserve a shared center route. This works best when the room’s width, closets, and supplied desks support it.
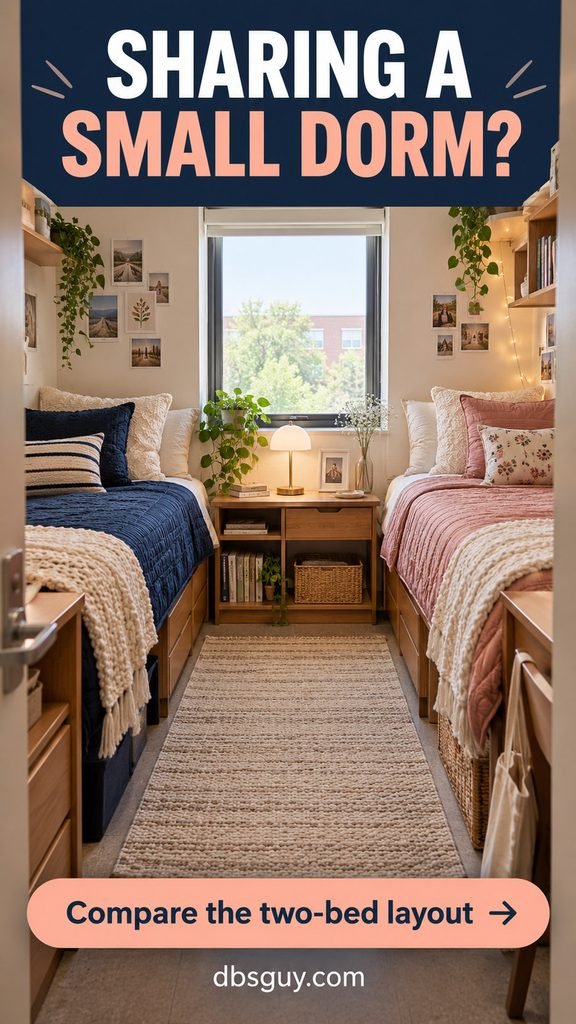
Plan both sides together. One person’s dresser drawer should not open into the other’s only way out of bed. If you share a bedside surface, keep it beyond the walking route and agree on its use. A room advertised as roughly 100 square feet per person has very different possibilities from a room that totals 100 square feet.
4. Use an Approved Loft to Combine Sleep and Study
A loft is the biggest layout change on this list: a desk can occupy the space beneath the bed. Ask housing whether your specific room and bed permit it, who installs it, and which parts must be used. Some campuses restrict lofts to particular buildings or prohibit them.

Check sitting clearance below, usable space above the mattress, and an unobstructed ladder. The CPSC’s bunk-bed guidance calls for upper guardrails on both sides, with their tops at least 5 inches above the mattress. Have housing check the complete setup, including any topper. Skip this option if the approved configuration does not fit your room or your needs.
5. Give Under-Bed Bins a Front Row
Under-bed storage works at ordinary bed height, too. Measure the tightest clearance beneath the frame, including rails and supports, before choosing containers. Include the lid and wheels in the container’s height.

Use a row of bins you can pull out from the open side. Put frequently used clothes near the easiest handle and occasional supplies farther back. Measure the floor space needed to remove a bin completely; a box that fits under the bed can still be awkward to open. Leave a clear gap at your preferred place to step out of bed.
6. Replace an Extra Nightstand With a Bedside Caddy
If your nightstand holds little more than a book, glasses, and phone, a fabric bedside caddy may cover the same job. Choose an attachment designed for your bed frame and keep the pockets on the accessible side.
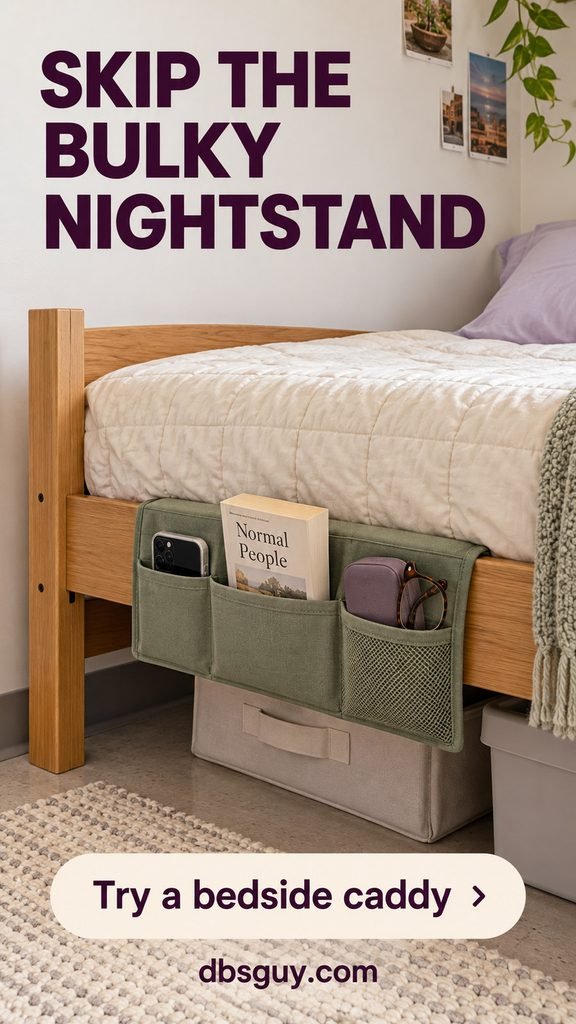
Put small, light items inside so the caddy stays flat and easy to reach. Make sure it does not cover a bin handle or catch your feet as you stand up. Charge devices on a suitable hard surface rather than inside a fabric pocket or under bedding. Keep drinks on a stable surface away from electronics.
7. Add a Modest Desk Hutch Instead of Another Bookcase
A desk hutch can move textbooks and supplies above the writing surface while using the desk’s existing footprint. First check whether your supplied desk already has one. If you add a compatible unit, follow its assembly, attachment, and load instructions.
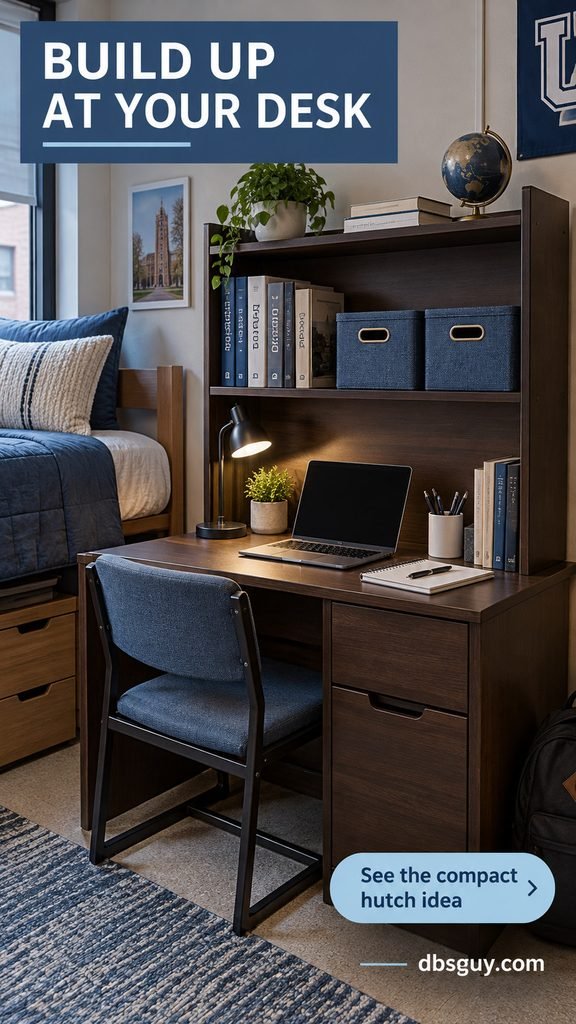
Measure the opening for your laptop or monitor, including the screen when raised. Keep heavier books on a lower shelf and use small bins for loose supplies. Leave the main work area free for an open notebook. If the hutch requires anchoring that housing does not allow, choose a different storage option.
8. Let the Desk Double as a Vanity
A folding mirror and a small cosmetics kit can turn the desk into a getting-ready spot without adding a vanity. Keep daily products in a removable tray or pouch that fits inside a drawer when classwork takes over.
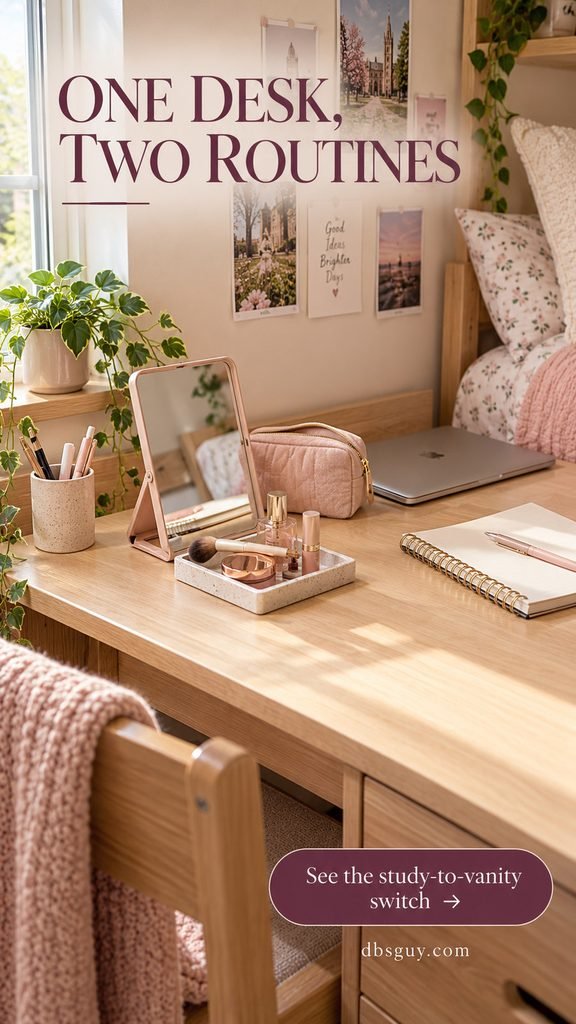
Try the whole switch before buying organizers: set up the mirror, use the products you need, then clear the desk for an open notebook. If the kit has nowhere to go, reduce it or assign it a cart shelf. Store liquids upright and away from schoolwork. Hot tools need a suitable heat-resistant surface and time to cool before storage.
9. Make a Small Landing Spot for Your Bag and Keys
A light tote and jacket can live on permitted hooks near the entrance or desk. Add a little key dish on an existing dresser, and your arriving-home routine has a place to end.
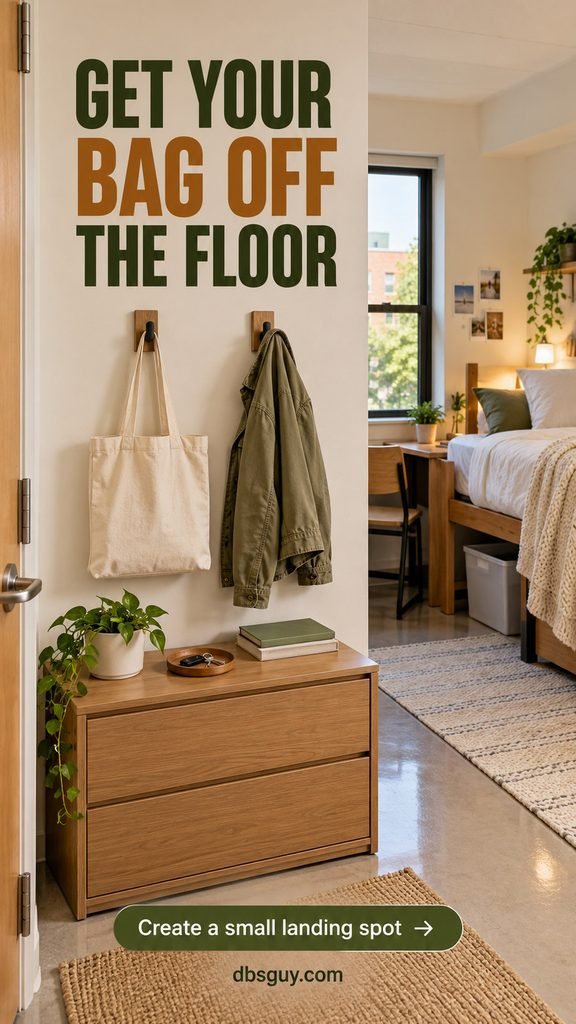
Match each hook to the surface, item weight, and manufacturer’s directions. Removable adhesive does not guarantee a damage-free result, and housing may restrict it. A loaded backpack may need a dedicated spot in the closet instead. Keep hooks, straps, and hanging clothes away from the door swing, switches, and safety equipment. The goal is a clear floor when you walk in.
10. Assign One Job to Each Rolling-Cart Shelf
A narrow cart is useful when loose supplies keep spreading over several surfaces. Decide what it will hold before choosing its size. For a study cart, the top shelf can hold the current notebook and pens, the middle can hold tech accessories, and the bottom can hold refills.
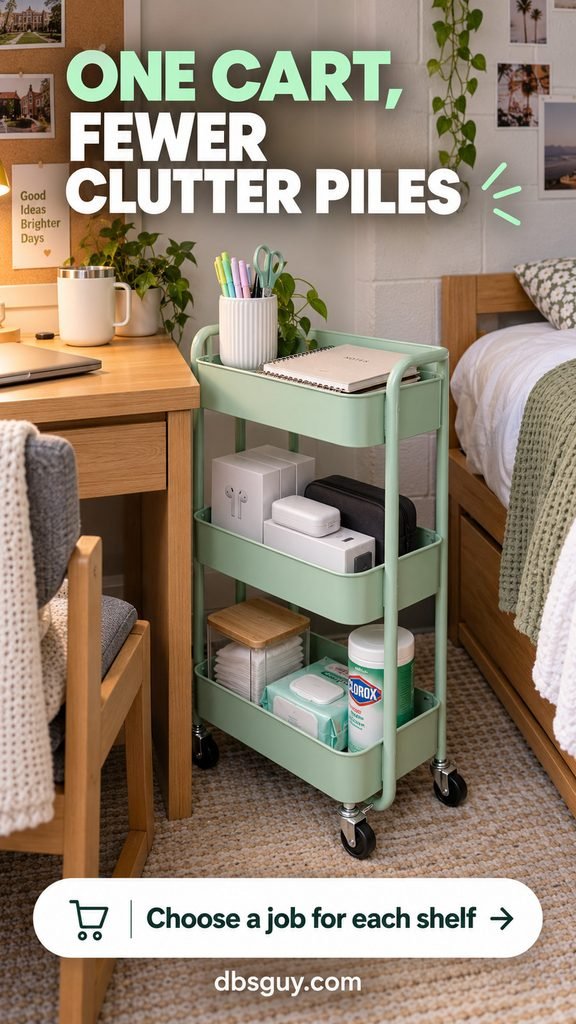
Find a parking spot beside the desk or dresser and measure it, including the cart’s handles and wheels. Leave space to reach the shelves. Use wheel locks where supplied, and return the cart after use. If it can only live in the walking route, use storage inside existing furniture instead.
11. Use Closet-Door Pockets for Small Accessories
An over-door pocket organizer can gather socks, belts, and small accessories that otherwise fill several drawers. Use a suitable closet or wardrobe door, subject to housing rules. Keep the items you use most often at an easy-to-reach height.
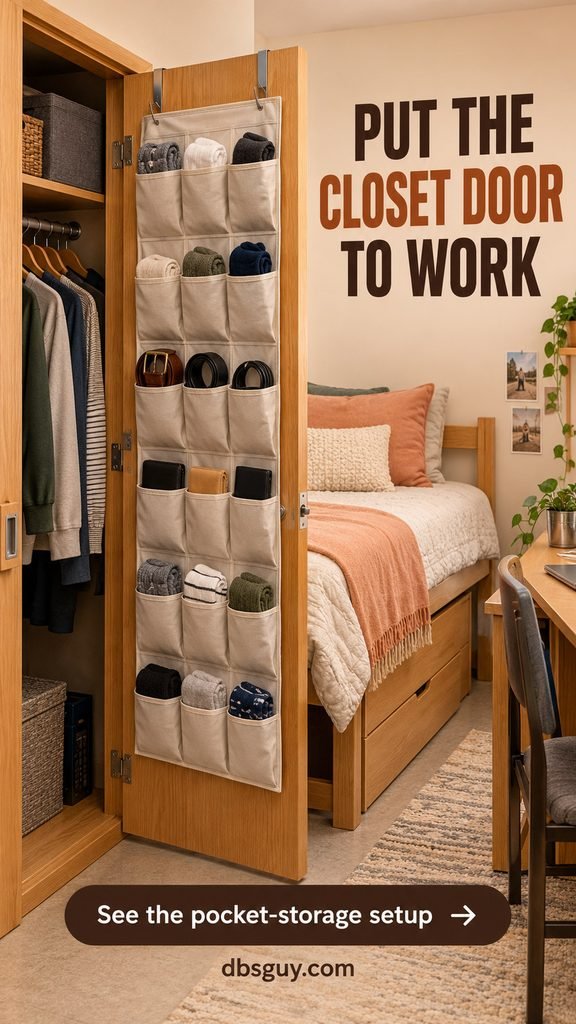
Test the loaded organizer with the door fully open and closed. The brackets must fit without forcing the door, damaging its finish, or interfering with its hardware. Deep pockets can collide with clothes or furniture. Avoid assuming the room’s entrance door is available for storage; use the approved closet setup that actually works in your room.
12. Edit the Closet, Then Switch to Slim Hangers
Matching slim hangers reduce hanger bulk and make clothing easier to scan. They work best after you choose what needs to live on the rod. Keep current-weather clothes and regular campus outfits accessible, with occasional pieces together at one end.

Clothes still need space between them. If you must force each hanger into place, remove a few garments or move foldable items into drawers. Use suitable supportive hangers for heavier pieces. Before adding a second hanging rod, check whether the closet height, long garments, and weight limits allow it.
13. File-Fold T-Shirts Inside Existing Drawers
Stand folded T-shirts in rows so you can see their edges from above. This makes it easier to select one without lifting a stack. Start with one drawer and adjust the fold to its depth rather than buying a full organizer set.

Close the drawer gently with a sample shirt inside. If the fabric catches, make the fold lower or remove a layer. A simple divider can keep a short row upright. Leave enough looseness to pull out a shirt and return clean laundry; tightly packed rows quickly turn into another pile.
14. Choose a Hamper for an Existing Nook
Measure the gap beside the dresser or beneath short hanging clothes before choosing a hamper. A narrow, breathable bag or basket can fit an awkward space that would otherwise stay unused.

Check how you will lift it out when full. Handles need clearance, and a closet rod should not trap the hamper beneath the clothes. Match its capacity to how often you can realistically do laundry. Let damp towels dry on an approved hanging spot before putting them away. An overflowing hamper in the aisle usually needs a laundry routine adjustment as well as a better location.
15. Secure a Full-Length Mirror to a Suitable Closet Door
A slim door-mounted mirror gives you an outfit check while keeping its base off the floor. Position it so the reflection picks up a window or a tidy part of the room. That can make the view feel more open.

Choose a mirror and mounting system suitable for the door, and follow both housing rules and the product instructions. Check weight, bracket clearance, and the full door swing. Avoid a loose leaning mirror where a roommate’s bag or the desk chair can knock it. If the door cannot support the approved setup, keep the smaller mirror you already have.
16. Repeat a Small Color Palette Across the Room
Use the furniture you have as part of the palette. With dark wood, try cream bedding, sage fabric, and a muted rose accent. Repeat one color in a lamp or storage bin so the bed and desk feel connected.
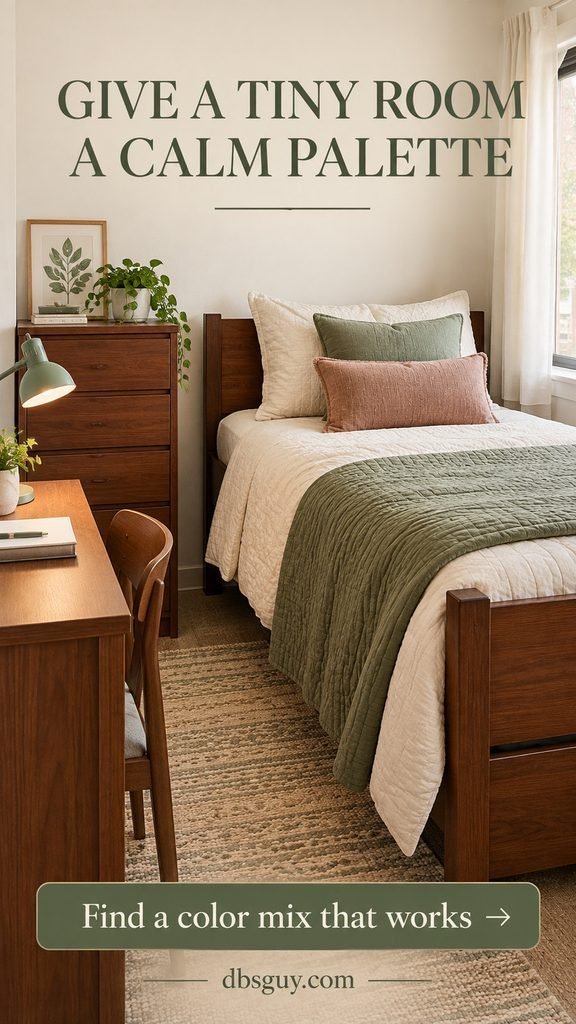
Choose a few broad color areas before adding small patterns. Your room can still be colorful; giving the colors a clear relationship helps the eye move through it. Roommates can use different bedding while sharing a neutral base. Start with sheets and a throw you already own, then add only the accent the room seems to need.
Also read: 13 Blue Dorm Room Ideas for a Calm, Coastal Vibe for more ways to carry one color through bedding and storage.
17. Let One Lightweight Art Print Lead the Wall
One well-placed print can give the desk wall a focal point while leaving surrounding wall visible. Choose a lightweight piece that fits within your hall’s permitted wall coverage and mounting rules. Repeat a bedding color in the artwork to connect the areas.

Use paper to test the size and position before mounting anything. Check the view from the doorway and from the chair. Keep the print clear of lights, vents, outlets, and safety equipment. Skip heavy framed pieces above the bed, and leave room around the print so the wall does not become another crowded surface.
18. Light the Spot You Actually Use
A compact task light can make a desk or reading corner more useful without adding a floor-lamp base. A clamp model is an option only when it suits the furniture and your housing rules. Test the clamp on a stable, compatible edge.

Aim the light at the page and away from your roommate’s eyes. Keep the fixture clear of bedding, paper, and curtains, following its required clearances and bulb or power specifications. Do not drape anything over it to soften the light. Check that its switch is easy to reach and its cord stays clear of moving furniture.
19. Give Charging Cords a Route Along the Furniture
Choose a charging spot near an accessible outlet and a clear hard surface. Use suitable clips along the desk’s back edge to keep the cable from falling behind it. Leave enough slack for the device you actually use.

Keep cords clear of chair wheels, door hinges, and drawer runners. Do not hide them beneath a rug or pinch them behind furniture. Follow campus electrical rules and use permitted power strips with internal overload protection; avoid overloading them. Keep strips accessible and uncovered. A visible, tidy cable path is easier to inspect than a bundle stuffed into a closed box.
20. Choose a Storage Ottoman Only If It Has a Parking Spot
A small ottoman can provide occasional seating and hold spare linens. It earns its place when both uses matter to you. Check its seating weight limit and make sure the lid opens comfortably in the intended spot.

Try its footprint with an empty box first. Sit on the bed, open the dresser, and pull out the chair around it. If it fits beneath a clear desk section, check knee space before making that its home. Never use it to access a loft. In the tightest room, the supplied desk chair may already cover your seating needs.
21. Use One Low-Pile Rug to Define the Bedside Area
A simple rug can make the open floor beside the bed feel intentional. Measure the exposed area, then choose a size that suits that patch of floor. A low pile is practical around doors and furniture that needs to move.

Use a suitable nonslip backing or pad where permitted, keep the corners flat, and check the door swing. Leave desk-chair wheels free to move comfortably. One rug is usually easier to place and clean than several overlapping mats. Keep electrical cords out from underneath it, and choose a pattern you can live with between vacuuming sessions.
22. Contain Snacks on a Dresser Shelf or Tray
Give room-temperature snacks one boundary: a small bin on an existing shelf or a tray on the dresser. Keep food in closed packaging or suitable sealed containers, and store cleaning products separately.

Bring a quantity that fits the space and rotate older packages forward. This keeps a few snacks from becoming loose boxes under the bed and on the desk. The example here uses no heated appliance, so the surface remains a simple storage spot. If you also want coffee supplies, plan the cleanup and approved equipment before adding a second station.
Also read: 13 Dorm Coffee Station Ideas That Beat the $7 Latte Habit to plan a drink setup around the space and equipment you can use.
23. Make Your Suitcase Hold the Off-Season Extras
Before buying another storage tote, put the suitcase you brought to work. Nest smaller luggage inside it, or use the empty case for clean, dry clothes you will not need soon. Choose an accessible storage spot that suits its size and weight.

Label what is inside so you do not unpack it every time you need one item. Keep daily essentials elsewhere; a suitcase is better for occasional access. Avoid putting a heavy loaded case on a high shelf. At the next trip home, swap what you need for the coming weather and remove what you have stopped using.
Small Dorm Room FAQs
How do you make a small dorm feel bigger without lofting the bed?
Keep one continuous walking route, use low bins that fit beneath the existing frame, and move small bedtime items into a caddy. A suitable desk hutch and closet-door organizer may add storage without another floor unit. Choose only the additions that solve a real overflow problem.
What should I buy first for a tiny dorm?
Wait until you know the supplied furniture and measurements. Start with the item that removes your biggest daily obstruction: perhaps a correctly sized hamper, one under-bed bin, or a bedside caddy. Use the room for a few days before adding an ottoman, cart, or extra shelving.
Can two people use these ideas in a 100-square-foot room?
Use your assigned room’s occupancy and approved furniture layout as the starting point. Two beds, desks, and clothing areas leave far less free floor in a room that totals 100 square feet than in a room with that much space per person. Coordinate storage, protect each person’s access, and ask housing about permitted alternatives if the supplied arrangement is difficult to use.
Are removable hooks and peel-and-stick decor always allowed?
Permission depends on the residence hall and wall or door surface. Ask housing which products are allowed and follow the mounting manufacturer’s directions and load limits. If the approved attachment is unsuitable, use your existing desk, drawers, or furniture-based storage instead.
Start with the arrangement that lets your door, chair, drawers, and storage work comfortably. Live with that layout, notice where things still collect, and choose the next change around that specific problem.
Also Read
15 Pink Dorm Room Ideas That Are Anything But Basic — color combinations and small styling changes to adapt after your layout works.