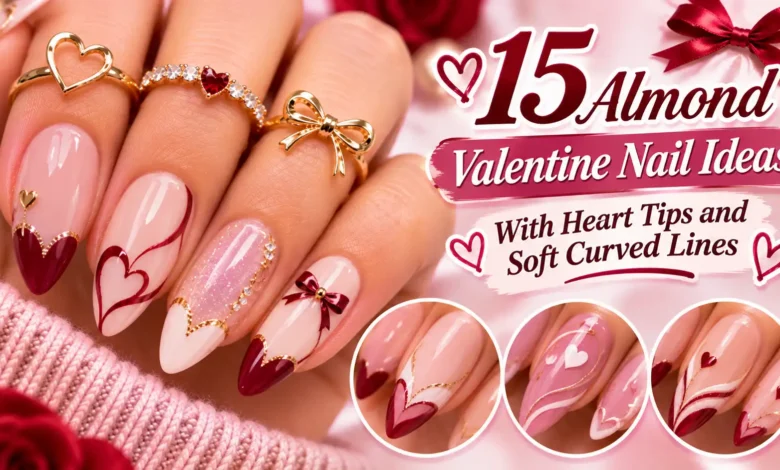
If you want your Valentine manicure to read as a heart at a glance, start with cherry sweetheart tips. If you’d rather wear the set well past February 14, try a merlot ribbon or an ivory side sweep. Both use the taper of an almond nail to make the artwork feel like part of the shape.
For short almond nails, save the floating French or the espresso cuticle cuff. If you have more room, compare the two-tone heart tips and the heart windows. The space around the detail matters just as much as the color.

The images are AI-generated manicure concepts. Use them as references for shape, color, and placement.
Heart Tips That Follow the Almond Shape
A painted sweetheart tip has two lobes facing the cuticle and a small dip between them. The rounded almond point finishes the heart. When you show a reference, point to that little dip so your artist knows you want the paint shaped into a heart.
1. Cherry-Red Sweetheart Tips
Start with sheer pink and paint the ends in opaque cherry red. Extend the red to both sides of the free edge, with two rounded lobes meeting in a notch on the nail’s centerline. The point of the heart follows the natural taper. Keep the pink visible from the cuticle up to the lobes so the tip still feels like a French manicure.
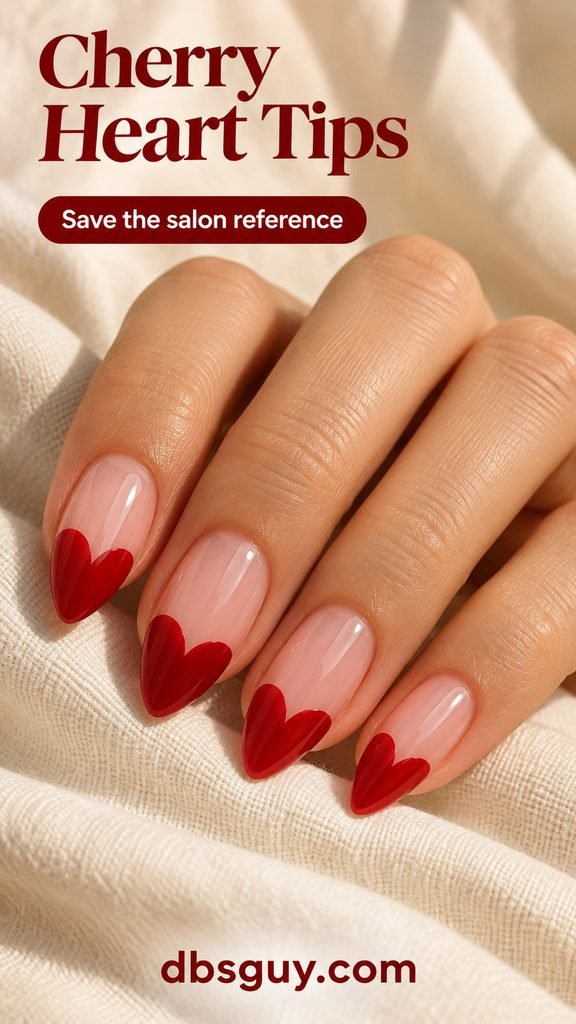
If you’re painting with regular polish, try the two halves on one accent nail first. OPI’s heart-tip tutorial shows how to paint one half at a time before adding any extra detail.
2. Raspberry and Ballet-Pink Split Hearts
Give each half of the heart its own color. Put raspberry on one side and opaque ballet pink on the other, over a sheer rose-beige base. Line up the color seam with the almond point. A crisp join gives the two shades a shared shape, even if one side of the nail is naturally a little wider.
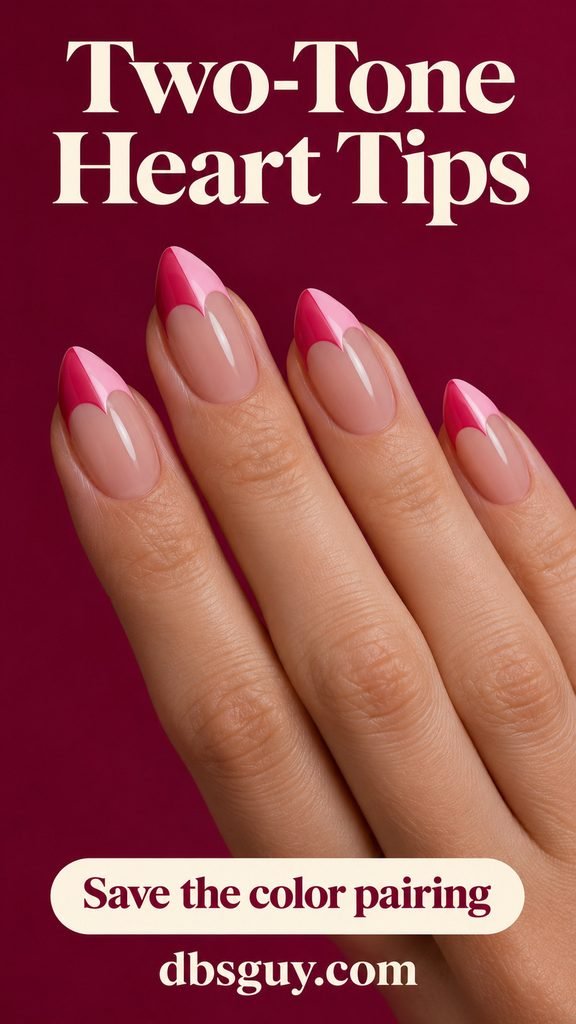
Try the split on the middle and ring fingers if your pinky is too narrow to show both colors comfortably. One shade across the smaller tips keeps the set tied together.
3. Burgundy Tips With a Sheer Heart Window
This version puts the heart inside a deep burgundy French tip. Leave a little heart-shaped opening that shows the sheer base below. Choose the broadest accent nail so there’s room for a visible burgundy border on every side of the opening. If the heart touches the edge, the design reads as a cutout in the border.
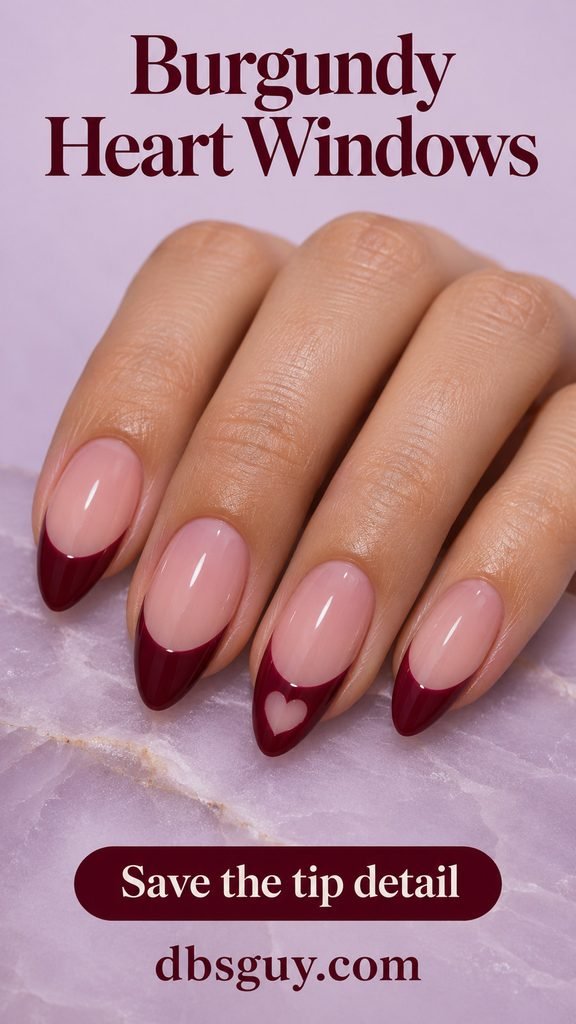
4. Cranberry Heart-Outline Tips
Draw only the double-lobed boundary where a sweetheart tip would start, then leave the rest sheer. Cranberry gives the outline enough contrast over blush to show the center dip. A fine detail brush can make the shoulders of each lobe clean, especially where the stroke meets the sides of the nail.
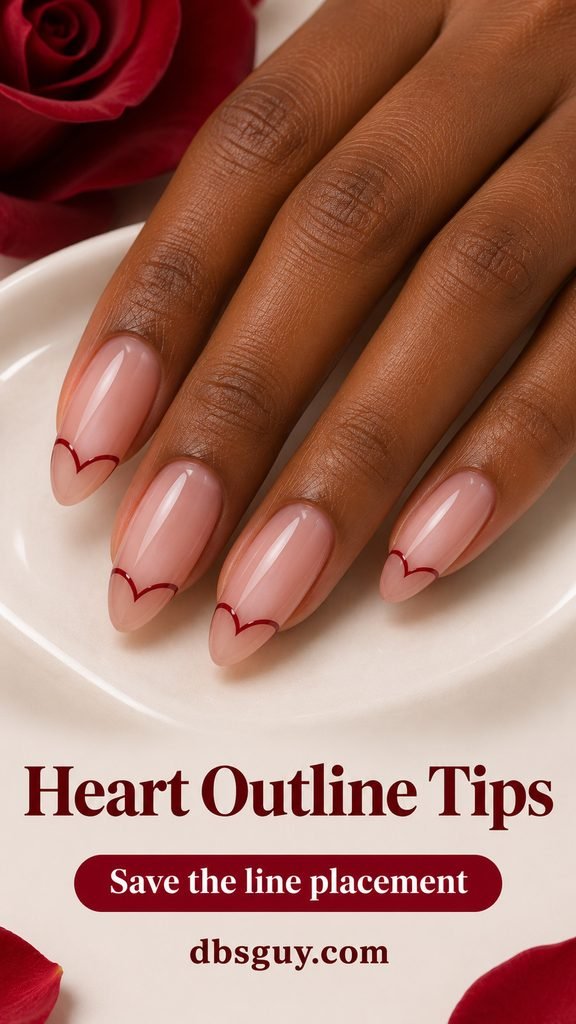
If there’s room for only one shallow curve on your smallest nail, let it echo the accent nails. A second bump squeezed into the corner can make the edge look uneven.
5. Off-Center Red Heart Tips
Slide the heart toward one side of the nail so one red lobe climbs higher along that side. Keep the little dip visible and let the color narrow toward the almond point. The bare pink space opposite the red is what makes this look feel like a side French.
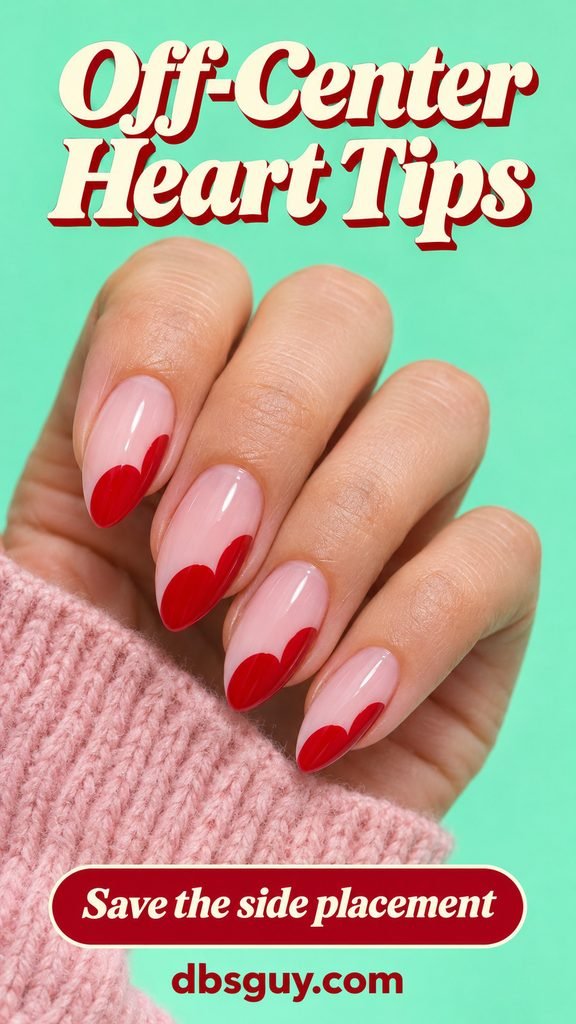
Ask your artist to show you one side placement with your hand relaxed. You can repeat that direction across the set or mirror it from one hand to the other.
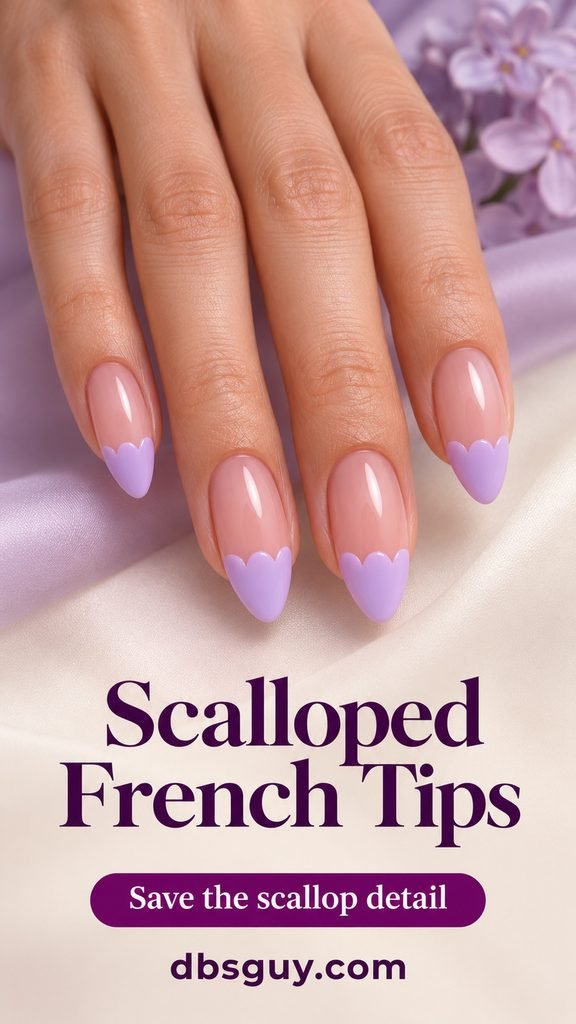
6. Lilac Scalloped French Tips
For a tip that hints at a heart, trade the central dip for a row of rounded scallops. Paint them along the inner edge of a solid lilac tip. Start with two or three shallow lobes on broader nails. On narrower nails, fewer scallops keep each bump readable and give the polish room to reach the edge cleanly.
Also Read · 13 Unique Valentine Nail Ideas With Unexpected Colors and Clever Details
Soft Curves for a Quieter Valentine Set
Where a line starts changes the look. Put it close to the tip for a light French effect, low at the cuticle to frame the base, or diagonally across the nail to make the most of a sheer center.
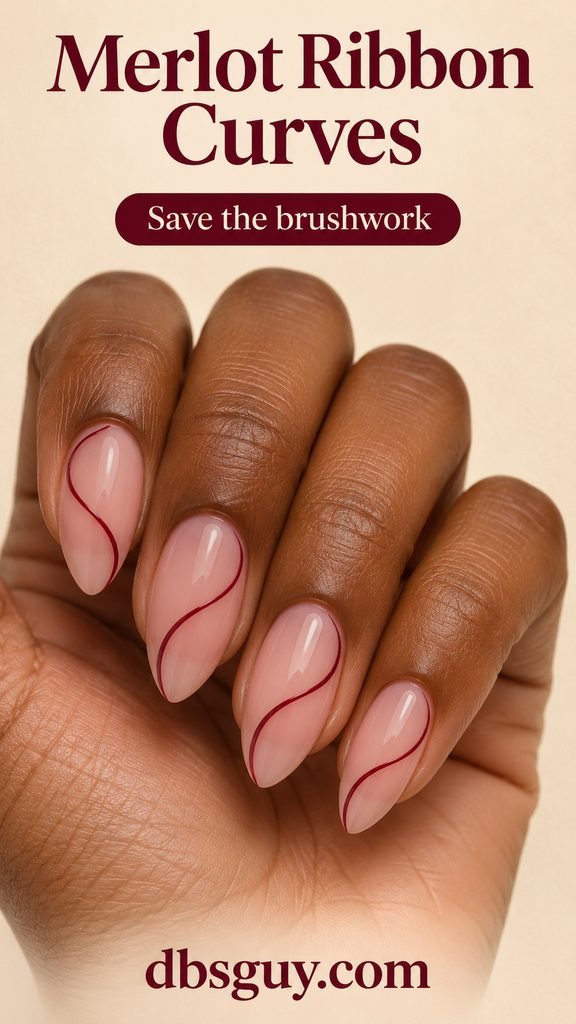
7. Merlot Ribbon Curves
Start a thin merlot stroke low on one side of the nail, let it drift across the center in a loose S, and finish near the opposite side of the tip. A single continuous stroke gives the design movement. On a short almond, relax the S into one long bend so it has room to breathe.
8. Floating Rose-Red French Lines
Place a narrow rose-red arc a little below the free edge so a sliver of sheer rosy beige remains visible above it. Look at the nail straight on and check that you can see both the painted curve and the real nail edge.

If you’re choosing among quieter looks, see 15 Classy Valentine Nail Ideas for Dinner Plans and Everyday Wear for other ways to keep the artwork light.
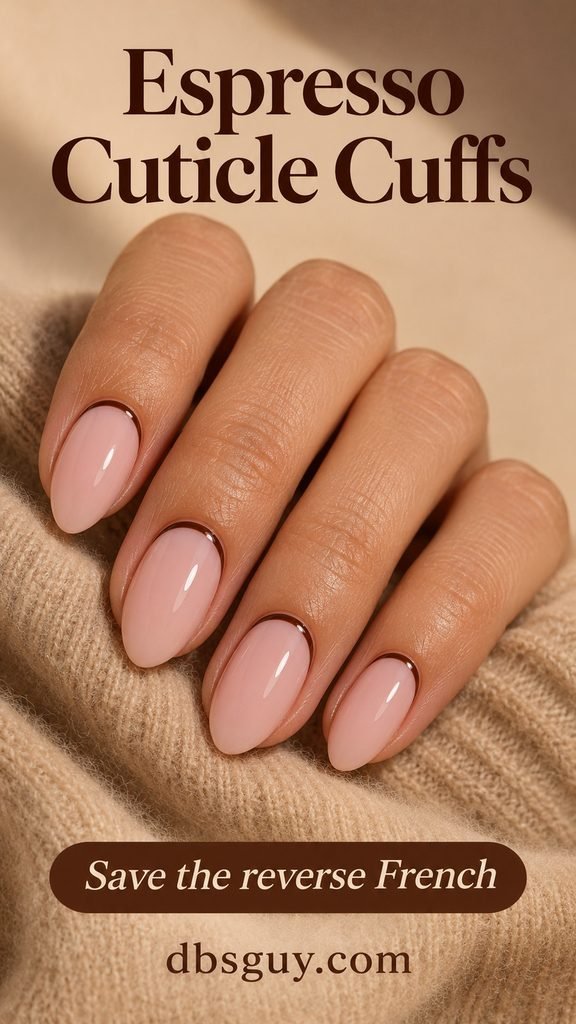
9. Espresso Cuticle Cuffs
Put the contrast at the other end. A fine espresso crescent hugs the curve of the cuticle over a glossy milky-pink base. Leave a sliver of pink between the brown line and the skin, and taper the stroke where it ends on each side. The cuff uses the wider part of the nail, which makes it a good option when the tips are short.
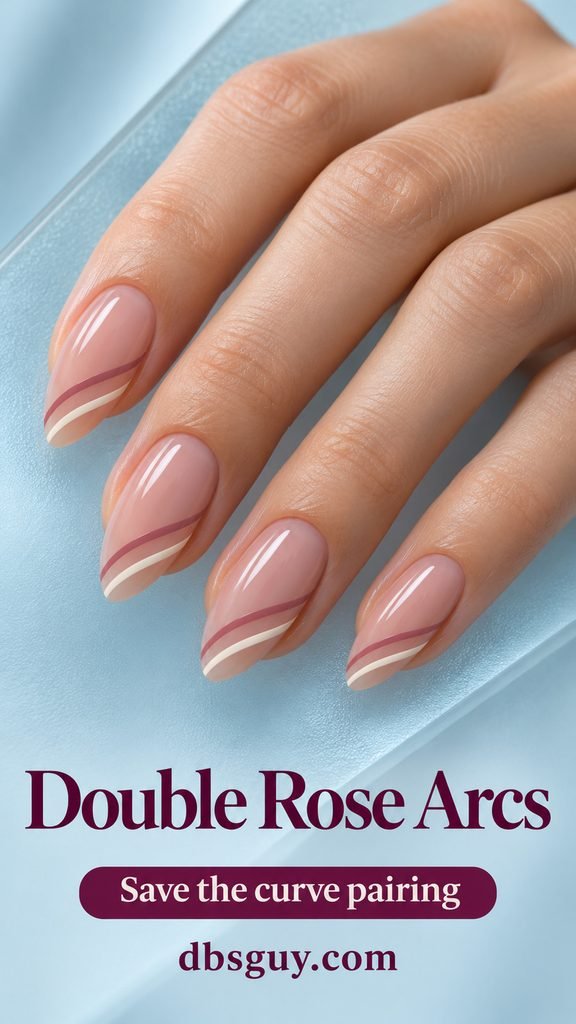
10. Dusty-Rose and Ivory Double Arcs
Pair a narrow dusty-rose arc with a fine ivory line, both sweeping diagonally across the outer half of the nail. Let the sheer rose base show between them. If the lines start to look like one thick stripe on a smaller nail, drop the ivory there and repeat the single dusty-rose curve.
11. Creamy Ivory Side Sweeps
Ask for a small ivory wedge that hugs one sidewall and curls around the rounded point. Let it taper before it reaches the other side. The broad sheer-pink area beside the wedge shows off the almond shape and makes the white feel softer than a full-width French tip.

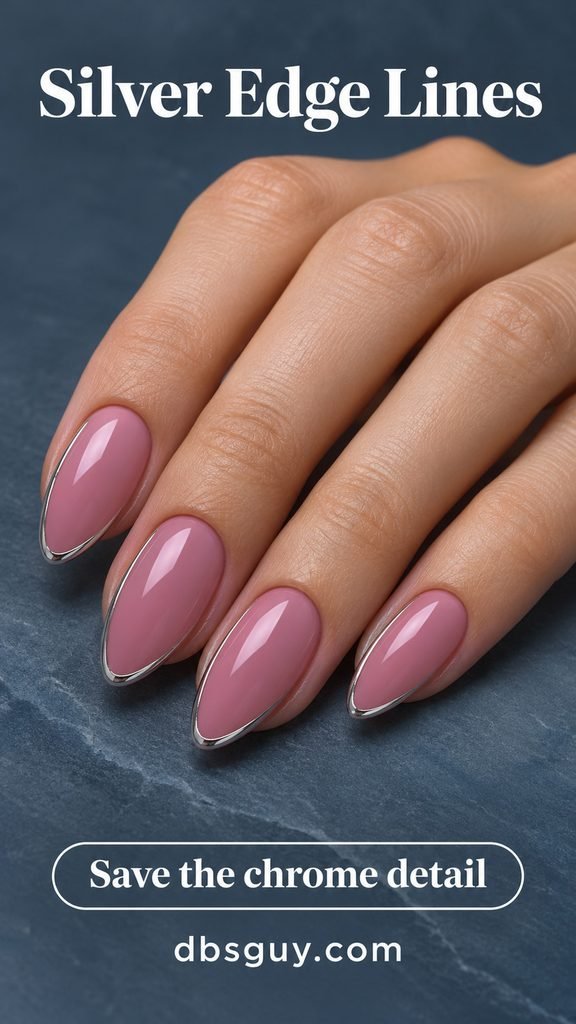
12. Silver Lines Over Mauve
For a little shine, trace the almond edge with a narrow metallic silver line and carry it up just one side. A glossy mauve-pink base keeps the finish in the Valentine palette. Choose a fine edge with enough silver to catch light when you move your hand. A wide chrome band can take over the mauve on a shorter set.
Also Read · Minimalist Valentine Nails With Tiny Details and Plenty of Bare Space
Curves With a Focal Detail
These designs work best when you give one detail a clear job. Let a line make the heart, let an arc frame it, or let two translucent curves suggest petals.
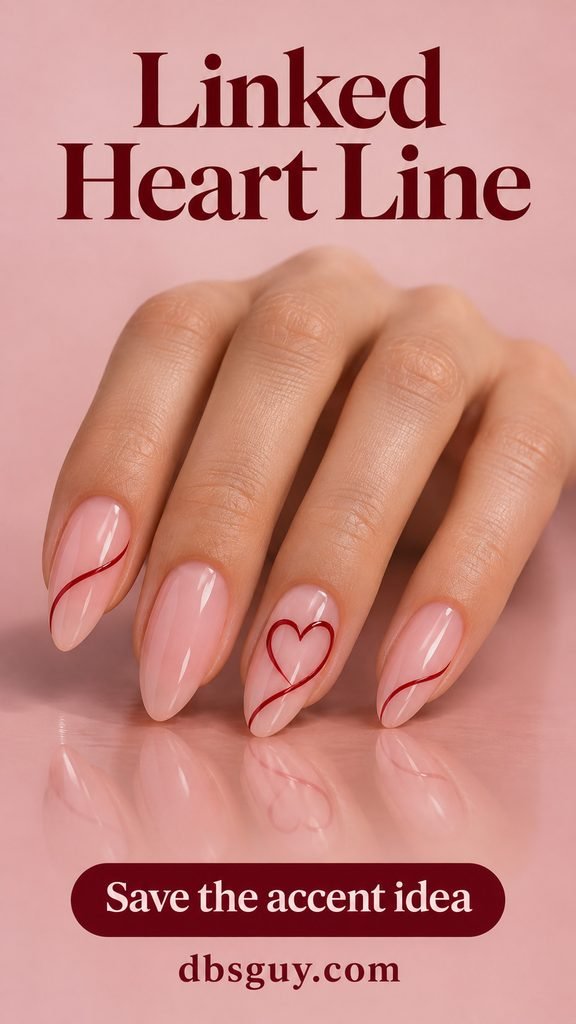
13. A Heart Drawn From One Ribbon Line
On a sheer rose accent nail, draw a wine-red outline heart with one stroke continuing into a curved tail. Set the heart a little above the center so the tail has room to turn. Repeat the wine shade as a simple curve on nearby nails to keep the accent easy to spot.
14. Cherry Heart With a Halo Arc
Place a small cherry heart just back from the almond point. Then add a separate cherry arc close to the free edge. Leave a clear strip of milky pink between the heart and its halo. If your nails are short, put both details on one accent and use the fine arc alone on the others.

15. Translucent Rose and Coral Petal Curves
Start two translucent strokes from the same side of the nail and fan them toward the tip. Let the coral overlap the rose a little, so you can see where one passes over the other. Keep the cuticle area and opposite side mostly sheer, with color concentrated near the taper.

Also Read · 25 Valentine Nail Ideas to Help You Pick Your February Manicure
What to Ask for at the Salon
Bring one close-up that shows the detail you care about. Ask for the shortest soft almond your current length can comfortably support, then point out where the color should sit. If you’re choosing between two tip depths or line placements, ask to see one nail before repeating the design. The pinky can carry a simplified version of the same idea.
Can I wear these designs if my nails are too short for almond?
Yes. Try a short oval and keep the art you liked. The floating French line, espresso cuff, and cherry heart with a halo all adapt well. A full painted sweetheart tip needs enough taper for the end of the nail to read as the heart’s point, so a small complete heart makes a cleaner substitute when there’s little free edge.
Also Read · 17 Oval Acrylic Nails for February With Soft Edges and Romantic Details
What’s easiest to try with regular polish?
Try the merlot ribbon on one nail or the floating French line on two. Let the base color dry, then wipe excess polish off a fine striping brush before drawing the line. Finish with top coat once the artwork is dry enough to avoid dragging the color across the base.