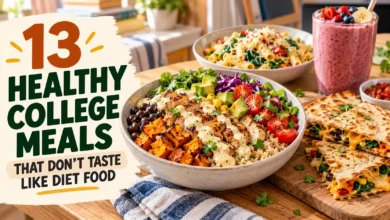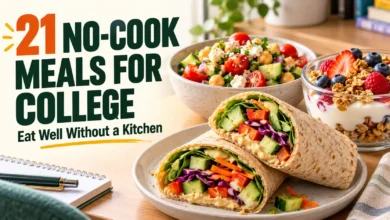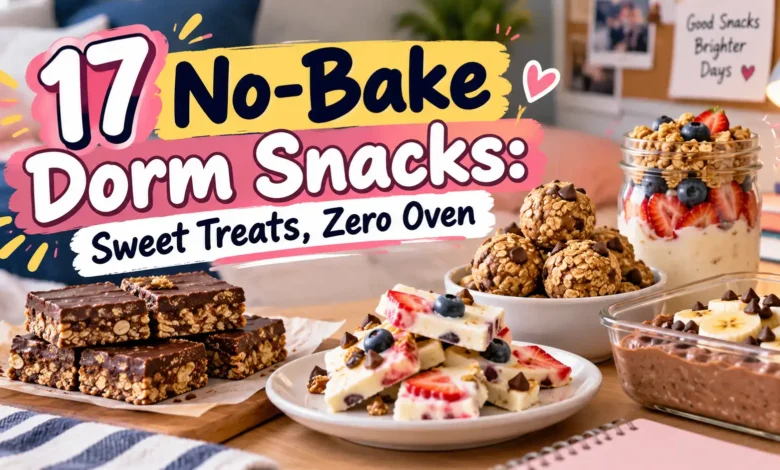
Craving something sweet in a dorm room? Start with pretzel sandwiches when you want crunch, a strawberry cheesecake cup when you have yogurt in the fridge, or oat bites when you want a few portions to save. These 17 no-bake dorm snacks need no oven, stove, microwave or blender.
Some are ready to eat as soon as you assemble them. Others need time in the fridge, and just one needs a freezer. The quantities below make small batches so a snack does not take over your desk or mini fridge.
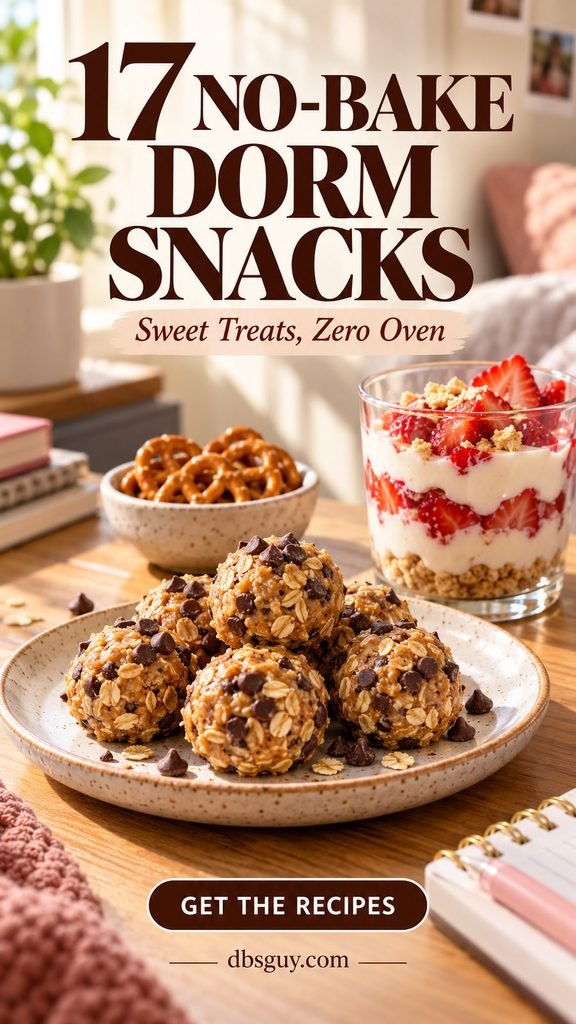
Recipe note: These research-informed recipes have not been kitchen-tested; preparation and setting times are estimates. The images are AI-generated serving concepts, not photographs of tested batches.
Pick a Snack That Fits Your Dorm
- No fridge: Try s’mores stacks (#5), pretzel sandwiches (#7), stuffed dates (#8) or the dry trail mix (#9). Use spreads that allow room-temperature storage, and assemble only what you will eat.
- Something sweet right now: The apple nachos (#4), pudding cup (#6) and rice cakes (#14) need no setting time.
- A small fridge shelf: Choose the cheesecake cup (#2), lemon-blueberry parfait (#10) or chocolate dip (#15).
- Prep tonight: Make the oat cup (#11), chia pudding (#12) or mini icebox cake (#17).
- A proper freezer: Try banana sandwiches (#16). The other 16 snacks do not require one.
A Small Setup—and Cold Storage That Works
A bowl, spoon, plate, measuring cups and spoons, a small knife and cutting board, and one or two covered containers are enough. Wash your hands, utensils, work surface and fresh produce before starting. Use packaged crackers, tortillas, cereal and other bases that are ready to eat.
Keep the mini fridge at 40°F or below and a freezer at 0°F, checked with an appliance thermometer. Refrigerate dairy-based snacks and other perishables promptly. Discard perishables left out longer than 2 hours, or 1 hour above 90°F. Follow the FDA’s safe food handling guidance, and use a cold pack when carrying chilled snacks to class.
Milk or pudding sold as shelf-stable may need refrigeration once opened. Follow each package’s directions, and use the earliest ingredient deadline when combining foods. For these small batches, aim to eat dairy-and-fruit mixtures the day you make them or the following day; this is a practical planning recommendation, not a validated shelf life.
Peanuts, tree nuts, milk, eggs, wheat, soy and sesame can appear in these ingredients. Check labels and your roommate’s allergies before sharing. Sunflower seed butter can replace nut butter in several recipes, but it is only suitable for an allergy when its own ingredients and cross-contact labeling fit.
1. Peanut Butter Chocolate-Chip Oat Bites
Makes 6 bites (3 snack portions) • About 10 minutes; optional 30-minute chill
Make these when you want something chewy that you can portion out instead of eating straight from a jar. Creamy peanut butter and honey hold the oats together; no melted chocolate or flour is involved.
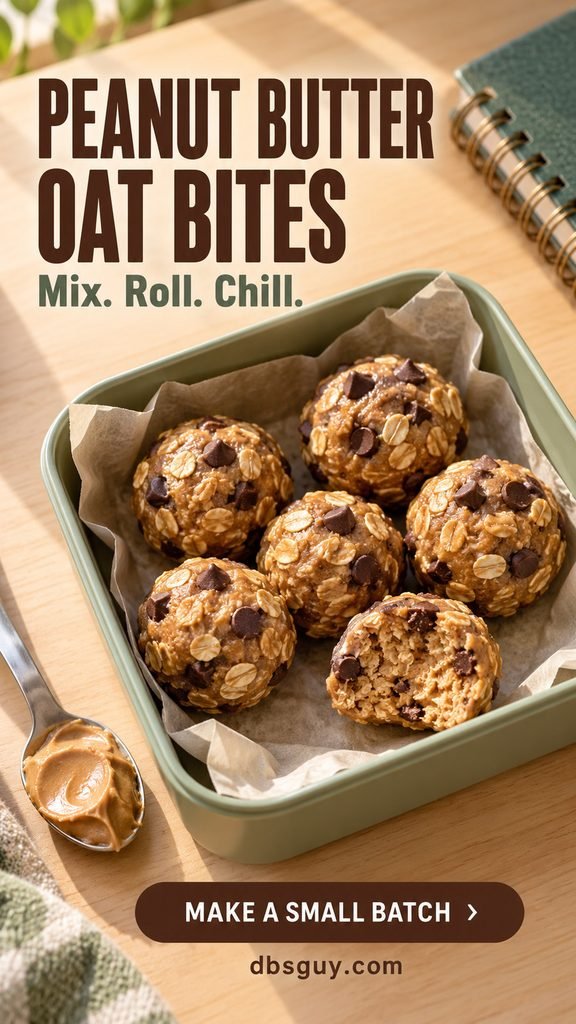
Ingredients
- ½ cup quick-cooking rolled oats
- ¼ cup creamy peanut butter
- 1 tablespoon honey
- 1 tablespoon mini chocolate chips
How to Make It
- Stir the peanut butter and honey together, then work in the oats and chocolate chips. Let the mixture rest for 5 minutes.
- Squeeze a spoonful in your palm. If it crumbles, mix in another teaspoon of peanut butter; if it is too sticky to handle, add a teaspoon of oats at a time.
- Press into 6 compact balls. Eat now, or cover and refrigerate for about 30 minutes for a firmer texture.
Use rolled oats suitable for no-cook preparation, following their label. Steel-cut oats will stay too hard here. Refrigerate any extra bites in a covered container and plan to eat them within 3 days; this is a conservative planning window, not a tested shelf life.
2. Strawberry Cheesecake Cup
Makes 1 cup • About 5 minutes • Refrigerated ingredients
This is a spoonable cheesecake-style snack, with loose graham crumbs instead of a crust. Spreadable cream cheese mixes more easily with a spoon than a cold block does.
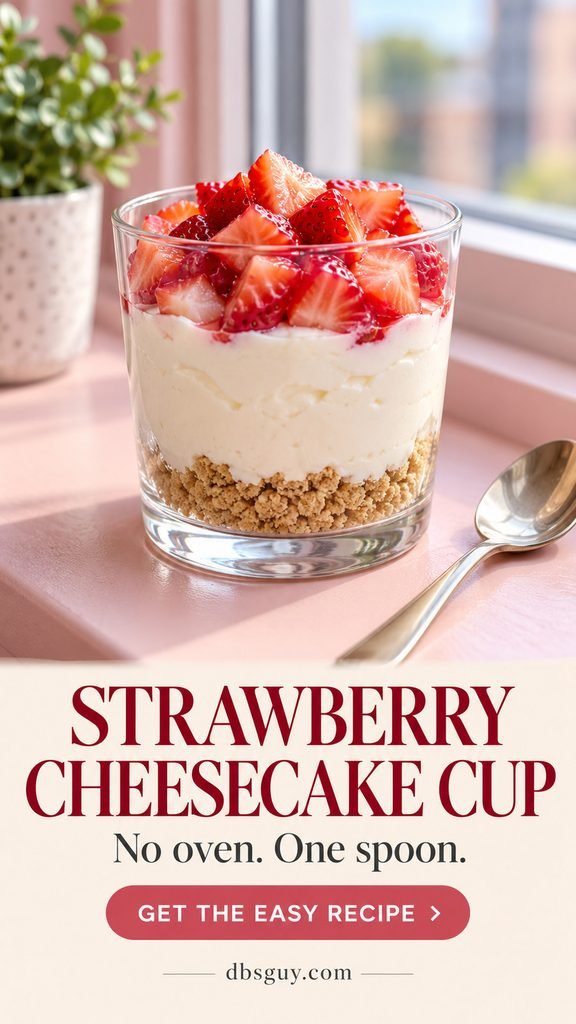
Ingredients
- 2 graham cracker squares, crushed (about 2 tablespoons crumbs)
- 2 tablespoons plain spreadable cream cheese
- ⅓ cup plain Greek yogurt
- 2 teaspoons honey
- ⅓ cup diced strawberries
How to Make It
- Mash the cream cheese with the honey until smooth. Stir in the yogurt a spoonful at a time.
- Put the graham crumbs in an 8-ounce cup. Spoon the filling over them, then add the strawberries.
Eat right away for a crunchy base. If making it ahead, refrigerate the filling and berries separately from the crumbs and assemble when you want it.
3. Banana Tortilla Pinwheels
Makes 1 roll, cut into 8 pieces • About 5 minutes • No chilling needed to serve
A tortilla keeps the peanut butter off your fingers, while the banana makes each little round soft in the middle. It is a useful choice when you want a sweet snack with something to chew.
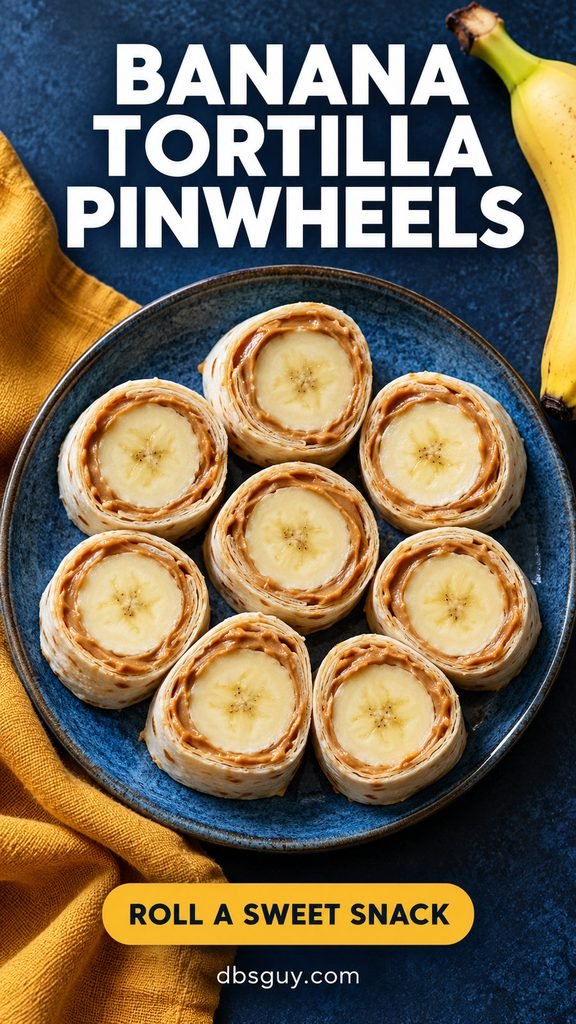
Ingredients
- 1 soft 8-inch flour tortilla, ready to eat
- 1 tablespoon creamy peanut butter
- 1 small banana, peeled
How to Make It
- Spread the peanut butter thinly over the tortilla, leaving about ½ inch bare along the far edge.
- Place the banana near the closest edge. Roll the tortilla around it snugly, then put the seam underneath.
- Cut into 8 rounds with a clean knife. If the ends of the banana curve away from the tortilla, trim them and eat those pieces alongside.
Choose a pliable tortilla; a dry one may split without warming. Make this just before eating so the banana does not brown and the tortilla stays pleasant.
4. Apple Nachos with Chocolate Chips
Makes 1 plate • About 5 minutes • Serve immediately
Thin apple wedges give you a crisp base for a small amount of rich topping. Arrange them in one layer so every slice gets some peanut butter instead of leaving a heavy puddle in the middle.
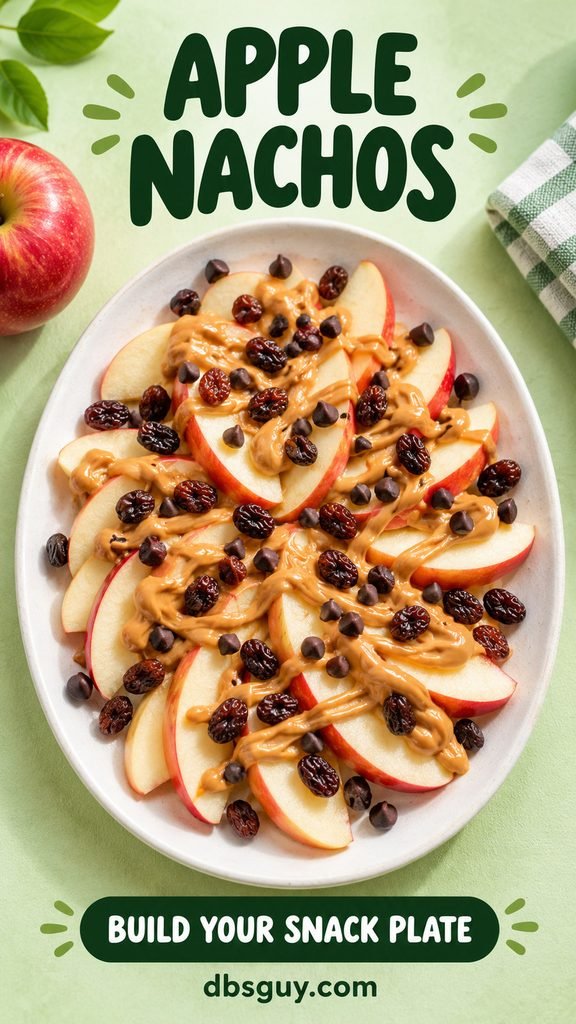
Ingredients
- 1 medium apple, washed and cored
- 2 tablespoons creamy peanut butter
- 1 teaspoon water, only if needed
- 1 tablespoon mini chocolate chips
- 1 tablespoon raisins
How to Make It
- Cut the apple into thin wedges and fan them over a plate.
- Stir the peanut butter well. If it is too thick to drizzle, stir in water a few drops at a time, up to 1 teaspoon; it may thicken at first before loosening.
- Spoon thin ribbons over the apples. Scatter on the chocolate chips and raisins.
No need to save a fully dressed plate for later. If you want a snack for class, pack the washed whole apple and toppings separately, then slice and assemble when you can.
5. No-Heat S’mores Stacks
Makes 2 small sandwiches • About 3 minutes • No chilling needed to serve
Marshmallow creme supplies the soft center without a flame or microwave. These taste like a cold graham-and-chocolate sandwich; the marshmallow will not have a toasted flavor.
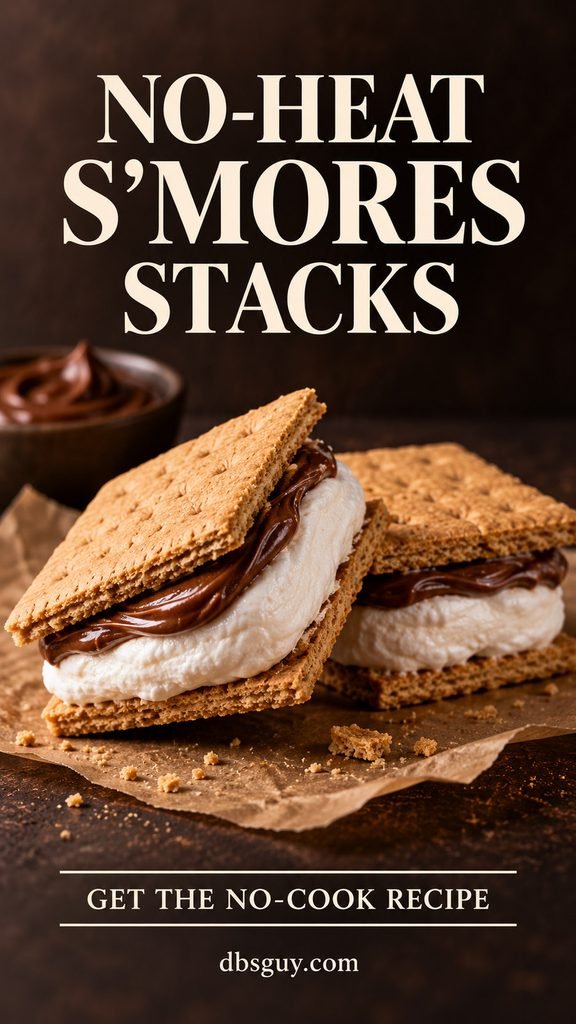
Ingredients
- 4 graham cracker squares
- 1 tablespoon chocolate-hazelnut spread
- 2 tablespoons marshmallow creme
How to Make It
- Spread the chocolate-hazelnut spread over 2 cracker squares.
- Add about 1 tablespoon marshmallow creme to each, keeping it back from the edges. Top with the remaining crackers and press lightly.
Eat soon after assembling; the filling can slide and the crackers soften as they sit. Chocolate-hazelnut spread often contains both milk and tree nuts, so check its label before sharing.
6. Cookies-and-Cream Pudding Cup
Makes 1 cup • About 3 minutes • Can use a shelf-stable pudding cup
Start with ready-to-eat vanilla pudding rather than a dry pudding mix. That keeps this truly stir-and-eat and avoids having to measure cold milk or wait for a mix to set.
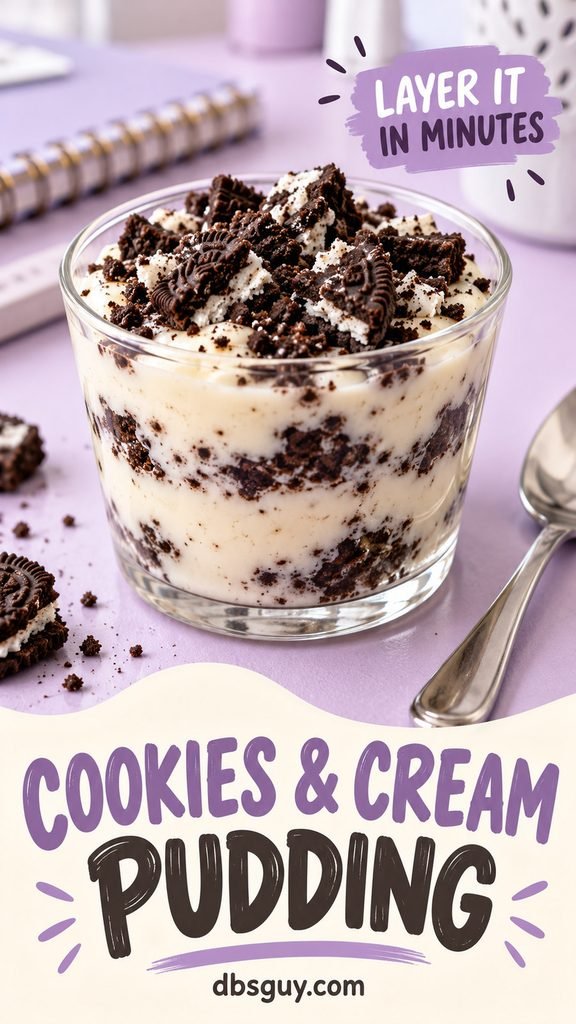
Ingredients
- 1 ready-to-eat vanilla pudding cup, about 3¼–4 ounces
- 2 chocolate sandwich cookies
How to Make It
- Put the cookies in a clean food bag and crush them with the back of a spoon. Leave a few larger pieces for texture.
- Stir half the crumbs into the pudding. Spoon into a small glass if you like, then add the remaining cookie pieces.
A pudding cup only belongs in the pantry if its label says so. Open it when you are ready to eat, and follow its refrigeration instructions for leftovers. Add the cookies last to keep their crunch.
Want a warm snack another night? The dessert ideas in 23 Easy Microwave Recipes for Dorm Rooms: No Kitchen Needed give you a separate set of microwave options.
7. Peanut Butter Pretzel Sandwiches
Makes 6 bites • About 5 minutes • No chilling needed to serve
Square pretzels make a tidy little shell for peanut butter and chocolate chips. This gives you a salty crunch without melting a chocolate coating or clearing space for a tray.
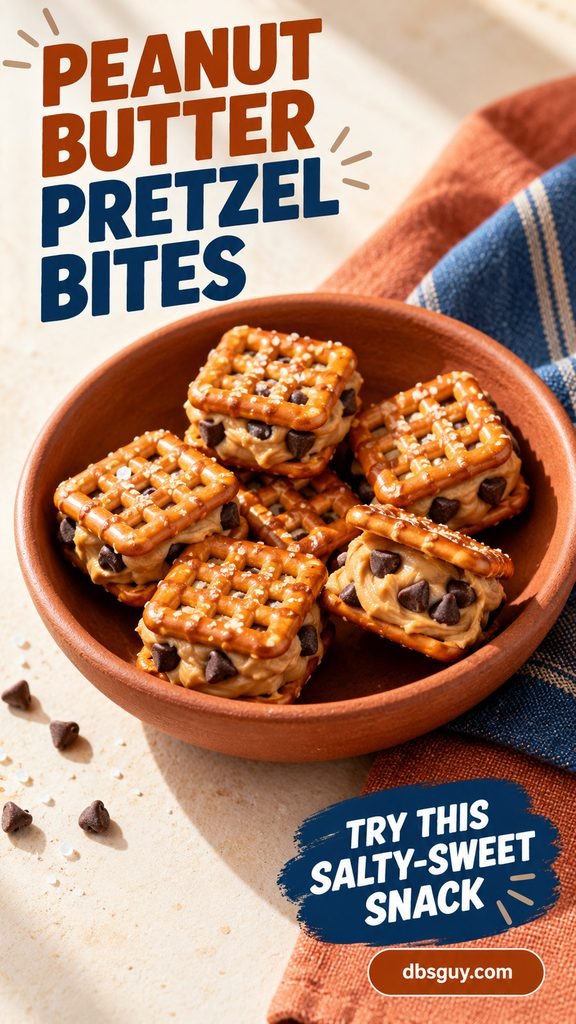
Ingredients
- 12 small square grid pretzels
- 2 tablespoons creamy peanut butter
- 2 teaspoons mini chocolate chips
How to Make It
- Lay out 6 pretzels. Divide the peanut butter between them, about 1 teaspoon each.
- Press a few mini chips into each mound. Add the other pretzels and press gently, just until the filling reaches the holes.
A thick, well-stirred spread works better than separated oil on top of a nut-butter jar. Make only what you plan to eat so the pretzels stay crisp.
8. Chocolate-Chip Stuffed Dates
Makes 4 stuffed dates (2 snack portions) • About 5 minutes • No chilling needed to serve
Soft dates give this snack a chewy, caramel-like center without making caramel. Buy pitted Medjool dates if you want the least prep, and still check that no pit fragments remain.

Ingredients
- 4 soft Medjool dates, pitted
- 2 teaspoons almond butter
- 2 teaspoons mini chocolate chips
- A small pinch of flaky salt, optional
How to Make It
- Open each date along its existing slit without cutting through the bottom.
- Spoon about ½ teaspoon almond butter into each cavity. Press chocolate chips into the filling and add the salt if using.
If the dates are hard and dry, choose a softer package for this recipe rather than trying to blend or soak them in a dorm room. Keep unused dates and almond butter as their packages direct.
9. Sweet-and-Salty Dessert Trail Mix
Makes about 1 cup (2 snack portions) • About 2 minutes • Pantry option
This is the option to make when you have no clean mixing bowl. A lidded snack container does the mixing and storage, and the dry ingredients can wait until you want them.
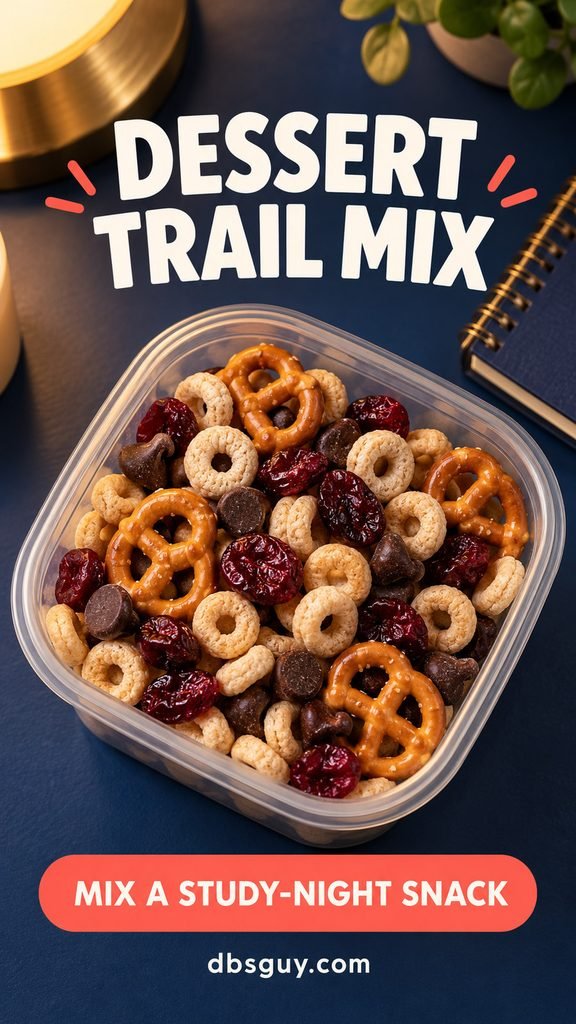
Ingredients
- ½ cup plain oat cereal rings
- ¼ cup mini pretzel twists
- 2 tablespoons dried cranberries
- 2 tablespoons chocolate chips
How to Make It
- Put everything in a clean, completely dry container. Close the lid and gently shake.
- Divide into 2 snack portions, or keep the container closed between servings.
Skip fresh fruit in a mix you want to keep crunchy. Store it in a cool, dry place and follow the ingredient labels; check each package if you need to avoid nuts, milk, wheat or cross-contact.
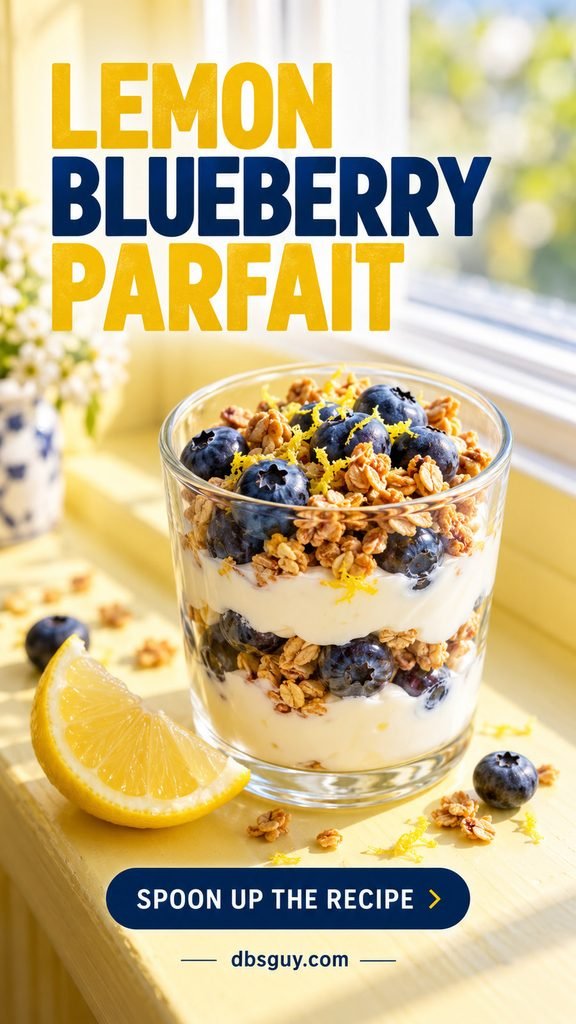
10. Lemon-Blueberry Crunch Parfait
Makes 1 parfait • About 4 minutes • Refrigerated ingredients
Lemon brightens plain yogurt, and granola adds the crunch this cup needs. Unlike the cheesecake cup, there is no cream cheese to mash and no crumb base to prepare.
Ingredients
- ½ cup plain Greek yogurt
- 1 teaspoon lemon juice
- 1–2 teaspoons honey, to taste
- ¼ cup blueberries, washed and dried
- 2 tablespoons ready-to-eat granola
- ¼ teaspoon finely grated lemon zest, optional
How to Make It
- Stir the lemon juice and 1 teaspoon honey into the yogurt. Taste and add the second teaspoon of honey if you want it sweeter.
- Layer with the blueberries in a small glass. Sprinkle on the granola and optional lemon zest just before eating.
Dry the berries after washing so they do not water down the yogurt. For tomorrow’s snack, keep the granola in its own small bag and refrigerate the yogurt and berries.
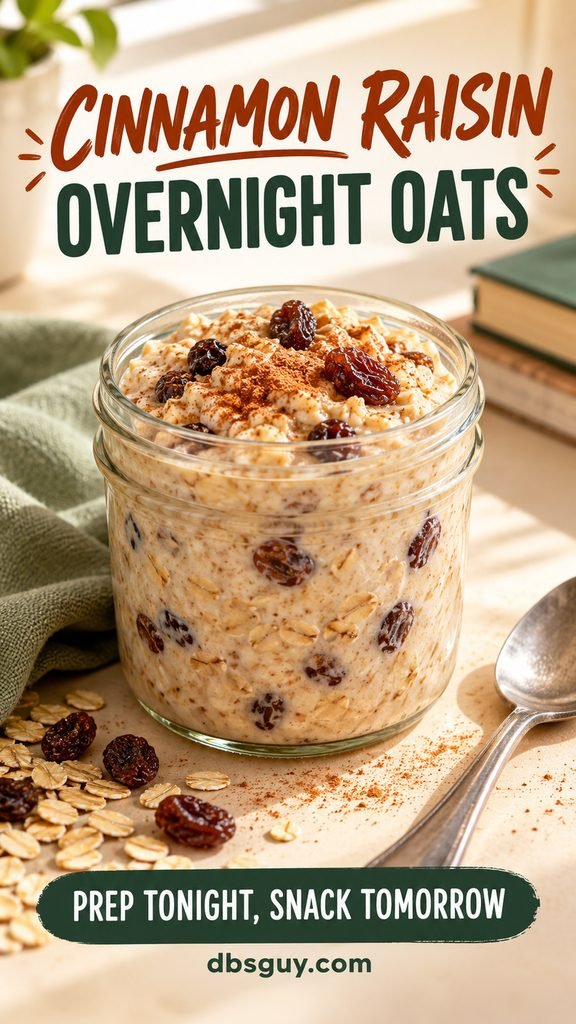
11. Cinnamon-Raisin Overnight Oat Cup
Makes 1 small oat cup • About 3 minutes active, plus 8 hours refrigerated
Use a small jar rather than filling a large breakfast container. Raisins soften as the oats soak, giving this cold snack the cinnamon-raisin flavor of an oatmeal cookie.
Ingredients
- ¼ cup old-fashioned rolled oats
- ¼ cup milk or nondairy milk
- 1 tablespoon raisins
- 1 teaspoon maple syrup
- ⅛ teaspoon ground cinnamon
How to Make It
- Stir all the ingredients together in a small covered jar or container. Scrape the oats down into the liquid.
- Refrigerate for about 8 hours. Stir before eating; add another teaspoon or two of milk if you prefer it looser.
Keep the jar refrigerated throughout soaking, even when the milk was shelf-stable before opening. Make a single serving for the next day rather than filling your mini fridge with a week’s worth.
If you are planning breakfast as well as snacks, see 19 Dorm Breakfast Ideas: Microwave & No-Cook Mornings for more single-serving choices.
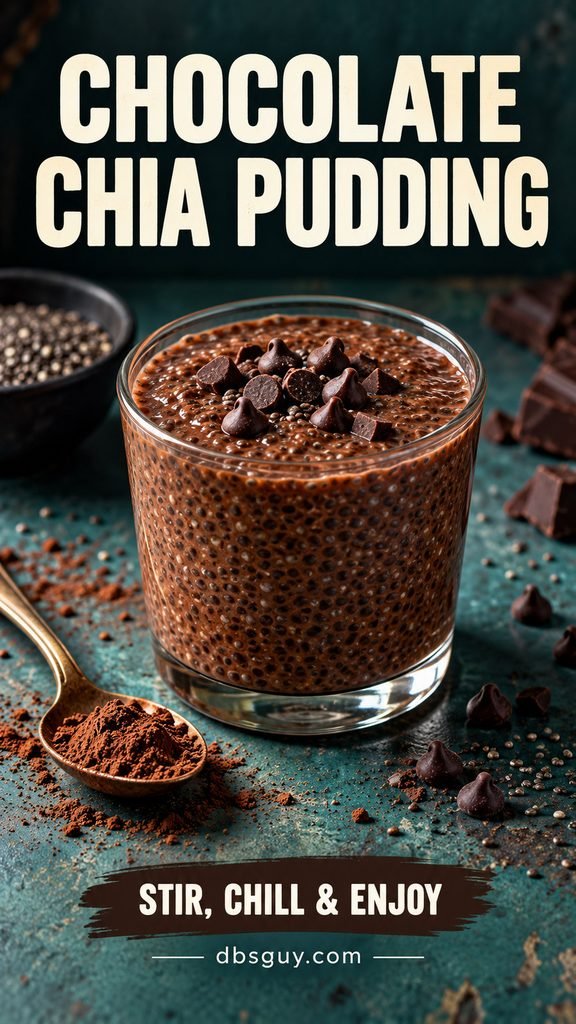
12. Chocolate Chia Pudding
Makes 1 small pudding • About 5 minutes active, plus at least 6 hours refrigerated
Whole chia seeds thicken the milk as they hydrate, so you can make this with a spoon rather than a blender. Expect a soft, seed-textured pudding, not a completely smooth chocolate mousse.
Ingredients
- ½ cup milk or nondairy milk
- 2 tablespoons chia seeds
- 1 tablespoon unsweetened cocoa powder
- 2 teaspoons maple syrup, plus more to taste
- 1 teaspoon mini chocolate chips, optional
How to Make It
- Mash the cocoa and maple syrup together in a small jar, adding a teaspoon of the measured milk to make a paste. Gradually stir in the remaining milk.
- Stir in the chia seeds. Wait 5 minutes, then stir thoroughly again, scraping the bottom to break up clumps.
- Cover and refrigerate at least 6 hours or overnight. Stir again; if it is thicker than you like, add a small splash of milk. Top with chips if using.
Do not skip the second stir: dry seeds trapped in a clump will not hydrate evenly. Keep this cold and make it for the following day.
13. Chocolate-Chip Cannoli Cones
Makes 2 small cones (2 snack portions) • About 5 minutes • Refrigerated filling
A store-bought waffle cone stands in for a fried cannoli shell. Ricotta keeps the filling simple, although its texture will be slightly grainier than a whipped bakery filling.

Ingredients
- ½ cup whole-milk ricotta made with pasteurized milk
- 2 teaspoons powdered sugar
- 1 tablespoon mini chocolate chips
- 2 small ready-to-eat waffle cones
How to Make It
- If liquid is sitting on the ricotta, spoon off the liquid before measuring. Stir the ricotta and powdered sugar together until evenly mixed. Fold in the chocolate chips.
- Divide the filling between the cones with a teaspoon. Serve immediately.
Fill the cones only when you are about to eat; moisture quickly softens them. Save any extra filling in a covered container in the fridge, following the ricotta’s label and using it promptly.
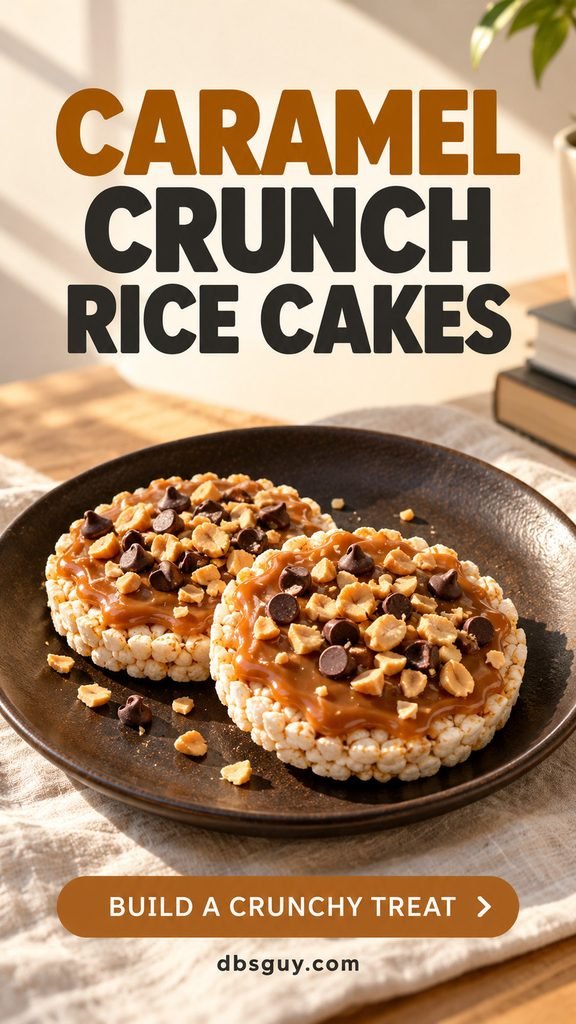
14. Caramel Crunch Rice Cakes
Makes 2 topped rice cakes • About 3 minutes • No chilling needed to serve
Puffed rice cakes give you a light, crisp base for caramel without making a sticky batch of bars. Use a thick, ready-to-eat caramel topping that spreads at room temperature.
Ingredients
- 2 plain round rice cakes
- 1 tablespoon thick caramel sauce or dulce de leche
- 1 tablespoon chopped roasted peanuts
- 1 teaspoon mini chocolate chips
How to Make It
- Divide the caramel between the rice cakes and spread it gently across the tops.
- Sprinkle on the peanuts and chocolate chips. Eat before the rice cakes lose their crispness.
Check the topping’s label: many caramel sauces need refrigeration after opening. A single-use portion is useful without a fridge. For a peanut-free version, use crushed pretzels after checking allergy labels.
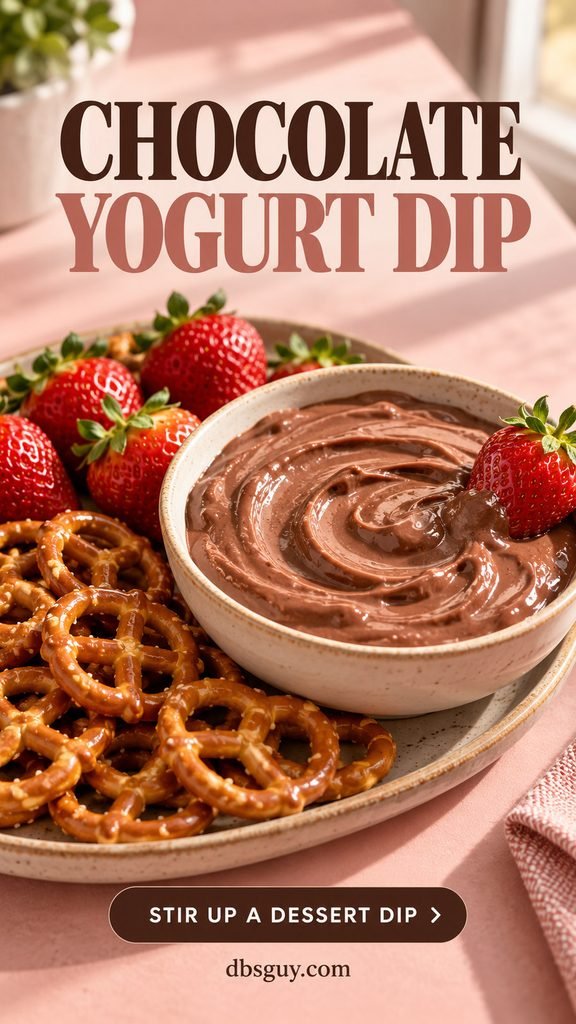
15. Chocolate Yogurt Dessert Dip
Makes 1 dip portion with dippers • About 4 minutes • Refrigerated ingredients
If you would rather graze than eat another layered cup, stir cocoa into yogurt and use it as a dip. The maple syrup softens the yogurt’s tang; the cocoa gives it a more chocolate-forward taste.
Ingredients
- ⅓ cup plain Greek yogurt
- 2 teaspoons unsweetened cocoa powder
- 2 teaspoons maple syrup, plus more to taste
- ½ cup strawberries, washed and dried
- ¼ cup mini pretzels
How to Make It
- Mix the cocoa and maple syrup in a small bowl to form a paste. Add the yogurt a spoonful at a time and stir until evenly chocolate-colored.
- Taste and adjust the syrup if needed. Serve with strawberries and pretzels on the side.
Keep pretzels out of the dip until you eat them. If packing this for later, use a cold pack for the yogurt and berries and carry the pretzels separately.
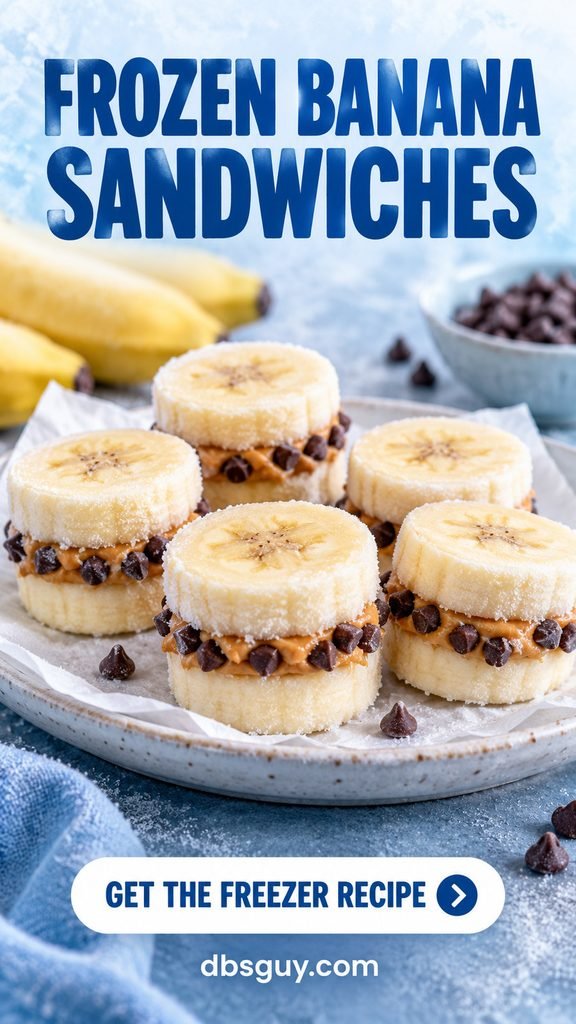
16. Frozen Peanut Butter Banana Sandwiches
Makes about 6 sandwiches • About 8 minutes active, plus 2–3 hours freezing • Freezer required
This is the one snack here that depends on a freezer. Two banana coins sandwich a thin peanut butter layer, giving you small cold bites without melting a chocolate shell.
Ingredients
- 1 medium banana
- 1 tablespoon creamy peanut butter
- 2 teaspoons mini chocolate chips
How to Make It
- Slice the banana into about 12 coins, roughly ⅓ inch thick. Match them into pairs.
- Divide the peanut butter over half the coins. Top with the other halves and press a few chips into the exposed filling at the edges.
- Set the sandwiches apart on a small parchment-lined plate or container. Cover and freeze about 2–3 hours, until firm. Transfer to a freezer container if needed.
Use a freezer that maintains 0°F; a mini-fridge ice compartment may not. For best texture, make a small batch to enjoy within a week. Let a very hard bite soften briefly before eating. Without a freezer, assemble and eat these fresh.
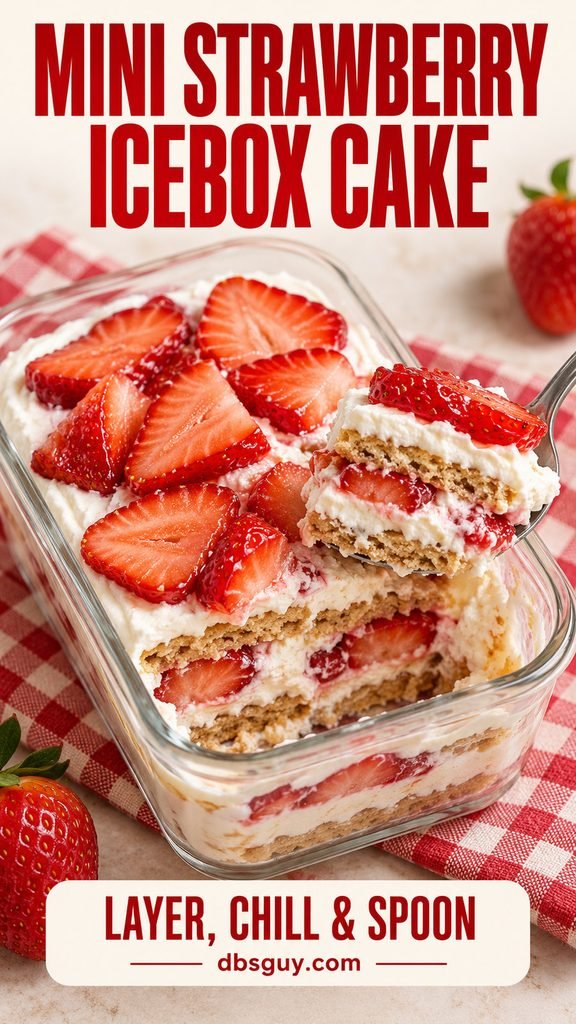
17. Mini Strawberry Graham Icebox Cake
Makes 2 small portions • About 8 minutes active, plus 6–8 hours refrigerated
The fridge does the work here: moisture from the filling softens the crackers into spoonable layers. Use a shallow container rather than trying to make a tall cake that needs to stand on its own.
Ingredients
- 6 graham cracker squares
- ⅓ cup vanilla Greek yogurt
- ⅓ cup thawed whipped topping
- ⅓ cup thinly sliced strawberries, washed and dried
How to Make It
- Fold the yogurt and whipped topping together. Spread a little over the bottom of a small, shallow container, roughly 5 by 3 inches.
- Cover with 2 graham squares, breaking them to fit if needed. Add about one-third of the remaining cream and a few strawberry slices.
- Repeat twice with the remaining crackers, cream and berries. Cover and refrigerate for 6–8 hours, until a spoon cuts through the crackers easily. Serve in 2 portions.
Use thick yogurt and dry berries to avoid a watery bottom. Keep refrigerated and plan to finish it the next day for texture; do not leave it on the desk to soften.
Buy for Two Snacks First
Choose a pair before making a grocery list. Peanut butter, chocolate chips and pretzels cover the pretzel sandwiches; add oats and honey for oat bites. Yogurt, strawberries and graham crackers cover most of the cheesecake cup; add spreadable cream cheese to finish it, or whipped topping to make the icebox cake instead.
Buy small dairy containers if you do not have a plan for the leftovers. Reuse the measuring spoon before it touches anything sticky, close packages after use, and wash dishes soon after eating. A small batch is easier to finish and easier to clean up.
Questions About No-Bake Dorm Snacks
Which snacks can I make without a fridge?
The dry trail mix is the simplest pantry choice. S’mores stacks, stuffed dates and pretzel sandwiches also work when the individual ingredient labels permit room-temperature storage. Banana pinwheels and apple nachos can be assembled and eaten immediately. Do not use “no bake” as a reason to leave yogurt, ricotta or prepared dairy desserts on a desk.
Can I use raw flour or cake mix to make edible cookie dough?
Do not add ordinary raw flour or dry cake mix to a snack you will eat uncooked. Leaving out eggs does not remove the risk from raw flour. These recipes avoid that problem by using ready-to-eat bases and suitable rolled oats. Do not swap raw flour into the oat bites.
How can I make these without peanut butter?
For flavor preference, almond butter or sunflower seed butter can work in the oat bites, pinwheels and banana sandwiches. Texture varies, so add oats or spread in small amounts until the mixture holds. For an allergy, check all ingredients and shared utensils; a different spread alone does not make the finished snack safe for everyone.
Can I meal-prep a whole week of sweet snacks?
Keep dry mixes separate and make small chilled batches instead of assuming every recipe lasts a week. Prepare the oats or chia pudding for the following day, add crunchy toppings at serving time, and follow ingredient labels. If a mini fridge cannot hold 40°F or below, stick to appropriate pantry ingredients until cold storage is working.
Do I need a microwave to melt the chocolate?
No. The chocolate stays in chips, a ready-to-eat spread, cookies or cocoa powder. Even the s’mores stacks and banana sandwiches skip melted chocolate, so all 17 recipes can be made without heating anything.