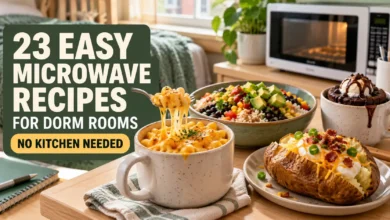
Dorm breakfast can be a cold jar you made last night, a wrap assembled in three minutes, or a warm bowl cooked in the microwave. These 19 ideas give you single-serving quantities and steps, with no stove, oven, toaster, or blender required.
Start with the banana roll-up if you have no fridge, overnight oats if you can prep tonight, or the tomato mozzarella egg mug when you want something warm. Ideas 1–10 are no-cook; ideas 11–19 use a microwave.
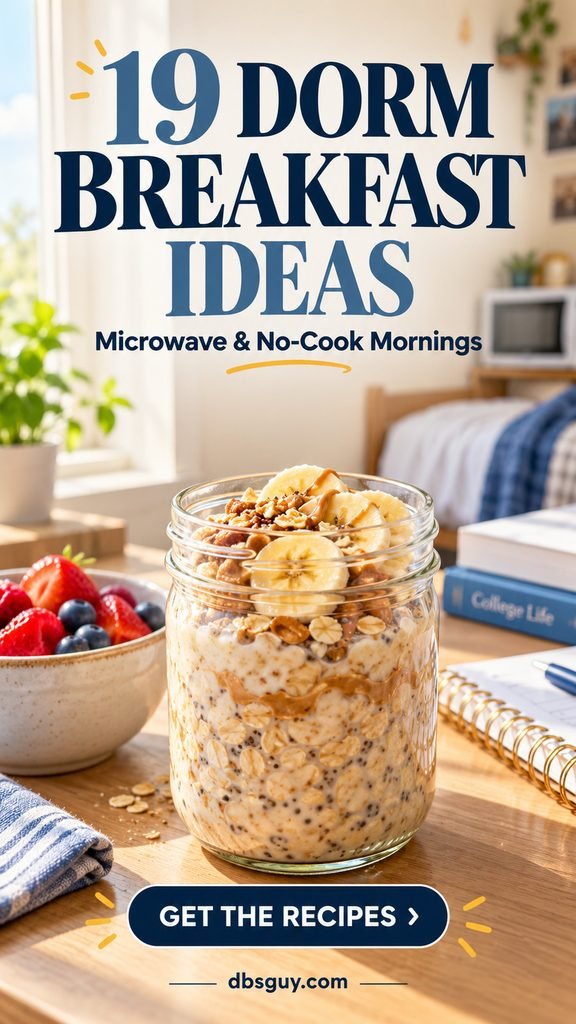
The images are AI-generated recipe concepts, not photographs of kitchen-tested results. These recipes have not been kitchen-tested; all times are estimates, and package directions and doneness checks take priority.
Choose a Breakfast That Fits Your Dorm
- No fridge or microwave: Try the banana roll-up (#5), apple English muffin (#7), or cereal kit (#8). Check the spread’s label and use milk sold as shelf-stable before opening.
- A mini fridge, but no cooking time: Choose the parfait (#2), cottage cheese bowl (#4), or ready-to-eat egg box (#10).
- A few minutes tonight: Make overnight oats (#1) or chia pudding (#3), then keep them refrigerated.
- A warm, savory breakfast: Choose savory oats (#12), the egg mug (#13), or the burrito (#15).
A Small Setup That Makes These Work
Check your residence hall’s appliance rules first. For these recipes, keep a 16-ounce microwave-safe mug, a 4-cup microwave-safe bowl, a small bowl, a plate, and a vented microwave-safe cover. Add a fork, spoon, measuring cups and spoons, a small knife and cutting board, a can opener if needed, and a dry oven mitt. An instant-read food thermometer matters for the egg dishes.
Wash hands, produce, utensils, and the work surface before starting. Use dishes labeled microwave-safe, leave a vent in covers, and open hot lids away from your face. Keep metal, foil, and sealed containers out of the microwave. Remove the food before checking it with a regular instant-read thermometer.
Timing: Every recipe makes one serving. Microwave times assume HIGH in an approximately 1,000-watt microwave unless the package says otherwise. A lower-powered dorm microwave may need extra bursts. Estimated totals include the stated rests; overnight chilling is listed separately. Stay nearby and watch for bubbling or overflow.
For microwave eggs: Stir or turn the mixture during cooking, check for 165°F in several spots, and let it stand covered for 2 minutes before eating. This follows the FDA’s microwave egg guidance. Never microwave an egg in its shell or a whole hard-cooked egg.
Keep cold food cold: Your mini fridge should hold 40°F or below; check it with an appliance thermometer. Refrigerate opened beans, grain pouches, milk, hummus, and other perishables as their labels require. Discard perishables left out longer than 2 hours, or 1 hour above 90°F. Use a cold pack for breakfasts that need refrigeration when carrying them to class. Shelf-stable before opening does not mean shelf-stable afterward.
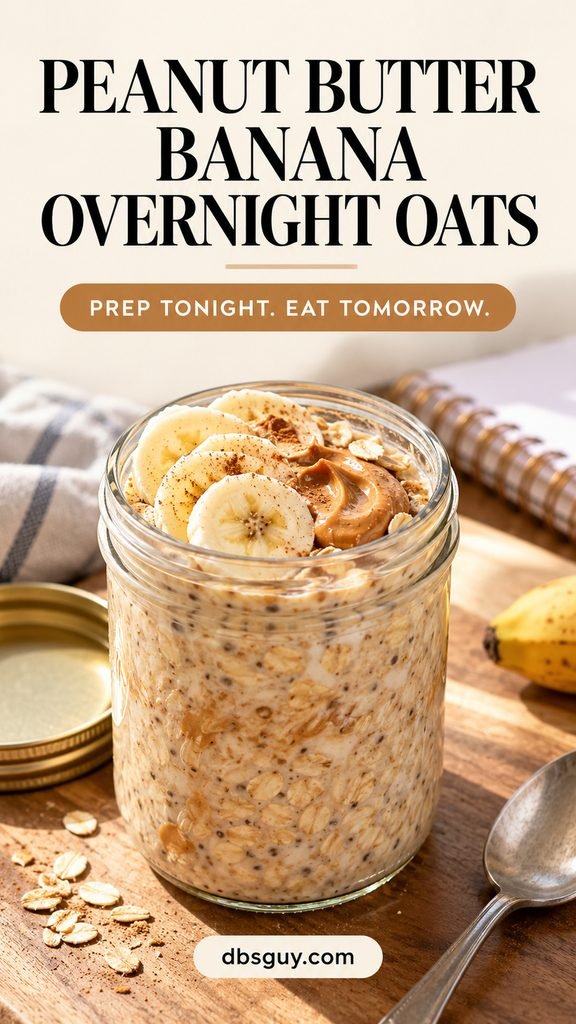
1. Peanut Butter Banana Overnight Oats
No-cook · Serves 1 · Estimated time: 5 minutes, plus at least 8 hours chilling
Mini fridge required
Make this when your first class leaves no room for cooking. Rolled oats soften overnight, and peanut butter gives the jar enough richness that you can keep the toppings simple.
Ingredients
- ½ cup old-fashioned rolled oats
- ½ cup milk or your preferred milk alternative
- 1 tablespoon peanut butter
- ½ banana, sliced just before eating
- ⅛ teaspoon cinnamon
How to Make It
- Stir the oats, milk, peanut butter, and cinnamon in a clean, lidded 16-ounce container. Scrape the bottom so no dry oats remain.
- Cover and refrigerate immediately for at least 8 hours. In the morning, stir, loosen with a splash of milk if needed, and add the banana.
Dorm tip: Make one jar for the next morning and eat it within 24 hours for the best texture. Steel-cut oats will not give the same result with these proportions.
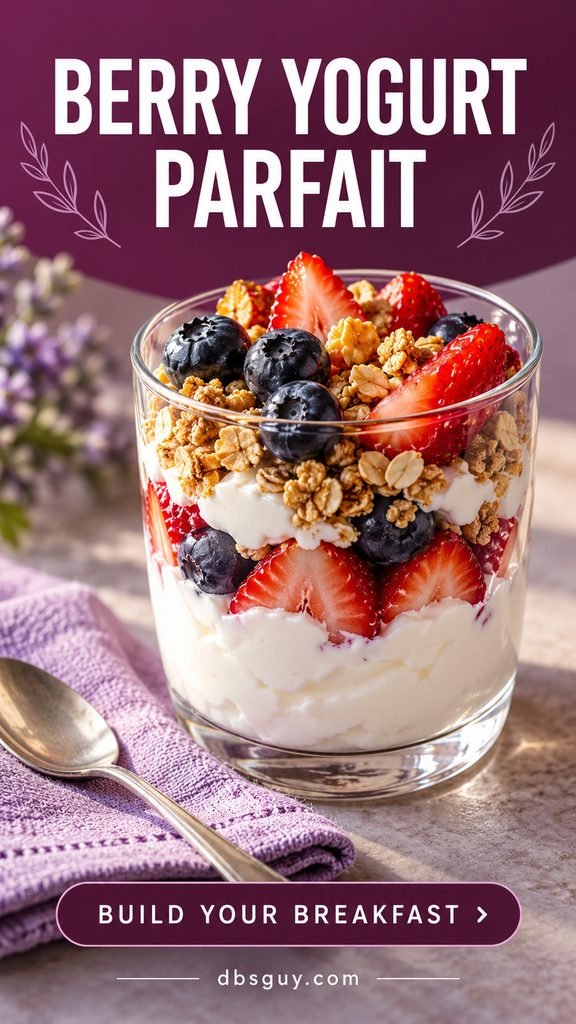
2. Berry Yogurt Parfait
No-cook · Serves 1 · Estimated time: 3–5 minutes
Mini fridge required
This is a good choice when you want something cold and immediately ready. Keep the granola separate until the last minute if you are carrying the parfait to class.
Ingredients
- ¾ cup plain Greek yogurt
- ½ cup washed strawberries and blueberries; slice the strawberries
- ¼ cup granola
- 1 teaspoon honey, optional
How to Make It
- Spoon half the yogurt into a glass or container. Add half the berries, then the remaining yogurt and berries.
- Top with granola just before eating. Taste before adding the optional honey; the fruit and granola may already be sweet enough.
Dorm tip: For a dairy-free version, use a yogurt alternative you enjoy and check its label; protein amounts vary widely between products.
3. Mango Chia Pudding
No-cook · Serves 1 · Estimated time: 5 minutes hands-on, plus a 10-minute rest and at least 4 hours chilling
Mini fridge required
Chia pudding takes almost no morning effort, but it needs time for the seeds to hydrate. A second stir before chilling helps prevent a dry clump at the bottom.
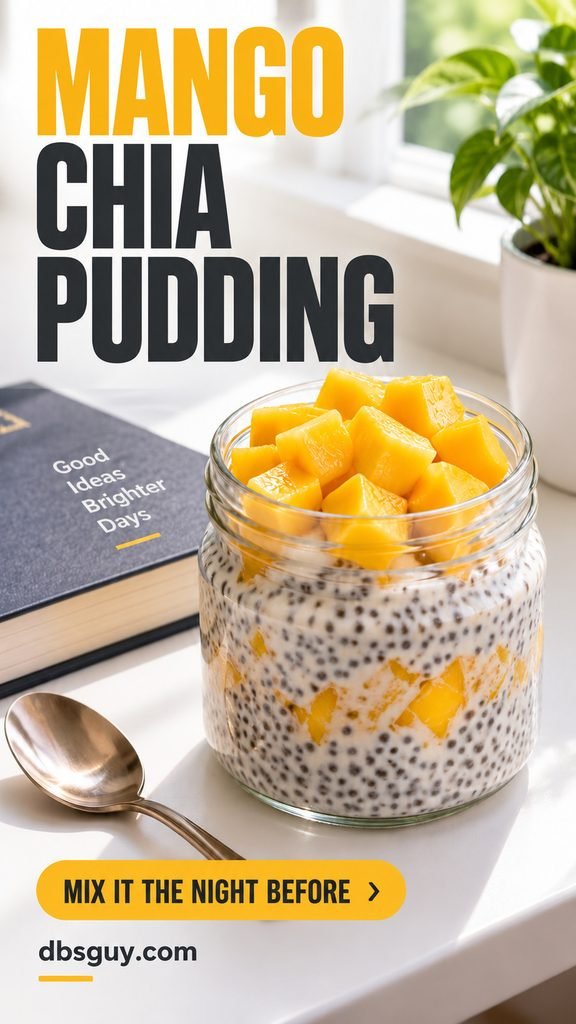
Ingredients
- 2 tablespoons chia seeds
- ½ cup milk or milk alternative
- ½ cup diced fresh mango or drained canned mango
- 1 teaspoon maple syrup, optional
How to Make It
- Stir the chia seeds and milk in a small lidded container. Wait 10 minutes, stir thoroughly again, then cover and refrigerate for at least 4 hours or overnight.
- Check that the pudding has thickened and the seeds are hydrated. Stir in a splash of milk if it is too thick, then stir in half the mango and add the rest on top with optional syrup.
Dorm tip: Do not sprinkle dry chia into a nearly empty jar and expect pudding. Measure the liquid, mix well, and allow the full chilling time.
4. Pineapple Cottage Cheese Bowl
No-cook · Serves 1 · Estimated time: 3 minutes
Mini fridge required
Cottage cheese makes a savory-sweet base without a blender. Pineapple brings the juice, while pumpkin seeds add a little crunch.

Ingredients
- ¾ cup cottage cheese
- ½ cup pineapple chunks, drained if canned
- 1 tablespoon pumpkin seeds
How to Make It
- Spoon the cottage cheese into a bowl. Add the pineapple to one side so you can decide how much fruit to mix into each bite.
- Scatter the pumpkin seeds over the top and eat cold.
Dorm tip: A single-serving fruit cup is useful when you cannot store an open can. Drain it well so the bowl does not become watery.
5. Banana Sunflower Butter Roll-Up
No-cook · Serves 1 · Estimated time: 3–5 minutes
No fridge needed if the spread label permits pantry storage
Use a tortilla when you need breakfast you can hold in one hand. The whole banana gives the wrap structure, so there is less loose filling to spill.
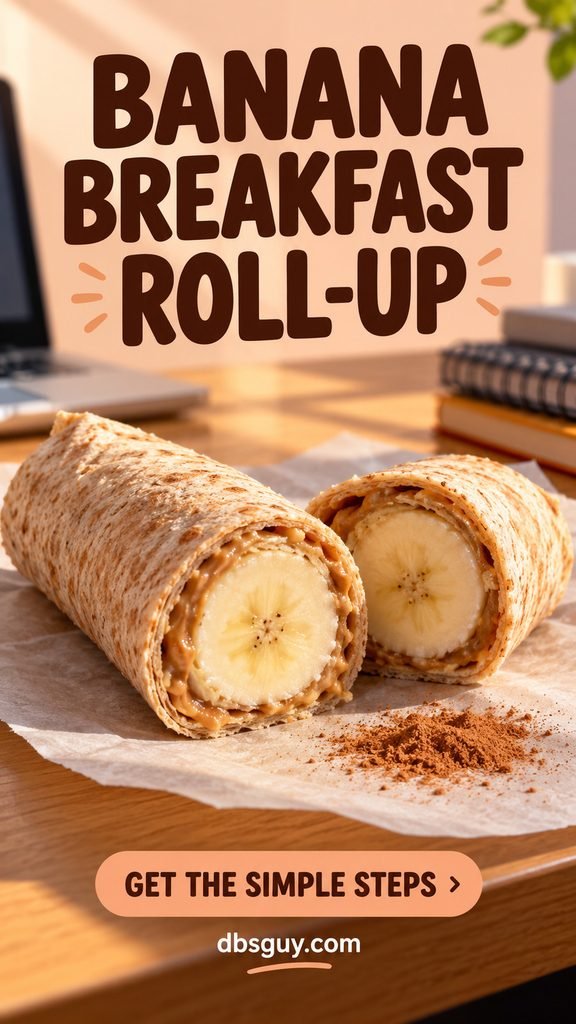
Ingredients
- 1 large, soft 8- to 10-inch whole-wheat tortilla
- 1½ tablespoons sunflower-seed butter
- 1 small banana, peeled
- Pinch of cinnamon
How to Make It
- Spread the sunflower butter across the tortilla, leaving a 1-inch border. Dust lightly with cinnamon.
- Place the banana near one edge and roll the tortilla snugly around it, tucking in the sides if they reach. Cut in half or leave whole and eat promptly.
Dorm tip: Check the spread’s storage directions and your roommate’s allergy needs. Sunflower butter is a swap for peanut butter, not a promise that the finished wrap is safe for every allergy.
6. Hummus, Cucumber, and Tomato Pita
No-cook · Serves 1 · Estimated time: 5 minutes
Mini fridge required for hummus and cut produce
For a savory breakfast without eggs, start with a ready-to-eat pita. Hummus holds the vegetables in place; dry cucumber slices keep the bread from getting soggy.
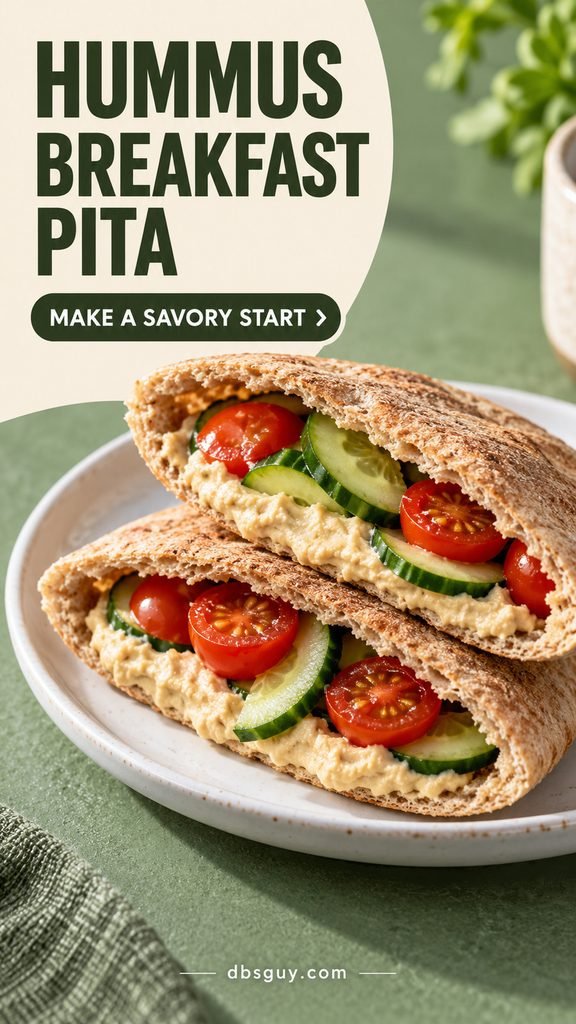
Ingredients
- 1 small whole-wheat pita
- ¼ cup hummus
- ¼ cup thinly sliced cucumber
- 4 cherry tomatoes, halved
- Pinch of black pepper
How to Make It
- Rinse the vegetables, dry them, and cut them on a clean board. Halve the pita and open the pockets gently.
- Spread hummus inside, add cucumber and tomato, and finish with pepper. Assemble just before eating for the best texture.
Dorm tip: If your pita tears, spread the filling over it and fold it loosely instead. A workable breakfast matters more than a perfect pocket.
7. Apple Peanut Butter English Muffin
No-cook · Serves 1 · Estimated time: 5 minutes
No fridge needed if the peanut butter label permits pantry storage
A store-bought English muffin can be eaten without toasting. Expect a soft sandwich base, with the apple supplying the crunch.
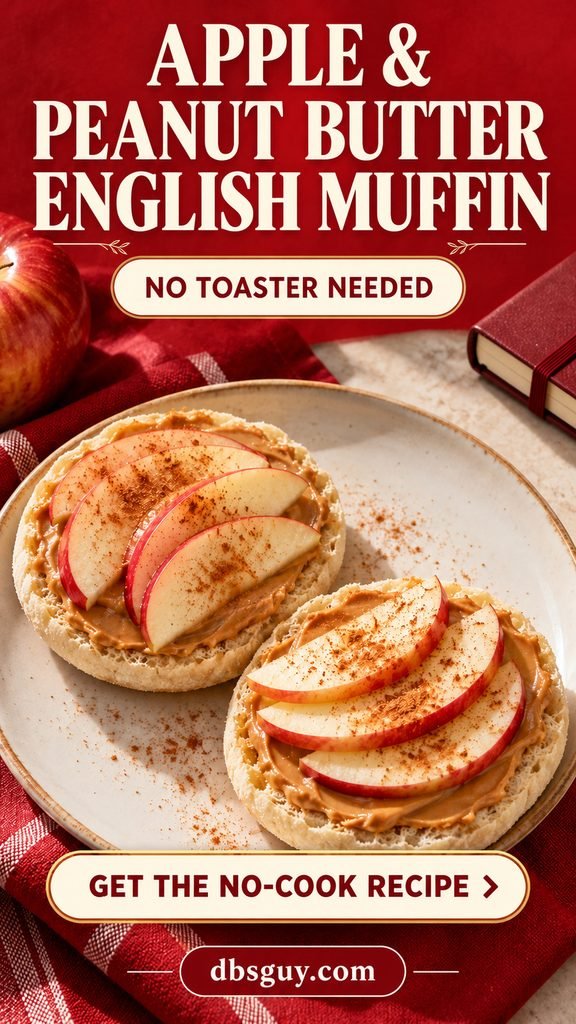
Ingredients
- 1 ready-to-eat English muffin, split
- 1½ tablespoons peanut butter
- ½ small apple, washed and thinly sliced
- Pinch of cinnamon
How to Make It
- Spread peanut butter on both muffin halves. Add the apple slices in a thin layer and sprinkle with cinnamon.
- Eat open-faced, or close the halves gently if you are taking it out the door. Eat the remaining apple alongside it.
Dorm tip: There is no need to microwave the muffin to imitate toast; it will not become crisp. Choose a soft muffin you enjoy at room temperature.
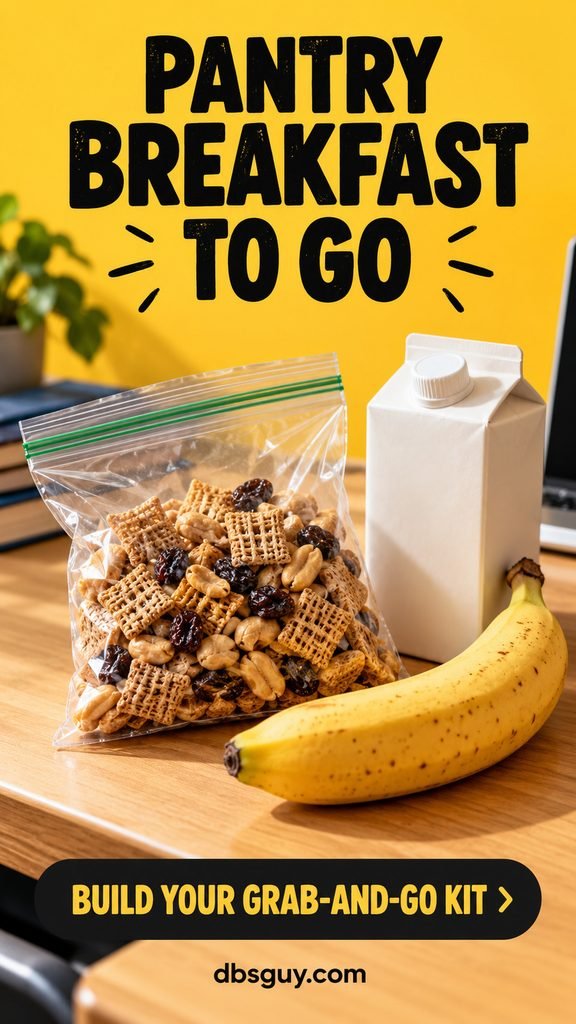
8. Cereal Trail-Mix Breakfast Kit
No-cook · Serves 1 · Estimated time: 2–3 minutes
No fridge needed while the shelf-stable milk stays sealed
Keep this kit for a morning when even washing a bowl feels like too much. It is a small breakfast you can eat in parts rather than another recipe to cook.
Ingredients
- 1 cup whole-grain cereal squares
- 2 tablespoons peanuts or pumpkin seeds
- 2 tablespoons raisins
- 1 small banana
- 1 unopened 8-ounce shelf-stable milk or milk-alternative carton
How to Make It
- Combine the dry cereal, nuts or seeds, and raisins in a food bag or container. Pack the whole banana and sealed milk carton beside it.
- Eat the mix dry and drink the milk, or combine them in a bowl if you have one. Open the milk when you are ready to use it.
Dorm tip: Buy milk specifically labeled shelf-stable before opening. Ordinary refrigerated milk does not become pantry-safe because the carton is small; refrigerate any opened remainder according to its label.
9. Avocado White Bean Crackers
No-cook · Serves 1 · Estimated time: 5–7 minutes
Refrigerate opened beans and any leftovers
Mashed white beans stretch half an avocado into a thicker spread. Use sturdy crackers that can support a spoonful without snapping.

Ingredients
- ½ small ripe avocado
- ⅓ cup canned white beans, drained and rinsed
- 1 teaspoon lemon juice
- 5–8 large whole-grain crackers
- Salt and black pepper to taste
How to Make It
- Mash the avocado, beans, and lemon juice with a fork, leaving some texture. Season lightly.
- Spoon onto the crackers immediately before eating. Keep any unused beans in a covered container in the refrigerator.
Dorm tip: Pack the spread and crackers separately if breakfast must travel. Lemon adds flavor, but it does not replace refrigeration.
10. No-Cook Egg Breakfast Box
No-cook assembly · Serves 1 · Estimated time: 5 minutes
Mini fridge required
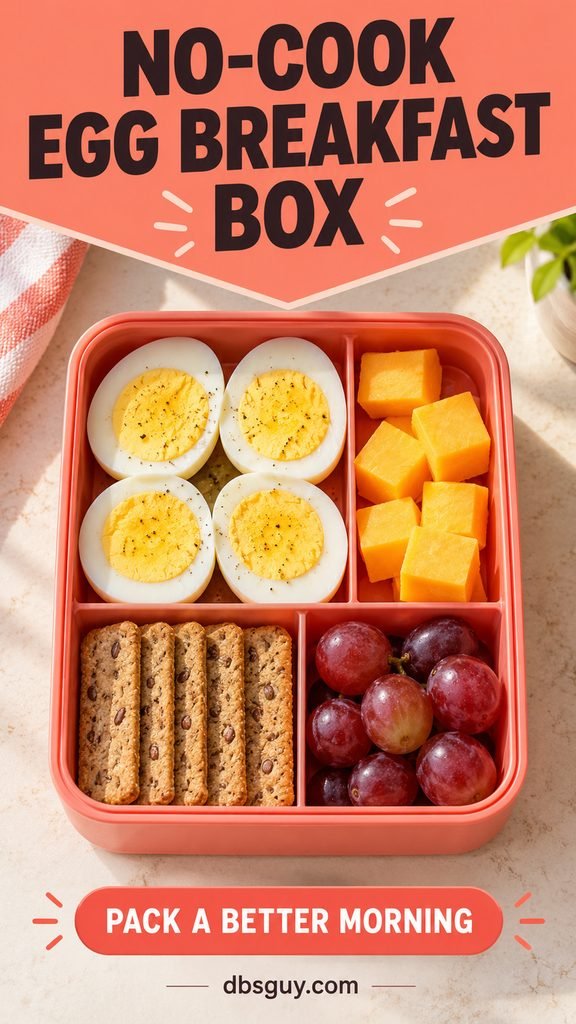
Purchased hard-cooked eggs let you build an egg breakfast without cooking in the room. Keep their package until you have checked the use-by date and storage directions.
Ingredients
- 2 refrigerated, ready-to-eat hard-cooked eggs
- 1 ounce cheddar, cubed
- 6 whole-grain crackers
- ½ cup washed grapes
How to Make It
- Halve the eggs if you like, and place them in a clean lunch container with the cheddar. Add grapes in a separate compartment.
- Keep the crackers dry in their own compartment or bag. Refrigerate the box until you eat it, and use an insulated bag with a cold pack if you are carrying it to class.
Dorm tip: This is no-cook because the eggs are already fully cooked. Never try to heat a whole hard-cooked egg in the microwave.
If you want a drink alongside breakfast, see Easy Iced Coffee Recipe at Home for Perfect Refreshment. Choose a method that fits the equipment your dorm permits.
11. Apple Cinnamon Microwave Oatmeal
Microwave · Serves 1 · Estimated time: 8–11 minutes
Only needed for perishable add-ins or leftovers
A brief head start softens the apple before the oats go in. A large bowl gives the liquid room to bubble; a coffee mug is too small for this serving.

Ingredients
- ½ cup old-fashioned rolled oats
- 1 cup water
- ¼ cup finely diced apple, plus the rest of the apple to eat alongside
- 2 tablespoons water for the apple
- ¼ teaspoon cinnamon
- 1 tablespoon chopped walnuts
Microwave Steps
- Put the diced apple and 2 tablespoons water in a 4-cup microwave-safe bowl. Cover with a vented lid and heat for 45–60 seconds, until beginning to soften.
- Remove the cover carefully. Stir in oats, 1 cup water, and cinnamon. Heat uncovered for about 2½–3 minutes, pausing to stir after 90 seconds. Follow your oats’ package if it differs; stop if the liquid approaches the rim.
- Add short bursts if the oats are still firm. Let stand for 2 minutes, then add walnuts.
Dorm tip: Dice the apple small. Thick slices will stay firmer than the oats even when the cereal is ready.
12. Savory Spinach and Cheddar Oats
Microwave · Serves 1 · Estimated time: 7–10 minutes
Mini fridge required for cheese and spinach
If sweet oatmeal wears thin, use oats as a savory grain base. Add the spinach near the end so it wilts into the bowl instead of floating in the cooking water.

Ingredients
- ½ cup old-fashioned rolled oats
- 1 cup water
- ½ cup loosely packed washed baby spinach, torn small
- ¼ cup shredded cheddar
- Black pepper and a small pinch of salt
Microwave Steps
- Combine oats, water, and salt in a 4-cup microwave-safe bowl. Heat uncovered for about 2½–3 minutes, stirring after 90 seconds and following your oats’ package if it differs.
- Stir in spinach and cheddar. Heat another 20–30 seconds, stir, and repeat if needed until the spinach is wilted and the bowl is hot throughout.
- Let stand for 2 minutes. Add black pepper and a splash of water if the oats have thickened too much.
Dorm tip: Use less salt at first because the cheese contributes some. There is no egg in this bowl, so it also works when you have run out of eggs.
13. Tomato Mozzarella Egg Mug
Microwave · Serves 1 · Estimated time: 6–9 minutes
Mini fridge required
A few tomatoes and a little mozzarella change the usual egg mug without adding another pan. Halve the tomatoes so their centers heat more evenly.

Ingredients
- 2 large eggs
- 1 tablespoon milk or water
- 3 cherry tomatoes, halved
- 2 tablespoons shredded mozzarella
- 1 teaspoon finely torn basil
- ¼ teaspoon oil for greasing; pinch of pepper
Microwave Steps
- Grease a wide 16-ounce microwave-safe mug. Beat the eggs and milk thoroughly with a fork, then stir in tomatoes and pepper. Cover with a vented microwave-safe lid.
- Heat for 30 seconds, stir from the edges toward the center, then continue in 15–20-second bursts, stirring each time. Stir in mozzarella near the end. Roughly 1–2 minutes of total heating is a starting estimate.
- Check several spots with a food thermometer for 165°F. Heat again if needed, then stand covered for 2 minutes. Add basil.
Dorm tip: Use a mug with plenty of headroom, not a small espresso cup. The eggs should be fully set; timing alone cannot confirm doneness.
14. Microwave French Toast Bowl
Microwave · Serves 1 · Estimated time: 8–11 minutes
Mini fridge required for egg, milk, and cut fruit
This cooks into a soft, spoonable breakfast closer to bread pudding than crisp French toast. A shallow bowl makes it easier to turn the bread and check the middle.

Ingredients
- 1 large egg
- 3 tablespoons milk
- 1 teaspoon maple syrup, plus 1 teaspoon for serving
- ¼ teaspoon cinnamon
- 1 thick slice sandwich bread, about 1½ ounces, torn into 1-inch pieces
- 2 strawberries, washed and sliced
- ¼ teaspoon oil for greasing
Microwave Steps
- Grease a 2-cup microwave-safe bowl. Beat the egg, milk, 1 teaspoon syrup, and cinnamon in it. Fold in the bread and let soak for 1 minute.
- Cover with a vented lid. Heat for 45 seconds, gently turn the pieces with a fork, then heat another 30 seconds. Continue in 15-second bursts until the custard is set and measures 165°F in several spots, including the center. Total heating may take about 1½–2½ minutes.
- Stand covered for 2 minutes, then add strawberries and the remaining syrup.
Dorm tip: Do not cram in more bread to fill the bowl. A packed center can remain cool while the outside overcooks.
15. Black Bean and Egg Breakfast Burrito
Microwave · Serves 1 · Estimated time: 8–12 minutes
Mini fridge required
One egg and a modest scoop of beans fit comfortably inside a large tortilla. Cook the filling in a bowl first so you can stir it and check its temperature before wrapping.

Ingredients
- 1 large egg
- 1 tablespoon water
- ⅓ cup canned black beans, drained and rinsed
- 2 tablespoons shredded cheddar
- 1 tablespoon salsa
- 1 large 10-inch flour tortilla
- ¼ teaspoon oil for greasing
Microwave Steps
- Grease a 2-cup microwave-safe bowl. Beat the egg with water, then stir in beans. Cover with a vented lid and heat for 30 seconds.
- Stir, then heat in 15–20-second bursts, stirring each time. Add cheddar near the end and continue until the egg is fully set and the mixture reaches 165°F in several spots. Stand covered for 2 minutes.
- Warm the tortilla separately for about 10–15 seconds if needed to make it flexible. Add the filling and salsa, fold in the sides, and roll snugly.
Dorm tip: Keep the salsa to a spoonful inside the burrito. Extra liquid makes the tortilla harder to hold; serve more on the side if you want it.
16. Potato, Black Bean, and Salsa Breakfast Bowl
Microwave · Serves 1 · Estimated time: 12–17 minutes
Mini fridge required for cheese, yogurt, and opened ingredients
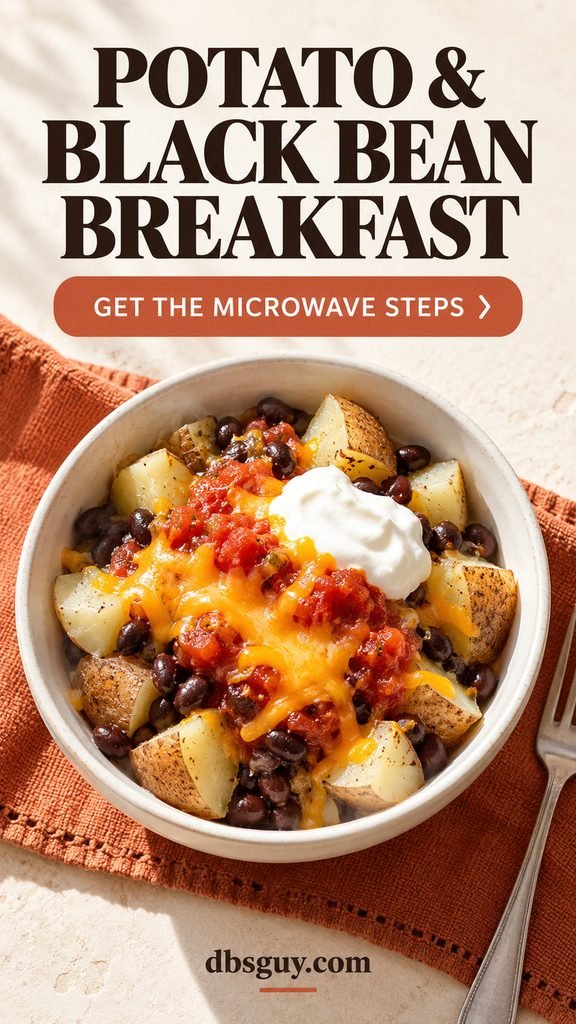
Choose this on a morning with a little more time. A medium potato gives you a hot breakfast base without needing frozen hash browns or a skillet.
Ingredients
- 1 medium russet potato, about 8 ounces
- ⅓ cup canned black beans, drained and rinsed
- 2 tablespoons salsa
- 2 tablespoons shredded cheddar
- 1 tablespoon plain yogurt
- 1 tablespoon water
Microwave Steps
- Scrub the potato and pierce it 6–8 times with a fork. Put it on a microwave-safe plate. Heat for 3 minutes, turn with a mitt, then heat another 2–3 minutes. Add 1-minute bursts until a fork slides easily into the center. Let stand for 2 minutes.
- Meanwhile, combine beans, salsa, and water in a microwave-safe bowl. Cover with a vented lid and heat for 45 seconds. Stir and add 20-second bursts until hot throughout.
- Carefully cut the potato into bite-size pieces and add to the beans. Top with cheddar and heat briefly to melt it. Let cool enough to eat, then add yogurt.
Dorm tip: The potato skin will stay soft. Use the fork test to check the center instead of waiting for a roasted appearance.
17. Sweet Potato with Yogurt and Walnuts
Microwave · Serves 1 · Estimated time: 11–16 minutes
Mini fridge required for yogurt
A sweet potato can stand in for a bowl of cereal when you want a warm, naturally sweet base. Plain yogurt adds a cool topping; add syrup only after tasting.

Ingredients
- 1 medium sweet potato, about 8 ounces
- ¼ cup plain Greek yogurt
- 1 tablespoon chopped walnuts
- ⅛ teaspoon cinnamon
- 1 teaspoon maple syrup, optional
Microwave Steps
- Scrub the sweet potato and pierce it several times with a fork. Place on a microwave-safe plate and heat for 3 minutes. Turn with a mitt and heat another 2–3 minutes.
- Continue in 1-minute bursts until the center is easily pierced with a fork. Let stand for 3 minutes; a larger potato may need longer heating.
- Split lengthwise, open gently, and add yogurt, walnuts, cinnamon, and optional syrup.
Dorm tip: Buy a fairly even-shaped potato for more even cooking. Do not wrap it in foil before microwaving.
18. Warm Apple Cranberry Quinoa Bowl
Microwave · Serves 1 · Estimated time: 6–9 minutes with fully cooked quinoa
Refrigerate milk and any opened grain pouch
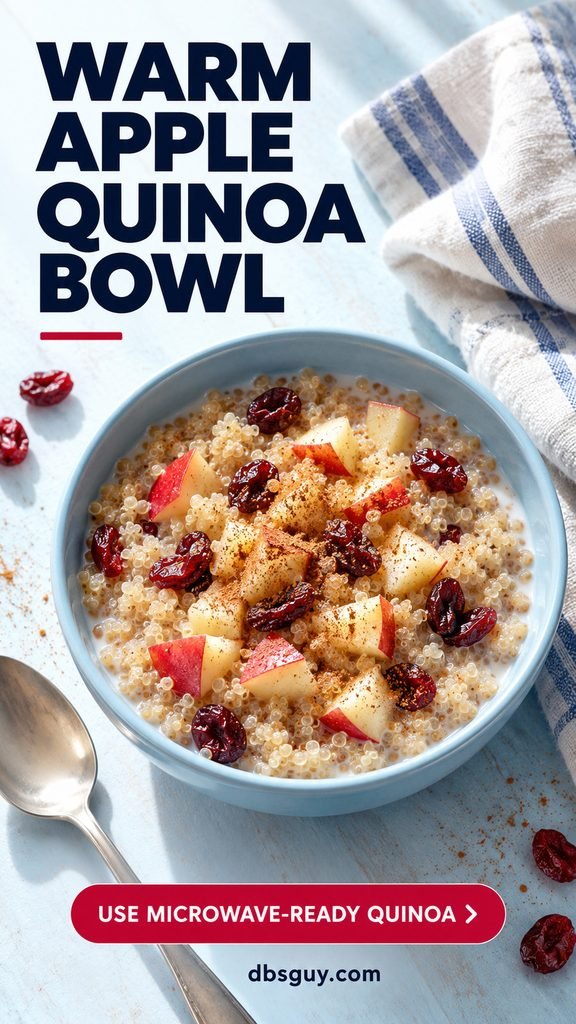
Microwave-ready quinoa changes the texture of breakfast without asking you to cook a pot of grains. Start with fully cooked quinoa; dry quinoa will not work with this method.
Ingredients
- ½ cup fully cooked plain quinoa from a microwave-ready pouch
- ¼ cup milk or milk alternative
- ¼ cup finely diced apple
- 1 tablespoon dried cranberries
- ⅛ teaspoon cinnamon
Microwave Steps
- Heat the quinoa according to its package. If the instructions require heating the whole pouch, do that first, then measure ½ cup into a 2-cup microwave-safe bowl.
- Add milk, apple, cranberries, and cinnamon. Cover with a vented lid, heat for 30 seconds, stir, and add 15–20-second bursts until hot throughout. The small apple pieces may retain some crunch.
- Let stand for 2 minutes. Add a splash more milk if you prefer a looser bowl, and refrigerate unused quinoa promptly according to the package.
Dorm tip: Choose plain quinoa instead of a garlic- or herb-seasoned pouch. If using refrigerated leftover quinoa, reheat the mixture to 165°F throughout.
19. Hummus Spinach Breakfast Quesadilla
Microwave · Serves 1 · Estimated time: 5–8 minutes
Mini fridge required
This gives you a warm, melty wrap without another egg dish. A microwave softens the tortilla and melts the filling; it will not create a crisp, pan-fried crust.

Ingredients
- 1 medium 8-inch whole-wheat tortilla
- 2 tablespoons hummus
- ½ cup loosely packed washed baby spinach, torn small
- 2 tablespoons shredded mozzarella
- 1 tablespoon water
- 1 tablespoon salsa for serving
Microwave Steps
- Put spinach and water in a small microwave-safe bowl. Cover with a vented lid and heat for 20–30 seconds, adding short bursts until wilted. Drain well.
- Spread hummus over half the tortilla. Add spinach and mozzarella, then fold the empty half over the filling. Place on a microwave-safe plate.
- Heat for 20–30 seconds, then add 10-second bursts until the cheese melts and the filling is hot. Let stand for 1 minute, cut into wedges, and serve with salsa.
Dorm tip: Drain the spinach before filling the tortilla. Trapped water turns a soft quesadilla soggy.
For lunch, dinner, and more ways to use the same small setup, read 23 Easy Microwave Recipes for Dorm Rooms: No Kitchen Needed.
Shop for a Few Mornings, Not All 19 Ideas
Pick three breakfasts with overlapping ingredients before shopping. Yogurt works in the parfait, sweet potato, and potato bowl. Spinach and mozzarella can cover the quesadilla and egg mug. Oats, peanut butter, and fruit cover both warm and cold choices.
Buy small amounts of perishables that fit your actual fridge space. Keep cereal, crackers, nuts or seeds, and unopened shelf-stable milk for mornings when the fridge is nearly empty. Open only what you can use or refrigerate promptly; a bulk package is not useful if you cannot store the remainder safely.
Dorm Breakfast FAQs
What can I eat for breakfast without a mini fridge?
The banana roll-up, apple peanut butter English muffin, and cereal trail-mix kit are the simplest options here. Use spreads that permit pantry storage and an unopened shelf-stable milk carton. Eat cut fruit and assembled breakfasts promptly; do not save perishable leftovers on your desk.
Can I make overnight oats without refrigeration?
Not with the overnight method in this guide. Refrigerate the jar as soon as you mix it, even if you use water instead of milk. Without dependable refrigeration, choose a pantry breakfast or cook oats just before eating.
Why do my microwave eggs turn rubbery?
Long, uninterrupted heating can overcook the edges before the middle is ready. Use the short bursts and stirring described in the recipes, then check the temperature. Once the eggs are fully set and reach the recipe’s temperature target, finish with the stated covered rest.
Can I prep a whole week of breakfasts at once?
Portion dry cereal mixes ahead, but keep wet prep modest in a mini fridge. Make the overnight oats for the next day, keep granola and crackers separate, and follow package storage limits for ready-to-eat eggs and dairy. Refrigerate cooked leftovers promptly and generally use them within 3–4 days; reheat leftovers to 165°F. A five-day batch is not automatically suitable for every recipe.
Which options are easiest to adapt for dietary needs?
Use a milk alternative in the oats, chia pudding, or quinoa bowl. Choose dairy-free tortillas and bread when needed, and check labels rather than assuming they fit. Sunflower butter or pumpkin seeds can replace some nut ingredients, but account for all allergies and cross-contact. Increase portions or add fruit as needed for your appetite; these are starting servings, not a prescribed meal plan.