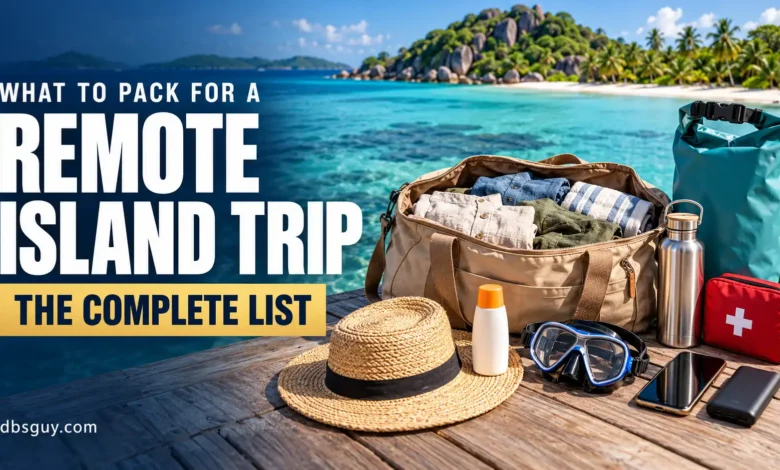
For a remote island trip, pack your essentials before your extras: travel documents, confirmed local payment options, prescription medicines, a small first-aid kit, sun and insect protection, a reliable drinking-water plan, quick-drying clothes, suitable shoes, a dry bag, a headlamp, and charging gear. Keep the items you cannot easily replace in your carry-on and within reach during the boat transfer.
The difference between an ordinary beach vacation and a remote island stay is the backup plan. A forgotten charger or an empty sunscreen bottle becomes a bigger problem when the next shop is a ferry ride away.
This remote island packing list includes suggested quantities for one adult spending seven days at a warm-weather guesthouse or lodge, plus adjustments for cooler islands, camping, and family travel. The quantities are planning suggestions, not baggage rules; your host, transport operator, climate, and personal needs determine the final list.
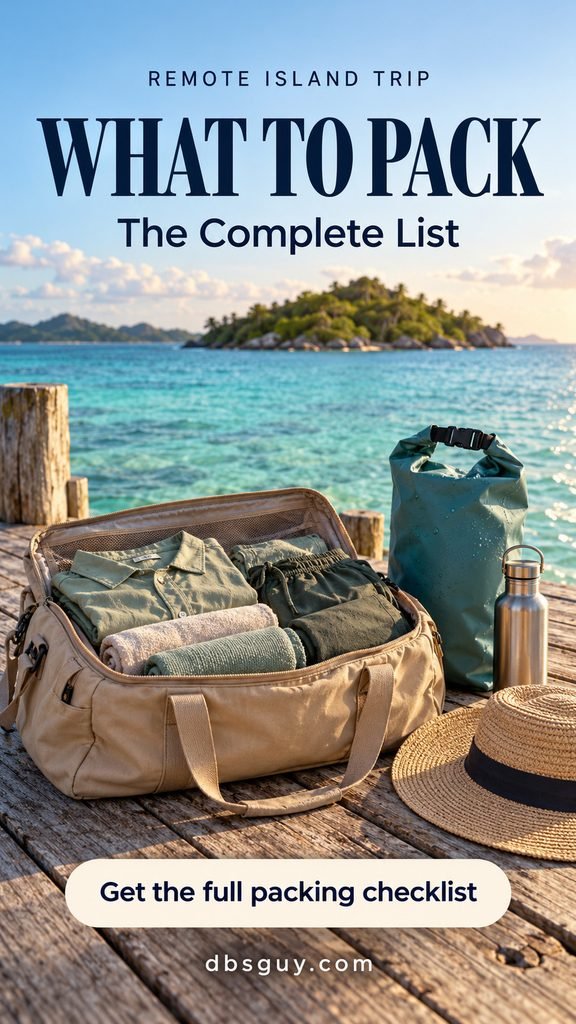
The images in this guide are AI-generated packing concepts, not photographs documenting a particular island, property, or tested product.
Before you pack: ask what the island actually provides
Send your host or guide a short message before buying equipment. Confirm these details:
- Getting there: the weight and dimensions allowed on every flight and boat, whether soft luggage is required, and whether arrival involves a dock or a beach landing.
- Drinking water and food: whether safe refills are available, which meals are included, dietary accommodations, and what supplies you must bring from the mainland.
- Electricity: outlet type, voltage, charging hours, and any limits on appliances.
- Facilities: towels, bedding, soap, laundry, toilets, refrigeration, and any equipment included with activities.
- Communication and help: cell coverage, how to contact the host after hours, the nearest medical facility, and what happens if the return transfer is canceled.
Check the forecast and local conditions for your actual dates. If you are leaving the U.S. during winter, the island may be in a different season—or in a rainy period. Pack for the destination, including windy crossings and cooler evenings.
1. Documents, money, and an offline contact plan
Organize these in a small document pouch. Carry originals securely and keep backups separately, so a wet bag or a dead phone does not take everything out at once.
- □ Passport for international travel, or the identification required for your domestic journey.
- □ Required visa, entry authorization, permits, and vaccination documentation, if applicable.
- □ Flight, ferry, and lodging confirmations, with the correct pickup point and check-in time.
- □ Offline copies of essential documents, plus paper copies of the itinerary and emergency contacts.
- □ Payment card and a separately stored backup, where cards are accepted.
- □ Cash in a currency your host confirms is accepted, including smaller denominations.
- □ Insurance policy details, assistance number, and relevant medical information.
- □ Host or guide’s phone number, local emergency number, and a contact at home.
Do not use a fixed cash amount from a generic packing list. Add up unpaid transfers, meals, rentals, park fees, and other confirmed expenses, then discuss a practical delay allowance with your host. Ask whether an ATM exists and whether it is reliable before depending on it.
Check that any travel medical or evacuation coverage applies to the island, your activities, and the full itinerary. Save the assistance instructions, including any requirement to contact the insurer before arranging services. For entry documents, verify the destination’s actual passport-validity rules rather than assuming every country uses the same six-month requirement.
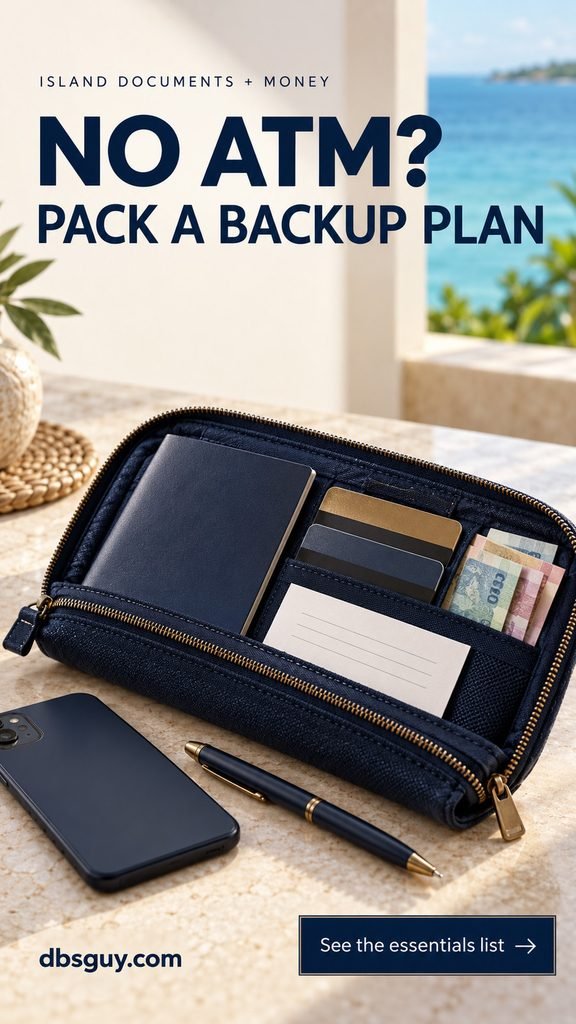
2. Luggage and a boat-day bag you can reach
A compact soft duffel or backpack is a useful starting point for a small boat transfer. Buy or choose your bag only after checking the operator’s limits; a bag accepted on your international flight may be too large for the island leg.
- □ One main bag that meets every operator’s size and weight limits.
- □ One small daypack or roll-top dry bag; approximately 10–20 liters is a starting range for a day kit, not a requirement.
- □ Separate protective pouch for documents and valuable electronics.
- □ Packing cubes or lightweight inner bags to separate clothing and supplies.
- □ One leak-resistant toiletry pouch and one bag for wet or dirty clothing.
- □ Luggage tag with contact details and a simple identifying ribbon or strap.
Match waterproofing to the exposure. A rain cover or splash-resistant bag is not automatically suitable for immersion. Close a dry bag exactly as its manufacturer specifies, and test it with something expendable before putting your passport or camera inside. A phone pouch also needs a stated rating appropriate to the intended use.
What belongs in the boat-day bag?
Keep your documents, money, necessary medicines, phone, water, snacks, sunscreen, insect repellent, and rain layer accessible. Add one dry change of clothing if you may arrive wet. Keep your packed power bank dry and protected. A bag stored beneath other passengers’ luggage is the wrong place for the things you need during the crossing.
Ask what footwear the landing requires. Use the operator’s safety instructions and properly fitted flotation equipment; a dry bag does not provide a substitute.
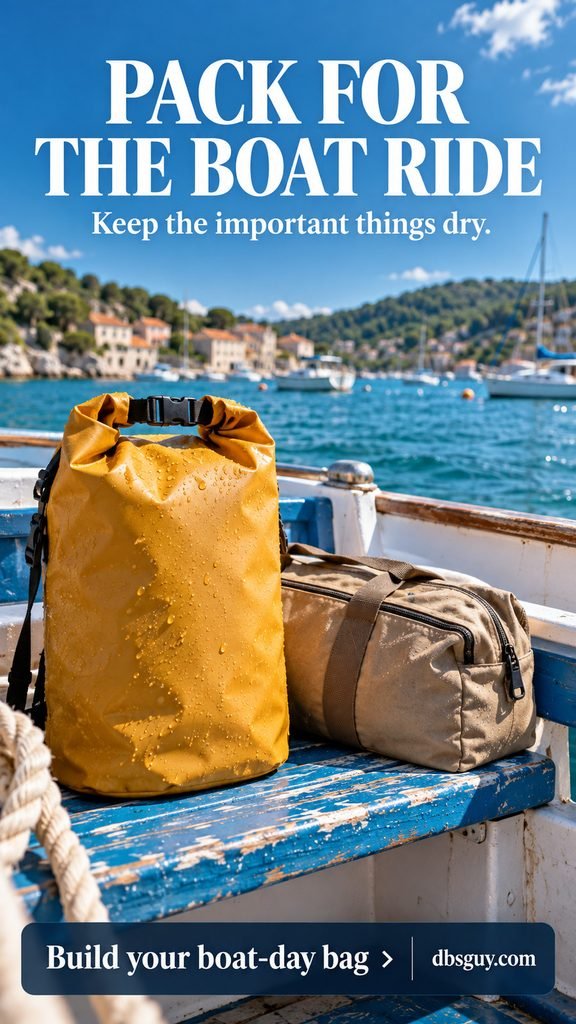
3. Clothing and shoes: a practical seven-day starting list
Choose clothes that work together and suit the island’s humidity, sun exposure, terrain, and local customs. The quantities below assume you can wash a few items midway through the trip. If laundry is unavailable, increase everyday clothing and underwear rather than relying on garments drying overnight.
- □ 4 lightweight everyday tops.
- □ 2 long-sleeve sun shirts or lightweight covering layers.
- □ 2 pairs of shorts, skirts, or other warm-weather bottoms.
- □ 1 pair of lightweight long pants.
- □ 2 swimsuits or swim trunks, if swimming is part of the trip.
- □ 1 rash guard, if you plan substantial time in the water.
- □ 1 light rain shell and 1 light warm layer for the crossing or evening.
- □ 1 sleep outfit and, optionally, 1 simple dinner outfit or dress.
- □ 7 changes of underwear, plus one spare; 2–3 bras or other everyday support garments as needed.
- □ 3–4 pairs of socks if you will rotate and wash them; more if laundry is unavailable.
- □ 1 broad-brim hat, sunglasses with UV protection, and an optional retainer.
- □ 1 pair of comfortable walking shoes and 1 pair of secure, grippy sandals.
- □ Water shoes only if the landing, rocks, or planned activities call for them.
Two sets of swimwear give you a dry option while the other hangs up. For everyday clothing, favor fabrics you already find comfortable; quick-drying synthetic fabrics can be useful for active days, while lightweight woven clothes may suit relaxed evenings. An attractive linen outfit can still take longer to dry in damp weather than you expect.
For trails, choose shoes with traction suited to the terrain. Flip-flops can be handy around the room, but they should not be your only footwear for rocky landings or walks. Water shoes are protection for appropriate surfaces, not permission to step on living coral.
If you want a few outfits that also feel put together, use these resort-ready beach vacation outfits as inspiration, then choose the pieces that fit your activities and luggage allowance.

4. Toiletries, sun protection, insect repellent, and first aid
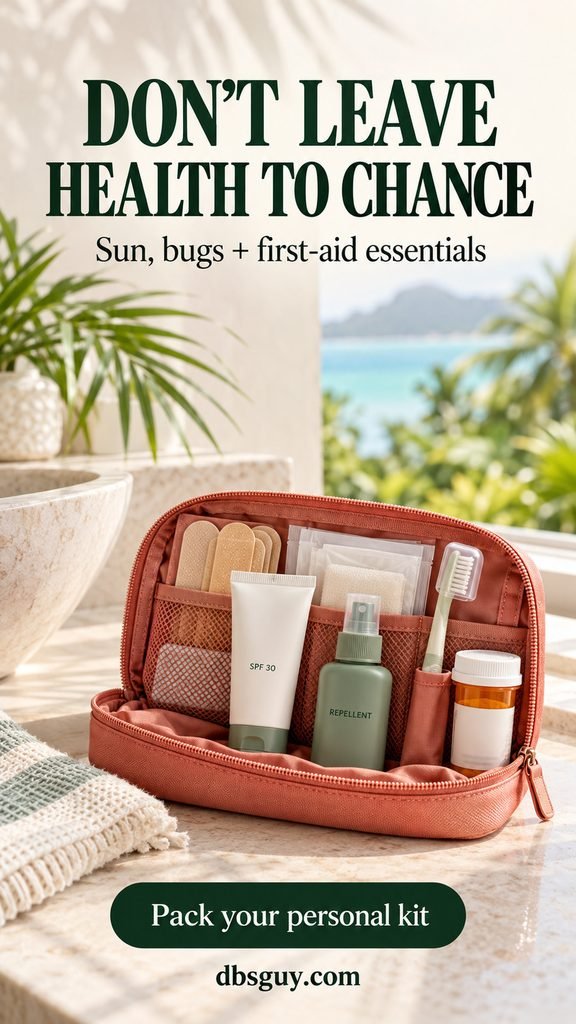
Pack a daily-use pouch and a separate, readily accessible health kit. Bring enough of the items you depend on for the trip and a reasonable delay allowance. A tiny sample may fit nicely in your bag without lasting through the week.
Everyday toiletries and protection
- □ Toothbrush, toothpaste, floss, deodorant, and your usual skin-care basics.
- □ Shampoo, conditioner, and body wash or soap if the lodging does not supply them.
- □ Hairbrush or comb, hair ties, and any essential grooming items.
- □ Menstrual products, contraception, and other personal supplies you use.
- □ Broad-spectrum, water-resistant sunscreen with SPF 30 or higher, plus lip sun protection.
- □ EPA-registered insect repellent, such as an appropriate DEET or picaridin product, used according to its label.
- □ Hand sanitizer containing at least 60% alcohol, and a small supply of tissues.
- □ Glasses, a spare pair if needed, or contact lenses and sufficient solution.
The American Academy of Dermatology recommends broad-spectrum, water-resistant SPF 30 or higher. Pack enough to apply as directed and reapply at least every two hours outdoors, as well as after swimming or sweating according to the label. Clothing and shade also matter. Check local sunscreen ingredient restrictions; a “reef-safe” label alone does not establish that a product is harmless to marine life.
CDC guidance recommends using sunscreen and insect repellent separately: sunscreen first, then repellent, following both labels. If your room lacks adequate screens or a provided bed net, ask whether you should bring a suitable net. Choose age-appropriate products for children.
A compact personal health kit
- □ Regular prescription medicines in their original labeled containers, with permitted extra supply for delays.
- □ Copies of prescriptions and any medical letter needed for your medicines or supplies.
- □ Adhesive bandages, blister dressings, sterile gauze, medical tape, and antiseptic wipes.
- □ Tweezers and a small thermometer.
- □ Oral rehydration packets, prepared only with safe water and as directed.
- □ Medicines for pain, allergies, stomach problems, or motion sickness that your clinician or pharmacist confirms are suitable for you.
- □ Prescribed emergency medicines and necessary medical equipment for your existing conditions.
Use the CDC’s Pack Smart guidance to personalize your health supplies. Before departure, check medicine import restrictions and discuss destination-specific vaccines or preventive medication with a travel-health professional. Follow storage instructions, especially for temperature-sensitive medicines.
Plan for seasickness before the crossing if you are prone to it; some medicines cause drowsiness or need to be taken ahead of travel. Keep the agreed remedy accessible. A first-aid kit helps with minor problems, but a remote itinerary also needs a clear route to medical help.
5. Safe drinking water, food, and a small delay supply
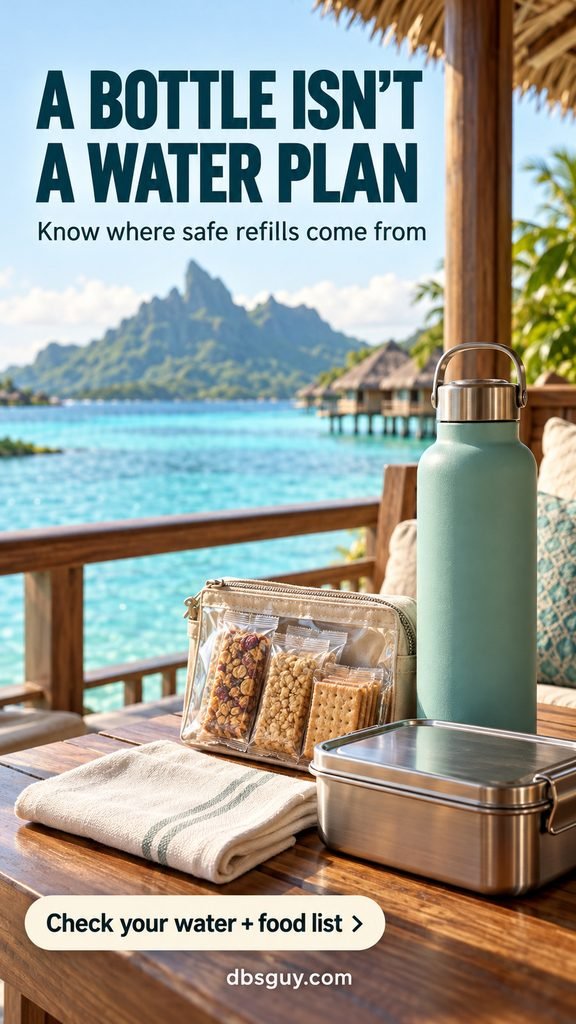
Start with the water source. A reusable bottle is useful only when you know where you can safely fill it.
- □ One durable reusable bottle; around 1 liter is a convenient starting size.
- □ Additional water-carrying capacity if your host or route requires it.
- □ Enough confirmed safe drinking water for the transfer and time until the next reliable refill.
- □ A treatment method appropriate to the freshwater source, if safe refills are unavailable.
- □ A few permitted, sealed, shelf-stable snacks for travel delays.
- □ Any essential food for dietary needs, agreed with your host before departure.
- □ Reusable food container or small sealable snack bag, if useful.
Ask how drinking water is treated and whether refills remain available during outages. For a long boat ride or a walk without refills, agree on the water quantity before setting out; the bottle size above is not a daily intake recommendation.
For uncertain freshwater, CDC identifies boiling as the best method for killing germs, with filtration followed by disinfection as the next option. Many portable filters do not remove viruses. Follow your device and treatment-product instructions, including the contact time. Ordinary backpacking filters and disinfectant tablets do not desalinate seawater; boiling seawater without collecting and condensing the vapor does not make it drinkable. Do not use a water source suspected of chemical contamination.
Pack snacks that tolerate the journey, such as permitted crackers or sealed bars you already eat. Do not assume fresh fruit, meat, seeds, or other food can cross an international border or enter a protected island. Check import and biosecurity rules, and declare food when required.
If the host provides meals, a small buffer may be enough. For self-catering, plan every meal, quantities, cooking equipment, safe water, and waste disposal with the operator. A handful of snacks is not an adequate food plan for an unsupported stay.
6. Power, lighting, navigation, and communication
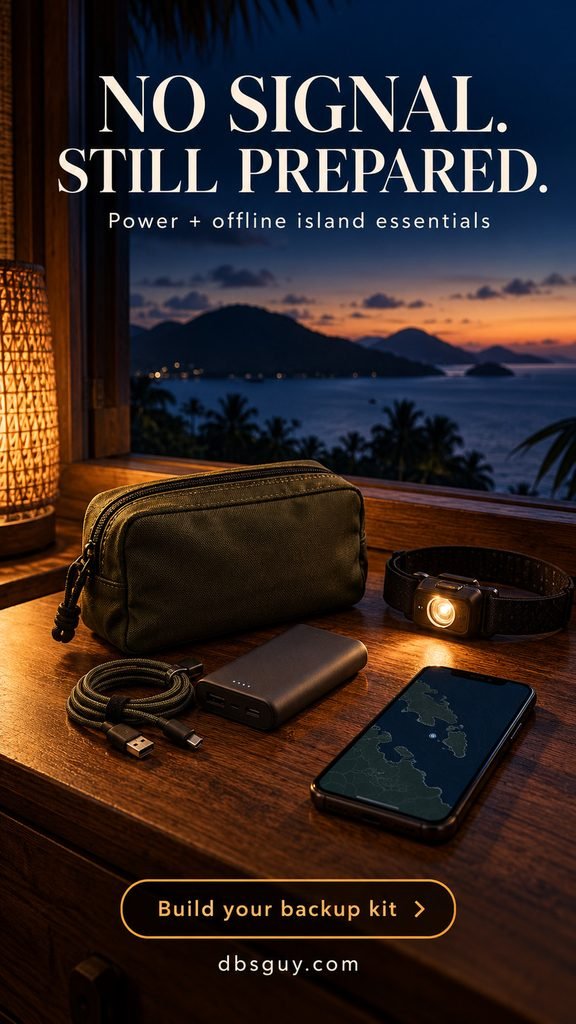
Make your phone useful even when you cannot connect. Download maps, tickets, directions to the pickup point, important numbers, and enough entertainment before leaving reliable Wi-Fi.
- □ Phone, compatible charger, and charging cable.
- □ One charged power bank with a clearly marked watt-hour rating accepted by every airline on your route.
- □ A spare essential cable, if a replacement would be difficult to obtain.
- □ Outlet adapter appropriate to the destination and chargers compatible with the local voltage.
- □ Headlamp or small flashlight, with a workable charging or spare-battery plan.
- □ Offline maps, itinerary, emergency numbers, and any tickets needed without a connection.
- □ Camera and accessories only if you will use them; headphones, an e-reader, or a book are optional.
- □ A suitable satellite communicator or personal locator beacon when the itinerary and emergency plan call for one.
Power banks and spare lithium batteries belong in the aircraft cabin, not checked baggage. Under FAA guidance, the ordinary lithium-ion limit is 100 watt-hours per battery; airlines may impose stricter capacity, quantity, or onboard-use rules. Check every carrier before departure, protect batteries from damage and short circuits, and remove the power bank if your carry-on is gate-checked.
An outlet adapter changes the plug shape, not the voltage. Read your charger’s input label before using it. Ask your host about generator hours rather than assuming you can charge overnight.
Do not treat a solar charger or phone satellite feature as a guaranteed connection. If you need a dedicated emergency device, check country rules, regional service coverage, activation requirements, subscription needs, and operation before leaving. Discuss who receives messages and how rescue would be arranged. Offline maps help you navigate, but they cannot summon help.
7. Activity gear, small comforts, and low-impact supplies
Pack for booked activities rather than every activity an island might offer. Confirm rental availability, sizes, and what the operator supplies before adding bulky equipment.
- □ Compact beach or travel towel if one is not provided.
- □ Mask and snorkel if you prefer your own fit; fins only when needed and practical to carry.
- □ Activity-specific clothing and equipment requested by your guide.
- □ Required dive certification information and operator-confirmed dive equipment, if applicable.
- □ Small laundry supplies if washing is permitted and facilities support it.
- □ Earplugs, an eye mask, and one book or small game if you want them.
- □ Reusable shopping bag and sealable bags for litter, used hygiene items, or other waste you must take out.
A mask that fits comfortably is more useful than an elaborate camera setup you rarely use. Ask about local currents, entry points, and supervised snorkeling options. Equipment does not replace local safety advice.
Before visiting a protected island, clean footwear, bag pockets, and outdoor equipment to remove soil, seeds, and hitchhiking pests. New Zealand’s Department of Conservation, for example, requires checks and cleaning for visits to pest-free islands. Follow the particular island’s instructions; they may include additional forms or restrictions.
Keep soap and laundry water out of the sea and freshwater sources, including products labeled biodegradable. Use the designated facilities and confirm how the island handles waste. Bring a drone, fishing gear, or a pocketknife only if your activities, transport rules, and destination rules allow it.

Adjust the list for your island and style of stay
For a cooler or windy island
Replace some beachwear with base layers, a fleece or other warm midlayer, insulated outerwear appropriate to the forecast, warmer socks, a beanie, and suitable gloves. For exposed wet conditions, ask whether waterproof pants and more substantial footwear are needed. Recheck the activity operator’s list for cold-water or expedition trips.
For a simple lodge with limited services
Confirm bedding, towels, meals, toilet paper, bed nets, drinking water, and charging access. Add only the missing essentials. If a required item cannot be packed within the transport allowance, arrange it with the host before arrival.
For camping or an uninhabited island
Add an operator-approved shelter, groundsheet, sleeping bag rated for expected temperatures, sleeping pad, complete food and freshwater supplies, permitted cooking equipment, sanitation supplies, and an appropriate communications and emergency plan. Confirm landing and camping permits, fuel restrictions, toilets or required waste-pack-out systems, and weather alternatives. Have the guide or land manager review the full equipment list; the guesthouse quantities above are not a complete unsupported-expedition plan.
For children or specific medical needs
Adjust clothing, diapers, food, medicines, and comfort items to each traveler. Confirm correctly sized safety equipment with operators. For babies, discuss feeding-water arrangements and temperature control; for powered medical equipment or refrigerated medicines, verify a dependable power and storage plan before booking.
Pack in this order, then check the finished bag
- Set aside your travel outfit. Wear comfortable walking shoes and a useful layer to save space. For styling ideas, start with Airport Outfit Ideas: What To Wear When Traveling.
- Keep hard-to-replace essentials with you. Documents, necessary medicines, glasses, electronics, and one change of clothing deserve priority in your personal bag.
- Pack dry clothing and health supplies separately. Seal toiletries, isolate potentially wet gear, and place frequently needed items near the top.
- Check liquids and restricted items. At U.S. TSA checkpoints, ordinary carry-on liquids must be in containers no larger than 3.4 ounces/100 milliliters and fit in one quart-size clear bag. Medically necessary liquids have separate screening provisions. Check the rules for every departure airport as well.
- Weigh and measure every bag. Follow the tightest allowance across your journey, including any combined hand-luggage limit.
- Make a last-night list. Charge devices, add daily medicines and chargers, fill water from a confirmed safe source before the transfer, and recheck departure arrangements.
Remove anything that has no confirmed use, duplicates provided equipment, or needs power you will not have. Keep the practical backups: a spare payment method, essential cable, dry clothing, and permitted medicine supply. Those earn their space more easily than a fourth pair of shoes.
Remote island packing FAQs
Can I pack for a remote island trip in a carry-on?
Often, for a hosted warm-weather stay with meals and basic facilities. Start with the seven-day clothing quantities, skip provided towels and rental gear, and check liquids. The deciding factor is the smallest flight or boat allowance, not the size of a standard airline carry-on. Camping, specialized equipment, or required supplies may change the answer.
Do I need a dry bag if I am staying in a hotel?
The transfer matters as much as the accommodation. A small dry bag is useful when luggage faces splashes, exposed boat storage, or beach landings. For an enclosed ferry with protected luggage storage, a protective pouch may be sufficient for your valuables. Ask the operator about the actual conditions.
How much sunscreen should I bring for a week?
Bring enough for the body areas you expose and the reapplications you will need. The American Academy of Dermatology notes that most adults need about one ounce to cover their bodies; a single 3.4-ounce container can run out quickly on swim-heavy days. Use protective clothing too, and plan your supply around baggage rules and verified local availability.
Should I bring my own snorkeling gear?
Bring your own mask if fit matters to you or rental gear is not assured. Ask about the snorkel, fins, and any required safety equipment before packing the rest. You may be able to avoid carrying bulky fins when your operator provides suitable sizes.
What are the easiest remote-island essentials to overlook?
A headlamp, small-denomination cash, a spare cable, contact-lens solution, accessible motion-sickness medicine, and a return-transfer contact plan. Also check what happens if bad weather extends the stay: water, food, medicines, accommodation, and communication all need an answer.