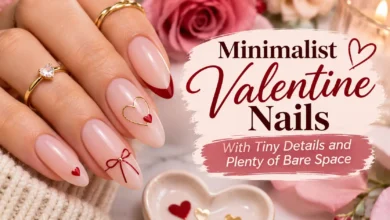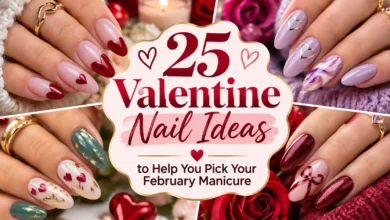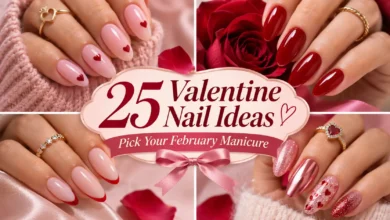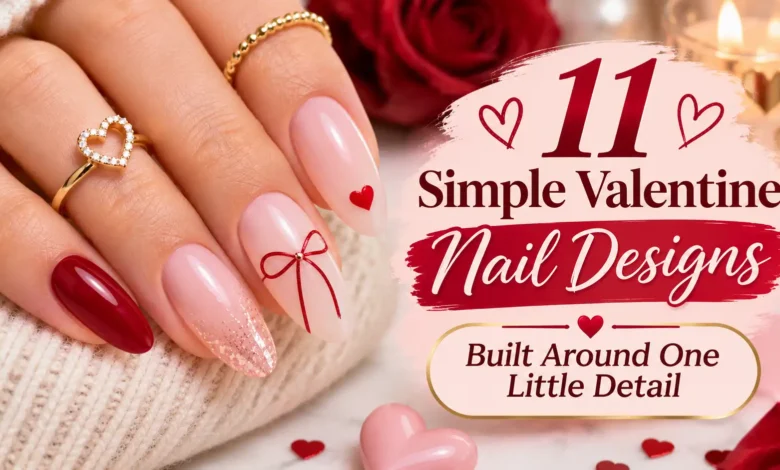
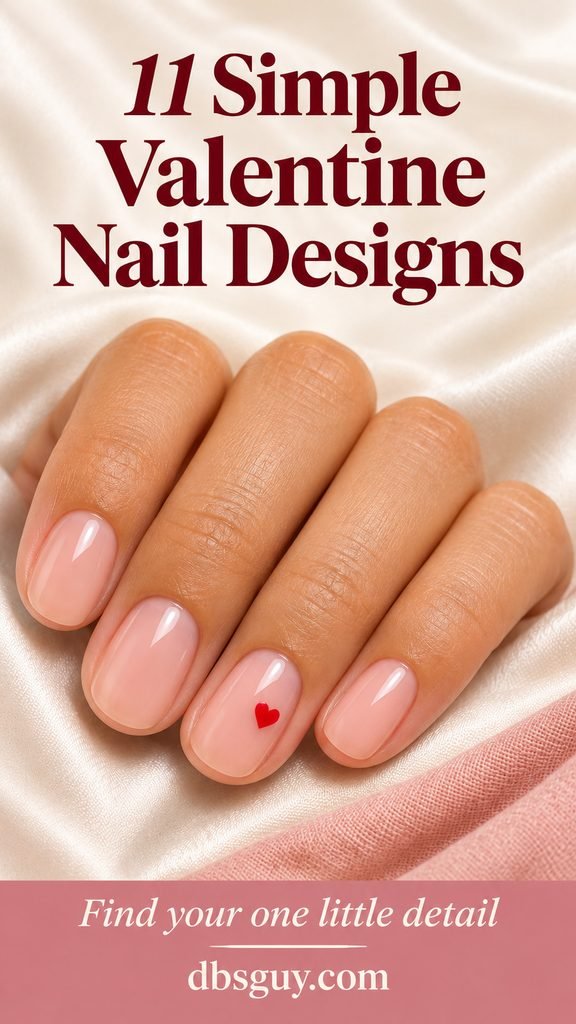
A red dot is the simplest place to start if you do not want to draw. A tiny heart makes the Valentine connection clearer; one rose-gold accent nail adds shine without a motif. Choose one detail, keep the rest of the manicure quiet, and you have a specific plan for your February nails.
These 11 simple Valentine nail designs focus on small, flat details and short shapes. Some need only a dotting tool or a polish brush; others look minimal but take careful linework. Each idea explains the placement and a way to make it more manageable.
The images are AI-generated nail-design concepts for dbsguy.com. They illustrate color, placement, and finish rather than completed salon work or wear-tested results.
Choose the Detail You Want to Try
- For a first attempt at nail art: start with the red dot in idea 2 or the shimmer accent in idea 11.
- For an unmistakable Valentine detail: compare the tiny heart, painted bow, and XO in ideas 1, 4, and 5.
- For color without a symbol: try the pink micro tips, burgundy corners, or red half-moon accent in ideas 3, 7, and 9.
1. One Tiny Red Heart on Sheer Pink
Put one little cherry-red heart in the upper half of the ring nail and leave the others glossy sheer pink. The heart reads clearly because it has open pink space on every side. A short round shape gives you enough room without requiring a long pointed tip.
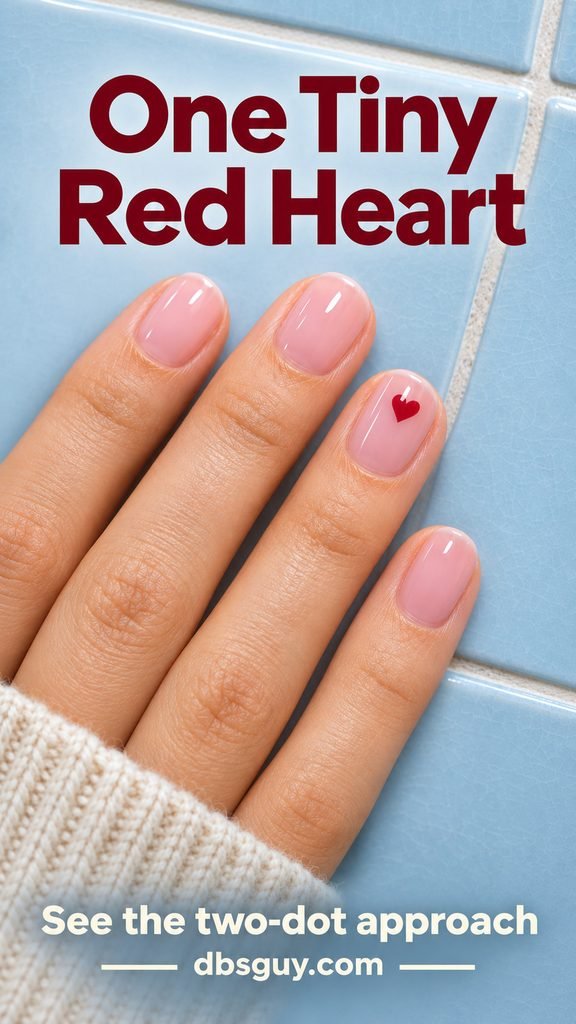
For a painted version, practice two small neighboring red dots on a spare nail tip, then use a fine nail-art brush to draw their lower edges into one point while the red is workable. Use very little polish; two oversized dots leave less room to shape the heart. Add the detail over a base that has dried as its instructions require.
If the second hand is difficult, use a small flat heart decal compatible with your polish instead. Check the decal against your nail before applying it. At the salon, ask for one small filled heart on each ring nail, with no extra hearts on the plain fingers.
Also Read: 17 Oval Acrylic Nails for February With Soft Edges and Romantic Details.
2. A Single Red Dot Near Each Nail’s Base
A small red dot turns milky pink into a graphic Valentine manicure without asking you to paint a recognizable shape. Repeat one dot near the base of each nail, centered across its width. Leave a visible strip of pink between the dot and the skin.
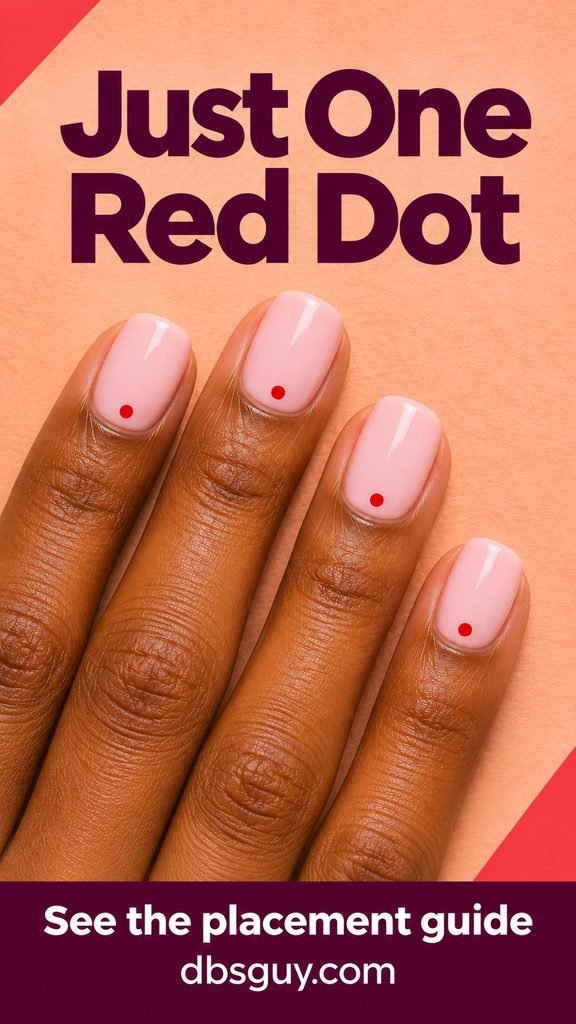
Put a little regular nail polish on a disposable palette and touch it lightly with a small dotting tool. Try the pressure on a spare tip before moving to your nails. Reload for each dot so the last one does not become noticeably smaller than the first.
Choose red that stands out against the pink after both are dry. If the dot spreads, use less polish on the next attempt rather than adding another dot to balance it. The whole design depends on that single clean mark.
3. A Narrow Rose-Pink Micro French
A slim rose-pink edge gives a sheer pink-beige manicure its Valentine color. There is no separate accent finger: the same narrow curve follows each free edge. Keep the base translucent enough that the colored tips remain the feature you notice.
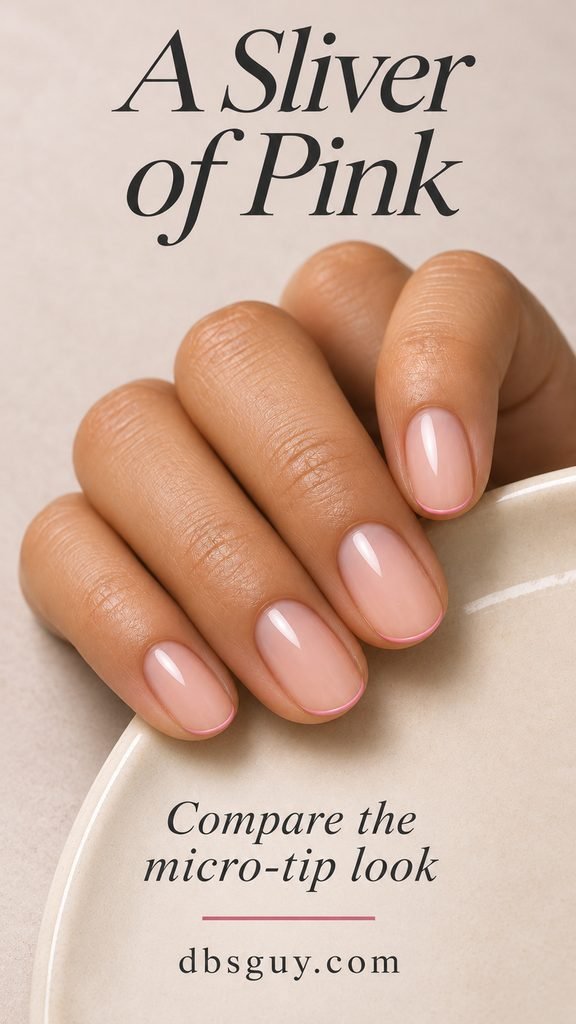
This is a simple-looking design with a precision tradeoff. Use a fine nail-art brush to follow the actual nail edge, supporting your painting hand on the table. If you use adhesive French guides, follow their directions and let the base become ready for adhesive; touch-dry polish can still mark.
For a salon request, point out the band width before the artist paints the whole set. On very short nails, keep the band fine instead of deepening it to imitate a longer reference. A pink tip on just the ring nails is a smaller home project.
4. A Little Burgundy Bow on Ballet Pink
A small painted bow gives pale ballet-pink nails a ribbon detail while keeping the surface flat. Place it on the ring nail and leave the other fingers plain. Burgundy makes the fine lines visible without needing a black outline.
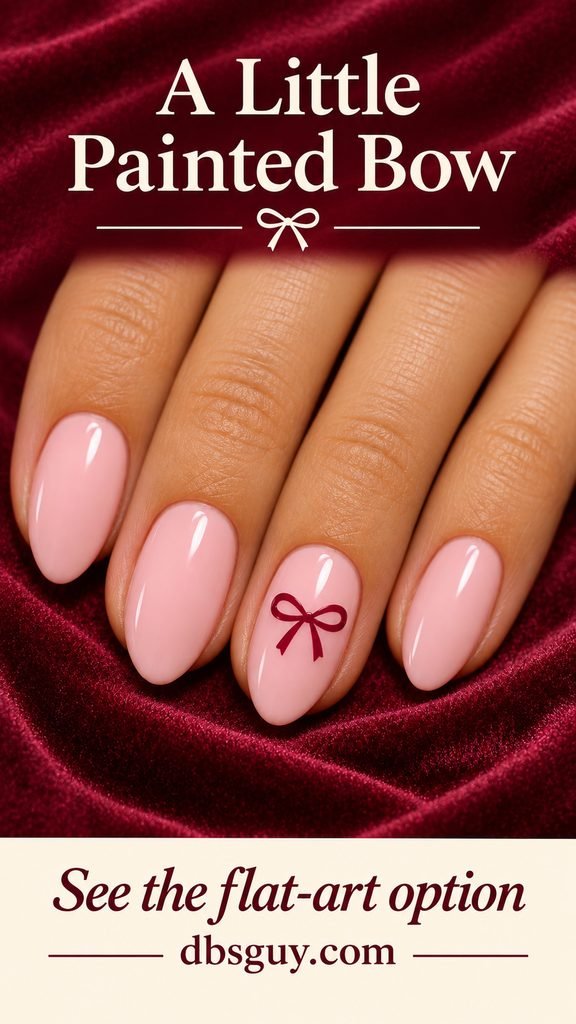
Ask for two small loops, a tiny center, and two short tails. The tails should end well inside the nail’s edges. If you are painting at home, sketch the shape on a swatch first; closed-up loops can quickly become a blob at this scale.
A flat bow decal is the more manageable alternative to drawing those loops with your less steady hand. Specify painted or decal artwork at an appointment, since a raised bow charm changes both the appearance and the feel.
Also Read: 25 Valentine Nail Ideas to Help You Pick Your February Manicure.
5. One Small XO on Lavender Pink
An XO adds the Valentine message through lettering rather than another heart. Use dark plum over pale lavender-pink, with both letters together on one middle nail. Leave a small gap between the X and O so they read as a pair instead of a tangled mark.

Make the X with two fine diagonal strokes and keep the O simple and open. Put the pair in the upper half of the nail, away from the sidewalls. Short, unembellished letters fit this look better than miniature script.
If your nail is too narrow for both letters, put the X on the middle nail and O on the ring nail. That changes the placement while keeping the message; resist shrinking them until the O’s center disappears.
6. One Fine Gold Line on Dusty Rose
A short gold stripe gives dusty-rose nails a jewelry-like accent without a holiday symbol. Place one vertical line in the center of the ring nail, running from around the middle toward the free edge. Leave rose visible on both sides so the gold stays a fine detail.
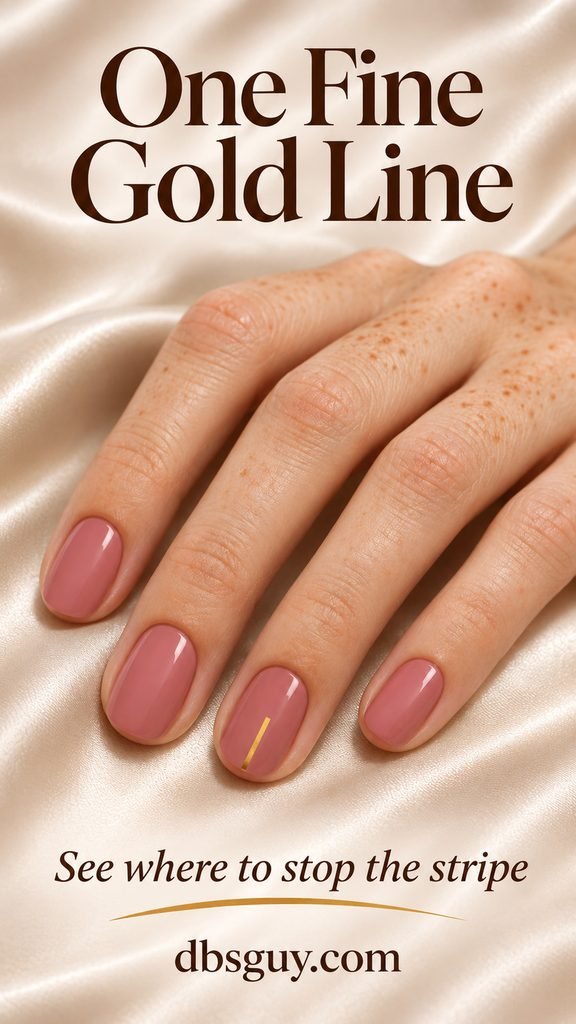
Use metallic nail-art polish and a fine liner brush for a painted version. Make a short practice stroke to check coverage before starting: some metallic shades look much sheerer in a thin line than in the bottle.
If the first line is slightly uneven, avoid widening it repeatedly until it becomes a large gold panel. A salon can refine the line, or you can choose a compatible small striping decal. Check a finished swatch beside the rings you wear if you want the gold tones to feel connected.
Also Read: 15 Elegant January Nail Art Ideas to Pair With Your Winter Jewelry.
7. A Burgundy Triangle at One Tip Corner
Instead of tracing a curved French tip, color one corner of each free edge burgundy. A short diagonal boundary gives you a little wedge of dark color while the sheer caramel-beige base stays visible. Soft square nails make that corner especially easy to identify.
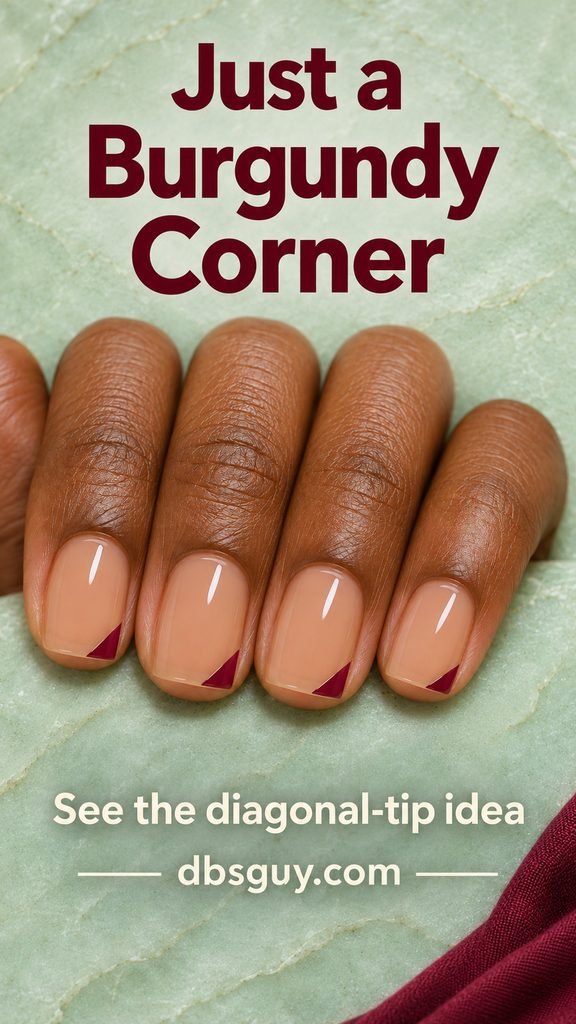
Use a small nail-art brush to mark the diagonal first, then fill toward the outer corner. Keep the general direction consistent across the hand. If the colored area reaches far down the nail, shorten the diagonal on the next nail rather than extending every wedge to match it.
This still needs a neat boundary, but it removes the curved smile line from the task. Try the corner on the thumb and ring nail only if ten matching edges feel ambitious.
8. A Single White Dot Daisy on Raspberry
One little white daisy offers a floral Valentine option without a detailed rose or a whole bouquet. Use a raspberry-rose base and keep the flower on the ring nail. White petals and a pale yellow center provide enough contrast to understand the small shape.

On a dry base, place five small white dots around an empty center. Once the petals are ready for another color, add the pale yellow center. Practice the spacing first so the petal dots meet visually without merging into one white circle.
Choose the flower size around the nail you have. If five petals will not stay distinct, use a smaller floral decal rather than filling the nail edge to edge. Keeping the remaining nails plain is what makes this a one-detail manicure.
9. A Red Half-Moon on One Accent Nail
Move the red to the cuticle-side end of one ring nail and make a small solid half-moon over sheer peach-pink. A straight edge crosses the nail, while the curved side sits near the base. Leave a pink margin between the painted shape and the skin, and keep the other nails plain.
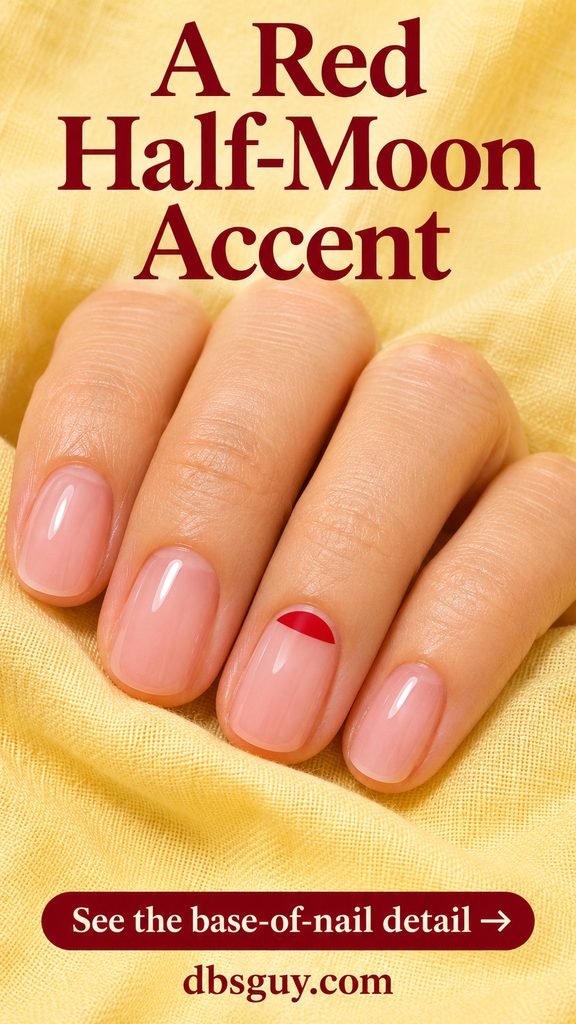
Show the artist where you want the red patch to stop; most of the nail should remain pink. For a home alternative, look for a small half-moon nail decal compatible with your polish. Check its width against the base of the actual accent nail, then follow its application and sealing directions.
A half-moon can look minimal while still requiring careful control near the base. Use idea 2’s single dot if you prefer a less exacting mark in the same location. There is no need to add a red tip to finish this version.
10. One Silver Star on Dusty Lilac
A small silver star gives dusty lilac a cool, dressed-up detail. Keep it on the ring nail, slightly above the midpoint, with lilac showing around every point. It suits a February manicure you want to keep wearing without a literal Valentine message.
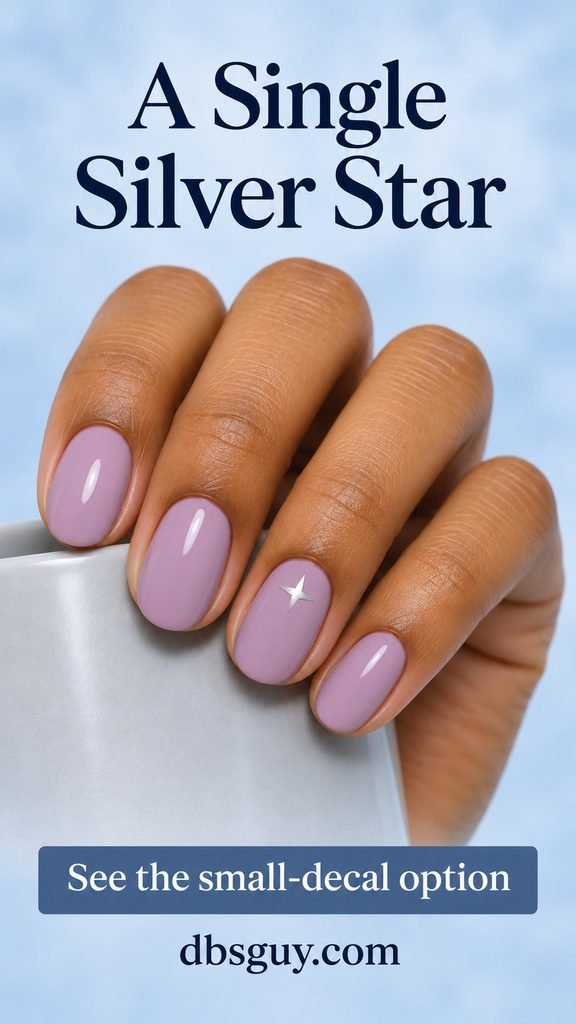
A flat nail decal is a useful route when drawing four balanced points would be the hardest part. Choose one intended for your polish system and follow its application and sealing instructions. Check the fit against the actual accent nail, rather than relying on how tiny the sticker looks on its sheet.
Ask for a flat metallic accent if you want this surface effect; a rhinestone cluster gives a different result. Keep the surrounding nails glossy and undecorated so the single star stays easy to spot.
Also Read: 21 Short December Nail Ideas That Make Tiny Details Stand Out.
11. One Rose-Gold Shimmer Nail Beside Mauve
Let a single change of finish supply the detail. Paint the main set muted mauve pink, then give the ring nail a fine rose-gold shimmer. There is no symbol to position or line to keep straight; the difference between the surfaces does the work.
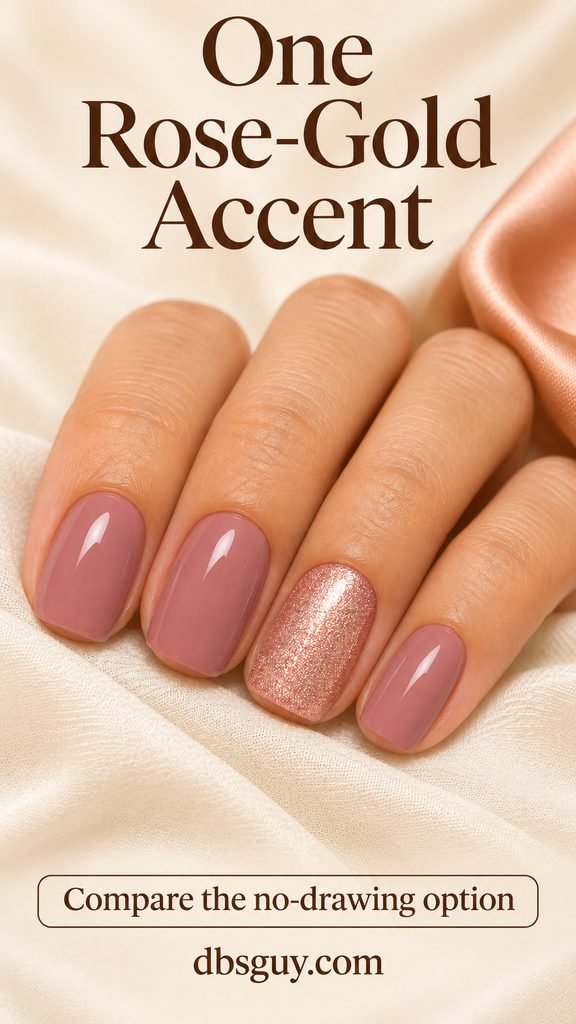
Compare the shimmer on a nail swatch before choosing. A sheer topper over mauve will look different from an opaque rose-gold shimmer polish, and large glitter pieces will give a more scattered effect than the fine texture pictured.
Use a product combination intended to work together and follow its coat and drying directions. Keep the shimmer on one nail per hand if you want the mauve to remain the main color. This is the option to choose when you like the Valentine palette but would rather skip detailed drawing.
Make One Detail Work on Your Own Nails
Choose your comfortable length before choosing the artwork’s size. A small nail may suit one dot or a compact decal better than an XO or bow. For the repeated edges, ask to see one completed nail first; it is easier to adjust the width before the whole set is painted.
For a regular-polish version at home, gather the base color, one accent polish or compatible decal, the tool that detail needs, and the base and top coats your products specify. Follow those products’ drying instructions instead of using a universal wait time. Practice your chosen mark once on a spare tip, and avoid repeatedly brushing over artwork that is still moving.
At an appointment, describe the base, accent placement, and finish together: “Short round sheer-pink nails, one small flat red heart on each ring nail, and gloss throughout.” Ask whether the artwork is included in the service before the appointment begins.
Keep preparation gentle. The American Academy of Dermatology advises against cutting or forcefully pushing back cuticles and recommends moisturizing nails, especially after polish removal. Its manicure and pedicure safety guide explains the basics.
Questions About Simple Valentine Nails
Which design should I try if I have never done nail art?
Start with the single red dot or the rose-gold shimmer accent. The dot needs one controlled touch after the base is ready; the shimmer uses a familiar polish application. A bow or a micro French may look just as simple, but both ask for more precise brushwork.
Can I make these designs with regular nail polish?
These flat painted details can be interpreted with regular nail-art polish, and the decal options can work with compatible products. You do not need a chrome powder or magnetic system for the looks shown. Follow the application and sealing directions for the actual polish and decals you choose.
How do I keep a tiny detail from looking crowded on short nails?
Reduce the number of accents first. Keep a heart, bow, flower, or star on one nail per hand, with a border of base color visible around it. For a tip design, keep the colored edge narrow. Changing the placement is often more useful than shrinking every part of a complicated reference.
Do both hands have to match exactly?
You can repeat the same motif on both ring nails, or place it on whichever accent nail is easiest for you to decorate. Keep the base and accent colors consistent if you want the hands to feel connected. Choose a decal for the less steady hand if matching painted shapes becomes frustrating.
Also Read: 25 Valentine Nail Ideas to Help You Pick Your February Manicure.