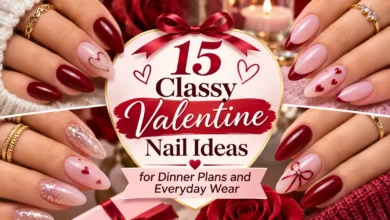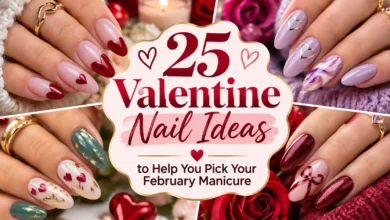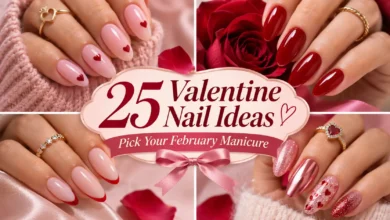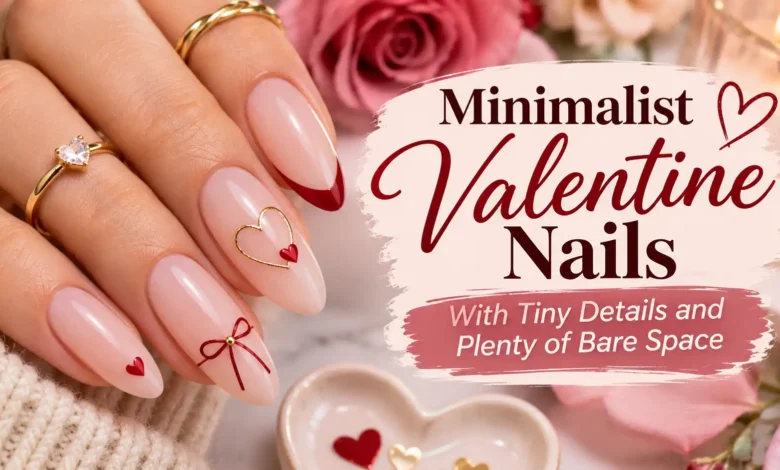
For minimalist Valentine nails, start with a clear or sheer pink base and choose one small detail: an off-center heart, two little dots, or a red edge with an open middle. Leave enough untouched-looking nail around the artwork that you notice the space as much as the color.
These 10 designs show different ways to do that, including options for very short nails and a few without hearts. Choose one layout for the whole set rather than combining every accent you like.
The images are AI-generated design concepts for dbsguy.com. They illustrate color, scale, and placement; they do not document completed salon work or wear tests.
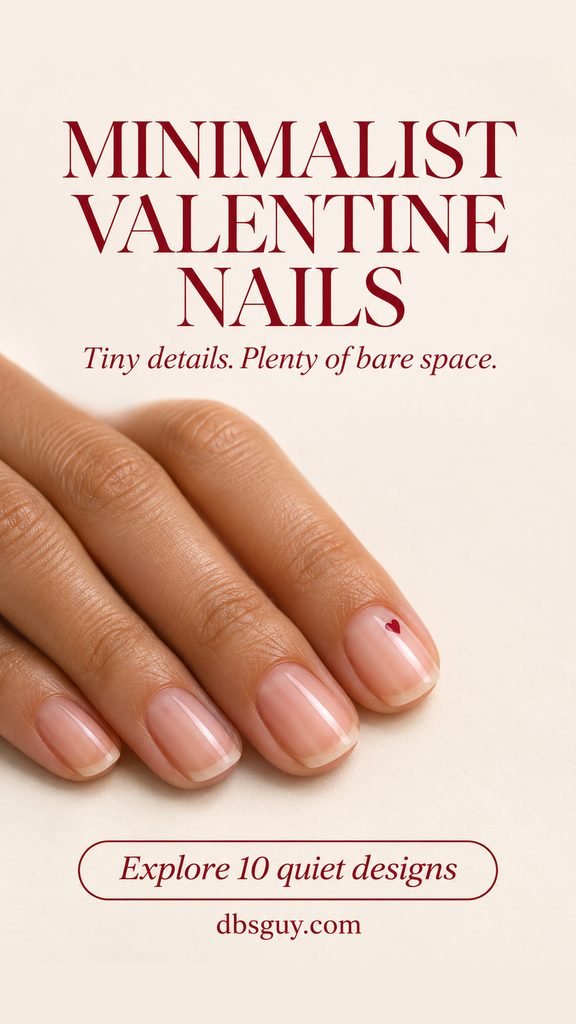
Choose the Base Before the Detail
Here, “bare space” means an area without colored artwork. It can still have a transparent base and top coat. If you want the natural nail and free edge to remain visible, ask for clear gloss or a translucent pink instead of an opaque nude.
Check the base on your own hand. A pink that looks neutral in the bottle can look peach, lavender, or chalky against your skin. If you prefer a little coverage, choose a sheer tint you like rather than trying to match a supposedly universal nude.
- For the smallest commitment to a theme: choose one accent nail, as in the filled heart, open heart, bow, or white sparkle.
- For a coordinated full set: repeat the paired dots, broken tips, gold fleck, or corner dash.
- For a home manicure: start with the dots, or use a suitably small flat decal for a single symbol. Save delicate freehand outlines for a steady hand or a salon appointment.
As a visual starting point, keep most of each nail free of artwork and leave a visible margin around every mark. This is a styling choice, not a measurement you need to get exactly right.
Also Read: Negative Space Nail Art: 10 Modern Nail Designs That Turn Empty Space Into Stunning Style – Nailglowy.
1. One Off-Center Cranberry Heart
A single filled heart is the clearest Valentine reference in the smallest amount of space. The short rounded nails stay sheer, while a tiny cranberry heart sits toward one side of the ring nail. Moving it off center gives the little shape its own pocket of empty space.
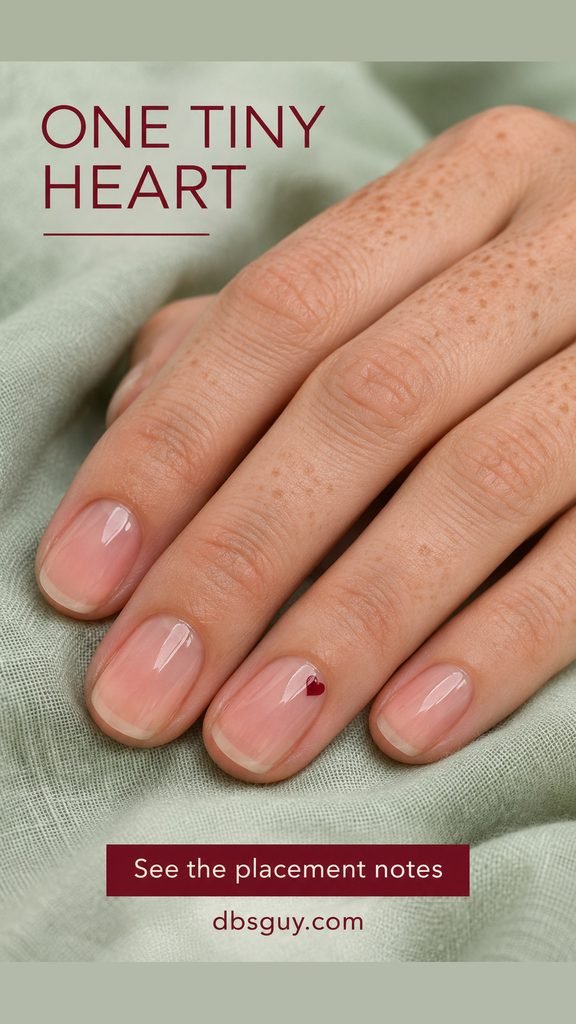
Ask for one flat heart on each ring nail and leave the others plain. Check its size before your artist repeats it on the other hand: it should read as a small accent, with space between the heart, the skin, and the nail edge. For a home version, hold a decal beside the nail before removing it from its sheet.
2. A Burgundy Heart With an Open Center
If you like the symbol but want less solid color, use an outline. A fine burgundy line makes a small heart high on the middle nail, with the same transparent pink showing inside and around it. The dark border supplies the contrast.
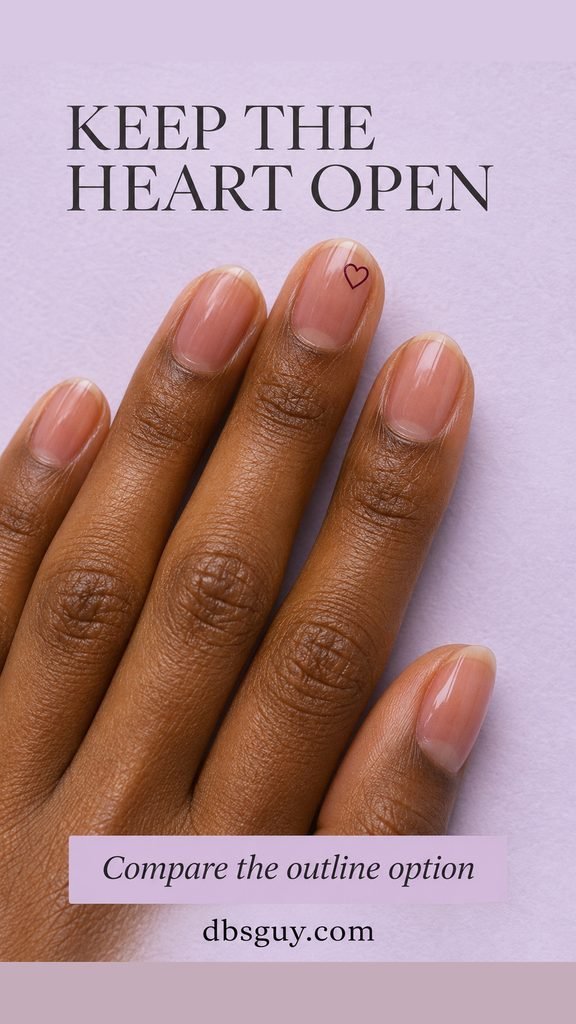
The open center needs to remain visible. On a small nail, simplify to one clean outline rather than squeezing in a second heart. Ask your artist to show the line weight on one nail first; a thick border can swallow the opening and change the look. Keep the other fingers glossy and undecorated.
3. Two Little Pink-and-Red Dots
Two separated dots give you Valentine colors without a literal heart. In this version, one rose-pink dot and one cranberry dot sit near the tip of each short squoval nail. The tiny gap between them is part of the design; joining them creates a different shape.
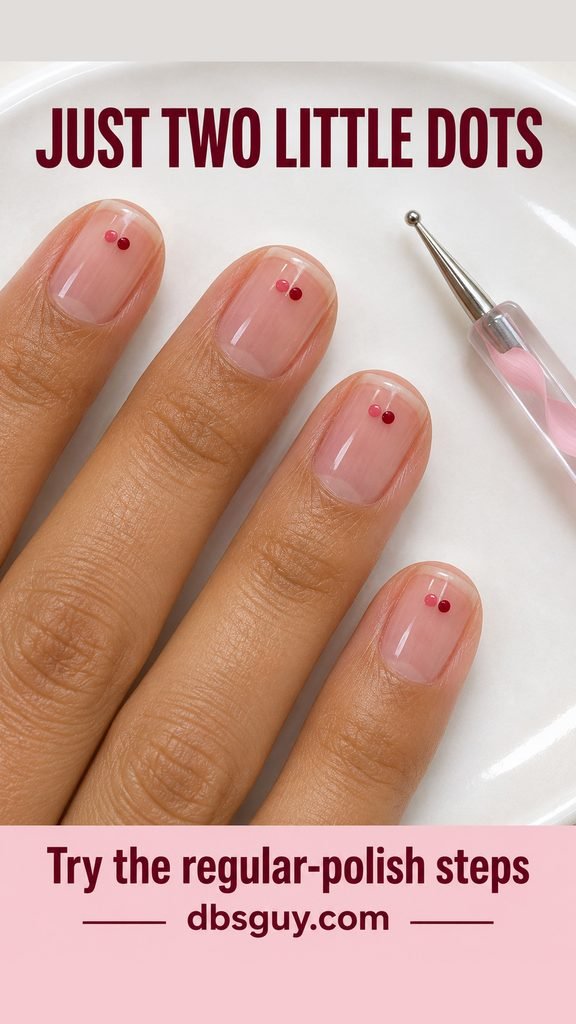
To try it with regular polish, you need a sheer base, two nail-polish colors, a small dotting tool, and a compatible top coat. Follow the products’ base-coat and drying directions, then:
- Test a small pink dot on a practice surface to judge how much polish the tool carries.
- Place one dot on the nail, leaving room between it and the tip.
- Clean the tool as directed, switch to red, and place the second dot beside the first without touching it.
- Allow the artwork to dry as directed before applying top coat, so the brush does not drag the colors into streaks.
Judge the pair against the pinky before decorating the whole set. If both dots cannot fit with clear space around them, make them smaller instead of pushing them against the sidewalls.
4. A Red Micro French With a Gap
Break the usual French edge into two tiny corner strokes. Each nail has a sliver of red at either side of the free edge, with a clear gap across the middle. The center stays open instead of becoming a continuous red band.
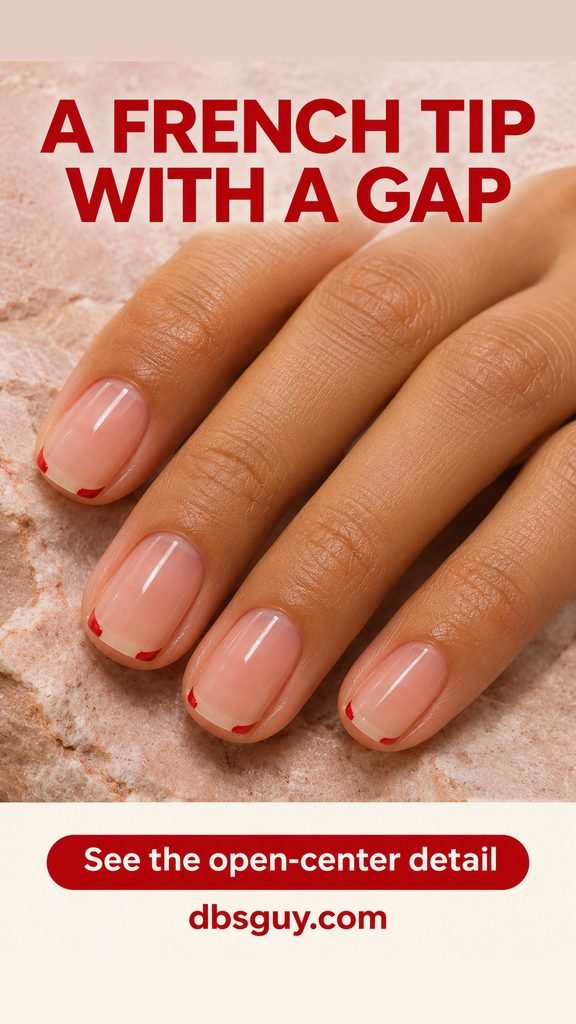
Show the gap explicitly when explaining this at the salon. Ask for disconnected corner accents and check one finished tip before the remaining nails are painted. On a short squoval, keep the red strokes shallow so they do not turn into broad triangles. This is a good choice when you like red but prefer geometry to hearts.
5. A Fine Rose Curve Along One Side
A single pink curve can feel romantic without saying Valentine’s Day outright. Here, one fine rose line sweeps toward the side of the middle and ring nails. The rest of the set stays sheer, giving those two curves room to stand out.
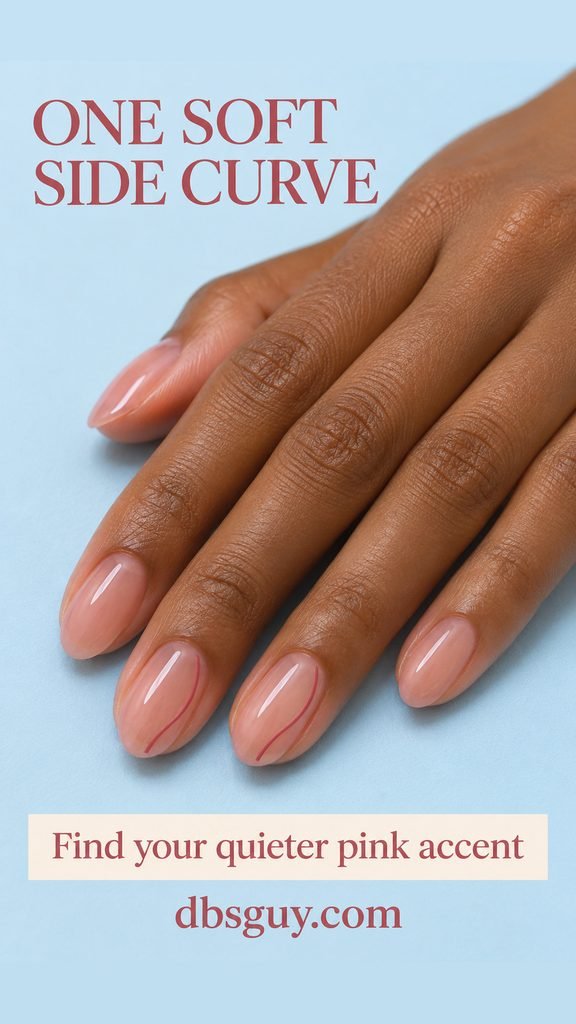
Choose a rose shade with enough contrast to remain visible over your base. Ask for an inset curve, with a margin from the skin, rather than a border wrapped around the whole nail. On a shorter shape, shorten the sweep while preserving its curve; adding a matching line on the other side would make the design busier.
Also Read: 17 Oval Acrylic Nails for February With Soft Edges and Romantic Details.
6. A Little X and a Little O
Split a tiny X and O between two neighboring nails for a quiet nod to hugs and kisses. The reference places one burgundy letter on the middle nail and the other on the ring nail, toward the base of each. There is no need to add lettering to the other fingers.
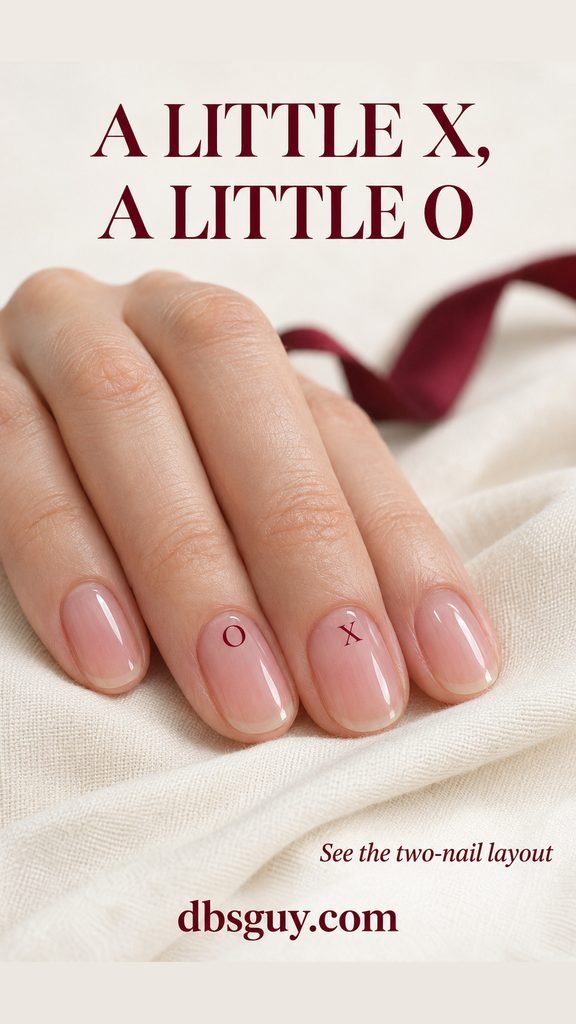
Decide how the letters should face before your appointment: upright to you when you look at your hand, or upright to someone looking at your fingertips. Bring the image to settle that detail. Keep the O open and the X simple; tiny decorative flourishes are easy to lose at this scale. A small flat decal is another way to get a clean letter shape.
7. One Flat Wine-Red Bow
A fine painted bow adds a ribbon detail while keeping the surface visually light. Two little loops, a knot, and short tails sit on the ring nail; the surrounding nails are plain, transparent pink. The open loops echo the bare space around the design.
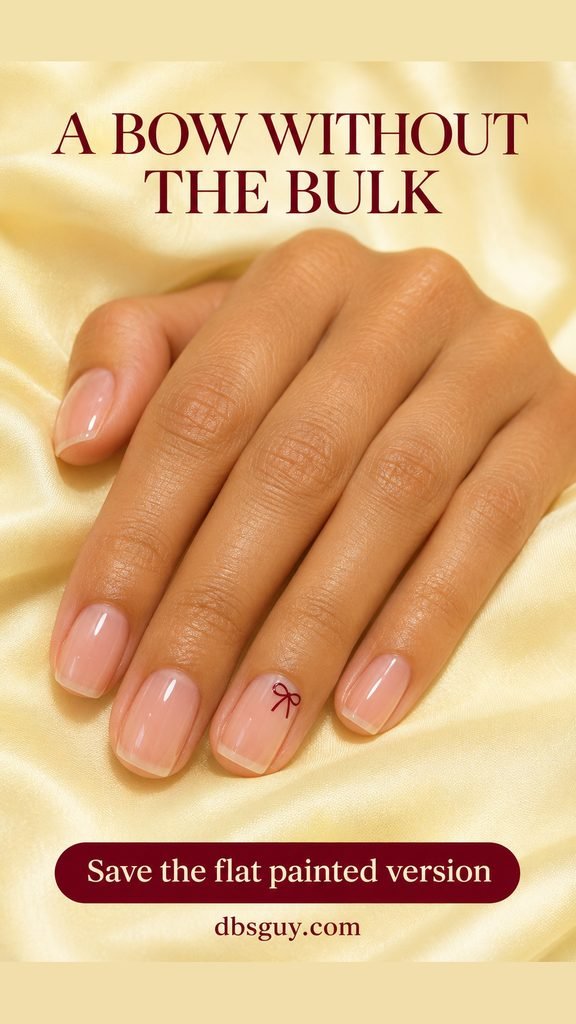
Ask specifically for flat painted linework or a flat decal. A raised bow charm would create a different silhouette. On very short nails, prioritize readable loops and shorten the tails so they do not run into the edge. Keep the bow as the only artwork if its small shape is the part you want to notice.
8. One Small Gold Fleck per Nail
A tiny gold foil fleck gives sheer nails a little shine without an all-over shimmer finish. The irregular fragments sit toward one side near the tips, with most of the nail left transparent. Their uneven shapes are part of the appeal; they do not need to match like stamped dots.
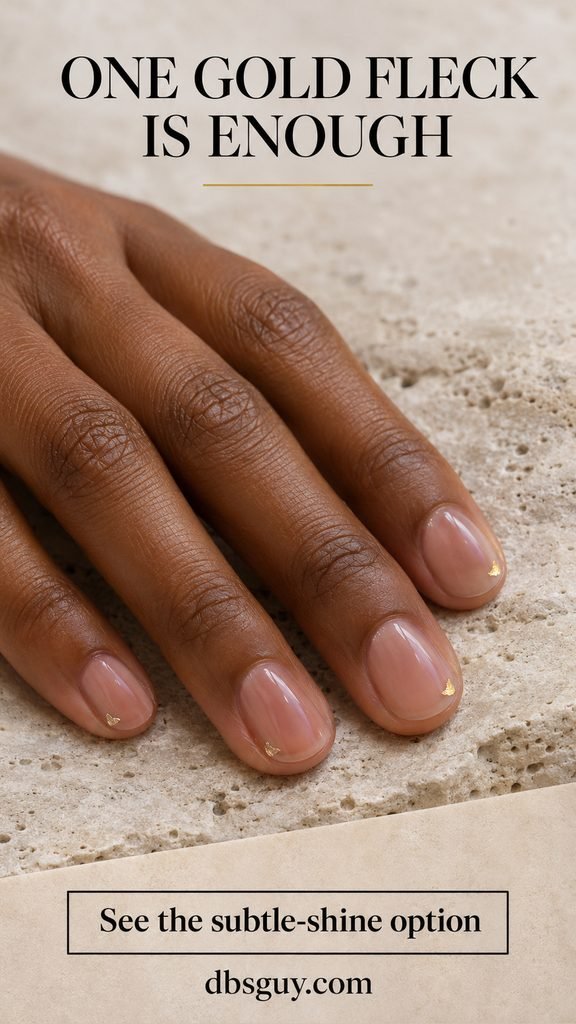
Choose foil intended for nail art and follow its application instructions, or ask your technician for a small flat fragment sealed into the manicure. Keep each piece comfortably inside the nail’s edges. If the artist starts building a cluster, pause after one fleck and look at the whole hand before adding more. This is the quietest metallic option in the group.
9. A Single White Painted Sparkle
One white four-point sparkle gives a sheer pink manicure a light-catching motif without a jewel. The ring nail carries the small star, and the other nails remain plain. It is an option for February when hearts and lettering are not your style.
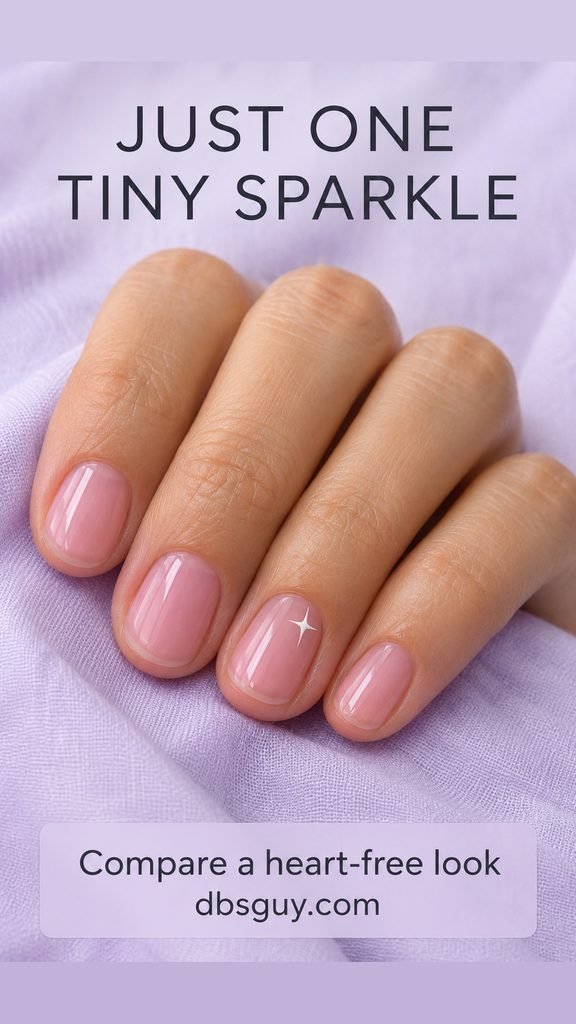
Ask for a painted shape with four tapered points. Keep it away from the edge so the full silhouette is visible, and compare the white against the chosen base before committing. On a very small nail, shorten the rays instead of letting them reach the sidewalls. The image shows flat artwork; it does not require a rhinestone or a glitter layer.
10. A Tiny Red Corner Dash
A short red dash makes the Valentine color feel graphic. Each nail has one small rectangular mark in an upper corner, floating inside the nail plate. Unlike the broken French in idea 4, this accent never becomes part of the tip.
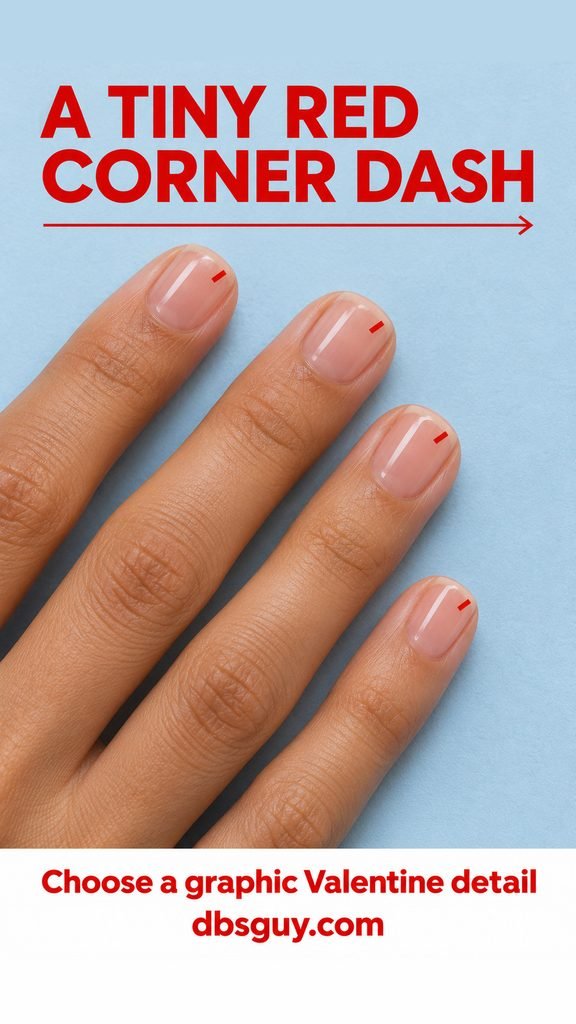
Keep the angle and corner consistent across the hand. A crisp vermilion makes the small shape noticeable, while the sheer background keeps the amount of color low. Ask your artist to preserve a little space between the dash and both nearby edges. If the mark stretches across much of the nail, shorten it rather than adding another accent to balance it.
Also Read: 25 Valentine Nail Ideas to Help You Pick Your February Manicure.
What to Say at Your Appointment
Bring one full-hand image and a close view of its accent. You can say: “I want a transparent pink base with the natural nail still visible, this amount of artwork, and the same empty space around it. Please show me the accent on one nail before repeating it.” Then agree on the decorated fingers, motif direction, and line weight.
Choose a length you already find comfortable. If your nails are shorter than the reference, reduce the number or complexity of the marks before trying to fit everything into the smaller area.
A sheer manicure does not call for aggressive cuticle cleanup. The American Academy of Dermatology’s manicure guidance advises against cutting or forcefully pushing back cuticles and recommends moisturizing nails, especially after polish removal. Keep the artwork on the nail, with a visible margin from the skin.
Questions Before You Choose
Can very short nails still have negative-space Valentine art?
Yes. The filled heart, paired dots, and corner dash all work as small marks on a short nail. Scale the artwork to the smallest nail in the set, and keep the base visible around it. You do not need extra length just to make the theme recognizable.
Do these designs need gel or acrylic?
No. The layouts can be interpreted with regular nail polish or suitable flat nail decals. A salon can also adapt them to the service you choose. Product instructions determine application, drying or curing, and removal; a design reference does not supply those directions.
Will bare space make regrowth invisible?
No. A transparent base may make a color boundary less noticeable, but the product edge and changes in the manicure can still show. Choose these designs because you like their open look, rather than expecting them to hide every sign of wear.
How do I keep the finished set from looking crowded?
Keep one main detail and one layout. If you choose the bow, leave the neighboring nails plain; if you choose repeated dots, let those dots be the whole pattern. Look at the full hand before adding anything else. For the most understated starting point, choose one tiny accent on each ring nail and stop there.