
A useful dorm coffee station starts with the drink you actually order. If that is iced vanilla coffee, a small jar of instant coffee or a bottle of concentrate may do more for your budget than an espresso machine. If you want a hot cup before class, give one approved brewer a clear, easy-to-clean place to live.
These 13 dorm coffee station ideas solve different problems: a crowded desk, no room sink, shared supplies, limited fridge space, and equipment you need to pack away. Start with furniture you already have, then choose the setup that makes your usual drink easy enough to make on a busy morning.
- Smallest shopping list: the one-tray station in idea 1.
- No heated appliance: the cold coffee corner in idea 5.
- No sink nearby: the cleanup caddy in idea 6.
- Sharing with a roommate: the two-bin station in idea 9.
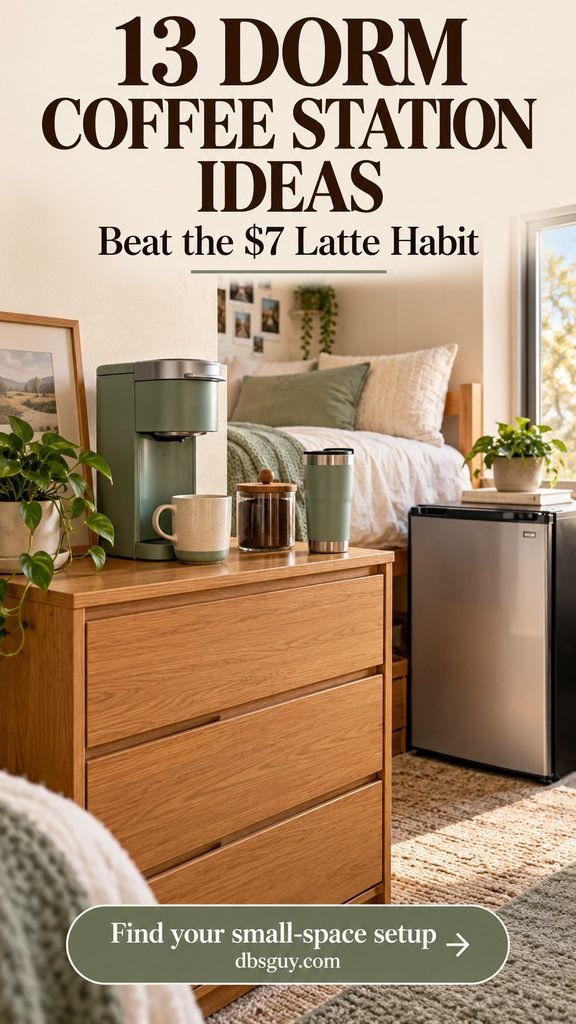
The visuals are AI-generated design concepts. They illustrate possible arrangements, not photographed installations or tested equipment setups.
Check These Three Things Before Buying Anything
Your housing rules come first. Coffee makers, electric kettles, warming plates, wattage limits, and furniture rules vary by campus and sometimes by building. An automatic shutoff does not make an appliance universally allowed. Check your current residence hall handbook and ask housing about the specific model if the wording is unclear.
Measure the space the equipment needs while you use it. Include room to lift the lid, refill the tank, remove the drip tray, and fit your travel mug. Follow the appliance manual for ventilation, surface requirements, and electrical connections. A brewer that fits under a shelf when closed may not fit when its lid opens.
Decide where water, milk, and dirty dishes will go. A pretty station gets frustrating fast if every cup leaves wet filters on your desk. Keep the setup away from bedding and electronics, and choose an appropriate stable surface with room to work.
Also read: Freshman Year: The Complete Survival Guide for the bigger move-in and roommate plan.
1. Start With a One-Tray Instant Coffee Station
Use a dresser corner you already own and a washable tray that holds one mug, a closed coffee jar, and a spoon. A small sugar container is enough if you use it; leave it out if you do not. The tray gives loose supplies a boundary without adding another piece of furniture.
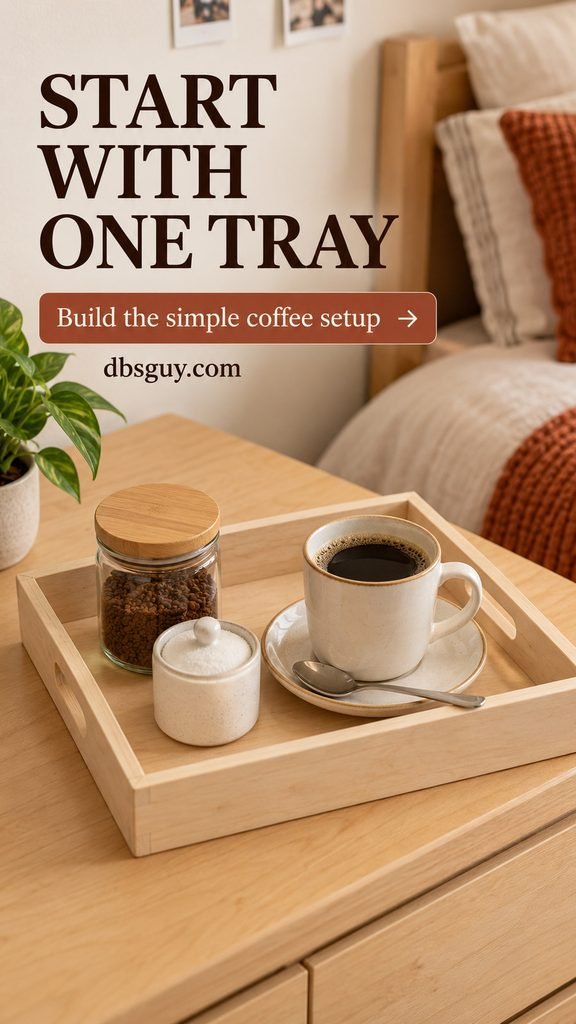
Instant coffee keeps this version simple. Choose one that dissolves in cold water for an iced drink without a heated appliance, or use an approved hot-water source for a warm cup. Follow the coffee label for the starting amount, then adjust the strength to suit your mug.
Try arranging everything on a sheet of paper before buying the tray. If you cannot comfortably lift the mug without bumping the jar, use fewer items or a wider tray. Keep your refill supply in its original closed packaging elsewhere so the daily station stays small.
2. Give a Compact Pod Brewer One End of the Desk
A pod machine suits a morning when you want to insert a capsule, press a button, and leave with your coffee. Put it at one end of the desk with a small pod bin beside it, while keeping your main writing area separate and clear.
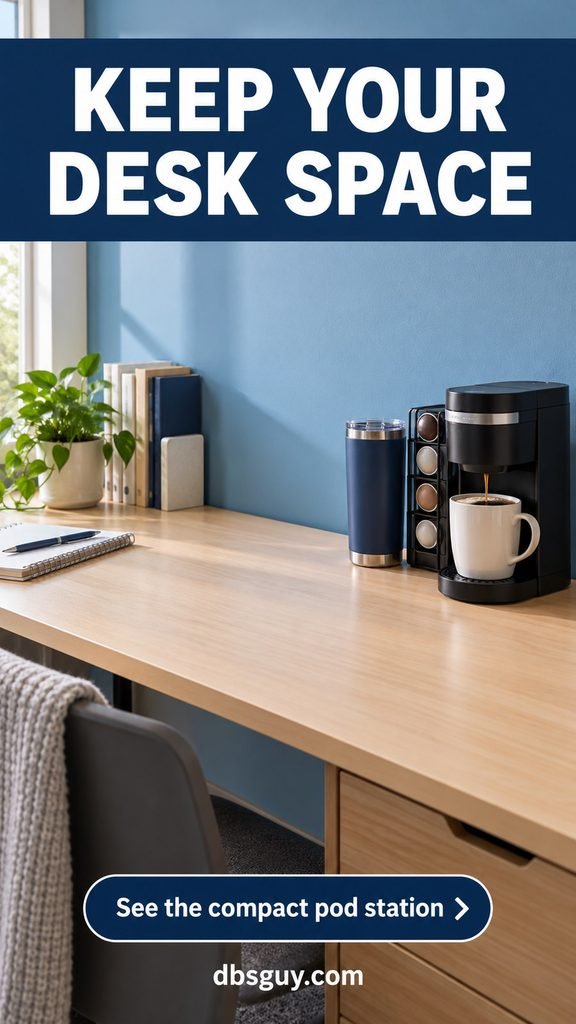
Check the approved machine’s dimensions with its lid raised and your usual mug in position. A tall tumbler may not fit even when a ceramic mug does. Keep a wipeable area around the drip tray, and avoid putting papers behind the reservoir where a refill spill could reach them.
The tradeoff is the ongoing pod cost and packaging. Compare cost per serving rather than the box price. A reusable capsule is an option only if it is compatible with your brewer and you are willing to empty and wash it after use.
3. Use a Rolling Cart for Supplies Beside a Fixed Brewing Surface
A narrow cart can collect the mugs, filters, coffee, and clean cloths that otherwise spread across several surfaces. Keep the most-used supplies on top, refills in the middle, and a basket of clean, dry cloths below. Choose closed containers for anything that needs protection from dust or moisture.
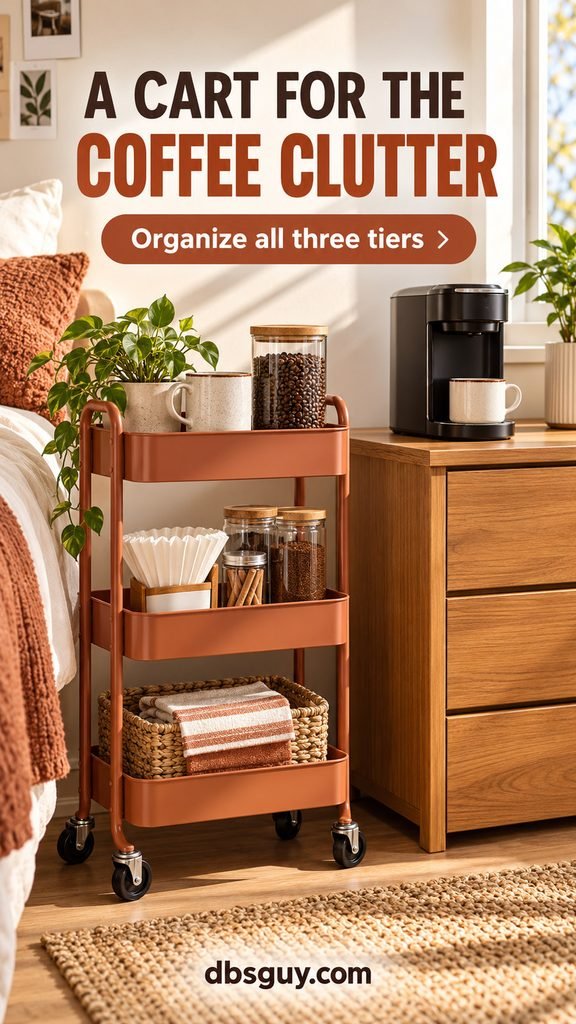
In this arrangement, the coffee maker stays on a separate stable dresser. The cart handles storage, so you do not need to roll a machine full of water or stretch its cord across the room. Park the cart where it leaves the walking route open, and use its wheel locks when provided.
Check the cart’s usable shelf depth, not just its outside width. Tall jars and mug handles can make a narrow shelf feel crowded. Buying a cart before checking the gap beside your furniture can turn a storage fix into a daily obstacle.
4. Add a Freestanding Counter Above the Mini Fridge
If your fridge already occupies the best corner, an appropriate freestanding rack can create a separate coffee counter above it. Look for a unit with its own legs and a solid, load-rated work surface. The fridge should not support the shelf or the brewer.
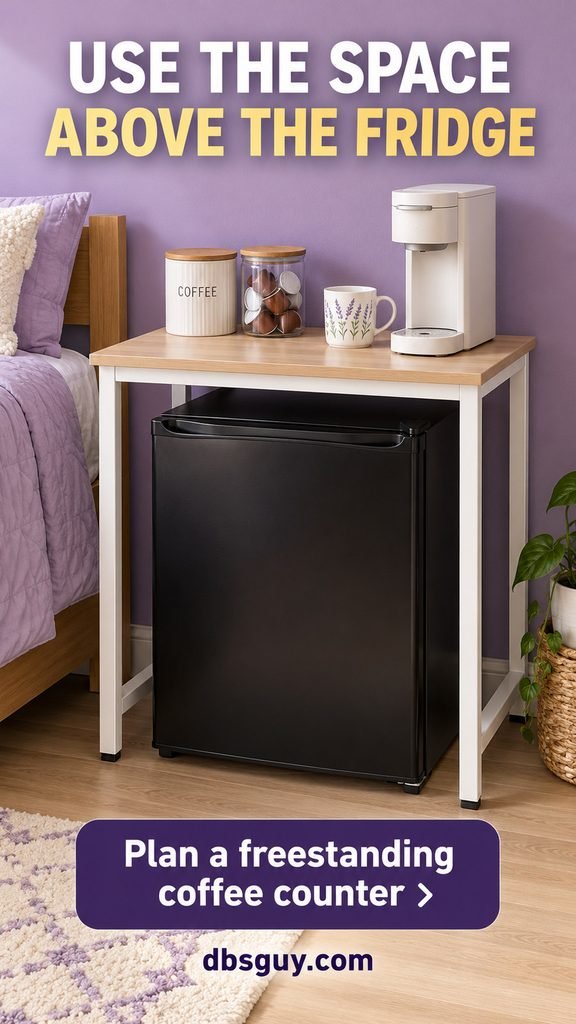
Measure the fridge, its door swing, and the ventilation clearances in its manual before choosing the rack. Leave access to controls and cleaning areas. The illustration shows the general arrangement; it is not a substitute for the clearance measurements required by your particular fridge.
Use an open top for the brewer, with no shelf immediately above the lid or steam path. Check housing’s furniture and anchoring rules, and assemble any rack according to its instructions. If the required clearances do not fit, keep the coffee station on a separate surface instead.
5. Build a Cold Coffee Corner With No Brewer
If your usual order is iced coffee, skip the hot equipment and organize around a chilled concentrate or ready-to-drink coffee. Put a glass, spoon, and any shelf-stable sweetener on a small side table. Keep the coffee and milk refrigerated whenever their labels require it.
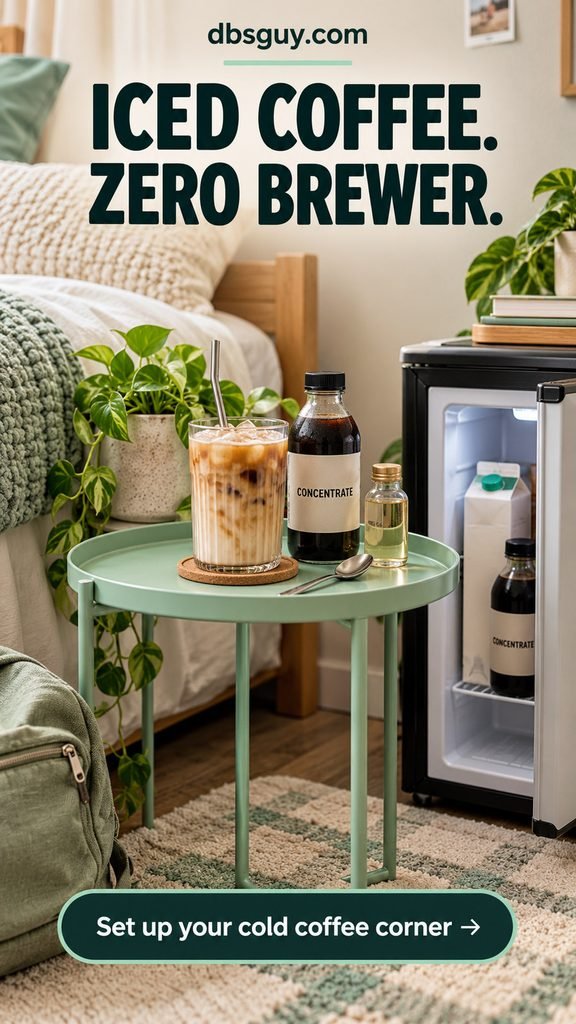
Check whether the bottle is a concentrate or a ready-to-drink beverage: one needs dilution, while the other may already be the right strength. Use the label’s ratio, pour into a glass, and add milk or water to taste. Compare the price per prepared drink, not per ounce of undiluted concentrate.
You also need a realistic source of ice. A tiny fridge compartment may not have the capacity you expect, so check before buying extra glasses or trays. Without ice, chilled coffee in a cold cup still makes this a workable setup.
Keep it cold: the FDA’s food-storage guidance recommends a refrigerator temperature of 40°F (4°C) or below. Return milk and refrigerated creamers promptly; discard perishables left out for more than two hours, or one hour above 90°F. Follow each product’s storage directions after opening, including plant-based milks and coffee concentrates.
6. Make a Carry-to-the-Sink Cleanup Caddy
When the nearest sink is down the hall, plan the cleanup before the coffee. A washable handled caddy can keep a mug, manual brewer, filters, and a separate brush compartment together. Add a small removable wash tub for taking used pieces to an appropriate dishwashing sink.
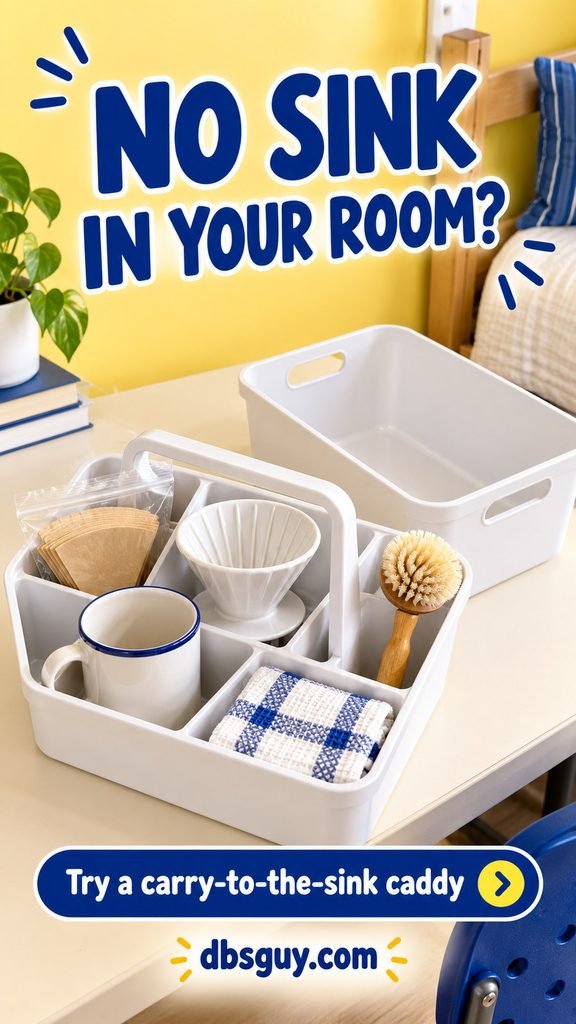
Bring cooled, emptied equipment to the sink; do not carry a caddy full of hot coffee or boiling water. Put spent grounds and filters in the appropriate waste bin rather than washing them down the drain. Clean the pieces with dish soap as their instructions allow, then let them dry completely before storage.
Keep the brush and used items separate from clean mugs. A damp cloth tucked under the brewer makes the station look tidy while leaving everything wet. If your room has very little drying space, a simple mug and instant coffee may be more practical than a brewer with several washable parts.
7. Set Up a Small Pour-Over Corner
A pour-over station works for someone who enjoys making one cup and has a permitted source of hot water. Keep a cone that fits securely over your mug, the matching paper filters, and a closed supply of ground coffee together. Put an approved kettle on a suitable clear surface only where housing allows it.
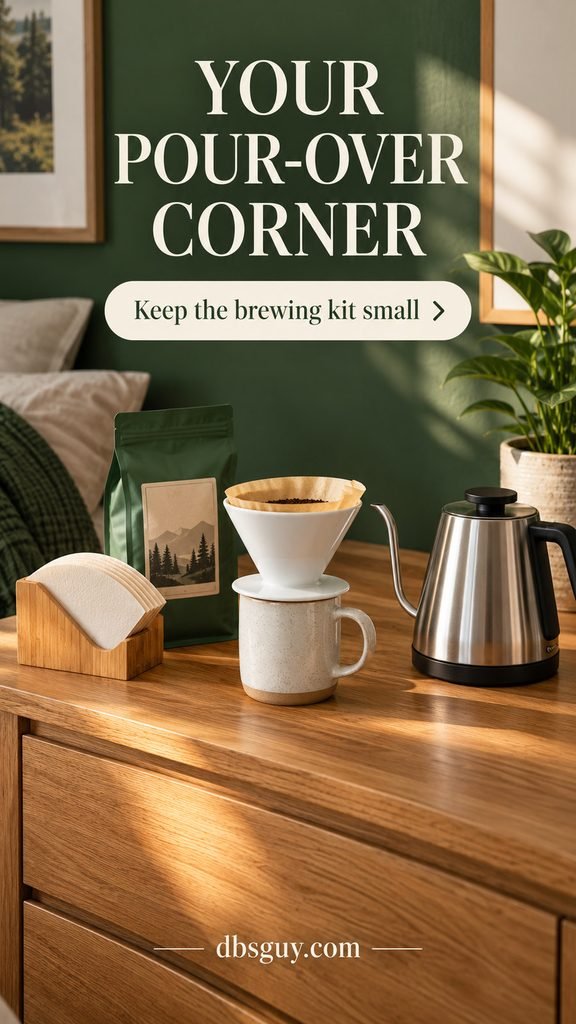
Pre-ground coffee avoids buying a grinder and keeps the kit smaller. Start with the brewing guidance supplied with your dripper, including the filter shape and recommended coffee-to-water amount. Use a mug or server that can safely support the cone; a narrow or unstable rim is a poor match.
The benefit is a simple kit with no pod system. The compromise is attention and cleanup: you need to pour, remove the wet filter, and wash the dripper. Leave open space for those steps instead of styling the cone into a corner you cannot comfortably reach.
8. Keep a Small French Press Kit on a Console
A small French press is another option if you want to brew without a large machine. Keep the carafe and plunger, a mug, and a closed coffee tin in one place. This arrangement suits someone who values a simple brewing kit more than a one-button routine.
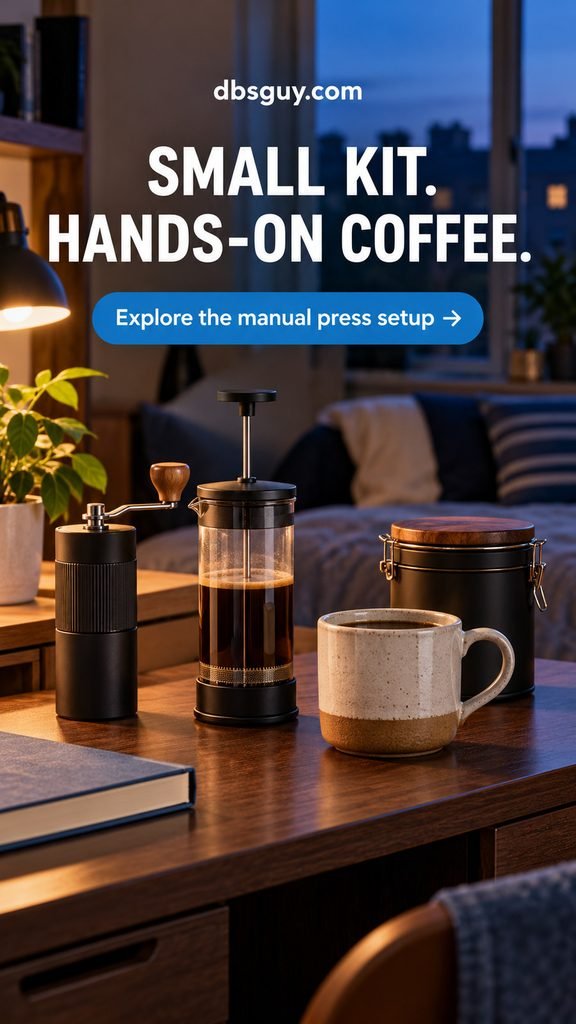
Choose a capacity that matches what you will actually drink; a large carafe adds bulk when you only want one mug. Follow the press manufacturer’s assembly and brewing instructions. A manual grinder is optional; buying coffee ground for your press removes an extra purchase and a morning task.
You still need an approved hot-water source for a hot brew, and room to deal with the used grounds. Do not assume a manually operated brewer means every drink can be made without heat. Empty the grounds into the appropriate waste bin and wash the carafe and plunger as directed. This kit asks for more sink access than the instant-coffee tray.
9. Share One Brewer With Two Personal Supply Bins
For two roommates, center one mutually agreed-on brewer and give each person a small bin for their coffee, mug, and preferred sweetener. The navy-and-coral arrangement makes ownership visible without doubling every piece of equipment.
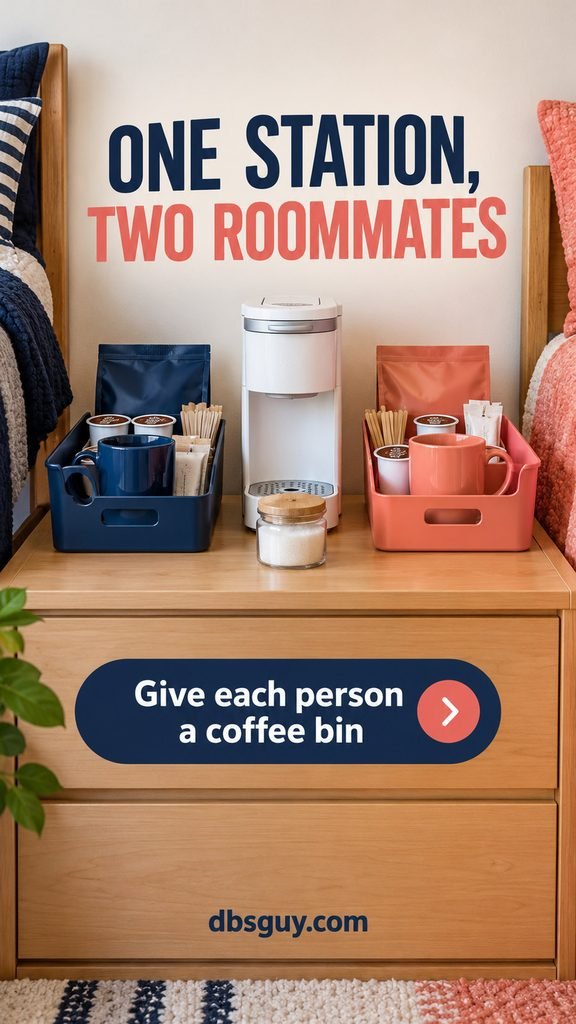
Decide what is shared before shopping: the machine, filters, cleaning supplies, and perhaps plain sugar. Keep personal coffee separate if you use different pod systems, drink decaf, or have a favorite blend. Check compatibility before agreeing to share a brewer.
A useful agreement is specific: whoever uses the last filter adds it to the shopping list, and whoever makes a drink empties the used pod or grounds. Discuss early-morning noise, too. Sharing a machine saves space only if both people can use the setup without repeatedly moving the other’s belongings.
Also read: First Week of College: The Freshman Survival Guide (Orientation to First Friday) for setting up everyday routines together.
10. Turn One Drawer Into Dry Coffee Storage
A shallow dresser drawer can replace a countertop organizer. Use removable dividers for pods, tea bags, filters, and clean spoons. Keep enough supplies for regular use in the front and refills behind them, so you can see what is running low without emptying the drawer.
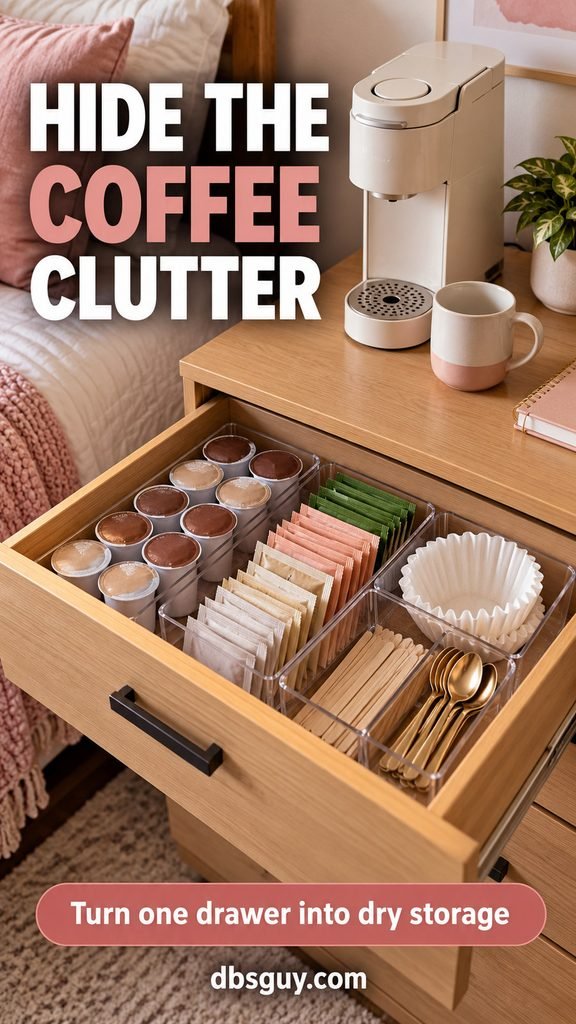
The brewer stays on the stable top surface with the clearance its manual requires. The drawer stores dry supplies only: no damp filters, recently washed tools, open drinks, or refrigerated creamers. Check that the drawer can open freely with the station set up.
Measure its inside height before buying dividers. Original coffee packaging often stores more neatly than several decorative jars, and it preserves the product’s instructions. This is a good choice when you want the dresser to look calm between coffees without buying more furniture.
Also read: 27 Tiered Tray Coffee Bar Ideas Perfect for Small Spaces if you prefer visible storage. Keep any tiered stand for lightweight supplies, outside the brewing area.
11. Combine Coffee and Breakfast in One Morning Station
Place an approved coffee maker on a suitable open top, with a basket of oatmeal packets, wrapped bars, or other shelf-stable breakfast supplies below. A shallow fruit bowl can hold a few bananas. Leave enough clear surface to set down a cup and open a packet.
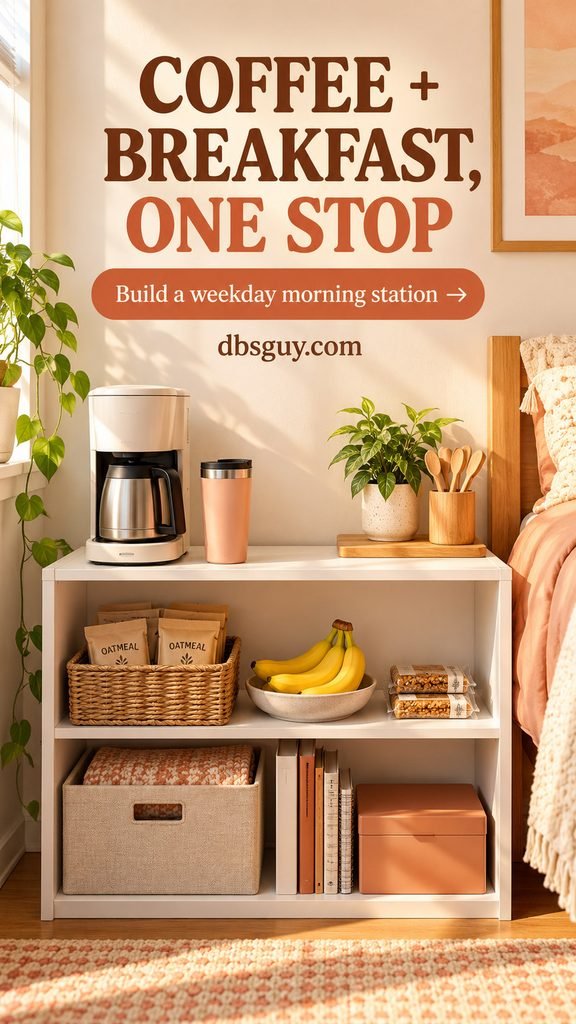
This arrangement reduces morning trips around the room. It also gives you a visible reminder to eat something before walking to class. Keep milk, yogurt, and other refrigerated foods in the fridge rather than copying the dry-food shelf with perishables.
Oatmeal still needs the preparation method printed on its package. Make it in a permitted microwave or appropriate shared kitchen; do not use the coffee maker’s reservoir to cook food. Check furniture load limits, and keep the top from becoming a storage shelf for every kitchen item you own.
Also read: 19 Dorm Breakfast Ideas: Microwave & No-Cook Mornings for single-serving options to pair with your coffee.
12. Re-create Your Usual Flavor With a One-Syrup Station
If vanilla iced coffee is what keeps taking you to the café, organize for that one drink. Keep a small bottle of vanilla syrup, your coffee, a glass, and a spoon on a washable tray. A battery-powered frother is optional if you enjoy foam; it is not essential to make a good everyday drink.
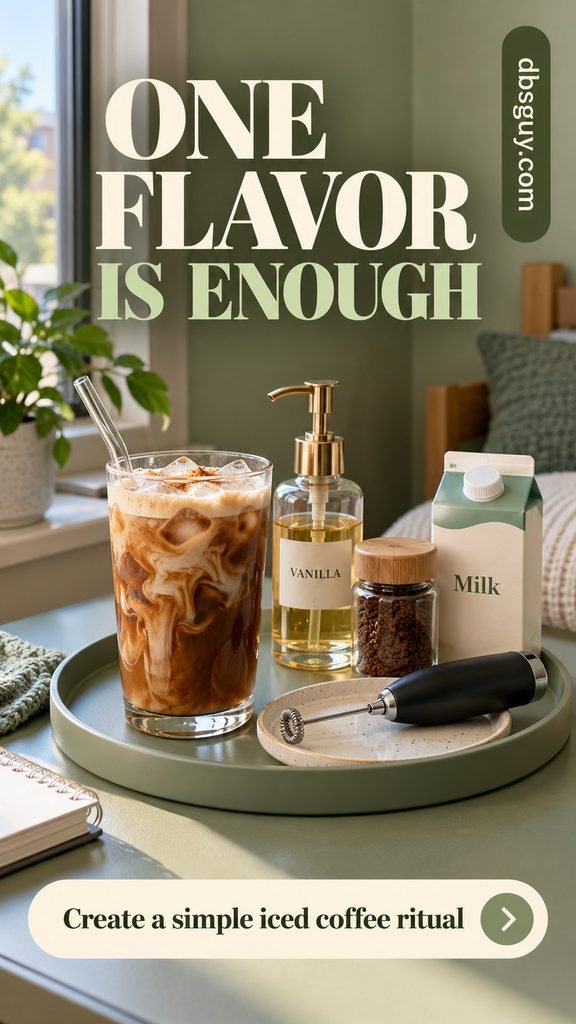
Start with your coffee or concentrate label’s serving directions and a small measured amount of syrup, then adjust sweetness. Measuring the amount you like makes tomorrow’s cup easier to repeat. For a cold instant drink, choose coffee intended to dissolve in cold liquid instead of relying on vigorous stirring to fix the wrong product.
Bring milk out when you are making the drink and put it back promptly. Follow the frother’s cleaning instructions, keeping its motor housing out of water. Buy a second flavor only when you know you will use it; several half-used syrup bottles can consume both shelf space and the savings you wanted.
13. Pack the Whole Station Into a Coffee Tote
A zip-top tote works when your desk must return to study space after breakfast. Pack instant coffee, a clean mug, a dry spoon in a sleeve, and individually wrapped shelf-stable creamer portions if you use them. Bring the tote out, make your drink on a stable surface, then put the clean, dry kit away.
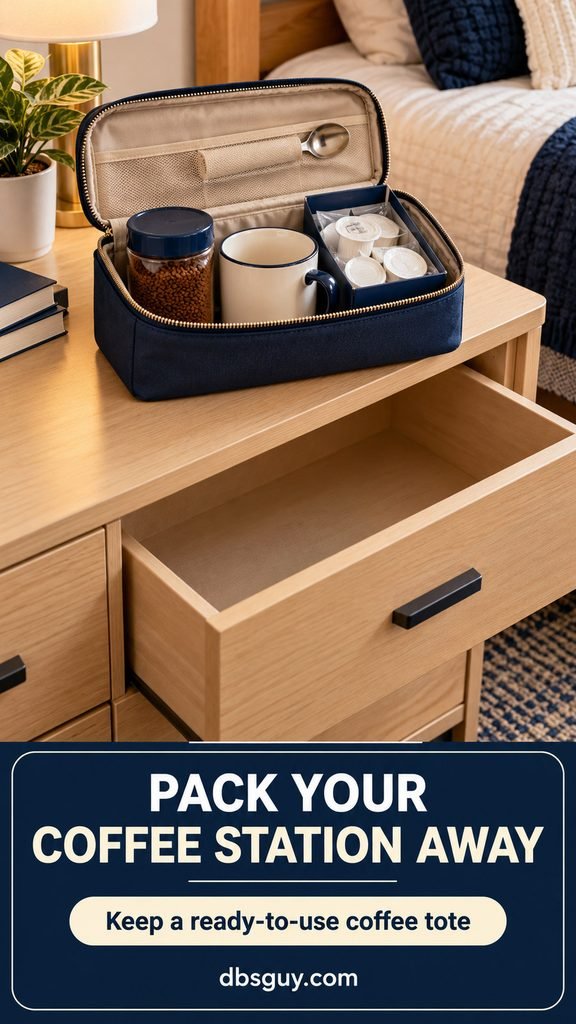
Check the creamer label: only products explicitly labeled for room-temperature storage belong in this kit. A milk carton or opened creamer bottle does not become shelf-stable because it fits in a bag. Use a cold-soluble coffee for an appliance-free version, or a permitted hot-water source for a warm drink.
Choose a tote that fits your actual drawer or shelf with the mug inside. Skip the full-size refill bags if they stop it from closing. This setup is especially useful for a short stay or frequent move-outs because it asks for no extra furniture.
Does It Really Beat a $7 Latte? Do This Small Calculation
Treat $7 as the comparison price from the title, not a claim about every café. Your savings depend on the drinks you replace, the ingredients you use, and what you buy to set up the station.
Illustrative example: replacing 20 café drinks at $7 each avoids $140 of spending. If your home drink costs $1.25 in coffee, milk, and sweetener, those 20 drinks cost $25. That leaves $115 before equipment and other costs.
If your initial supplies cost $50, the difference after those first 20 drinks is $65. At a $5.75 saving per replacement drink, that $50 purchase is covered after about nine drinks. These are hypothetical inputs, not current product prices or a savings guarantee; electricity, cleaning supplies, tax differences, and wasted ingredients are not included.
For your own number, divide each ingredient’s package price by the servings you actually get, then add the amounts used in one drink. Compare that total with your usual café receipt. Buying fewer café drinks while also using up your supplies is what makes the station worthwhile.
Make Tomorrow’s Coffee Easy Tonight
Wash the mug and reusable brewing parts after use, following their care instructions. Empty used pods or grounds, wipe spills, and let everything dry. Clean and descale the machine on the schedule in its manual; do not assume the same cleaning solution suits every brewer.
At night, check that you have coffee, a clean cup, and any refrigerated ingredients you need. Keep only the supplies you regularly use at the station. One clear place to make the drink is more useful than a display that must be rearranged every morning.
Dorm Coffee Station Questions
What is the cheapest way to start?
Use an existing mug and surface, then buy a small amount of coffee you can prepare with the water source you already have permission to use. A tray is optional. Try that routine before investing in a brewer, cart, grinder, or collection of syrups.
Can I keep a coffee maker in my dorm?
Only if your specific housing rules allow it. Check the allowed appliance type, shutoff requirements, electrical limits, and any building-specific exceptions. Keep the model details handy when asking housing; a general dorm shopping list is not permission.
Do I need an espresso machine for dorm lattes?
A traditional latte uses espresso and milk, but you can make a latte-style coffee drink with instant coffee or concentrate and milk. The flavor will differ. If that version satisfies your usual craving, you may not need the cost, space, or cleanup of an espresso machine.
How do I make the station look coordinated on a budget?
Choose one existing mug or tray as the color reference and repeat that color once. Keep packaging you need, hide refills in dry storage, and leave the working surface clear. Buy an organizer only when you can name the clutter it will contain.
Choose one arrangement that fits your room and make your regular drink with it for a week. Then fix the part that feels inconvenient—refilling water, washing the mug, or finding the coffee—before adding anything decorative.
Also read: 32 Genius Kitchen Counter Coffee Bar Ideas You’ll Love for more layout inspiration when you move into a space with a kitchen.