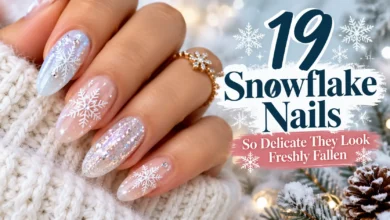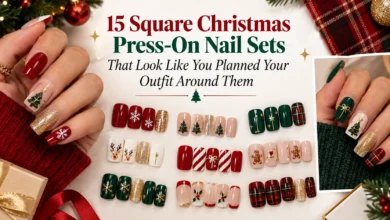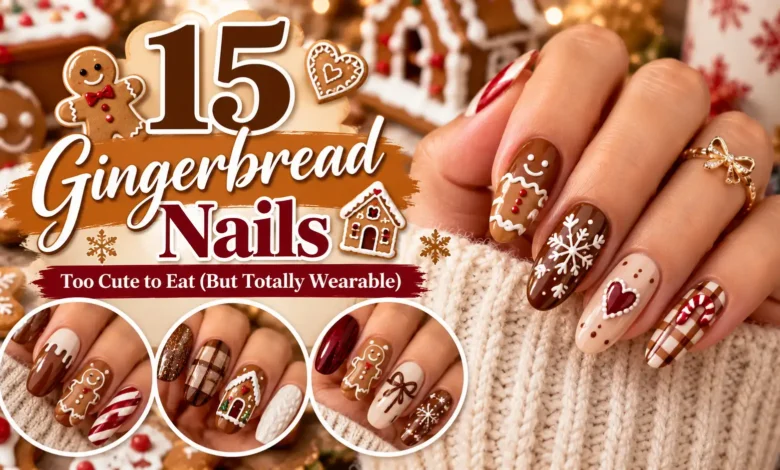
A tiny cookie on an ivory nail, white icing around a cinnamon edge, a blush-pink set with one gingerbread guest: you can take this theme in several directions. Start with the amount of artwork you want to wear. One clear accent is enough to make a brown manicure feel festive.
These 15 gingerbread nail ideas range from short, simple sets to detailed holiday art. Each includes a placement suggestion or an adjustment you can take to your nail artist. For an approachable home version, start with the five-shade manicure or use a flat nail-art decal for a cookie accent.
The visuals are AI-generated design concepts, not photographs of completed or tested salon work. Use them to discuss color, placement, and finish; your artist can adapt the details to your nails.

Find Your Gingerbread Look
- For short nails: try the single cookie accent in look 1, the narrow tips in look 2, or the color mix in look 8.
- For a softer palette: choose blush pink in look 4 or sage green in look 7.
- For a cookie-decorating party: the little house in look 5 and star cookies in look 15 make the theme easy to recognize.
- For a more understated set: icing borders, brown shimmer, or latte ribbons give you the bakery palette with less character art.
Keep the length you enjoy wearing. For detailed motifs, simplify the drawing to fit that length rather than choosing extensions just to copy a reference.
1. Short Cocoa Nails With One Gingerbread Accent
Glossy cocoa nails make one ivory cookie nail stand out. A caramel gingerbread figure with white cuffs and red buttons supplies the holiday detail, while the short, softly squared shape keeps the overall look compact.

Put the figure on a nail with enough width for both arms to remain separate. Ask your artist to leave ivory visible around the outline. On a very small nail, keep the head, body, and two buttons, and simplify the face. A flat decal offers a home shortcut; check its width against the nail before applying it, since a figure that wraps over the side can lose its shape.
Also read: 21 Short December Nail Ideas That Make Tiny Details Stand Out.
2. Icing-Dot Micro French Tips
This is the lightest way into the theme: a sheer rose base, a slender caramel edge, and a row of tiny white dots where the two meet. The dots suggest piped icing without a cookie illustration.

Show your artist how much sheer base you want to keep. The brown should stay close to the free edge, and the white dots need little gaps between them. If they touch, the design becomes a solid white trim. For a home attempt, practice the dot size on a spare nail tip first and decorate just two French tips if repeating the spacing feels difficult.
3. Cinnamon Nails With Scalloped Icing Borders
A fine white border turns a cinnamon manicure into a decorated-cookie reference. Small scallops soften the sides, while a few dots at the ends finish the outline. The broad brown center is what keeps the pattern legible.

Request a narrow painted border sitting inside the nail perimeter, with a clean margin beside the skin. Leave out extra drawings in the center. On a short or narrow nail, simplify the border to one scalloped side and a few tip dots; trying to squeeze in the entire frame can leave too little brown showing.
4. Blush-Pink Bakery Nails
Pink changes the mood from a traditional Christmas cookie tray to a little bakery box. Here, glossy blush surrounds a caramel gingerbread accent with red heart buttons and one nearby heart. The plain pink nails give that small illustration room.
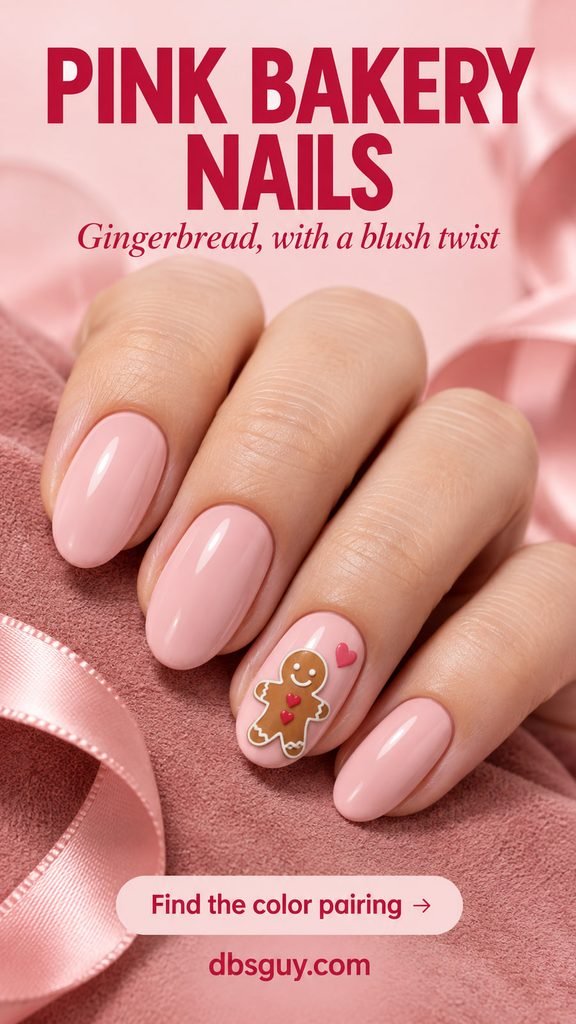
Compare the pink and brown together before committing: a warm blush echoes the caramel, while a cooler pink creates more contrast. Keep the little heart close to the cookie rather than scattering hearts across every nail. If the buttons are too small to read as hearts on your nails, use simple red dots and keep the larger heart beside the figure.
5. A Tiny Gingerbread-House Accent
A snowy roof, two windows, and a red door tell the whole story. The ivory accent background makes the small brown house visible, and caramel nails on either side repeat its color. A dotted ivory companion nail adds decoration without introducing another scene.
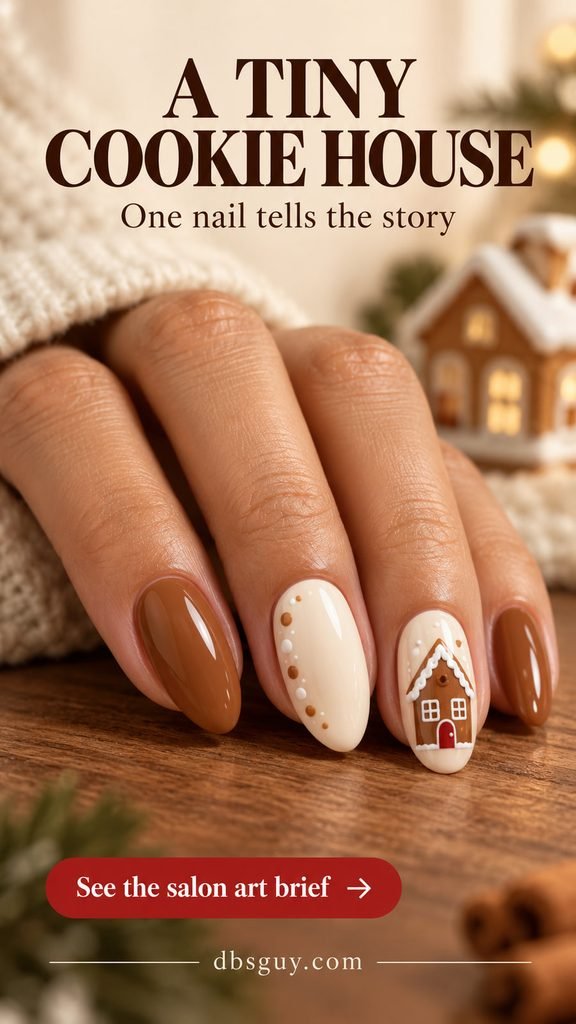
For the salon brief, ask for the roof peak to face the cuticle and the door to sit toward the tip, with a white icing roofline and space around the house. The door matters more than miniature roof tiles. On shorter nails, reduce the house to a triangle, a rectangle, and a bright door, or move the illustration to the thumb. Mention this artwork when booking so the salon can allow for the detail.
6. Candy-Cane Stripes and a Cookie Friend
Cherry red makes this set feel especially festive. One ivory nail carries diagonal red stripes; the next carries a gingerbread figure. Keeping the remaining nails solid red gives the two accents separate jobs.
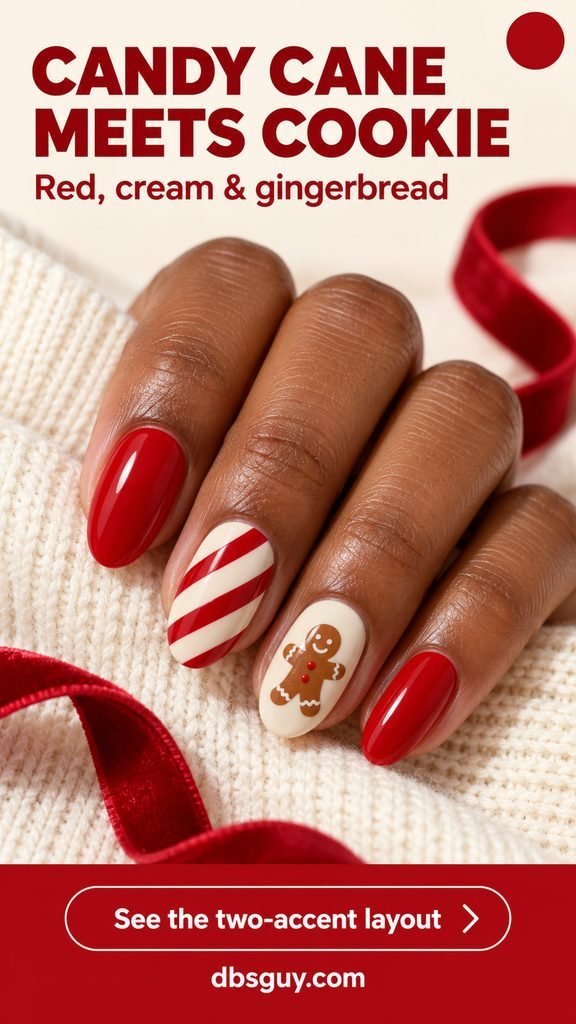
Use the same red for the stripes, solid nails, and cookie buttons so the combination stays connected. Leave clear ivory bands between the stripes. If you are adapting this to very short nails, use two broad diagonal stripes instead of many thin ones. Matching striped wraps and a cookie decal are an alternative to painting both motifs freehand.
Also read: 25 Candy Cane Nails That Look Good Enough to Eat.
7. Sage Green With Gingerbread and a Sprig
Muted sage offers a quieter partner for cookie brown. The green solid nails, simple leaf sprig, and green cookie buttons repeat one color in three places. Ivory separates the two drawings from the surrounding green.
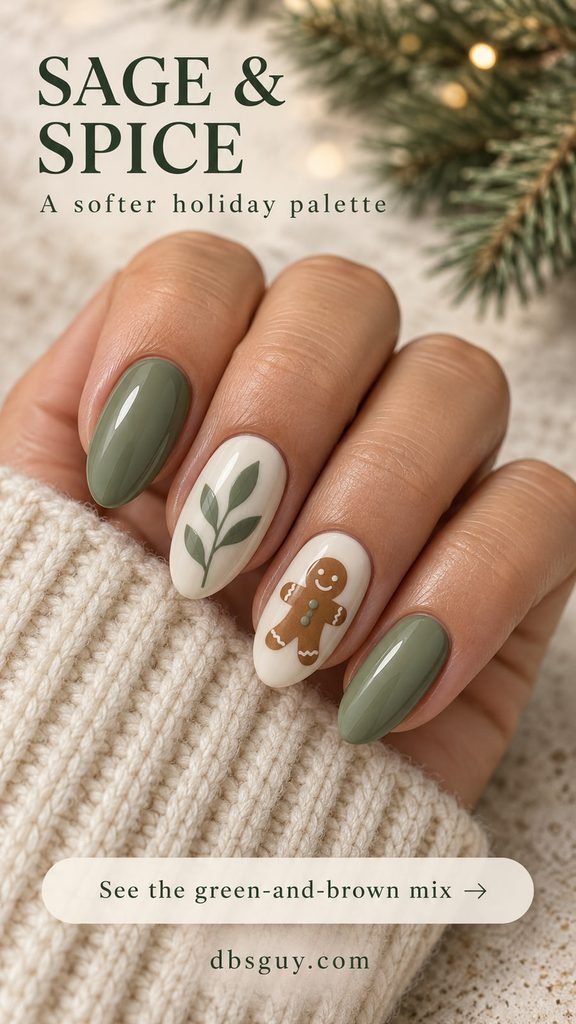
Ask for a gray-green swatch rather than choosing from the name “sage” alone. A bright mint will change the palette considerably. Keep the sprig to one fine stem and a few leaves; it should remain less detailed than the gingerbread figure. This combination is easy to picture with an oatmeal sweater or olive outerwear, especially if you prefer softer colors to cherry red.
8. Five Cookie Shades With Tiny Icing Dots
This manicure gets its variety from color instead of miniature drawings. The reference moves from pale beige on the thumb through golden caramel, cinnamon, cocoa, and deep chocolate. A small trio of white dots near each cuticle connects the shades.
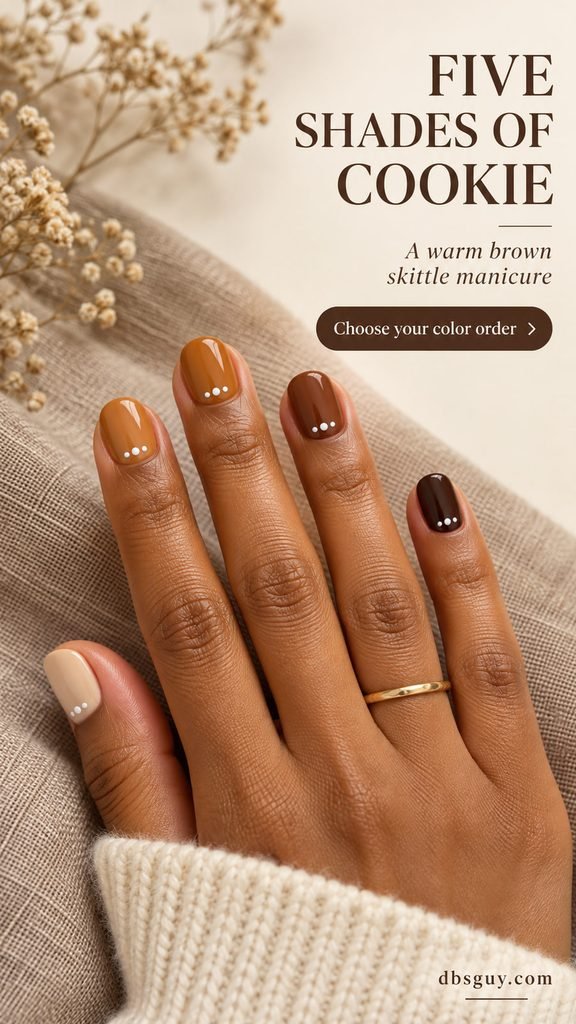
Line up five polish swatches from lightest to darkest before painting. Each nail gets one solid color; the gradient runs across the hand. Choose neighboring shades you can actually tell apart, and repeat the same order on the other hand if you want symmetry. For the simplest version, leave off the dots. If you add them, keep the polish on the nail with a margin beside the skin.
Also read: 19 Neutral December Nail Ideas That Go With Every Holiday Outfit.
9. Matte Cinnamon With Piped-Looking Icing
A matte brown background makes white icing trails the main feature. Two loose lengthwise waves and a few dots suggest decorated gingerbread without using a character. The contrast between the subdued brown and brighter icing is more useful here than extra colors.
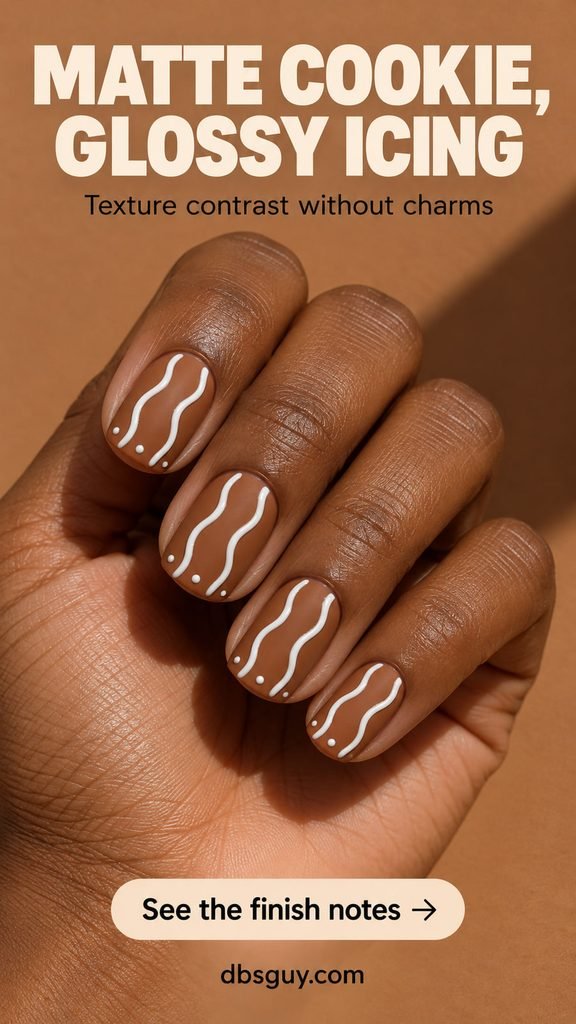
The reference gives the white trails a slightly dimensional appearance. Ask for flat painted waves if you prefer a smooth surface, and discuss a compatible finish that keeps the brown matte. A glossy top coat over the whole nail will change that contrast. Leave a broad brown gap between the waves; on a narrow nail, one wave can be enough.
10. Molasses Brown With Icing Snowflakes
Deep chocolate brown and ivory linework give this look a winter-cookie feel. One branching snowflake is the focal point, with small snow dots scattered across the other nails. It is a good direction if you like the palette but would rather skip gingerbread characters.
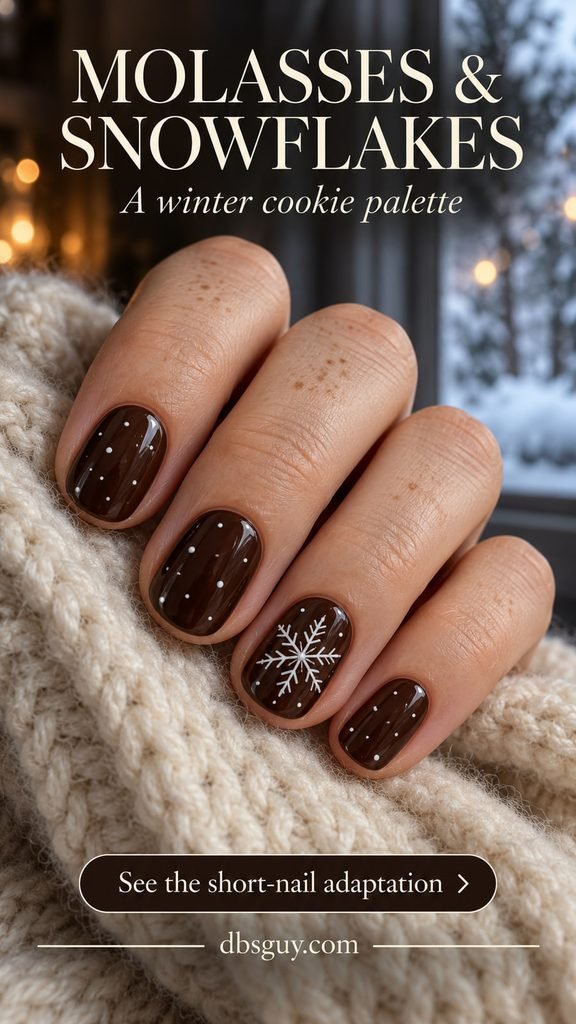
Choose a brown that still looks brown in ordinary indoor light. For the accent, ask for one clear snowflake with visible space between its branches. On a tiny nail, keep the central lines and remove some of the smaller branch marks. A flat snowflake decal can help preserve the shape; there is no need for a raised gem in the center.
11. Brown-Sugar Sparkle With a Cookie Outline
Copper-gold sparkle gives brown polish an evening option. Instead of placing a filled cookie on a pale accent nail, this version draws an ivory gingerbread outline directly over the shimmer. The sparkling brown remains visible inside it.
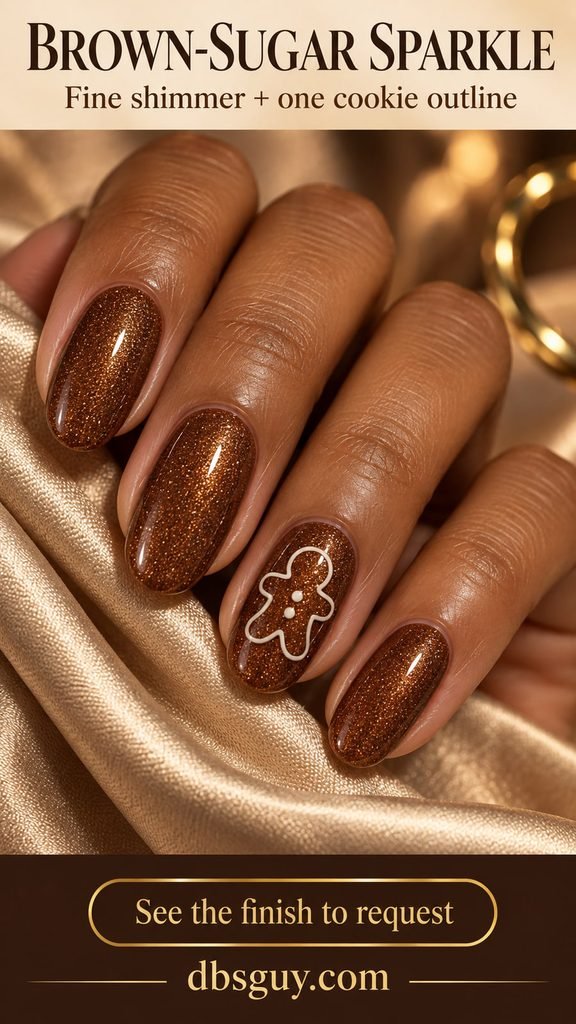
Ask to see a finished swatch so you can judge how much sparkle you want. Fine reflective particles give a different appearance from chunky glitter or a moving magnetic effect. Keep the outline simple and the surrounding nails free of artwork. If the line disappears against your chosen shimmer, make it a little more opaque before adding facial details; the recognizable silhouette matters most.
12. Gingerbread Latte Ribbons
Cream, caramel, and cocoa curves suggest a gingerbread latte without drawing a drink on the nail. A sheer warm base leaves breathing room between the ribbons, and the glossy finish makes their curves easy to follow.
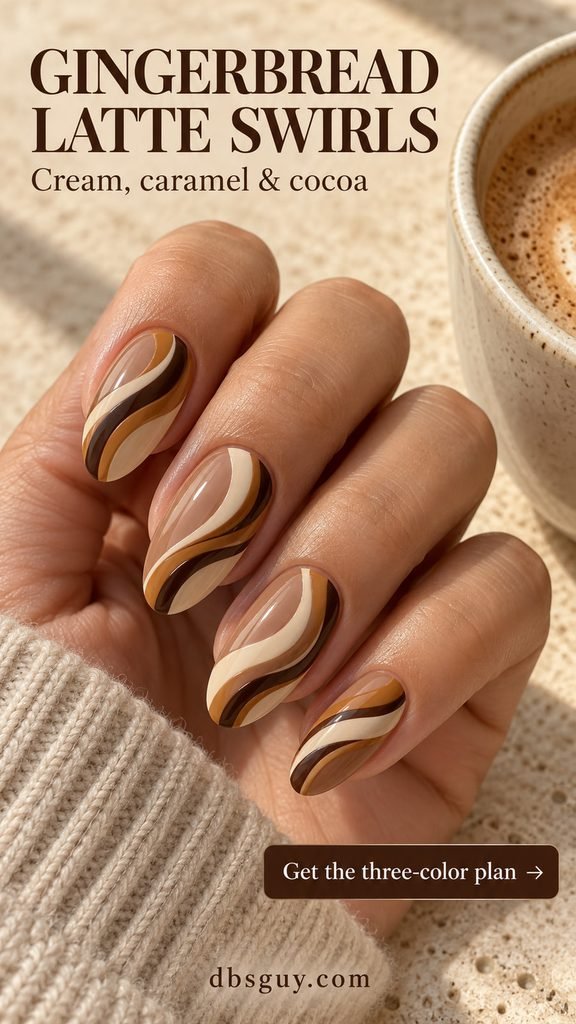
Give your artist a three-color plan: one broader caramel ribbon, one darker cocoa curve, and a narrower cream highlight. Vary their positions from nail to nail while keeping similar spacing. On short nails, use a single sweeping group of curves rather than several crossings. At home, a two-color interpretation on one accent nail is a more manageable starting point than covering both hands with detailed ribbons.
13. Brown Gingham and a Gingerbread Accent
Gingham adds a bakery-table detail to the cookie theme. A brown-and-ivory checked nail sits beside a gingerbread accent, with glossy caramel nails around them. Repeating the caramel in the checks and cookie keeps the mix from feeling unrelated.
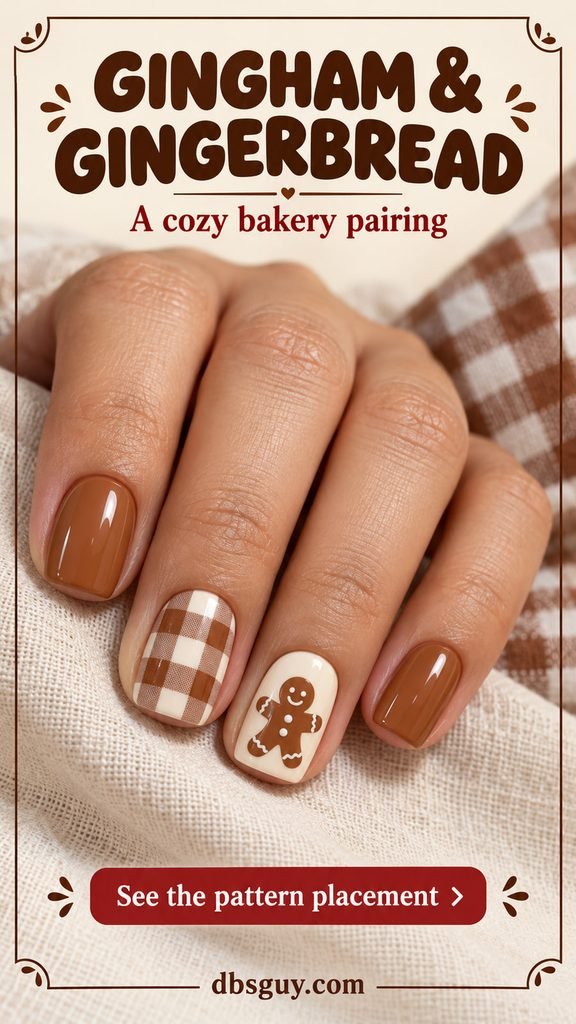
Keep the checks broad enough to recognize. The reference uses a small number of columns with a lighter crossing effect, rather than a dense miniature plaid. Ask your artist to establish the grid on one nail before repeating any pattern. If you want a simpler finish, a plain two-color checkerboard gives a similar color arrangement with fewer intersecting lines.
14. Biscuit-Brown Nails Tied With Icing Bows
Two little ivory bows give biscuit brown a gift-box mood. The middle and ring nails carry the bows, while the outer nails have only a few icing dots. It is a softer alternative to a full cookie illustration.
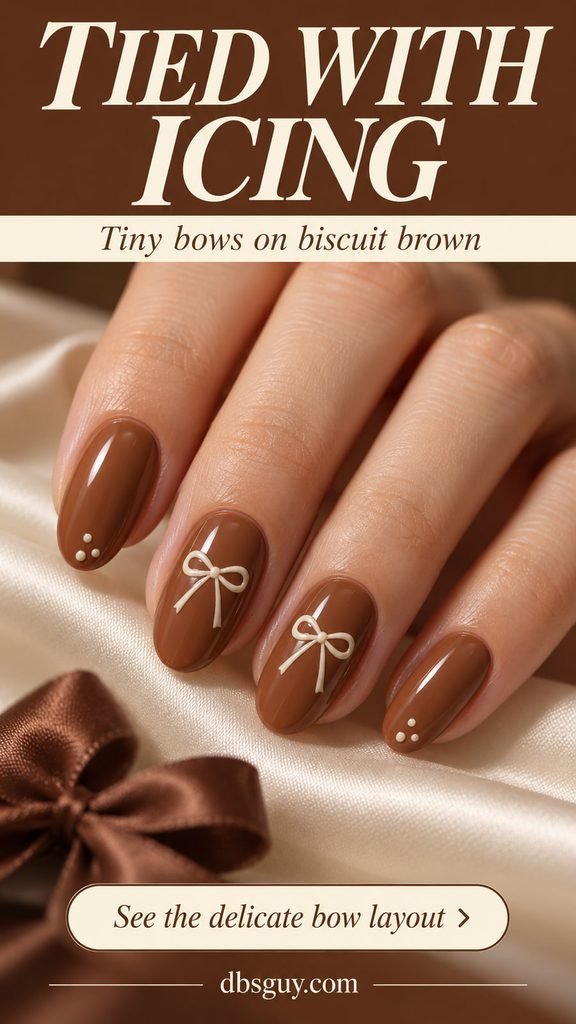
The bows in the concept look slightly raised. For a smoother everyday version, request the same two loops and short tails in flat painted linework. Keep each bow smaller than the nail width, with brown showing around both loops. On short nails, use one bow across the set and shorten the tails so they do not crowd the tip.
15. Star-Cookie Confetti on Milky Ivory
Little brown stars with white icing borders bring the cookie-cutting theme onto a pale base. The reference mixes single stars with a two-star accent and uses a few red painted dashes as sprinkles. Leaving one nail mostly plain helps the shapes stand apart.
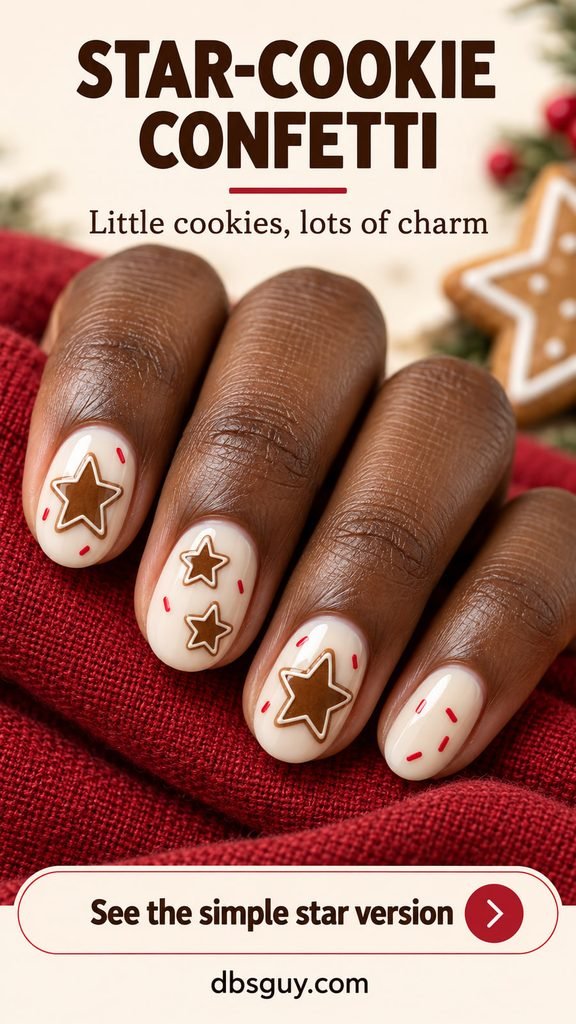
For the simple version, put one star on each of two accent nails and skip the smaller pair. Leave a clear ivory margin around every point so the outline stays recognizable. Choose a flat star decal if hand-painted points are difficult, and keep the red marks sparse. Request painted dashes rather than adding loose craft sprinkles or glitter to imitate the image.
Turn Your Favorite Reference Into a Salon Request
Save the design image and decide four things before your appointment: your usual nail length, the brown shade, how many nails need artwork, and whether the surface should feel smooth. A request such as “short squoval, glossy cocoa, one ivory cookie accent on each hand, all flat artwork” is easier to quote than “gingerbread nails.” Ask the salon to confirm the price and appointment length for that version.
For a home manicure, regular polish can handle the color-based looks and simpler dots. Use nail-art products or decals according to their directions, let each regular-polish layer dry as directed, and test the design on a spare tip before working on your other hand. Intricate houses, checks, and outlines are useful references to bring to a nail artist.
Gingerbread Nail FAQs
What brown should I choose for gingerbread nails?
Start by comparing warm caramel, cinnamon, and cocoa swatches beside your hand. Caramel makes the cookie itself lighter; deeper cocoa gives ivory icing stronger contrast. If you are putting a brown figure on a brown background, choose clearly different shades or add a light outline. The polish name alone will not tell you how much contrast you will get.
Do gingerbread nails have to be gel or acrylic?
No. The theme comes from color and artwork. Regular polish with a suitable flat decal can create a simple version on natural nails, and you can ask an artist which service suits your chosen finish. These references do not require long extensions. Follow the directions for the specific products you use rather than borrowing another product’s drying or curing time.
How can I keep a gingerbread manicure understated?
Use one cookie accent, narrow caramel tips, or the brown color mix without the dots. Keep the rest of the nails plain and repeat one warm brown. Red buttons, extra hearts, and illustrated houses are optional details; leave them out if the neutral palette is the part you like.
What care should I keep in mind if I choose gel?
The American Academy of Dermatology’s gel-manicure guidance recommends broad-spectrum, water-resistant SPF 30 or higher on your hands before a gel manicure, or dark, opaque fingerless gloves. Ask about tool cleaning, leave cuticles uncut, and avoid picking off gel when it lifts. Follow appropriate removal guidance for the product, and consult a dermatologist about persistent nail problems.