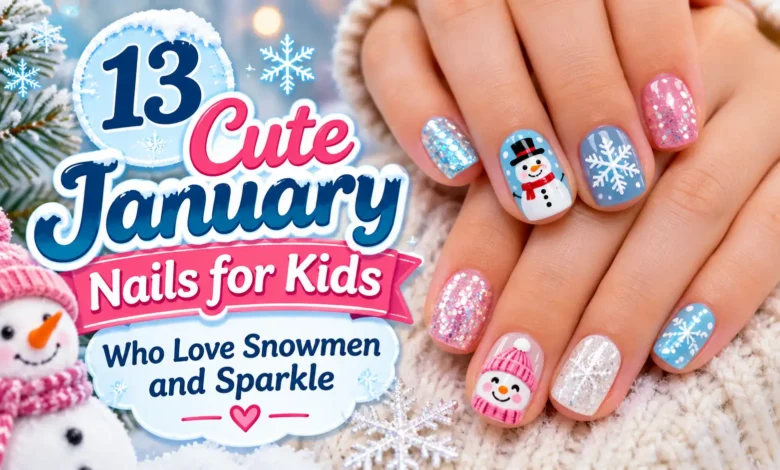
Start with one snowman on a thumbnail, a few snowfall dots, or a polish that supplies its own shimmer. Those details give little nails a January theme while leaving enough room for the design to show.
These 13 cute January nails for kids range from simple color choices to tiny winter characters an adult can help paint. Keep the child’s natural nail length, choose one favorite detail, and let the rest of the manicure stay simple.
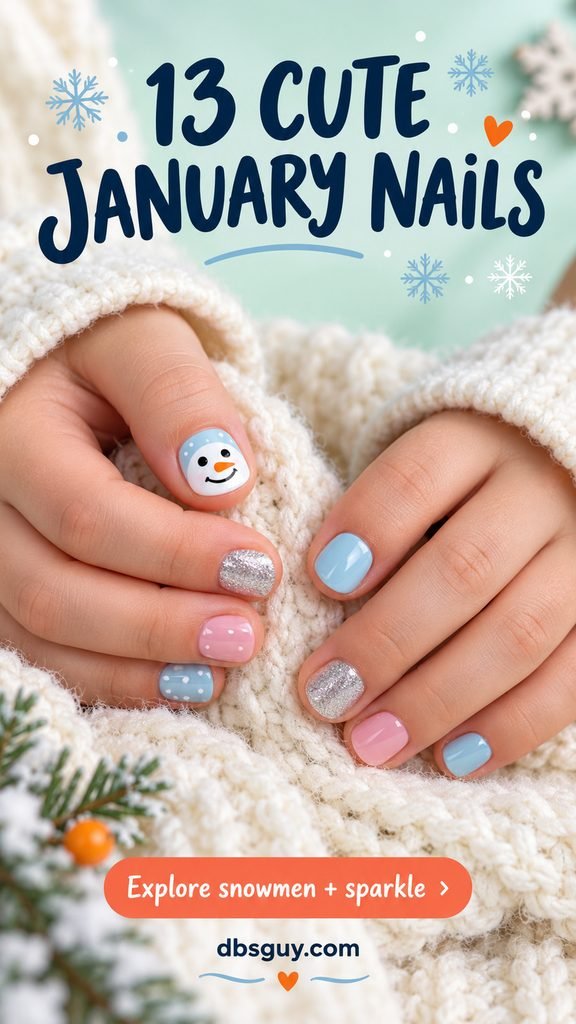
The images are AI-generated design concepts. They illustrate colors and placement, rather than documenting real children’s manicures or tested products.
Before You Paint a Child’s Nails
The American Academy of Pediatrics’ family product guidance advises against nail polish for young children who put their hands in their mouths. It also notes that water-based polish may be a safer option; that does not make every bottle suitable for every child.
Check the product’s age recommendations, ingredients, application directions, and removal method. An adult should supervise, work with good ventilation, and keep polish and remover out of reach afterward. Use products intended for nails, including the artwork colors; craft paint, markers, and craft glitter do not belong in this manicure.
All the ideas below can be interpreted with age-appropriate air-dry polish. Choose fine shimmer already mixed into polish and keep decorations smooth. If nails or surrounding skin are sore or irritated, leave them unpainted. Stop using a product if a reaction develops and seek medical advice.
Pick a Design That Fits Their Patience
- For the fewest steps: choose pearl shimmer in #9 or snowfall dots in #5.
- For a snowman fan: start with the face in #1; the full snowman in #2 needs more detail.
- For a child who loves choosing colors: let them arrange the pastel mix in #10 before opening the bottles.
1. A Smiling Snowman on One White Thumbnail
Give the thumbnail a white base and paint the other nails powder blue. The whole thumbnail becomes the snowman’s face, so you have room for two black eyes, an orange carrot nose, and a small curve of black smile dots.
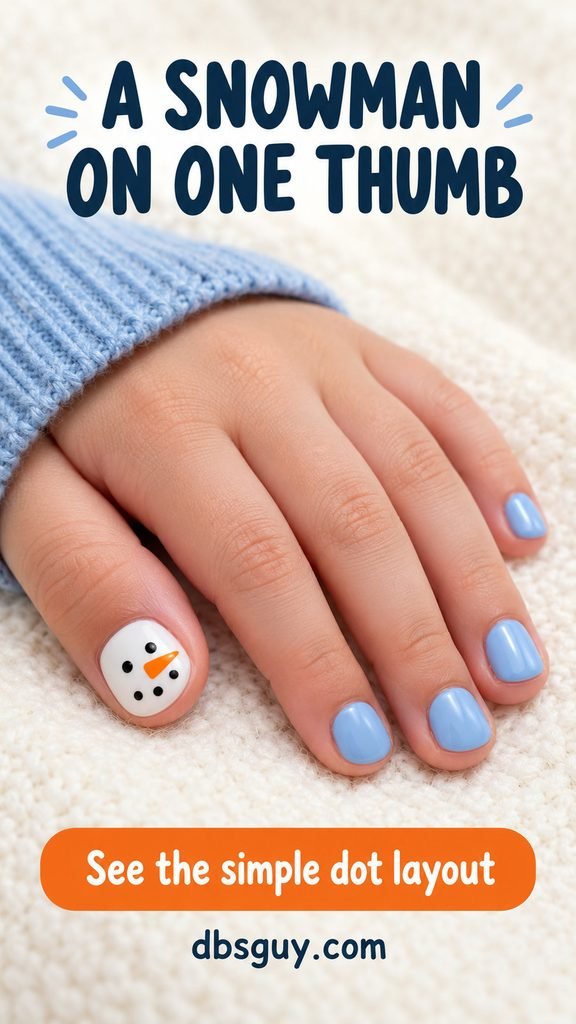
Have an adult place the eyes first, then fit the nose between and slightly below them. A tiny nail may only need the eyes and nose to read clearly. Leave a white margin around the features instead of pushing the smile against the edges. This is the simplest character option when a full body would be cramped.
2. A Two-Snowball Snowman With a Red Scarf
On one blue ring nail, stack a small white circle above a larger one. Add dot eyes, a little orange nose, and a narrow red scarf at the meeting point. The red is the only bright accent, which makes the little figure easy to spot.
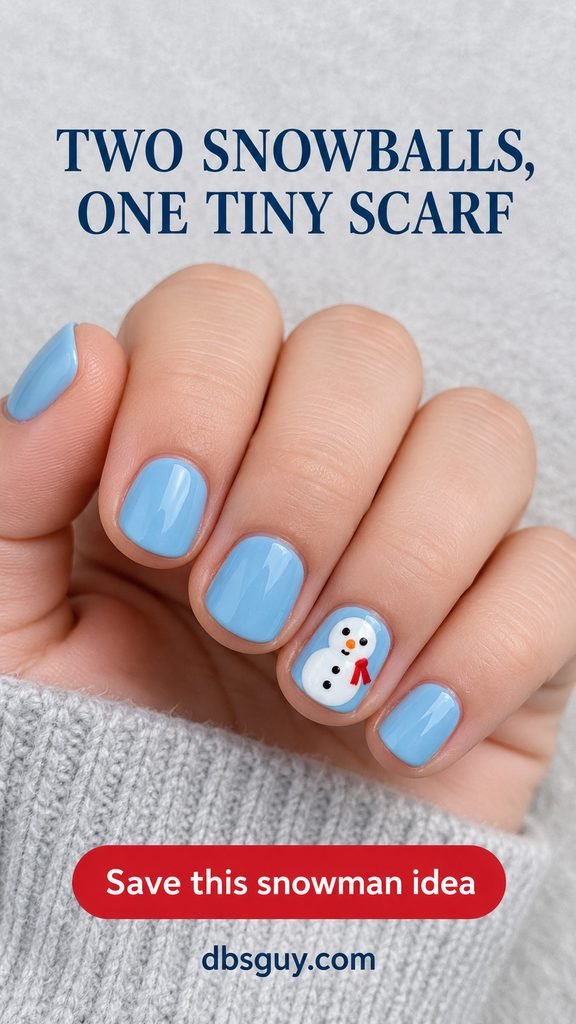
Keep the neighboring nails plain blue. The body can have two black buttons if there is room; arms and a hat are optional extras you can leave out. Before painting, compare the ring nail with the thumbnail. Move the snowman to the thumb if that gives the two circles enough space without changing the natural nail length.
3. A Peekaboo Snowman at a Lavender Tip
A white half-circle at the free edge makes a snowman look as though it is peeking over the end of the nail. Put the eyes and carrot nose inside that white area, with the lavender base visible behind it. Fine shimmer in the purple polish gives the plain nails their own small detail.
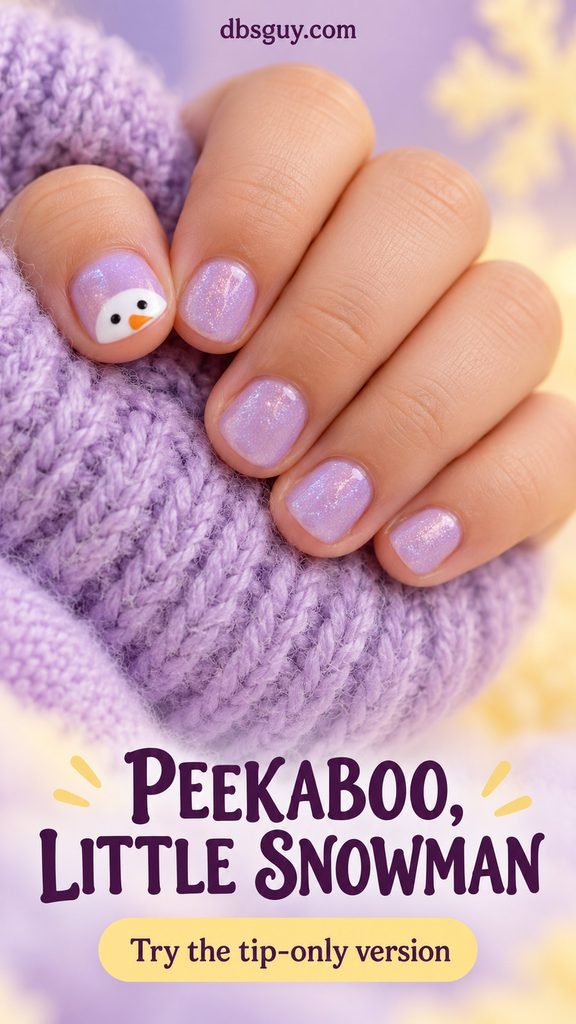
This layout suits a wide thumbnail because the face needs width more than length. Paint a shallow white arc rather than covering half the nail automatically. If the eyes cannot sit comfortably inside it, use a slightly deeper arc on that one thumb and leave the other tips lavender.
4. A Pair of White Mittens on Pink
Paint soft pink nails, then put one white mitten on the middle nail and its partner on the ring nail. Point the little thumb bumps in opposite directions so they read as a pair. A short lavender cuff finishes each shape.
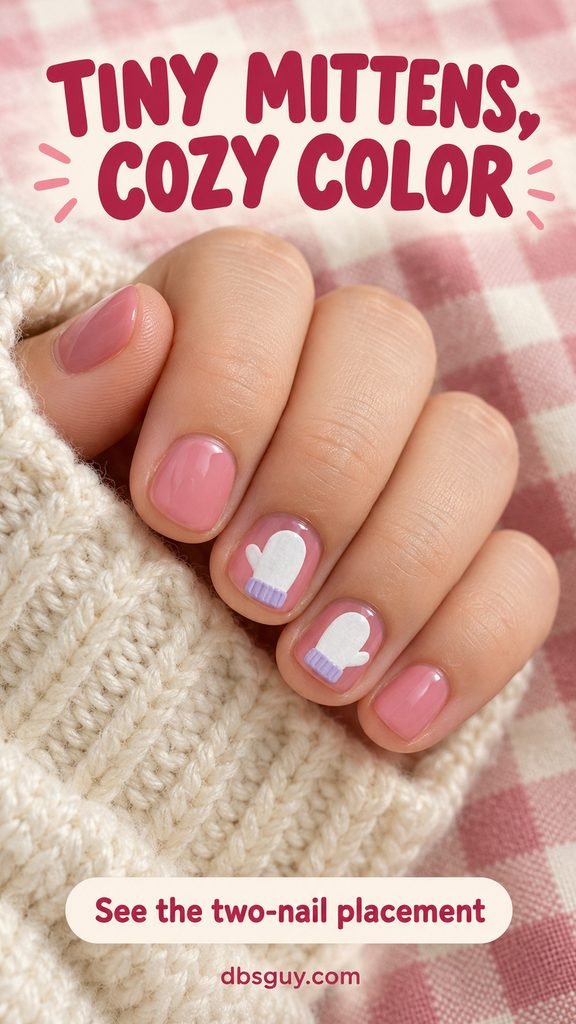
For the shape, an adult can paint a rounded white oval and add a small bump on one side. Keep the cuffs as flat color bands; the tiny lines shown in the concept are optional. Choose this idea for a child who likes cozy winter clothing more than snowflakes, and leave the remaining nails plain so the mittens stay recognizable.
5. Snowfall Dots on Periwinkle
Periwinkle sits between blue and purple, giving white dots enough contrast without using a dark base. Scatter the dots on the middle and ring nails, with different sizes and uneven gaps. The other nails can stay solid.
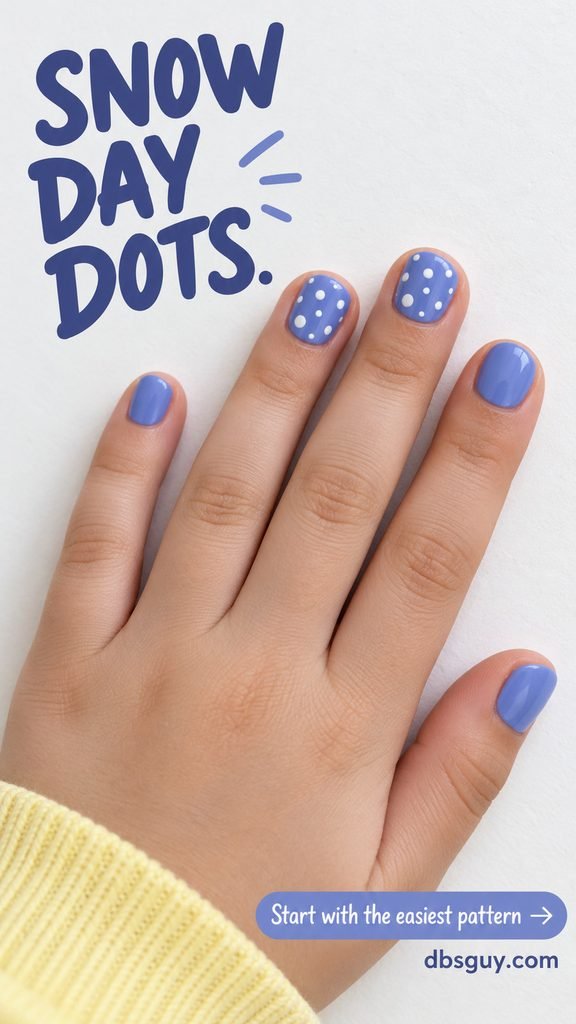
Once the base has dried as directed, an adult can use a small, rounded nail-dotting tool to place the white polish. Start with a few dots, then stop and check the spacing. Dense, touching dots hide the blue and look more like a white patch. On especially tiny nails, one dotted accent is plenty.
6. Ice-Blue Nails With Frosty Silver Tips
Keep the bases pale blue and gather fine silver sparkle near the ends. The narrow glitter area suggests frost while leaving most of each nail blue. It is a useful choice when sparkle matters more to the child than a tiny drawing.
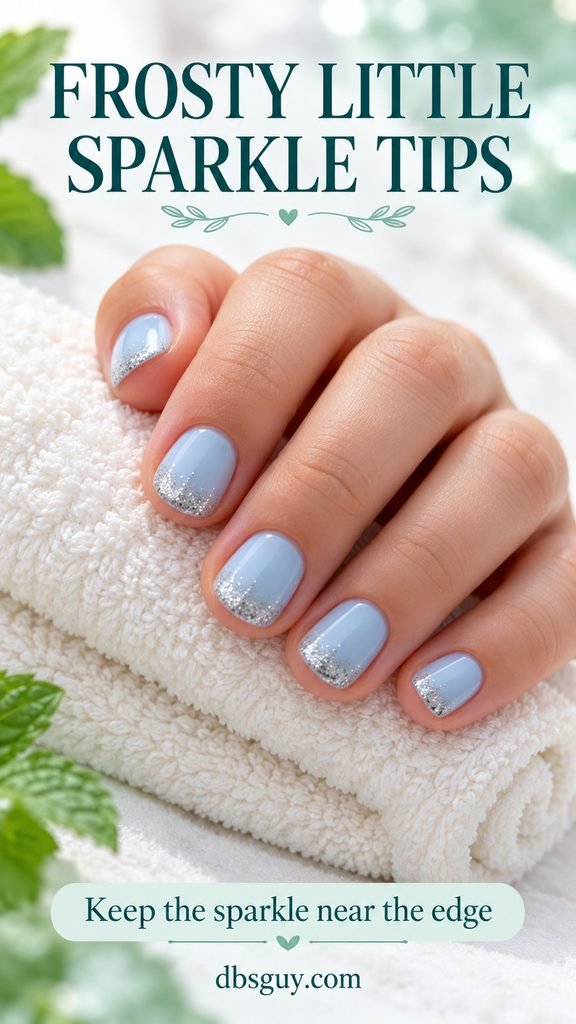
Use an age-appropriate shimmer or glitter nail polish that works with the chosen base, following its directions. An adult can apply a small amount near the edge rather than trying to build an opaque silver band. On a very short nail, a light sweep at the tip gives the idea enough definition; a deep gradient would leave little blue showing.
7. Mint Green With Wavy Snowdrift Tips
White waves along mint-green tips look like low snowy hills. Each edge can curve a little differently, so this design does not depend on matching perfect French-tip lines. Keep the waves low enough that the mint remains the main color.
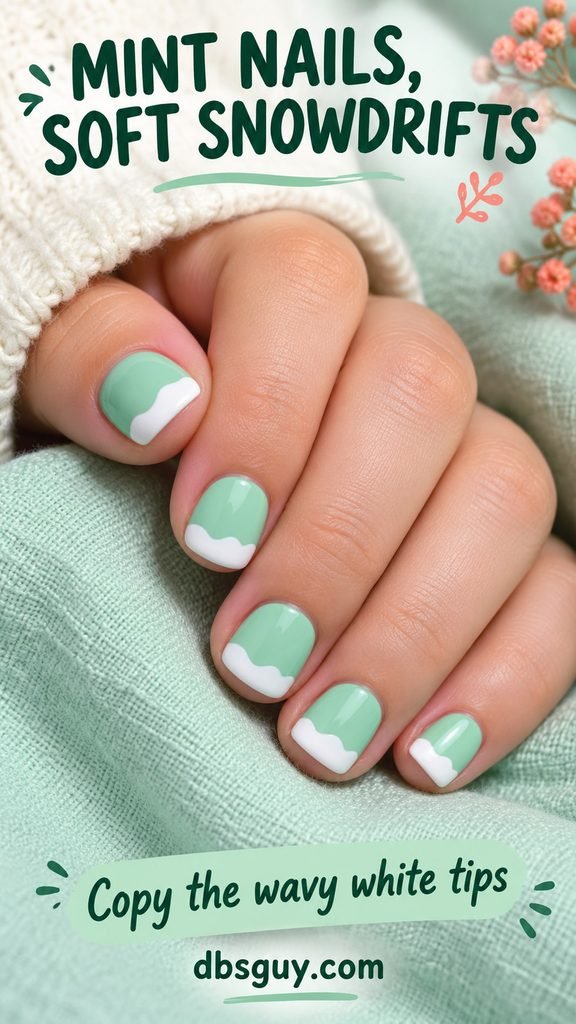
Use the white polish’s brush for a small curve, or let an adult use a fine nail-art brush for more control. One or two rounded rises per nail are easier to read than many little scallops. If painting every tip feels like too much detail, keep the wave on one thumbnail and use solid mint on the other nails.
8. One White Snowflake on Lilac
Give a lilac thumbnail one white snowflake and leave the neighboring nails plain. Three crossing strokes create six arms; a few short branches can be added only if there is space. The lilac border around the symbol is what keeps the pattern clear.
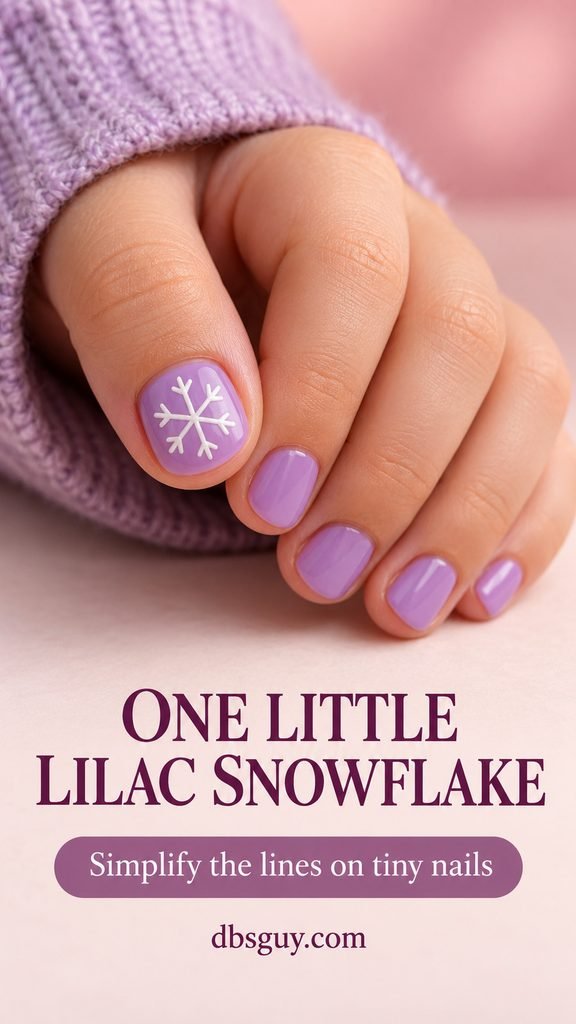
Have an adult practice the line arrangement on paper before painting the nail, then use nail polish and a suitable nail-art brush for the actual design. A six-arm star is a useful simplified version when the little branches will not fit. If your child wants to help, let them choose the lilac shade while the adult handles the fine lines.
9. Blush Pink With a Pearly Winter Glow
A blush polish with a fine pearly sheen gives the whole manicure a soft glow. There are no faces or lines to place, so this is a practical starting point for a child who wants shiny nails but soon loses interest in sitting for artwork.
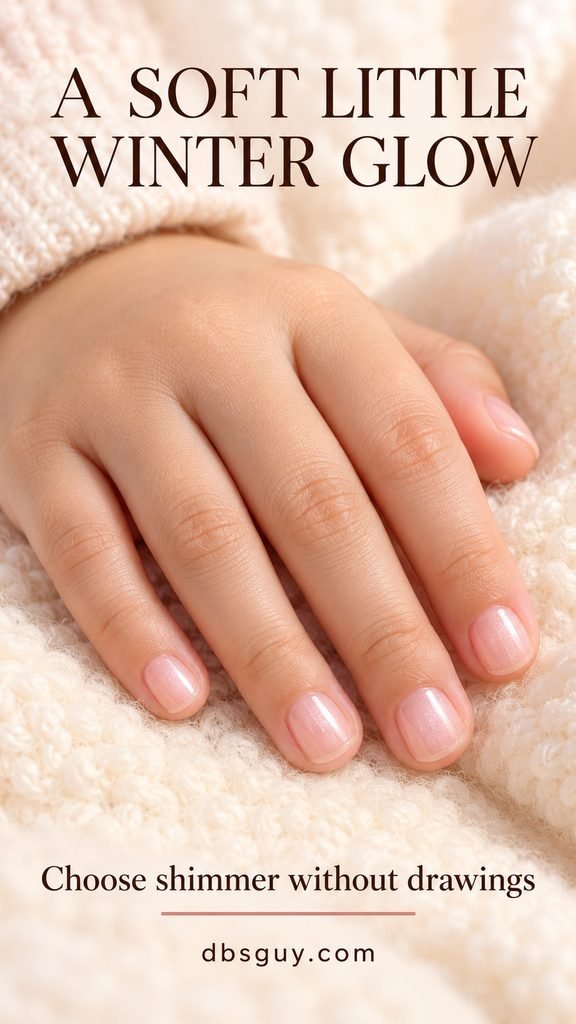
Look at the polish itself: a pearl finish reflects a soft wash of light, while a glitter finish shows more distinct sparkling particles. Pick the effect the child actually likes. Use the coats and drying instructions on the bottle rather than adding layers to chase the brightness of a digitally created reference.
10. A Five-Color Pastel Snow-Day Mix
Let each nail have its own pale color. The concept runs from blue on the thumb to pink, lilac, mint, and butter yellow on the pinky, with a little fine shimmer throughout. The color order supplies the pattern without extra painting.
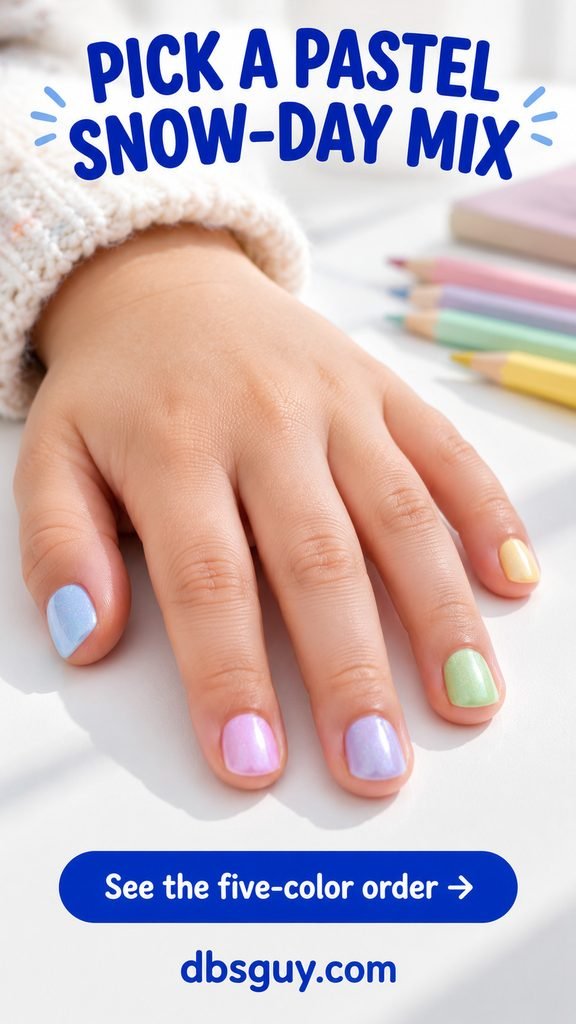
Arrange the bottles in order first so both of you know the plan. You can use two or three available colors and repeat them if five suitable polishes are not already on hand. Keep their finishes similar for a coordinated result, and check that any shimmer topper is intended to work with the base polishes.
11. A Silver Moon and Star on Midnight Blue
Midnight navy makes a small silver crescent easy to see. Place it on the thumbnail with one little star and a couple of dots; keep the remaining nails plain navy. This gives a winter-night option for kids who prefer deep blue to pastels.
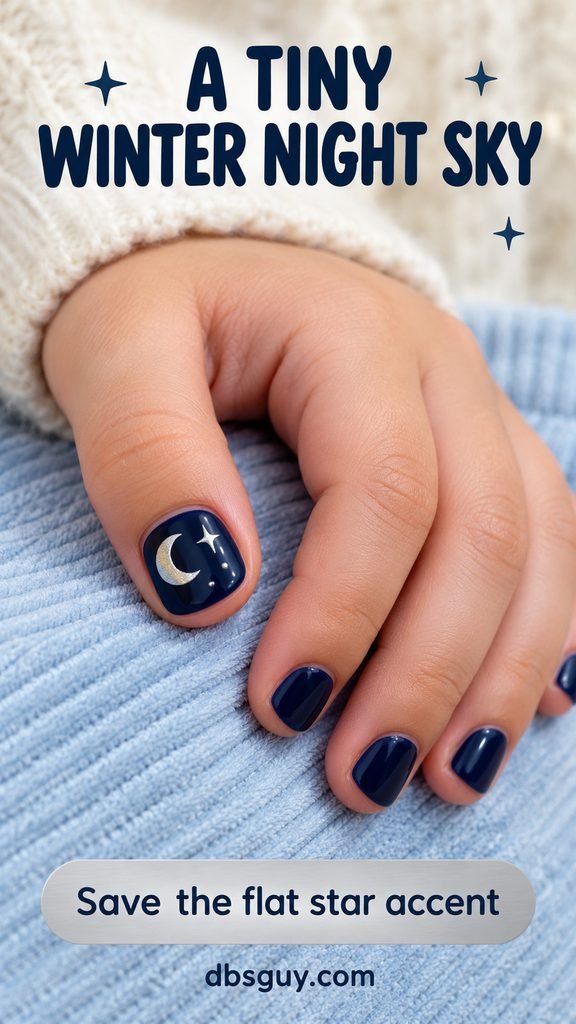
The silver details should be painted on, using a nail product suitable for the child. A simple crescent and one dot can replace the star when space is tight. Dark polish makes small application slips more visible, so an adult should use a lightly loaded brush and keep a neat boundary at the skin.
12. A Tiny Penguin on Peach
Put one penguin on a pale peach thumbnail for a winter character with a warmer background. Start with a black oval, add a smaller white oval inside it, then place two black eyes and an orange beak in the upper white area.
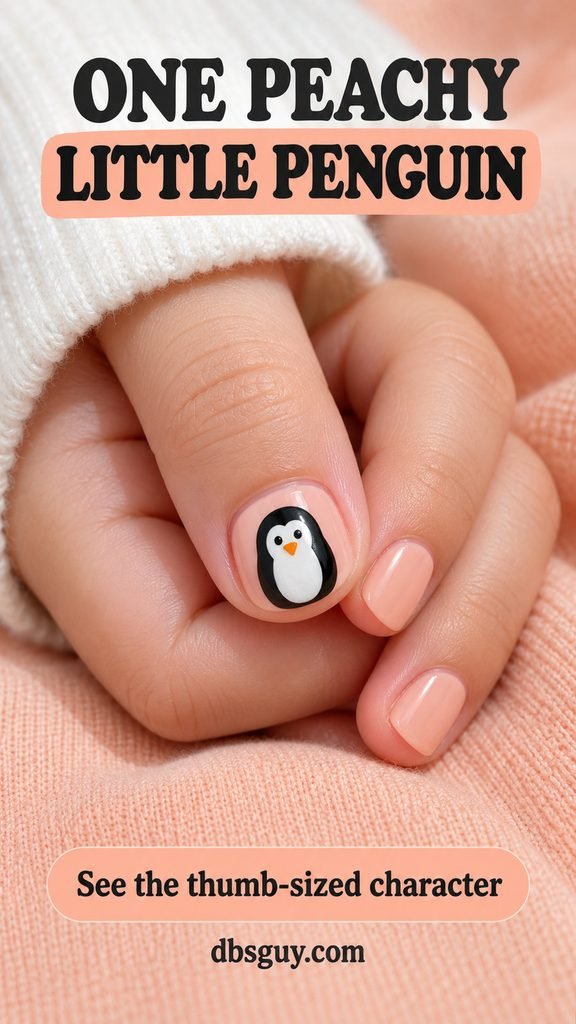
Keep a black border visible around the white center so the penguin’s outline survives. The orange beak does most of the work of distinguishing it from a simple black-and-white shape. Feet, wings, and a scarf can be left out. On a narrow nail, shorten the oval rather than painting onto the skin or adding length to fit the picture.
13. A Melted Snowman on Shimmering Blue
This snowman has already had a warm afternoon. Paint an irregular white puddle low on a shimmering blue thumbnail, then add a small round head just above it. Two black buttons in the puddle and a little brown twig at one side finish the joke.
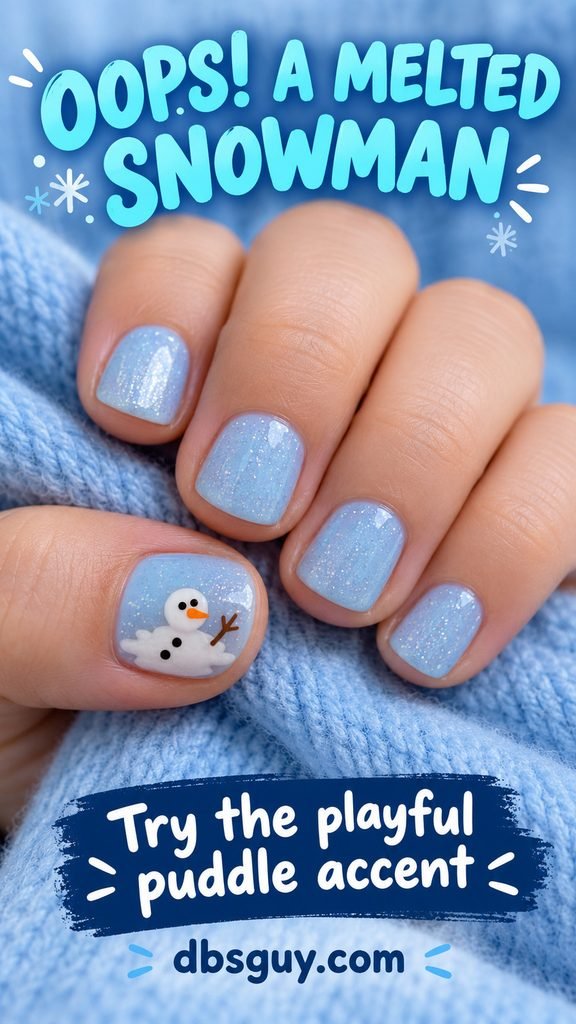
Place the head and puddle before adding the eyes and carrot nose. Keep the white area lopsided so it reads as melting snow, rather than another stacked-circle body. If the twig will not fit, leave it out; the head and scattered buttons are enough to suggest what happened. Plain blue shimmer on the other nails lets the small scene stand out.
A Simple Order for Painting at Home
- Agree on the smallest version. Choose the base color and one accent before starting. A finished single-thumb design can be the whole manicure if that is all the child wants.
- Prepare a steady place. Wash and dry hands, cover the table, and support the child’s hand comfortably. Have an adult handle bottles and tools.
- Follow the chosen polish system. Apply base color in the coats directed by the label. Let it dry as instructed before adding artwork, so the brush does not pull through wet color.
- Add the large shapes first. Paint the white face, mitten, or penguin outline before its small features. Keep polish on the nail.
- Finish and remove as directed. Use a compatible top coat only if the products call for it. Follow the specific removal instructions when the manicure comes off; a water-based formula is not automatically a peel-off formula.
Check school or activity rules before choosing a painted manicure. Keep the plan flexible: one decorated nail is still a complete winter idea.
Questions About January Nails for Kids
Which design is easiest for very small nails?
Choose the pearl finish in #9 for no artwork, or a few snow dots from #5 for a simple pattern. A snowman face usually fits more comfortably on the thumb than a full snowman body does.
Do these designs need gel polish or a curing lamp?
No. The colors, dots, lines, and shimmer can be interpreted with suitable air-dry nail polish. Choose products by their age recommendations and directions, then simplify the artwork to suit the child’s nails.
What if my child bites their nails or puts fingers in their mouth?
Skip the polish. You can still let them choose a favorite design and draw it on a paper hand outline for a winter art activity.
How long will the manicure last?
That depends on the polish, application, and the child’s activities. Follow the product directions and plan for the experience rather than a promised number of days. The concepts do not establish wear time.
Also Read: More Winter Nail Inspiration
For more color and placement references, explore these related guides. They include broader adult manicure ideas, so use the age-appropriate products and simple natural-nail approach described above when adapting a look for a child.