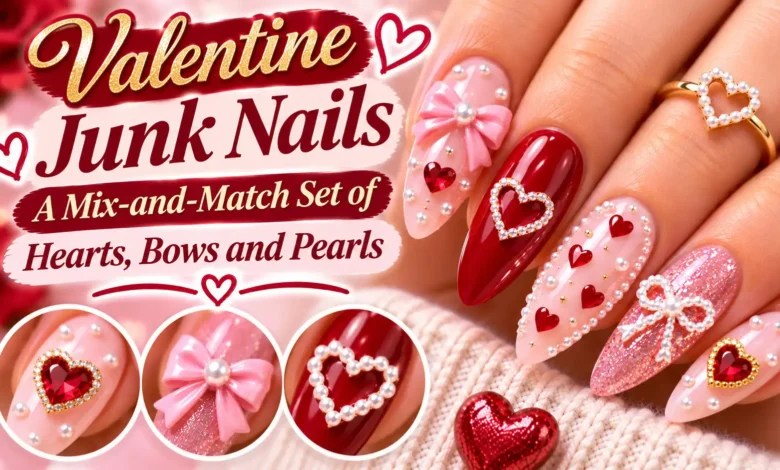
For Valentine junk nails, start with one bow you want to notice first, then spread small hearts and pearl accents across the neighboring nails. A repeated pink base keeps the different details connected. You can make the set soft and blush, bright cherry, or deep wine—or shrink the artwork to fit short nails.
The four layouts below give each finger a job, so you can show your nail artist more than a handful of unrelated inspiration photos. Pick the palette you like, then decide how much raised decoration you actually want to wear.
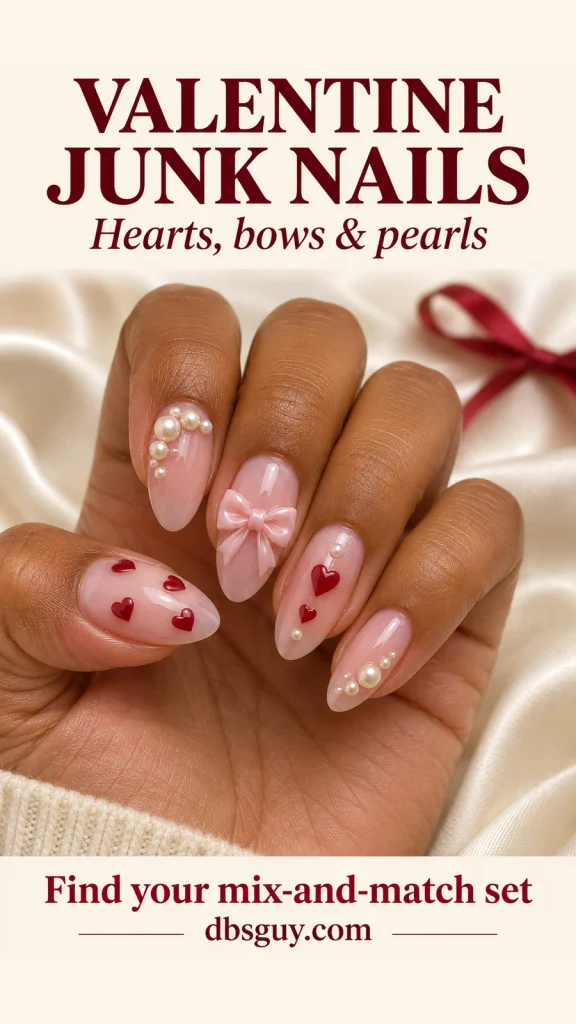
These visuals are AI-generated design concepts for dbsguy.com. They illustrate color, shape, and placement, rather than completed salon work, exact product shades, or wear-test results.
What Makes a Mix-and-Match Set Feel Connected?
Here, “junk nails” means a deliberately eclectic mix of nail art and small decorative pieces. The charm assortment is the appeal: a bow on one finger, hearts on another, pearls somewhere else. Every nail can be different without introducing a new color or a large charm on each one.
For these Valentine sets, use a simple starting formula: one shared base shade, one main heart color, and ivory pearls. Let the bow supply the most obvious dimension. Leave a visible border of base color around each decoration so its shape remains readable.
Choose the length before you settle the charm size. Ask to compare the actual bow with your nail from above and from the side. Its loops and tails should fit within the outline; a charm that looks small in a packet can dominate a narrow nail. If texture bothers you, the short set below uses painted bows instead.
1. Blush Almonds With a Pink Bow Centerpiece
This is the softest version: glossy, translucent pink across the whole hand, a pale-pink bow on the middle finger, and little cherry hearts to keep the details from disappearing into the base. Ivory pearls repeat on several nails, but their arrangements change.
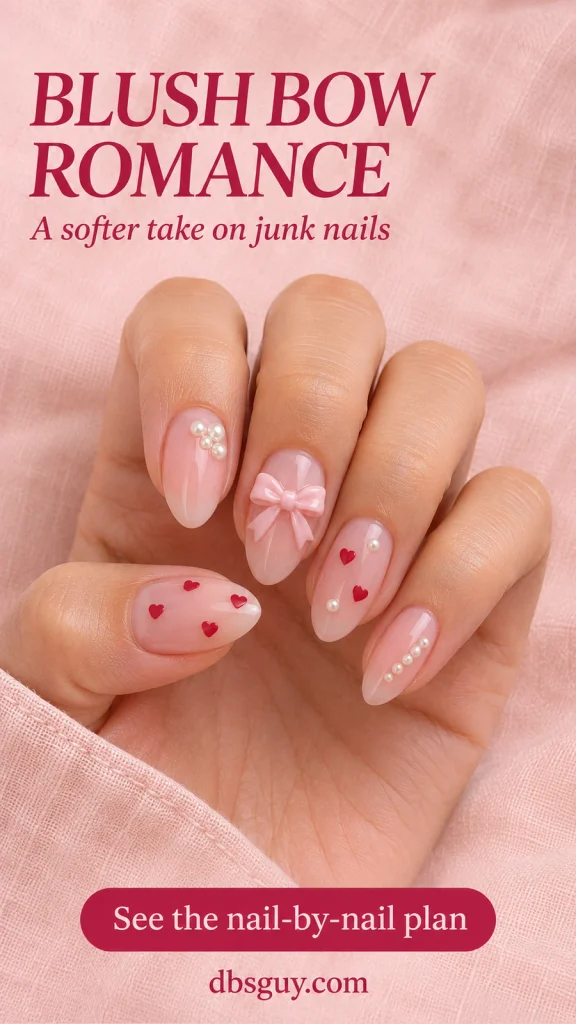
Use this five-finger plan for each hand:
- Thumb: scatter tiny red hearts across the pink, leaving space between them.
- Index: group a few small pearls near one upper corner, just inside the nail.
- Middle: place one pale-pink bow in the central area, with pink visible around its loops.
- Ring: pair two small red hearts with a couple of separated pearls.
- Pinky: arrange a short diagonal pearl trail and leave the rest pink.
The medium almond outline gives the bow’s tails room without needing an oversized decoration. Keep the bow a little lighter than the base so its edges show. If the available bow is almost the same shade, compare it against a slightly rosier sample before choosing.
For a less textured adaptation, keep the middle-finger bow and replace the pearl trail with painted ivory dots. That preserves the arrangement while reducing the number of raised pieces.
Also Read: Valentine Gel-X Nails With Heart Tips and Romantic Details.
2. Cherry Squares With a Checkerboard Accent
Choose this layout if you want more red and a graphic pattern alongside the charms. The square ends give the checkerboard a broad surface, while the sheer-pink nails stop the manicure from becoming a solid block of red.

Start with a glossy cherry thumbnail. Give the index three small red hearts on pink, then use an ivory bow with two pearls below it on the middle nail. The ring finger carries the red-and-ivory checkerboard with a red heart at the center. Finish with a small diagonal pearl group on the pinky.
The checkerboard is the extra detail that distinguishes this set. Ask for blocks large enough to see individually, rather than a dense pattern that becomes a blur. The center heart needs a defined outline where it crosses a red square; the concept uses a fine pale border to separate it.
Keep the bow ivory to echo the checkerboard. Adding another bow color would make the palette harder to follow. If your ring nail is narrow, use fewer, larger checks instead of trying to reproduce the same number of squares.
Show the checkerboard and bow when requesting an appointment quote. They involve different kinds of artwork, and the salon needs to see both to estimate the service.
Also Read: Acrylic Valentine Nail Ideas to Plan Before Your Appointment.
3. Wine Almonds With Silver-Edged Hearts
Deep wine polish gives this version its darker mood. The sheer rosy index and ring nails provide contrast, so the hearts are still clear rather than disappearing into a dark background. A blush bow connects the two colors.
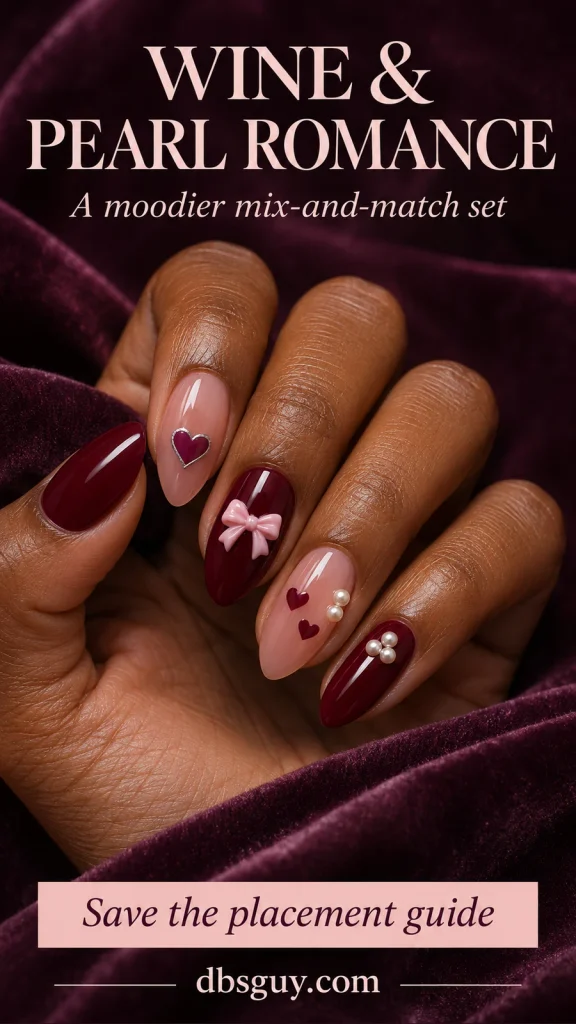
Paint the thumb, middle, and pinky wine. Put one wine heart with a fine silver outline on the rosy index. Add the pale-pink bow to the middle nail, then two small wine hearts and a pair of ivory pearls to the rosy ring nail. A compact pearl trio on the pinky repeats the light accent against the dark polish.
Keep silver limited to the outlined heart. It gives that small shape a crisp edge without competing with the bow and pearls. Ask to see the wine shade beside your chosen sheer pink: some shades look red in bright light and nearly black in a dim room.
For the second hand, repeat the same color order even if you shift the heart placement. That makes the asymmetry look deliberate. If you want a quieter result, reduce the ring nail to one heart while keeping its two pearls.
Also Read: Long Valentine Nails With Layered Hearts, Lace and Statement Tips.
4. Short Squovals With Tiny Painted Bows
You do not need long extensions to mix these motifs. On short squoval nails—mostly straight tips with rounded corners—use a milky-pink base and small, separate details. Flat painted bows keep the ribbon shape without a bulky centerpiece.

The thumb gets one small red heart. Put a painted pink bow on the index, three tiny pearls in a diagonal line on the middle nail, two red hearts on the ring finger, and another little painted bow on the pinky. Keep the bow lines darker than the base so the loops and tails remain visible.
Size the pinky artwork first. If the complete bow will not fit with pink showing around it, simplify the tails instead of carrying the design onto the skin. The pearl accent should also sit fully on the nail, with space between the pieces.
This is the layout to consider if you like the mixed details but do not want a raised bow. For a completely flat version, ask for ivory dots in the pearl positions; the visual arrangement stays similar, although it loses the pearls’ dimension.
Also Read: Valentine Nails on Natural Nails: Simple Ideas Without Extensions.
Turn Your Favorite Layout Into an Appointment Request
Send one main reference and name the parts you want to keep. “Junk nails” alone does not tell the artist your preferred length, the number of charms, or whether the bows should be painted or raised.
You can send: “I’d like the blush layout in this reference, with medium almonds, one raised pink bow on each middle finger, small red hearts, and ivory pearl accents. I want all decorations inside the nail edges. Can you confirm which service suits my nails, whether you have similar charms, and the full quote including removal if needed?”
If you prefer the cherry, wine, or short set, replace those design details in the message. Tell the artist what is currently on your nails and mention any need to wear gloves or work with your hands. Ask about the height of the actual charms, not just the finished length.
Before leaving, gently check how the decorations feel against your usual movements and clothing. Point out any edge that catches so the artist can assess it. Do not assume a thicker coat over every charm is the right fix; the finish depends on the materials used.
Planning an At-Home Version
A predecorated press-on set lets you choose the finished artwork before attaching it. Check the seller’s sizing method for every finger, including both thumbs. A design photo does not establish that the bow will fit your nail width, so ask for a close view or measurements if that is unclear.
For custom press-ons, send the five-finger arrangement and specify which elements should be flat. Confirm the application and removal instructions supplied with that exact set and its adhesive. Avoid substituting a different glue or improvising a gel-curing time from an inspiration post.
If you want to paint your own version, start with the short layout’s small hearts and bows. A matching nail-art decal can help with your less steady hand. Follow its directions for placement and sealing; choose a product intended for nail use.
Care Matters More Than Keeping Every Charm
Artificial nails and their preparation can affect your natural nails. The American Academy of Dermatology’s artificial-nail guidance advises against covering damaged nails, recommends skipping cuticle trimming, and suggests reserving artificial nails for special occasions.
Ask for care and removal instructions for your particular manicure. If a charm loosens, stop picking at it and ask the artist how to handle it. A decorative set is easier to enjoy when you have already decided how it will be maintained and removed.
Questions About Valentine Junk Nails
Do both hands need identical designs?
No. Repeat the base shade, heart color, and pearl finish, then move a small detail if you like. Keeping the bow on the same finger of each hand is an easy way to make the two layouts feel related.
Can I get the look without a raised bow?
Yes. Use the short set’s painted ribbon bows or suitable flat decals, then decide whether you want real pearl accents or painted ivory dots. Tell the artist you want a flat finish if you want no raised pieces at all.
How long will the charms stay on?
There is no single reliable wear time for these concepts. It depends on the nail system, charm shape, attachment method, and how you use your hands. Ask the artist or press-on maker about their specific set and what to do if a piece loosens.