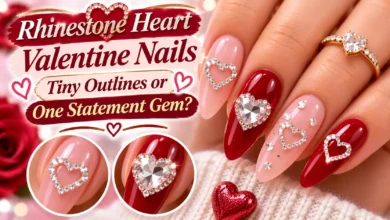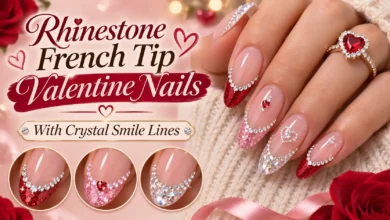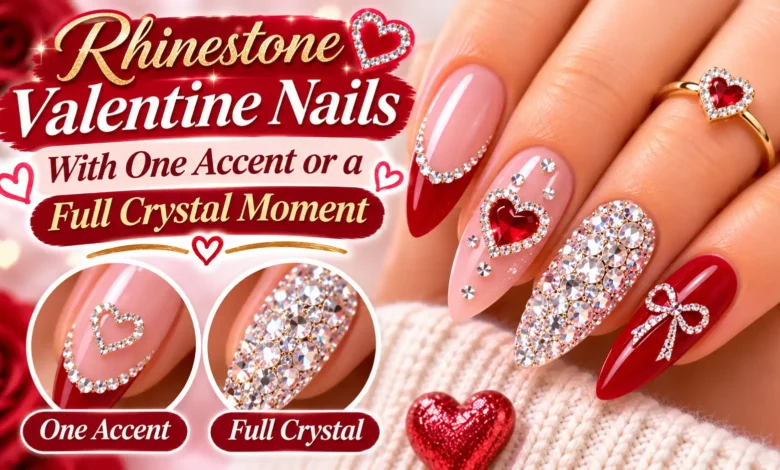
For rhinestone Valentine nails, decide how much of the nail you want to leave plain. One clear crystal on cherry red gives you a small point of light. A crystal heart makes the accent recognizable. A fully jeweled nail—or a whole set—turns the texture into the main event.
These six designs move from one tiny detail to full crystal coverage. Each includes the placement to request, a way to adapt it, and the detail worth checking before the stones are secured.

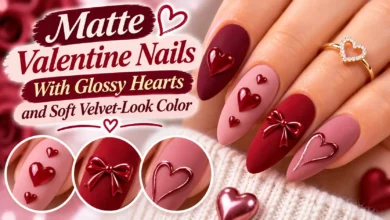
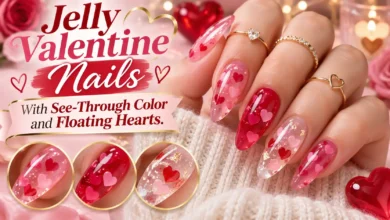
The images are AI-generated manicure concepts created for dbsguy.com. They illustrate color, shape, and crystal placement rather than completed salon work, exact product swatches, or wear tests.
Choose Your Sparkle Level Before Your Appointment
Look at the part of each design that stays uncovered. That plain space helps a small detail read clearly and gives you a useful way to compare the options.
- Mostly glossy color: choose the single crystal or two small base crescents.
- A defined piece of nail art: try the open crystal heart or a jeweled French border.
- A textured statement: compare one fully covered accent nail with the allover crystal set.
If you often handle hair, pull on knit sleeves, or wear fitted gloves, discuss those tasks with your nail artist before choosing raised decoration. A smaller stone and less coverage are sensible starting points, but even a small gem adds texture. If your workplace requires smooth, undecorated nails, save the crystals for a time when they are permitted.
1. One Clear Crystal on Short Cherry-Red Nails
This is the simplest way to try the look: short squoval nails, glossy cherry-red polish, and one small clear rhinestone on each ring nail. Squoval means a softly squared tip with rounded corners. The other nails, including the thumbs, stay plain red.
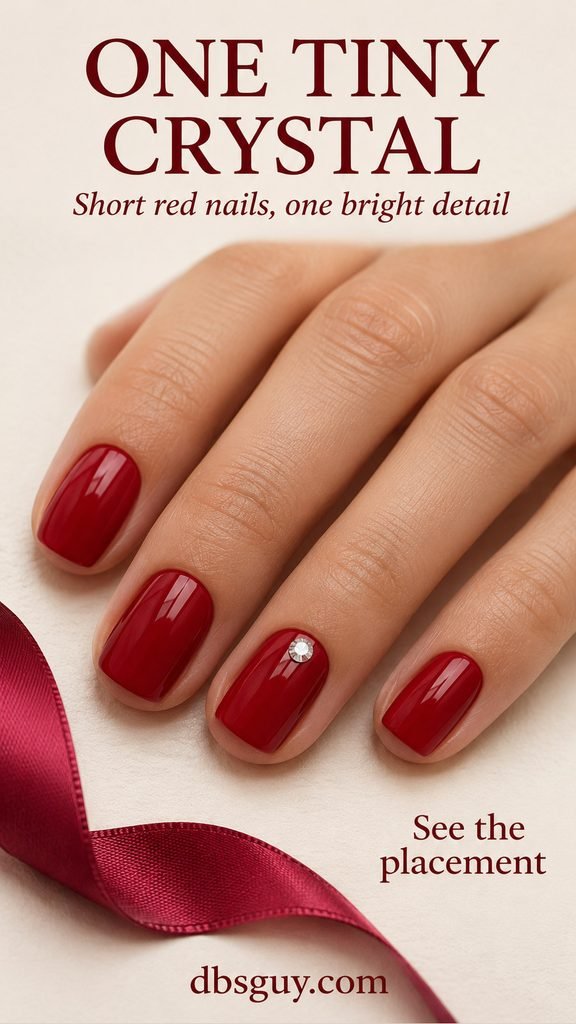
Place the stone near the center of the nail base, leaving a visible strip of red between the gem and the skin. A small round flatback crystal around 1.5–2 mm across is a useful size to compare on the actual nail; treat that as a starting point, not a required measurement. A wide nail may need a different scale from a narrow one.
Ask to see the stone resting in position before it is attached. If it looks like a centerpiece jewel instead of a tiny highlight, go smaller. Keep the base color opaque and the neighboring nails undecorated so the single clear facet stays easy to see.
What to request: “Short squoval cherry-red nails, one small clear round crystal near the base of each ring nail, and plain red everywhere else.”
Also Read: Valentine Nails on Natural Nails: Simple Ideas Without Extensions.
2. Wine-Red Nails With Two Crystal Crescents
A shallow crescent gives you a little more sparkle while leaving most of the polish visible. This version uses glossy wine-red oval nails with a single curved row of clear stones near the base of the middle and ring nails. Leave the index, pinky, and thumb plain.
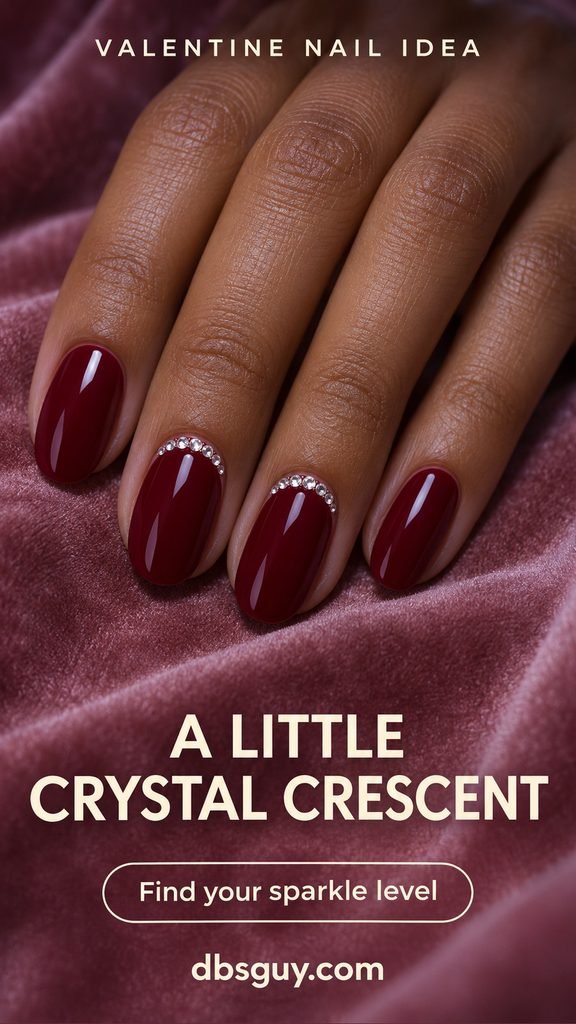
The curve should follow the nail base while staying entirely on the nail plate. “Cuticle crystals” can be a confusing phrase: the stones belong above the skin, with polish showing between the setting and the cuticle. Keep the arc shallow rather than extending it up both sides into a full border.
On a shorter nail, use fewer, smaller stones to keep the curve compact. Discuss the arrangement on one nail first; a row that looks delicate on a broad middle nail can crowd a narrower ring nail. You can reduce the look to one crescent per hand if two decorated fingers feel busy.
Appointment detail: specify two base crescents, rather than “gems on every nail,” and ask for the same wine shade across the whole set.
Also Read: Hard Gel Valentine Nails: Design Ideas for Overlays and Extensions.
3. A Ruby-Crystal Heart With an Open Blush Center
Choose this design when you want the stones themselves to form the Valentine detail. Tiny ruby-red rhinestones trace one heart on a milky-blush ring nail. The center stays blush, and the remaining nails are plain, giving the red outline a clear background.
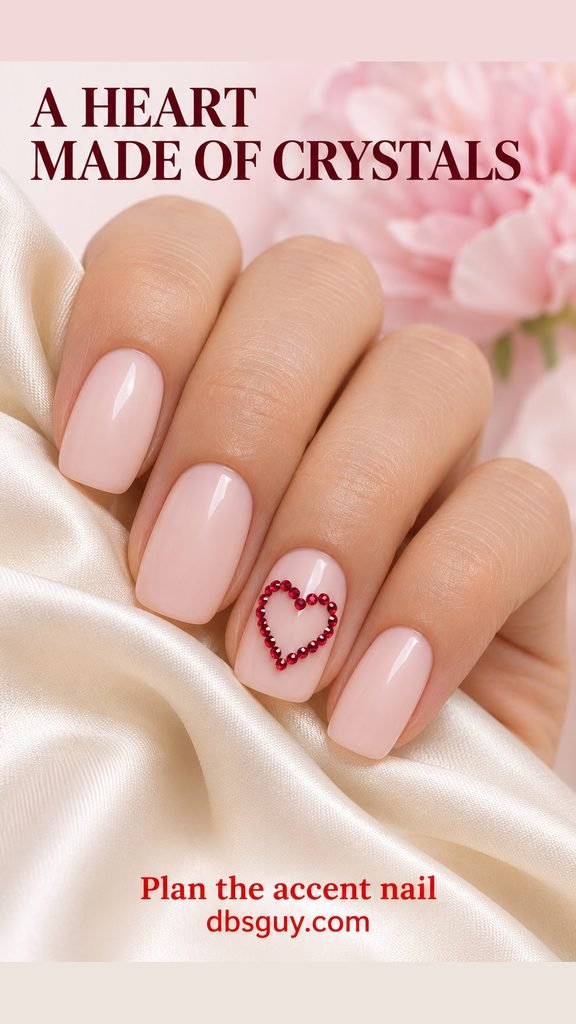
The important features are the inward notch between the two upper lobes and the point facing the fingertip. Check the outline from directly above before attachment. If the upper curves run together, the shape can resemble a rounded frame; adding more stones will not necessarily fix it.
A medium soft-square nail gives the heart room across its width. If your nail is shorter or narrower, shrink the entire outline and use smaller stones. If the artist cannot keep a visible blush border around it, switch to the single-crystal idea rather than squeezing the heart against the skin or side edges.
What to request: “Milky blush with one open ruby-rhinestone heart on each ring nail. Keep the heart center empty and the other nails plain.”
Also Read: Intricate Valentine Nail Designs to Discuss With Your Nail Artist.
4. Cherry French Tips With a Crystal Smile Line
Here the sparkle follows the French manicure instead of becoming a separate motif. Sheer rosy bases and cherry-red tips cover the set. A fine row of clear crystals traces the border between the base and tip on the middle and ring nails only.

That curved border is the smile line. Show the artist where you want the row to sit: along the red-to-pink transition, rather than at the cuticle or around the outermost tip. Leave the thumb, index, and pinky as plain red French tips.
Medium almond nails give the curve room to show. For a shorter version, make the red tip shallower and decorate just one nail per hand. Ask the artist to check whether the chosen stones fit the curve without crowding it; a chunky row can hide the French shape you wanted to highlight.
The detail to keep: one slim crystal row. A second row changes the balance and takes up more of the rosy base.
Also Read: 15 Almond Valentine Nail Ideas With Heart Tips and Soft Curved Lines.
5. One Full Crystal Accent Beside Rose-Pink Polish
If a single gem feels too quiet but you still want several smooth nails, cover the ring nail with clear rhinestones and leave the rest glossy rose pink. The change in texture becomes the accent, so it needs no extra heart, bow, or painted pattern.
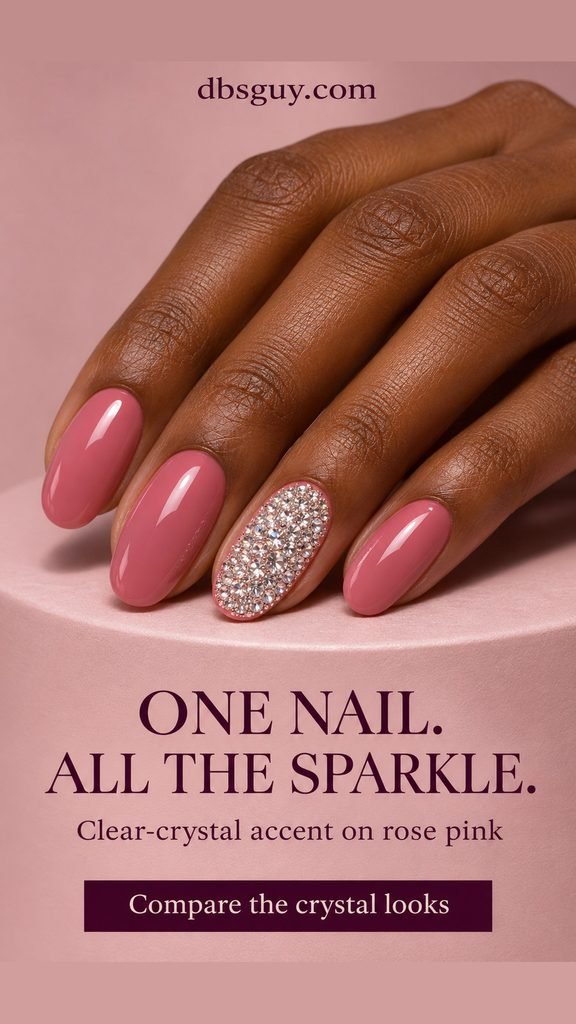
Ask for small flatback stones in a close pavé arrangement—pavé describes the closely set, jewelry-like coverage. Smaller stones can fill spaces between slightly larger ones. Keep the setting inside the nail outline, with a narrow rose border visible around it, rather than allowing gems to hang over the sides.
The concept uses medium oval nails. You can keep the same arrangement at a shorter length by reducing the stone sizes and total number. Have the artist show you the proposed coverage on your own nail; an almost solid field of sparkle is different from a loose scatter with pink showing between every gem.
Make the thumb plain rose pink, too. This keeps the finished five-finger plan clear and gives you a useful reference when requesting the same layout on the other hand.
Also Read: Acrylic Valentine Nail Ideas to Plan Before Your Appointment.
6. The Full Crystal Moment With One Ruby Heart
For the most embellished option, repeat a mix of clear and pale-pink rhinestones across every nail. One ruby-red heart-shaped crystal on each ring nail gives the set a focal point. The repeating pink-and-clear palette connects the other fingers without adding a different charm to each one.

Use the same small-stone mix on the thumbs. The reference shows a longer almond outline, but the coverage can be discussed at a shorter length. Size the red heart to the ring nail first; its widest part and the surrounding stones must fit inside the nail edges.
Request a single layer of crystals rather than stacked clusters. That still creates a raised surface, so handle a sample tip if the salon has one and consider how much texture you want across all ten fingers. If it feels like too much, keep the ring nail jeweled and switch the other fingers to plain pink using design 5.
Send this reference when booking and ask about the time and charge for all ten decorated nails, plus the removal service. Those details depend on the salon and product system; a full-crystal photo alone does not establish a price or appointment length.
Also Read: Extra Valentine Nails for When One Accent Nail Isn’t Enough.
Settle the Attachment and Removal Plan
Rhinestones describe the decoration, not the material underneath. Tell the salon whether you want to keep your natural length or add extensions, and ask which service suits the design. An inspiration image cannot confirm whether the underlying nails are natural, acrylic, or gel.
Ask for nail-art crystals and an adhesive intended for the chosen nail system. Application order, setting or curing time, and the required lamp depend on the specific products. Follow those instructions rather than borrowing a cure time from an unrelated tutorial. Keep adhesive and uncured gel off the surrounding skin.
For faceted crystals, finishing product is generally worked around the base of the setting rather than flooded over the reflective faces. Discuss that detail with the artist so the edges are finished without burying the sparkle. A stone that catches repeatedly on fabric needs attention; do not keep tugging at it or pry it off with a tool.
If the service uses UV-cured gel, the American Academy of Dermatology’s gel manicure guidance recommends broad-spectrum, water-resistant SPF 30 or higher on the hands, or dark, opaque gloves with the fingertips removed. It also advises against picking off gel polish.
Before leaving, confirm how this particular adhesive and nail enhancement should be removed. Do not assume every crystal set will soak off in the same way. Have the salon remove a heavily embellished set when you are unsure of the products, and avoid cutting the cuticles during the service.
Questions to Resolve Before Choosing Your Set
Can I have rhinestones on short natural nails?
You can plan a small crystal accent at your existing length; extensions are not part of the decoration itself. Start with design 1 and have the artist check the stone against your nail. A large heart or dense arrangement may need to be reduced to fit, rather than automatically making your nails longer.
Do rhinestones always need gel?
No. Nail-art adhesives include air-drying nail glues as well as lamp-cured gels. Choose a product intended for the stones and nail surface, and follow its application and removal directions. A lamp-cured gel needs the lamp specified for that product; an air-drying adhesive follows a different process.
How long will the crystals stay on?
There is no dependable wear time you can read from a design photo. The adhesive, placement, nail surface, stone size, and everyday use all affect retention. Ask your artist about their repair policy, especially if you are booking the manicure for a particular event.
What should I send the salon?
Send the chosen image, your preferred length and shape, and a photo of your current nails if they already have product on them. Specify which fingers get crystals and how the thumbs should look. For example: “Design 5, medium oval, plain rose-pink thumbs, and one full clear-crystal ring nail on each hand.” That gives the artist a complete layout to discuss.