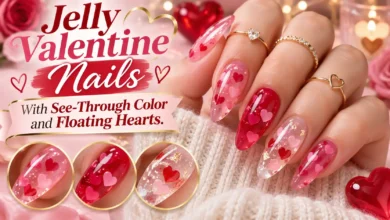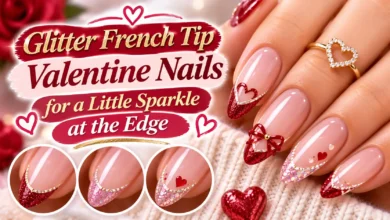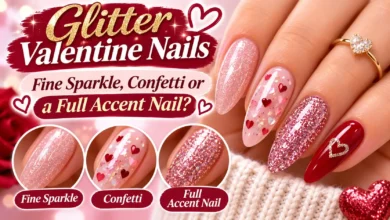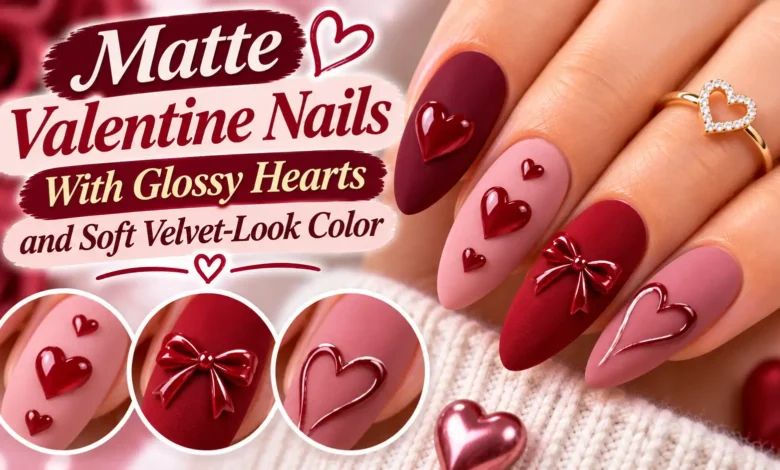
For matte Valentine nails with glossy hearts, choose a soft cream color, finish the background matte, and keep the shine inside the heart shapes. Dusty rose with clear glossy hearts gives you the quietest contrast. Pale blush with a cherry-red heart makes the artwork easier to spot. Either way, the surrounding nail needs to stay matte for the detail to stand out.
Here, velvet-look means a smooth, soft-looking matte finish. Magnetic velvet nails use reflective magnetic shimmer and create a different effect. If you want the muted finish shown below, bring the reference and ask for matte cream color with glossy painted hearts.
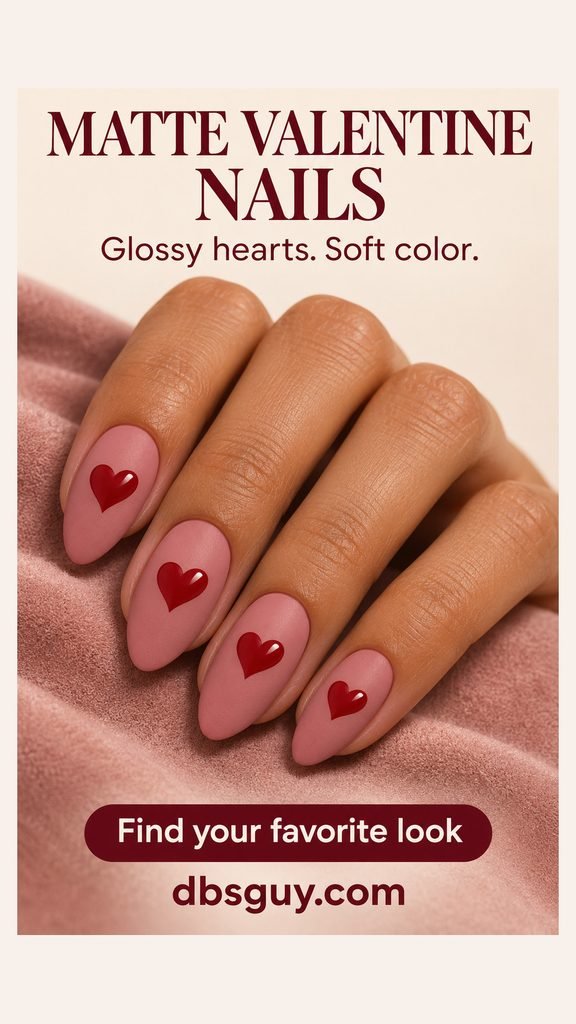
The visuals are AI-generated design concepts, not photographs of completed or tested manicures. Use them to discuss color, shape, and placement; check the actual polish and finish on a sample.
Choose the Contrast You Want First
If you want the hearts to appear mainly when you move your hand, keep the base and artwork the same color. If you want an obvious Valentine detail even in flat light, choose a contrasting heart. An open outline leaves more of the matte color visible, while a heart-shaped tip gives the finish a bigger role across the set.
Keep the nail length you enjoy wearing. Shrink the artwork to fit a shorter nail instead of crowding its edges. Before committing, tilt a finished sample and check two things: can you recognize the heart, and can you still see a generous matte area around it?
1. Dusty Rose With Clear Glossy Hearts

This is the finish-led option: medium almond nails in dusty rose, with a clear glossy heart over the matte color. The heart can almost disappear when the light moves away, which is part of the appeal. Choose it if you like a Valentine detail that reveals itself up close.
Ask for a recognizable notch and two rounded lobes, with the point facing the free edge. Leave matte rose visible on every side. A slightly larger heart gives the light more surface to catch than a tiny dot-size motif. If the shape vanishes on the sample, enlarge it a little before adding a second color.
Also Read: One-Color Valentine Nails: Let the Shade and Finish Do the Work
2. Short Blush Nails With One Cherry Heart
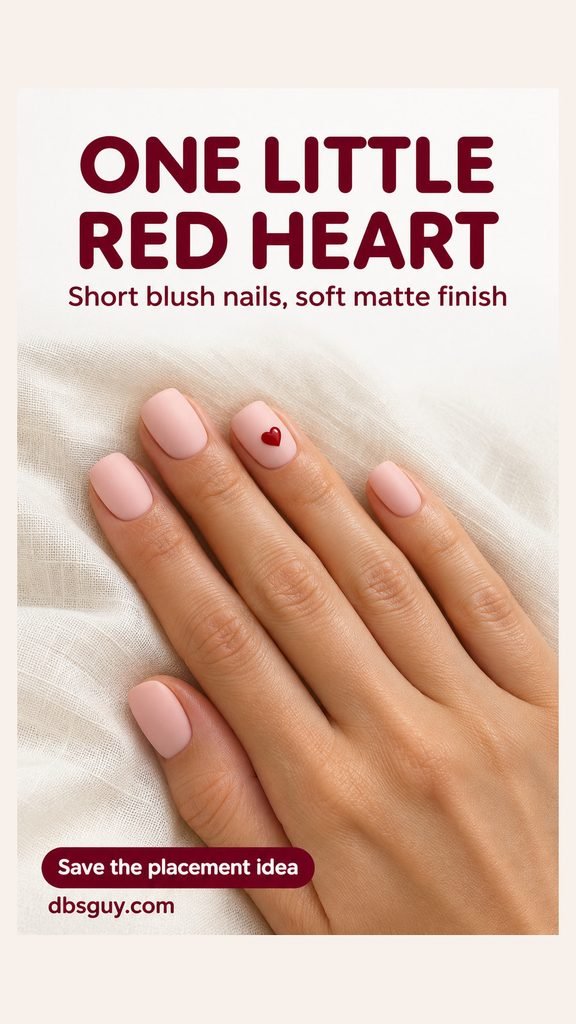
Keep the nails short and squoval, with softly rounded corners, and put one small cherry-red heart on the ring nail. The blush in this reference is an opaque pale pink. That covered, even background makes the red easy to read without filling the rest of the hand with artwork.
Place the heart around the center of the nail, leaving pink between the point and the tip. On a very small nail, skip extra dots or a second heart. This is the most straightforward reference to take to a salon if your priority is one neat accent and plenty of plain matte color.
Also Read: Very Short Valentine Nails: Tiny Accents for Barely Any Free Edge
3. Cocoa-Taupe With a Diagonal Pink Pair

A muted cocoa-taupe base brings warmth to the design without turning every nail pink. On one oval accent nail, arrange two glossy pale pink hearts on a short diagonal. Keep the other nails plain so the pair stays easy to pick out.
The space between the hearts matters more than matching their sizes perfectly. If their edges touch, they can read as one irregular patch. Ask to see the placement before the second heart is filled in. For a narrower nail, keep one heart rather than squeezing two against the sidewalls. Compare a pink that is visibly lighter than the brown if you want clear color contrast.
Also Read: Japanese-Inspired Valentine Nails With Chocolate Art and Delicate Details
4. Matte Mauve With a Glossy Plum Outline

Use a glossy plum line to outline one heart on a matte mauve ring nail. You get both color contrast and a change in finish, but the middle of the heart remains mauve. The reference leaves the rest of the almond nails undecorated.
Give an outline more room than a tiny filled heart. Its center needs to stay visibly open, and the notch should not close into a loop. Ask for a slim, consistent line rather than the thinnest line possible. If the outline looks crowded on your nail, simplify to one smaller filled heart or move the outline onto a wider accent nail.
Also Read: Minimalist Valentine Nails With Tiny Details and Plenty of Bare Space
5. Burgundy With Inverted Heart-Shaped Glossy Tips

For a darker set, keep the burgundy matte and use clear gloss to make broad, inverted heart shapes at the free edges. In this reference, the rounded tops meet the flat nail tips and the points face back toward the cuticles. That orientation makes the design feel closer to a shaped French tip than a row of floating hearts.
Show your tech the direction you mean; “heart tips” alone can describe several layouts. Keep most of each nail matte, with the glossy shape contained near the end. On shorter nails, make the points shallower so they do not reach into the middle of the nail and take over the base color.
Also Read: 13 Square Valentine Nail Ideas With Crisp Tips and Graphic Heart Art
6. A Matte Lilac Gradient With One Plum Heart
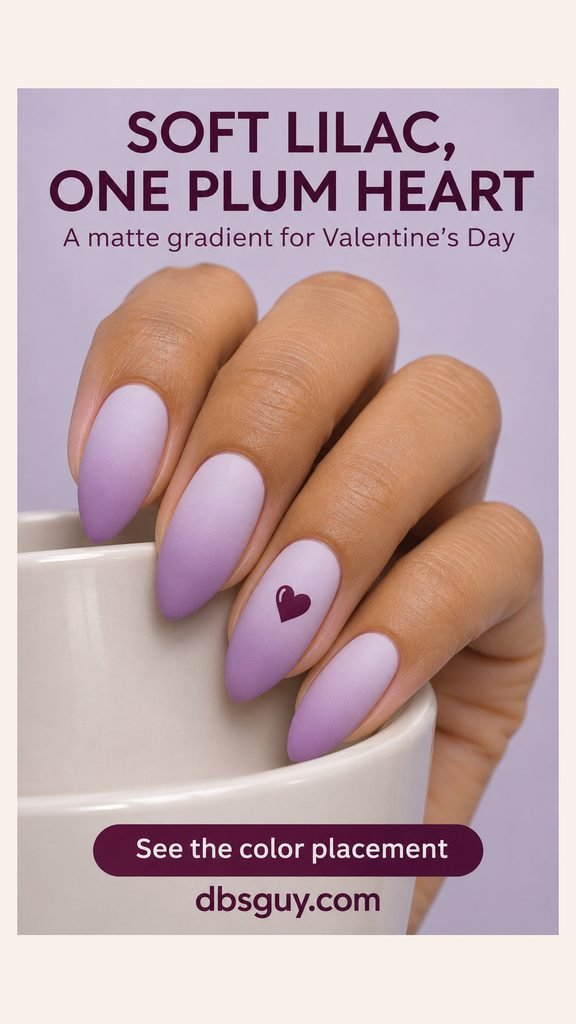
Let the color change do some of the work: pale lavender near the cuticles blends into a deeper lilac toward the almond tips. A single glossy plum heart on the ring nail gives the soft gradient a defined accent. This is a useful option when you want Valentine nails outside the usual red-and-pink pairing.
Choose two nearby purple shades if you want a gentle fade. A large jump from almost white to very dark purple will make the gradient more prominent than the heart. Check the blend on a sample with its matte finish already applied, then place the heart where it remains clearly darker than the color underneath.
Also Read: 11 Valentine Nail Ideas That Aren’t Red or Pink: Lilac, Blue and More
How to Keep the Base Matte and the Hearts Glossy
The key is selective finishing. OPI’s mixed-finish guidance describes applying matte top coat first and drawing shiny designs over it. A final full-nail coat of gloss would cover the matte background; a full-nail matte coat would dull the hearts.
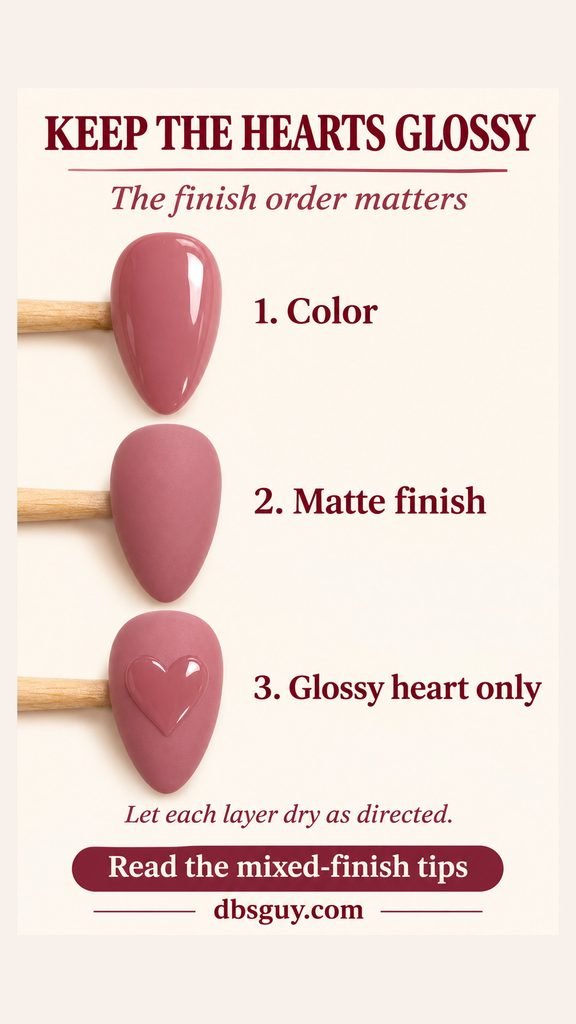
For an at-home version, use air-drying regular polish and compatible base, matte, and glossy top coats. Try the combination on a spare nail tip first. Different formulas can behave differently when layered, so follow the directions for the products you actually have.
- Build the color. Apply your base coat and thin color coats as directed. Let the color dry fully before using a matte top coat if that is what its label requires.
- Finish the background matte. Apply an even matte layer and let it dry before touching it with a detail brush.
- Add the heart selectively. For a tonal heart, paint the shape in clear glossy top coat. For a contrasting heart, paint the colored artwork, let it dry, then use a fine brush to cover only that shape with compatible gloss.
- Leave the surrounding matte area alone. Keep the clear gloss within the heart’s edges. Let the artwork dry as directed rather than adding another full-nail finishing coat.
Start with the single accent in look 2 if you are painting your own nails. A colored heart is easier to see while you work than a clear one. If you are booking gel, let your tech choose a compatible product system and follow its curing instructions; these air-drying steps are not a gel-curing schedule.
Also Read: How to Do Valentine Nails at Home With Regular Polish
What to Tell Your Nail Tech
“I want smooth matte cream color with glossy painted hearts. I’d like the background to stay matte, with shine only on the artwork. Can we check one finished sample before doing the set?” Then name the shape, the accent finger, and the heart’s direction. For the burgundy tip design, point out that the heart points face the cuticles.
Bring one main reference and decide which detail matters most: the exact color, the amount of matte space, or the heart placement. If the sample looks different from the screen, adjust that priority before adding more decoration.
Questions About Matte Valentine Nails
Do I need magnetic polish for the velvet-look color?
No. The looks here use a smooth matte finish over cream color. Magnetic velvet nails use magnetic shimmer for a reflective effect. Tell your tech which surface you want, since both looks may be described as “velvet.”
Why do clear hearts barely show in some lighting?
A same-color heart relies on reflected light rather than a different pigment. Tilt the sample to see the shine. If you want a heart that reads clearly from more angles, choose the red-on-blush accent or the plum outline instead.
Why does the matte finish look shinier after wear?
Natural oils can make a matte surface look less matte over time, as Essie notes in its matte-top-coat guidance. Follow your product’s care directions. If you refresh the matte coat, keep it off the glossy artwork so you preserve the finish contrast.
Can I use a heart sticker instead of painting?
You can discuss that option, but check how the decal is meant to be sealed. A sticker that requires a full-nail glossy top coat will change the matte background. For this particular look, painted hearts or a decal system that allows compatible selective finishing give you more control.