13 Valentine Nail Ideas With Bows for a Manicure That Feels Gift-Wrapped

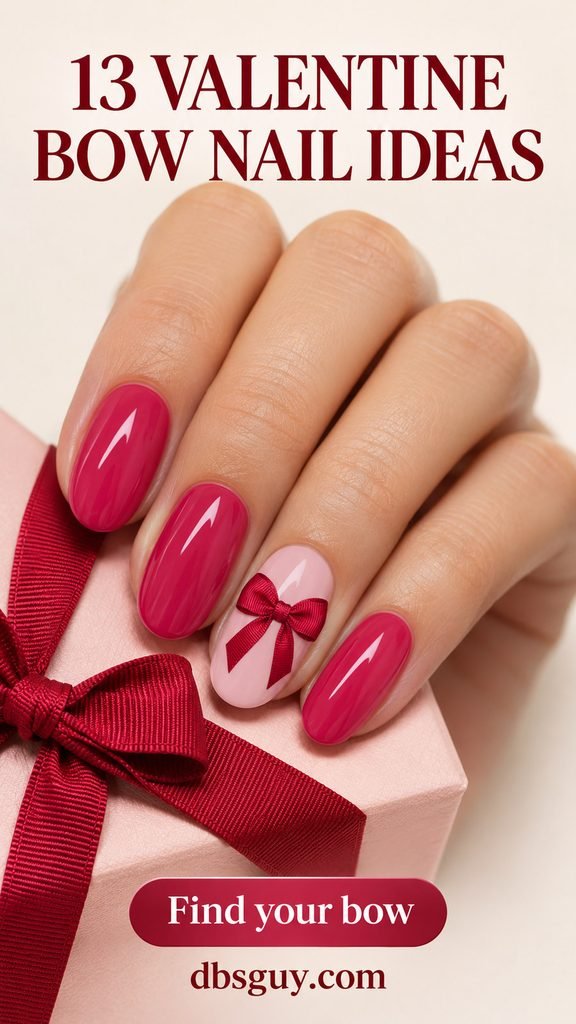
A tiny cranberry bow near the corner of a short nail can do the whole job. If you want the manicure to look like an actual wrapped gift, cross two ribbon stripes on one nail and tie them together with a painted bow. For something dressier, give one bow a pearl knot or let a low jelly charm catch the light.
These Valentine nail ideas with bows show where to place the knot, how to leave room for the loops, and what to simplify on shorter nails. The images are AI-generated design concepts you can use as references for color, placement, and finish.
Pick a Bow for Your Nail Length and Finish
- Very short nails: Try the tiny corner bow in idea 2 or the painted silver knot in idea 8.
- First time doing bow nail art: Use a small decal for idea 2 or pair a bow sticker with a heart on a neighboring nail in idea 11.
- The wrapped-gift look: Choose the crossed ribbons in idea 5 or the hanging heart tag in idea 9.
- One accent with dimension: Pick the single pearl in idea 7 or compare the profile of the jelly bow in idea 13.
1. Ballet Pink Nails With Long Ribbon Tails
Give a sheer ballet-pink almond nail a fine rose bow with two open loops. Set the knot toward the cuticle and let the tails sweep toward the tip. A slight bend in each tail gives the ribbon movement. Keep one tail a little shorter so the two curves stay easy to follow.
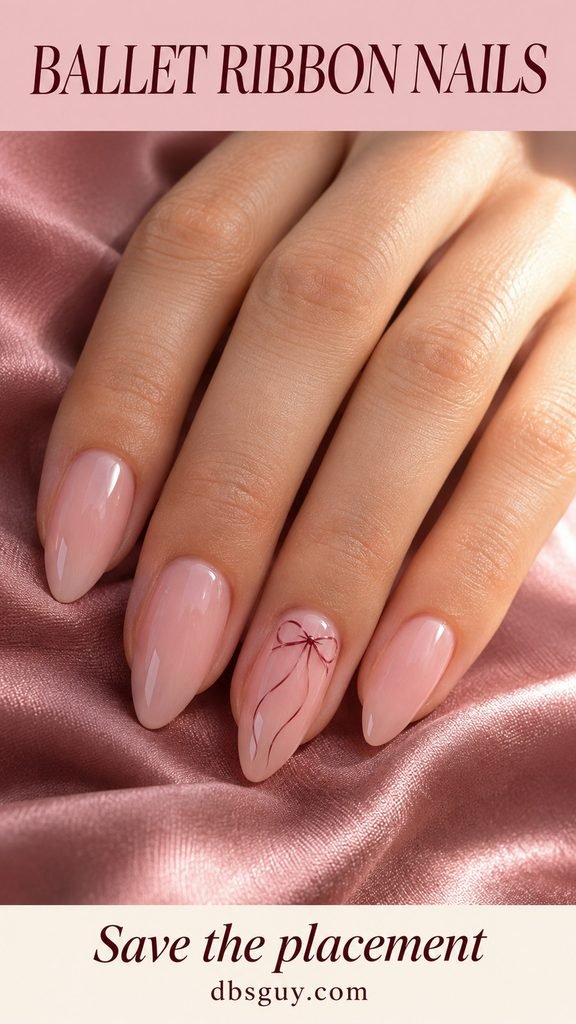
If you have short ovals, keep the knot and loops the same size and cut the tails to fit. The open loops make the bow recognizable even when the ribbon ends are brief.
2. A Tiny Cranberry Bow on Short Round Nails
Creamy pale pink gives a cranberry bow a clear backdrop. Put one small bow just inside the outer corner of the accent nail and aim its short tails inward. Leave a sliver of pink around the outside loop so it reads as a bow at a glance.
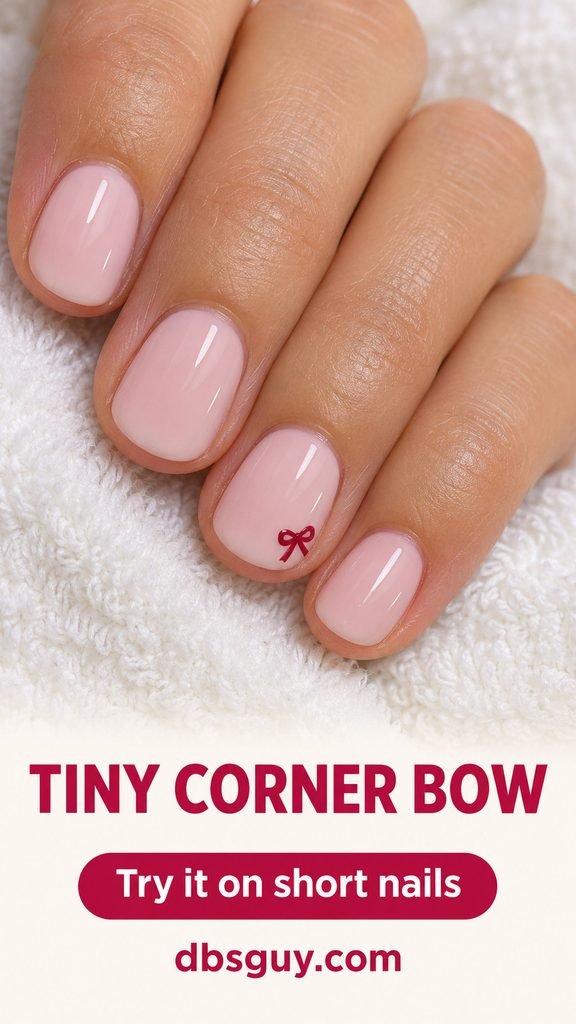
A small sticker works here. Hold it over the nail on its backing to check whether it fits in the corner. If the loop crowds the side, move the whole bow inward. 11 Simple Valentine Nail Designs Built Around One Little Detail has more ideas that work with a single small accent.
3. Hot Pink Side French Tips Tied With a Bow
Start each hot-pink French tip in one corner of a sheer blush nail and taper it along the free edge. On the accent nail, join that colored edge to a tiny bow. The junction is what makes the tip look like ribbon that wraps around the corner.
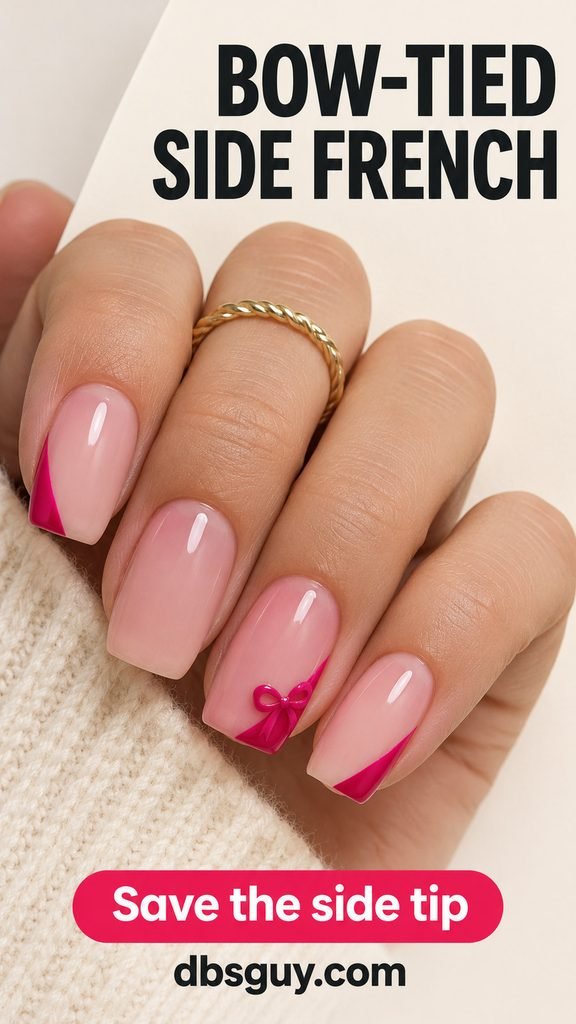
A soft square gives the stripe a natural starting point. Ask for a slim edge, particularly on short nails, and check that both loops are visible against the blush base.
4. Strawberry Gingham Beside a Cream Bow
Pair a pink-and-ivory gingham nail with a cream bow on the next strawberry-pink nail. The pink links the accents, while the solid color under the bow lets you see each loop. Keep the rest of the set in the same pink and ivory.
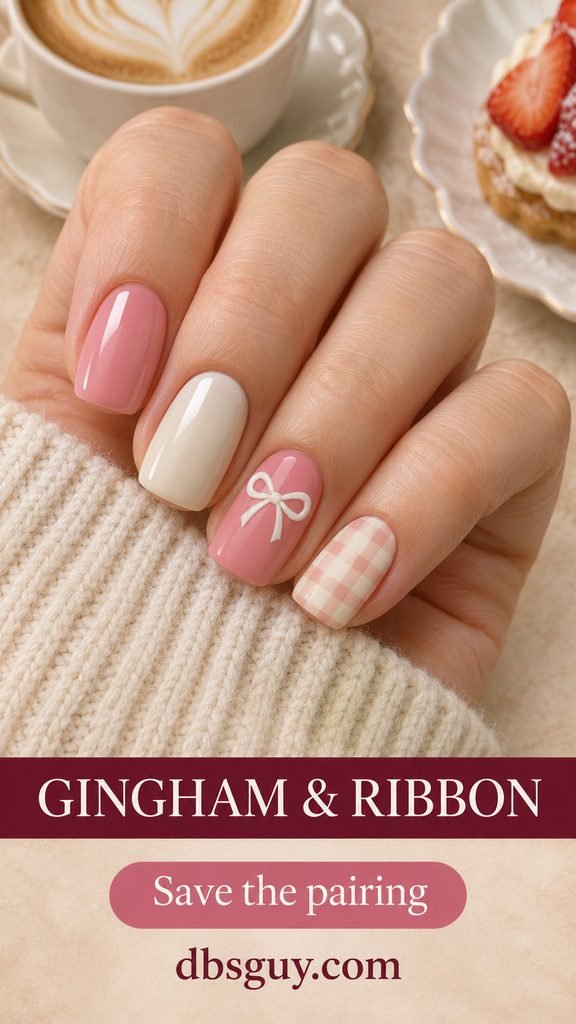
On a short square nail, use a few larger checks. Look at the swatch at arm’s length. If the pattern blurs into stripes, leave more ivory showing between the pink lines.
5. Raspberry Ribbons Crossed Like Gift Wrap
Paint two slim raspberry stripes across a pale rosy accent nail at different angles so they meet in an X. Put a small bow over their intersection and use solid raspberry on the other nails. The stripes should reach the edges of the accent nail to give the impression that they wrap around it.
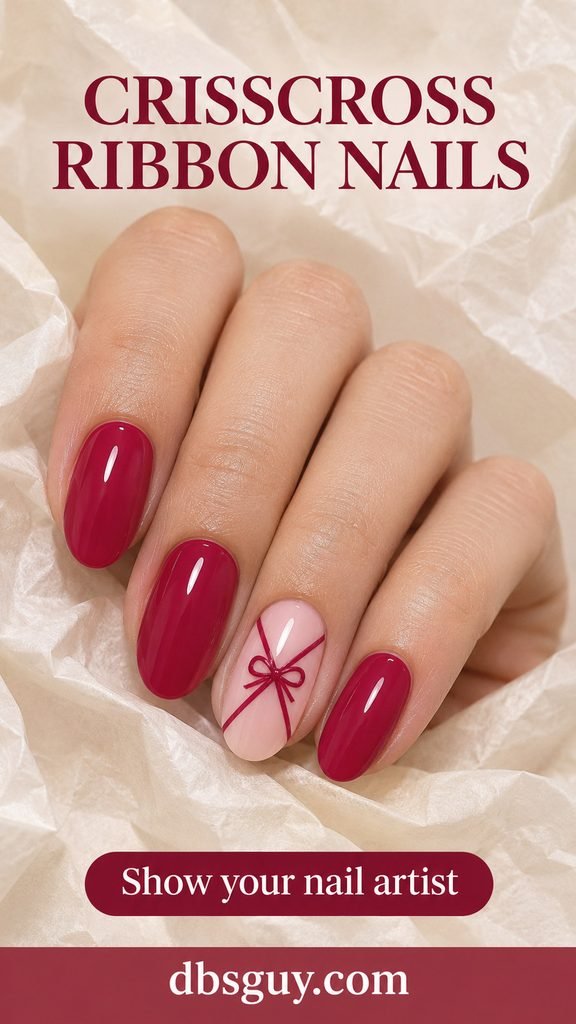
For a salon reference, point out where the stripes meet. A crossing near the middle gives the loops more space. If you’re painting the design at home, mark that meeting point first so the knot ends up where you planned it.
6. Espresso Nails With an Ivory Ribbon Outline
Glossy espresso and ivory have the feel of a cream ribbon on a box of chocolates. Put one thin ivory bow in the lower half of an espresso squoval nail, with enough dark space around it to see the outline and both tails.
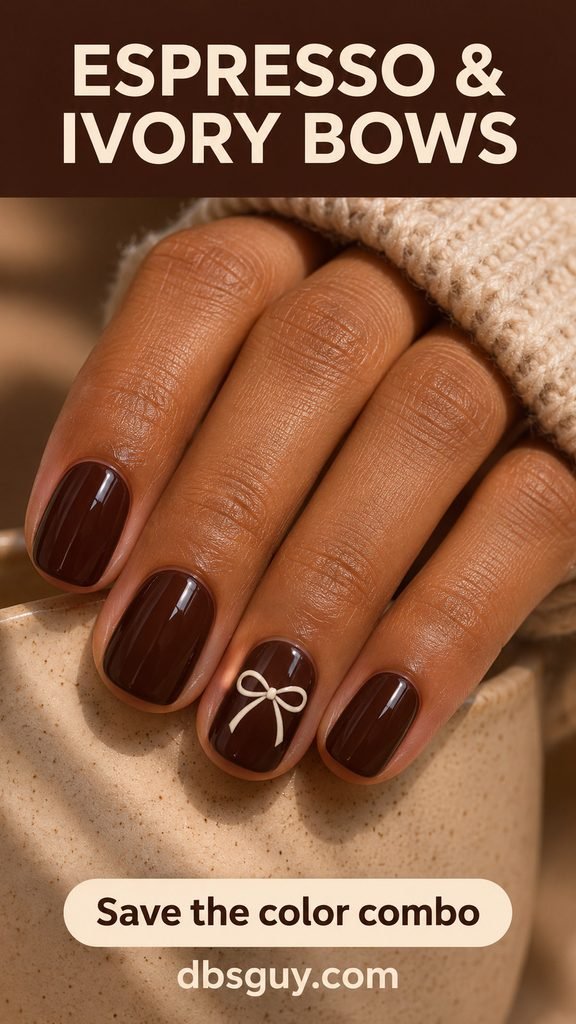
This is a good choice if your winter wardrobe runs brown, camel, or cream. If you want more cool-toned options, browse 11 Valentine Nail Ideas That Aren’t Red or Pink.
7. Lilac Ribbon With a Single Pearl Knot
On a cool lilac base, paint two violet loops and short violet tails. One tiny pearl sits at the knot. Ask to see the pearl against the nail before it goes on. If it crowds the open loops, choose a smaller one.
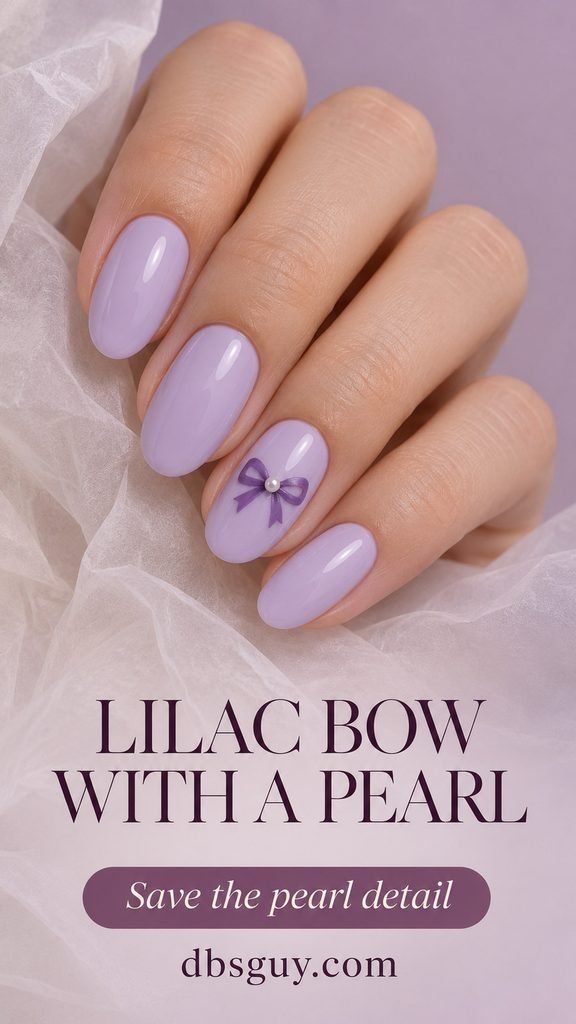
For a flat version, use a painted ivory dot at the knot and add a tiny white highlight off to one side. It gives the lilac manicure the same color detail with a smooth finish.
8. A Silver Chrome Knot on Glossy Berry Nails
A mirror-silver bow on deep berry has the look of a tiny piece of jewelry. Keep the loops open and the tails short on a soft oval. Leave enough space around the outline for the berry base to frame the silver.
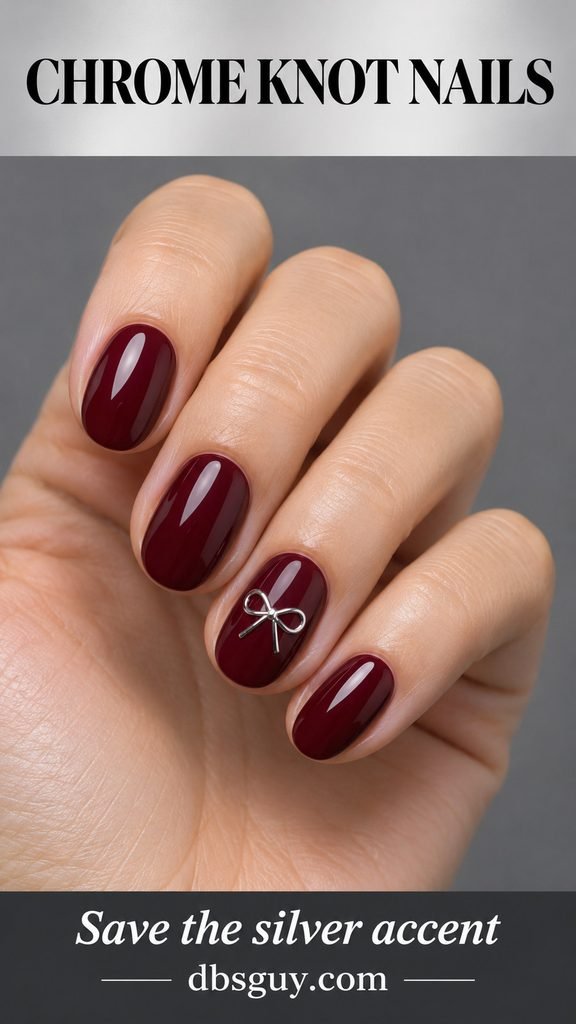
At the salon, ask for a sample of the silver against your chosen berry. Bright, direct light makes the mirror effect easy to see. Turn the sample under softer light too and check that you still like the contrast. A silver metallic bow decal gives you a similar design at home.
9. A Heart Gift Tag Hanging From a Bow
On one vanilla almond nail, place a tiny red bow toward the cuticle and hang an outlined heart under it on a short painted thread. Paint the other nails cherry red or vanilla. The thread makes the heart look like a tag tied to a present.
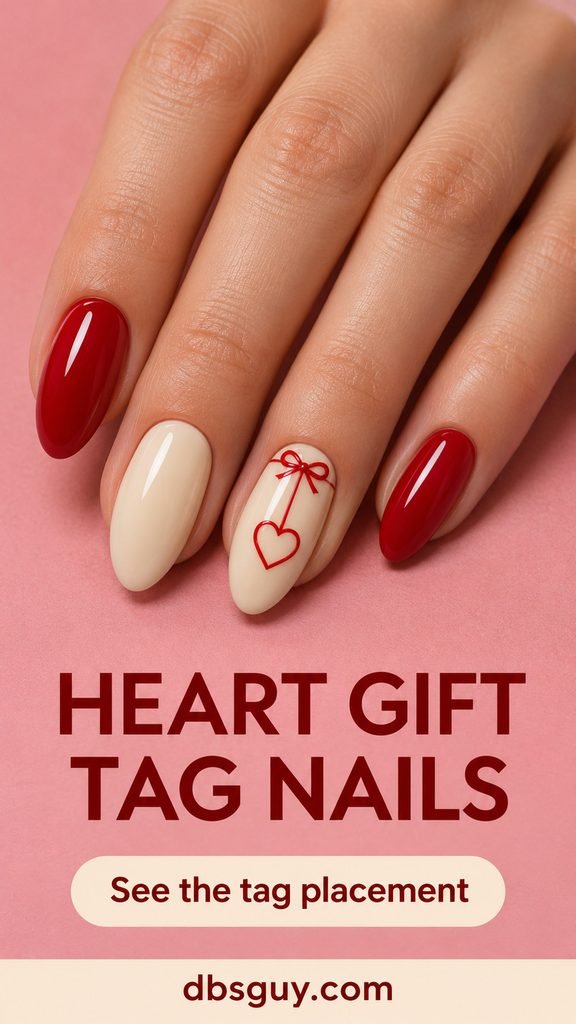
Keep the thread short so the lower point of the heart has space above the tip. If you’re doing it yourself, outline the heart first, then see how much room you have for the thread and bow.
10. Black Ribbon and a Scalloped Lace Edge
For a darker Valentine manicure, paint a small black bow on a sheer blush nail and use a narrow scalloped lace edge on the next nail. Keep the lace close to the tip and leave space between the scallops. A few tiny dots are enough to suggest lace.
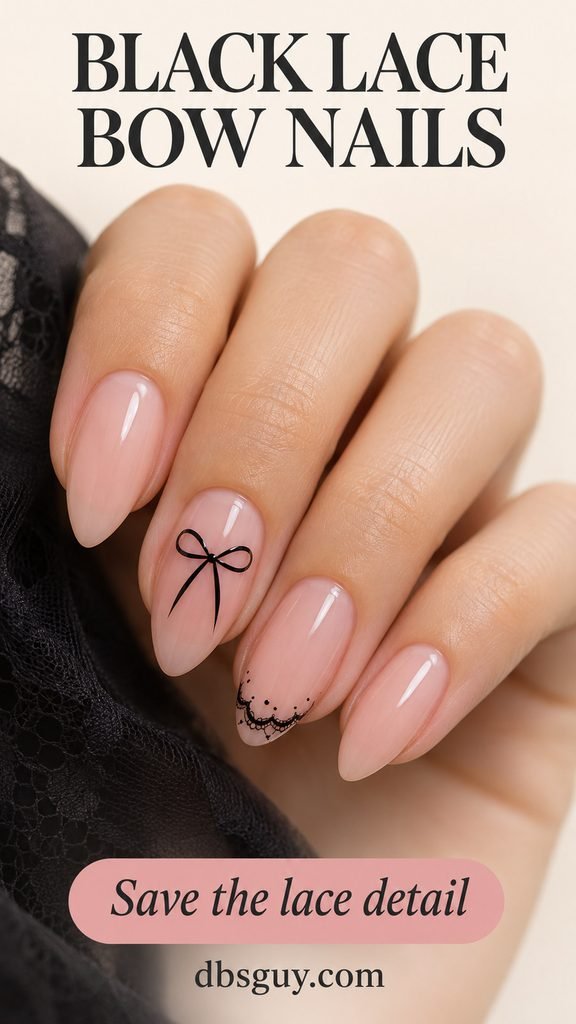
Repeat a simple arc if you’re working with short nails. The repeated curve keeps the trim readable in a shallow French tip. This set pairs easily with a black outfit because the sheer pink base leaves the whole manicure looking light.
11. A White Bow and Red Valentine Heart on Neighboring Nails
Put a white bow on one bubblegum-pink nail and a single red heart on the next. Give the two motifs a similar width so they feel like a pair. Watermelon pink on the other nails adds a brighter color without crowding those two accents.
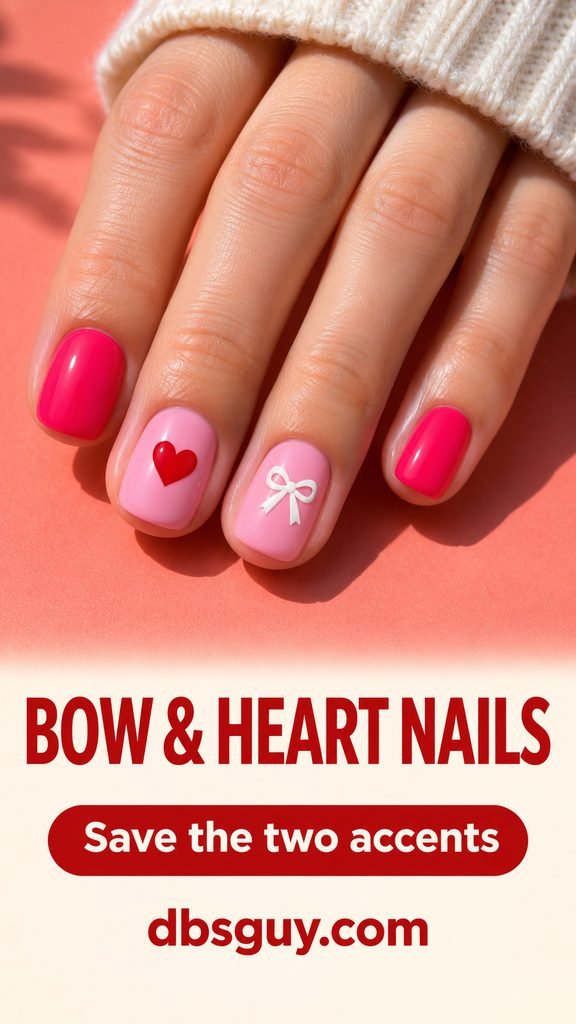
This is an easy combination to build with stickers. For regular polish, let the base dry, position each sticker with tweezers, press it flat from the center, and cover its edges with top coat. See OPI’s lacquer sticker-placement guide.
12. A Painted Mulberry Bow With Satin Highlights
Ask for a wide mulberry bow with filled loops on one pale pink nail. A slim blush highlight across each loop and a deeper wine shadow near the knot give the painted ribbon the look of folded satin. Solid mulberry on a neighboring nail brings out the darker color in the bow.
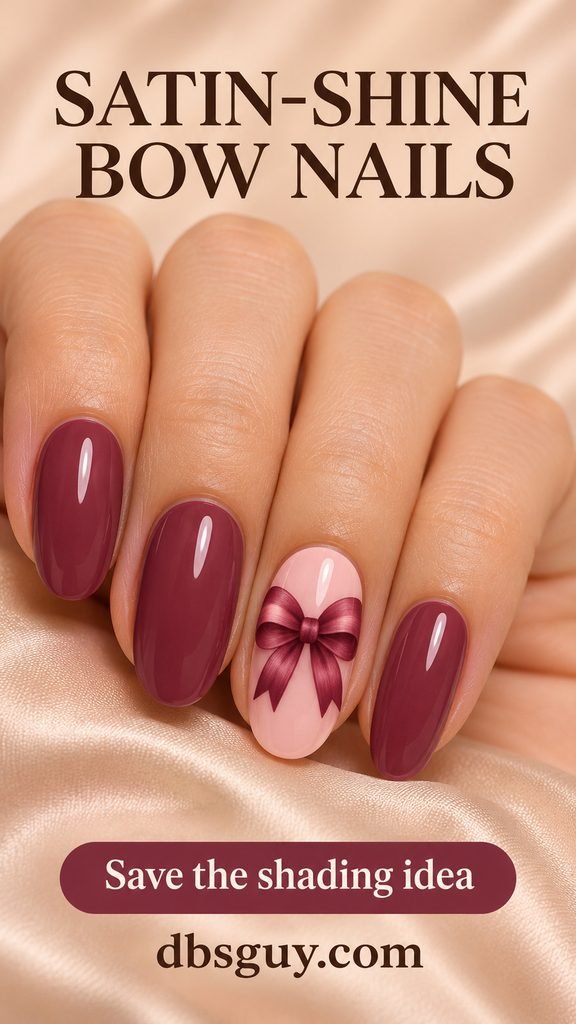
Show your nail artist a front view if you want the painted folds to stand out. Medium ovals give the highlights room. For shorter nails, simplify the shape to one highlight per loop and keep the ribbon tails compact.
13. One Low Raspberry Jelly Bow
A translucent raspberry bow adds depth to a glossy berry-pink set. Ask for one low, rounded accent per hand and place it near the middle of the nail bed, with the loops and tails sitting inside the edges. Look at it from the side before committing to a size.
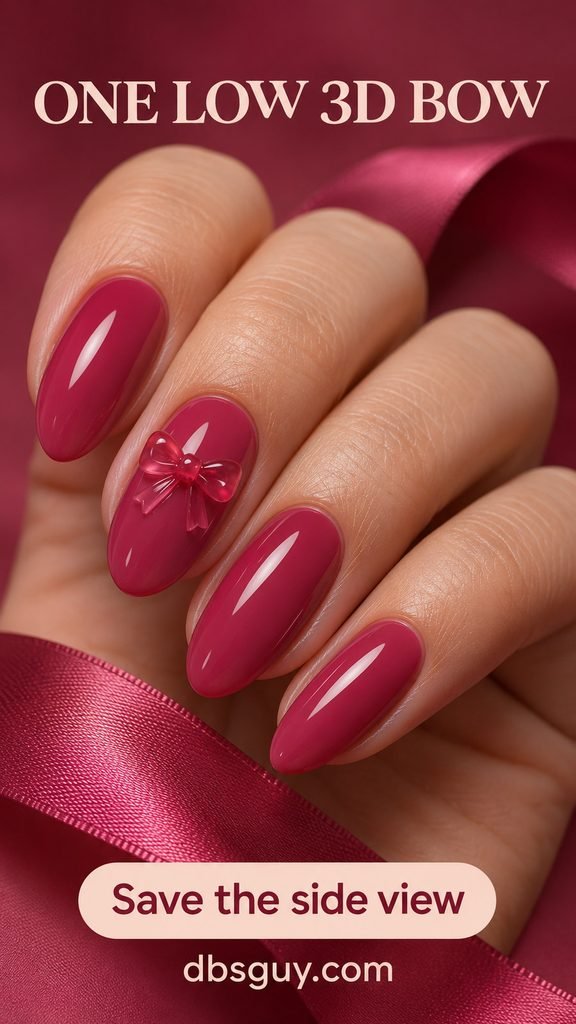
If you pull on fitted gloves or work with fine knits, pick the painted satin look in idea 12 for a smooth surface. For more details you can plan with a nail artist, see Intricate Valentine Nail Designs to Discuss With Your Nail Artist.
Questions About Valentine Bow Nails
How do you paint a simple bow with regular polish?
Let the base dry. Use a fine nail-art brush to mark a small knot, draw one loop on each side, and add two short tails from the knot. Test the first bow on paper to check how much polish your brush carries. Let the design dry before adding top coat. A sticker is easier if you’re working with your non-dominant hand.
What should I tell my nail artist when I show a bow reference?
Point to the placement, say how many nails you want to accent, and choose a finish. For example, ask for ‘one flat ivory bow per hand, near the cuticle, on short espresso squovals.’ For a raised bow, show the front and side angles and ask to see the intended height and width against your nail.