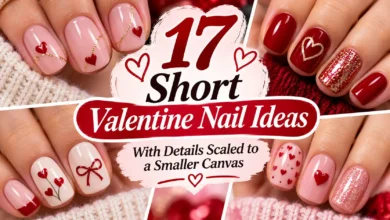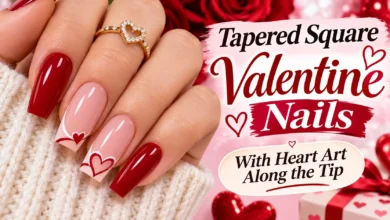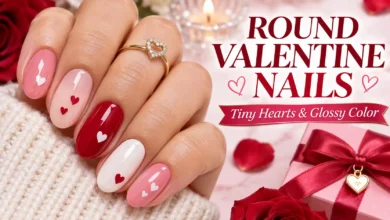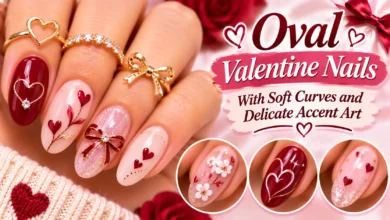
If your nails end at your fingertips and you can barely see a white edge, put the Valentine detail on the part of the nail you can see from above. A tiny cranberry heart fits in the middle of a thumbnail. Two raspberry dots fit even on a narrow nail. And if you like the look of a French tip, a thin line just inside the rounded end gives you that little hit of red.
The free edge is the part of the nail that extends past where it’s attached underneath. When there’s almost none showing, leave a little background visible around each accent. You’ll be able to see the shape at a glance, even if the nail is barely longer than it is wide.

The images are AI-generated manicure concepts for dbsguy.com.
1. One Tiny Cranberry Heart

A single filled heart on a sheer rose-beige thumbnail gives you the Valentine look in one small detail. Start on the thumb if your ring fingernail is narrow. It gives you room for two distinct lobes and a point, with bare-looking polish around all sides.
For regular polish, try the shape on a scrap of paper first. Place two tiny dots side by side, then use a fine brush to pull a little color from each toward one point. If the two lobes merge into a blob on paper, reload with less polish. A small, clear notch is what makes it read as a heart.
2. Two Raspberry Dots on Lilac

If your narrowest nail feels too small for a heart, use two dots. Set a larger raspberry dot just below and to one side of a smaller one, close enough to read as a pair. A sheer lilac-pink base makes the darker dots easy to see.
Place the smaller dot first to judge the space left for the larger one. A dotting tool or the rounded end of a clean bobby pin works for this. Lift the tool straight up after each dot and leave a visible sliver of lilac between them.
3. One Rose Gold Slash
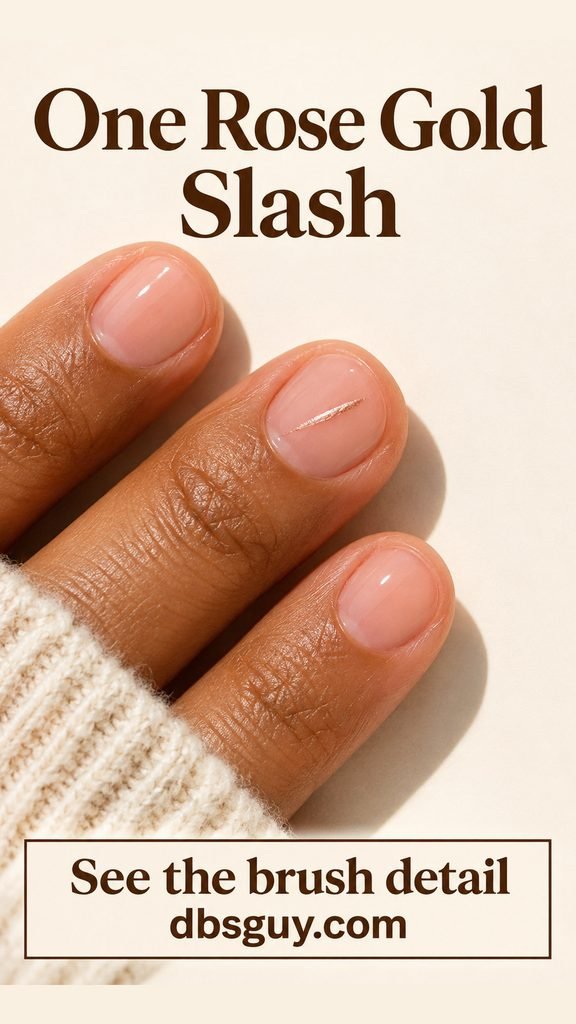
A short metallic stroke gives a sheer nude manicure a little shine without a holiday symbol. Run the stroke diagonally through the center of one nail and stop both ends inside the nail plate. The open space around it lets you see the shape of the nail and the little line separately.
Ask for a painted stroke if you want a flat finish. With a liner brush at home, test the polish on paper and aim for one short pull. A stroke that starts to widen can be shortened on the next try, which is easier than trying to draw a long, even diagonal on a tiny surface.
4. A Floating Berry Arc Near the Cuticle
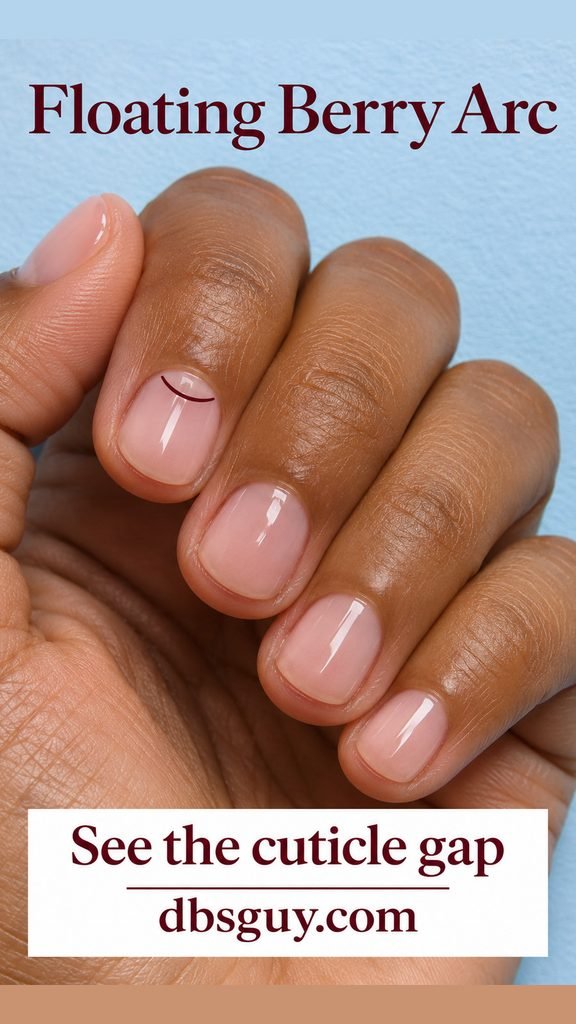
Put the color at the base of one milky pink nail. A fine burgundy arc follows a short section of the cuticle curve, separated from the skin by a sliver of pink. This is a good pick when you have plenty of width near the base and very little space at the tip.
Ask for an open, hairline arc with the pink gap visible. The American Academy of Dermatology’s nail-care guidance advises leaving the cuticle intact.
5. A Floating Cherry Tip
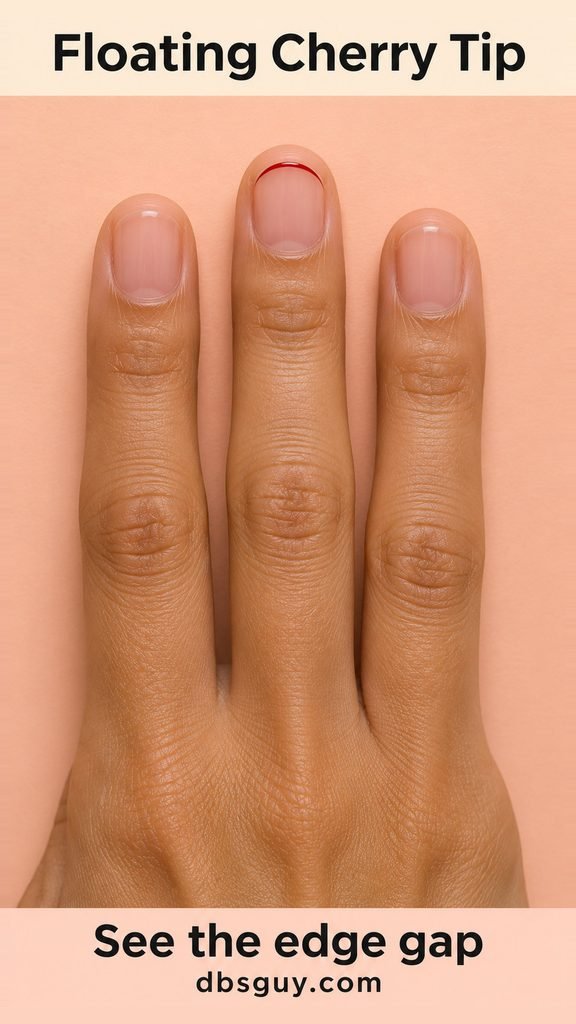
Paint a fine cherry-red arc just inside the fingertip end of one nail. The little gap above the line shows that the accent sits on the nail surface. Keep it to the central part of the curve if the nail gets especially narrow at the sides.
Look down at your nail before painting. If you can see the outline of the tip clearly, use it as your guide and place the line a little farther in. If the line would be pinched against the skin, move it toward the center or use the two-dot placement instead.
6. A Cream Spark on Wine Polish
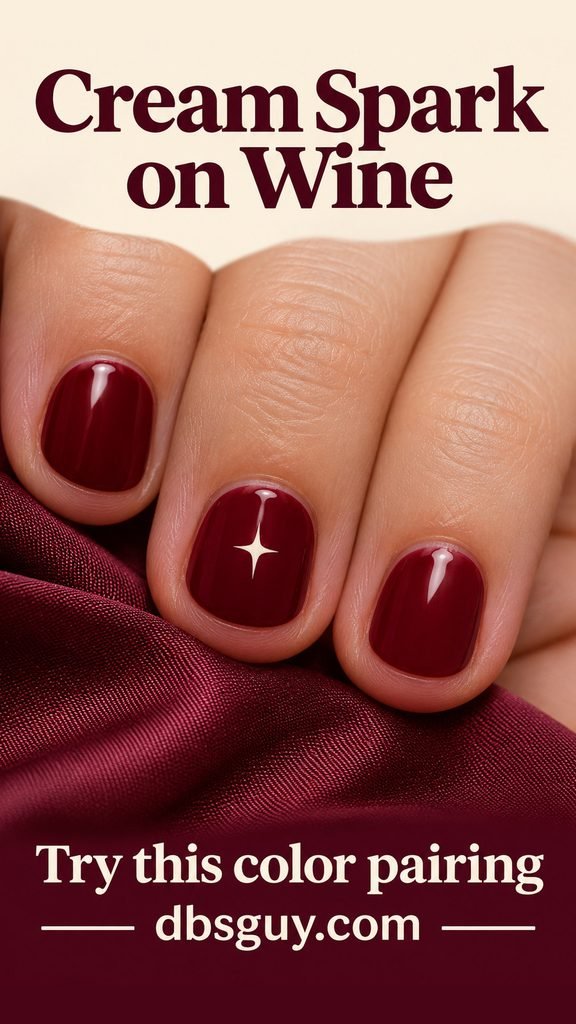
Full-coverage wine polish makes this the strongest color look of the six. A single cream glint, about the size of a small dot with four tapered points, stands out in the center of the accent nail. Keep the surrounding wine nails plain so the eye goes straight to the spark.
For a compact shape, paint one tiny vertical stroke and cross it with a shorter horizontal one. On a particularly narrow nail, use opaque cream and keep the points short. The contrast does most of the work.
How to Ask for the Right Scale
At the salon, start with “I’d like to keep my natural length. Can we place this on the widest nail and leave a little space around it?” Show the artist the reference and point to the feature you like, whether it’s the notch in the heart, the gap at the cuticle, or the curve near the tip. If your nails differ in width, let the accent sit on a different finger on each hand.
If you’re painting at home, use your nail width as a guide. For a heart or a spark, start with a mark about a quarter of the nail’s width and check it from arm’s length before making it bigger. The dots can be even smaller. You can follow our regular-polish Valentine nail tutorial for the base-to-top-coat sequence.
Very Short Valentine Nail FAQs
Can I do Valentine nail art with no white tip showing?
Yes. Pick a centered heart, dots, a short diagonal stroke, or a spark. Each can sit on the nail plate, with no room needed beyond the fingertip.
Can I use a nail sticker instead of painting a heart?
Yes, if the whole sticker fits. Hold the backing sheet beside the nail first and check for space around the widest part of the heart. If the sticker would overlap the cuticle or side skin, choose a smaller one or use painted dots.