13 Christmas Nails Ideas Easy Enough to Try Even if Nail Art Usually Intimidates You


If nail art usually makes you nervous, start with cherry-red polish and one gold glitter nail. You get a Christmas manicure without drawing a single line. Want a recognizable holiday detail? A tiny tree sticker or a few white snow dots can do the work on just one finger.
These 13 easy Christmas nail ideas use regular, air-drying polish. Choose one design and its supplies; you do not need to buy everything shown here. The dots, stickers, and small accents are meant to fit short nails as well as a little extra length.
The images are AI-generated manicure concepts that illustrate color and placement, not photographs of tested manicures. Real polish, stickers, and nail shapes will look a little different.

Pick the kind of easy that suits you
- No extra tools: Try the glitter accent in idea 1, the solid-color rotation in idea 2, or the glitter fade in idea 7.
- Happy to place a sticker: Choose stars, a tree, a snowflake, or gingerbread in ideas 4, 5, 6, and 12.
- Ready to practice a few marks: Try snow dots, holly, a red corner, or dotted tips in ideas 3, 9, 10, and 13. The tape accents in ideas 8 and 11 take a little trimming.
A small setup before you start
Set out base coat, top coat, the colors for your chosen look, and remover for cleanup. Add a dotting tool, flat nail stickers, or decorative nail tape only if that design needs them. A small brush helps tidy polish at the edges.
Smooth any snags with a file, then start with clean, dry nails. Leave your cuticles alone; the American Academy of Dermatology’s nail-care guidance explains why cutting or pushing them back can invite infection.
Use your base coat, thin color layers, and compatible top coat as their labels direct. Allow the recommended drying time between steps. For peel-and-stick nail art, the color underneath should be completely dry before you press anything onto it. Choose flat stickers labeled for regular polish; gel stickers that require curing are a different product.
1. Cherry Red With One Gold Glitter Nail
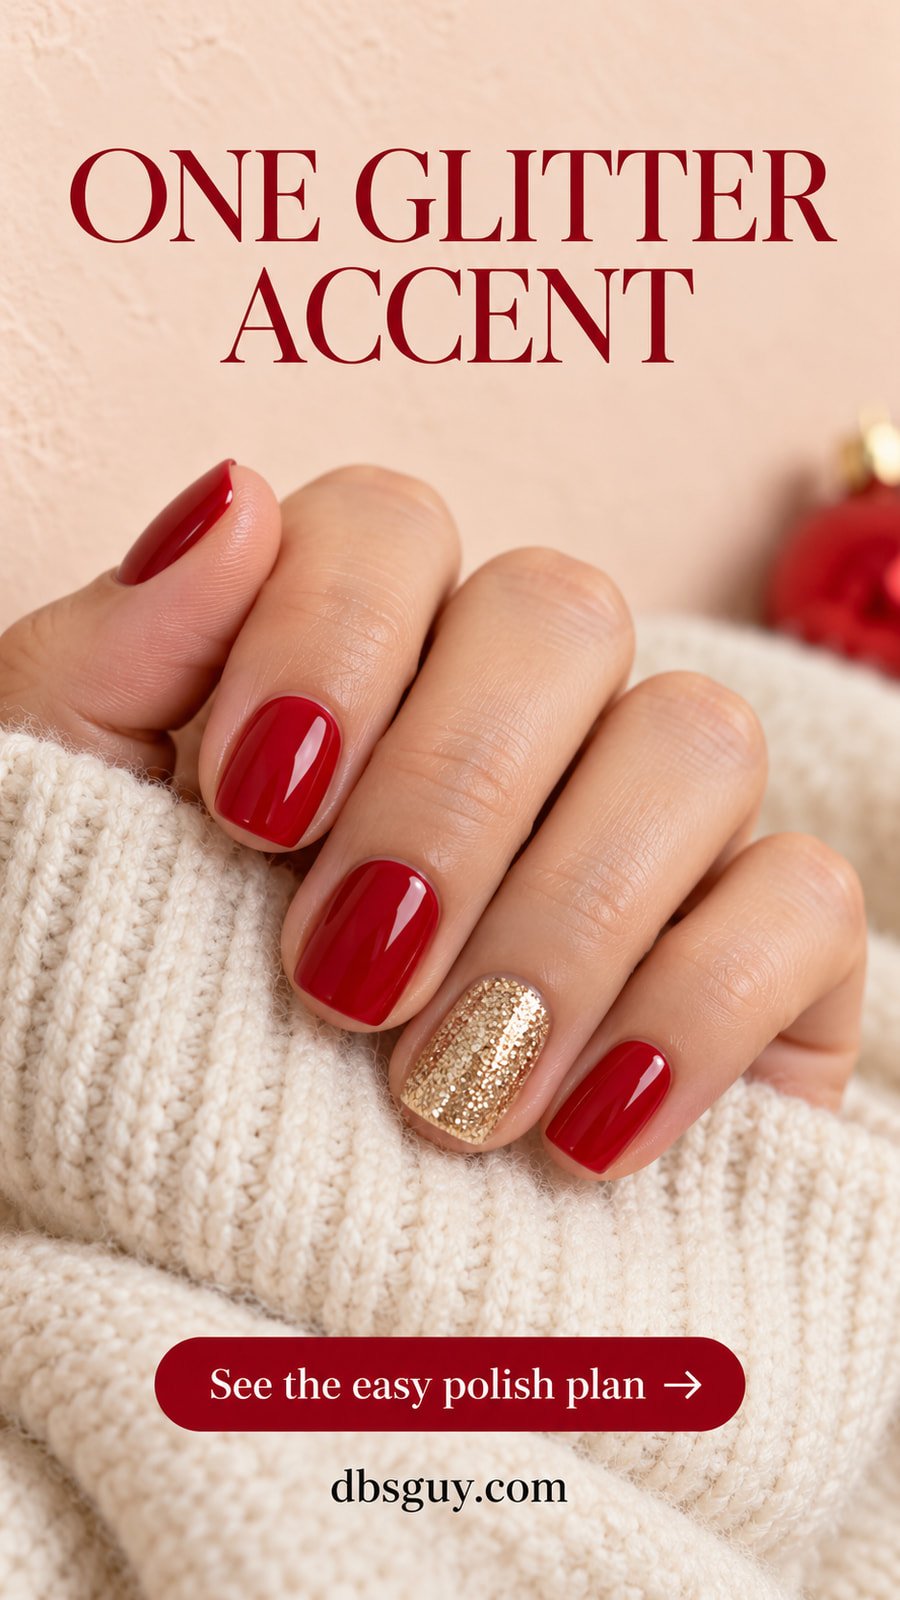
This is the first look to choose if you can paint a solid manicure but freeze when someone mentions a detail brush. Red carries the Christmas color, and one gold ring nail gives the set a deliberate finish.
After base coat, paint four nails cherry red and the ring nail with a gold shimmer or glitter polish that gives coverage according to its instructions. A fine, densely packed formula is easier to use for a full accent than a clear polish holding a few large glitter pieces. Let each layer dry as directed before adding another.
If your glitter stays sheer, put it over a coordinating gold base rather than building a thick mound of clear polish. Finish with a compatible top coat. There is no border to match between the red and gold because they live on separate nails.
2. A Red, Green, and White Color Rotation
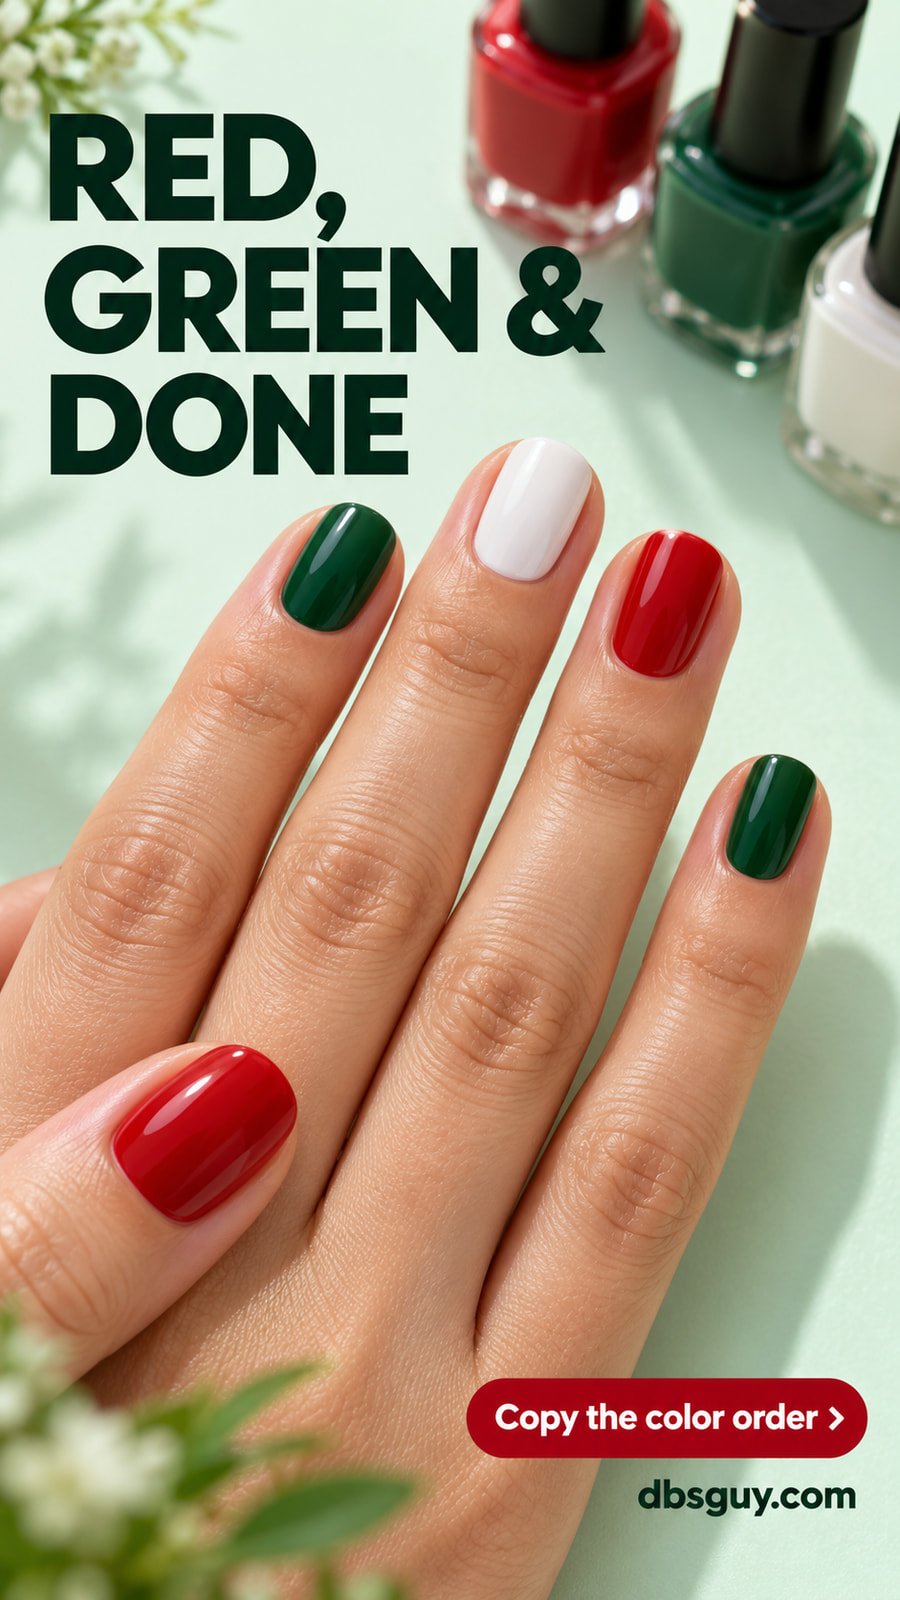
Let the colors make the pattern. From thumb to pinky, use red, forest green, warm white, red, and forest green. Repeating that order on your other hand makes the mismatch feel planned.
Keep every nail a solid color and use the same glossy finish throughout. Paint the white nail in thin layers until you reach the coverage the formula allows; trying to hide every streak with one heavy coat makes the application harder to control.
You can simplify the palette to alternating red and green if you already own those shades. This is also a useful starting point for very short nails because there is no tiny motif competing for space.
Also Read: 15 Simple December Nails That Look Polished With Minimal Effort
3. Forest Green With Scattered Snow Dots
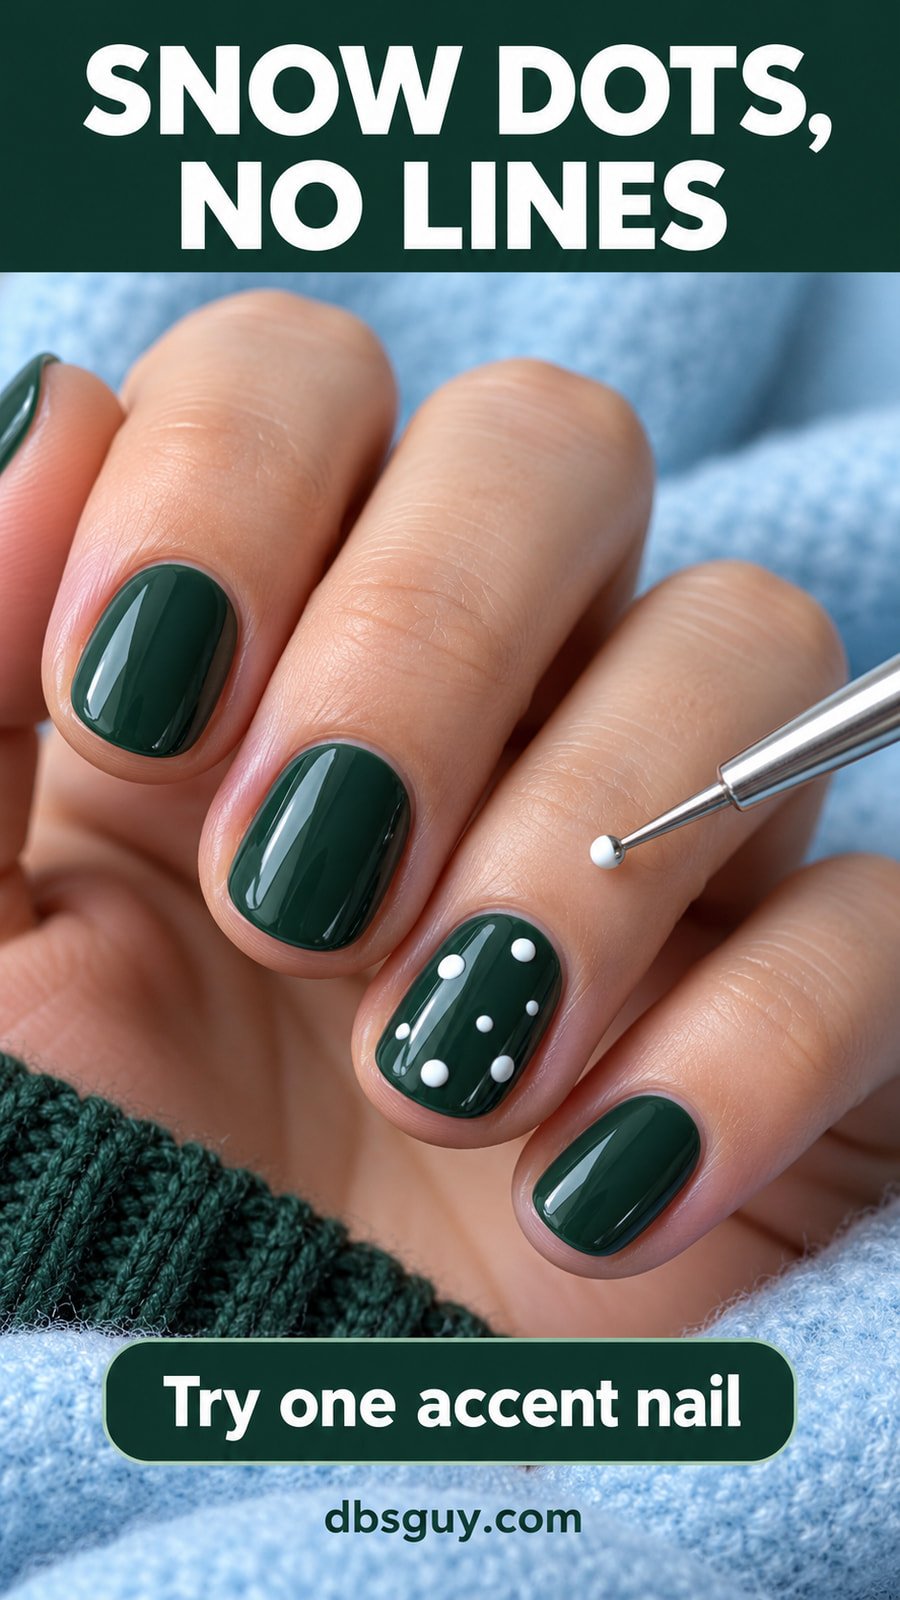
A few white dots suggest snowfall without asking you to draw a snowflake. Paint the nails forest green, let the base color dry sufficiently, and decorate only the ring finger to start.
Put a small drop of white polish on a disposable palette. Pick up a little with a clean ball-ended dotting tool, touch it straight down, and lift. Practice on a spare nail tip first so you can see how much polish the tool leaves. A clean, intact rounded bobby-pin end can stand in if it makes a suitably small dot.
Scatter a few dots across the accent nail, mixing smaller dots with a few larger ones. Leave gaps instead of filling every empty patch. If two dots join, let them be one larger snow spot rather than repeatedly poking the wet polish.
4. Blush Pink With Two Tiny Gold Stars
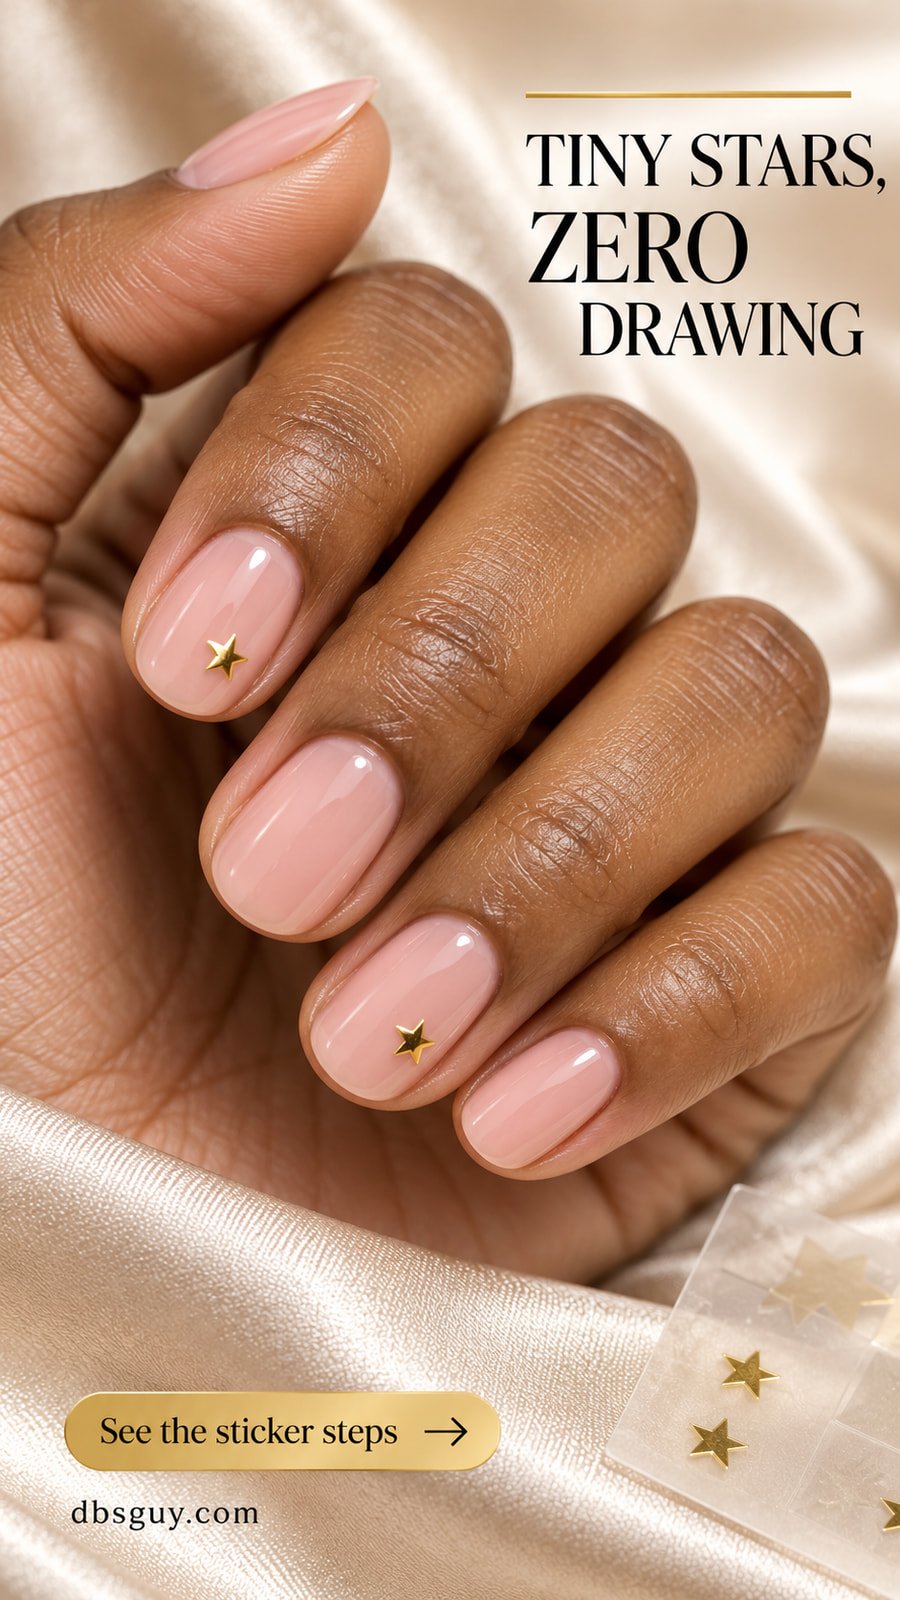
For a subtle Christmas look, use a sheer blush base and a tiny gold star on the index and ring nails. The plain nails give the metallic shapes room to show, even when the stickers are small.
Choose flat peel-and-stick stars that leave visible pink around every point. Once the polish is completely dry, lift a star with tweezers, position it away from the sidewalls, and gently smooth it flat. Repeat on the second accent nail, then seal according to the sticker and top-coat directions.
A broad star that bridges the curve of your nail is more fiddly than a compact one. Compare the sticker against your nail while it is still on its backing; if it looks crowded there, choose a smaller size.
5. Milky White With One Evergreen Sticker
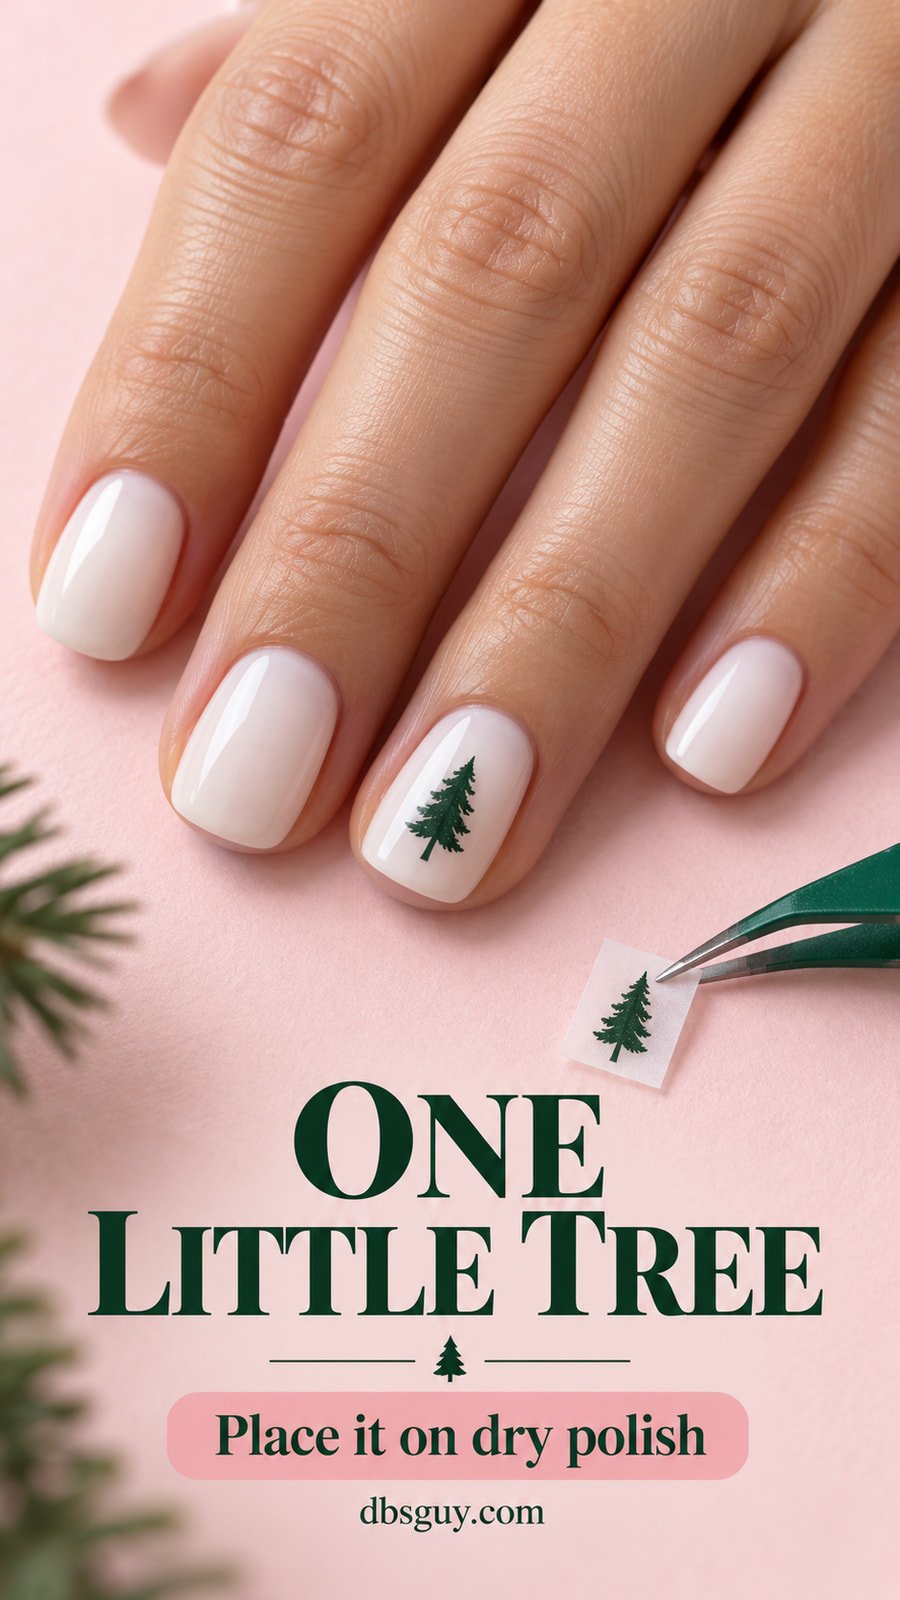
One small green tree turns an ordinary milky-white manicure into a Christmas set. Keep it on the ring finger and leave the surrounding nails plain so you only have one placement to manage per hand.
Paint the base and let it dry completely. Before peeling off the tree, decide which way you want it to face when you look at your hand. Place it near the center of the nail, leaving space above, below, and beside the branches. Smooth it gently and use the finishing layer specified for your sticker.
A narrow silhouette works better on a small nail than a wide tree packed with ornaments. If the motif reaches your skin or hangs over the edge, swap sizes instead of trying to fold it around the nail.
Also Read: 21 Short December Nail Ideas That Make Tiny Details Stand Out
6. Slate Blue With a Silver Snowflake
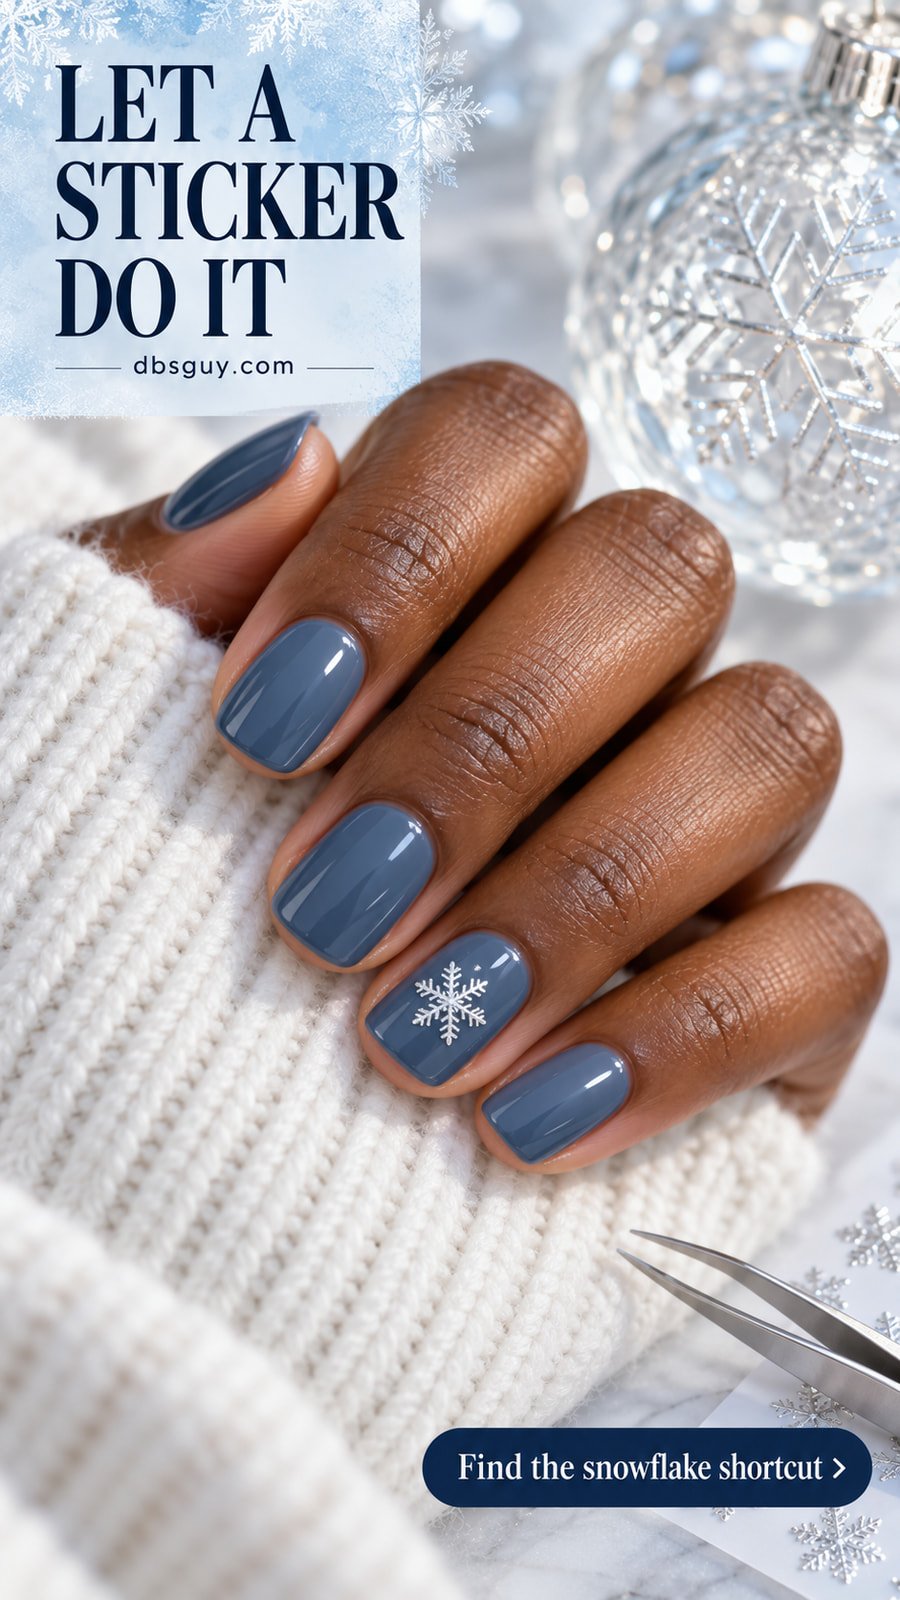
This is the wintry option for anyone who would rather skip red and green. Slate blue gives a small silver snowflake enough contrast to be visible without making every nail busy.
Use a flat snowflake sticker on one completely dry ring nail. Lift it from the backing carefully so the fine arms stay intact, then place it in the center with a blue margin around it. Gently press down the whole shape before finishing as directed.
If a snowflake arm reaches the sidewall, pick a smaller flake. Drawing extra dots or adding glitter is optional, but the reference keeps the other nails plain blue. That is the version to copy for your first attempt.
Also Read: 19 Snowflake Nails So Delicate They Look Freshly Fallen
7. Burgundy With Soft Gold Glitter Tips
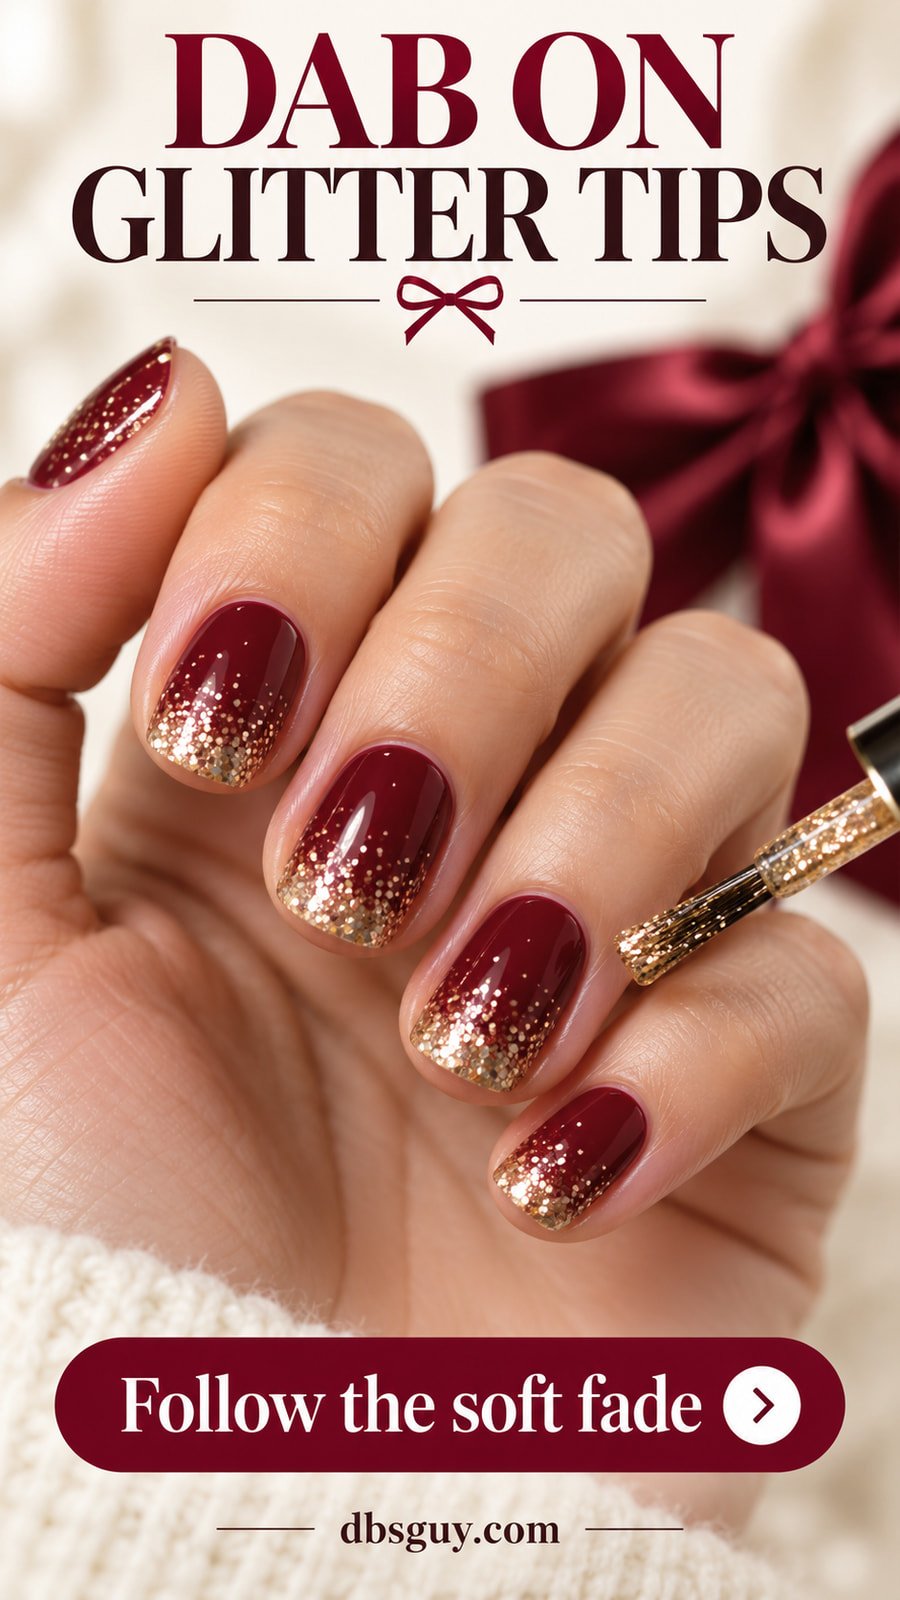
Choose this if you like a dressed-up tip but do not want to paint a matching curve on every finger. Gold glitter is densest at the free edge, with a few flecks fading back into burgundy.
After the burgundy layers have dried as directed, wipe excess clear polish from the glitter brush. Lightly dab a little glitter over the outer third of the nail, using fewer touches toward the middle. Once that layer is ready, add a little more only at the edge if needed.
Check the first nail before repeating the placement. Keep the area near the cuticle burgundy and resist dragging a thick puddle across the whole surface. A compatible top coat finishes the look without needing to make the glitter boundary perfectly even.
8. A Candy-Cane Accent Made With Nail Tape
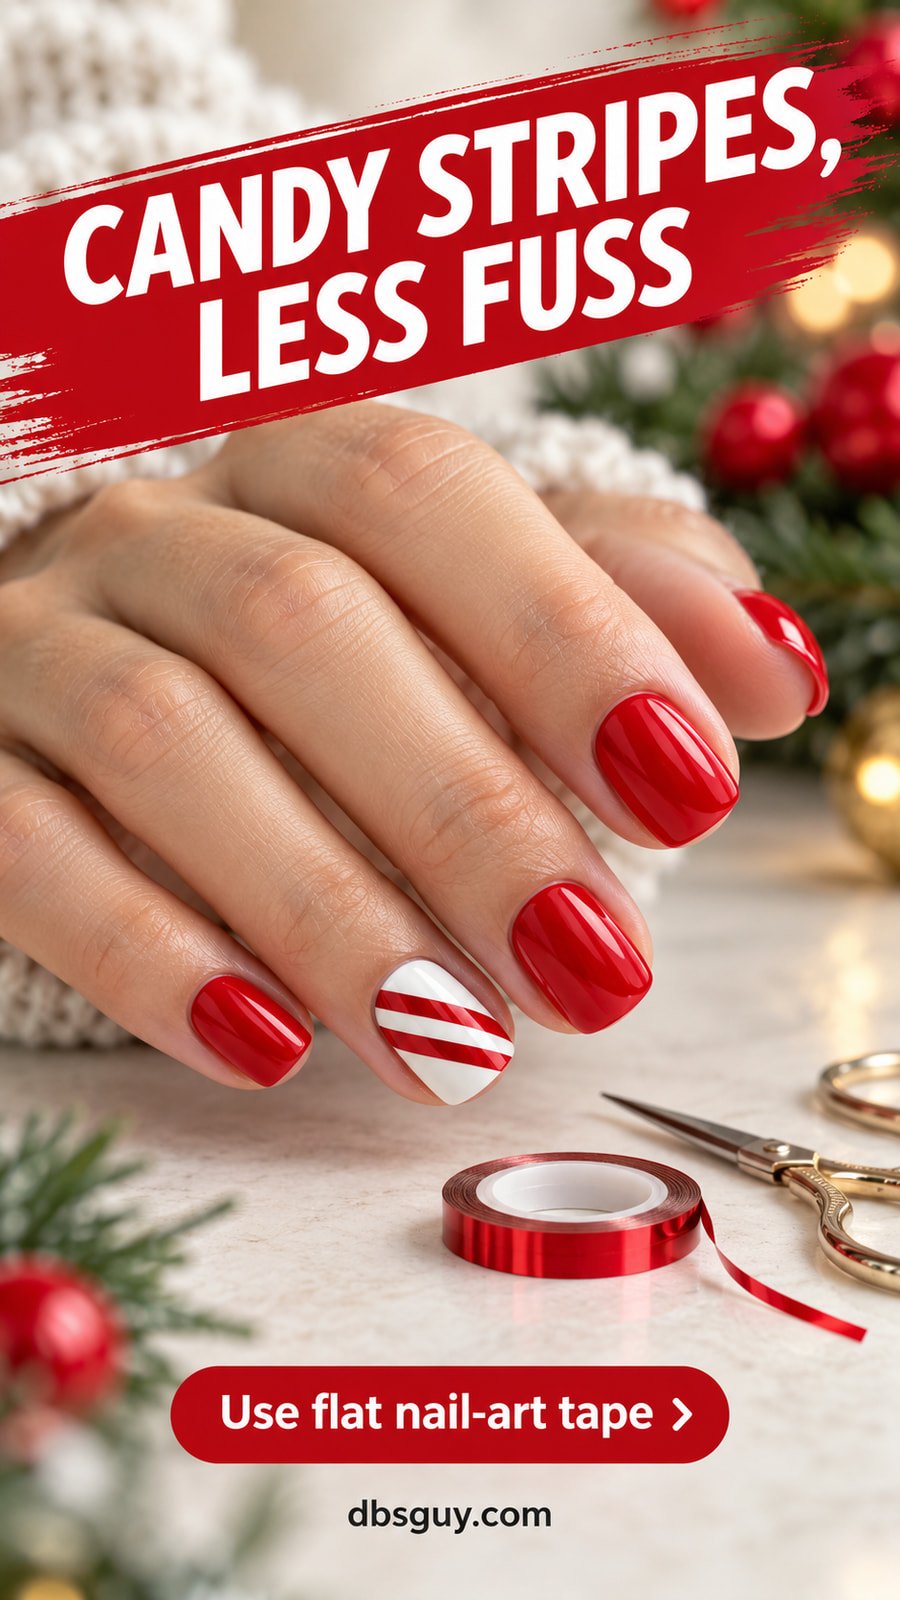
Paint four nails red and the ring nail white. On the completely dry white nail, two red diagonal strips supply the candy-cane pattern without freehand linework.
Choose thin, self-adhesive decorative nail tape compatible with your regular-polish top coat. Cut two short lengths, lay them parallel across the white nail with a visible gap, and gently press them down. Trim any overhang carefully, leaving the ends on the nail plate rather than on skin, then seal as the product directs.
The fiddly part is trimming, so do only one accent nail per hand. If you dislike handling tiny strips, a small flat candy-cane sticker is an easier substitute. Ordinary gift ribbon is too bulky for this job.
Also Read: 17 Candy Cane Nails That Are Almost Good Enough to Eat
9. A Holly Sprig Built From Five Dabs
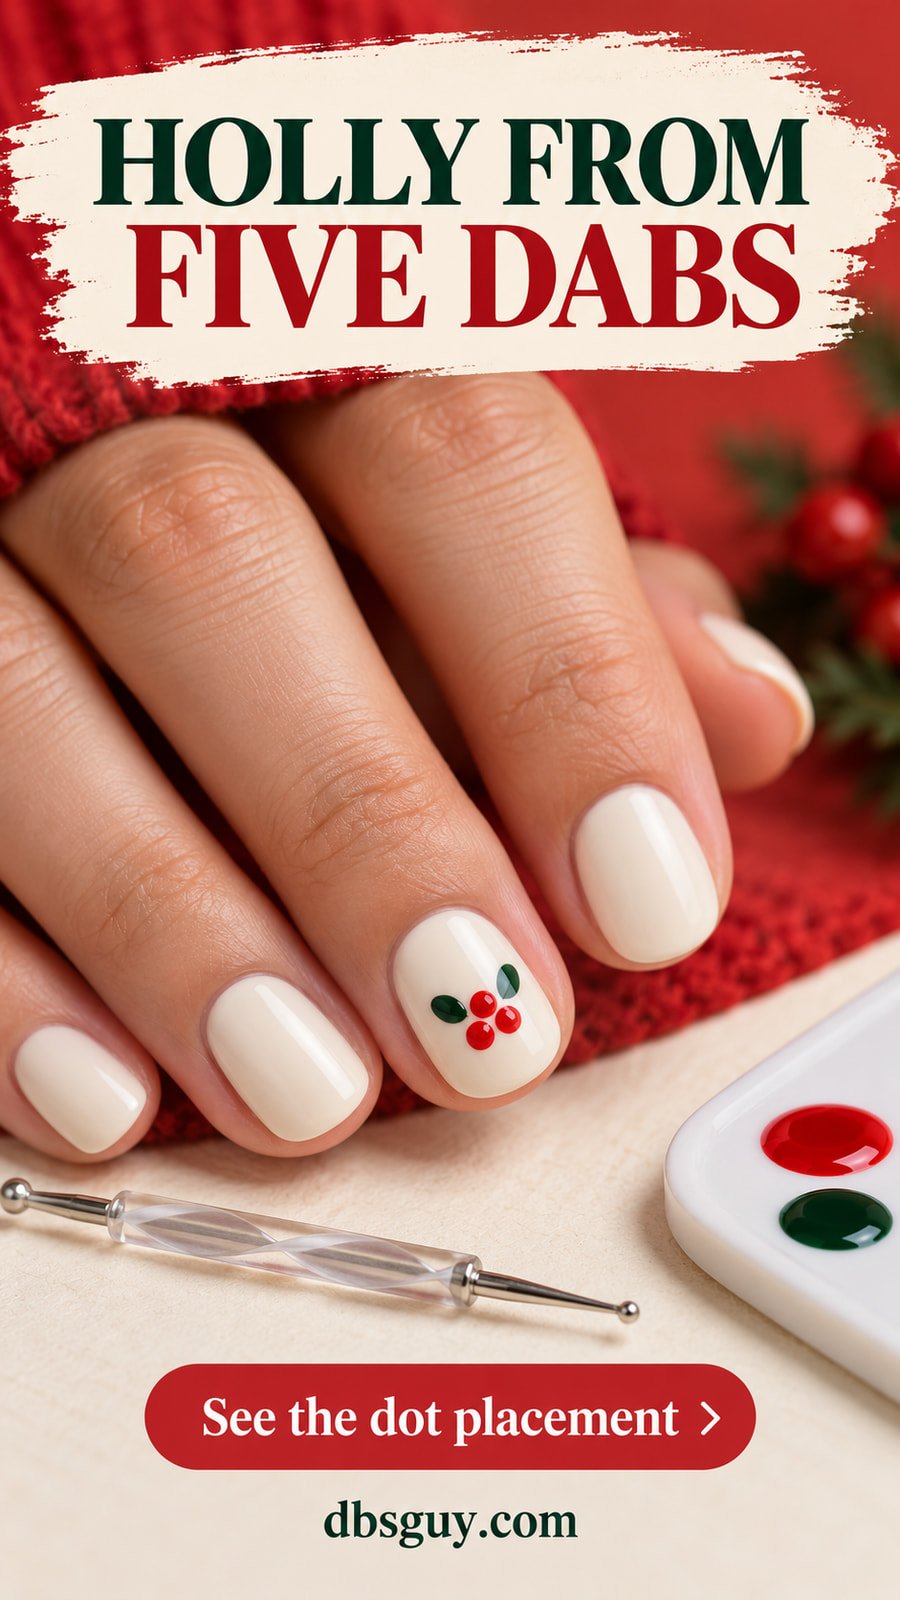
A simplified holly sprig is a good next step after snow dots. You need ivory, red, and green polish, plus a dotting tool. There are no stems or leaf veins to draw.
On a dry ivory ring nail, place three small red dots in a tight triangular group, leaving enough separation to read as three berries. Clean the tool between colors. Use green to make two short oval dabs beside the group, one on each upper side, keeping them clear of the wet berries.
Practice the five marks on a spare tip before moving to your nail. If the green becomes a round dot instead of an oval, keep the simplified shape; the color arrangement still suggests holly. Leave the other nails ivory and let the accent dry before top coat.
10. Sheer Pink With Red Diagonal Corners
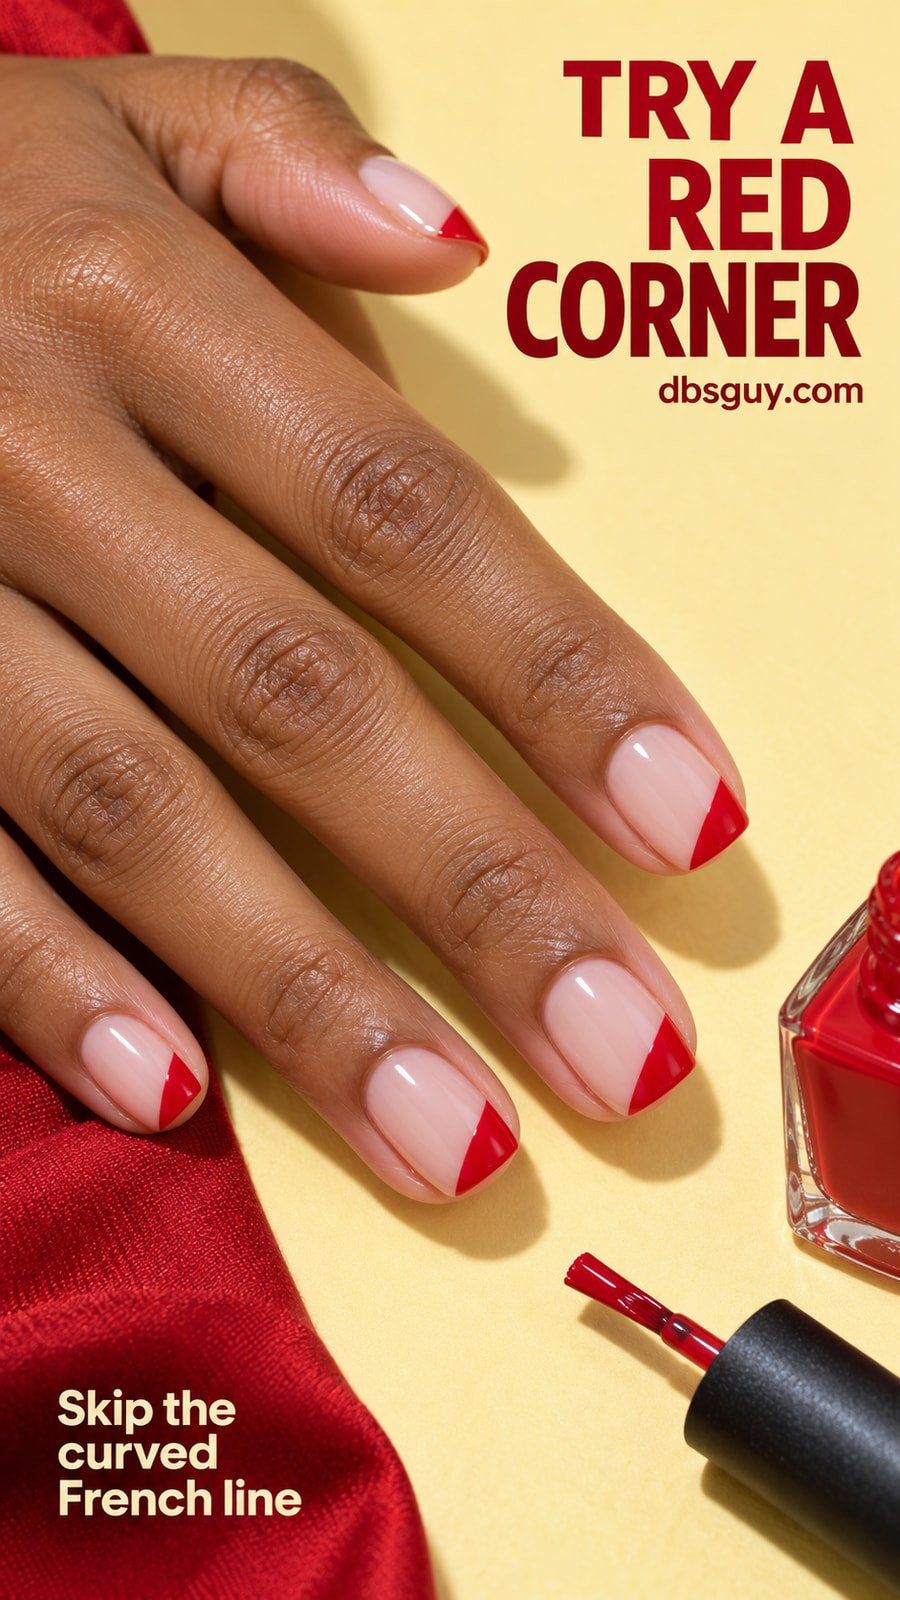
A red corner gives you the lightness of a French manicure with just one angled boundary to handle. The triangle sits at the free edge and takes up roughly a quarter of the visible nail.
Paint a sheer-pink base and let it dry as directed. Wipe most of the red polish from the bottle brush. Starting at one side near the tip, make a short diagonal stroke toward the free edge, then fill the little corner on the tip side of that line. Keep your painting hand supported on the table.
Begin with the two ring nails if matching ten corners feels like too much. A slightly different angle on each hand is easier to live with when the red areas stay similarly small. Let them dry before finishing.
11. Evergreen With One Gold Gift-Wrap Stripe

Deep green and a narrow gold stripe have a gift-wrap feel without a bow or crossing lines. This is a quieter tape design than the candy-cane accent because you only place one strip.
Paint the whole set evergreen. On the completely dry ring nail, position a narrow piece of decorative gold nail tape lengthwise down the center. Keep it straight, press it flat, and trim it so neither end hangs over the nail or touches skin. Finish according to the tape maker’s instructions with a compatible top coat.
If the nail is strongly curved, use a narrower strip instead of forcing a wide one to lie flat. Keep the other nails plain. For more color references, also read 19 December Nails Green: Emerald, Forest and Festive Shine.
12. Caramel With a Gingerbread Sticker
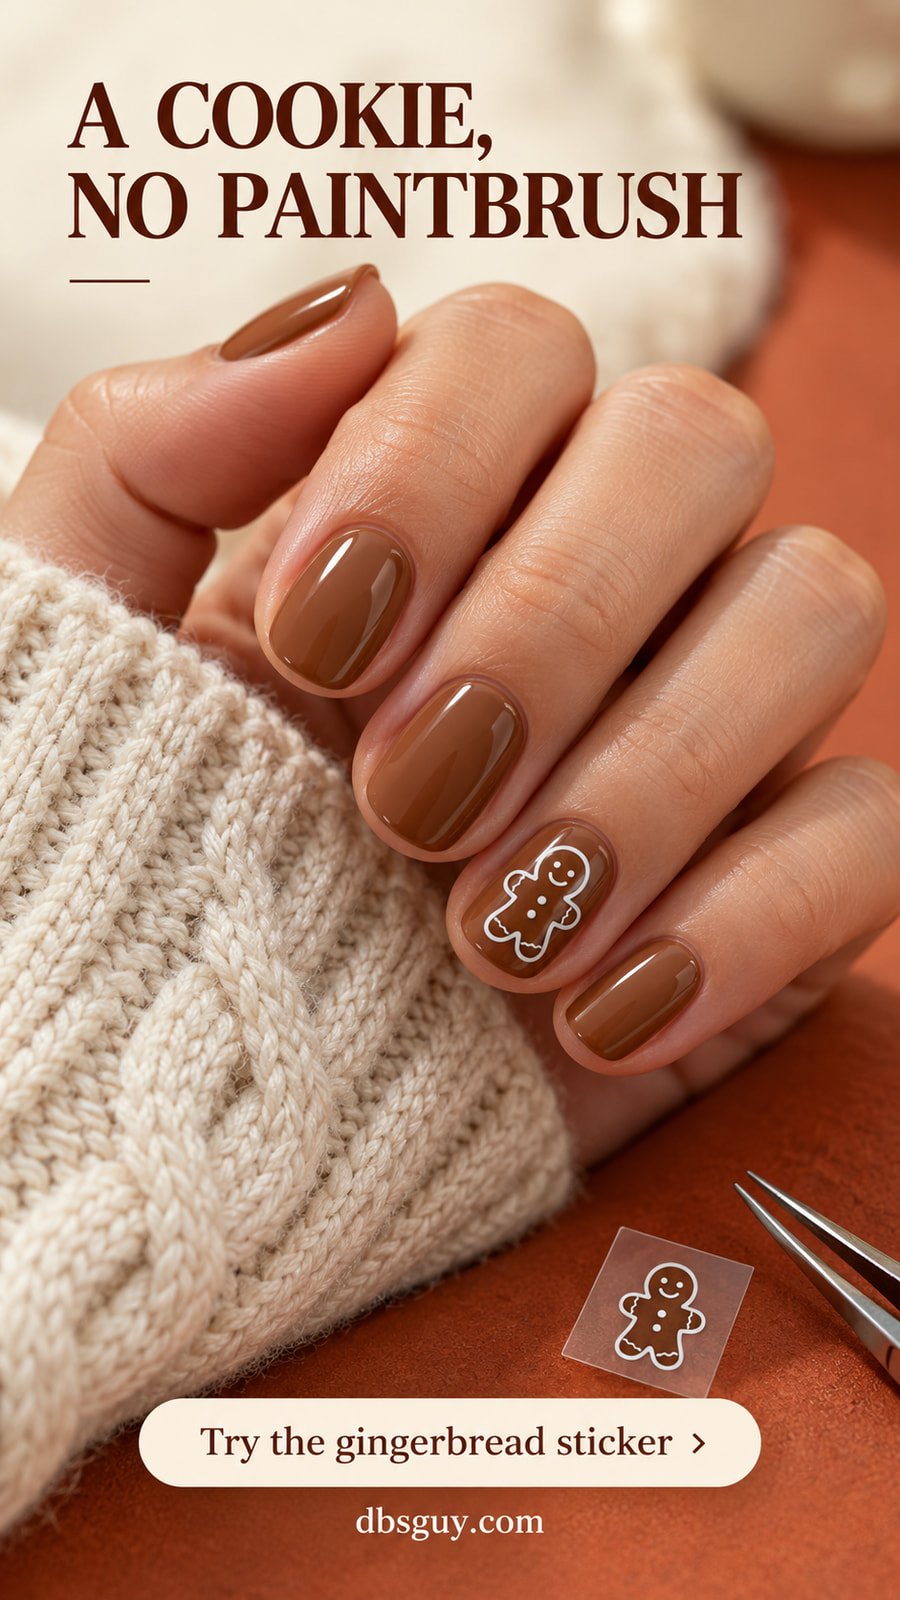
This warm neutral set is a playful alternative to classic Christmas colors. A small brown gingerbread sticker with a white icing outline shows up against caramel without requiring you to paint a face.
Choose a flat figure that fits entirely inside the ring nail. Let the caramel polish dry completely, lift the sticker with tweezers, and place it so there is a border of plain color around its head, hands, and feet. Smooth it gently before finishing as directed.
The outline matters here: a plain brown figure can disappear against a similar base. Check the contrast before applying it. If your sticker is darker and has no outline, an ivory accent nail is a practical change while the other nails stay caramel.
Also Read: 15 Gingerbread Nails Too Cute to Eat (But Totally Wearable)
13. Milky Pink With Three-Dot Red Tips
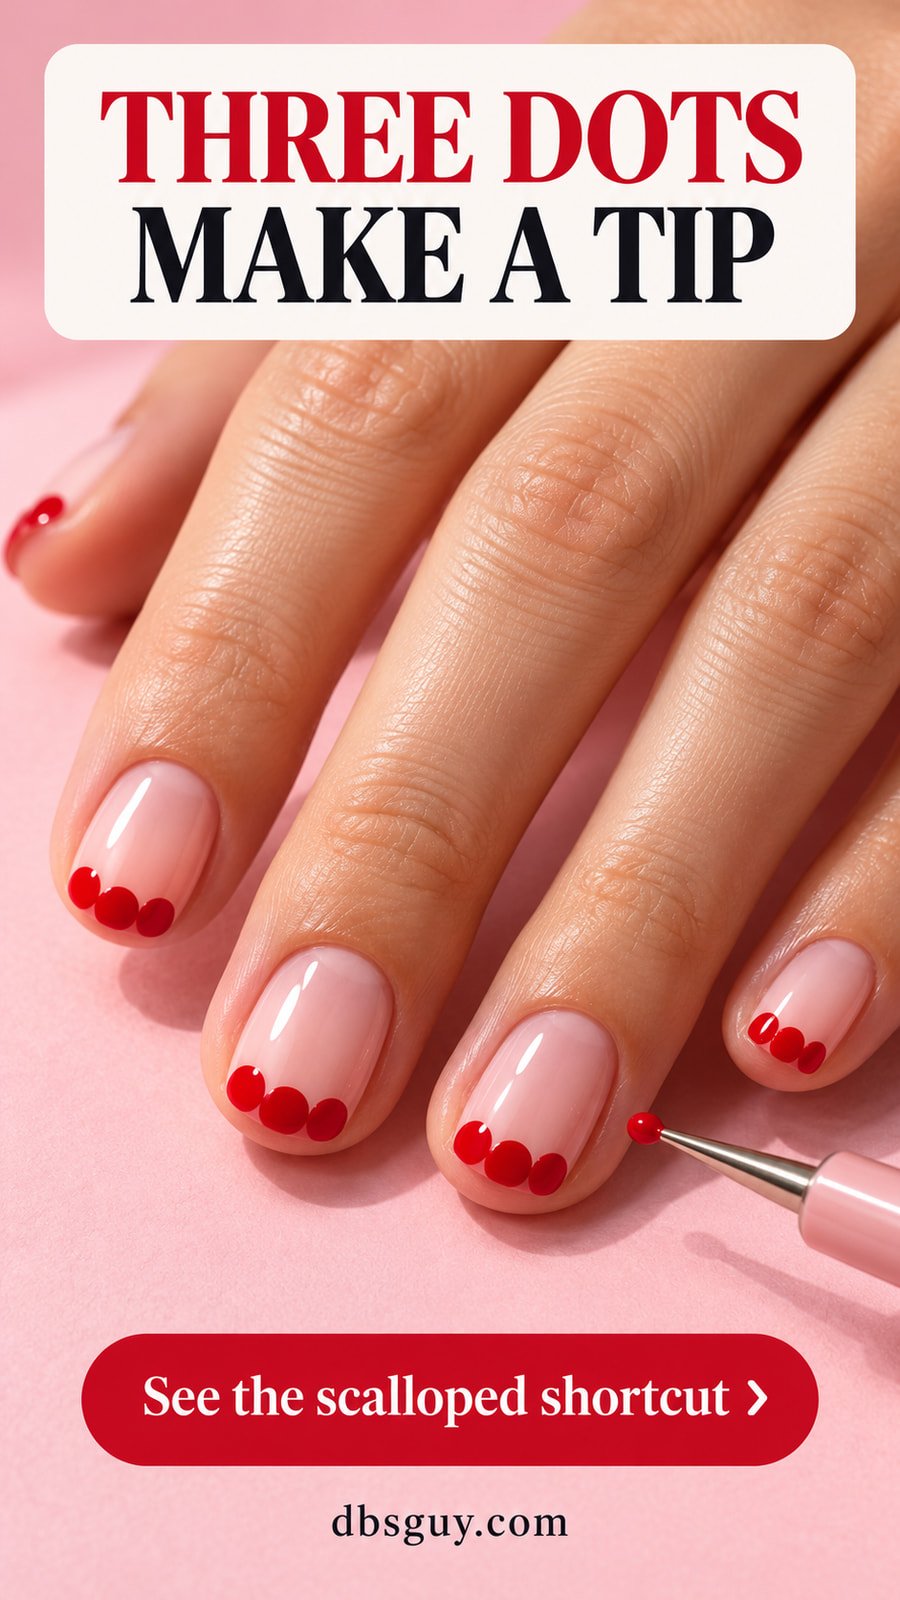
Use three red dots instead of drawing a French line. Set side by side along a rounded free edge, they make a small scalloped tip with plenty of pink still visible underneath.
Start on one dry milky-pink nail. Put the middle dot near the center of the free edge, then add a dot to either side, following the nail’s curve. They can just meet, but do not sweep the tool through them; the rounded tops are the design. Use a smaller tool on narrow nails.
Try a practice tip to work out the spacing before decorating both hands. If three dots swallow most of your nail, make them smaller or use this only on the ring nails. Allow the dots to dry, then apply your top coat with a light touch so the red does not drag across the pink.
If something goes wrong, make one small fix
- A dot spreads into a puddle: Use less polish on the tool and test the size on a spare tip. If the accent is still wet and messy, remove and redo that nail rather than adding more marks.
- A sticker wrinkles or lifts: Check that the base is completely dry and that the sticker fits inside the nail. Follow its directions for smoothing and sealing; top coat is not a substitute for flat edges.
- Top coat drags the design: Give the artwork more drying time. Use enough compatible top coat for the brush to glide lightly, and avoid repeated strokes over the same detail.
- Your second hand feels harder: Decorate just the ring finger or choose the solid-color rotation. Keep both forearms supported and move one nail at a time.
Questions before your first Christmas manicure
Which design is easiest if I have never tried nail art?
Start with idea 1 or 2. Both use ordinary polish application, and neither requires you to control a tiny tool. If you want a holiday picture on your nail, the single tree sticker in idea 5 is a manageable next step.
Can I do these looks without gel or a UV lamp?
Yes. These versions are planned around regular air-drying polish and compatible flat decorations. Check the labels when buying supplies: a bottle or sticker described as gel may require a particular curing system, so it is not an automatic substitute.
How long should I wait before adding the artwork?
Follow your polish system’s drying instructions rather than a universal timer. Thin versus thick layers and different formulas change the wait. Stickers need a completely dry base; dots and brushwork also need enough drying time that adding the detail does not disturb the color underneath.
What if my nails are too short for the pictures?
Use a smaller sticker or keep the detail on your widest comfortable accent nail. The solid-color rotation, one glitter nail, and a few snow dots do not need a long free edge. You can keep the length you already have.
Pick one look, lay out its supplies, and practice the accent once before starting your manicure. A plain set with one detail you can place comfortably is a useful first Christmas nail-art project.