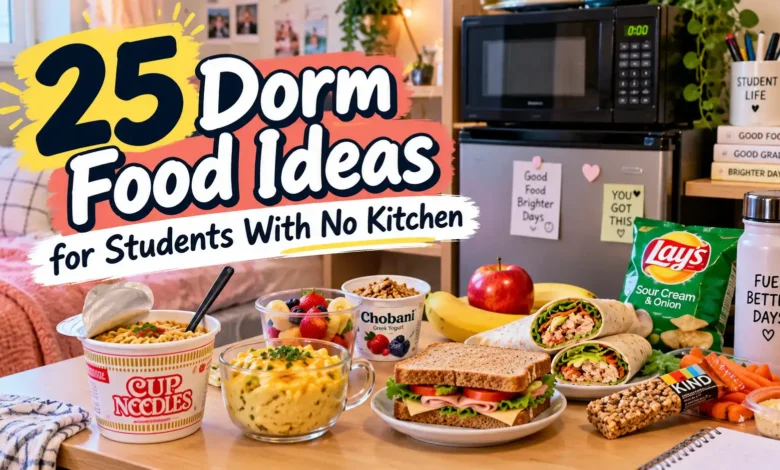
You can put together a meal without a stove, oven, or a counter bigger than your desk. The useful question is what you do have: pantry space, a working mini fridge, or access to a microwave. These 25 dorm food ideas cover all three setups, with quantities for one person and enough variety to get through more than another night of plain noodles.
Start here: No fridge or microwave? Choose ideas 1–6. Have a mini fridge but no heat? Try 7–17. Have a microwave? Ideas 18–25 give you warm meals. A few are lighter breakfasts or snack-style lunches; add the suggested side when you want more food.
Recipe note: These are research-informed meal ideas, not kitchen-tested recipes. Preparation times are estimates. Package directions take priority, especially for microwave foods. The visuals are AI-generated serving concepts rather than photographs of tested results.
Choose Food That Fits Your Dorm
You do not need an air fryer, blender, toaster, or hot plate for anything below. Check your housing rules before using any appliance. For basic assembly, keep a bowl, plate, fork, spoon, measuring cup, small knife, and washable cutting board. Choose pull-tab cans or add a can opener.
A clean place to wash your hands, rinse produce, and wash dishes still matters. If that is inconvenient, buy ready-to-eat washed produce and small food packages, and carry dishes to an appropriate washing area rather than rinsing food scraps into a bathroom sink.
- Pantry-only ideas: Choose products labeled shelf-stable and open them when you are ready to eat. “No fridge needed” below assumes you use the opened perishable ingredients immediately. Without refrigeration, buy small packages or discard unused portions.
- Mini fridge ideas: Keep the fridge at 40°F or below, checked with an appliance thermometer. Store opened perishables as their labels direct. Refrigerate promptly; discard perishable food left out longer than 2 hours, or 1 hour when it is above 90°F. The FDA’s food storage guidance explains these limits.
- Microwave ideas: Use a roomy microwave-safe bowl, a vented cover, and an oven mitt. Keep metal, foil, and sealed containers out. Follow each product’s water amount, heating instructions, stirring, and standing time. Reheat leftovers to 165°F, checked in several places with a food thermometer after heating.
All ideas serve one. Times include assembly and are approximate; microwave wattage, ingredient temperature, and potato size change the total. Frozen ingredients require proper freezer storage until use, or buy only what you will cook immediately.
Pantry Meals: No Fridge or Microwave Needed
Keep these ingredients in their original packaging until needed. Shelf-stable before opening does not mean shelf-stable afterward.
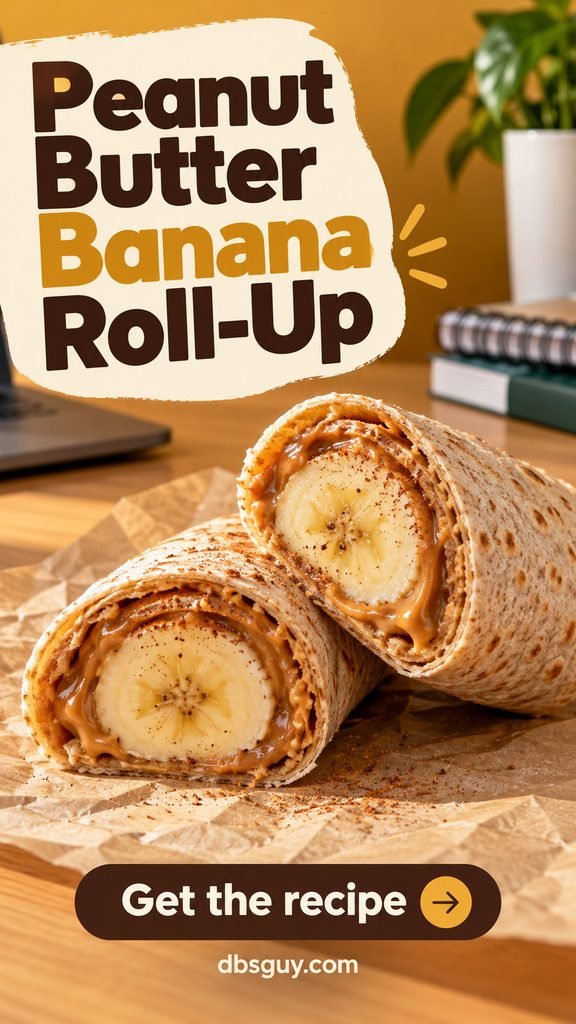
1. Peanut Butter Banana Roll-Up
Setup: Pantry only · Estimated time: 3–5 minutes
A tortilla holds a whole banana without loose filling falling into your backpack. It works as breakfast or a quick bite before class; choose a small banana so the wrap closes.
What You Need
- 1 soft 10-inch whole-wheat tortilla
- 2 tablespoons peanut butter
- 1 small banana
- A pinch of cinnamon
Put It Together
Spread peanut butter over the tortilla, leaving a 1-inch border. Peel the banana, place it near one edge, sprinkle with cinnamon, and roll snugly. Eat whole or cut in half.
Check the peanut butter’s storage label. Sunflower-seed butter is an alternative if it fits your allergy needs and housing rules; check its label too.
2. Tuna and White Bean Crackers
Setup: Pantry only · Estimated time: 5 minutes
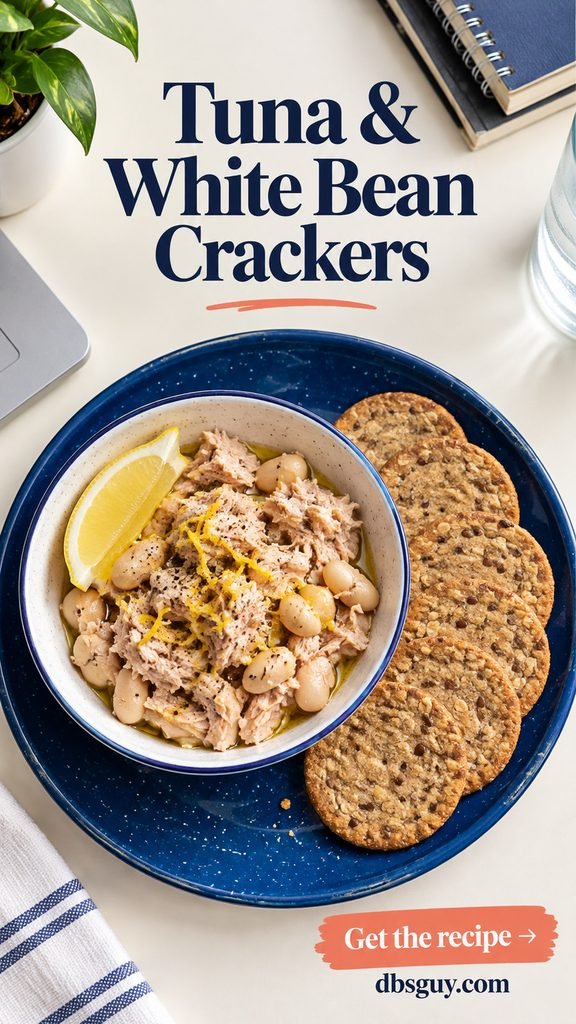
Beans give a small tuna pouch enough substance for a scoopable lunch. Olive oil and lemon make the dressing, so there is no partly used mayonnaise jar to store.
What You Need
- 1 plain, ready-to-eat tuna pouch, about 2.6 ounces
- ½ cup canned white beans, drained and rinsed
- 1 teaspoon olive oil
- 1–2 teaspoons lemon juice, plus black pepper
- 6–8 sturdy whole-grain crackers
Put It Together
Flake the tuna into a bowl. Fold in the beans, oil, lemon juice, and pepper. Mash a few beans if you want it to hold together better, then scoop it onto crackers as you eat. Fresh lemon zest is optional if you have a clean grater.
A small ready-to-eat bean pouch reduces leftovers. Refrigerate any unused opened beans promptly if you have a fridge; otherwise do not save them.
3. Chickpea and Roasted Pepper Pita
Setup: Pantry only · Estimated time: 5–7 minutes
This is a savory option for a day when a sweet spread sounds unappealing. Roasted peppers supply moisture and flavor without needing a fresh vegetable drawer.

What You Need
- 1 ready-to-eat pita
- ¾ cup canned chickpeas, drained and rinsed
- ¼ cup drained roasted red pepper strips
- 1 teaspoon olive oil
- 1 teaspoon lemon juice and a pinch of cumin
Put It Together
Mash about half the chickpeas with the oil, lemon juice, and cumin, leaving the rest chunky. Cut the pita in half, gently open the pockets, and add the chickpea mixture and pepper strips.
Use peppers sold shelf-stable before opening, rather than refrigerated deli peppers. Drain them well so they do not soak the bread. Opened chickpeas and peppers need refrigeration or immediate use.
4. Black Bean Taco Crunch Bowl
Setup: Pantry only · Estimated time: 5 minutes
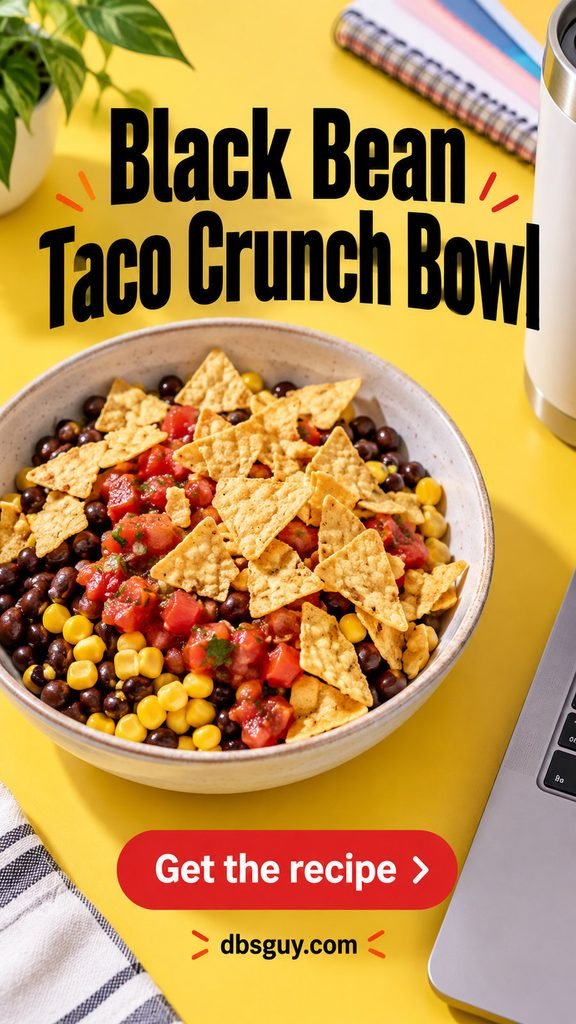
This cold bowl gives you the beans, salsa, and crunch of a taco without heating anything. It is especially convenient when you have a spoon but no knife.
What You Need
- ¾ cup canned black beans, drained and rinsed
- ⅓ cup drained canned corn
- 3 tablespoons salsa from a shelf-stable jar or packets
- 1 ounce tortilla chips
- A pinch of cumin, optional
Put It Together
Mix the beans, corn, salsa, and cumin in a bowl. Crush a few chips over the top and use the rest for scooping. Add the chips only when you are ready to eat.
Single-serving corn cups and salsa packets are useful here. If you open larger packages without a fridge, do not plan on keeping the remainder on a shelf.
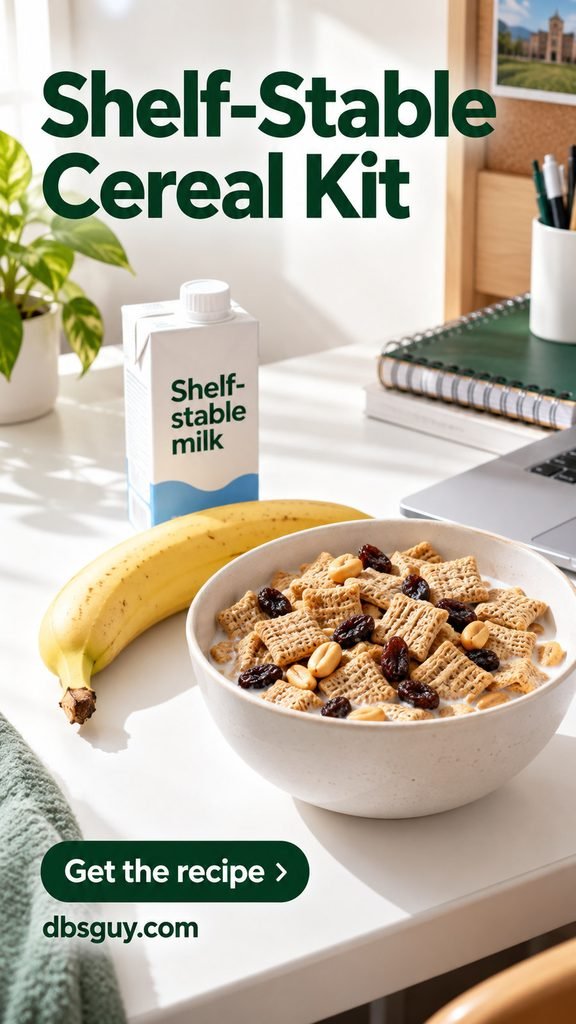
5. Shelf-Stable Cereal Kit
Setup: Pantry only · Estimated time: 2–3 minutes
Keep this kit for a missed dining-hall breakfast. It can stay separate until you sit down, which makes it easier to carry than an already filled cereal bowl.
What You Need
- 1 cup whole-grain cereal
- 2 tablespoons raisins
- 2 tablespoons peanuts or pumpkin seeds
- 1 unopened 8-ounce shelf-stable milk or milk-alternative carton
- 1 small banana
Put It Together
Combine the cereal, raisins, and nuts or seeds. Open the milk when you are ready to eat and pour it over the cereal. Have the banana alongside.
The carton must specifically say it can be stored unrefrigerated before opening. An ordinary carton from the refrigerated aisle is not a substitute. Use the milk immediately and follow its label for any remainder.
6. Salmon Nori Rice Cakes
Setup: Pantry only · Estimated time: 5 minutes
These make a crisp, savory light lunch without cooking rice. Build one rice cake at a time if you want the last bite to stay crunchy.

What You Need
- 3 plain rice cakes
- 1 ready-to-eat salmon pouch, about 2.6–3 ounces
- 1 small snack pack roasted nori
- 1 teaspoon reduced-sodium soy sauce
- ½ teaspoon sesame seeds, optional
Put It Together
Drain any excess liquid from the salmon. Flake it onto the rice cakes, add a few drops of soy sauce, and tear the nori over the top. Finish with sesame seeds if using.
Serve with a whole piece of fruit or another rice cake if you need a larger meal. Open the fish only when you are ready to eat, and seal the remaining dry nori tightly to preserve its texture.
No-Cook Meals With a Mini Fridge
A small fridge gives you yogurt, dips, cheese, ready-to-eat proteins, and cut produce. Choose a few ingredients that overlap between meals instead of filling every shelf with a different sauce.
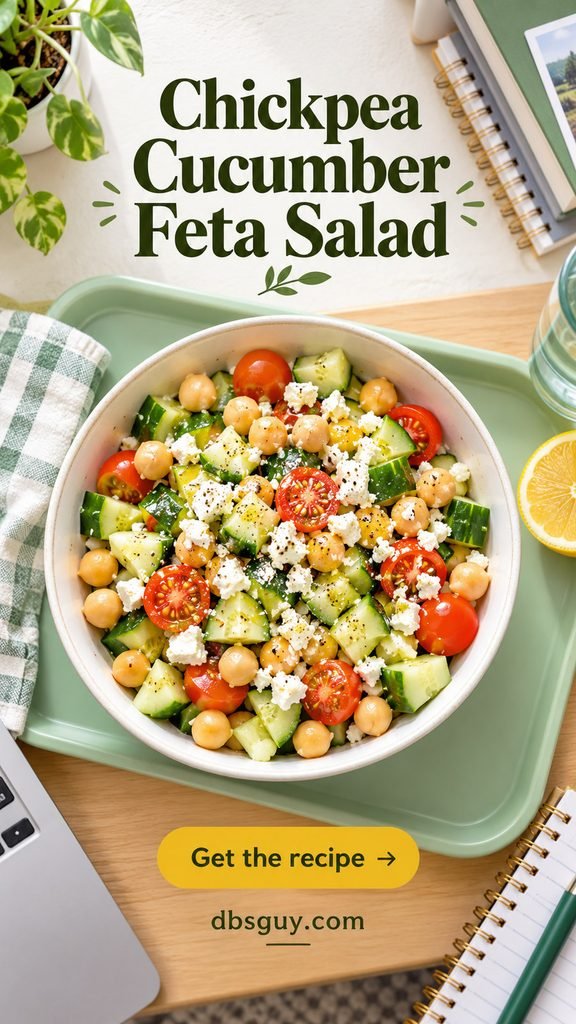
7. Chickpea Cucumber Feta Salad
Setup: Mini fridge · Estimated time: 8 minutes
Choose this when you want a fork-and-bowl lunch rather than another sandwich. Chickpeas hold their shape, so the salad stays pleasant even when the vegetables are cut small.
What You Need
- ¾ cup canned chickpeas, drained and rinsed
- ½ cup diced cucumber
- ½ cup halved cherry tomatoes
- 2 tablespoons crumbled feta
- 1 teaspoon each olive oil and lemon juice; black pepper
Put It Together
Toss the chickpeas, cucumber, and tomatoes with the oil and lemon juice. Fold in feta, then taste before adding salt. Eat with a pita if you want a more substantial lunch.
Dry the washed vegetables before chopping so the dressing does not become watery. Keep the finished salad cold until eating; use a chilled insulated lunch bag with cold packs if carrying it to campus.
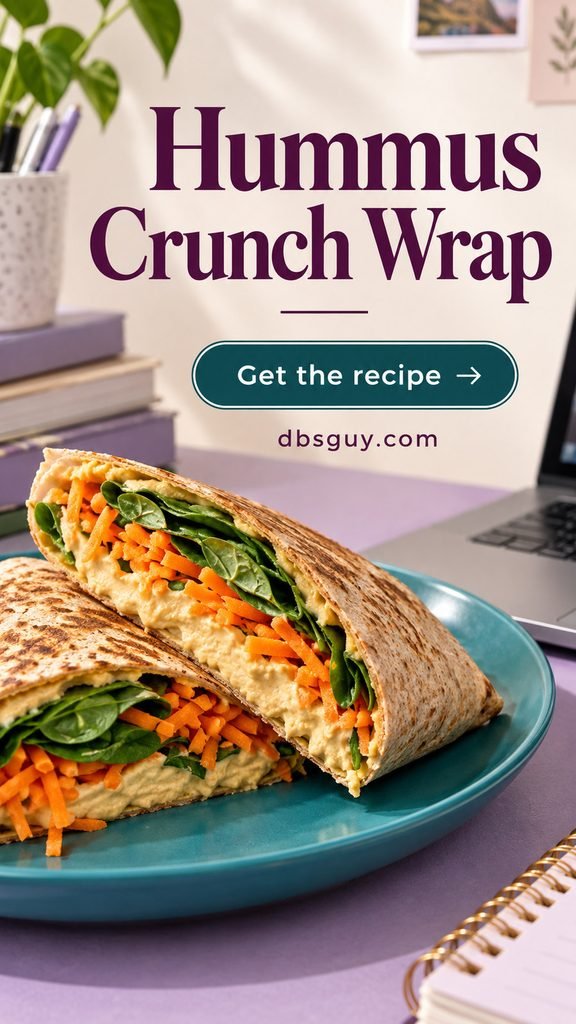
8. Hummus Crunch Wrap
Setup: Mini fridge · Estimated time: 5 minutes
Pre-shredded carrots save chopping and bring a different texture from soft hummus. This is a useful vegetarian wrap when you want something you can assemble between classes.
What You Need
- 1 large soft whole-wheat tortilla
- ⅓ cup refrigerated hummus
- ⅓ cup ready-to-eat shredded carrots
- ½ cup ready-to-eat baby spinach
Put It Together
Spread the hummus across the tortilla, leaving the edges clear. Put the carrots and spinach in a narrow line below the center. Fold the sides inward, roll from the bottom, and cut in half if desired.
Dry the spinach if you wash it. Overfilling is what makes this wrap split; serve extra vegetables on the side rather than forcing them inside.
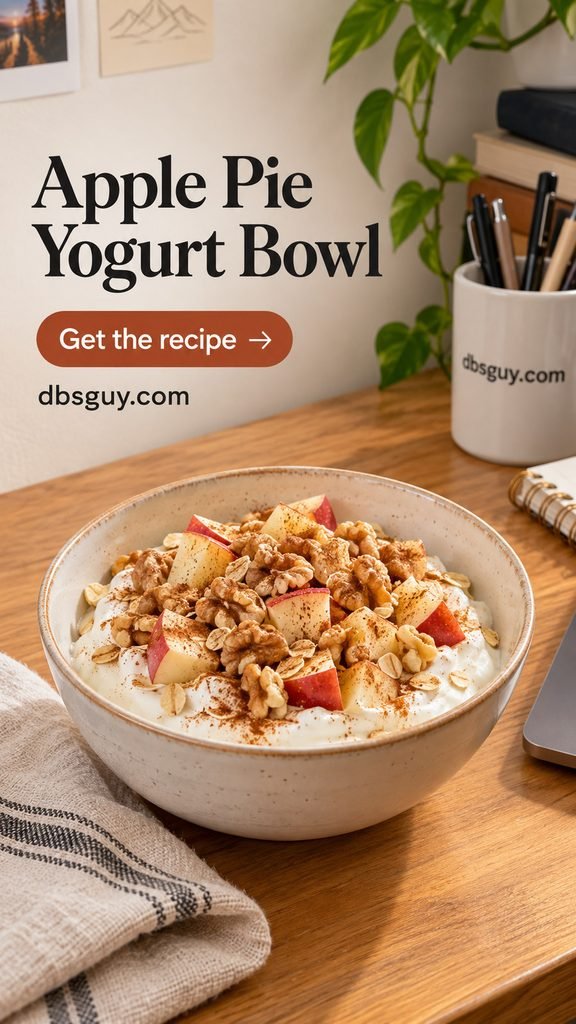
9. Apple Pie Yogurt Bowl
Setup: Mini fridge · Estimated time: 5 minutes
Apple, cinnamon, and walnuts bring the familiar flavor combination without baking. Keep the apple in small pieces so you get crunch in each spoonful instead of needing a knife while eating.
What You Need
- ¾ cup plain Greek yogurt
- ½ small apple, washed and diced
- 2 tablespoons old-fashioned rolled oats
- 1 tablespoon chopped walnuts
- ¼ teaspoon cinnamon; 1 teaspoon honey, optional
Put It Together
Mix the cinnamon into the yogurt, then add the apple, oats, and walnuts. Taste before adding honey. If you prefer softer oats, stir them into the yogurt the night before and refrigerate; add the apple and walnuts just before eating.
Eat the remaining apple alongside or store it covered in the fridge. A dairy-free yogurt can work, but its texture and nutrition will differ by product.
10. Blueberry Overnight Oats
Setup: Mini fridge · Estimated time: 5 minutes, plus at least 8 hours chilling
This is the option to make before bed when tomorrow starts early. A wide-mouth container is easier to stir and wash than a decorative narrow-neck bottle.

What You Need
- ½ cup old-fashioned rolled oats
- ½ cup milk or milk alternative
- ¼ cup plain yogurt
- ½ cup washed blueberries
- 1 tablespoon sunflower seeds; 1 teaspoon maple syrup, optional
Put It Together
Stir the oats, milk, yogurt, half the blueberries, and optional syrup in a clean lidded container. Cover and refrigerate immediately for at least 8 hours. Stir in the morning, adding a splash of milk if needed, and top with the remaining blueberries and seeds.
Make one portion for the next morning. Steel-cut oats do not soften the same way with these instructions.
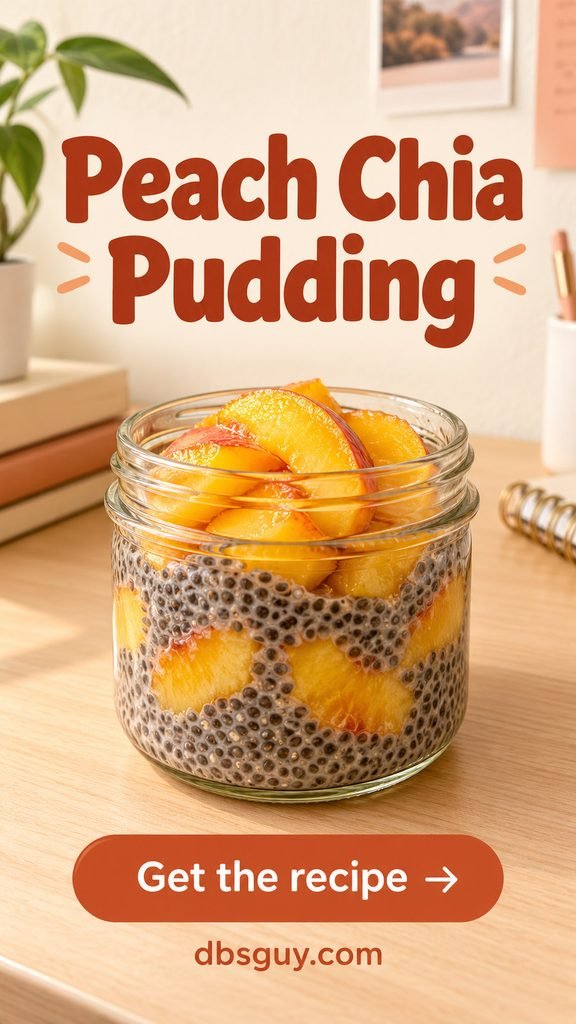
11. Peach Chia Pudding
Setup: Mini fridge · Estimated time: 5 minutes hands-on, plus a 10-minute mixing check and at least 4 hours chilling
Chia pudding uses a small amount of fridge space and needs no blender. It is a lighter breakfast or snack; pair it with toast-free peanut butter bread if you need more.
What You Need
- 2 tablespoons chia seeds
- ½ cup milk or milk alternative
- ½ cup drained canned peaches, or washed and pitted fresh peach, chopped or sliced
- 1 teaspoon maple syrup, optional
Put It Together
Stir the chia seeds into the milk with the optional syrup. Refrigerate for 10 minutes, stir thoroughly again to break up clumps, then cover and refrigerate for at least 4 hours or overnight. Check that the seeds are hydrated and the mixture is thickened before adding the peaches.
A drained fruit cup avoids an open can taking up fridge space. Do not leave the pudding on your desk to thicken.
12. Pesto White Bean Pita
Setup: Mini fridge · Estimated time: 5–7 minutes
A small amount of pesto coats the beans and does the seasoning work. It is a different lunch from a mashed chickpea filling: creamy whole beans, juicy tomatoes, and a basil-forward dressing.

What You Need
- 1 ready-to-eat pita
- ¾ cup canned white beans, drained and rinsed
- 1 tablespoon prepared pesto
- ½ cup halved cherry tomatoes
- 1 teaspoon lemon juice, optional
Put It Together
Toss the beans with pesto, loosening with lemon juice if needed. Fold in the tomatoes. Halve the pita and fill the pockets just before eating, or serve the filling beside torn pita if the bread is fragile.
Check pesto for milk and nuts if those matter to you. Refrigerate the opened pesto as directed; a small tub makes more sense than a large jar you will not finish.
Also Read: 19 Dorm Breakfast Ideas: Microwave & No-Cook Mornings
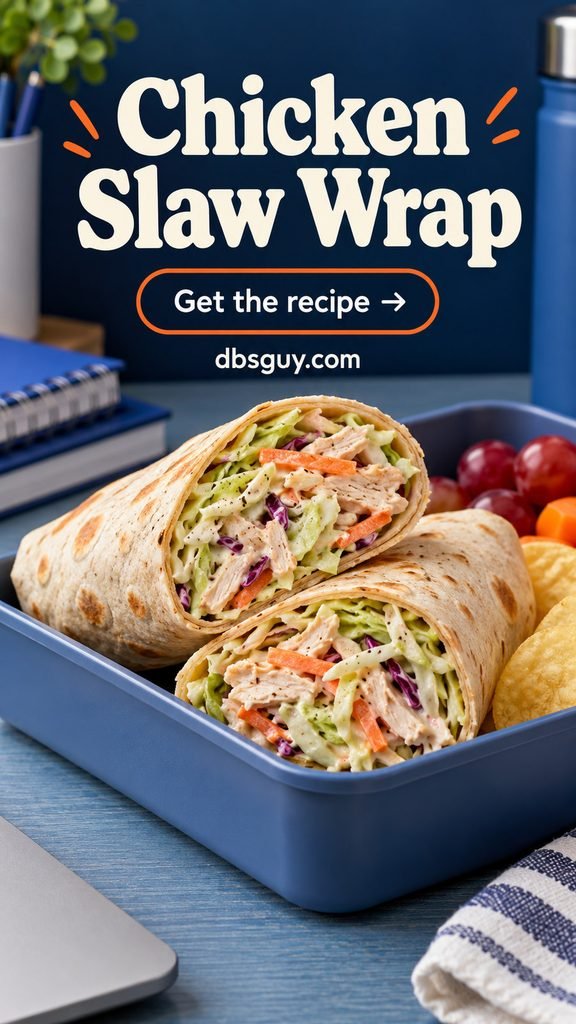
13. Chicken Slaw Wrap
Setup: Mini fridge · Estimated time: 7 minutes
Ready-to-eat shredded chicken turns bagged slaw into a substantial cold lunch. Buy a small chilled portion if a whole rotisserie chicken would take over your fridge.
What You Need
- 1 large soft tortilla
- ½ cup refrigerated, fully cooked shredded chicken
- ½ cup ready-to-eat cabbage-carrot slaw mix
- 2 tablespoons plain Greek yogurt
- 1 teaspoon mustard; black pepper
Put It Together
Stir the yogurt and mustard together. Add chicken and slaw, season with pepper, and pile the filling slightly below the tortilla’s center. Fold in the sides and roll snugly.
Use chicken labeled ready-to-eat and keep it cold. If saving cooked chicken, use it within 3–4 days under proper refrigeration, or sooner if its label directs. Date the container when you open or prepare it. Washed grapes or chips can go alongside the finished wrap.
14. Egg Salad English Muffin
Setup: Mini fridge · Estimated time: 7 minutes
Purchased hard-cooked eggs let you make egg salad without cooking eggs in the room. An untoasted, ready-to-eat English muffin is a soft base; there is no toaster step hiding in the method.

What You Need
- 2 refrigerated ready-to-eat hard-cooked eggs
- 1 tablespoon plain Greek yogurt
- 1 teaspoon mustard
- 1 tablespoon finely chopped pickle
- 1 ready-to-eat English muffin, split; black pepper
Put It Together
Chop or fork-mash the eggs. Mix in yogurt, mustard, pickle, and pepper, then spoon onto the muffin halves. Eat open-faced or close them gently as a sandwich.
Keep the egg package for its storage instructions. Assemble shortly before eating and keep the filling refrigerated; this is not a sandwich to leave in a warm backpack all afternoon.
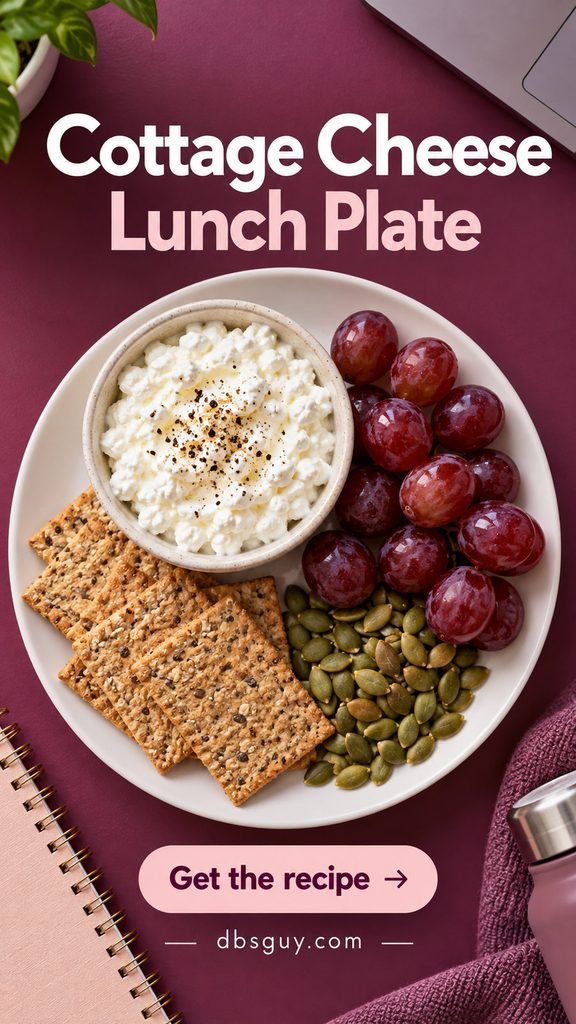
15. Cottage Cheese Lunch Plate
Setup: Mini fridge · Estimated time: 3–5 minutes
Some days you need lunch assembled, not mixed into another recipe. Cottage cheese, crackers, and grapes give you separate textures with very little cleanup.
What You Need
- ¾ cup cottage cheese
- 6–8 whole-grain crackers
- ½ cup washed grapes
- 1 tablespoon pumpkin seeds; black pepper, optional
Put It Together
Spoon cottage cheese into a small bowl and scatter the seeds over it, or serve them alongside. Add optional pepper. Put it on a plate with the grapes and crackers. Scoop the cheese with crackers or use a spoon.
For a packed version, keep crackers in their own dry container and the cottage cheese and grapes in a chilled compartment. Start with a small tub if you are unsure how often you will eat it.
16. Caprese Bagel
Setup: Mini fridge · Estimated time: 5 minutes
Soft fresh mozzarella makes this work without melting cheese. Choose a bagel you enjoy untoasted, and blot the tomato slices so lunch does not become soggy.

What You Need
- 1 ready-to-eat bagel, split
- 2 ounces fresh mozzarella, sliced
- 1 small tomato, washed and sliced
- 3–4 basil leaves
- 1 teaspoon olive oil; black pepper
Put It Together
Layer mozzarella and tomato on the bagel halves. Tear the basil over the top, drizzle with oil, and season with pepper. Eat open-faced to keep the slices from sliding out.
Save bagels in their original packaging according to the label, and keep the mozzarella refrigerated. Assemble at mealtime rather than letting tomato juice soak into the bread overnight.
17. Guacamole Bean Tostadas
Setup: Mini fridge · Estimated time: 5–7 minutes
Purchased tostada shells give you a crisp base without frying a tortilla. Mashed beans form a layer that holds the guacamole in place.

What You Need
- 2 small, ready-to-eat corn tostada shells
- ½ cup canned black beans, drained and rinsed
- ¼ cup refrigerated guacamole
- 2 tablespoons fresh tomato salsa
- 1 teaspoon lime juice; a pinch of cumin
Put It Together
Mash the beans with lime juice and cumin, adding a teaspoon of water if they are too stiff to spread. Spread over the shells, then add guacamole and salsa. Eat promptly while the shells are crisp.
A single-serving guacamole cup is convenient for one meal. Pack the toppings separately if taking this out; assembled tostadas do not travel well.
Warm Meals With a Microwave
Use fully cooked beans and ready-to-heat products where specified. Dry beans, uncooked rice, and raw meat are not interchangeable with them. A 4-cup microwave-safe bowl gives soups and noodles room to bubble without overflowing.
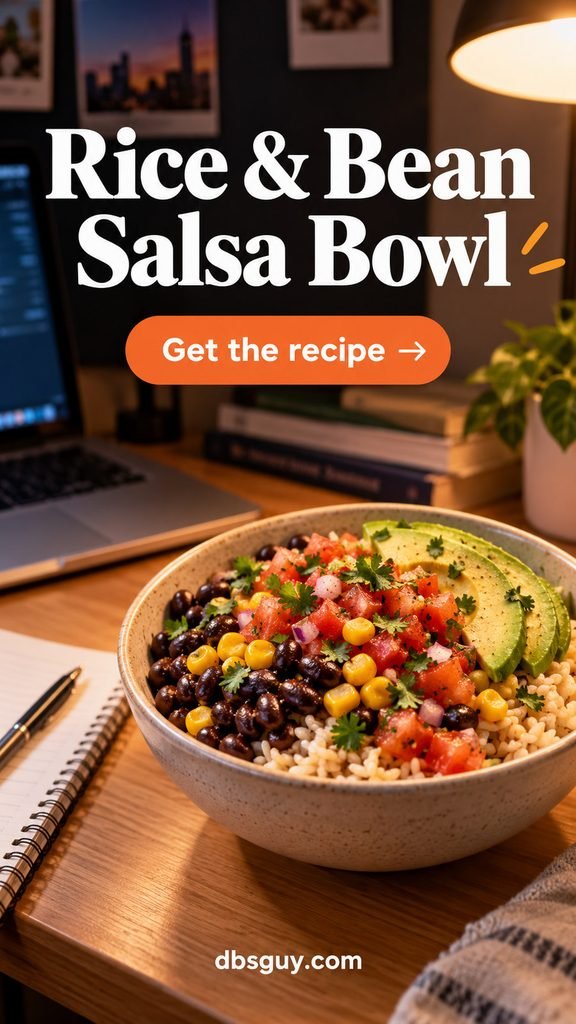
18. Rice and Bean Salsa Bowl
Setup: Microwave; fridge for opened ingredients or fresh toppings · Estimated time: 5–8 minutes
Keep a rice cup and beans for the evening when the dining hall closes before you get back. This is a warm rice-based meal, while the pantry taco bowl above is a cold chip-based option.
What You Need
- 1 single-serving microwave-ready cooked rice cup, about 1 cup
- ½ cup canned black beans, drained and rinsed
- ¼ cup canned corn, drained
- ¼ cup salsa
- ¼ avocado and a few cilantro leaves, optional
Heat and Assemble
- Heat the rice exactly as its package directs, including any venting and resting instructions.
- In a separate microwave-safe bowl, combine beans, corn, and salsa. Cover loosely and heat in 30-second bursts, stirring between bursts, until evenly hot.
- Combine with the rice and add optional avocado and cilantro just before eating.
If you have no fridge, skip the fresh toppings and use the opened ingredients immediately. Refrigerate any unused beans, salsa, or rice promptly if saving them.
19. Broccoli Cheddar Potato
Setup: Microwave and mini fridge; freezer for stored frozen broccoli · Estimated time: 12–18 minutes
A potato gives you a full-size base without needing a pot. Expect a tender skin and fluffy center rather than the crisp skin of an oven-baked potato.

What You Need
- 1 medium russet potato, about 8 ounces
- ½ cup frozen broccoli florets
- ¼ cup shredded cheddar
- 1 tablespoon plain yogurt, optional; black pepper
Heat and Assemble
- Scrub the potato under running water and pierce its skin several times with a fork. Put it on a microwave-safe plate without foil. Microwave on HIGH for 5 minutes, turn it carefully, then continue in 1-minute bursts until a fork enters the center easily.
- Let the potato stand for 2 minutes. Meanwhile, cook the broccoli separately using its package’s microwave directions, including water and standing time. Drain carefully.
- Split the potato away from your face to release steam. Fluff the inside, add broccoli and cheddar, and microwave for 20–30 seconds if needed to soften the cheese. Finish with optional yogurt and pepper.
Large potatoes may need substantially longer. Doneness matters more than a fixed timer.
20. Chickpea Sweet Potato With Tahini
Setup: Microwave; fridge for opened ingredients as labeled · Estimated time: 10–16 minutes
The sweet potato supplies the sweetness; lemon and tahini keep the topping savory. This is a dairy-free alternative to a cheese-topped potato when your chosen ingredients fit that requirement.

What You Need
- 1 medium sweet potato
- ½ cup canned chickpeas, drained and rinsed
- 1 tablespoon tahini
- 1 teaspoon lemon juice
- 1–2 tablespoons water; a pinch of paprika
Heat and Assemble
- Wash and pierce the sweet potato several times. Place on a microwave-safe plate and cook on HIGH for 5 minutes. Turn carefully and continue in 1-minute bursts until the center is fork-tender. Rest for 2 minutes.
- Put chickpeas in a microwave-safe bowl with 1 tablespoon water. Cover loosely and heat in 30-second bursts, stirring, until hot; drain.
- Stir tahini and lemon juice together, then add water a teaspoon at a time to make a pourable sauce. Split the potato, add chickpeas, and drizzle with sauce and paprika.
Tahini can thicken when lemon first goes in; keep stirring and add water gradually. Follow its storage label after opening.
21. Apricot Chickpea Couscous
Setup: Microwave or permitted kettle for boiling water · Estimated time: 8–12 minutes
Instant couscous needs soaking rather than a saucepan. Dried apricots add a chewy contrast, so this feels different from another rice-and-bean bowl.

What You Need
- ⅓ cup dry instant couscous
- Boiling water in the amount its package specifies for ⅓ cup couscous
- ½ cup canned chickpeas, drained and rinsed
- 2 tablespoons finely chopped dried apricots
- 1 teaspoon olive oil; a pinch of cumin
Heat and Assemble
- Choose instant couscous with boiling-water soaking instructions, not pearl couscous. Heat the measured water in an approved kettle or in a microwave-safe container following your microwave’s instructions; handle carefully.
- Pour over the couscous in a heatproof bowl. Cover and let stand for the package’s stated time, then fluff with a fork.
- Fold in chickpeas, apricots, oil, and cumin. Eat immediately. The chickpeas can go in at room temperature straight from a newly opened shelf-stable package.
Do not assume every couscous brand uses the same water ratio. Without a fridge, use small chickpea portions and do not save the prepared bowl.
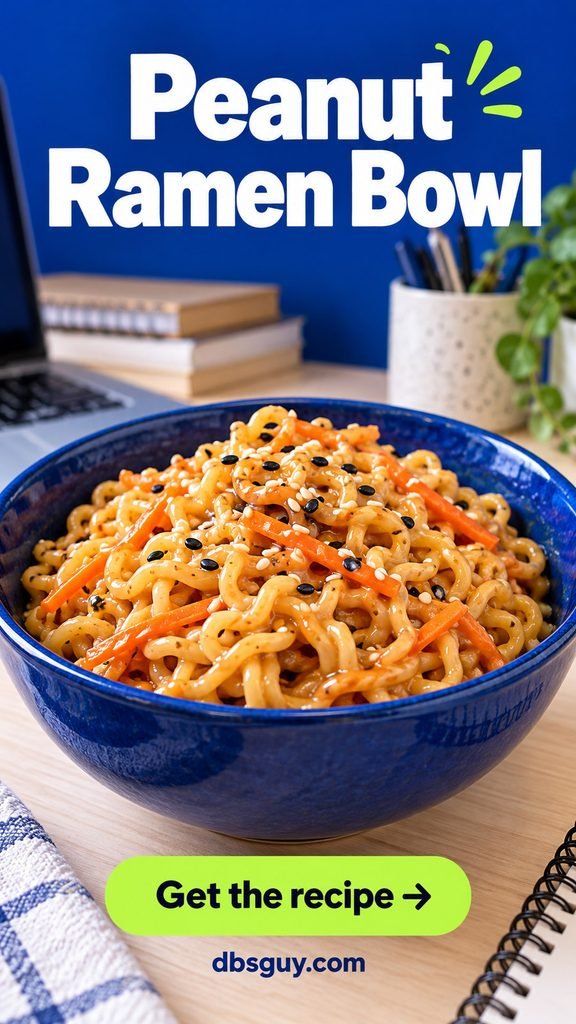
22. Peanut Ramen Bowl
Setup: Microwave; fridge for carrots and opened ingredients · Estimated time: 8–12 minutes
A small measured sauce turns instant noodles into a creamy bowl without a cream carton. Shredded carrot softens quickly and is easier to handle than thick raw slices.
What You Need
- 1 plain instant ramen cake, about 3 ounces, with microwave cooking instructions
- Water as directed on the noodle package
- ⅓ cup shredded carrot
- 1 tablespoon peanut butter
- 1 teaspoon each reduced-sodium soy sauce and lime juice
- ½ teaspoon sesame seeds, optional
Heat and Assemble
- In a separate microwave-safe bowl, cover the carrots loosely with 1 tablespoon water and microwave for 45–60 seconds. Stir and continue briefly if needed until softened.
- Cook the noodles in a roomy microwave-safe bowl using the package’s water quantity, timing, and rests. Omit the seasoning sachet. Never microwave a cup unless its packaging specifically permits it.
- Reserve ¼ cup hot noodle water, then drain carefully. Stir peanut butter, soy sauce, and lime juice with 1–2 tablespoons reserved water. Toss with noodles and carrots, adding more water if needed. Sprinkle with optional sesame seeds.
The full flavor packet plus soy sauce can make this overly salty. Start with the measured sauce and taste before adding anything else.
Also Read: 23 Easy Microwave Recipes for Dorm Rooms: No Kitchen Needed
23. Cheddar Pea Potato Bowl
Setup: Microwave and mini fridge; freezer for stored frozen peas · Estimated time: 6–10 minutes
Instant mashed potatoes are useful when a whole potato takes too long. Peas and cheddar turn a side-dish base into a more substantial bowl; add a ready-to-eat protein alongside if you need a larger dinner.

What You Need
- 1 serving plain instant mashed potatoes, measured according to the package
- Water and any milk or butter required by that package
- ½ cup frozen peas
- ¼ cup shredded cheddar
- Black pepper
Heat and Assemble
- Cook peas separately using their package’s microwave instructions, including water and standing time. Drain carefully.
- Prepare one serving of instant potatoes using its exact liquid amounts and microwave method. Choose a product that offers microwave directions.
- Stir the cooked peas and cheddar into the hot potatoes. Let stand as the potato package directs, and season with pepper.
Do not add dry potato flakes to an arbitrary amount of water; that is how you get soup or a stiff paste. Choose a water-only product if you do not want to store milk and butter.
24. Lentil Curry and Rice
Setup: Microwave; fridge for any opened leftovers · Estimated time: 5–8 minutes
This is the backup dinner to leave sealed in a drawer. Ready-to-heat lentils give you a different flavor from plain canned beans with almost no preparation.

What You Need
- 1 single-serving microwave-ready cooked rice cup, about 1 cup
- About ¾ cup fully cooked, ready-to-heat lentil curry or dal
Heat and Assemble
Heat the rice and lentils separately according to their own package directions, including venting, stirring, and standing time. Spoon them side by side in a bowl and eat while hot.
Check serving sizes before opening a large pouch: one pouch may contain more than one serving. If you cannot refrigerate the remainder, choose a smaller package. Read the ingredient list if you avoid dairy; some prepared lentil dishes contain cream or butter. Dry lentils are not a direct substitute for a ready-to-heat pouch.
25. Tomato Butter Bean Soup
Setup: Microwave; fridge for any opened leftovers · Estimated time: 6–10 minutes
Large butter beans give a plain tomato soup something to bite into. Crackers on the side add crunch without requiring a grilled-cheese sandwich or toaster.

What You Need
- 1 cup ready-to-serve tomato soup, not undiluted condensed soup
- ½ cup canned butter beans, drained and rinsed
- 4–6 whole-grain crackers
- A pinch of dried basil or black pepper, and a little washed chopped parsley, optional
Heat and Assemble
Put soup and beans in a 4-cup microwave-safe bowl. Cover with a vented microwave-safe lid and heat using the soup’s microwave directions as a starting point. Stir thoroughly and continue in short bursts until bubbling hot throughout; the added beans may extend the heating time. Follow the soup’s standing instructions and let it cool enough to eat safely. Add optional seasoning and keep crackers separate until eating.
If using condensed soup, prepare it with the full amount of water or milk specified on its label before measuring your serving.
Buy for Three Meals, Not All 25
Start with your equipment and choose three meals that share ingredients. Buying a different condiment for every idea defeats the purpose of a small dorm pantry.
- No appliances: Peanut butter, tortillas, bananas, small bean packages, corn cups, salsa packets, and chips cover a roll-up and a taco bowl. Add a fish pouch and crackers for a separate lunch.
- Mini fridge: Greek yogurt can dress the chicken wrap, bind egg salad, and make the apple bowl. Buy one small tub, a small apple, fully cooked eggs or chicken, and the bread you will actually finish.
- Microwave: Rice cups, canned beans, a lentil pouch, and ready-to-serve soup give you warm backups. Add frozen vegetables only if you have dependable freezer space or will cook the entire purchased amount immediately.
Compare the cost per usable meal, not just the lowest shelf price. A larger can can cost less per ounce and still be poor value if you cannot safely keep the remainder. Prices vary by store and package size, so there is no fixed dollar promise attached to these ideas.
Also Read: 17 Microwave Mug Meals: Breakfast, Dinner & Dessert in a Mug
Questions About Eating in a Dorm Without a Kitchen
What can I eat if I have no fridge and no microwave?
Choose the first six ideas, using shelf-stable ingredients opened at mealtime. Nut butter, bread or tortillas, whole fruit, cereal, fish pouches, crackers, and small ready-to-eat bean packages are useful starting points. Read storage labels; do not keep opened perishable leftovers on your desk.
Can I eat canned beans without heating them?
Commercially canned beans are already cooked and can be used in these cold meals after draining. Check that the can is intact and follow its label. Dry beans need a separate cooking process and cannot replace canned beans in these methods.
Can I make overnight oats without a refrigerator?
The overnight oats in this article require refrigeration during soaking and until eating. Do not leave a jar of milk and oats out overnight. If you have no fridge, choose the cereal kit or banana roll-up instead.
Do frozen vegetables need cooking before I add them?
Follow the package. For the frozen broccoli and peas used here, complete the stated cooking instructions before mixing them into the meal. Thawing or stirring them into warm potatoes is not a replacement for cooking as directed.
How do I avoid wasting food in a tiny dorm fridge?
Choose two or three overlapping meals, buy small portions of ready-to-eat proteins, and label opened containers. Store leftovers covered and promptly chilled. Use cooked leftovers within 3–4 days, or sooner if a product’s directions require it; reheat leftovers to 165°F. If you cannot keep a food cold, choose an unopened shelf-stable alternative for your next meal.
Which meals are easiest to carry to class?
Wraps and the cottage cheese plate can travel in a leakproof container with an insulated bag and cold packs to keep perishables at 40°F or below. Pack crackers and tostada shells separately from wet toppings. The unopened pantry cereal kit needs no cold pack until you open the shelf-stable milk.
Pick Your Next Meal Before Your Next Grocery Trip
Choose one meal you can make today, one cold option for tomorrow, and one sealed backup for a late night. That small rotation is easier to shop for, store, and clean up after than a room full of ingredients without a plan.
Also Read: Freshman Year: The Complete Survival Guide