Start with milky pink, butter yellow, or peach jelly if you want a spring manicure you can paint with the bottle brush. For short nails, try cloud-blue micro tips or one lilac dot at the base of each nail. If you’re taking a picture to the salon, pick one detail you want to keep, such as a narrow French tip or a daisy on just the ring finger.
These March nail ideas use soft colors and small details that leave room on the nail. Most work with regular polish. The images are AI-generated design concepts you can use as references.

1. Milky Pink on Short Rounds
Choose a semi-sheer rose pink with a little milkiness if you want your nails to look softly tinted. One thin coat gives the lightest effect. Let it dry and look at your hand by a window before deciding whether to add a second. If you want the free edge fully covered, choose an opaque pale pink cream from the start.

2. Glossy Butter Yellow
Look for the yellow of softened butter. It should have enough color to read yellow in daylight and enough creaminess to feel soft. A slightly rounded square edge suits the simplicity of an all-over shade. If the first coat looks uneven, leave it alone until it dries and use a second thin coat to even it out.

3. Cloud-Blue Micro French Tips
Use a sheer pink base and trace a thin stripe of sky blue along the free edge. On extra-short nails, a narrow line still gives you a visible bit of color without taking up much of the nail. Essie’s at-home French manicure guide shows how to draw the curve with a fine detail brush. Rotate your finger as you paint the corners so you can see where the stripe ends.

4. One Tiny White Daisy
Put one small white daisy off-center on a sheer blush ring nail. To paint it at home, make five tiny white dots in a circle and leave room for a butter-yellow center. Test the dot size on scrap paper first. If your ring nail is especially narrow, shift the flower closer to a corner and keep the rest of the nail clear.

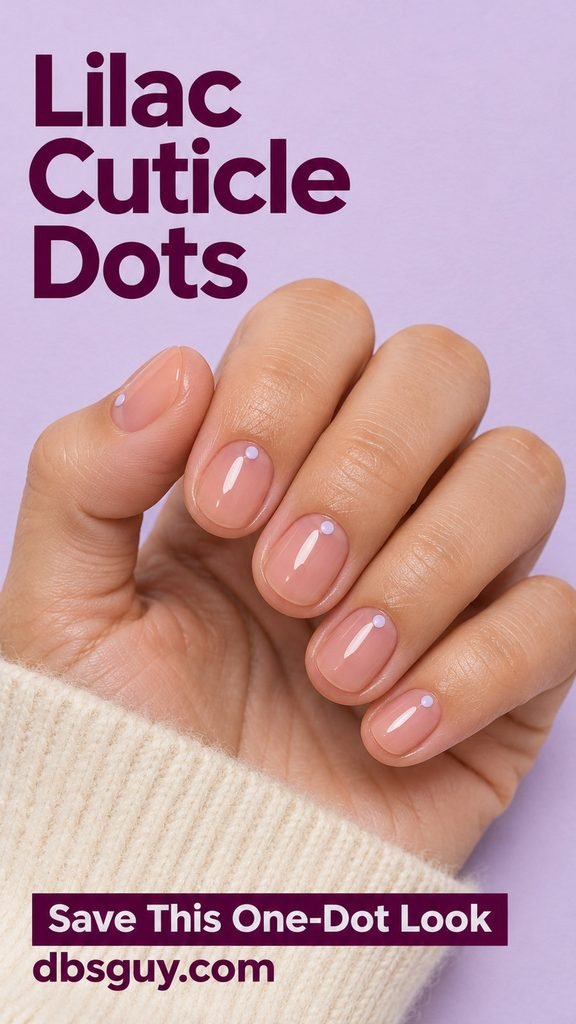
5. Lilac Cuticle Dots
Set one opaque lilac dot just above each nail’s base. Keep the dots centered or nudge them to one side for the placement shown here. Use a tiny dotting tool and leave a narrow gap between the polish and the cuticle. For short nails, check the gap before you add more polish. A small dot with space around it stays easy to see.
6. Mint Corner Tips
Paint across just one tip corner with pale mint, making a small triangle. Let your sheer base dry before using a strip of nail-art tape as a diagonal guide. Keep the triangle on the same side of each nail for a consistent look. If you’re choosing between a blue mint and a dusty green, the green spring nails guide has more ways to wear both.

7. Sheer Peach Jelly
A peach jelly is a good pick when beige feels flat and coral feels too bright. Choose a transparent formula and build the tint a thin coat at a time. Check the color on your own nail in daylight. The natural nail and free edge contribute to how warm the peach looks.

8. A Tiny Sage Leaf Sprig
Try a warm beige base with a little sage sprig on the ring finger. Ask for a fine curved stem and two or three small leaves so the design fits on a short oval. At home, make each leaf with a tiny stroke of a detail brush. Place the whole sprig along one side to leave a clear patch of beige around it.

9. A Five-Color Pastel Skittle Mani
Paint each nail one color and arrange your bottles in order before you start. Try butter yellow on the thumb, then peach, blush pink, lilac, and sky blue. Choose shades with similar opacity so the set feels balanced. If you own three pastels, repeat the middle color on both hands and arrange the other two on either side.

10. A Single Lilac Wave
On one sheer nude nail, draw a thin lilac S-curve from the lower half of the nail toward the tip. Try the motion once on paper so you can paint it in a continuous stroke. On a very short nail, one shallow bend gives you more room at the edges and still reads as a wave.

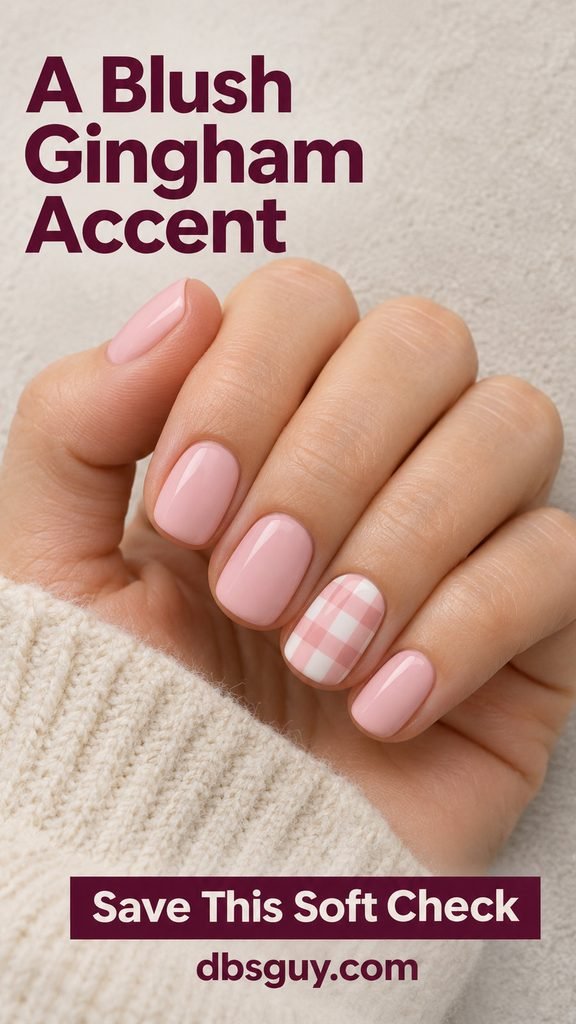
11. Blush Gingham on One Nail
Paint the ring nail milky white and the others solid blush. On the accent, paint two or three sheer pink stripes vertically. Let them dry, then add the same number across so the intersections look a little deeper. Use fewer stripes if your nail is narrow. Wide white spaces make the check easier to read.
12. Pearl Glaze Over Oat Milk
Start with a thin coat of warm, sheer ivory and add a sheer pearl topper. Look at the bottle in side light first. Fine shimmer gives a soft reflection when you tilt your hand. If you’re booking a salon manicure, ask to see a swatch with the pearl layered over ivory so you can judge both colors together.

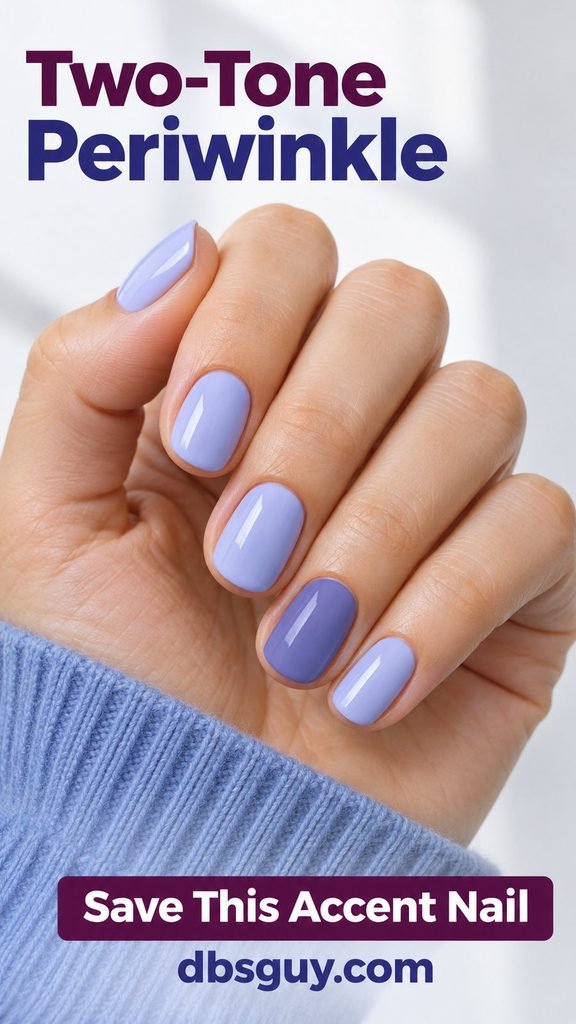
13. Two-Tone Periwinkle
Use pale blue-lavender on most nails and save the dustier periwinkle for the ring finger. Compare both shades on paper or swatch sticks in daylight. If you can pick out the accent from an arm’s length away and both shades still look blue-violet, you have enough difference to make the pairing work.
14. Sage and Cream Half-Moons
A small cream half-moon at the base of a sage nail puts the color detail where a French tip usually leaves the nail plain. Start with one accent nail if you’re painting it yourself. After the sage dries, draw a shallow curve with a detail brush and fill the area underneath with cream. Leave a sliver of space at the skin for a clean edge.

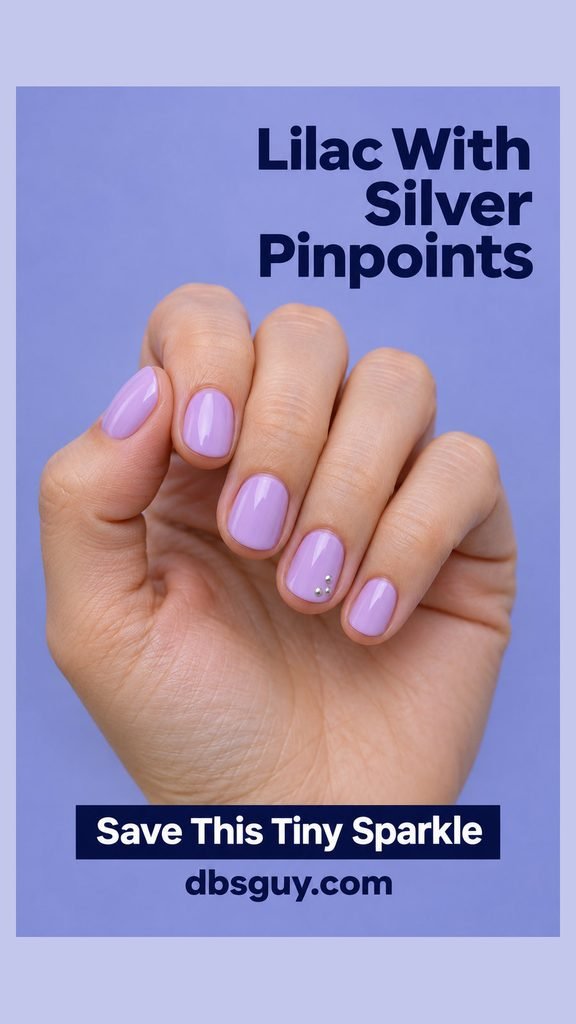
15. Lilac With Tiny Silver Dots
Put a few pinpoints of metallic silver near one corner of a lilac ring nail. Start with the smallest dot and add two nearby if there’s room. Regular metallic polish gives this accent a flat finish. It’s a good choice if you want a little shine without the raised texture of nail gems.
March Nail Questions
Which March nail designs work on very short nails?
Milky pink and solid butter yellow work at any length. For a little nail art, try a single cuticle dot or a fine French line so the detail fits comfortably on the nail.
Can I do these spring designs with regular polish?
Yes. The solid colors, jelly finish, pastel dots, and pearl topper all translate to regular polish. For layered designs such as gingham or corner tips, let the previous layer dry before adding the next. A fine brush and a small dotting tool will cover most of the detail work.