A red bow can finish a Christmas tree, give a plain garland a focal point, or make brown-paper gifts feel intentional. The trick is choosing a bow that suits the job: wide and structured for a statement piece, narrow and soft for a small accent.
These 25 red bow Christmas decor ideas cover trees, garlands, gifts, and the everyday corners that help a room feel connected. You do not need to use all of them. Pick one main display, then repeat the same shade of red in two smaller places.
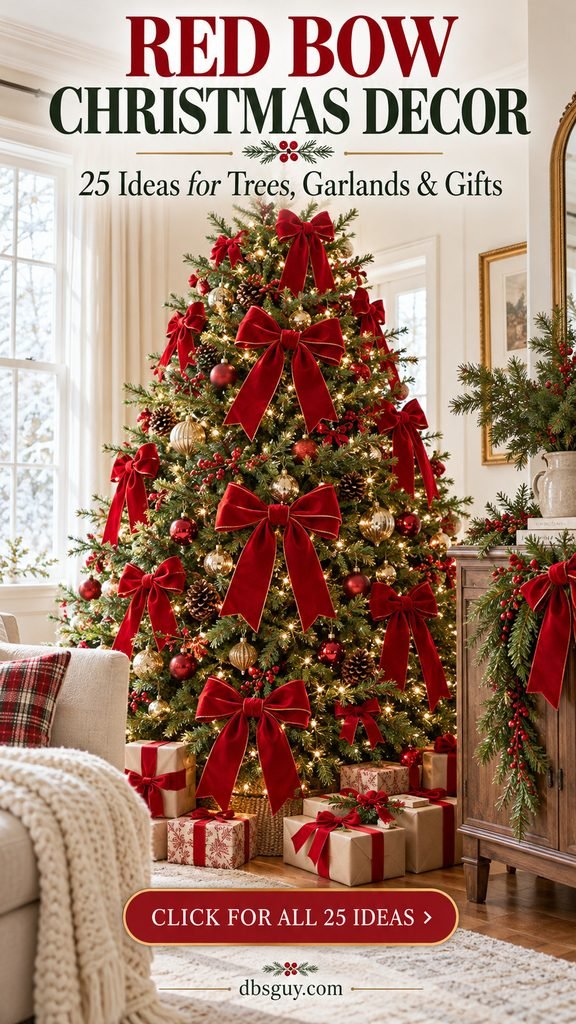
The images are AI-generated styling concepts, created to illustrate the ideas rather than document finished projects. Ribbon widths and placement suggestions below are practical starting points; adjust them to your tree, furniture, and materials.
Choose Your Ribbon Before You Start
For soft, slightly relaxed bows, try velvet, satin, cotton, or grosgrain without a wire edge. Wired ribbon is useful when you want fuller loops that you can shape by hand. Sheer organza gives a lighter effect, especially against white flocking.
- Small accents: start with ribbon around ⅜ to ¾ inch wide for napkins, gift-bag handles, and delicate tree branches.
- Everyday decorative bows: ribbon around 1 to 1½ inches wide is a manageable starting point for medium gifts, mini wreaths, and smaller trees.
- Statement bows: try 2½- to 4-inch ribbon, or a ready-made fabric bow, where the loops need to read from across the room.
Hold a sample in its intended place before buying a whole roll. Compare reds in daylight: a warm tomato red and a deep blue-toned crimson can look unexpectedly different together. For a connected look, repeat one red and vary the ribbon texture.
1. Let an Oversized Velvet Bow Top the Tree
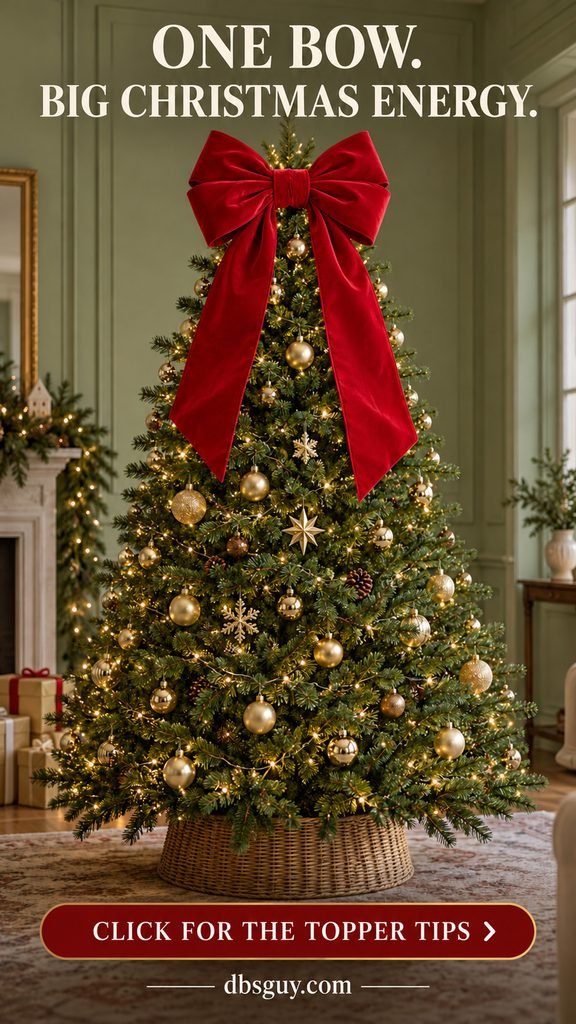
A generous velvet topper works best when the tree has enough width to balance it. Scarlet against green branches and warm gold ornaments creates a traditional look; the plush fabric supplies much of the drama.
Try a bow whose finished width is roughly a quarter to a third of the tree’s widest section, then judge it from the doorway. This is a visual starting point, not a sizing rule. Support a heavier ready-made bow at a sturdy attachment point according to its instructions, rather than balancing it on the soft top shoot.
Let the tails fall down the upper branches, keeping ornaments visible between them. If they hide the whole tree, shorten them before adding more decorations.
2. Scatter Tiny Tied Bows Across an Airy Tree
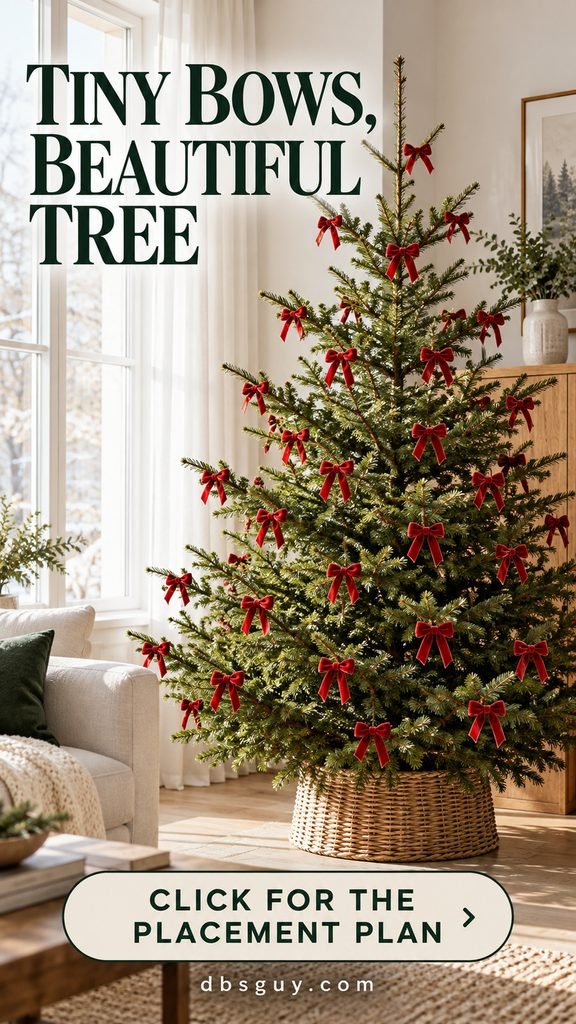
Small velvet bows give an open-branched tree a quiet, handmade feel. Narrow ribbon is important here: bulky loops can overwhelm the spaces that make the tree attractive.
Tie one sample, then attach it near the outer part of a sturdy branch. Spread the bows at different heights instead of making straight horizontal rows. Turn some slightly so the tree looks natural from more than one angle.
Start with a few bows on the side you see most often and step back. Add more only where the red feels absent. This is an easy use for short ribbon leftovers, provided the pieces are long enough to tie securely without tiny, ragged tails.
3. Pair Glossy Red Satin With Silver Baubles
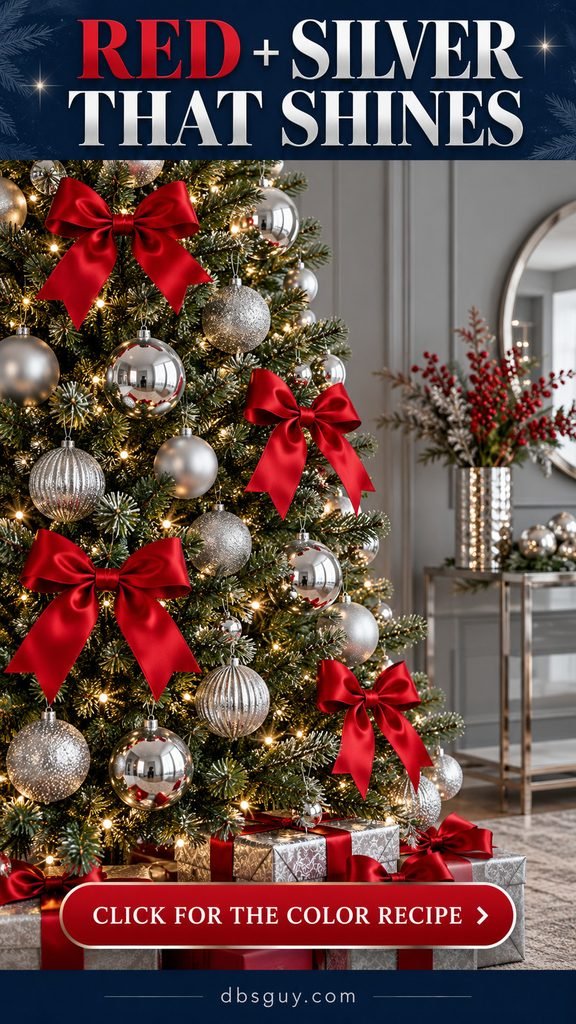
Red satin and silver ornaments make a brighter, cooler combination than red and gold. Mix matte silver balls with a few reflective ones so the branches have contrast without looking uniformly shiny.
Place a bow near selected ornament groups, leaving clear green space around each cluster. A simple two-loop bow is enough; the sheen of the satin already attracts attention.
Test your ribbon under the tree lights as well as in daylight. If it looks orange or disappears into the branches, try a clearer scarlet or a slightly wider ribbon. Keep other accent colors limited so the red-and-silver pairing stays easy to read.
4. Match Red Gingham Bows With Gingerbread Ornaments
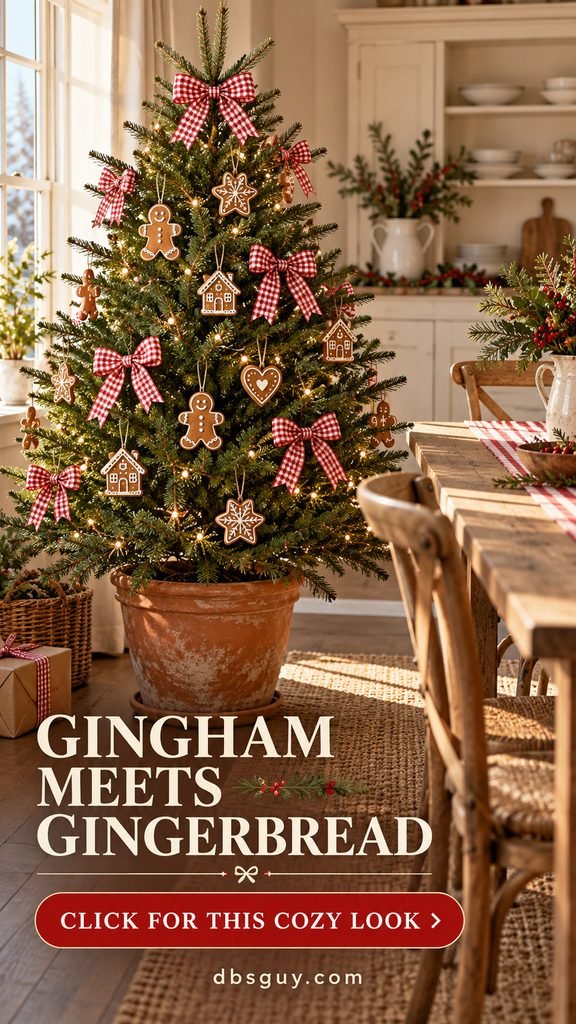
Red-and-white gingham brings a cheerful kitchen-table quality to a Christmas tree. It is particularly comfortable beside gingerbread-shaped ornaments, warm lights, and a terracotta or woven planter cover.
Choose a small check for smaller bows; a very large check may turn into a few disconnected color blocks once the ribbon is folded. Keep the ornament palette mostly brown, cream, and red so the patterned ribbon has room to show.
A compact dining-room tree suits this look beautifully. Use lightweight gingerbread-style decorations rather than assuming actual cookies will store or hang well. Give any planter cover enough space for the tree’s proper stand and, for a cut tree, access to water.
5. Shape Full Red Bows Among Gold Ornaments

Full, sculpted bows create a different effect from the small tied bows in idea 2. Here, several loops of wired red ribbon sit above the foliage, with gold ornaments tucked into the green spaces beside them.
Make one bow away from the tree first. Pinch the center, form balanced loops, and secure it with a suitable tie. Attach the bow to a sturdy branch, then open the loops individually so they do not look like a flattened bundle.
Keep the decorations close to each bow relatively simple. Matte gold balls are useful companions when the ribbon is already reflective. Stop before neighboring bows touch; the green gaps are part of the design.
6. Use Sheer Red Bows on a Flocked Tree
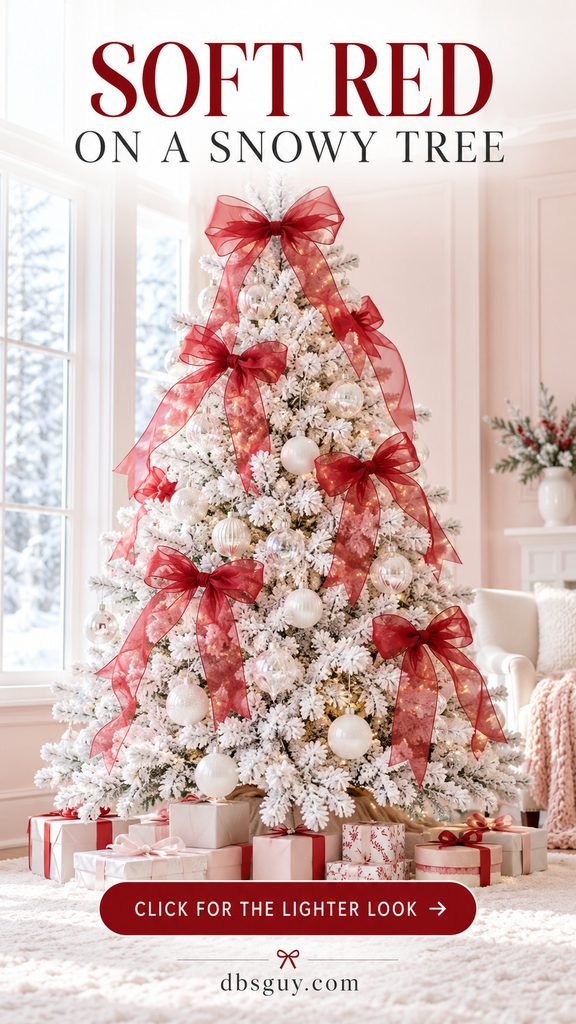
Organza lets some of the snowy branches show through the ribbon, giving a flocked tree a softer red accent. It is a good option when opaque velvet feels too heavy against the white foliage.
Use a sheer ribbon that still looks red when held over the tree. Some very pale fabrics almost disappear under warm lights. A slightly wider ribbon can help the loops remain visible without making the bow look dense.
Keep supporting ornaments simple—white balls or a little clear glass—and handle flocked branches gently according to the tree’s care instructions. Shape the bows separately before attaching them so you are not repeatedly handling the flocking.
7. Finish a Tabletop Tree With One Red Bow
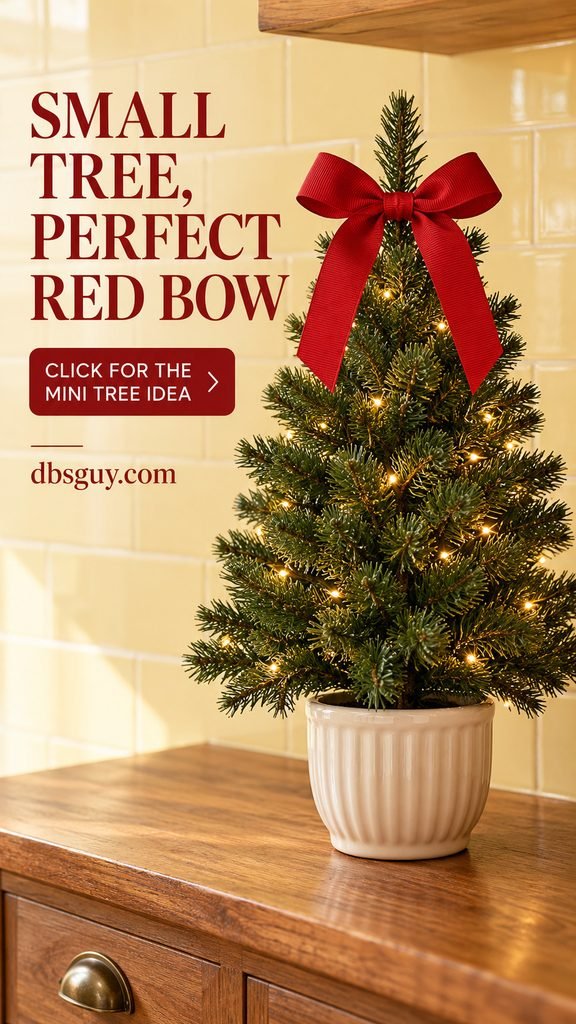
A tabletop tree does not need a miniature version of every decoration on the main tree. One medium red grosgrain bow, a simple pot, and a small light strand can be enough.
Check the tree’s height with its pot included before choosing a position. On a kitchen sideboard, keep it clear of food preparation, splashes, heat, and cabinet doors. Leave its stable base visible rather than surrounding it with so many gifts that the surface becomes awkward to use.
Try the bow near the top first. If the top bends or the loops look wider than the little tree, choose a lighter bow or move it to a stronger upper branch.
Also read: 21 Christmas Tree Bow Ideas That Turn Simple Ribbon Into a Statement.
8. Give an Asymmetrical Mantel Garland One Large Bow
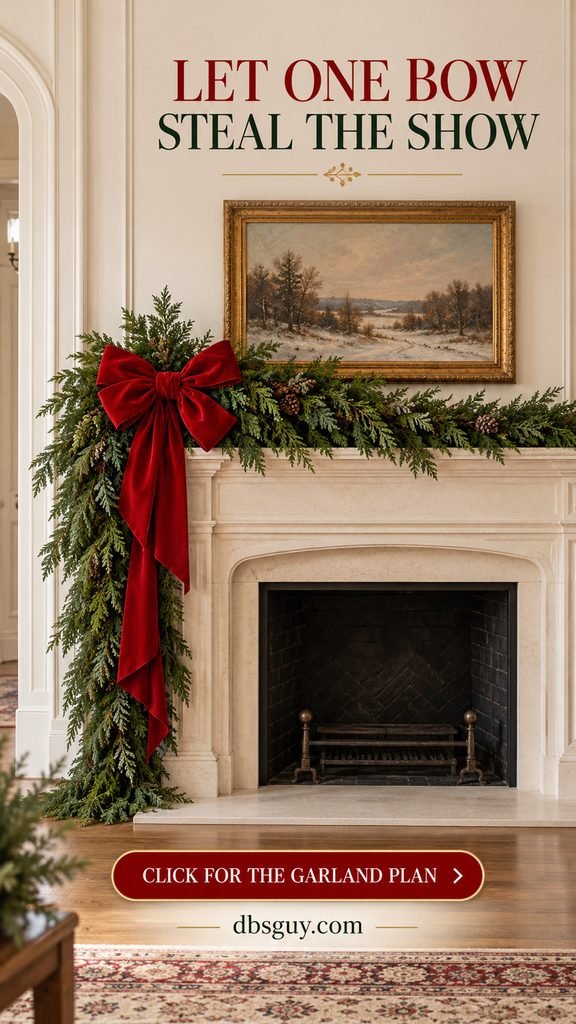
A long drape on one side of a garland creates movement. Put a red velvet bow at that corner to make the direction feel deliberate, then let the opposite end stay shorter and quieter.
Before adding the bow, secure the greenery with mounting hardware appropriate to the surface and the complete display’s weight. The bow should decorate the attachment area, not hold the garland in place. Keep the tails visible against the mantel rather than buried in foliage.
This concept is for a decorative fireplace kept unused while the greenery and ribbon are installed. For an operating fireplace, move this treatment to a separate console unless the appliance’s requirements can be met; remove combustible decorations before using a fire.
9. Add Bow-and-Bell Clusters to Staircase Greenery
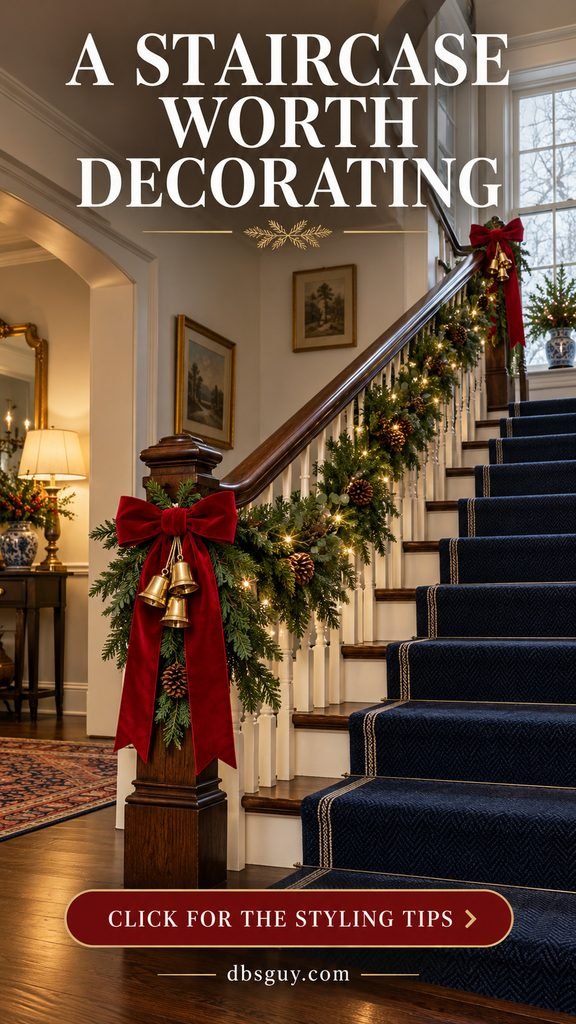
Small brass bells give red bows a little extra weight visually, especially against dark wood. Concentrate the combination at newel posts or a few supported points instead of filling every section of the staircase.
Attach the greenery below the handrail where possible, keeping the rail easy to grip. Secure bells separately to the appropriate structural part of the display so their weight does not pull a bow out of shape.
Trim tails well above the steps and out of the walking route. Then walk up and down the stairs with the display in place. Anything that catches your hand, sleeve, or foot needs repositioning, even if it looked perfect from the hall.
10. Center One Red Bow on a Window Swag
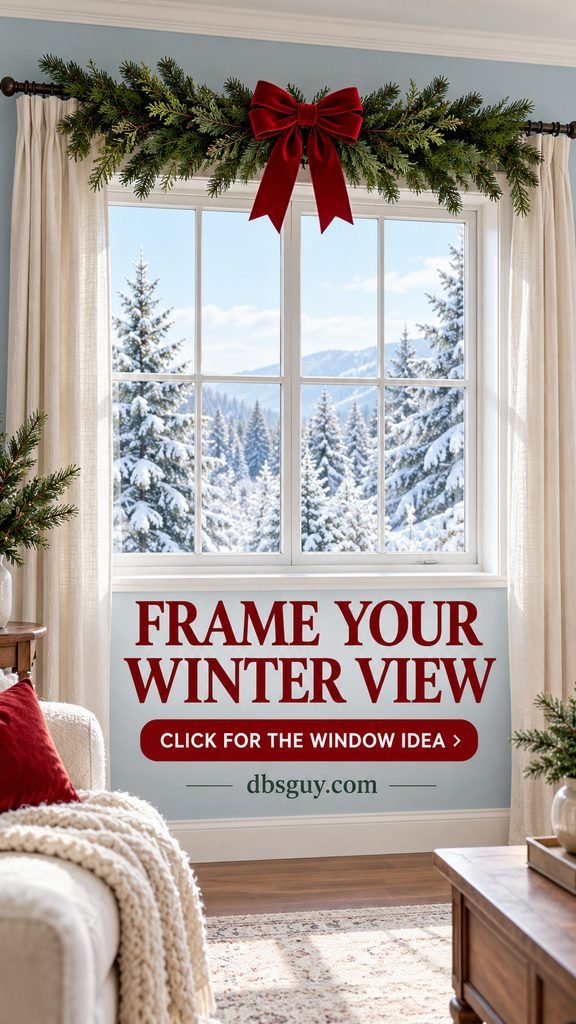
A short evergreen swag above a window creates a holiday frame while leaving the view open. A single centered red bow provides a focal point without requiring ornaments across the glass.
Measure the space above the frame and check the curtain or blind movement before hanging anything. Use suitable mounting points, and keep the bow tails short enough to stay clear of mechanisms, handles, and opening sections.
For a wide window, spread the greenery sideways rather than making an oversized heavy bundle at the center. If the window has to remain accessible for emergency use, keep it fully operable and unobstructed. Daylight will show the bow’s texture, so neatly trimmed ends matter.
Also read: 17 Indoor Christmas Window Decor Ideas That Glow Beautifully After Dark.
11. Make a Lightweight Garland From Bows Alone
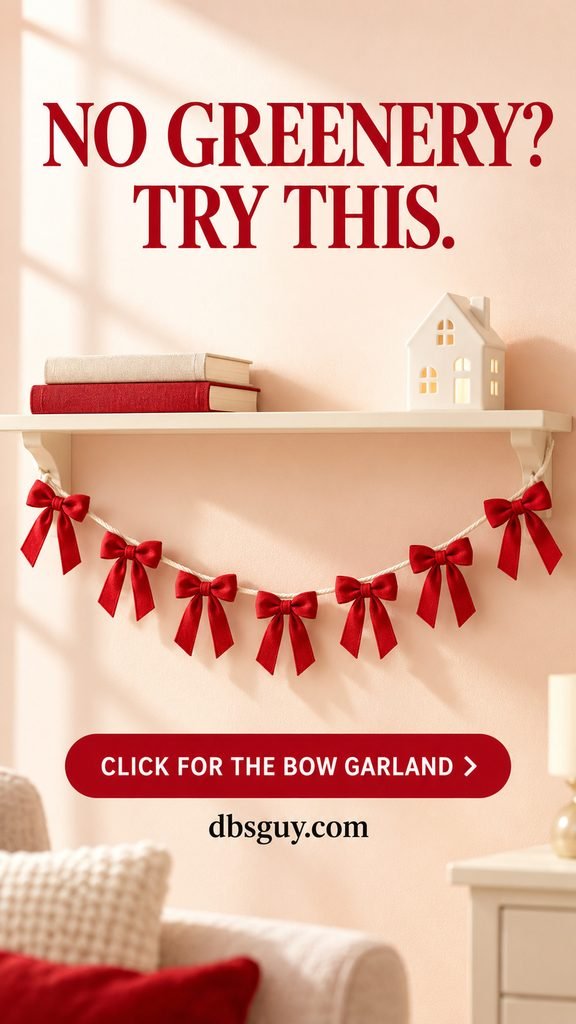
A string of little cotton bows can decorate a shelf even when there is no room for thick greenery. The cord becomes the structure; the bows create the repeating red pattern.
Lay a length of cord on a table and tie or stitch the backs of the bows to it. Begin with several evenly spaced bows, then hold it in place to judge the gaps. Secure both ends using hardware suited to the surface and weight.
A shallow curve usually looks cleaner than a deep droop on a small shelf. Keep loops similar in size, but allow a little variation in the tails. Hang cords and detachable decorations away from young children and pets.
12. Put Red Bows at the Upper Corners of a Doorway
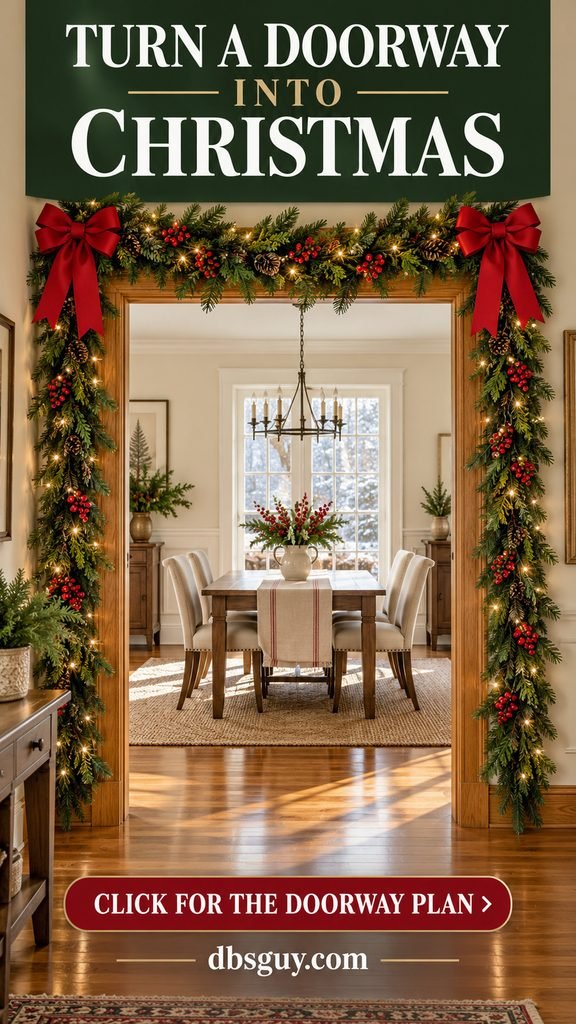
Two corner bows help a garland outline an interior doorway. They establish a clear shape while leaving the center open, which is useful when you can see a decorated dining room or tree beyond it.
Plan the garland’s route with string first, including the turns and any side drops. Mount the greenery securely without relying on ribbon knots. Use medium bows that sit within the trim area rather than projecting into the opening.
Check door swing, hinges, and sight lines before finishing. Short tails suit this location: they will still show against the greenery but are less likely to catch someone walking through. Avoid placing fabric near nearby lamps or heat sources.
13. Hang a Shallow Cedar Swag Across a Sideboard

A sideboard gives you the garland-and-bow look without needing a fireplace. Soft cedar-style greenery follows the furniture’s front edge, with one red bow marking the middle.
Keep the curve shallow enough that drawers and doors remain usable. Position the bow above the handles and trim its tails to suit the actual furniture. A detachable tie makes it easier to adjust than a permanently glued bow.
On top, leave room for serving or display rather than filling every inch with decorations. A small ceramic village or a few unlit decorative pieces can be enough. If you use fresh greenery, protect the finish from moisture and monitor drying; faux cedar is easier for a longer indoor display.
Also read: How to Make Christmas Garland Look Fuller: 9 Easy Styling Tricks.
14. Dress Kraft-Paper Gifts With Wide Red Cotton Ribbon
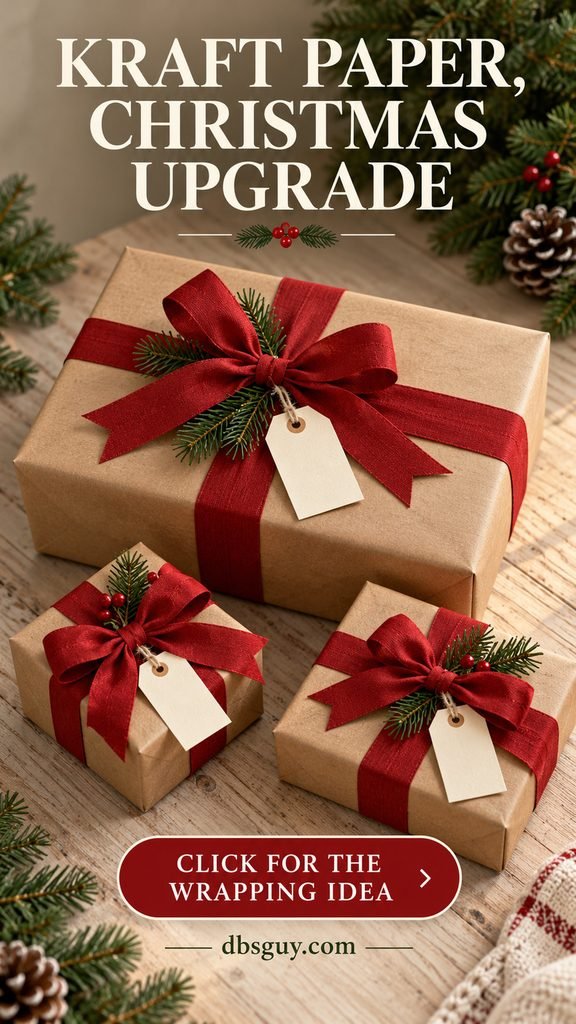
Matte kraft paper and matte red cotton ribbon make a warm, unfussy combination. The paper stays quiet while a generous bow turns the parcel into part of the room’s Christmas decor.
Measure ribbon around the wrapped box before cutting, allowing extra for the knot, both loops, and the tails. Tie a sample on your largest package so you can judge the proportions. Wider ribbon suits a bigger box; smaller parcels can use narrower pieces from the same color family.
Add a plain tag under the center knot before the final tightening. Keep the bottom crossover as flat as you can so the gift sits neatly rather than rocking on a bulky knot.
15. Use Slim Satin on Crisp White Gift Boxes
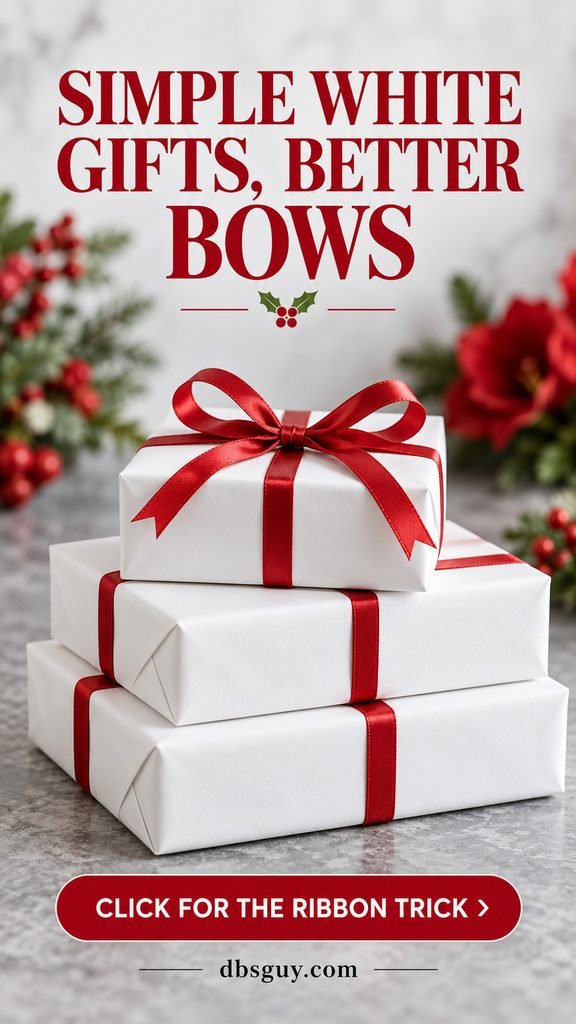
Narrow red satin gives white boxes a clean graphic outline. The appeal is the fine line of red against a large plain surface, so resist swapping in a huge bow that covers most of the lid.
Cross the ribbon around each box and tie a neat bow on top. For a little extra fullness, add a second small bow in matching ribbon at the same center point. Adjust the loops before pulling everything tight.
Keep a stack low and stable, with the largest box underneath. Tie each gift separately so opening one does not unravel all of them. A blank-looking white box can still have a name tag; tuck it beneath the bow or on the side.
16. Balance Plaid Wrapping Paper With a Solid Red Bow
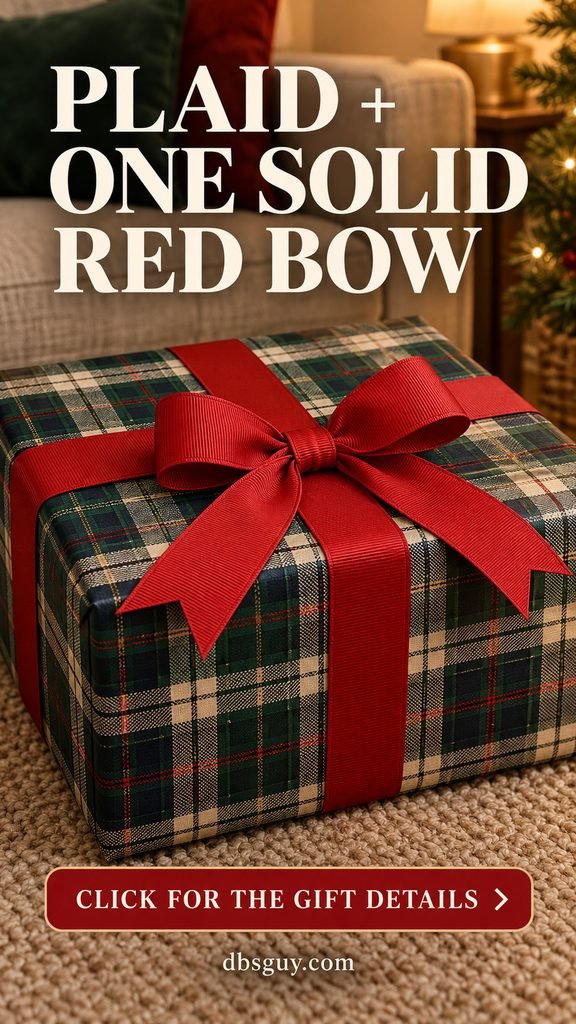
When the paper already has a strong plaid, plain grosgrain ribbon brings the eye to a resting point. Its ribbed texture adds interest without introducing another competing pattern.
Choose red that appears in the plaid, or a clear scarlet that sits comfortably against the paper’s darker green and navy tones. Fold the paper carefully so the checks run straight across the top; neat wrapping matters more here than extra embellishment.
A simple two-loop bow is enough. Keep tags cream or another quiet color drawn from the paper. If you want to add a small ornament, tie it separately to the ribbon so the recipient can remove it easily.
17. Secure a Fabric-Wrapped Present With a Red Bow
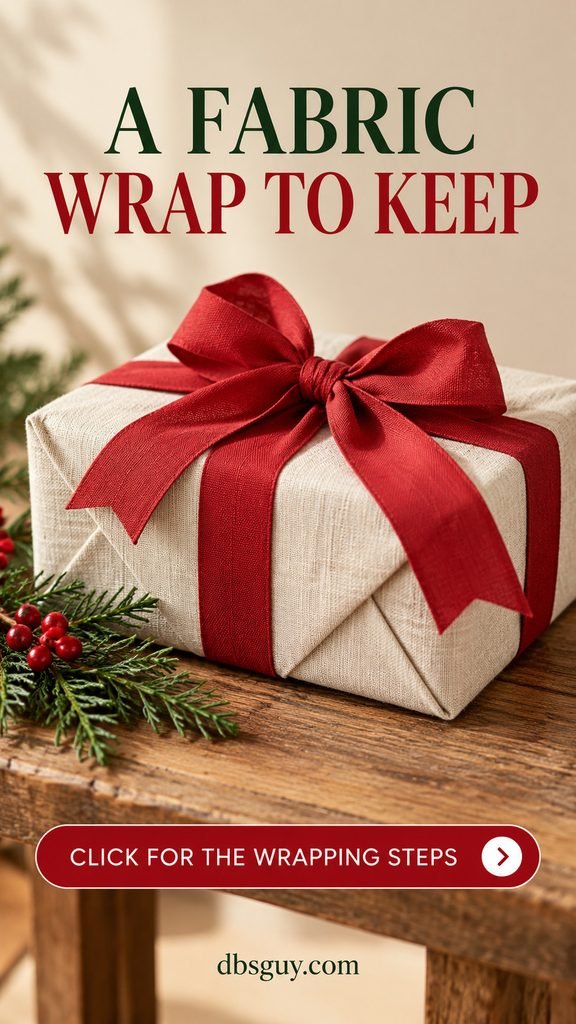
A cream cloth wrap creates a soft backdrop for red cotton ribbon. This version uses folded fabric held in place by a ribbon cross-wrap, rather than a large fabric knot on top.
Choose a clean cloth large enough to cover the box with overlapping folds. Center the gift, fold the sides neatly, and secure the package while keeping the corners contained. A ribbon bow can finish the top and help the wrap stay closed.
Include a small note if the cloth is intended to be part of the gift. Avoid claiming every fabric wrap is automatically more sustainable; its value comes from choosing suitable fabric and actually reusing it afterward.
18. Tie Red Bows Around Sealed Jar Gifts
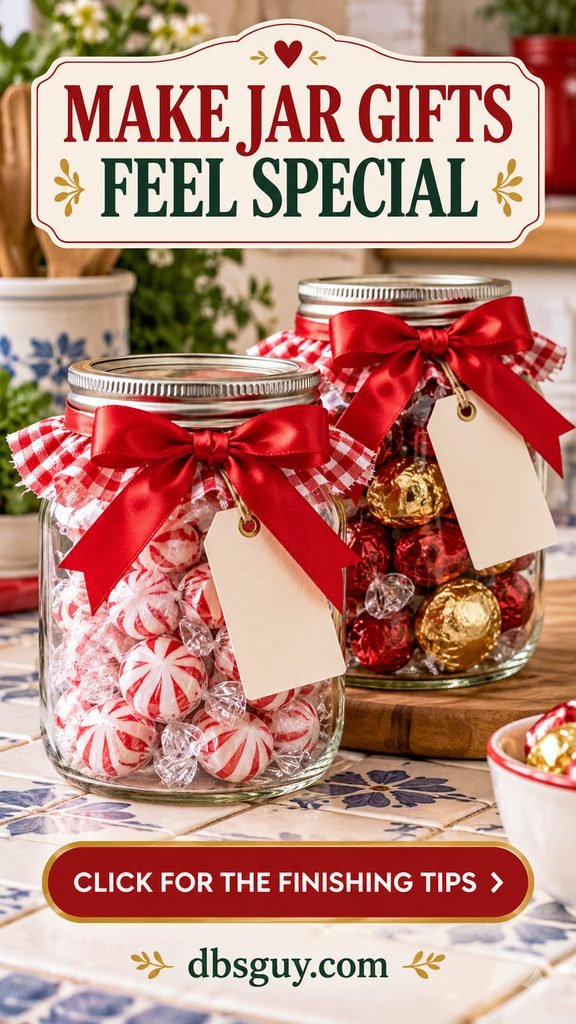
Red ribbon makes a row of small jar gifts feel coordinated. A gingham fabric topper under the bow adds a homey detail, particularly for wrapped candies or a thoughtfully labeled dry mix.
Seal the jar properly first. Keep decorative fabric and ribbon outside the lid and neck; they should not enter the food container or interfere with its closure. Tie a narrow bow just below the lid, then add a readable tag.
If you are giving food, include the contents, relevant allergen information, and any preparation or storage directions it needs. Ribbon is decoration, not a substitute for correct food handling. Use short tails so the jars can stand together without tangling.
19. Finish Gift Bags With a Bow at One Handle
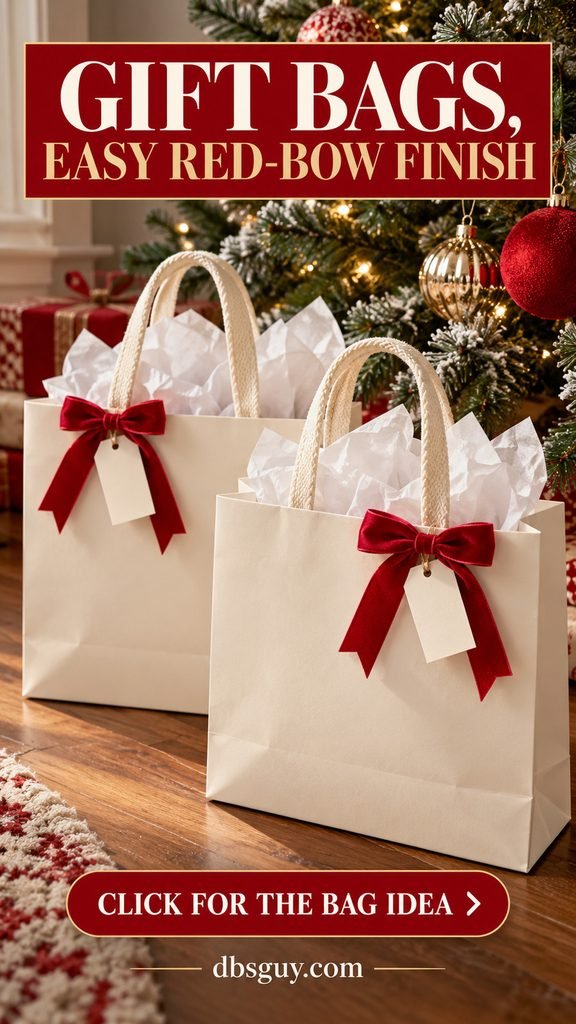
A small velvet bow at the base of one handle gives a plain gift bag a finished look without covering its front. Cream bags and white tissue let the red become the main detail.
Tie the bow around one handle attachment or another suitable point without damaging the bag. Avoid tying both handles together so tightly that opening the present becomes a struggle. Slip a name tag into the ribbon tie before the final knot.
Use matching bows across several bags if you are giving gifts to a group. The tags can do the identifying while the ribbon keeps the presentation consistent. A small bow is usually more practical than long tails dragging beneath the bag.
20. Put a Classic Red Bow at the Bottom of a Wreath
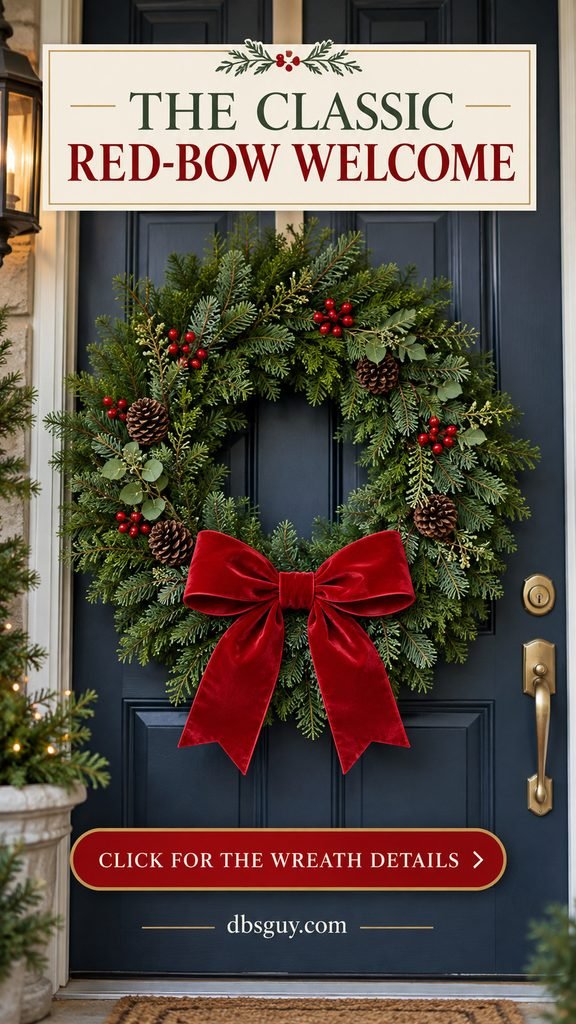
A bow at the six-o’clock position gives an evergreen wreath a familiar, welcoming silhouette. It also leaves the upper part of the greenery open, so the wreath’s shape stays visible.
Choose a bow that feels substantial without closing the center opening. Attach it securely to the wreath’s frame, tuck away sharp wire ends, and let the tails follow the lower greenery or hang slightly below it, clear of door hardware.
For a covered porch, choose ribbon labeled for the conditions it will face; indoor velvet may suffer outdoors. Check door operation and use hanging hardware appropriate to the wreath, door, and finish. If the porch is exposed to rain or wind, a weather-suitable bow may be more useful than a delicate fabric one.
Also read: Christmas Front Door Decor: How One Oversized Bow Can Transform Your Entrance.
21. Give a Brass Mirror a Standalone Red Bow
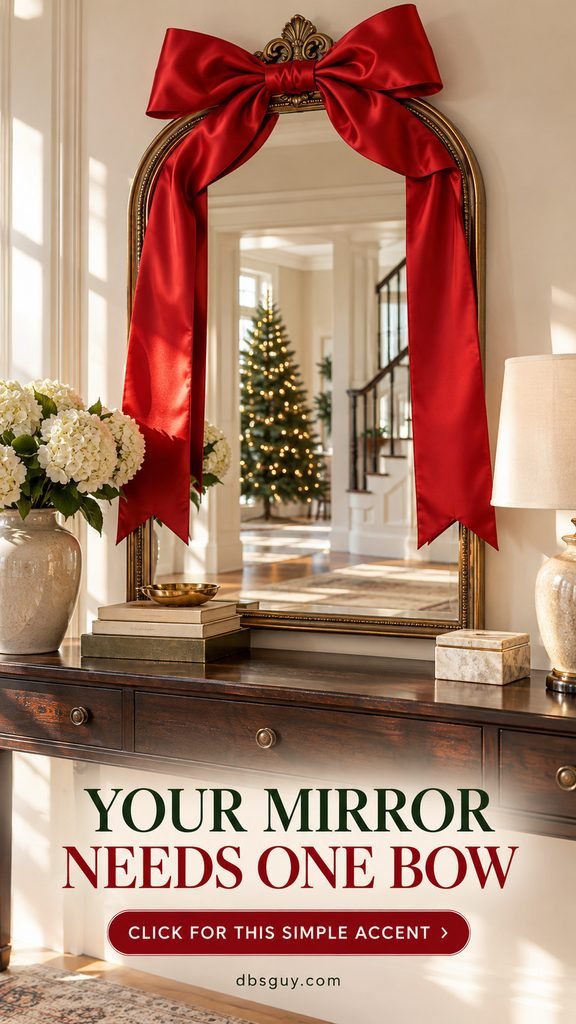
A single satin bow can decorate an entry mirror without greenery. Against a brass frame and cream wall, it reads as a deliberate holiday accent rather than another full display.
Secure a lightweight bow at a suitable point on the frame using a method compatible with its finish. Do not put adhesive on the mirror surface or delicate gilding without checking suitability. Keep the fastening concealed behind the center of the bow.
Arrange the tails beside the glass so the mirror remains useful. One slight difference in tail length can look relaxed, but both should stay clear of the console’s working surface. Repeat that same red on one nearby gift or stocking to connect the room.
22. Hang Mini Wreaths With Red Bows on Dining Chairs
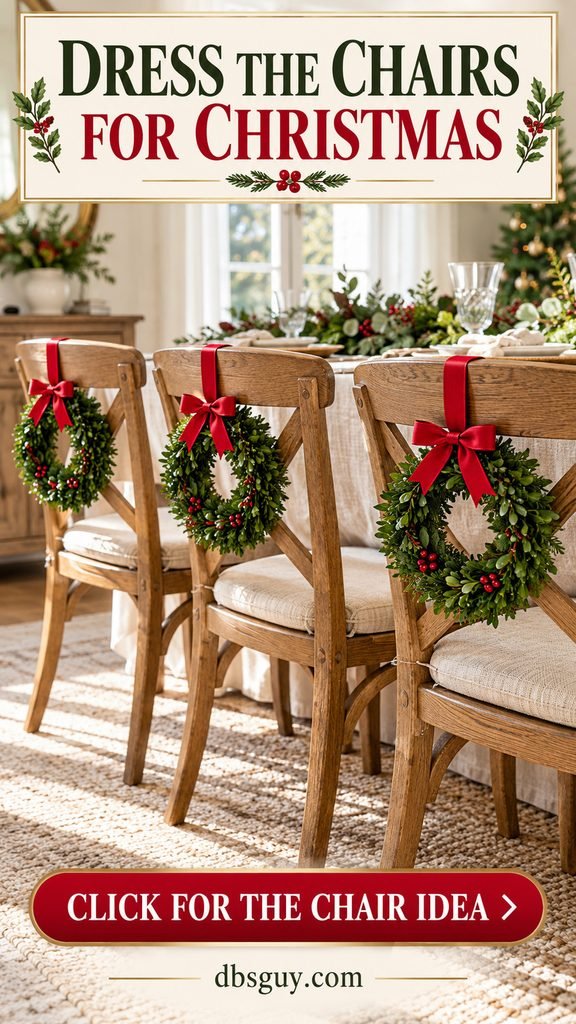
Mini wreaths on chair backs bring the Christmas color to eye level without filling the table. Red grosgrain ribbon works well as both the hanger and the bow detail.
Start with one lightweight wreath on an unused chair. Position it high enough to remain above the seat, and use a soft tie suited to the chair’s shape and finish. Check that the attachment does not rub against someone sitting down.
Repeat the arrangement only after that test feels comfortable. Trim tails short and keep the floor clear. If guests will be leaning against the decorated area, remove the wreaths before dinner or reserve them for chairs that will remain empty.
23. Tie Narrow Velvet Bows Around Cloth Napkins
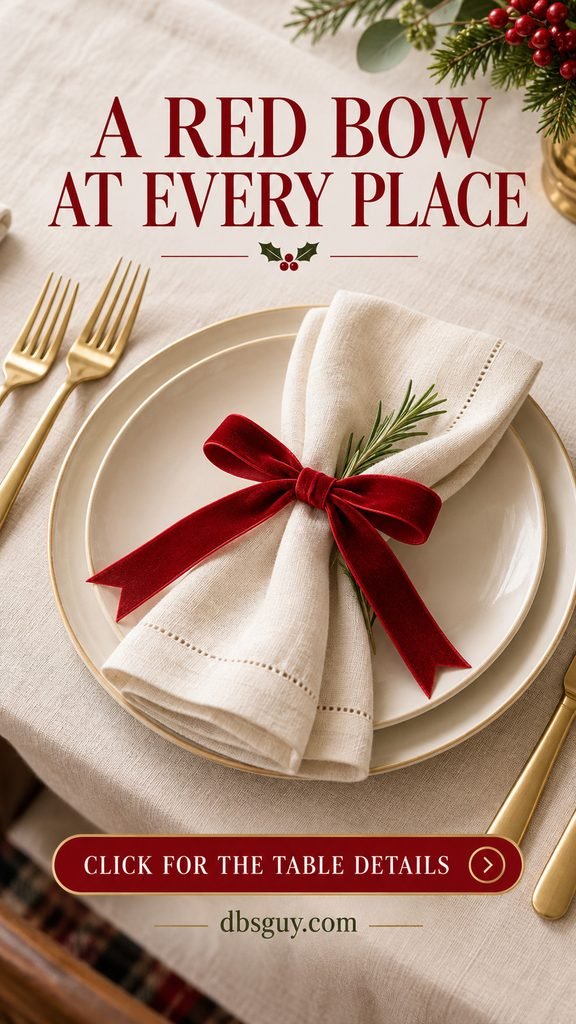
A red bow around an ivory napkin carries the theme onto the table with very little material. Plain plates and a restrained place setting keep the little bow visible.
Fold the napkin first, then wrap narrow clean ribbon around its middle and tie it loosely. Guests should be able to slip off the tie without needing scissors. Trim matching tails and check that the ribbon does not shed fibers or transfer dye to the napkin.
Keep decorative ribbon away from food-contact areas, especially if it was previously used on a tree or outdoors. Set it aside before eating and follow the textile’s care instructions. For a reusable table accent, save the clean ties together after dinner.
24. Add a Small Bow to a Flameless Lantern’s Handle
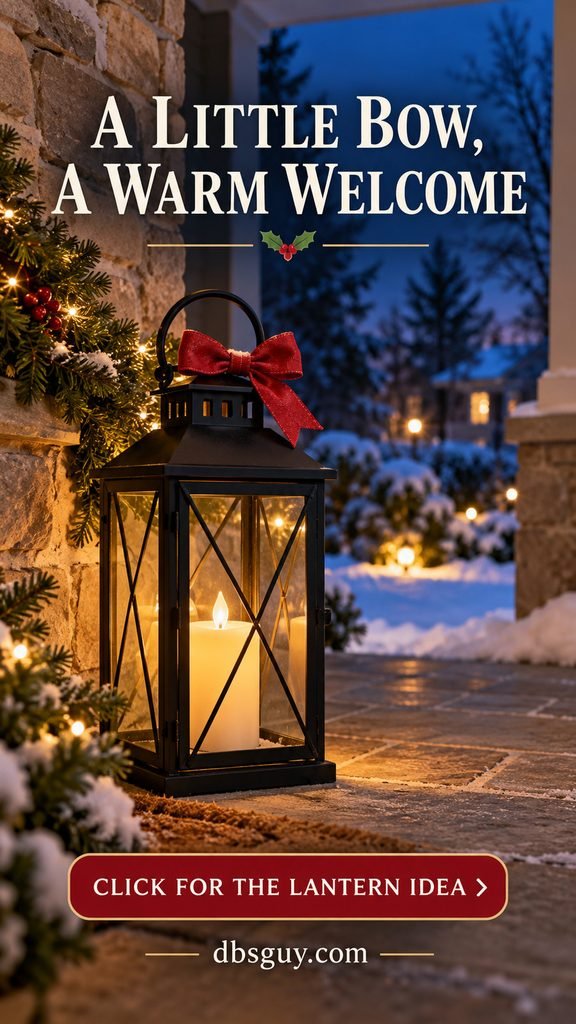
A small red bow on a lantern’s outer handle adds color to a covered porch without needing another wreath. Keep the bow modest so the lantern’s shape and light remain the main features.
This idea uses a battery-operated flameless candle, never a real flame. Place ribbon outside the lantern and clear of vents, switches, and the light source. Follow the lantern and candle manufacturers’ directions rather than assuming all LED products can be decorated or used outdoors.
Choose weather-suitable materials for the actual location and keep the lantern away from foot traffic. If an exposed porch would soak the ribbon or the light is indoor-only, bring the arrangement inside instead.
25. Update Cream Stockings With Removable Red Bows
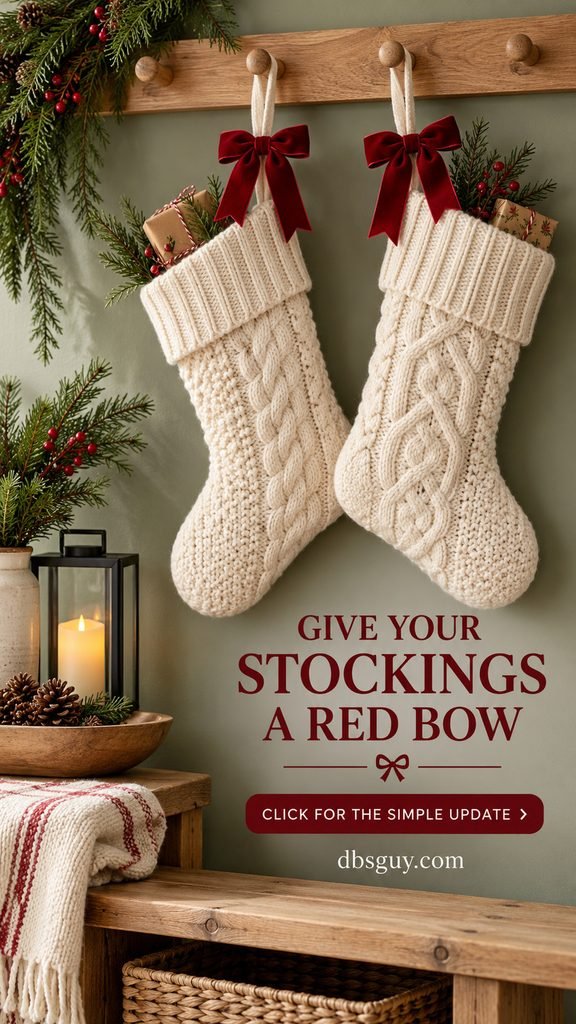
A red velvet bow on a cream stocking’s hanging loop or cuff makes an existing stocking feel refreshed. It is also a useful way to repeat the tree’s red without buying an entirely new set.
Attach a bow with a removable soft tie through an existing loop or with a few careful stitches appropriate to the fabric. Avoid hot glue on a stocking you want to wash or change later. Keep attachments secure and small loose parts away from children.
Hang the stockings from properly installed hooks that suit their filled weight. A wall rack or sturdy pegs can work when a fireplace is not a suitable decorating location. Remove the bows for cleaning and store them separately so the velvet does not get crushed.
Make One Test Bow Before Cutting the Whole Roll
You can make the softer bows in this post with an ordinary two-loop knot. Structured statement bows may need wired ribbon, a separate center tie, or a ready-made form.
- Leave enough ribbon for the first tail, then form a loop.
- Wrap the second side around the loop and pull a folded section through, just as you would tie a shoelace.
- Hold the center and adjust both loops until the proportions suit the location.
- Flatten the center and turn the attractive side of the ribbon outward. Single-sided velvet may need extra adjustment.
- Trim the tails with sharp scissors, then attach the bow with an appropriate separate tie if needed.
Measure the ribbon used by your sample. For example, if one finished bow uses 30 inches and you want 12 matching bows, those bows need 360 inches, or 10 yards, before allowing extra for mistakes. Package cross-wraps and longer display tails need their own additional allowance.
Decorate securely and keep fabric away from heat. NFPA’s Christmas tree safety guide recommends keeping a tree at least 3 feet from heat sources, watering a cut tree daily, and switching tree lights off before leaving home or going to bed. Use lighting rated for its location and follow its instructions.
Questions About Red Bow Christmas Decor
How many bows should I put on a Christmas tree?
There is no single correct number. One large topper may finish a compact tree, while an open-branched tree can carry many small bows. Start on the visible side, space them at different heights, and add more only where the balance needs it. Measure a sample before buying ribbon.
Should bows go on before or after ornaments?
For this approach, install lights first, place the main bows next, and add ornaments around them. Tiny accent bows can go on later to fill a few visual gaps. Keep ties clear of light cords and avoid covering bulbs with fabric.
Can I make Christmas bows without wired ribbon?
Yes. Nonwired velvet, grosgrain, satin, and cotton are useful for ordinary tied bows with a softer shape. Choose wired ribbon when you want more sculpted loops, or use a lightweight ready-made bow. The fabric’s thickness matters as much as its name.
What colors work with red bows?
Green and cream keep the look traditional and calm. Gold adds warmth, silver gives a cooler contrast, and navy or dark plaid creates depth. Choose one supporting direction and repeat it instead of adding every metallic and pattern at once.
How should I store the bows after Christmas?
Remove them carefully, loosen attachments, and store clean, fully dry bows without heavy objects pressing on the loops. Keep matching pieces together and label their locations if the sizes differ. Follow the ribbon’s care instructions; delicate velvet and wired edges need gentle handling.