

To make Christmas garland look fuller, start by lifting and separating the branch tips. If the greenery is still sparse, overlap a second garland along the same length or add small matching picks where you can see the core. Loose ribbon loops, a relaxed drape, and a few well-placed accents can then give the display more volume.
That order matters. A tightly wrapped ribbon may flatten the branches you just opened, and extra ornaments will not fix a bare section that really needs greenery.
If your garland looked lush in the product photo but came out of storage looking like a narrow green rope, give it a chance before replacing it. Many artificial garlands are compressed for packing; Balsam Hill’s shaping guide explains why opening the foliage is part of setting them up.
The nine tricks below focus on indoor artificial evergreen garland, with options for consoles, mantels, shelves, and other suitable hanging points. Start with the problem you can see. You may only need one or two changes to get the fuller look you wanted.
Check the Length and Hanging Plan First
A garland can be dense and still look skimpy if you pull it across a space it cannot comfortably cover.
Use a piece of string to trace the shape you want: across the surface, through any curves, and down the ends. Measure that string before choosing or joining garlands.
For example, a straight 6-foot span with a 1-foot drop at each end uses 8 feet before you allow anything for a swag. A deeper curve needs more length. Measuring the planned route is more useful than following a blanket rule for every mantel or doorway.
Also check how the finished display will be supported. A second garland, ribbon, lights, and ornaments all add weight. Command’s manufacturer guidance says to choose products for the item’s weight and surface, follow the package instructions, and allow the specified wait time. Adding extra adhesive strips does not automatically increase the stated capacity.
Gather what you already have:
- Your main garland and, if needed, a compatible second strand.
- A few small faux greenery picks or flexible sprays.
- Suitable reusable garland ties or floral wire for the greenery.
- Optional wired ribbon and lightweight ornaments.
- Optional indoor-rated lights and the correct mounting hardware.
For an easier decorating session, shape and layer the greenery first. If you are adding lights, place them before ribbon and ornaments, then check the glow again after everything is arranged.
1. Fluff the Branches Before Adding Decorations
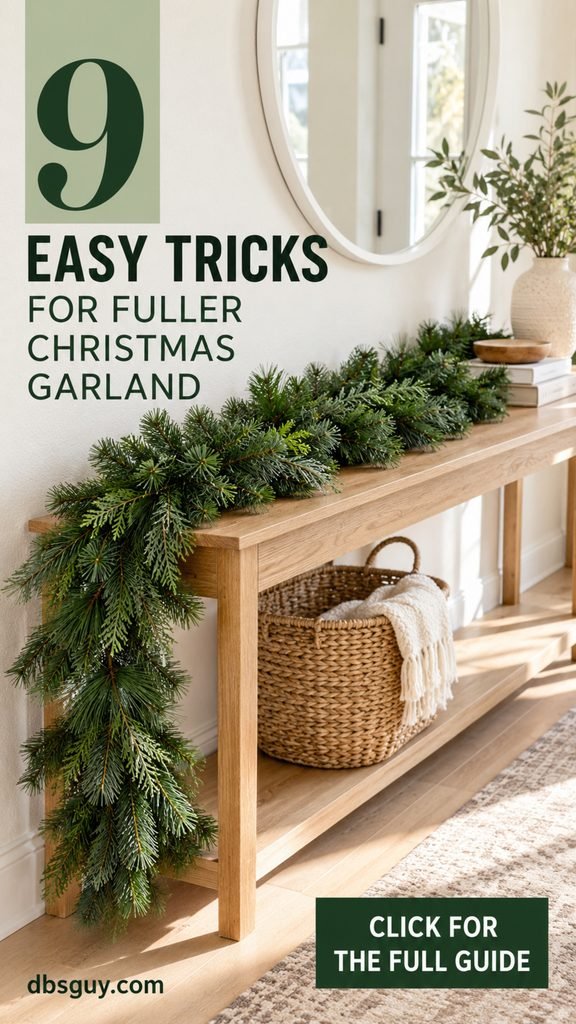
Give the branches some space to open before deciding the garland is too thin. Lay it on a protected table, straighten accidental storage bends gently, and support the central spine while you work.
Lift the lower foliage into layers, then separate the tips above it. Follow the greenery’s natural flow rather than forcing every branch into a sharp angle. On flexible wired foliage, a small adjustment can reveal needles that were lying flat against one another.
Work on a short section, turn it toward the angle people will see, and check the outline. A garland viewed from the sofa needs a different final adjustment from one seen mainly from above.
The useful test: can you see leaves and needles at several depths, or does everything sit in one flat plane?
Leave factory-attached wires, bulbs, and decorations intact, and follow the product’s shaping instructions. If the branches are brittle or not designed to bend, stop forcing them. Fuller should come from opening the foliage, not damaging it.
2. Layer Two Garlands Along the Same Length
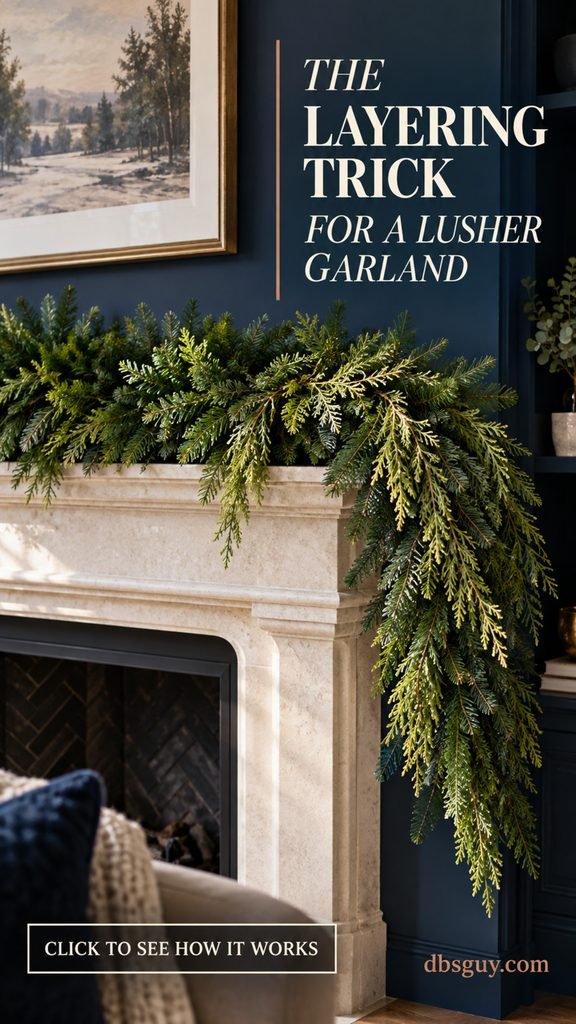
When the core is visible through most of the display, adding another strand can provide the density that decorations alone will not.
Place two compatible garlands together along the same run. Align their spines, gently offset the foliage, and join them with suitable ties without crushing the branches. The idea is to combine them into one fuller piece. Joining them end to end makes a longer garland.
Decorator’s Warehouse demonstrates this spine-to-spine layering approach. You can apply the idea to two strands you already own, provided their construction and the hanging setup suit the extra weight.
Test a small section before fastening the entire length. Sometimes a plain dense base works well underneath a more decorative strand, leaving the prettier tips visible at the front.
Keep joining ties on the greenery’s structural core, clear of electrical cords. Adjust the foliage after joining so the connection disappears.
If the finished piece becomes too bulky or heavy for the location, use a lighter accent strand or improve only the visible sections with small picks.
3. Mix in a Second Greenery Texture
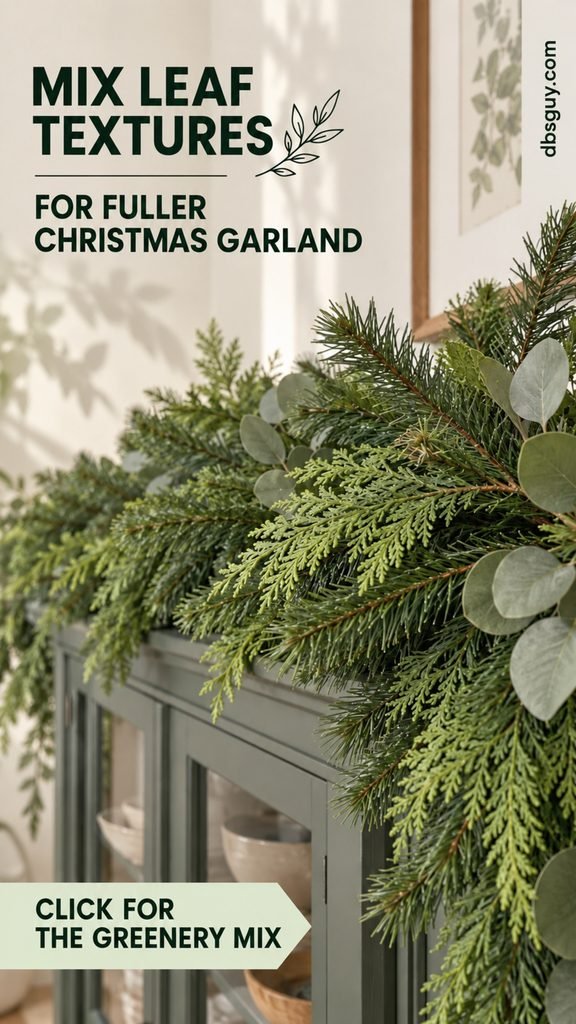
A garland made entirely of one short needle type can have a very uniform outline. A few different leaf shapes can make it look more layered and natural.
Try flat faux cedar fans with a pine base, or add a restrained amount of rounded faux eucalyptus. Longer flexible sprays can soften the lower edge while the original garland supplies the structure.
This trick changes the overall texture. You are giving the eye more than one shape to follow, rather than filling a particular hole.
Hold one sample against the base before adding more. Look at the green tones in daylight: a very bright lime-colored pick may stand out awkwardly against dark forest-green needles, even if both are described as evergreen.
Use your second texture in a few places along the display so it feels connected. Let some tips extend beyond the base, but keep them clear of nearby handles, doors, and walking space.
If you like a simple Christmas look, stop here. Greenery with enough variation can feel finished without ornaments on every branch.
4. Fill Visible Gaps With Small Greenery Picks

A mostly full garland with two bare patches does not always need another entire strand. Short matching picks let you add greenery precisely where it is missing.
Check the garland from its normal viewing position. The gap that looks enormous when you lean over it may be invisible from the room; another near a corner may be much more noticeable.
For a visible gap, choose a small faux pick close to the base’s color and needle shape. Position its stem along the central spine and secure it using an appropriate tie. Fan the tip across the empty area without flattening the neighboring branches.
Keep sharp wire ends tucked away. Do not cut into the garland’s structural core or alter integrated lighting to make a pick fit.
Start small: attach one pick, step back, and look again. Several oversized sprays in the same patch can create a bulky lump instead of an even outline.
Matching picks are especially useful where a garland turns over a console edge or changes direction around trim. Those bends can reveal the core even when the straight sections look full.
5. Let the Garland Form a Gentle Swag
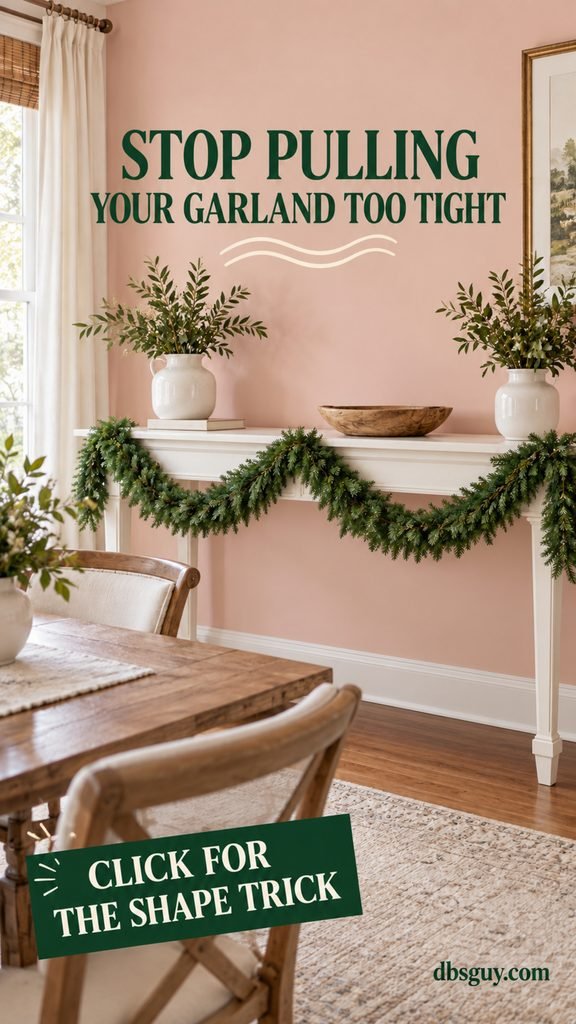
Pulling a garland tight can make its outline look narrow and rigid. If the location allows it, a relaxed curve gives the foliage a softer silhouette.
Plan the curve with string before hanging. Check the depth against drawers, doors, furniture edges, and any space people need to use. A low swag is not worth making a console awkward to open.
Install suitable supports for the completed display and arrange the garland without tension. Add support where the construction and mounting instructions require it; do not rely on a branch tip to hold the full load.
Then turn the fuller foliage toward the room and adjust any tips compressed at the hanging points. The curve should look natural, not like a very heavy bundle dragging the ends down.
For a working fireplace, choose another location if you cannot meet the appliance’s decorating requirements. CPSC advises removing greenery and other decorations from the fireplace area before lighting a fire. An unused mantel or a separate sideboard is an easier place to enjoy this draped look.
6. Add Loose Ribbon Loops for Extra Volume

Ribbon works best here when it sits above the foliage in soft loops. Wrapping it tightly around the entire garland can gather the branches into a smaller bundle.
Try a wired ribbon that feels proportionate to your display. A modest-width garland may suit a ribbon around 1½ to 2½ inches wide, but use that as a starting point rather than a rule. Hold a loop beside the greenery to see whether it adds softness or hides too much.
Make one tuck point, form a roomy loop, then secure the next point farther along the spine. Adjust the gap until the ribbon rests lightly over the branches. Let some greenery remain visible between loops.
Balsam Hill’s decorating guide notes that wired ribbon is useful because it holds its shape.
Choose a color that already appears nearby—a cushion, a tree ornament, or your table linens. One ribbon can make the garland feel connected to the room.
Avoid adding so many loops that the needles disappear. The ribbon should help the greenery look fuller, while the greenery remains the main feature.
7. Group Lightweight Ornaments Into Small Clusters

Ornaments add visual weight rather than more foliage. That makes them useful once the greenery itself has enough coverage.
Try a small group of two or three lightweight baubles in slightly different sizes. Place the group where the display needs a focal point, and leave quieter greenery around it.
Check the ornaments’ weight and attachment method. Secure them to appropriate parts of the garland’s core rather than hanging a heavy bundle from a delicate outer tip. Their caps and hanging loops should also be sound.
For a soft neutral look, mix matte white with champagne or pale copper. For a traditional room, use red with a little gold. There is no need to introduce every color on the tree.
A cluster can help cover a joining point, but fix the join itself first. Decorations should not be holding two unstable garlands together.
In homes with children or pets, choose appropriate shatter-resistant pieces and keep small removable parts out of reach. One well-placed group can be enough for a short garland.
8. Tuck Warm White Lights at Different Depths
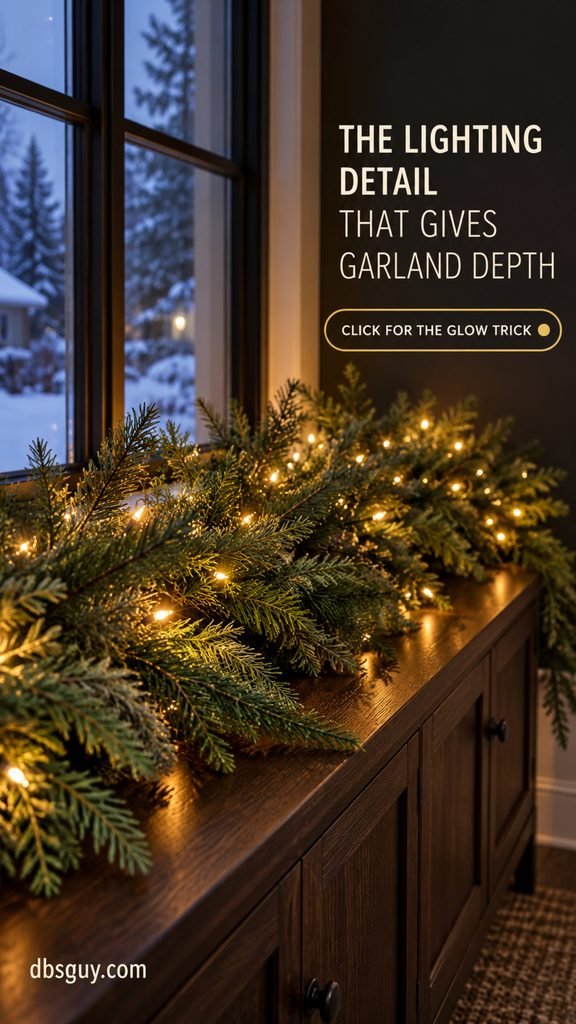
Lights can show off the layers you have already created. A straight row along the outside edge outlines the garland; a loosely woven strand can reveal some of the greenery inside it.
Use suitable indoor lights and work with them switched off while arranging. Place some small bulbs within the foliage and let others sit nearer the front, keeping cords relaxed and following the product’s instructions.
Do not cinch floral wire around electrical cords or force a strand through a tight fastening. Keep switches, connectors, and battery compartments accessible.
Check the finished look after dark. If the light appears as a bright dotted line, move a few bulbs inward where the product allows. If the greenery becomes an almost black mass, uncover some bulbs or use your normal room lighting to soften the contrast.
CPSC’s holiday-light guidance recommends inspecting cords and sockets, using lights tested for safety, and turning decorative lights off before bed or leaving home. Follow the manufacturer’s connection limits rather than using one universal limit for all LED sets.
9. Finish Sparse Ends With a Bow and a Few Sprigs

An exposed terminal wire or abrupt cut-off can make the entire garland feel unfinished, even when its middle is lush.
Lay a short matching sprig along the endpoint, following the foliage’s direction. Secure it to the greenery so it covers the bare spine and gives the end a gentle taper.
A small bow can add a finishing accent nearby. Shape the loops, keep the tails proportionate, and check that the attachment is secure. The bow can sit beside the extra greenery; it does not have to hide the whole end.
For a console or sideboard, look at the endpoint from the doorway as well as from straight ahead. The side people pass may need more attention than the part facing a wall.
Keep bows and sprigs clear of handles and moving furniture parts. Shorter tails are often easier in a busy entryway.
Check the transition: the last section should flow from the main garland. If the bow looks like a separate oversized bundle, reduce its size or move it slightly inward.
What to Change if the Garland Still Looks Thin
| What you notice | Try this first |
|---|---|
| Branches lie flat, but there are plenty of them | Shape the tips into layers before buying extra greenery. |
| The central spine shows along most of the run | Test a second overlapping strand and reassess the mounting weight. |
| Only one or two spots look bare | Add short matching picks at those visible gaps. |
| The foliage is dense but the display looks rigid | Check the length and allow a gentle curve where the space permits. |
| The greenery looks full by day but disappears at night | Adjust light placement and the room’s evening lighting. |
If several problems apply, deal with the structure first. A secure hanging plan, enough length, and shaped greenery give ribbon and ornaments something useful to build on.
You can also try moving the display to a better-sized location. A garland that looks sparse across a long mantel may look generous on a shorter console. Using it where it fits is often simpler than adding several more layers.
Avoid These Common Fullness Mistakes
Adding decoration before checking the greenery
It is easy to spend time tying bows onto a compressed base. Shape the foliage first, then assess what is actually missing. You may discover you already have enough greenery.
Making every section equally busy
A full garland still benefits from some quieter stretches. Concentrate decorative accents at a few useful points and leave the foliage visible between them. This makes the details easier to notice.
Adding weight after finishing the hanging setup
The bare garland’s weight is only the starting point. Reassess the complete piece after layering and decorating. If the supports are unsuitable, reduce the display or use a mounting method designed for the finished load.
Choosing a ribbon that takes over
An oversized bow can make a narrow garland look even smaller beside it. Hold the bow against the greenery before fastening it and adjust the loops until the two feel in proportion.
Questions About Making Christmas Garland Look Fuller
Can inexpensive artificial garland look fuller?
Often, yes, if it has enough flexible foliage to shape. Start with fluffing and a viewing-angle check. A few matching picks may help sparse spots, but a very thin base might need a second strand for the density you want.
Do the two garlands have to be identical?
No. They should look compatible and be suitable to join. A simple fir-style base can support the look of a more flowing accent strand. Try a short overlap first, checking the color, shape, combined weight, and construction.
How many greenery picks should you buy?
Identify the visible gaps before buying a large set. Try one appropriate pick in a problem area, then use the result to judge the rest. The number depends on the length and condition of your garland, not a fixed per-foot formula.
Can you mix fresh greenery with a faux garland?
You can create that look, but fresh foliage has different care needs and will dry indoors. Use appropriate identified plant material, consider household access and allergies, keep it away from heat, and remove it as it deteriorates. For a reusable display with simpler upkeep, faux picks are the more straightforward option.
How can you make a garland fuller without buying more decorations?
Open the foliage, turn its fuller side toward the room, and use it on a surface that suits its length. Try ribbon or lightweight ornaments you already own only where they help. A good shape can make more difference than another layer of accessories.
Help It Keep Its Shape for Next Christmas
Before packing the garland away, switch off and disconnect lights as instructed. Remove additions that could bend branches or damage other pieces in storage, and follow the manufacturer’s cleaning and storage guidance.
Let the foliage fit comfortably in its box or storage bag instead of forcing it under a pile of ornaments. Keep removable ribbon, picks, and ties together so the pieces you used successfully are easy to find next year.
Even a well-stored garland may need reshaping when it comes out again. The aim is to make that job easier, not to preserve every needle exactly where it was.
Give the Greenery Room to Look Full
Start with open branches, enough length, and a secure place to hang the finished piece. Then choose the extra layer, pick, ribbon loop, or accent that solves the problem you can actually see.
Your garland does not need all nine tricks at once. When the foliage has depth, the ends feel finished, and the display fits the space, you can stop decorating and enjoy it.




