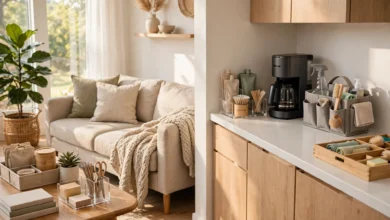
The easiest shared dorm room to live in gives each roommate a complete personal zone and makes the shared parts easy to use. Start with the beds and desks, decide where belongings belong, and choose any joint purchases together. Coordinated bedding can come later.
These 13 shared dorm room ideas include two alternative bed layouts, ways to combine different styles, and small setups that make mornings, studying, and cleanup less awkward. Choose the ideas that solve your room’s actual problems; you do not need to recreate every scene.

The images are AI-generated design concepts, not photographs of completed dorm rooms. Furniture placement and accessories are illustrative; adapt them to your room, accessibility needs, and residence hall rules.
Agree on the Room Before You Shop
Before buying anything together, check the room inventory and floor plan. Confirm the mattress size, measure the furniture already supplied, and locate outlets, heaters, windows, and the full swing of the door. Check whether furniture can move and which mounting methods, lights, and additional furnishings your hall permits.
Then agree on three things: what each person controls, what you will share, and what neither person wants to spend. One roommate caring more about decor does not make the other responsible for an unapproved purchase. The UW–Madison roommate agreement guidance offers useful questions about decorations, cleanliness, belongings, and how you will communicate.
For every layout below, keep doors, required exit routes, windows, heating equipment, vents, and fire equipment clear. Ask housing about any bed-height change or tall furniture that needs securing before planning around it.
1. Pick One Shared Base and Keep Your Own Accent Colors

If your saved rooms look nothing alike, agree on one connecting element instead of a whole matching set. In this concept, cream bedding and visible wood furniture provide the connection. One roommate adds navy stripes; the other chooses terracotta.
You can get the same effect with things you already own: repeat a cream pillowcase, a wood finish, or a small accent rather than replacing both comforters. Compare photos of your existing bedding before ordering anything shared. A color plan should reduce duplicate spending, not create a new shopping obligation.
Leave personal bedding purchases to each person. Use two yeses for the things you both see and use, such as a central rug.
Also read: 15 Pink Dorm Room Ideas That Are Anything But Basic for color combinations you can adapt to one side.
2. Try Parallel Beds With Equally Useful Sides
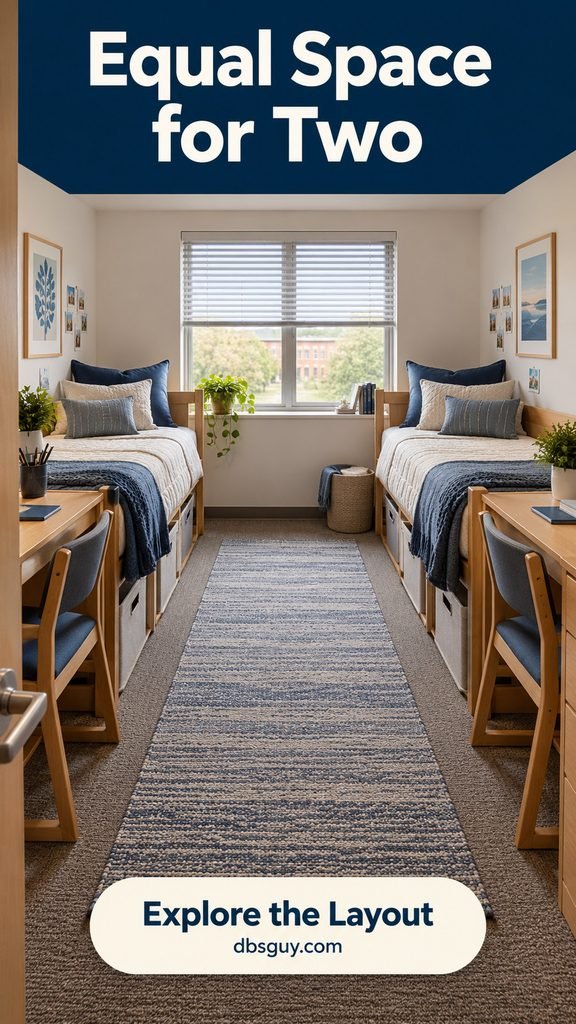
Beds along opposite walls are a straightforward starting point for a rectangular room. Each roommate gets a wall, a bedside area, and a clear approach to their own mattress. Desks can sit nearer the entrance if the room shape and door position allow it.
Test the layout while both people pull out their chairs and open drawers. An aisle that looks generous with everything shut may disappear during normal use. Keep each person’s laundry and storage within their assigned side rather than borrowing the center strip.
Fair does not always mean mirror-image furniture placement. Compare outlet access, daylight, hallway noise, and usable storage before choosing sides. If one position has a drawback, agree on an adjustment before decorating around it.
3. Use an L-Shaped Bed Layout When the Room Allows It
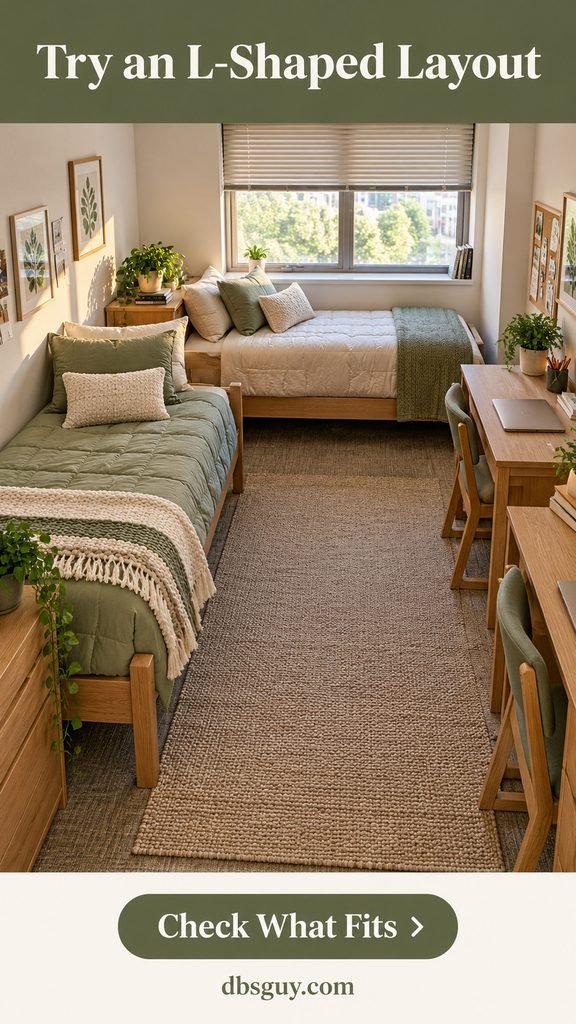
In a squarer dorm, placing the beds along adjacent walls can leave a more useful open area on the other side. The concept keeps the frames separate at the inside corner and places the desks opposite them. This is an alternative to idea 2, rather than another step to add to it.
Sketch the actual bed footprints on your floor plan, including anything projecting from the frames. Check access to both beds, the window, closets, and desk chairs. Do not tuck one mattress behind the other or assume a bed can sit against a radiator.
Choose this arrangement because it improves circulation or creates two comfortable corners. If it traps storage or makes one person climb around furniture, keep the original layout.
4. Give Each Desk a Complete Work Zone
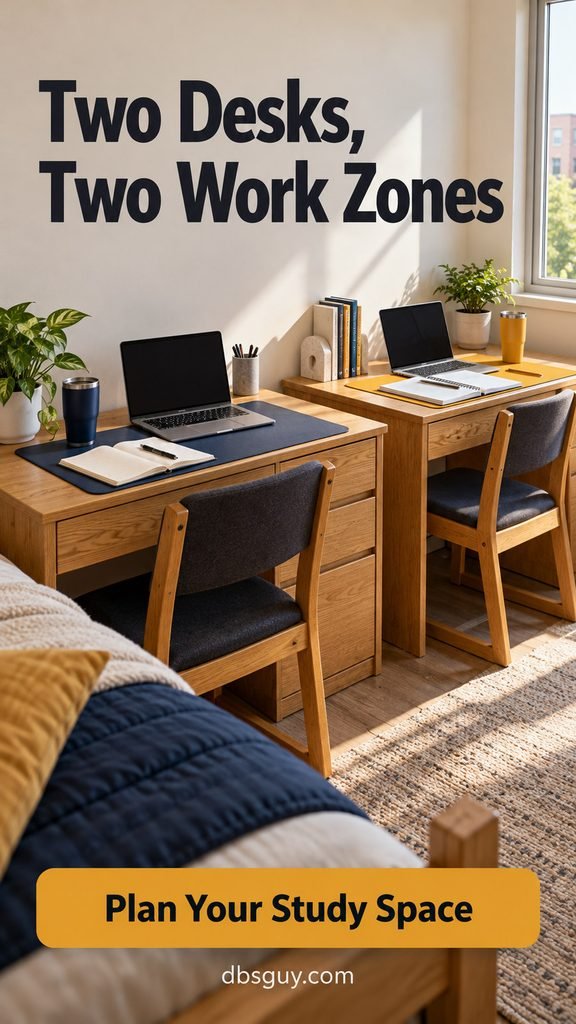
Two adjacent desks can work well if each remains a complete workspace. Keep a laptop, an open notebook, and writing supplies within each desk’s edges. Different desk mats make the division visible without adding a screen between you.
Give each person somewhere to put books and chargers that does not depend on the other desk being empty. Keep the space underneath available for legs and the chair rather than filling it with a shared bin.
If working side by side is distracting, face the desks toward different walls where the furniture plan allows. Neither layout makes simultaneous calls quiet; agree on where voice calls can happen when the other person needs concentration.
5. Match the Display Size, Not the Artwork

Give each person an equal display area instead of negotiating every photograph. Two boards with the same outer dimensions provide structure even when one holds concert memories and the other has botanical prints.
Start with a few small pieces and leave space between them. Keeping the display inside a defined rectangle makes future additions easier to manage and keeps one collection from spreading across the shared wall.
Use only your hall’s permitted mounting method and stay within its wall-coverage rules. If boards cannot be hung, use small tabletop frames within each person’s desk area. Picture-hanging strips are not a reason to improvise a floating shelf for books.
6. Make Under-Bed Storage Personal and Easy to Reach

Use the space beneath your own bed for your own belongings. Navy bins on one side and olive on the other make ownership obvious, but simple name labels work just as well with mismatched containers.
Measure the narrowest opening under the frame, including supports, and check the container’s outside dimensions with its lid on. Then measure the space needed to slide it into the aisle. A container that fits underneath but cannot come out is poor everyday storage.
Keep often-used items toward the accessible edge and less-used extras farther back. Work with the bed height you are assigned; ask housing about approved adjustments instead of buying risers or altering the frame yourself.
7. Create One Snack Station With Separate Baskets

Put shelf-stable snacks in one agreed location so food does not migrate onto both desks. Give each person a basket; use a separate small tray for anything you have explicitly agreed to share, such as napkins.
Set the borrowing rule when you set up the shelf. Shared placement is not permission to take someone else’s food. Decide who replenishes communal items and whether there are foods either roommate needs kept separate.
Use an existing shelf first. If you add furniture, choose a stable piece that fits outside the walking route. A refrigerator or cooking appliance is a separate decision: confirm school permission, electrical requirements, and the manufacturer’s placement instructions before bringing one. The pictured setup needs no appliance.
8. Put a Small Landing Spot Beside the Door
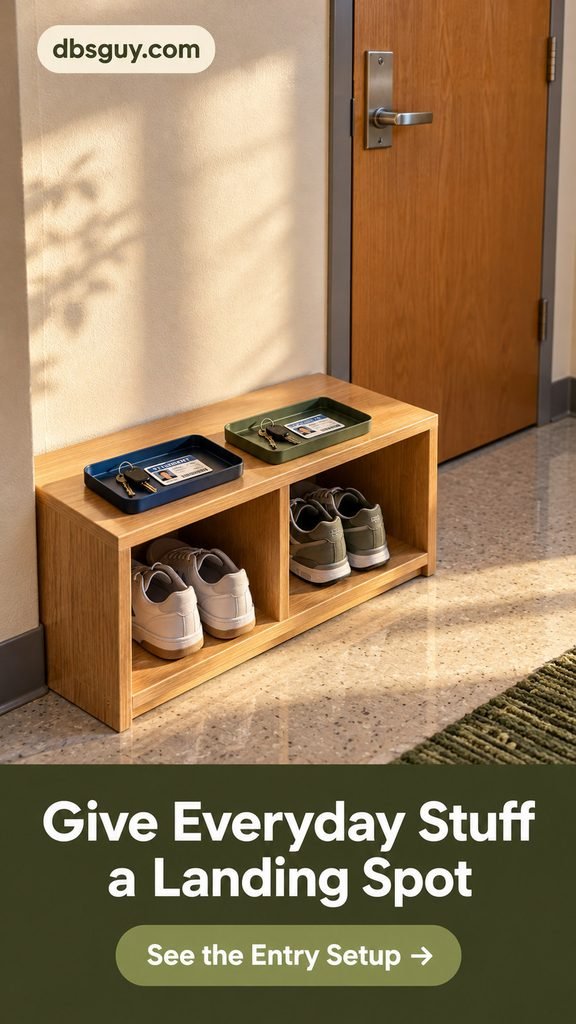
Keys and student cards need a predictable home more than they need a decorative bowl in the middle of the room. Place two small trays on a suitable existing surface near the entrance. A narrow shoe shelf can do both jobs if your room has space for it.
Keep the landing spot beside the door, outside its full swing. Leave the door, latch, closer, and required exit clearance unobstructed. Avoid piling bags and coats here just because it is close to the entrance.
Give each person one tray and a defined shoe space. If a shelf makes the entrance tighter, skip the extra furniture and use each person’s dresser top instead. The useful part is the habit, not the shelf.
9. Divide the Closet Before Adding Organizers

In a shared closet, allocate both hanging space and shelf space. Splitting the clothes rod while one person takes every upper shelf is not an even arrangement. If you have separate wardrobes, keep those personal and agree only on any overflow area.
Place a laundry hamper within each person’s section where it fits without trapping shoes or blocking a door. Match organizer dimensions to the actual shelf depth and leave hangers enough space to move.
An empty patch on your roommate’s side stays theirs unless you ask. If someone needs temporary overflow, agree on the item, the location, and when it will move back. Matching hangers are optional; clear ownership is the part that matters.
10. Let Low Beds Double as Casual Seating
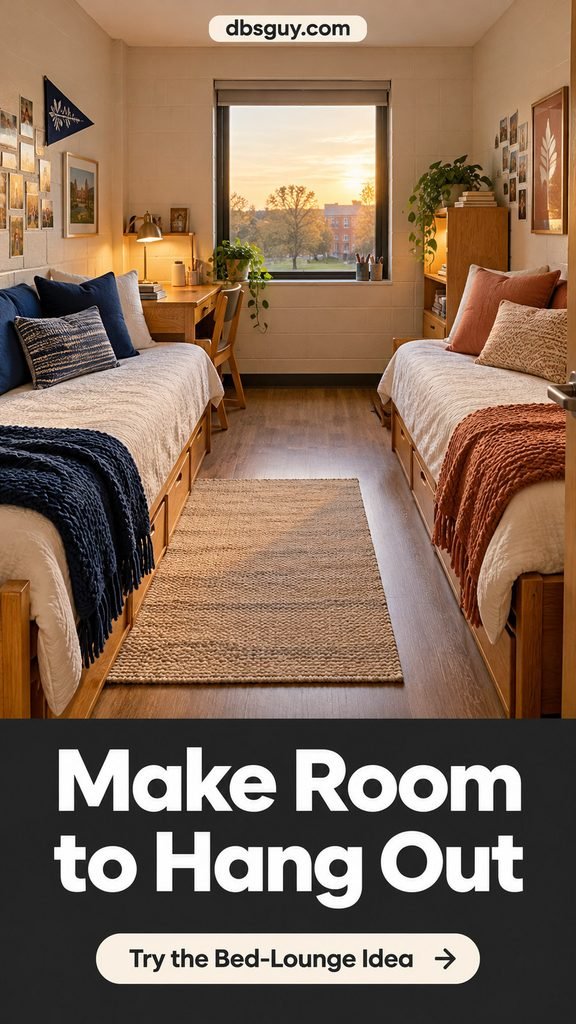
Before ordering a futon, try making the low beds you already have comfortable for short daytime hangouts. A washable coverlet protects the sleeping layer, and a couple of cushions against the wall provide back support.
Keep the setup easy to undo at night. Store decorative cushions in your own space instead of moving a pile onto your roommate’s chair. Skip this idea for a raised bed that is awkward to climb onto or sit on comfortably.
Permission still matters: an inviting bed is not communal furniture by default. Ask before sitting on each other’s bedding, and agree on guests. If either person wants their sleeping space kept private, use the hall’s permitted common areas for larger hangouts.
11. Give Each Person Control of Their Own Light
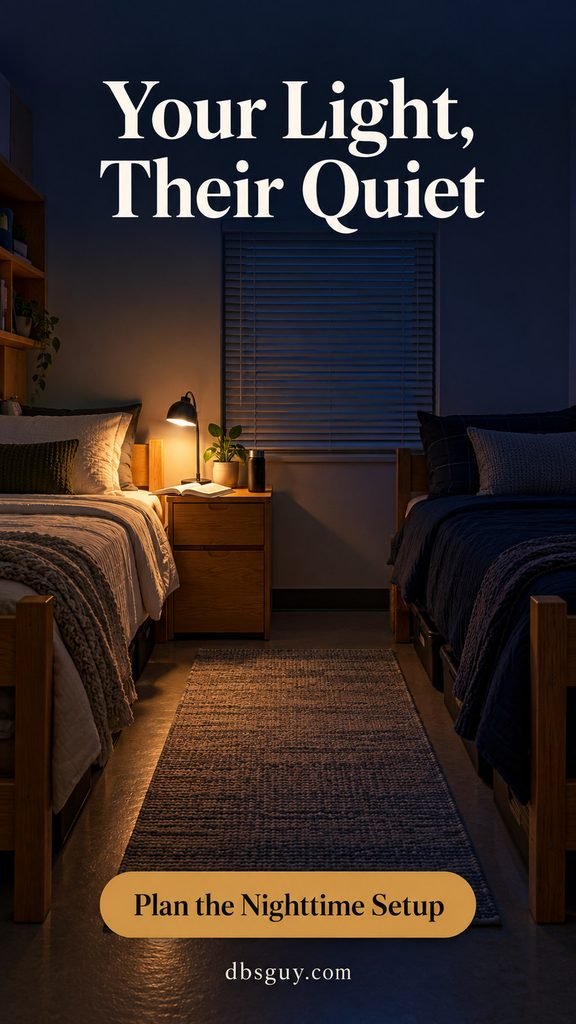
A shared ceiling light offers only one setting for two schedules. Individual adjustable lamps let one person read while the other prepares for bed, provided the light does not spill into their sleeping area.
Choose a stable lamp with a shielded, downward-facing light and place it on a firm surface clear of bedding. With both roommates present, test it from the other pillow. Adjust the direction or brightness together; a small lamp can still be distracting when its bulb faces someone’s eyes.
Agree on what happens after one person turns in: which light can stay on, whether typing is workable, and where calls will move. Arrange approved electrical equipment as instructed, and keep cords out of walking routes and from under rugs.
Also read: How to Actually Sleep in a Noisy Dorm (Even When Your Roommate Doesn’t).
12. Choose One Shared Rug That Fits Daily Traffic

A central rug is a useful place to compromise because it belongs to the room rather than either bed. Pick a pattern that includes something from each side, such as navy and ivory beside blue and clay textiles.
Measure the actual exposed floor and choose the rug after the furniture layout is settled. Check its thickness against door clearance and make sure the edges do not curl where you walk. Use a floor-compatible nonslip backing or pad as appropriate for the flooring and product instructions.
A low-pile or flatweave surface is one practical option for regular cleaning. Keep chair movement, drawer access, and electrical cords clear. Agree who cleans it and who takes it at move-out before splitting the purchase.
Also read: 13 Blue Dorm Room Ideas for a Calm, Coastal Vibe for another palette you can borrow.
13. Make the Shared Cleanup Routine Visible
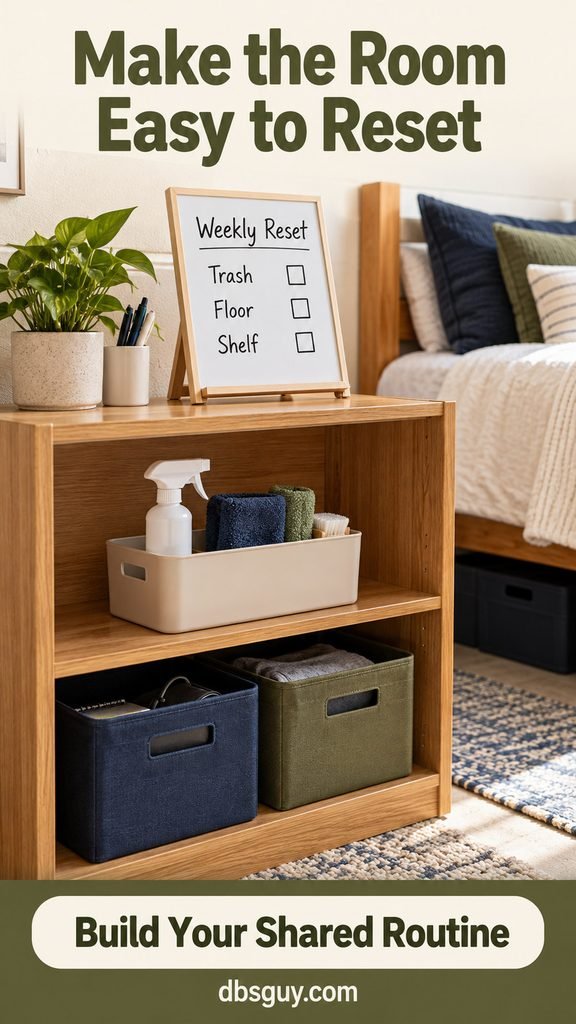
Even a well-planned room gets messy when neither person knows who is taking out the trash. Keep a short shared task list in a phone note or on a small freestanding board. A board on an existing shelf avoids adding another wall installation.
Choose specific responsibilities together: empty the shared trash, clear the snack shelf, and clean the central floor. Set a check-in time that fits both schedules, and adjust the plan after busy weeks instead of letting missed tasks become permanent assignments.
Store permitted cleaning supplies together according to their labels, away from food. Use separate catchall baskets for personal items so tidying never means guessing where your roommate wants their belongings. If something is bothering you, talk directly; leave the board for the routine you have already agreed on.
Make the First Shared Decisions Small
Start with the furniture you are required to keep, one workable layout, and clear personal storage. Then choose a single shared improvement: perhaps a rug, snack shelf, or entry tray setup. Live with it before buying the next thing.
Keep a shared note of joint purchases, who paid, and what happens at move-out. One person buying an agreed rug and the other buying an agreed shelf may be easier than splitting every receipt. Either way, agree first and keep the room usable while you work out the style.
Shared Dorm Room Questions
Do roommates need matching bedding?
No. A repeated neutral, wood finish, or small accent can connect very different beds. If neither person wants to coordinate bedding, keep personal sides independent and choose only shared items together.
What should we buy together for a shared dorm room?
Check what the school already provides, then list genuine gaps. A rug, basic cleaning supplies, or a permitted shared appliance may make sense. Bedding, laundry hampers, and personal desk supplies can stay separate. Agree on ownership and spending before purchasing.
How can we get privacy without a room divider?
Keep personal storage and display areas distinct, angle workspaces away from each other if possible, and agree on private time and guest expectations. Those boundaries do not create soundproofing. Ask housing before adding curtains, screens, or any bed enclosure; permission varies by building.
What if our room is too small for extra furniture?
Use the existing surfaces: personal trays on dresser tops, bins under beds at their approved height, and defined desk areas. Leave out the shoe shelf, snack shelf, or extra seating if it reduces access. A complete setup for each roommate matters more than fitting every idea.