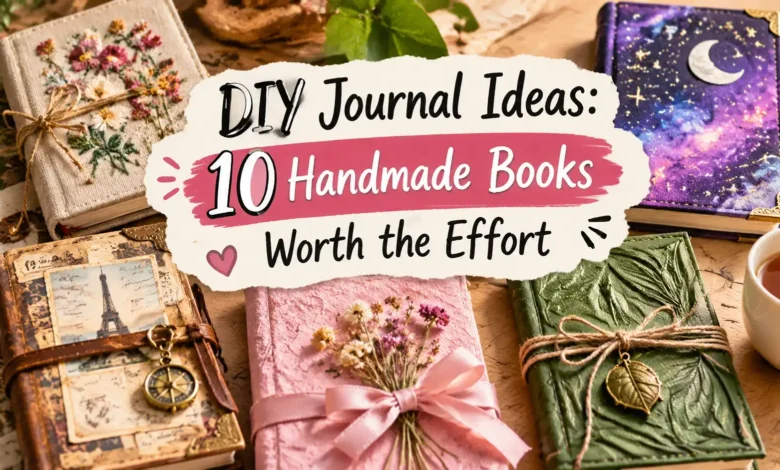
The best DIY journal is the one built around what you want to put inside it. A slim stitched notebook suits everyday writing. An accordion gives a trip room to unfold. Rings let you move fabric swatches around, while an envelope book keeps the little things that never stay put between ordinary pages.
These ten handmade journal ideas include a practical starting size, a construction plan, and the detail that makes each book worth making. If this is your first book, start with the three-hole journal or the one-sheet mini. You can use the same basic tools again when you want a more involved project.
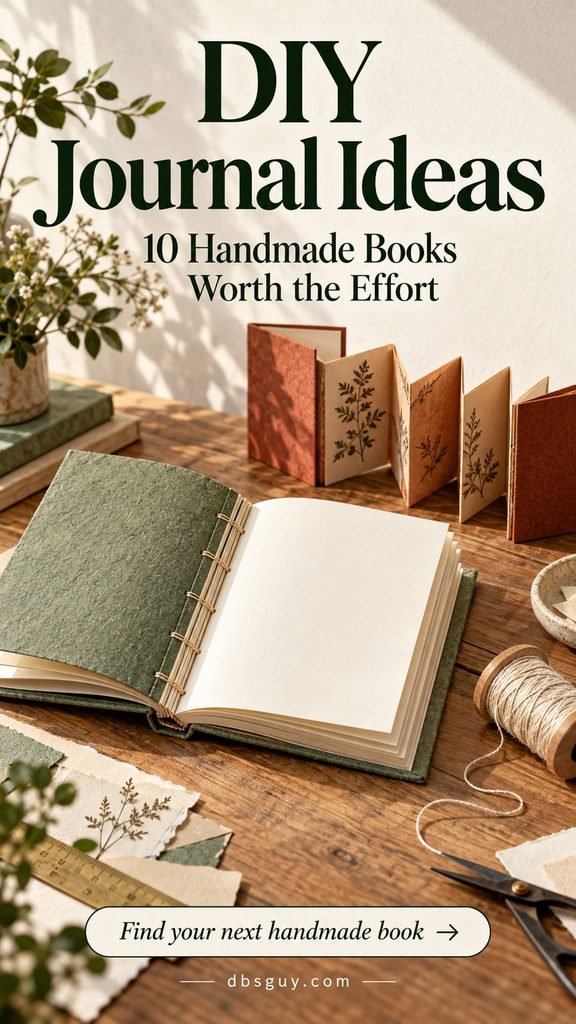
The images are AI-generated design concepts, not photographs of tested projects. Use the written measurements and instructions for construction; decorative details can be adapted.
Before you cut your paper
Gather a ruler, pencil, scissors, scrap paper, and clips. For sewn books, add a bookbinding needle, an awl, and strong linen or bookbinding thread. A bone folder helps make crisp creases; the smooth back of a spoon can handle a small practice book. Use a cutting mat with a craft knife, and pierce paper against a suitable scrap backing or punching cradle, keeping your supporting hand out of the tool’s path.
Choose the paper before the cover. Test your usual pen on an offcut, including the reverse side. For watercolor, buy paper intended for watercolor rather than hoping ordinary writing paper will cope. For folded books, orient the paper grain parallel to the spine where possible: gently bend the sheet in both directions and choose the easier bend for the fold.
A signature is a group of sheets folded and nested together. Eight sheets folded in half make 32 writable pages, not eight. Start with a small stack; thick paper needs fewer sheets. Assemble a scrap-paper version before cutting special fabric or decorative paper.
1. A three-hole journal for everyday writing
This is the useful first project: a light notebook you can actually finish filling. A terracotta cardstock cover and plain cream pages keep the attention on your writing, while a visible thread knot makes it unmistakably handmade.
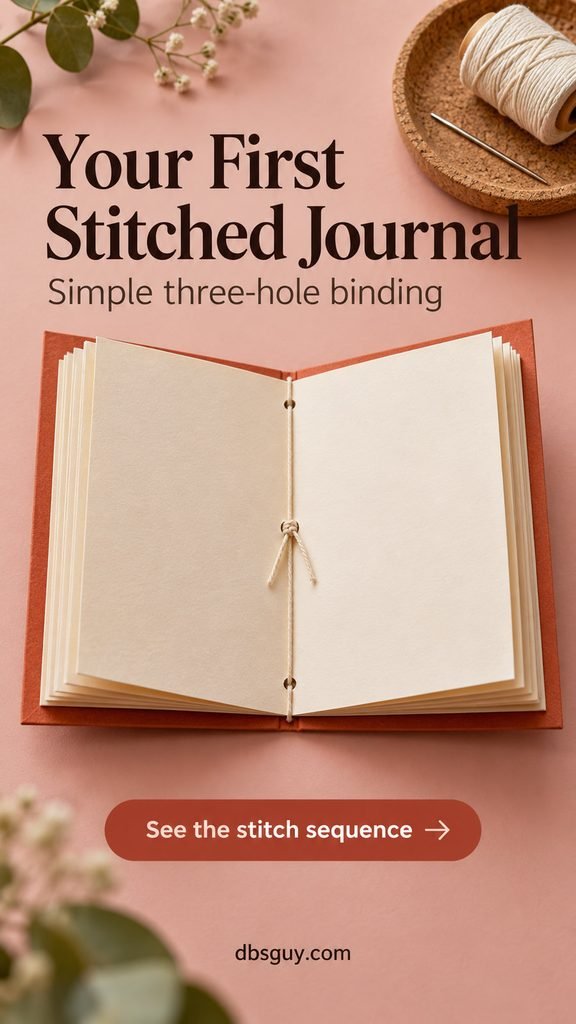
Start with: eight sheets measuring 8 × 6 inches, one slightly larger piece of foldable cardstock, and about 24 inches of thread. Fold the sheets across their 8-inch width to make a book approximately 4 inches wide and 6 inches tall. Nest them together and wrap the folded cover around them.
- Clip the stack in place. Mark the center of the spine fold, then mark a hole 1 inch from each end. Pierce all three positions through the nested paper and cover.
- From inside the open center spread, take the needle out through the middle hole, leaving a 3-inch tail inside.
- Enter through the top hole. Run the thread down the inside fold and out through the bottom hole, skipping the middle.
- Return through the middle hole. Place the two ends on opposite sides of the long inside thread and tie a square knot around it: right over left, then left over right.
Pull along the spine to remove slack; pulling hard away from the paper can enlarge the holes. Trim the tails after checking that the pages turn freely. If the inner sheets stick out, trim them individually with scissors rather than trying to force a knife through the whole book.
2. An accordion journal for a trip or a changing landscape
An accordion makes sense when the pages belong together visually. A mountain sketch can continue across the folds, or each panel can hold one stop from a weekend away. You can stand the finished book on a shelf and see the whole story at once.

For a compact version, cut a strip of paper 16 × 6 inches. Mark it every 4 inches along the long edge, then fold at those marks, alternating the direction of each crease. You will have four connected panels, each 4 × 6 inches. Use drawing or watercolor paper according to the medium you intend to use.
Make two board covers about 4¼ × 6¼ inches and cover them with decorative paper or bookcloth. Glue the back of the first panel to the inside front cover and the back of the last panel to the inside back cover. Keep the folds free of glue. Dry the closed, aligned book between protective sheets under a flat weight, following the adhesive’s drying directions.
Write on the accessible panel faces and leave thick souvenirs out; this structure folds best with flat artwork. Paint the strip and let it dry before attaching the covers. For a longer trip, make a second small volume instead of starting with a long, awkward strip.
3. A ring-bound swatch journal you can rearrange
Use this book to compare fabric, paint colors, knitting samples, or paper combinations. The pages can come out while you work and move into a different order afterward. Two openable binder rings are more practical here than permanent stitching.
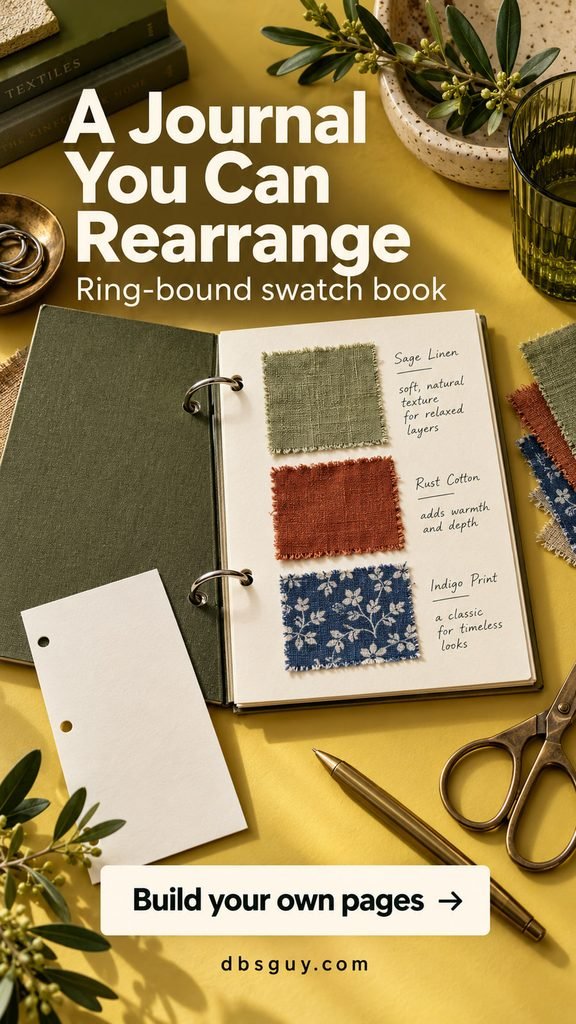
Cut sturdy cards to 5 × 7 inches and two covers slightly larger. On a scrap template, mark two holes ½ inch in from the left edge, with one 1¼ inches below the top and the other 1¼ inches above the bottom. Transfer those positions to every page and both covers. Punch in small batches that your punch can handle cleanly.
Mount one or two samples on each card, with a note about their source and intended use. Leave at least ¾ inch beside the binding edge clear. Put the stack on the rings and turn every page before adding more samples. If the cards catch, reduce the stack or use larger rings.
Stagger bulky swatches across the page instead of stacking every sample in the same spot. That small decision helps the book close more evenly. Keep an extra blank card at the back as your permanent hole template.
4. An envelope memory book for tickets and little notes
Some memories need a pocket. An envelope journal gives each outing, month, or person a separate home, with a removable card for the story behind the keepsakes. Coral covers and plain kraft envelopes make the contents feel collected rather than cluttered.
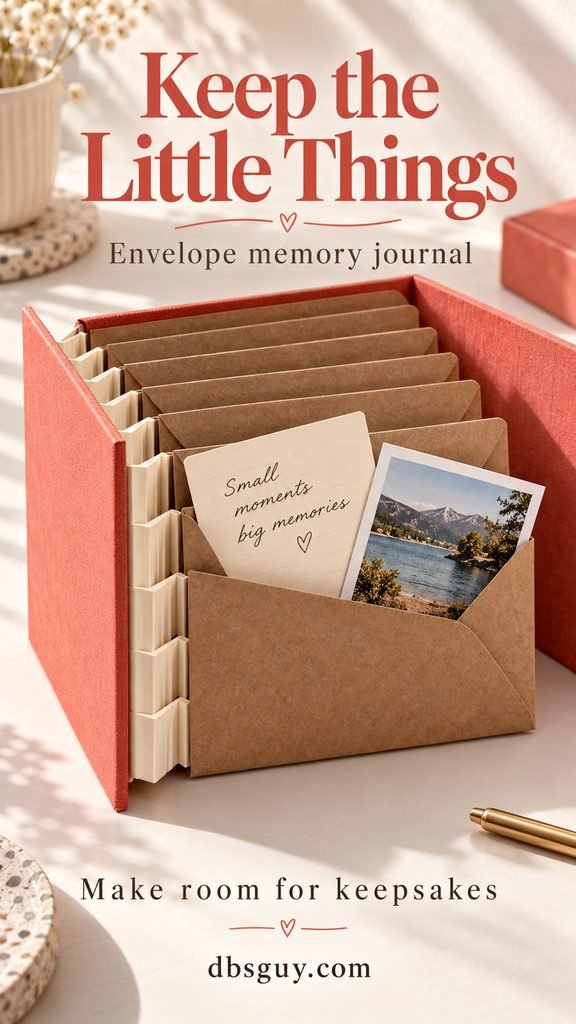
Begin with six matching envelopes and cards that slide in easily. Choose covers slightly larger than the envelopes. Before gluing anything, put a typical card and keepsake into each envelope so you can judge the space the finished book will need.
Make five paper hinges, each as tall as the envelope’s closed left edge. For light contents, try strips 1¼ inches wide: score at ½ inch and ¾ inch, leaving two ½-inch attachment flanges and a ¼-inch center space. Fold the scores into a shallow U. Glue one flange to the back of one envelope near its left edge and the other to the front of the next. Keep the middle space unglued so the envelopes can separate.
Connect the stack, then use additional hinges to attach the first and last envelopes to separate board covers. Keep every opening and flap free. Let the adhesive dry before filling the pockets. If your sample contents are thicker than the hinge space, widen that space in the paper mock-up first.
This is a small memory book, not a storage box. Use copies of irreplaceable photographs, and keep heavy objects out. A loose ribbon around the closed book can hold it together without squeezing the pockets flat.
5. A refillable travel journal with a reusable cover
A removable insert lets you keep the cover you like without carrying every old entry. Make a slim notebook for each trip, slide it out when it is full, and label its spine or cover before storing it.

First make a 4 × 6-inch insert using idea 1. Wrap scrap paper around the closed insert to establish the cover size, allowing about ¼ inch beyond the page edges and enough width to bend around the spine without compressing it. Use that pattern to cut supple leather or a suitably sturdy flexible cover material.
Mark two small holes on the cover’s spine centerline, one near each end, positioned just beyond the insert’s top and bottom edges. Thread a round elastic cord through both holes to create a loop running down the inside and outside spine. Knot the ends outside. Start slightly loose and adjust until the cord holds the insert without bowing it.
Open the insert at its center spread and slide it beneath the inside elastic. Close the notebook and check the corners: the pages should stay inside the cover, and the elastic should sit in the fold. There is no need to glue the insert in place.
Begin with one insert. Extra booklets need extra cover width and an intentional elastic arrangement; forcing them under one tight band makes the journal awkward to close.
6. A side-stitched journal for collected words
A slim side-bound book suits favorite lines, original poems, or quotations with space for your own response. The exposed thread becomes part of the cover design. Unlike the folded notebook, this one starts with separate sheets and sacrifices some writing space beside the binding.

Try 12–16 lightweight sheets measuring 5 × 7 inches, two flexible covers, and a generous thread length—about five times the spine height for this small sample. Keep a 1-inch writing margin on the bound side. The pictured design uses a five-hole side-stitch variation; it is not a four-hole pattern.
- Clamp the stack. Mark five holes ½ inch from the left edge, at 1, 2¼, 3½, 4¾, and 6 inches down from the top. Pierce carefully through the aligned stack.
- Number the holes from top to bottom. Sew from back to front through hole 3, leaving a tail. Wrap around the left edge and come back through hole 3 in the same direction.
- Travel to hole 2, then hole 1, alternating front and back as you pass through. At each new hole, loop once around the left edge and through that same hole. At hole 1, also loop over the top edge.
- Return through holes 2 and 3, then continue through 4 and 5. Add a left-edge loop at 4 and 5, plus a bottom-edge loop at 5. Return through 4 and 3, carry the thread around the left edge to the back, and tie to the starting tail.
Use snug, even tension. This binding will not open like a flat sketchbook, so avoid thick card pages or artwork that crosses the gutter. For a visual introduction to the underlying method, see the library’s four-hole side-binding guide; its hole count differs from this five-hole adaptation.
7. A fabric-covered journal made from a meaningful scrap
A piece of fabric can give a simple writing book a personal connection: a remnant from a sewing project, a favorite print, or a small piece of sound fabric from a worn garment. Keep the decoration low and flat so the journal is comfortable to hold.
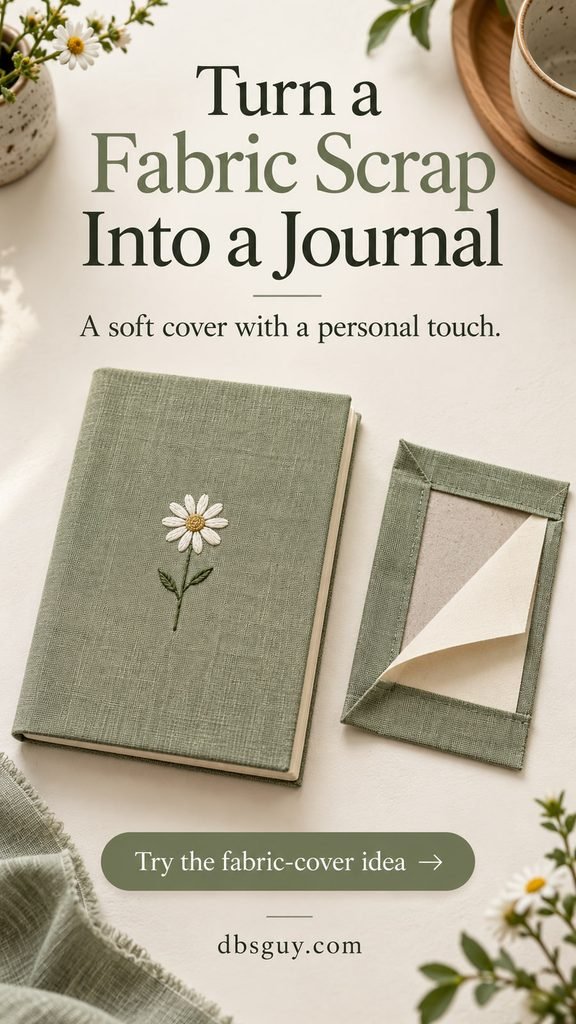
Use the thin folded structure from idea 1, but prepare the cover before sewing in the pages. Cut a foldable cardstock cover to fit your paper, and cut the fabric with roughly ½ inch extra on every outside edge. If you want a daisy or an initial, embroider the loose fabric first, positioning it away from the fold and turn-ins.
Test your bookbinding adhesive on a fabric offcut; a wet layer can show through. Apply a thin, even coat to the card, lay it on the fabric, and smooth outward. Trim excess corner bulk without cutting right up to the card. Turn the margins inward, then cover the raw edges with a paper liner cut slightly smaller than the cover.
Ease the cover into its fold while the assembly remains workable, then dry it according to the adhesive directions with protective sheets to prevent sticking. Check that it still bends comfortably before piercing the three sewing holes and adding your signature.
A thick upholstery remnant may look lovely but become bulky at this scale. A tightly woven, lightweight cotton or linen is easier to manage. If you are making a gift, keep the inside pages mostly blank so the recipient can decide how to use it.
Also Read: 30 Insanely Cute DIY Christmas Gift Ideas to Impress Anyone
8. A junk journal with enough blank space to write
The appeal of a junk journal is the mix: a map beside a shopping list, a ticket beside a sentence about the day. It stops being useful when every page is covered before you have anything to say. Give your scraps a supporting role.
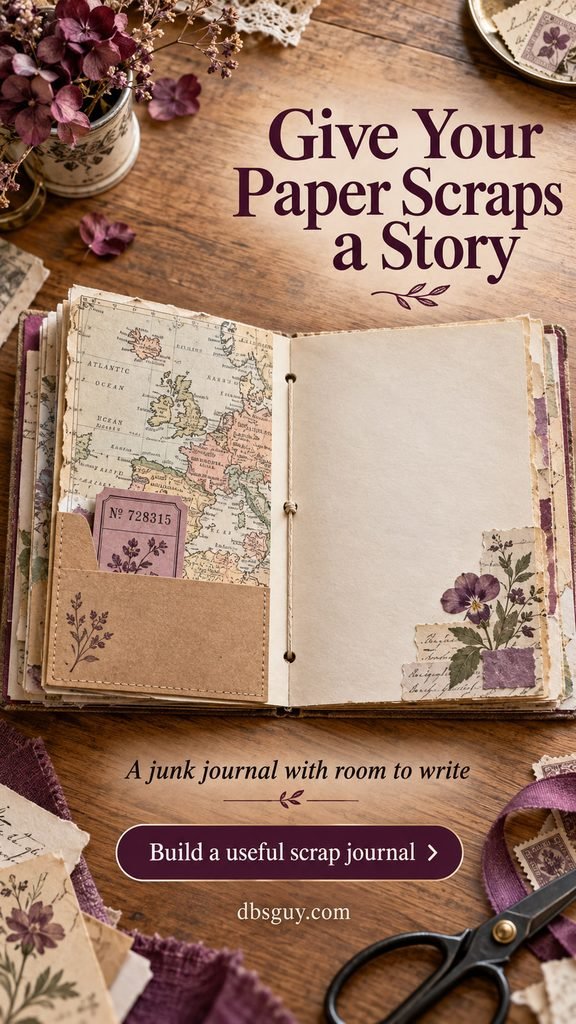
Choose eight foldable sheets in a compatible size range. Make at least half of them plain writing paper; use the others for maps, patterned paper, or clean reused sheets. Nest them into a single signature and bind them with the three-hole method from idea 1. Each sheet must extend across the fold far enough to be securely caught by the stitching.
Add small scraps after binding. For a pocket, glue or stitch a paper rectangle along its sides and bottom, leaving the top open. Keep the pocket clear of the spine, and place the next bulky addition elsewhere in the book. A light ticket or note is enough; you do not need to fill every pocket immediately.
The concept pairs a map page with a largely blank facing page and a small botanical corner. Follow that balance rather than copying every decoration. Use reproductions of fragile documents, and remove private information from reused mail before giving the book away.
Also Read: 25 Fall Crafts for Adults That Are Actually Fun to Make
9. A screw-post sketchbook for your favorite art paper
This is the choice for someone who cares more about the paper than the notebook aisle. Screw posts, also called Chicago screws, hold loose sheets between covers and can be undone when you want to replace a page. A landscape format leaves room to paint beside the binding margin.
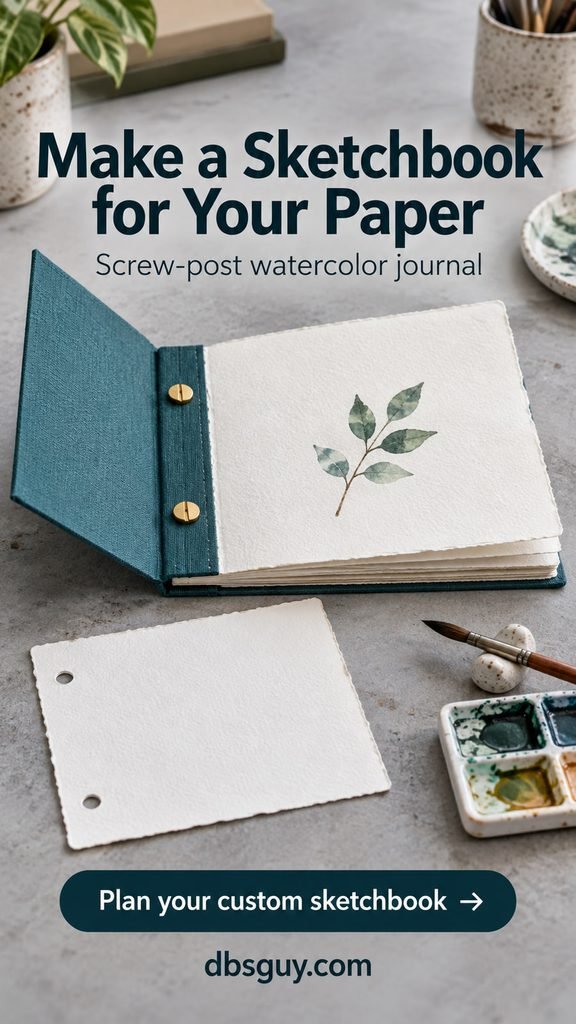
Start with a small stack of watercolor sheets cut to 8 × 5 inches and two covers the same size. Reserve a 1-inch strip along the left for binding. Choose screw posts after measuring the total thickness of the paper and both covers; check the supplier’s usable post-length dimensions rather than estimating from the product photograph.
For a straightforward first version, use heavy, foldable card covers. Score the front cover about 1 inch from the left edge so it opens beyond the fasteners. The cloth-covered concept uses a more elaborate hinged cover, but the scored-card version performs the same basic job without board-cover construction.
Make two matching holes down the binding strip, about ½ inch from the left edge and 1 inch from the top and bottom. Size the holes to the posts, using a suitable punch on small batches. Insert the posts through the back, pages, and front cover, then fit the screws. Tighten enough to secure the stack without crushing it.
For a full wash, remove the sheet, paint it on a separate support, and return it only after it is completely dry. This also keeps moisture away from the covers. Save your punched template so replacement pages line up.
10. A one-sheet mini journal for small good things
A tiny book makes a small commitment. Give it one theme—something you noticed, something someone said, or a moment you want to remember—and fill a page at a time. One letter-size sheet becomes an eight-page booklet, including the front and back covers.
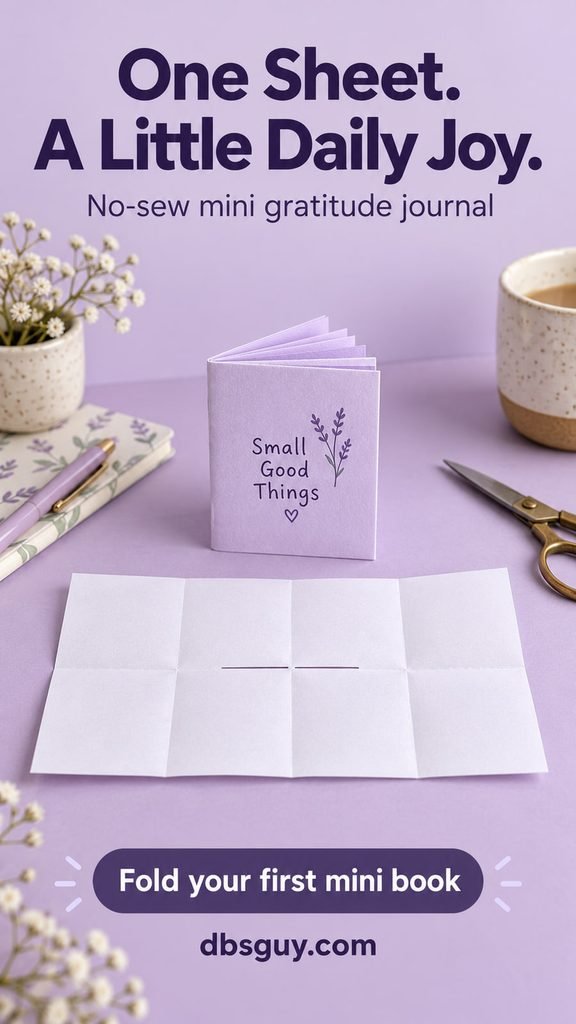
- Place an 11 × 8½-inch sheet in landscape orientation. Fold it into four equal columns and two equal rows, then open it flat.
- Make one continuous slit along the middle horizontal crease across the two center columns only. Leave the outside columns uncut. To use scissors, fold the sheet in half widthwise and cut along the horizontal crease from the folded edge to the next vertical crease, then reopen.
- Fold along the long horizontal crease. Push the short ends toward each other so the slit opens into a diamond, then collapses into a four-armed shape.
- Fold the arms together into a booklet and sharpen the creases. Number the pages lightly before adding words or drawings.
The finished size is about 2¾ × 4¼ inches. Ordinary paper folds more neatly than thick cardstock here. Use the six interior pages for six brief entries, then date the back cover. Make another when this one is full rather than trying to squeeze a whole month into it.
Small fixes that make a handmade journal easier to use
- The sewn book springs open: remove a few sheets, strengthen the creases, and check the paper grain. A tighter knot will not fix an overfilled signature.
- The pages tear at the holes: ease the thread tension and inspect the paper. A large needle or heavy cord can be too much for a delicate sheet.
- The cover curls after gluing: use less adhesive on the next attempt and dry the assembly evenly under a flat weight with protective sheets. Do not trap a damp finished book in a closed storage box.
- The journal becomes wedge-shaped: move bulky additions away from one another, reduce the contents, or choose rings or spaced hinges for the next book.
Questions before you make your first journal
What is the easiest handmade journal for a beginner?
The one-sheet mini needs only paper and scissors. If you want a conventional writing notebook, make the three-hole journal. It teaches folding, alignment, and thread tension without a complicated cover.
Can I use regular printer paper?
Yes, for a practice book and many pencil or ballpoint uses. Test your actual pen before committing a whole stack. Ink behavior depends on the paper and pen together, so thickness alone does not guarantee that ink will stay on one side.
Do I need special glue?
The stitched paper notebook, ring book, refillable insert, and one-sheet mini can all be made without glue. For paper-covered or fabric-covered parts, use an adhesive intended for those materials and follow its directions. Test first; a successful bond on card does not mean it will look clean through fabric.
Can I make a keepsake journal from recycled packaging?
Clean, dry packaging can be useful for a practice cover. It should not automatically be treated as archival storage. For irreplaceable photographs or documents, keep the originals in appropriate storage and use copies in your craft book.
How do I make a handmade journal feel like a finished gift?
Check the page turns, trim loose thread tails, and add a small note explaining any removable pages or inserts. A pen that works on the chosen paper is a useful companion. Leave room for the recipient’s own ideas instead of filling every page with prompts.
Also Read: 30 DIY Christmas Gift Basket Ideas That Are Perfect for Anyone
Choose the book you will actually fill
Start with the contents: daily notes, paint, fabric, or keepsakes. Then choose the structure that gives those contents enough room. A small, well-fitting book is a better first project than a thick journal you are afraid to use. Make a paper mock-up, choose one cover detail you love, and leave the first page ready for something worth remembering.