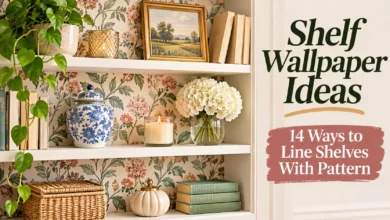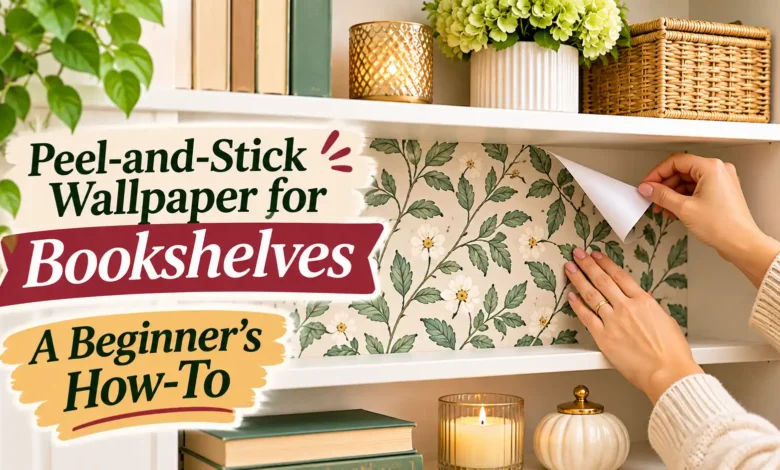
For a first bookshelf makeover, cover the flat back panel with peel-and-stick wallpaper and leave the shelves and sides alone. You’ll get the pattern where it shows, without having to wrap narrow edges or cover the surfaces your books slide across.
The basic sequence is simple: check the finish, measure the back, plan your strips, then peel and smooth a little at a time. The part worth slowing down for is the preparation. Wallpaper can look lovely on a bookcase and still be the wrong match for its surface.
The visuals in this guide are AI-generated concepts illustrating the process and finished look; they do not document a hands-on installation.

Before You Buy: Is Your Bookcase a Good Candidate?
Look at the actual surface inside the bookcase, not just the furniture’s description. A wood-look unit may have a laminated back, a painted board, or a thin paper-faced backing. Those finishes can behave differently under adhesive.
- Smooth, intact, finished surface: a candidate for a sample test, provided the wallpaper maker approves that surface.
- Raw, fuzzy, rough, peeling, or swollen backing: pause. Paper will not repair a failing surface, and covering it can make later removal harder.
- Fresh paint: wait for full curing, not merely a dry-to-the-touch surface. Meet both the paint and wallpaper instructions. If their timelines differ, use the longer requirement and ask the manufacturer about uncertainty.
- Valuable, antique, borrowed, or delicate furniture: do not assume removable wallpaper is harmless to the finish. Avoid direct application if you cannot accept possible damage.
Check the product label for approved surfaces, preparation, acclimation, and seam treatment before ordering. For example, Brewster’s peel-and-stick installation guide specifies a smooth, clean, dry surface and gives its own directions for curing and seams. Use the instructions for your exact wallpaper rather than treating one brand’s method as universal.
What You’ll Need
- A wallpaper sample, then enough matching wallpaper for your measured layout
- Tape measure, pencil, and a small level
- Scissors, a metal straightedge, and a sharp craft or utility knife
- A cutting mat or another suitable protective cutting surface
- A wallpaper smoother approved for the paper’s finish
- A soft, lint-free cloth and a cleaner compatible with both the furniture and wallpaper instructions
- A container for removable shelf supports and hardware
Keep the roll label and a usable offcut. They make it easier to identify the pattern later or check a cleaning method without experimenting on the finished bookcase.
Step 1: Empty, Clean, and Test the Back
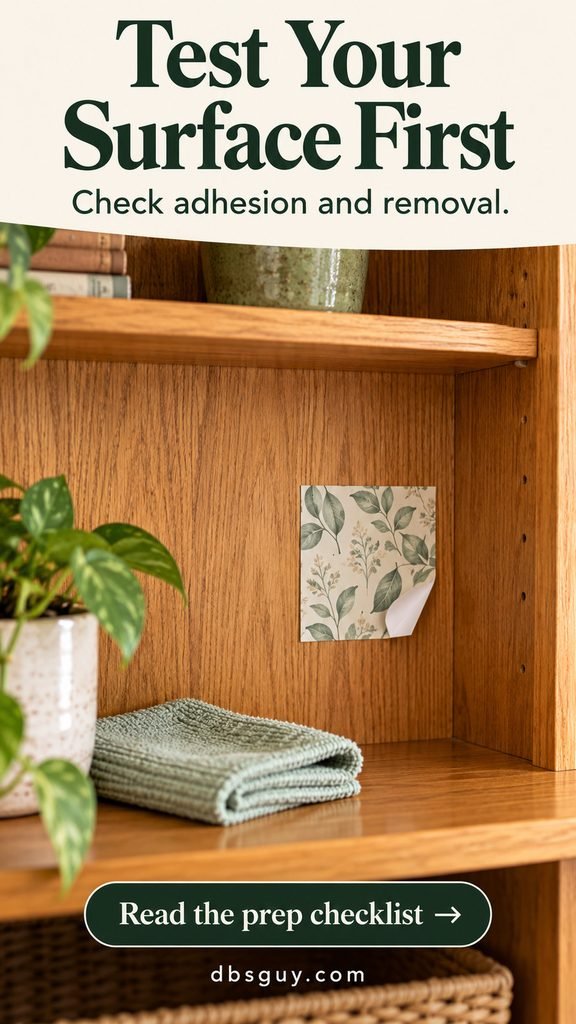
Remove the books and decor. Take out shelves only if the furniture is designed to have them removed, and note their positions first. Leave fixed shelves, braces, and structural backing in place. Work with the unit stable; follow its assembly and anchoring instructions if you need to move it.
Wipe away dust and clean the back using an approved method. Avoid furniture polish, oily residue, and soaking thin backing boards. Let the surface dry completely. Do not automatically use alcohol or a strong degreaser: a cleaner recommended for a painted wall may not suit your furniture’s finish.
Apply a sample in an inconspicuous area with the same finish as the back you will cover. Follow the maker’s test guidance. Check that the edges stay down, then remove it as directed and inspect for lifted finish, fibers, or residue. A short test is useful, but it cannot guarantee damage-free removal after months or years.
If the sample fails, stop before cutting full panels. Ask the wallpaper manufacturer whether the surface is compatible; stronger glue is not a good workaround when you want a removable result.
Step 2: Measure the Back and Plan Your Cuts

Measure the visible back’s width at the top, middle, and bottom, and its height on both sides. Slightly uneven measurements are a reason to leave trimming allowance, not to stretch the wallpaper into place.
With removable shelves out, treat the back as one continuous area. With fixed shelves, record the width and height of each compartment separately. Label them on a quick sketch—top, middle, bottom—so you do not cut several supposedly identical rectangles that turn out to be different sizes.
Calculate strips, not just square footage
Here’s an illustrative example using a 30-inch-wide by 60-inch-high back and a 20.5-inch-wide by 18-foot-long roll:
- One strip cannot span the width; you need two vertical strips.
- Allowing 2 inches at both top and bottom makes the initial cut length 64 inches. This is a planning allowance, not a rule for every brand.
- Two 64-inch strips use 128 inches of the roll’s 216-inch length, before pattern-matching waste.
- If a straight-match design repeats every 12 inches, budgeting 72 inches per strip keeps the starting pattern position consistent: 144 inches total, plus any initial positioning waste.
A drop-match pattern, a large motif you want centered, or additional compartments can change that calculation. Check the actual repeat and match type before deciding how many rolls to buy. A square-footage estimate alone will not tell you whether the necessary full-length strips fit.
Choose the pattern with the shelf openings in mind
Hold the sample behind a few of your actual books. If the visible gaps are small, a small-scale print will show more clearly than a large flower that gets cut in half by every shelf. The sage botanical concept shown here keeps the colors quiet enough to sit behind mixed book spines.
Unroll the paper on a clean surface with the liner attached. Check the design direction, then place neighboring lengths side by side to find their match before cutting. Number the liners and mark which end is the top. For fixed compartments, decide whether you want the design to continue visually across shelf breaks; doing so may require extra paper.
Step 3: Align the First Panel and Smooth Gradually
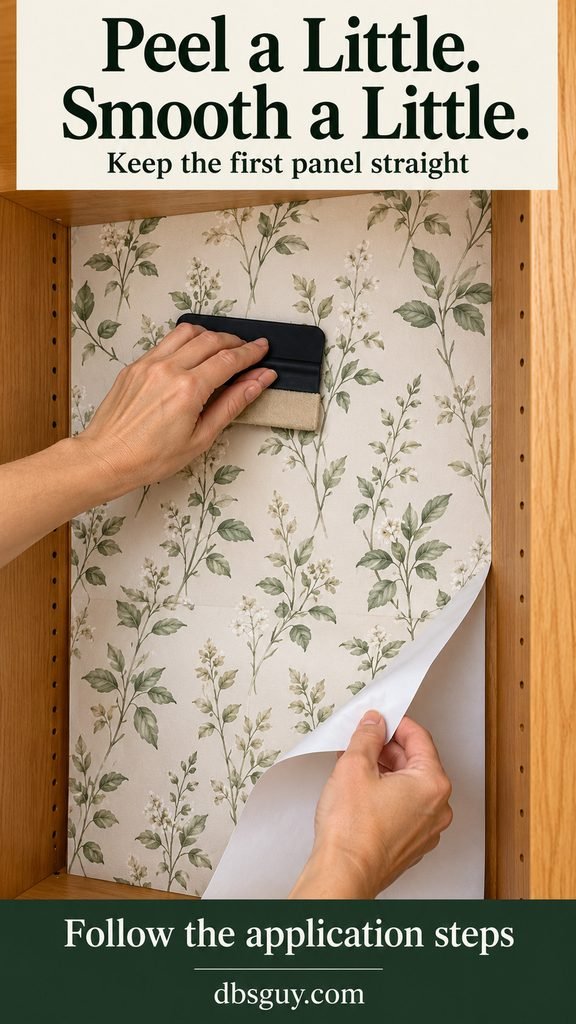
Use the level to establish a straight vertical guide for the first panel. Do not rely on a side panel being perfectly square. Position the paper so the back remains covered, with the planned excess available for trimming.
Expose only a manageable section of adhesive at the top. For a small bookshelf, starting with a few inches is easier to control than releasing the whole sheet. Keep the rest of the liner attached so the paper cannot grab the back before you are ready.
- Set the top in position and check the vertical alignment.
- Smooth the exposed area from the center toward the edges using the tool and pressure the manufacturer recommends.
- Release another short section of liner and continue downward.
- If a wrinkle or drift develops, stop. Lift and reset that section if the product allows repositioning; do not pull the paper sideways to force it into line.
Once the first strip is straight, align the next strip’s pattern before pressing it down. Follow the product’s seam rule: some papers meet edge to edge, while others call for a small overlap. Avoid inventing a larger overlap to hide a mismatch.
For fixed shelves: repeat this process inside one compartment at a time. Smaller pieces are easier to handle in the opening. Keep the paper on the back rather than bridging the junction between back and shelf.
Step 4: Trim the Excess and Inspect the Edges
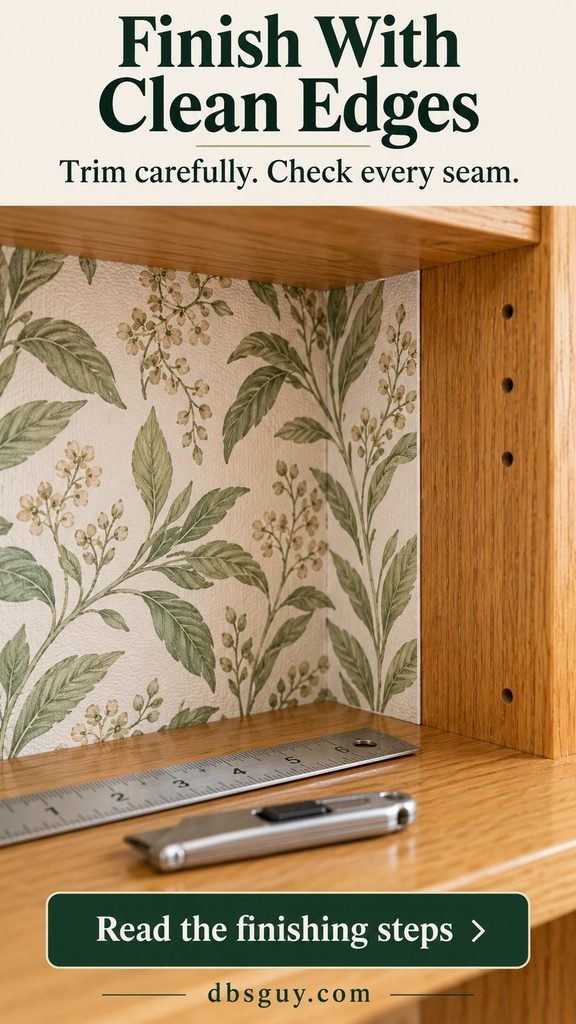
After the paper is aligned and smoothed, guide a sharp blade along a straightedge at the perimeter. Use only enough pressure to cut the wallpaper. A deep cut can score the furniture beneath it, especially on thin veneer or paper-faced backing.
Keep your free hand out of the blade’s path and use a fresh blade when the paper starts dragging or tearing. If cutting against the furniture feels risky, mark the edge, carefully lift the excess if repositioning is allowed, and trim it on a protected cutting surface before laying it back down.
Look across the back in side light. Smooth any remaining air toward an edge and check the corners and seams. Leave the paper flat against the back; a little bridge over an inside corner is an easy place for an edge to catch later.
Step 5: Replace the Shelves and Let the Pattern Show
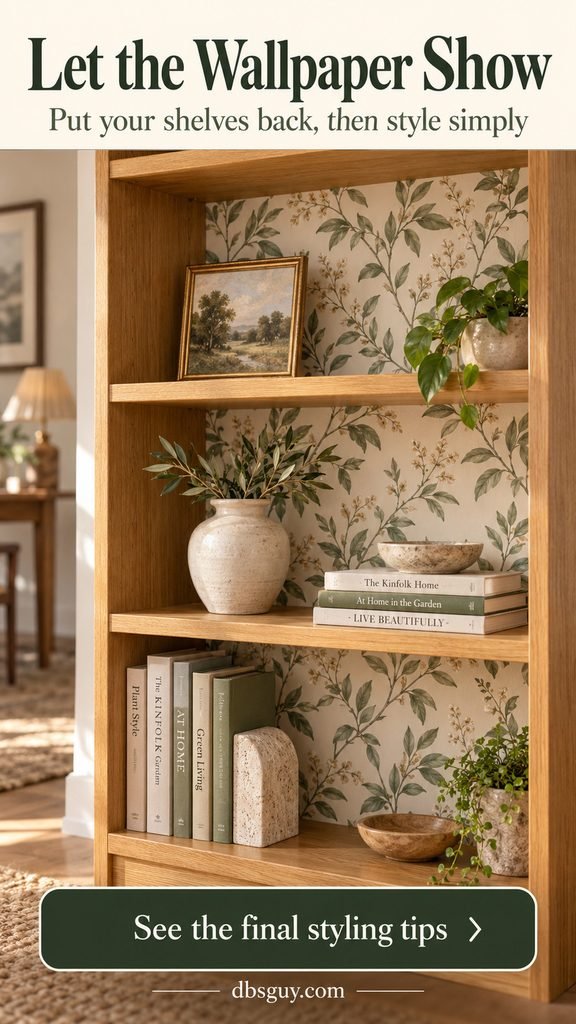
Check that all supports are fully seated at matching heights before replacing each shelf. Ease the shelves into position without scraping their rear edges down the new wallpaper. Keep the original hardware and respect the bookcase’s load limits.
Put the books you use most where they are easy to reach. Then leave a visible patch of wallpaper beside a group of books or above a short stack. You do not need to fill every opening with decor; the patterned back already supplies much of the detail.
For the botanical look shown here, repeat one color from the print in a simple vase or planter. Water plants away from the bookcase and use a watertight saucer before putting them back.
Also Read: Best Fall Decorations Shelf Ideas to Brighten Your Space for seasonal touches you can swap in after the wallpaper is installed.
If Something Goes Wrong
A bubble keeps returning
First try the manufacturer’s recommended smoothing method. If the paper allows repositioning, lift it back far enough to release the trapped air, then lay it down gradually. A persistent raised spot may be debris underneath rather than air; pushing harder will not remove the cause. Avoid puncturing the paper unless the maker recommends it.
An edge will not stay down
Check for remaining dust, moisture, polish, an incompatible finish, or paper stretched during installation. If the surface is dry and compatible, reapply pressure as directed. Do not add spray adhesive or glue unless the manufacturer approves it and you accept that removal may change.
The pattern looks tilted
Check the first panel against your vertical guide. Correct it before adding more strips. An out-of-square bookcase may leave uneven trimming waste at an edge even when the paper itself is straight.
Questions Beginners Usually Have
Can I wallpaper a laminate or IKEA bookcase?
Possibly, but neither “laminate” nor a brand name identifies every finish. Check the exact furniture surface and the wallpaper’s approved uses, then test the back panel itself. A successful test on a side panel does not prove the backing will behave the same way.
Do I have to remove the back panel?
No. Working inside the bookcase avoids dismantling a backing that may help keep the unit square. Remove it only if the furniture’s instructions explicitly allow that procedure and explain how to reinstall it.
Can I cover the horizontal shelves too?
Only if the product is suitable for that use. Sliding books and baskets can catch exposed edges. For a beginner’s project, leaving the horizontal shelves bare gives you fewer edges to manage and keeps the decorative paper out of that wear path.
How do I remove the wallpaper later?
Start at an accessible corner and follow the product’s removal directions slowly, watching the finish as you go. Stop if paint, veneer, or backing fibers begin to lift. Do not assume heat or a solvent is safe for the furniture; check before using either.
How long should I set aside?
Keep an afternoon free for measuring, cutting, and installation on a small bookcase, with extra time for fixed compartments or detailed pattern matching. That is a planning suggestion, not a tested completion time. Surface testing, product acclimation, repairs, and paint curing happen before installation day.
Start with the sample, then measure before ordering the full amount. Once those two checks are settled, you can work through one panel at a time without guessing whether the paper will fit—or whether the surface will accept it.
Also Read: 28 Cozy Reading Nook Ideas for Small Spaces to plan the seating and lighting around your refreshed bookcase.