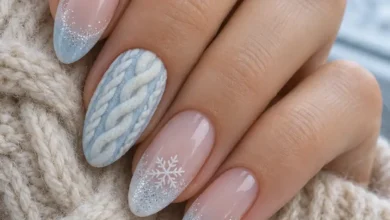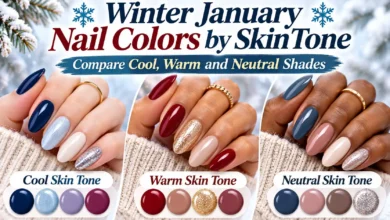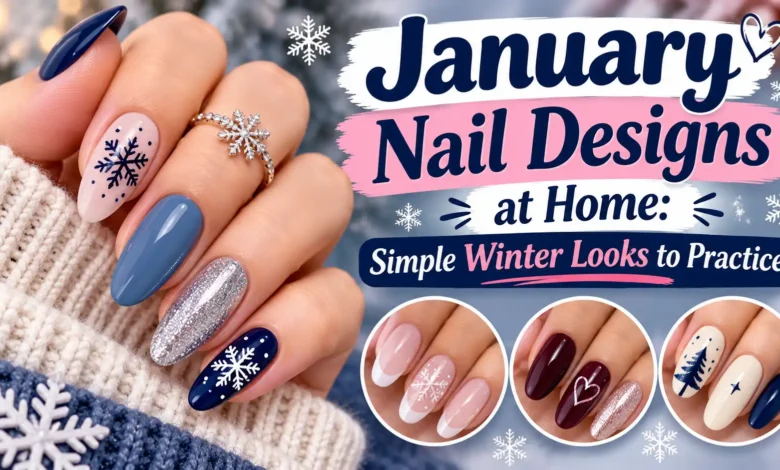
The easiest way to practice January nail designs at home is to give yourself one job at a time: paint an even coat, divide a nail into two colors, or place one small accent. You can get a winter look without drawing a full set of snowflakes.
These five projects use regular, air-drying nail polish. Start with the blue color set if you want to work on basic application, the dry-brush accent if crisp lines feel frustrating, or the sticker if you want a recognizable winter motif. Save the split and curved line for a little more brush practice.
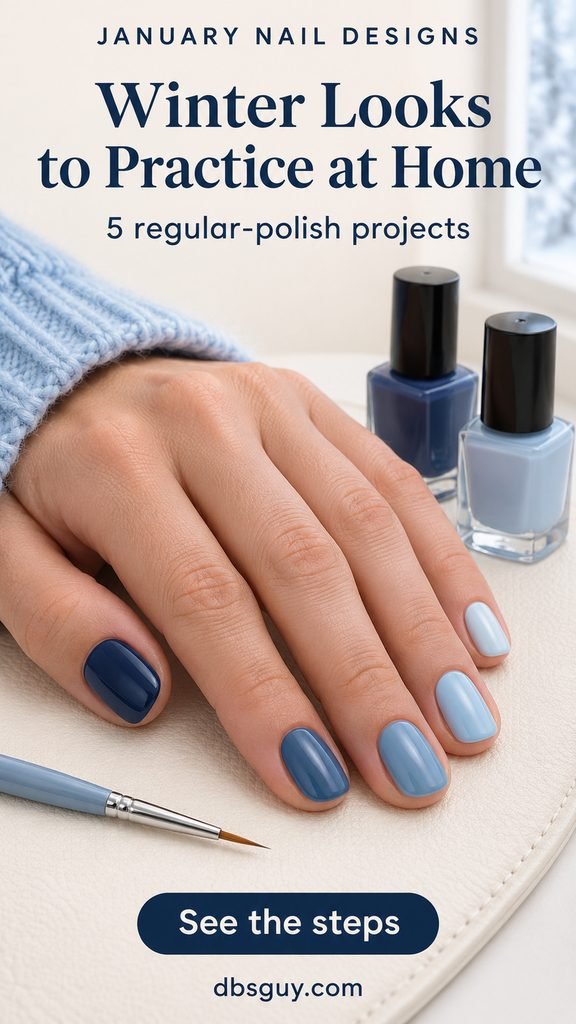
The images are AI-generated design and practice concepts. They illustrate colors, tools, and placement; they do not document tested manicures. Practice tips show the artwork at a larger scale than it will appear on your nails.
Set Up for One Look, Not All Five
You do not need to buy every color pictured. Pick one project, then set out its polish and tools. A small kit is easier to work with while your nails are wet.
- For every look: a nail file, polish remover, lint-free pads, and the base and top coats recommended for your regular-polish formula.
- For painted details: a fine nail-art liner brush and a small nonporous palette. The dry-brush look uses the bottle brush instead.
- For the snowflake: small self-adhesive nail-art stickers labeled for use with regular polish, plus tweezers if helpful.
- For practice: optional plastic nail tips on a stable stand. These are a place to rehearse the marks, not an instruction to glue tips onto your nails.
Remove old polish and file your nails to a comfortable shape. Clean and dry the nail surface according to your polish directions. Leave the surrounding skin alone: you do not need to trim cuticles to make space for artwork. The American Academy of Dermatology’s manicure guidance advises against cutting or forcefully pushing back cuticles and recommends moisturizing nails after polish removal.
Apply the base coat and color in thin layers as directed. Follow the timing for your actual products; being ready for another coat is different from being ready for a brush, sticker, or pressure. Keep a small clean margin between polish and skin. For the accent designs, decorate one ring nail and leave the others in the base color.
Also Read: January Nail Art for Beginners: Simple Designs to Practice at Home for dot-based exercises before trying the brushwork below.
1. A Winter-Blue Color Set for Smoother Coverage
Painting each nail a different blue lets the color arrangement do the decorating. The practice here is controlling the bottle brush, especially around the rounded base of the nail. There is no fine artwork to hide an uneven coat.
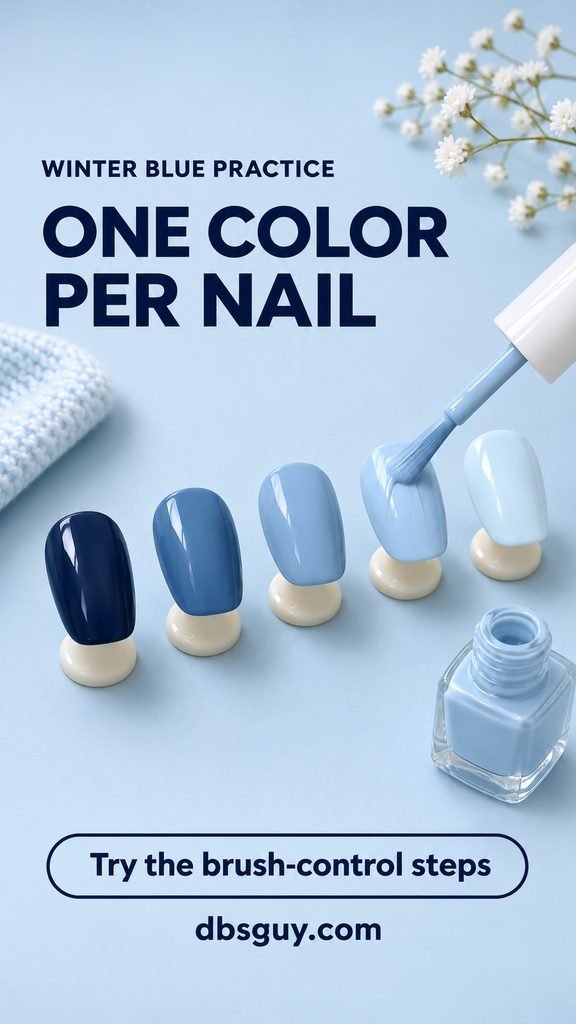
For the pictured order, use navy on the thumb, denim blue on the index, dusty blue on the middle finger, powder blue on the ring finger, and pale icy blue on the pinky. Swatch the colors first so neighboring shades look different once dry. Keep the finish consistent: five cream polishes will give a quieter result than a mixture of cream, glitter, and shimmer.
- Start the loaded brush a little above the cuticle, leaving space between the bristles and skin.
- Guide a smooth stroke toward the free edge—the outer tip of the nail. Cover the sides with only the additional strokes your nail width needs.
- Let that coat dry as directed before adding another thin coat for coverage. Avoid repeatedly brushing a layer that has started to set.
- Finish with the compatible top coat according to its instructions.
If five blues would mean buying several bottles, alternate one light blue and one navy instead. You still get the application exercise and a clear winter palette. Keep the arrangement the same on both hands if you want an easy plan to follow.
Watch for: a thick ridge near the cuticle. On the next nail, start farther from the skin and use a smaller load. If the pale shade streaks, give it another thin coat as directed rather than pushing wet polish back and forth.
Also Read: 15 Blue January Nail Art Ideas With More Than Snowflakes when you want to build on your blue palette.
2. A Lavender-and-Plum Split for a Straight Boundary
This accent divides the nail lengthwise: lavender on one half and deep plum on the other. A single long boundary is enough of a challenge without adding stripes or a metallic outline. Practice it on a tip first, then repeat it on one ring nail.
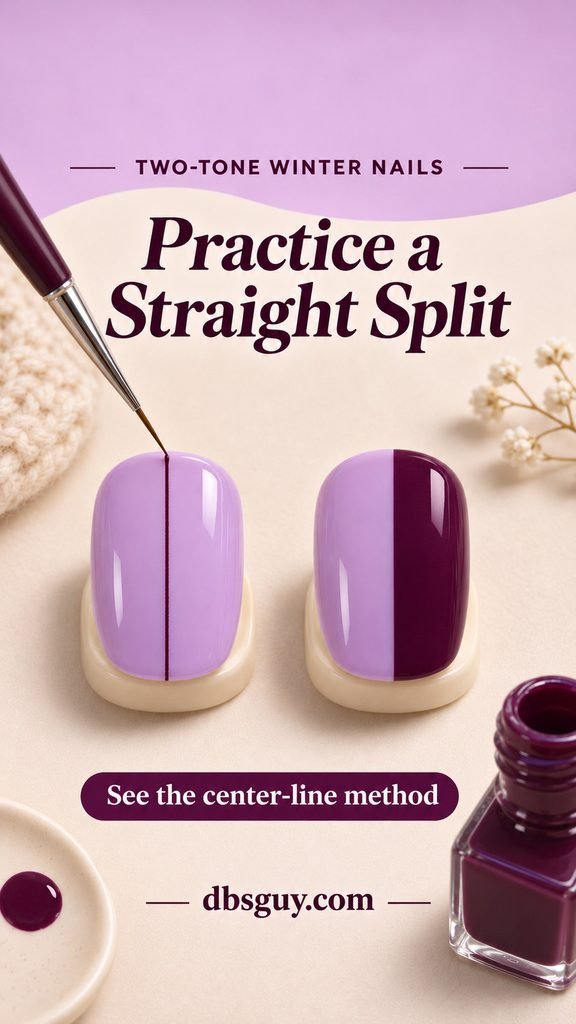
Paint the whole nail lavender and let it dry enough for artwork under the product directions. The lighter color is your background; the plum will cover one side. Choose an opaque plum so the contrast does not depend on building a thick layer.
- Put a small fresh drop of plum on your palette. Load the liner brush lightly and test a line on a spare practice tip.
- Rest the finger you are painting and support your painting hand on the table. Draw a fine plum guide down the center, from near the base toward the free edge. Keep the usual skin margin.
- Fill the half on the right of that line as you look down at your nail, working outward from the boundary. Use short controlled strokes near the sidewall.
- If needed, add a second thin plum layer after the first is ready. Seal as directed once the detail is ready for top coat.
A slightly off-center split still works; the useful goal is a deliberate boundary. If you keep widening the plum while trying to straighten it, stop and use a fresh practice tip. Chasing the edge across a wet nail usually leaves you with almost no lavender.
On a very narrow nail, try the split on your thumb for practice and wear plain lavender elsewhere. You do not need ten matching divided nails to make this lesson worthwhile.
Also Read: January Nail Art Designs With One Detail Worth Zooming In On for more focused accent placements.
3. Frosty Dry-Brush Marks Over Cool Gray
Choose this if you like a snowy effect but do not want to place tiny branches or dots. Broken white strokes across gray suggest frost. The gaps are part of the design, so you are practicing a light touch rather than complete coverage.
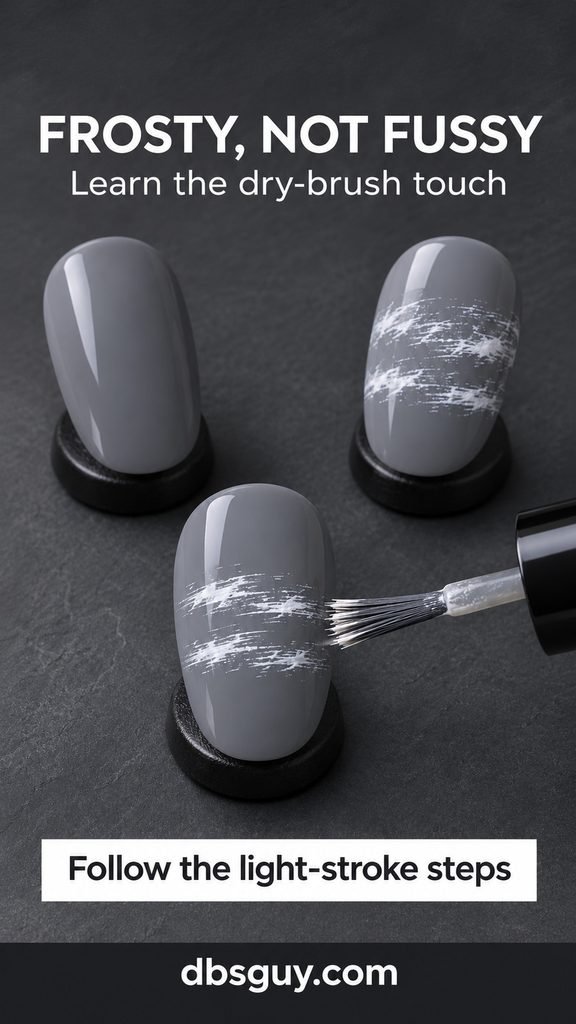
Use a medium cool-gray base and ordinary opaque white polish. A sheer pearl topper will look softer and more reflective; it will not create the same visible white bristle tracks. Let the gray dry before adding the marks.
- Wipe most of the white polish from the bottle brush against the inside of its neck. Test a short stroke on a spare tip or nonporous palette.
- If the test makes a solid white stripe, remove more polish. You want separated streaks with the background showing between them.
- Lightly skim one short horizontal stroke across the middle of your accent nail. Add a second nearby stroke only if the first leaves room. Keep the base and free-edge areas gray.
- Let the white marks become ready for finishing, then apply the compatible top coat with a light touch.
Stop while plenty of gray remains visible. A dense white patch is a different look, and more brushing will not make it airy again. If the brush catches and gouges the gray, your base may need more drying time or your touch may be too firm. Rehearse on a separate tip before repainting the accent.
Also Read: 17 Winter Nail Art Ideas for January That Feel Cozy, Icy or Both for other ways to interpret a frosty finish.
4. One Cream Curve on Mushroom Taupe
A short ivory arc gives a neutral manicure some movement without turning it into a full swirl pattern. Keep it on one accent nail. The reference uses a C-shaped curve in the left half of a taupe nail, with both endpoints and the entire line inside the nail’s edges.
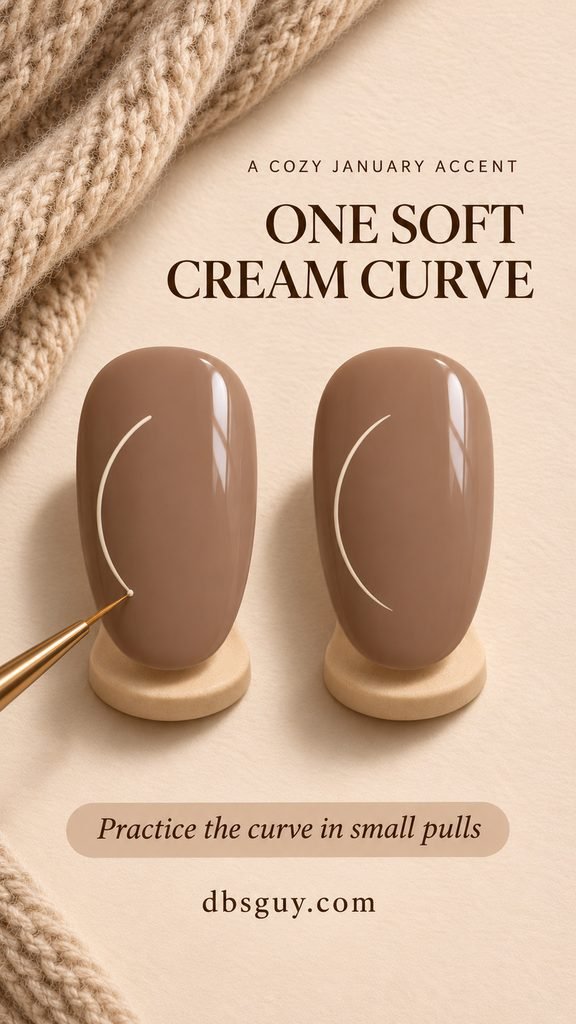
Use mushroom-taupe polish for the base and an opaque cream for the line. Before painting, picture three points: the upper endpoint, the outermost part of the bend toward the left side, and the lower endpoint. The line runs roughly from the upper third to the lower third, leaving taupe visible around it.
Load a fine liner brush with a small amount of cream. Pull from the upper endpoint toward the middle of the bend, then connect the lower portion in a second short pull if that is easier than one continuous stroke. Rotate the practice tip or your resting finger to bring the next section into a comfortable angle. Do not stretch your painting hand across the nail just to keep it still.
Try to keep the line narrow by using light pressure. Pressing the bristles flat makes a broader ribbon. On a short nail, shorten the arc rather than squeezing a full-length curve against the cuticle and tip.
If a join looks a little uneven, judge it at normal viewing distance before adding more paint. Repeatedly tracing the curve makes it thicker. Once it is ready for finishing, seal according to your top-coat directions.
Also Read: 15 Elegant January Nail Art Ideas to Pair With Your Winter Jewelry for more understated accents.
5. One Snowflake Sticker on Ink Navy
A small white snowflake gives you a clear winter motif while letting you practice placement instead of drawing. Use a flat self-adhesive nail-art sticker intended for regular polish, not a raised charm, water decal, or full nail wrap; those products can need different steps.
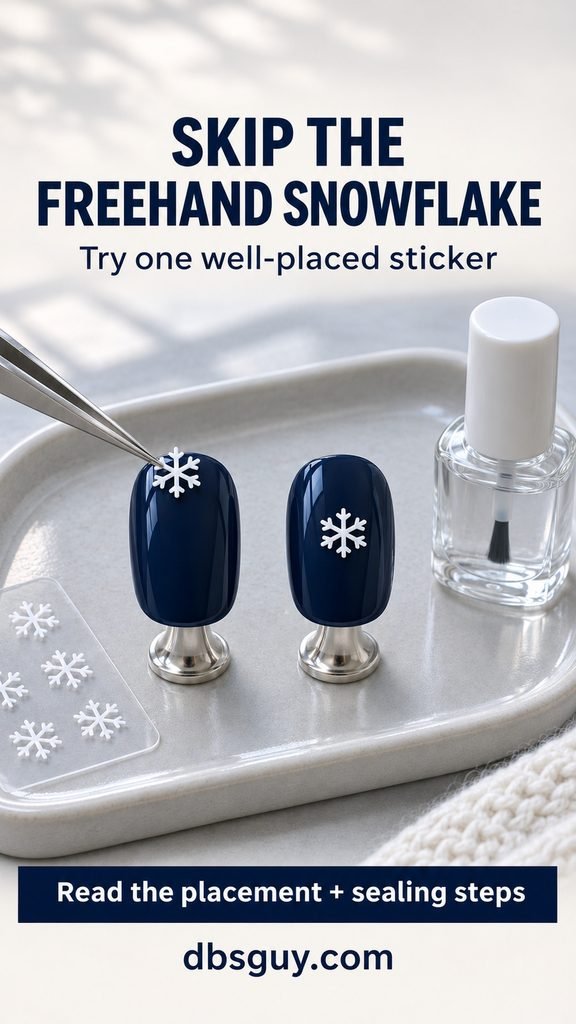
- Paint your navy base and let it dry completely before applying the sticker. A surface that only feels dry may still dent under pressure.
- Hold the clear backing sheet over your nail to check the size and position. Choose a snowflake whose branches fit fully inside the nail with a visible navy margin.
- Lift the sticker as directed, using tweezers if helpful. Place one snowflake near the center of the ring nail, keeping it off the skin and free edge.
- Gently smooth it flat according to the sticker instructions. Check the small branch ends for lifted edges or bubbles.
- Seal with a compatible regular-polish top coat as directed by the sticker maker, then allow it to dry.
Leave the other nails navy. That makes the small snowflake easy to see and gives you only one placement to get comfortable with. If the sticker is too wide for your pinky, move the accent to a larger nail instead of trimming through its branches.
If an edge will not lie flat, choose a smaller sticker on the next attempt. Do not keep burying a curled edge under thick top-coat layers. Follow the sticker’s removal directions rather than peeling it off with the polish underneath.
Also Read: January Nails: How to Choose Your First Manicure of the Year if you are still choosing between a pale and dark base.
Finish Without Undoing the Practice
Before top coat, let the artwork reach the stage recommended for finishing by your products. Use enough top coat for the brush to glide without pressing hard, and avoid scrubbing back and forth over the detail. A practice swatch can help you check whether your chosen combination smears.
If polish lands on the surrounding skin, use a small cleanup brush lightly dampened with the appropriate remover, keeping it away from the painted nail surface. If a design is badly smudged, removing and repainting that one nail is often simpler than stacking more wet layers over it.
Set aside time after painting when you will not need to handle zippers, gloves, or dishes. Surface dryness is not a promise that the layers underneath can handle pressure. Follow the products’ drying and removal instructions, and moisturize your nails and surrounding skin after removal.
Questions About Practicing Winter Nail Art at Home
Do I need a UV or LED lamp for these designs?
No. The methods here use regular air-drying polish and compatible stickers. Check each label: a product that requires lamp curing is a different system from the one described here.
Which look should I try if my other hand is hard to paint?
Start with the blue color set to practice coverage, or the gray dry-brush accent if drawing a line feels difficult. Keep both hands supported. Try the split or curve on a spare tip before moving to your nails.
Can I practice these designs on very short nails?
Yes. The color set needs no decorative space, and the dry-brush marks can be shortened. For the curve or sticker, use one larger accent nail and leave more background showing. Keeping the motif small is more useful than adding length just to copy the picture.
How long should I wait before adding artwork?
Use the instructions for your base color, artwork product, and top coat. There is no single waiting time that suits every formula and layer thickness. Stickers need a completely dry base; do not treat the interval between color coats as a sticker-ready timer.
What should I practice next?
Repeat the part that gave you trouble: an even coat, a clean boundary, a lighter stroke, or a better-sized sticker. Change one thing on the next practice tip so you can see whether it helped. You can wear the successful accent with plain nails while you work on the next skill.