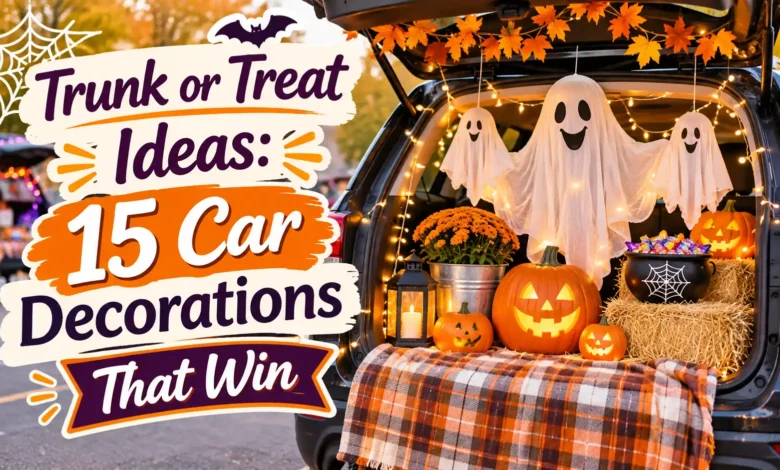
Want a trunk-or-treat setup that stands out without turning your car into a weekend-long construction project? The best displays usually have one easy-to-read theme, a few oversized props, a clear candy handoff spot, and decorations that pack away quickly. You can make a memorable scene with cardboard, fabric, paper shapes, and battery-powered lights—no elaborate build required.
This guide covers 15 distinct car-decoration themes, from a friendly monster mouth to a cozy campout. Each idea includes a practical supply list, a simple setup sequence, and a way to personalize the look for your vehicle and event.
How to Choose a Trunk-or-Treat Theme That Works
Before buying supplies, check how much space your event gives each car and whether the organizer has rules about backdrops, lights, props, or ground displays. Measure the open trunk and choose one focal point that can be seen from several steps away.
- Start with one big idea. A monster mouth, a pumpkin patch, or a miniature city is easier to read than a trunk filled with unrelated decorations.
- Keep the treat handoff simple. Place candy near the front edge, with enough room for children to approach without reaching past props.
- Choose removable, lightweight materials. Make freestanding panels where possible and use only attachment methods compatible with your vehicle’s finish and the event’s rules.
- Plan the pack-up. Bring a tote or bags for props, and remove and stow decorations before the car moves.
If you are planning a full October celebration as well as the car display, save a few ideas from The October Bucket List: 31 Things to Do Before Halloween for the days around your event.
15 Trunk-or-Treat Car Decoration Ideas
1. Friendly Monster Mouth
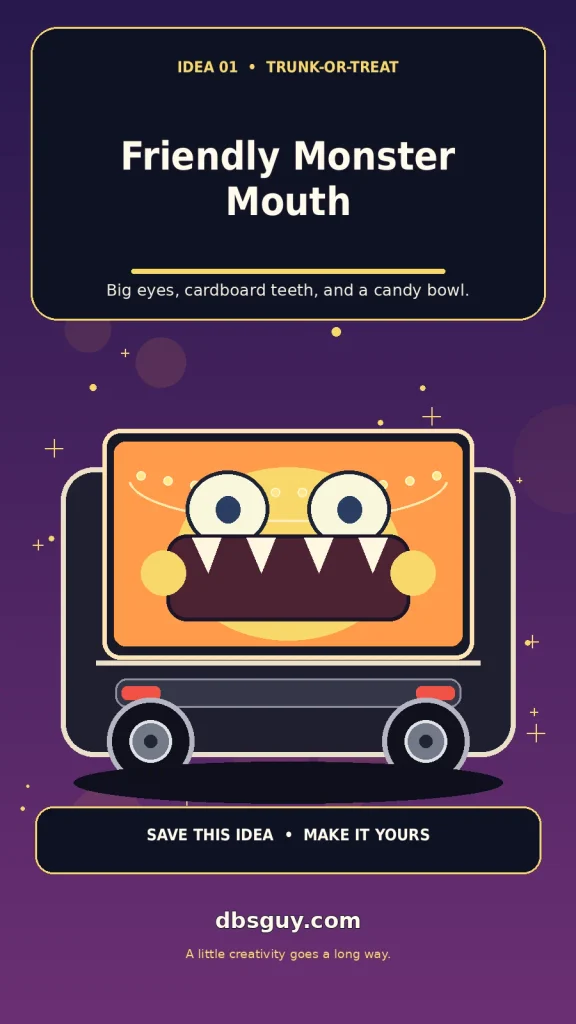
Give your trunk a big personality with a monster face that looks silly rather than scary. This theme reads clearly from a distance, which is useful when children are walking past a row of decorated cars.
What to gather: Orange or purple fabric, lightweight cardboard or foam board, pre-cut white teeth, two oversized eye shapes, removable fasteners suitable for your display frame, and battery-powered lights.
How to make it: Cover the inside of the trunk with fabric. Cut a wide, rounded mouth from cardboard, then add large white triangle teeth and two high-contrast eyes. Keep the candy bowl at the lower edge of the opening, outside the mouth shape, so kids can reach treats without leaning around props. Build the face as a freestanding panel or attach it only to a support approved by the event host; do not hang heavy pieces from the hatch.
Make it your own: Use green and purple for a classic goofy monster, or orange and plum for a warmer Halloween palette. A smiling face works well for younger children.
2. Pumpkin Patch
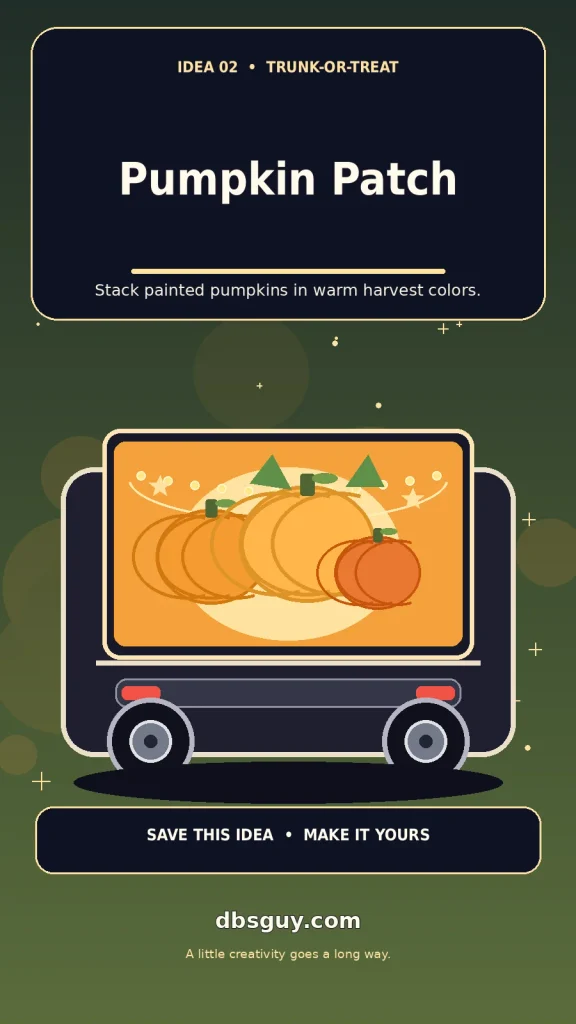
A pumpkin patch is one of the easiest themes to adapt to a sedan, hatchback, or SUV because the shapes do the decorating for you. It can feel rustic, cute, or a little spooky depending on the faces and colors you choose.
What to gather: Lightweight faux pumpkins, paper leaves, a few small crates or cardboard boxes, dark green or brown fabric, and battery-operated string lights.
How to make it: Lay the fabric across the trunk floor, then arrange the tallest pumpkins toward the back and smaller ones near the front. Use paper leaves to fill gaps rather than piling on lots of little props. If you use crates, keep them stable and out of the candy handoff area. Painted cardboard pumpkins are a good option when you want a lightweight display that packs flat.
Make it your own: Add a “Pick a Pumpkin” sign or make the pumpkins different shades of orange, cream, and sage. Keep any real gourds dry and supported so they do not roll when someone reaches for candy.
3. Mini Haunted House
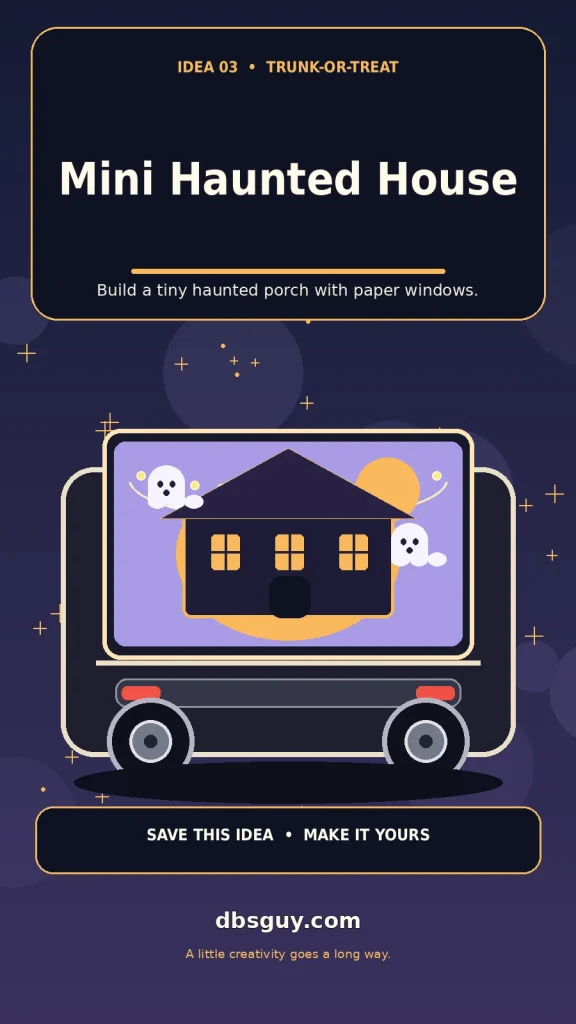
Turn the trunk opening into a miniature haunted-house facade. The roofline and windows create a strong silhouette, so you do not need many extra decorations to make the theme recognizable.
What to gather: Large cardboard panels, black and charcoal paper, purple or gray fabric, paper window frames, lightweight ghost cutouts, and battery-powered lights.
How to make it: Cut a simple house front with a peaked roof and a few windows. Decorate the windows with yellow paper or place battery lights behind translucent craft paper. Set the facade inside the trunk or on a freestanding support, leaving a wide opening for handing out candy. Keep the floor in front of the car open, and avoid sharp roof points or unstable stacked boxes.
Make it your own: Add a paper moon, a crooked fence silhouette, or two smiling ghosts. For a less spooky version, use cream windows, friendly faces, and a purple-and-orange palette.
4. Candy Land
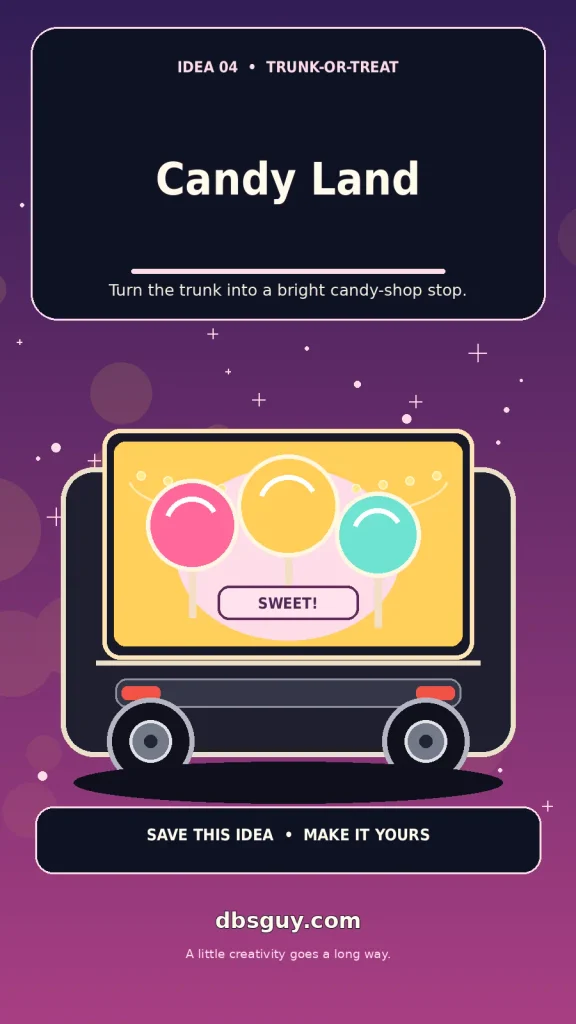
Candy Land is bright, cheerful, and easy to personalize. Oversized paper sweets create the look without using edible candy as decoration, which helps keep the actual treats organized.
What to gather: Cardboard circles, dowels or paper tubes for lollipops, pastel paper, striped fabric, large paper gumdrops, and a clearly labeled treat bowl.
How to make it: Wrap the trunk in a single pastel color, then place two or three large lollipop props at different heights. Add paper candy shapes to the backdrop, not to the car’s exterior. Keep the real candy in its own bowl or dispenser near the front edge and leave room for a line to form.
Make it your own: Choose a limited palette—pink, mint, and cream or orange, purple, and gold—so the display looks coordinated. Skip tiny loose decorations that could fall into the parking area.
5. Under the Sea
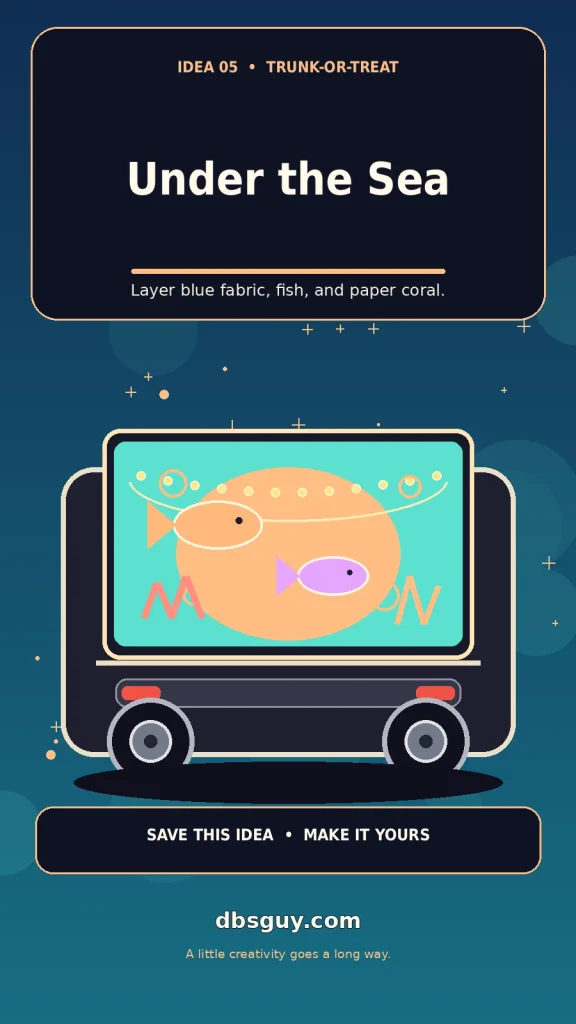
A sea-life trunk feels immersive without needing a complicated build. Blue fabric creates the background, while a few large fish and coral shapes provide color and movement.
What to gather: Blue fabric, cardstock fish, paper coral, bubble circles, lightweight seaweed cutouts, and cool-toned battery lights.
How to make it: Drape blue fabric across the inside of the trunk and secure it to a freestanding frame or approved attachment points. Place coral shapes along the lower corners and hang fish cutouts at different heights inside the display. Use paper bubbles to fill the open areas, but keep the candy bowl and the path to it clear.
Make it your own: Use teal, coral, and lavender for a playful reef or navy and silver for a deep-sea look. Avoid wet materials, loose fishing line, or anything that could snag a visitor’s clothing.
6. Dinosaur Dig Site
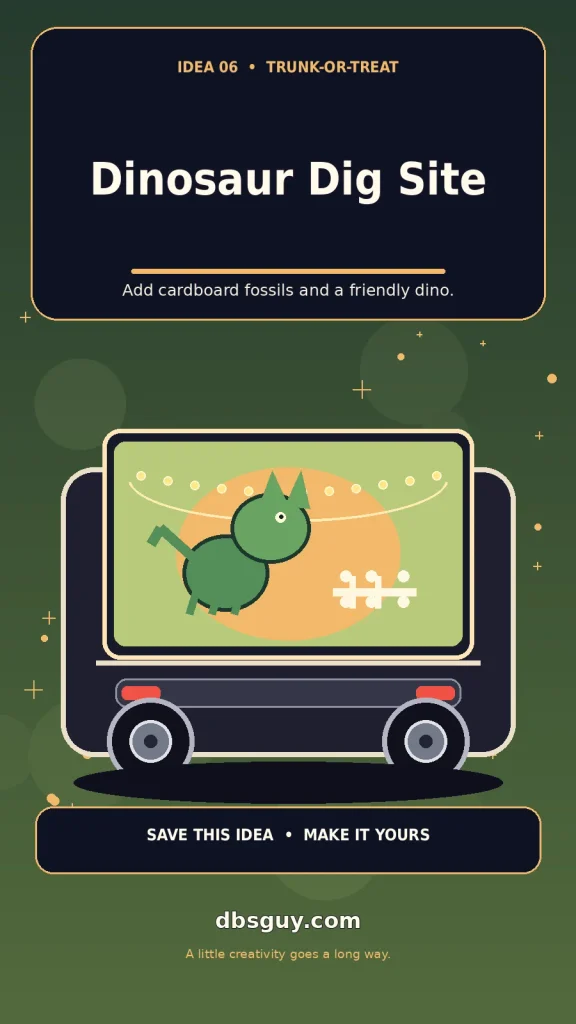
Make the trunk feel like a tiny paleontology site. A dinosaur silhouette, a few oversized “fossils,” and a sandy color palette tell the story quickly without needing a lot of supplies.
What to gather: Kraft paper, cardboard bones, a friendly dinosaur cutout, green fabric or paper leaves, and a shallow tray for any interactive paper pieces.
How to make it: Cover the backdrop in kraft paper and arrange the fossil shapes in a simple horizontal line. Add a dinosaur on one side and leafy cutouts on the other. If you include a small game, use large paper bones or picture cards rather than loose sand, gravel, or small pieces that can spill into the walkway. Keep all props stable and inside the trunk display.
Make it your own: Label the scene “Dino Discovery” or “Fossil Find.” A friendly cartoon dinosaur works for mixed ages, while muted greens and browns give the setup a museum-exhibit feel.
7. Space Explorer

A space theme looks especially good after dusk because the dark background makes the shapes stand out. Keep the setup simple: one rocket, a couple of planets, and plenty of stars.
What to gather: Navy or black fabric, cardboard planets, a lightweight rocket cutout, star stickers for the backdrop, and battery-powered lights.
How to make it: Hang the dark backdrop inside the trunk, then place the rocket slightly off-center. Add planets at different sizes to create depth and scatter large star shapes around them. Use battery lighting only, and keep cords tidy and away from the candy handoff point. Do not attach decorations where they can cover vehicle lights, cameras, sensors, mirrors, or windows.
Make it your own: Turn the display into a “Mission: Candy” station with a small paper sign. Silver, electric blue, and warm yellow accents give the theme a bright, easy-to-read finish.
8. Enchanted Forest
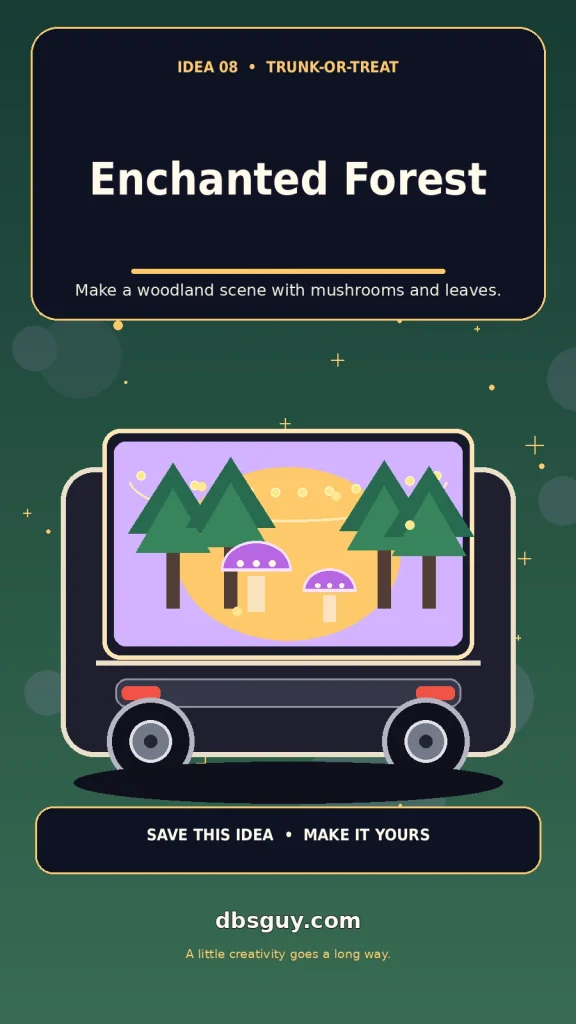
For a softer, storybook look, turn the trunk into a woodland clearing. This theme works well with greens, warm gold, and a few whimsical details instead of the usual black-and-orange palette.
What to gather: Green fabric, paper tree silhouettes, oversized cardstock mushrooms, leaf cutouts, and battery-powered fairy lights.
How to make it: Place the tallest tree shapes at the back and shorter mushrooms near the sides. Use a few lights to suggest fireflies, keeping the battery pack secured and accessible to the adult managing the display. Use flat paper leaves rather than loose branches, and keep decorations away from moving hinges and latches.
Make it your own: Add a “Fairy Trail” sign or friendly woodland creatures. If the event is outdoors, choose materials that can be packed away quickly if wind or rain picks up.
9. Mad Scientist Lab
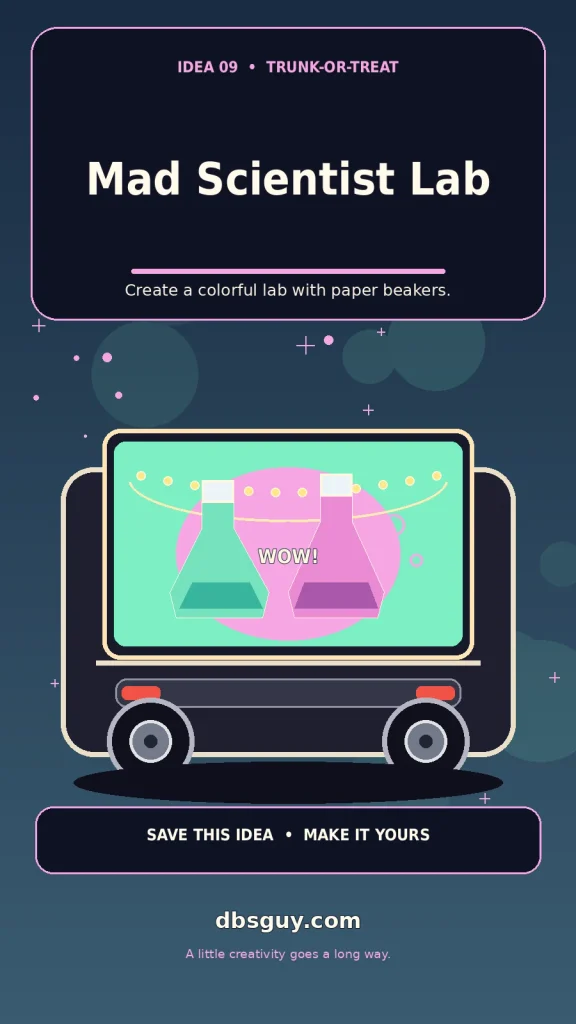
A mad-scientist lab brings color and a little theatrical flair to the trunk. You can create the entire look with paper props—there is no need for real chemicals, dry ice, or messy effects.
What to gather: Cardboard beakers, colored cellophane or paper, large bubble cutouts, a lab-coat-inspired white cloth, and a “Candy Chemistry” sign.
How to make it: Cut beaker silhouettes from sturdy cardboard and fill them with bright paper shapes. Arrange the largest flasks at the back, then add a few oversized bubbles around them. Place the candy station on a separate, clear surface at the front. Avoid liquids, powders, fog effects, and anything that could spill, irritate skin, or need special handling.
Make it your own: Give the treats playful names such as “Monster Mix” or “Sweet Samples,” while keeping the actual food in its original wrapper. A bright green, turquoise, and purple palette makes the lab easy to spot.
10. Movie Premiere
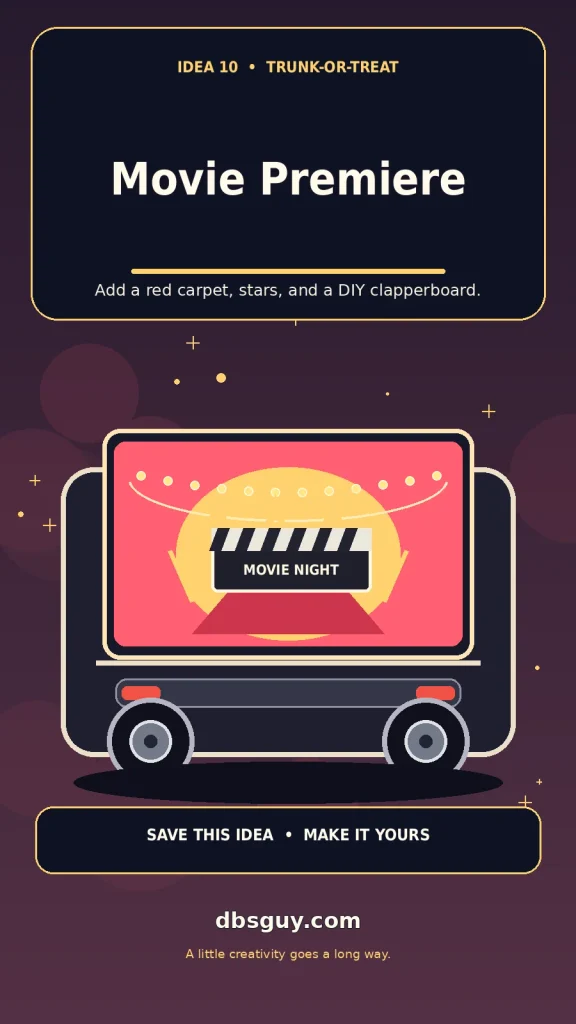
Give trick-or-treaters their own little red-carpet moment. This theme is a natural fit if your family loves movies, but it does not need a specific film or licensed character to feel special.
What to gather: A red fabric runner, gold paper stars, a cardboard clapperboard, black backdrop fabric, and a simple photo-frame prop.
How to make it: Set the backdrop inside the trunk and hang the stars at different heights. Place the clapperboard on one side and keep the treat bowl on the other. If you use a runner on the ground, ask the event host first and make sure it is secured and does not create a trip hazard. A freestanding photo frame can invite pictures without blocking the line.
Make it your own: Call it “The Sweet Awards” or “Premiere Night.” A black, red, and gold palette feels polished, while colorful stars make it more playful for younger kids.
11. Farmstand Harvest
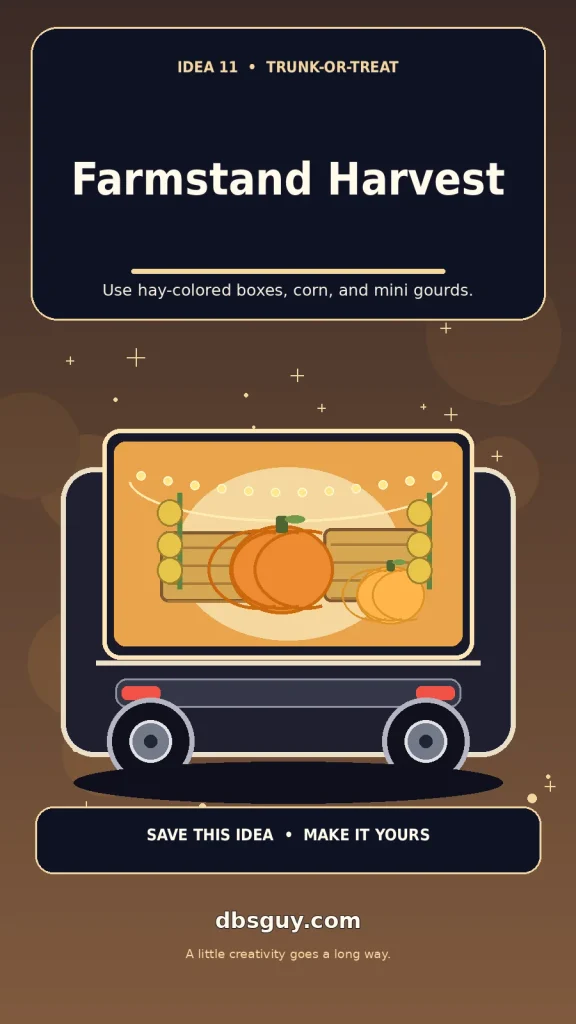
A mini farmstand is a good choice if you prefer autumn harvest style over spooky decorations. Cardboard crates and faux produce keep the display light and make it easy to pack away.
What to gather: Kraft paper, cardboard crates, faux pumpkins or large paper gourds, corn cutouts, and a small harvest sign.
How to make it: Cover the trunk in a warm brown or cream backdrop. Stack only stable, lightweight crates and arrange pumpkins in front, leaving a clear place for the candy bowl. Add corn or leaf cutouts to the background rather than scattering pieces on the ground. If you use real straw or hay, confirm the venue allows it and keep it away from heat and electrical equipment; paper “hay bales” are an easy alternative.
Make it your own: Add a “Harvest Treats” sign and use cream, rust, sage, and golden yellow. This theme also pairs naturally with the cozy fall activities in The October Bucket List: 31 Things to Do Before Halloween.
12. Superhero City
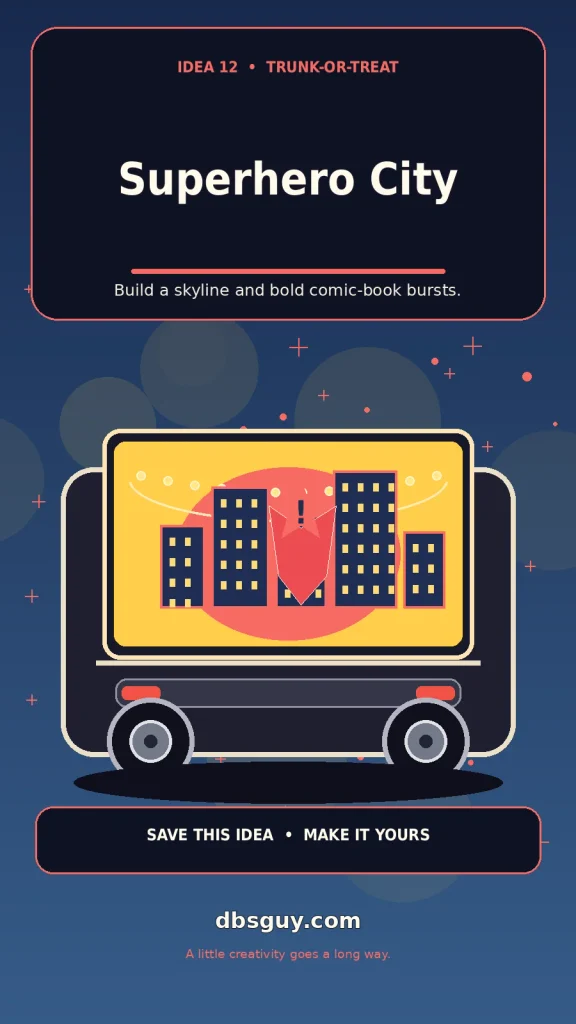
A superhero city gives you a strong backdrop and a bold color palette. The easiest version is a row of cardboard buildings with comic-style shapes behind the treat station.
What to gather: Cardboard building silhouettes, colored paper, large comic bursts, a lightweight cape-shaped panel, and a “Sweet Hero HQ” sign.
How to make it: Cut buildings at several heights and add simple window shapes. Place them along the back of the trunk, then use one large starburst as the focal point. Keep the display inside the parked vehicle or on a stable freestanding frame; do not wrap fabric around mirrors, handles, tires, or moving parts. If children pose for a photo, leave a clear space beside the car rather than in the driving lane.
Make it your own: Choose two main colors plus one accent so the skyline does not look cluttered. You can invite kids to pick a paper “hero name” without making them wait for a complicated activity.
13. Giant Spider Web
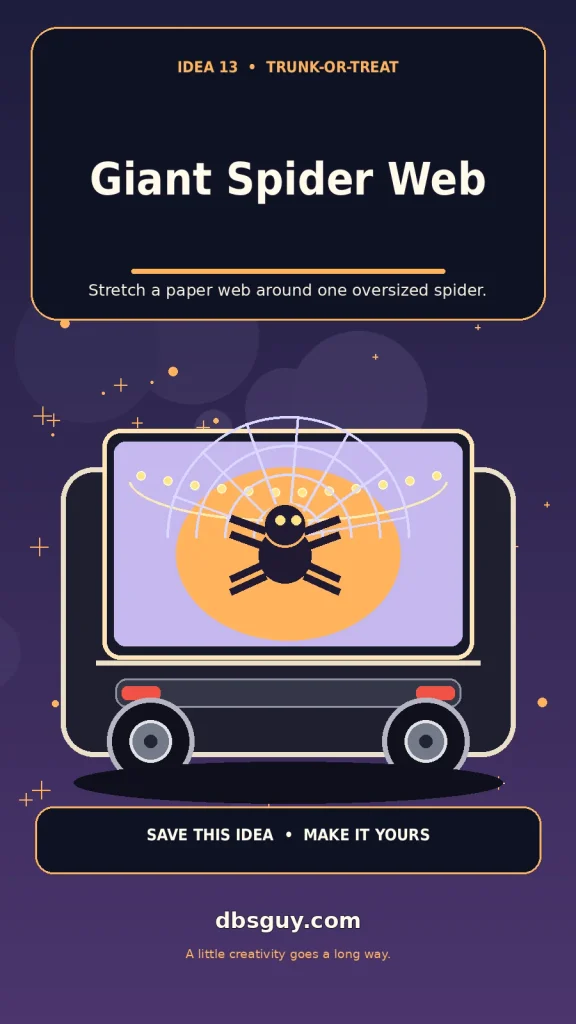
For a dramatic look with very few supplies, make one oversized spider the star. A bold web backdrop gives the trunk shape, while a large paper spider is easier to manage than a lot of small decorations.
What to gather: Black or purple fabric, white paper strips or a flat web cutout, a lightweight spider shape, and battery-powered lights.
How to make it: Build the web as a flat backdrop inside the trunk, using paper strips or a pre-cut panel. Add the spider near one upper corner so it appears to crawl across the scene. Avoid loose string stretched across the opening or at face height; it can snag clothing and be hard to see in low light. Keep the floor and candy station clear.
Make it your own: Use lavender and silver for a friendlier look, or black and orange for a classic Halloween palette. A small sign reading “Web of Sweets” completes the scene.
14. Friendly Ghost Town
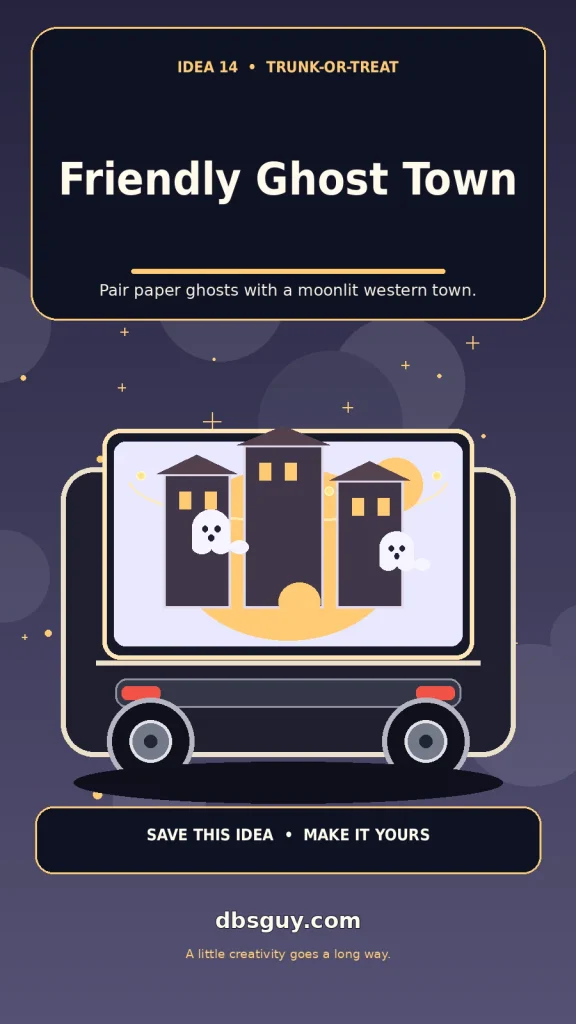
Combine a moonlit sky with a tiny western main street for a theme that feels different from a standard haunted house. Friendly ghosts keep the scene welcoming rather than frightening.
What to gather: Dark blue or gray fabric, cardboard storefront silhouettes, paper windows, ghost cutouts, and a large moon shape.
How to make it: Place the storefronts along the back of the trunk and add a moon above the roofline. Give the ghosts simple faces and keep their edges soft and rounded. Use battery-powered lights behind paper windows for a warm glow. Avoid pointed props or anything that extends into the walking route.
Make it your own: Add a sign such as “Boo Boulevard” or “Ghost Gulch.” A few paper cacti and stars are enough to make the western setting clear without crowding the candy station.
15. Cozy Campout
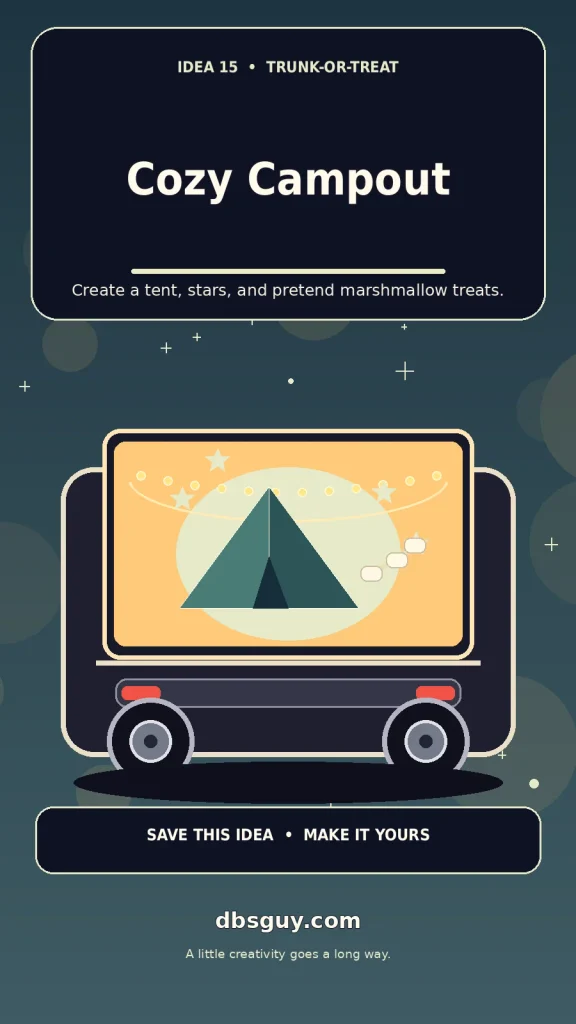
A campout theme is cozy, easy to understand, and a nice alternative to the usual spooky scene. The look comes from a tent shape, a night-sky backdrop, and pretend s’mores—not an actual campfire.
What to gather: Navy fabric, a lightweight tent-shaped panel, paper stars, a battery lantern, and large paper marshmallow or s’mores props.
How to make it: Create a simple tent from fabric or cardboard inside the trunk. Add stars to the backdrop and place the battery lantern where it lights the treat bowl without shining into visitors’ eyes. Use paper “camp snacks” as props, and keep all lights battery-powered. Do not use candles, fire, fuel, or cooking equipment as part of the display.
Make it your own: Add a “Camp Candy” sign or a paper trail map. If your event is outdoors, secure lightweight pieces against wind and have a bag ready to pack everything away quickly.
Make the Display Look Finished Without Making It Complicated
Once you have chosen a theme, repeat a small color palette across the backdrop, props, and sign. Vary the height of two or three larger items to create depth, then leave some empty space around the main focal point. This makes the display easier to understand from a distance and leaves room for handing out treats.
Make a short packing checklist before you leave home: the backdrop, props, lights and batteries, tape or approved fasteners, scissors, treat bowl, individually wrapped treats, a trash bag, and a storage tote. Assemble as much as you can at home so you only need to place the pieces at the event.
Trunk-or-Treat Safety Tips for Cars and Decorations
Creative decor should never interfere with the vehicle or the people moving around it. Use these checks before the event begins:
- Keep the vehicle parked while children are nearby. Follow the event organizer’s arrival and departure instructions, and do not move the car until the route is clear and decorations are stowed.
- Do not block safety equipment. Keep mirrors, windows, lights, license plates, cameras, sensors, handles, latches, and the driver’s field of view unobstructed. Remove decorations before driving.
- Use battery-powered lighting. Skip candles, flames, and hot lighting near fabric or paper. Choose intact, purpose-made decorative lights and follow their instructions.
- Secure props and cords. Keep everything stable inside the trunk or within an approved display area. Avoid loose strings at face height, trip hazards on the ground, and props that can blow into the walking lane.
- Keep the candy station accessible. Put treats where children can reach them without climbing into the trunk or leaning around large decorations. Keep the approach well lit and clear.
- Check the host’s rules first. Ask about power sources, ground displays, music, fog effects, space limits, and weather plans instead of assuming every venue permits the same setup.
For general Halloween decoration guidance, review the U.S. Consumer Product Safety Commission’s Halloween safety tips, including its advice about battery-operated lights, checking decorative light strands, and keeping walking areas clear.
Frequently Asked Questions
What is the easiest trunk-or-treat decoration for beginners?
A pumpkin patch or friendly monster mouth is a good starting point. Both rely on large, recognizable shapes and can be made with cardboard, fabric, paper, and a few battery-powered lights.
How can I decorate my car without damaging the paint?
Prefer a freestanding backdrop or a display that sits inside the trunk. Before using any adhesive, magnet, or clip, check the product directions and your vehicle’s finish; test only where appropriate and never assume every surface is compatible.
How much time should I allow to decorate a trunk?
A simple setup may take about 30–60 minutes once supplies are prepared, while a layered scene can take longer. These are planning estimates, not guarantees; cutting and assembling props at home usually makes event setup faster.
What lighting is best for a trunk-or-treat display?
Battery-powered LED string lights or a small battery lantern are convenient choices. Check the lights before leaving home, secure the battery pack, and follow the manufacturer’s instructions.
Can I use a large backdrop or balloon arch?
Only if the event host allows it and you can support it safely without attaching heavy loads to the hatch or blocking the walking area. Measure the space first and remove or stow the display before the vehicle moves.
What should I do if the weather changes?
Choose materials that can be packed quickly, secure lightweight props against wind, and ask the organizer about a rain plan. Avoid paper or fabric setups that become slippery or unstable when wet.
Also Read
- Creative Fall Decorations Wall Ideas for Cozy Homes — seasonal colors and simple decorative layers to borrow for your backdrop.
- Creative Fall Decorations Window Ideas for Cozy Homes — useful inspiration for silhouettes, pumpkins, and warm lighting.
- Dolly Parton Costume Guide for a Fun and Authentic Look — another Halloween-ready idea if your event includes dressing up.
Final tip: choose the theme you can finish comfortably, keep the candy station easy to reach, and make sure every prop is packed away before the car moves. A clear, cheerful setup is more useful than an overfilled trunk.