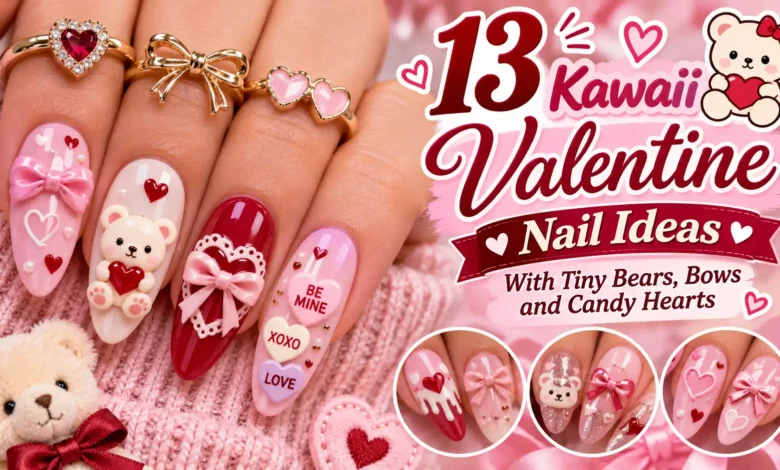
A little caramel bear on strawberry-milk pink is an easy place to start. If you want more color, try a handful of pastel candy hearts or let a cherry-red bow tie a set of French tips together. These 13 kawaii Valentine nail ideas show how much room each detail needs and which ones are easy to wear flat.
For very short nails, start with the pocket teddy in idea 1 or the candy confetti in idea 9. For one raised detail, compare the amber bear charm in idea 3 with the pearl-knot bow in idea 7. Idea 13 puts a bear, a bow, and a candy heart in the same set.
The images are AI-generated nail-design concepts. Use them as references for color, placement, and finish.
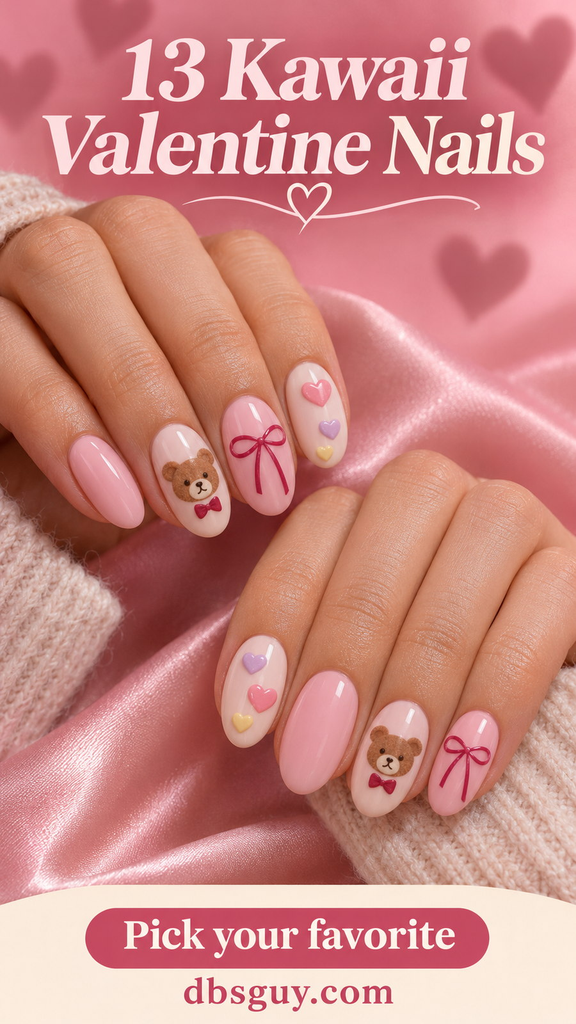
1. Strawberry-Milk Nails With a Pocket Teddy
A small caramel bear face gives short, rounded-square nails a focal point without taking over the whole hand. Keep the base an opaque strawberry-milk pink. On the ring nail, use two round ears, two dark eyes, and a cream oval for the muzzle. That’s enough for the face to read at a glance.
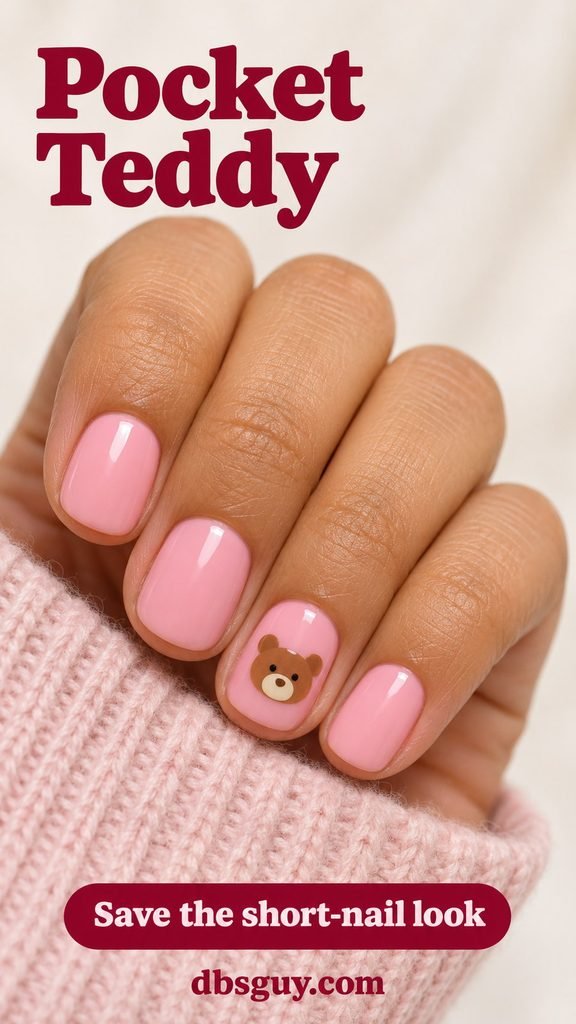
For a home version, check a flat bear decal against your ring nail before peeling it off its backing. You want to see a rim of pink around the ears. If the ring nail is narrow, move the bear to the wider thumb and keep the rest of the design the same.
2. Powder-Blue French Tips With a Peekaboo Bear
Give the bear a hiding place. On a sheer milky base, paint a narrow powder-blue French tip and position the bear so its ears and eyes sit above the blue line. The tip should look like the ledge the bear is peeking over.
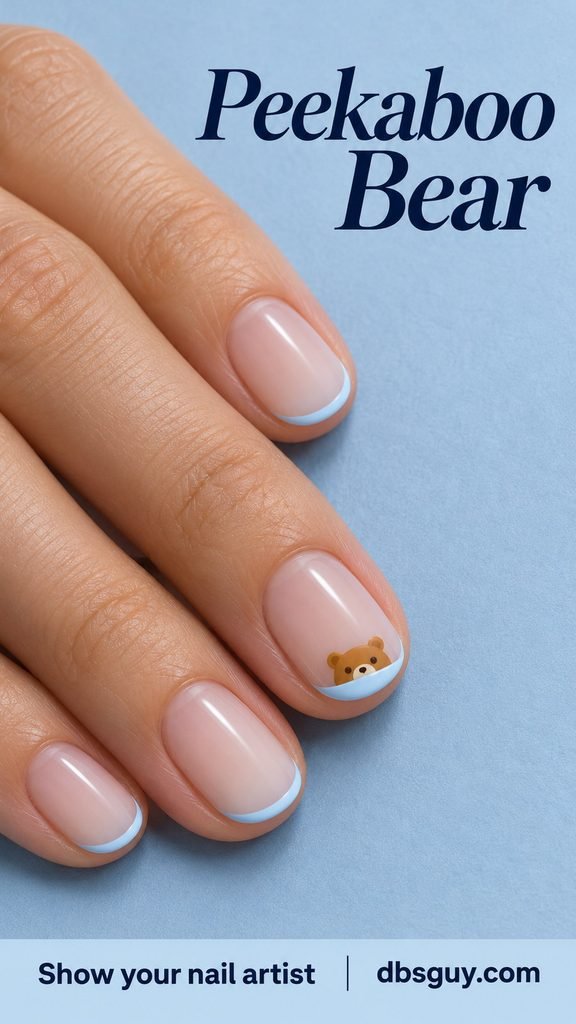
If your nails are short, ask your artist to keep the blue edge thin. A deep tip takes up the space needed for the eyes and ears. The effect reads best with the bear on just one nail and plain blue tips on the others.
3. Cream Nails With a Honey-Gummy Bear Charm
A translucent amber gummy-bear charm catches light against glossy cream. Keep it to one medium oval accent nail. A rounded, low-profile charm gives you some dimension with less height than a tall sculpted bear.
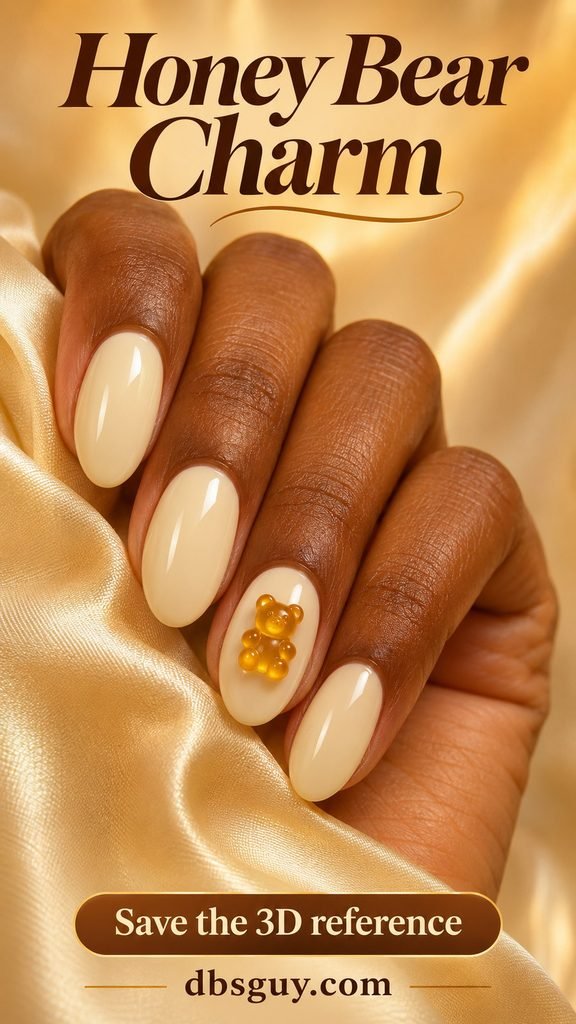
Ask to see the charm on your nail before it’s attached. It should fit fully inside the nail plate, with space around its ears and feet. If you spend the day pulling on gloves or handling knits, a flat amber bear decal will keep the candy-shop color without the raised edge.
4. Cocoa Nails With a Bear and a Berry Heart
Glossy cocoa makes a warm alternative to an all-pink set. Give a dark bear face and a raspberry heart their own cream accent nails. Splitting the art across two nails makes the bear’s face easier to see, and the small heart does all the work of bringing in red.
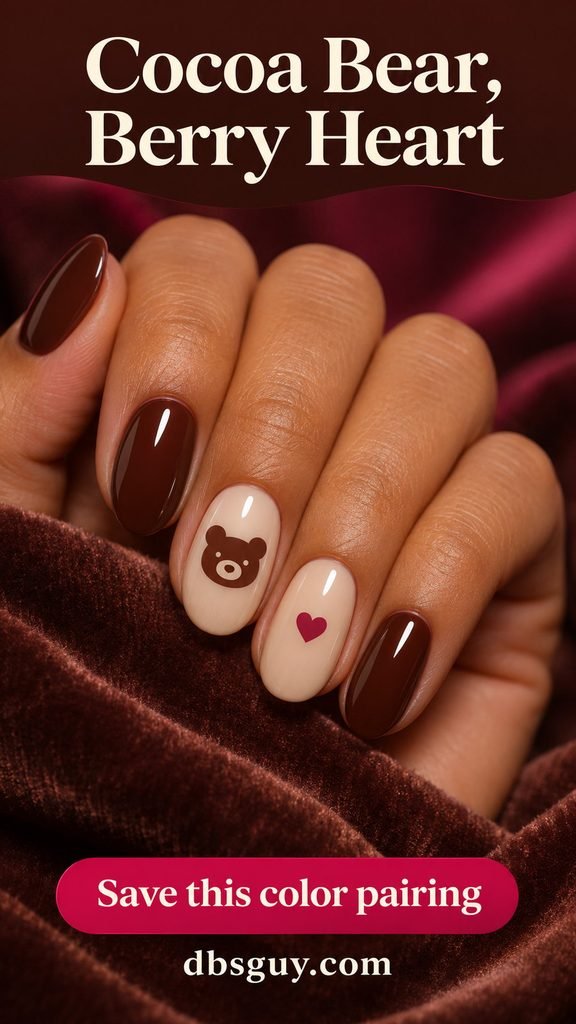
At the salon, ask to compare your darkest brown with the cream before painting the face. If the two accent nails feel too busy for your usual manicure, keep the bear on one hand and put the heart on the other.
Also Read 13 Unique Valentine Nail Ideas With Unexpected Colors and Clever Details
5. Cherry French Tips With a White Ribbon Bow
A fine red tip gives this short, sheer-pink set a crisp edge. On the accent nail, add a second thin red curve along the base and tuck a tiny white bow just inside it. The two red edges frame the ribbon and leave the center sheer.
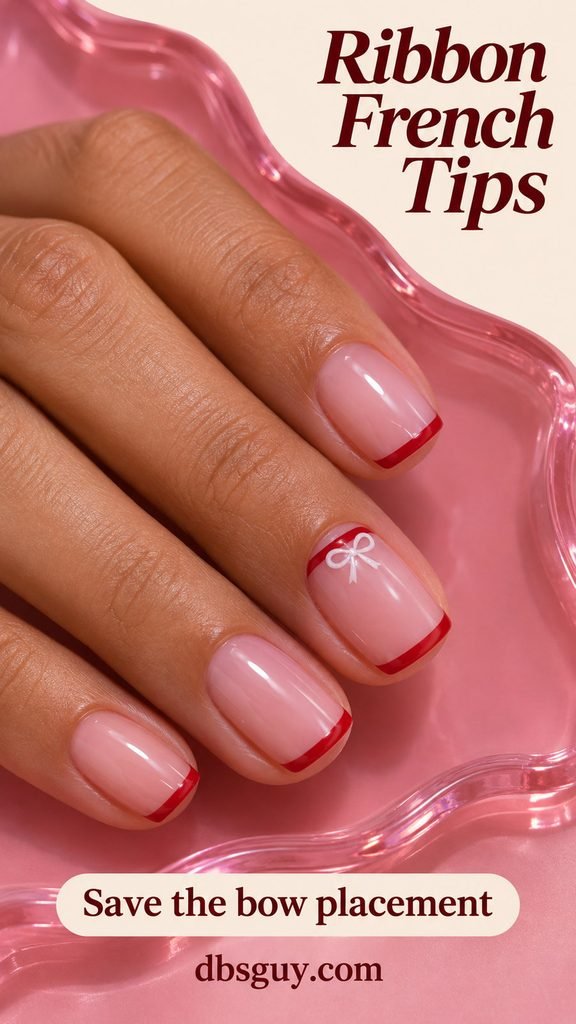
On a very short nail, keep the bow and skip the extra red curve if the two lines make the design crowded. Preserve the loops and trim the tails. A flat painted bow or a slim decal keeps the surface smooth.
6. Lilac Ballet Nails With a Raspberry Bow
For a bow you can spot against pale polish, pair an opaque lilac base with raspberry ribbon art. Set the bow low on a single oval nail, with lilac visible between it and the cuticle. The open space toward the tip makes the bow feel deliberately placed.
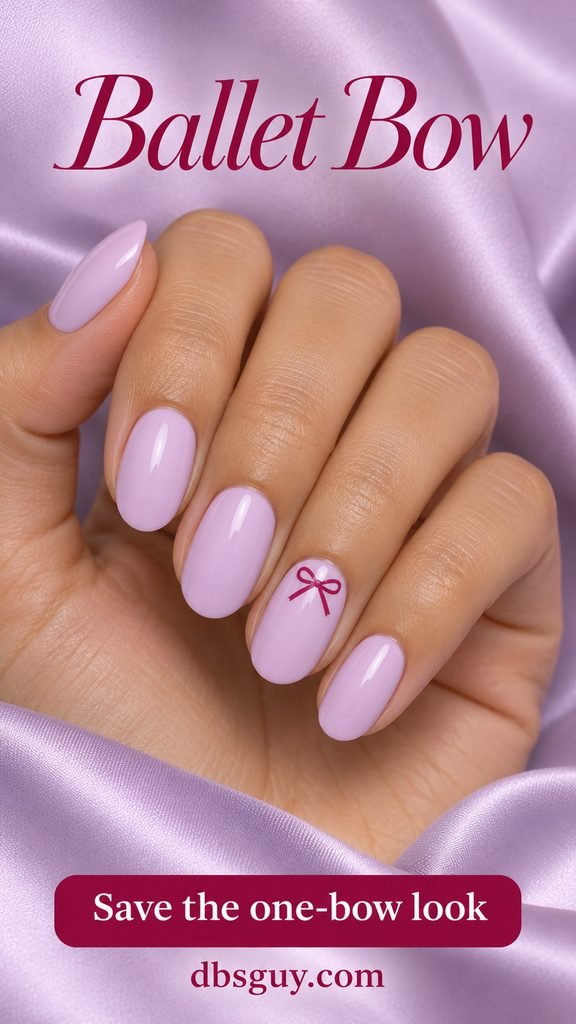
When using a flat decal, check the length of the tails as well as the width of the loops. On a narrow nail, short angled tails leave enough lilac around the bow to show the shape.
Also Read Minimalist Valentine Nails With Tiny Details and Plenty of Bare Space
7. Milky Blush With a Pearl-Knot Bow
Paint an ivory bow on milky blush and use one tiny pearl as the knot. The loops stay flat while the bead supplies a little height. The soft contrast works well on a short almond or oval if you want the detail to come into view up close.
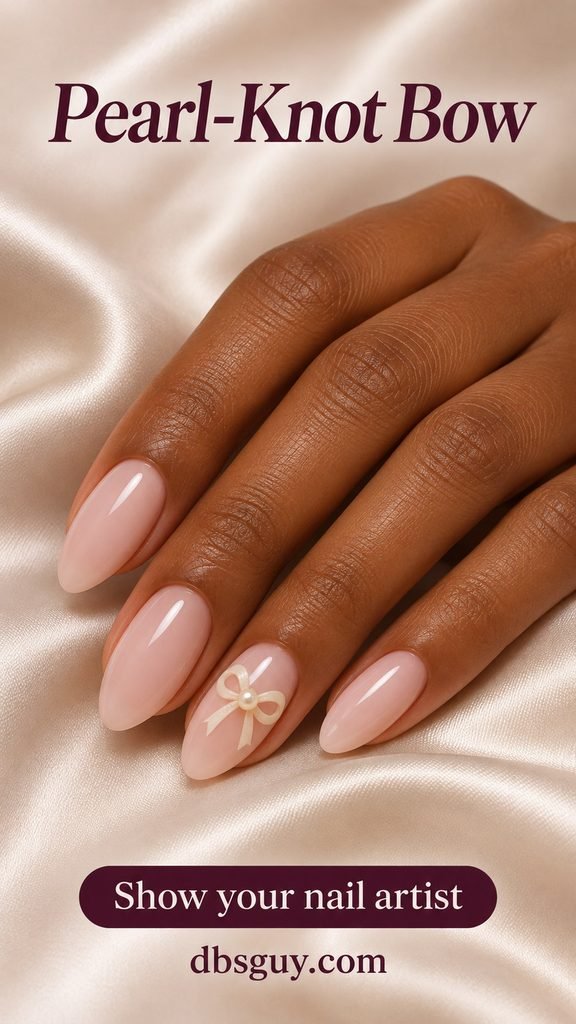
Ask to see the pearl next to the painted bow. If the bead hides the point where the loops meet, go smaller. An ivory dot in the center gives you a flat version with the same placement.
8. Pastel Conversation Hearts With Tiny XO Notes
On glossy cream, give each pastel candy heart a soft matte surface and a small berry-colored “XO.” The reference uses low raised hearts in mint and lilac. One per accent nail leaves room for the lettering. A medium rounded square gives the message a little more width to breathe.
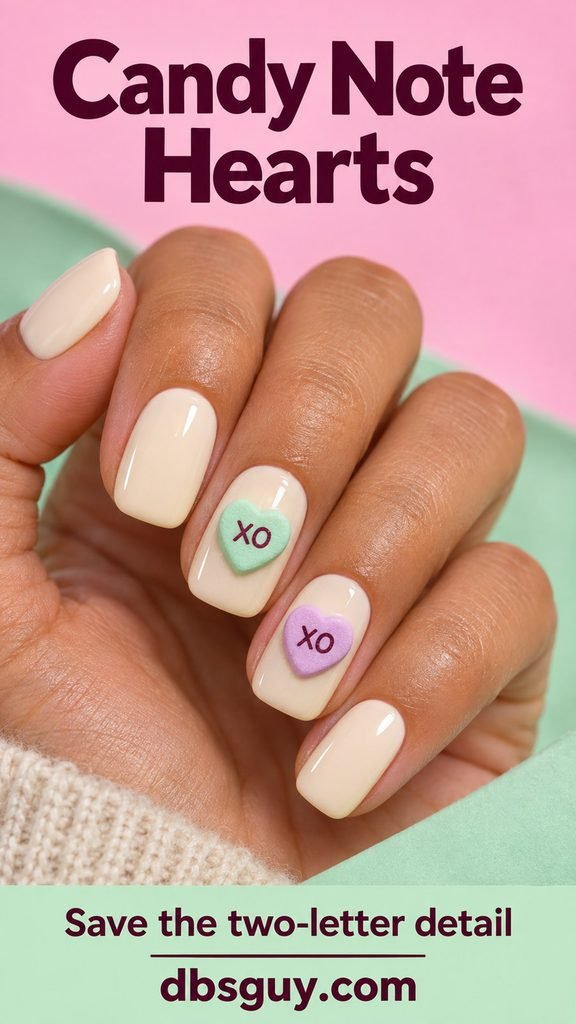
Ask for a lettering sample on a practice tip if those two letters matter to you. You can also choose flat lettered decals. If neither option leaves a border of pastel around the message, let the candy shape and color carry the idea.
9. Candy Heart Confetti on Short Nails
Scatter little hearts in mint, lilac, and butter yellow over one or two milky accent nails. Keep a sliver of the base visible between the hearts. That spacing does more for the confetti effect than adding another shade.
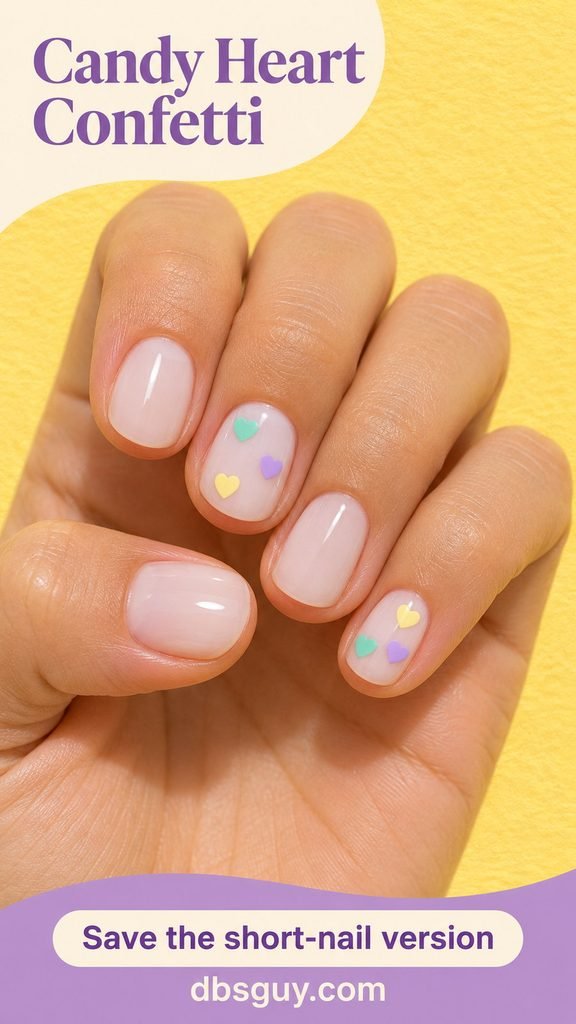
To paint a tiny heart with regular polish, place two small dots side by side, then pull the wet color down to a shared point. Practice the size on a spare tip first. ORLY’s dotting-tool heart tutorial shows how the two lobes meet.
10. Raspberry Jelly Nails With Layered Hearts
A translucent raspberry layer softens the hearts underneath it. An accent heart on top stays brighter. The difference in contrast makes the design look as though some hearts are suspended in the pink.
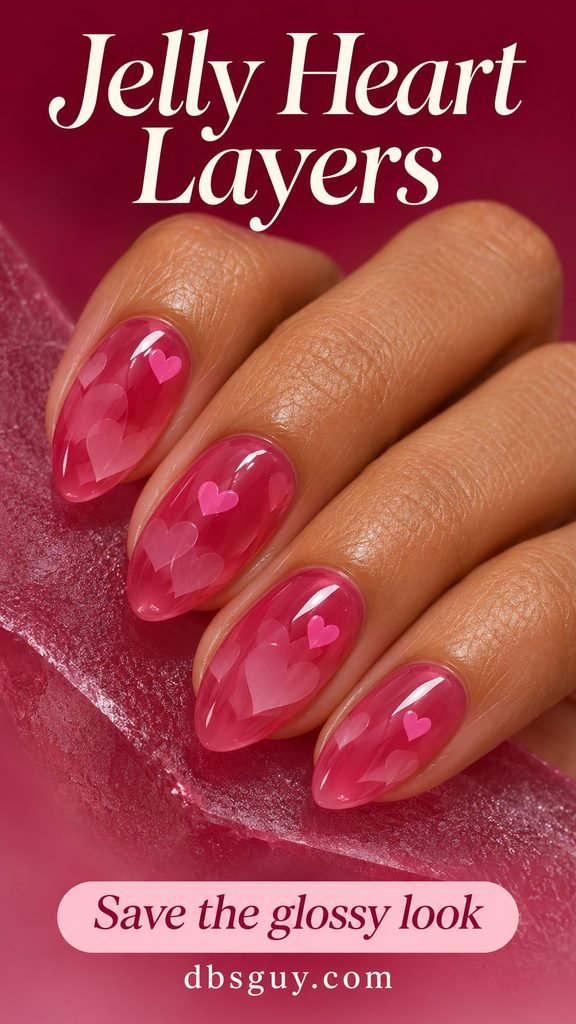
Ask to see one swatch with a single translucent coat over a pale heart. If the lower heart disappears, choose a sheerer raspberry. For short nails, two hearts with different levels of contrast are enough to show the layering.
11. Pastel Candy-Heart Half-Moons
Place each heart near the base of a sheer oval nail, where a reverse French would sit. The point faces the cuticle, with a slim gap so the full shape stays visible. Alternate mint, peach, lilac, and butter yellow for the look of an assorted candy box.

Leave the upper half of each nail sheer so the line of hearts draws your eye to the base. On very short nails, put the full shape on the two broadest nails and use small pastel crescents on the rest.
12. Strawberry Gingham With a Cherry Bow
One pale pink-and-white gingham nail makes the set feel like a picnic ribbon. Paint the tiny cherry-red bow over that accent and leave the neighboring nails glossy strawberry pink. The checks should be pale enough to sit in the background.
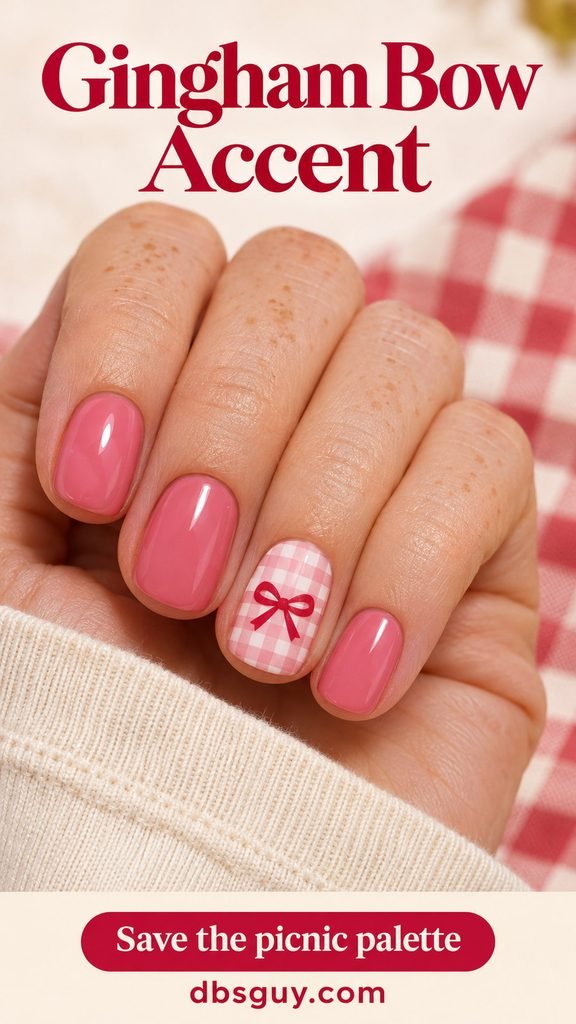
If you’re using a nail wrap for the gingham, check that you can place the bow near the center of a light square or over the least busy part of the pattern. On very short nails, ask for fewer checks so there’s room to see both the grid and the bow.
13. A Kawaii Candy-Box Mix of Bears, Bows, and Hearts
Put one motif on each accent nail. Give the bear the widest of the three so there’s room for its ears, then place a slim raspberry bow and a small pastel heart on the others. Let glossy blush and cream repeat across the set to connect the different designs.
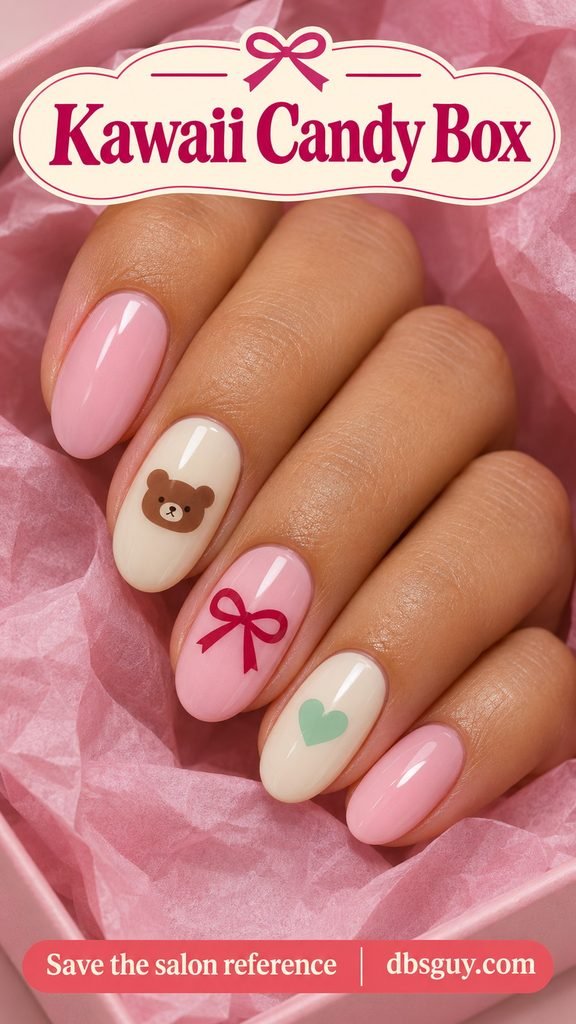
Bring this reference if you want all three motifs in one appointment. A simple request is “Medium ovals, glossy blush and cream, one brown bear face, one raspberry bow, and one mint heart.” If you’d like some plain nails on each hand, split the motifs between hands and repeat the base colors.
How to Adapt a Kawaii Valentine Set to Your Nails
For short nails. Pick the motif first and decide which nail has enough width for it. Keep the bear’s ears and the bow’s loops, and simplify secondary details such as lettering, ribbon tails, and tiny facial marks. A clear gap around the motif usually does more for legibility than adding an outline.
For regular polish at home. Try painted candy-heart confetti or a flat bear or bow decal. Check that the decal fits before applying it, then follow the decal’s instructions for the base and sealing coat. Paint a test heart on a practice tip if you’re unsure how far your polish spreads.
For a salon appointment. Save one image and tell your artist your preferred length, the two or three colors you want to keep, and whether the accents should be flat or raised. If you’re after a charm, pearls, or lettering, ask before booking whether those details need extra time.