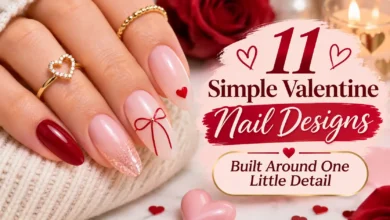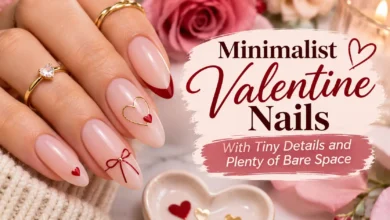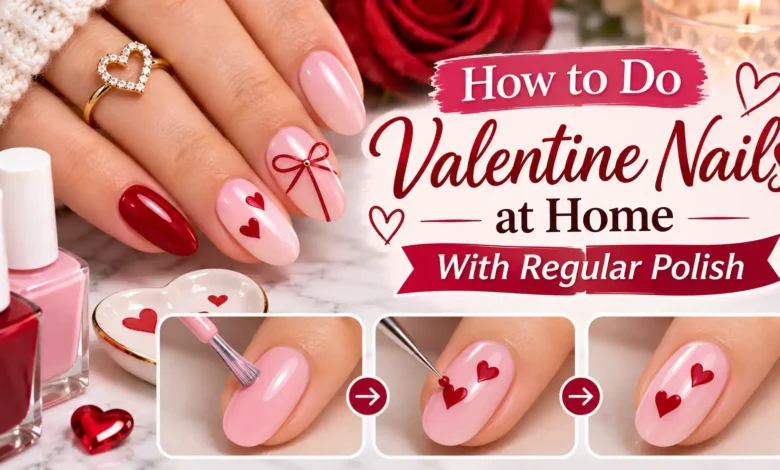
You can do Valentine nails at home with regular polish by painting a soft pink base, making a small red heart from two dots, and finishing with a compatible clear top coat. Start with one heart on each ring nail and leave the others pink. That gives you just two accents to paint, including the one you will make with your less steady hand.
The tutorial below uses air-drying nail lacquer throughout. Check the bottles before you begin: anything that requires curing under a UV or LED lamp belongs to a different system.
The visuals are AI-generated instructional concepts for dbsguy.com. They illustrate the supplies, placement, and brush movements; they are not photographs of a tested manicure.
The Manicure You’re Making
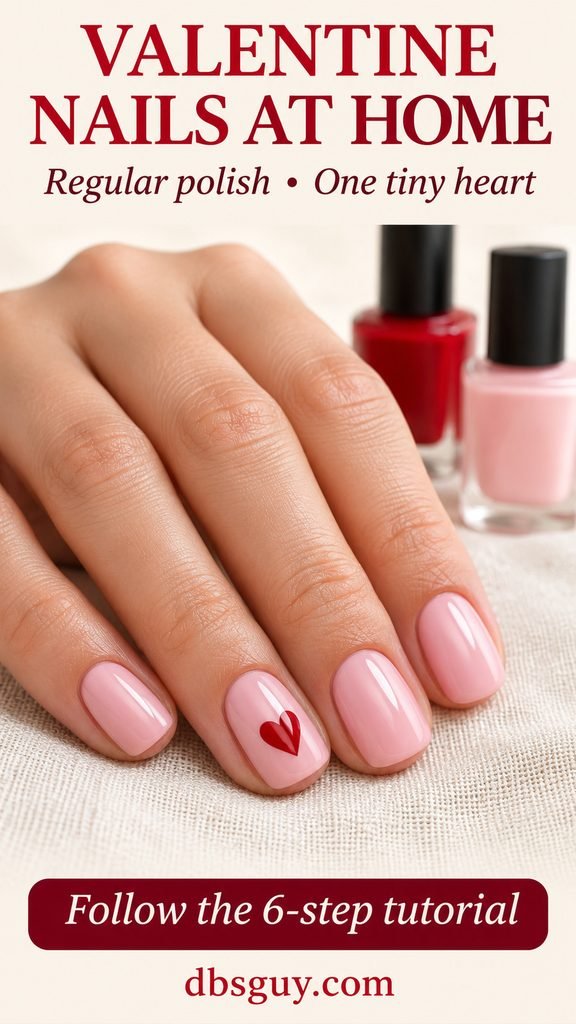
Keep your usual comfortable nail length. The reference uses short squoval nails—mostly square tips with softened corners—with milky pink color and one red heart on each ring nail. Position the heart near the center, leaving pink visible on every side. Its notch faces the cuticle and its point faces the nail tip.
For a first attempt, reserve an unhurried hour as a planning estimate, with additional drying time if your products need it. Have your phone, clothing, and anything you need to open sorted out before painting. The heart takes little space; wet layers are what make rushing difficult.
Also Read: 25 Valentine Nail Ideas to Help You Pick Your February Manicure.
Gather Your Regular-Polish Kit
- Milky pink nail lacquer: choose a shade you already like on your hands. A translucent finish can stay translucent; you do not need to keep adding coats to hide the natural nail.
- Opaque red nail lacquer: use a smooth cream shade that makes a visible dot in one dab. Sheer red takes more building and makes the tiny artwork harder to control.
- Base coat and clear top coat: both should be intended for air-drying polish. Use the application directions for your actual products.
- A small dotting tool or clean rounded bobby-pin end, plus a toothpick: the rounded end places the dots; the toothpick draws their point. A toothpick alone can also make very small dots.
- Polish remover, cotton pads, a fine nail file, and clippers if needed. A small flat cleanup brush helps you remove stray polish beside the nail.
- A small foil palette and a protected work surface: put fresh drops of red on the foil rather than repeatedly dipping your tool into the bottle.
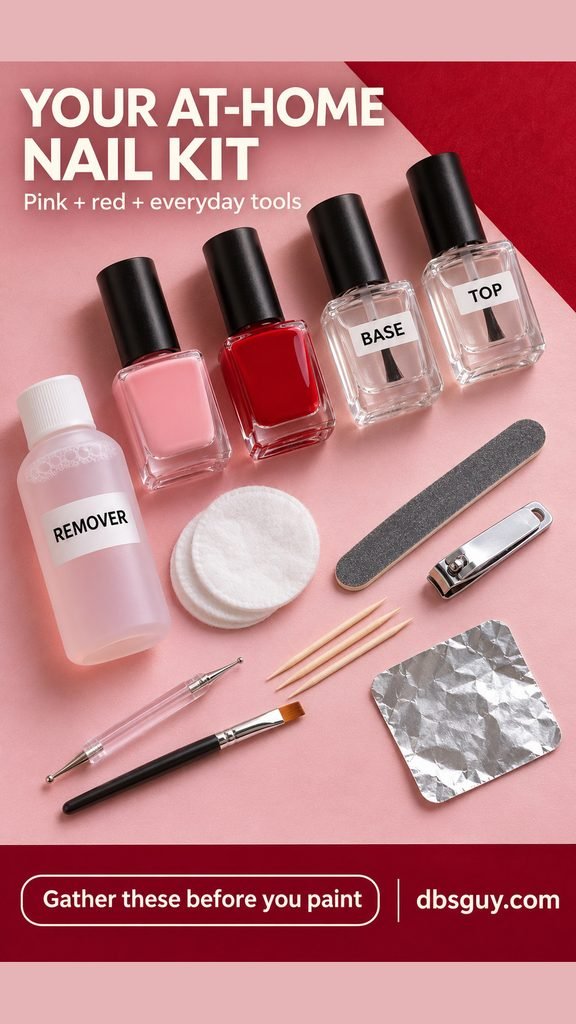
Set everything within reach in a well-ventilated space, away from flames, and follow the polish and remover labels. Skip stringy, thickened polish for this project: it is much harder to place a small, clean dot with it.
Step 1: Remove Old Polish and Smooth the Edges
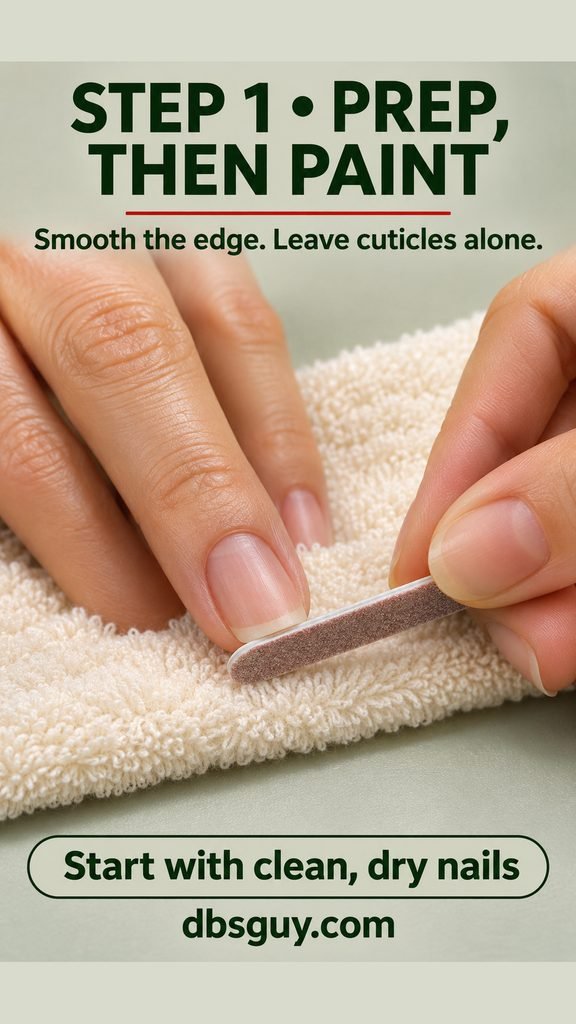
Remove the previous color, shorten the nails only if needed, and gently file rough edges in one direction. Soften sharp corners without aggressively narrowing the sides. Wash your hands and let your nails dry thoroughly; there should be no lotion or oil left on the nail surface before the base coat goes on.
Leave the cuticles alone. The American Academy of Dermatology’s nail-trimming guidance advises against cutting or pushing them back because they protect the nail root. You do not need a cuticle-cutting step to paint this design.
Step 2: Build the Pink Base in Thin Layers
Apply the base coat as directed. Then wipe excess pink polish from the bottle brush and paint a thin coat: a stroke through the center, followed by a stroke along each side. Begin just short of the cuticle and keep the polish on the nail, leaving a narrow clean margin beside the skin.
Let that color layer dry before adding a second thin coat if you want more coverage. Two thin layers give you more control than one heavy layer. A sheer pink may still show the natural free edge, which suits this manicure.
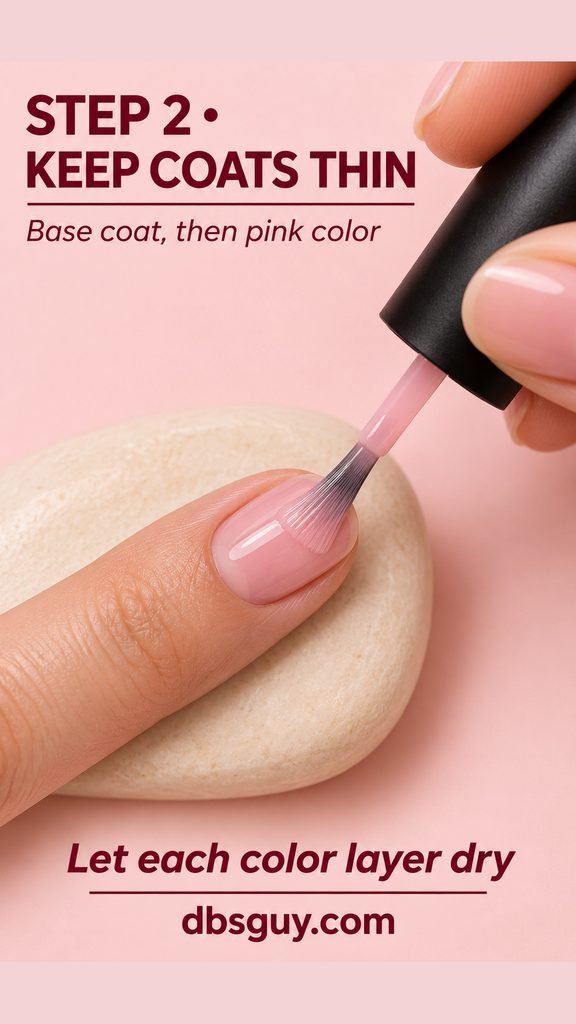
Wait until the pink is dry enough for detail work before starting the heart. If a gentle tool movement drags the base or leaves a groove, it is too early. Do not repeatedly poke the painted nail to test it; practice the next steps on foil while you wait.
Step 3: Place Two Small Red Dots
Put a fresh drop of red polish on your foil palette. Rest your painting hand on the table, dip the rounded tool lightly, and place two equal dots side by side near the center of the ring nail. Their edges should almost touch. Keep the pair small enough to leave plenty of pink around it.
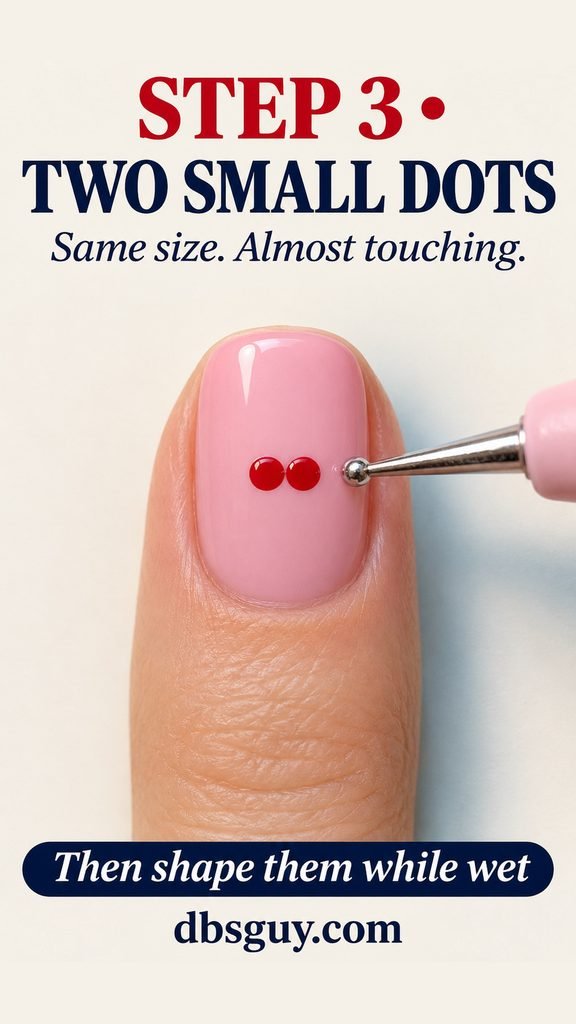
These dots form the rounded lobes. Make just one pair, then move immediately to the next step while the red is wet. Finish one heart before placing dots on the other hand.
Step 4: Pull Both Dots Into One Heart Point
With a toothpick and very light pressure, draw a short diagonal from one wet dot toward a shared point closer to the nail tip. Repeat from the other dot to that same point. The two short strokes connect the lobes into a heart; keep their notch facing the cuticle.
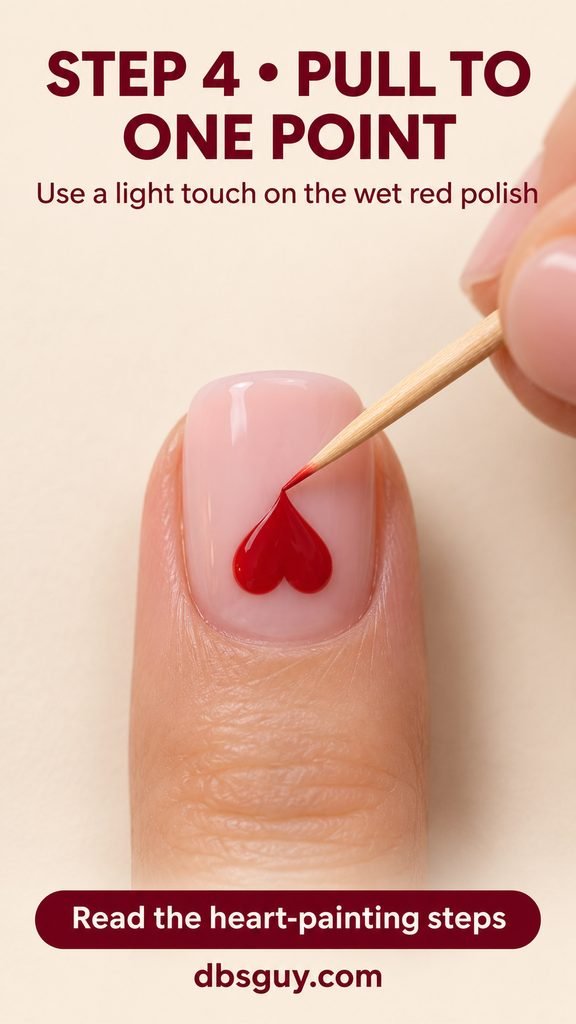
Move the red polish rather than scratching through the pink. Stop once the shape reads clearly. If the polish becomes stringy or the heart turns into a blob, remove and repaint that accent nail instead of making it larger with repeated corrections.
Step 5: Clean the Borders and Add Top Coat
For stray polish on the surrounding skin, use a small cleanup brush lightly dampened with remover. Blot excess remover first and trace only the outside border. Keep it away from the heart and intact pink surface; a saturated brush can carry remover farther than you intended.
Let the red artwork dry before sealing. Apply a compatible air-drying top coat with a light hand and as few strokes as practical, following its directions. Carry a small amount over the accessible free edge without painting the skin beneath a very short nail.
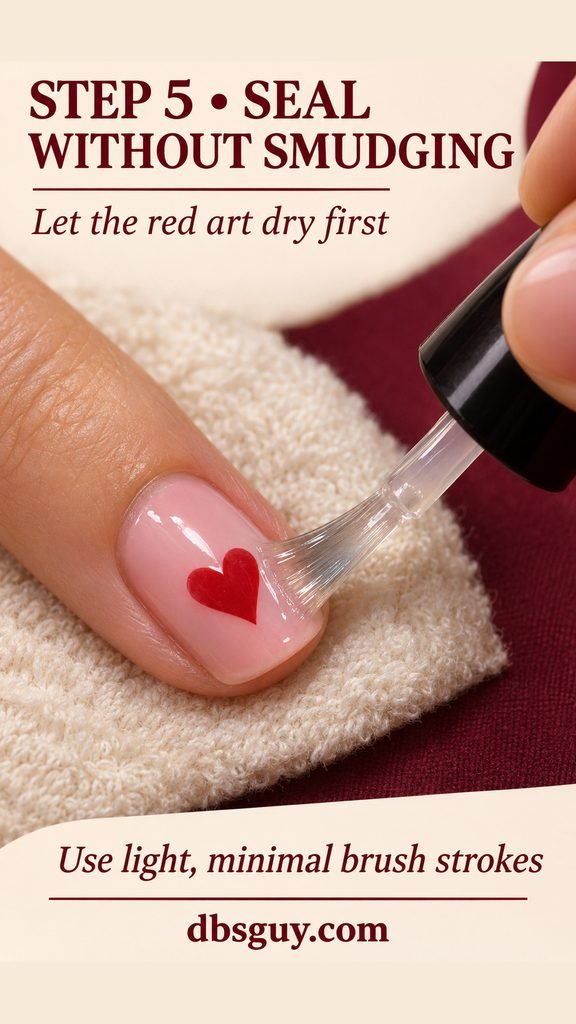
Avoid scrubbing the brush back and forth over the heart. If you pick up red on the bristles, stop and wipe the brush before returning it to the bottle. Let the accent dry longer before trying again.
Step 6: Allow Drying Time Before Using Your Hands
Rest your hand with the nails clear of the table, fabric, and each other. Give the finished layers the drying time their labels call for. A quick-dry product can help, but a surface that feels dry is not a promise that every layer will resist pressure.
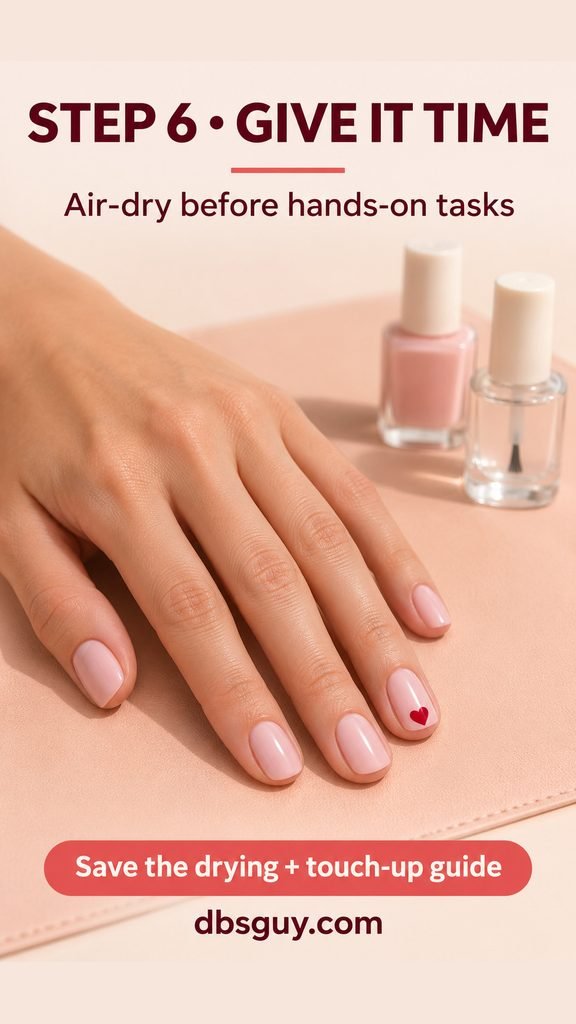
Delay tasks such as fastening jeans, digging through a bag, or putting on tight gloves. There is no single minute count that fits every lacquer, layer thickness, and room condition. If you need the manicure for a particular outing, allow a generous buffer instead of painting as you leave.
Once the manicure is dry, moisturize the surrounding skin or use cuticle oil. Keep that finishing step separate from the clean, oil-free surface you needed before painting.
Fix the Problem Without Repainting Every Nail
The heart looks like a red circle
The dots may be too large or the center notch may have filled in. On the next attempt, use less red and shorter connecting strokes. If the current accent has already set, restart that nail rather than carving a notch with remover.
The tool drags a line through the pink
The base is still soft, or you are pressing too hard. Give the color longer to dry and practice moving only the red on your foil palette. The tool is a paint-shaping aid, not something to press into the nail.
The top coat leaves a red streak
The artwork may need more drying time, or the brush may be overworking it. Practice your actual red-and-top-coat combination on a painted swatch before redoing the accent. Keep the next heart small so you are not trying to dry a thick mound of red.
The less steady hand cannot paint a neat heart
Try that hand’s accent first, while you have patience for a restart. Support both wrists, turn the hand being painted to improve the angle, and move the tool only a short distance. You can also stop at a plain pink manicure today and practice the same heart on foil for next time.
A small edge chip appears later
If it is limited to a plain pink tip, touch up the missing color sparingly, let it dry, and reseal according to your top coat’s directions. A deep dent or smeared heart is usually simpler to remove and repaint on that one nail. Do not keep piling polish onto a damaged area.
Questions Before You Start
Do I need a lamp for Valentine nails with regular polish?
No. Use products labeled as air-drying lacquer, including the top coat. “Gel-like” wording alone does not tell you how a product sets; read its directions. If it calls for curing under a lamp, it is not the top coat for this tutorial.
Can I make the heart without a dotting tool?
Yes. A clean rounded bobby-pin end can place the dots, and a toothpick can shape them. Test the dot size on foil first. A large rounded end can deposit more red than a short nail needs.
How long should I wait between coats?
Follow your bottles’ directions and allow each color layer to dry before the next. Wait for the pink before adding art, and for the red before sealing. If the surface pulls, wrinkles, or smears under the next step, slow down rather than adding another coat to cover it.
Can I make this manicure last a specific number of days?
There is no dependable wear-time promise for every polish and routine. Thin layers, clean prep, compatible base and top coats, and protecting your nails during chores give the manicure a better starting point. Plan to touch up or repaint if needed.
Keep the first version simple: pink on all ten nails, one compact heart on each ring nail, and time for the layers to dry. Once that feels manageable, you can make a deliberate change to the color or placement using the same basic method.
Also Read: 17 Oval Acrylic Nails for February With Soft Edges and Romantic Details if you want to compare longer salon shapes before your next appointment.