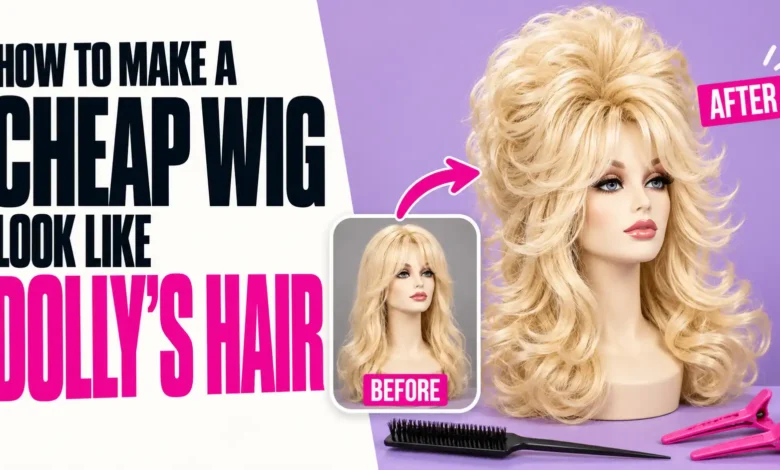
To make a cheap wig look like Dolly’s hair, concentrate the volume at the crown, soften the front edge with bangs, and keep the outer curls smooth enough to show their shape. A shoulder-length blonde wig with existing curls gives you a much easier starting point than a long, straight costume wig.
This five-step makeover is for an inexpensive synthetic wig you already own or can borrow. It focuses on small adjustments you can make without hot tools. You’re building a Dolly-inspired costume hairstyle, with a rounded silhouette and face-framing movement, rather than recreating one exact stage wig.
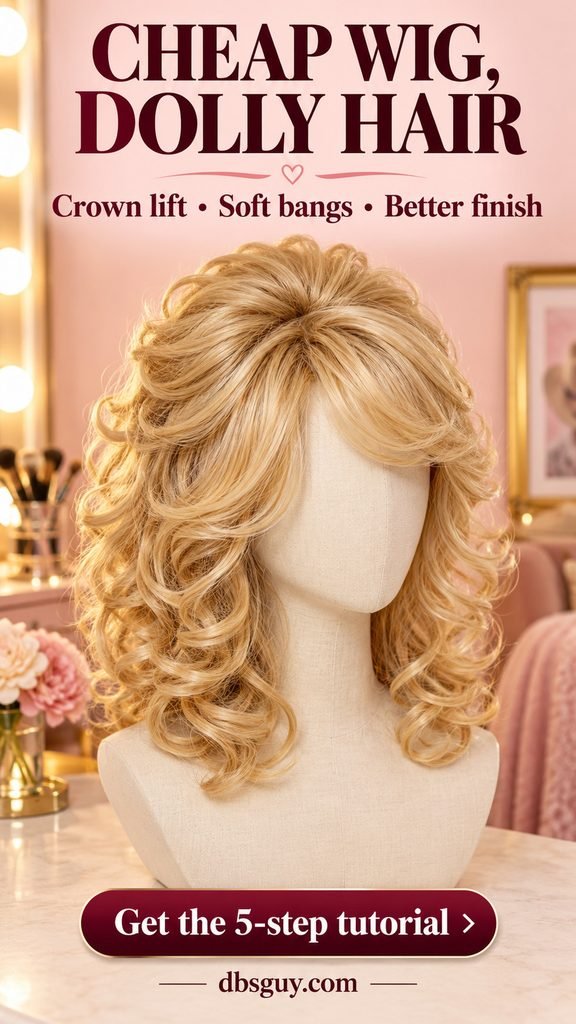
The images are AI-generated styling concepts. They illustrate the target shapes and techniques, not a photographed or tested before-and-after makeover. Your wig’s density, fiber and original cut will affect the result.
Before You Start: Is Your Wig Worth Restyling?
Put the wig on and look at it from the front and side. For this particular look, the most useful features are blonde color, curls or waves that already exist, enough hair to cover the crown, and a fringe or front section you can sweep across the forehead.
Check the cap before buying anything else. If the elastic is broken, the wig won’t stay comfortably in place, or large gaps show through even with the hair resting naturally, a borrowed wig may be a better starting point. Styling cannot add missing density.
If you’re still choosing the outfit, keep the hair budget in context with this DIY Dolly Parton costume under $50. Spending more on rescue products than on a suitable replacement defeats the purpose of a cheap-wig makeover.
1. Prep the Wig Without Brushing Away Its Curls
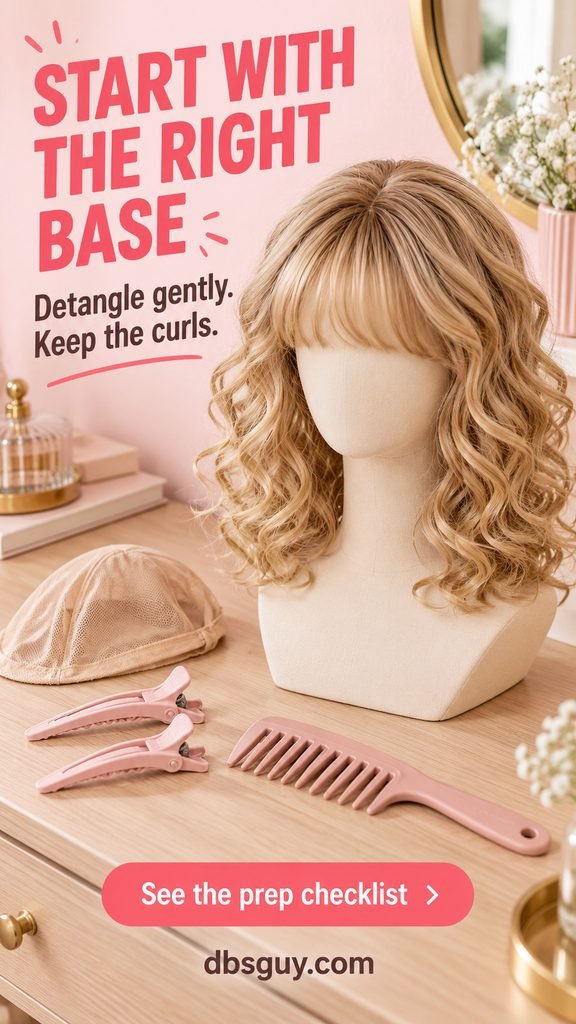
Gather a wig stand or stable mannequin head, a wide-tooth comb, sectioning clips, blonde bobby pins, and a wig cap if you use one. An approved synthetic-wig holding spray is optional. You only need a compatible dry shampoo if excessive shine is actually a problem.
Read the wig’s tag or original product instructions first. If the fiber type or heat limit is unknown, use no heat. A curling iron’s lowest setting is not automatically safe for an unmarked costume wig. Jon Renau’s synthetic hair care and styling guidance explains why ordinary synthetic fiber needs different handling from heat-friendly fiber. Your own wig’s instructions take priority.
- Separate the curls gently with your fingers so you can see where the knots are.
- Support a small section above a snag and ease it apart from the ends upward. Use the wide-tooth comb only as needed; don’t drag it from the crown through the full length.
- If the wig is dirty and its label allows washing, follow its care directions with a synthetic-wig cleanser. Let it air-dry completely on a ventilated wig stand before styling.
- Check the fit on your own head. Position the front near your natural hairline and adjust the straps, if present, until the cap feels secure without pulling.
Keep your own hair distributed evenly underneath. A bulky bun at the back can change where the wig sits and make the front edge harder to conceal. Once the fit looks right, return the dry wig to the stand.
Keep this distinction in mind: separating a few curls makes them easier to arrange; repeatedly brushing the whole wig can turn a defined curl pattern into a fluffy cloud. Preserve the curl you paid for.
2. Reduce Excess Shine With a Light Touch
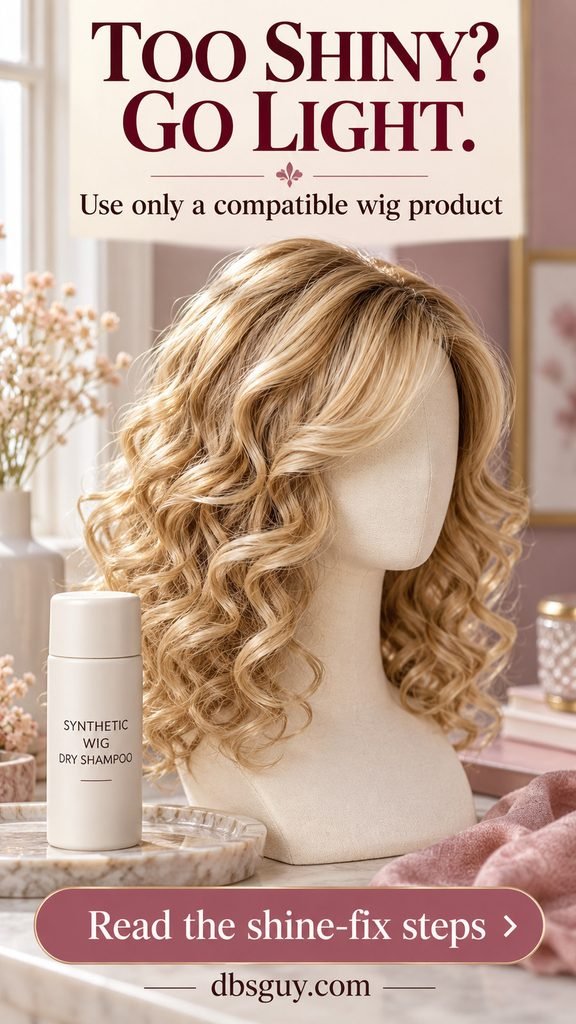
Check the wig in ordinary room light before treating it. A little reflection is normal. The problem is a broad, plasticky glare that hides the individual strands. Don’t keep adding product just because a flash photo catches a bright highlight.
If the wig maker permits it, a dry shampoo explicitly suitable for synthetic wigs can help reduce unwanted shine. Test a tiny amount on a concealed underside section first. Let it settle according to the product directions, then check the color, feel and residue before touching the visible hair.
- Place the wig on its stand in a ventilated area, away from your face and ignition sources.
- Shake and apply the product exactly as its label directs, using the recommended distance and the smallest useful amount.
- Distribute it gently with your fingers without scrubbing the curls apart. Check the finish before applying more.
Stop if the blonde looks chalky, the fibers feel coated, or the curls begin sticking together. Follow the wig’s care instructions to remove excess product rather than layering another fix over it.
Avoid experimenting with loose household powders, fabric softener or heavy hair oil. If you can’t confirm a suitable product, skip this step and improve the shape first. You can still make a noticeable costume adjustment without coating the wig.
3. Lift the Crown, Then Cover the Support
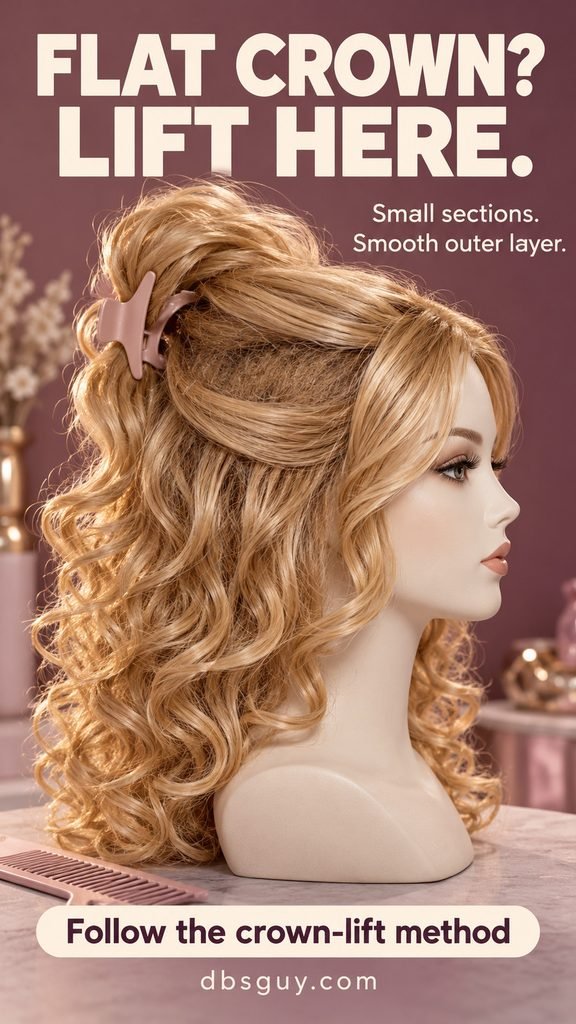
The shape to aim for is a rounded rise just behind the fringe, with curls falling toward the shoulders. Resist the urge to make every section equally big: that can leave a cheap wig wide at the sides while its top still looks flat.
Only backcomb if the wig’s construction and care instructions allow it. Be especially cautious with a sparse, delicate or hand-tied top. If a small trial section sheds, stretches or opens a visible gap, stop and settle for gentler finger-lifting.
- Clip aside a thin, smooth section from the top. This will become the cover over the inner support.
- Lift a small section immediately behind it. On the underside, a short distance above the cap, make a few light downward strokes toward the base with a suitable wig comb. Keep tension off the cap and attachment points.
- Release the section and check its lift. Add a neighboring section only if the top still needs support; avoid teasing the lengths and curl ends.
- Lay the reserved smooth hair over the cushion. Use your fingertips to arrange the surface without combing all the way through the support you just made.
The concept image shows the inner section exposed for clarity. That rough support should be hidden in the finished style. If it shows through, reduce the height or borrow a little more surface hair to cover it. A smaller, covered crown looks more intentional than a tall mound with visible tangles.
If permitted, use a light application of synthetic-wig holding spray according to its label. Let it dry before judging whether you need more. On a very thin wig, stop at a modest lift rather than trying to force a towering bouffant.
4. Disguise the Front Edge With Soft, No-Cut Bangs
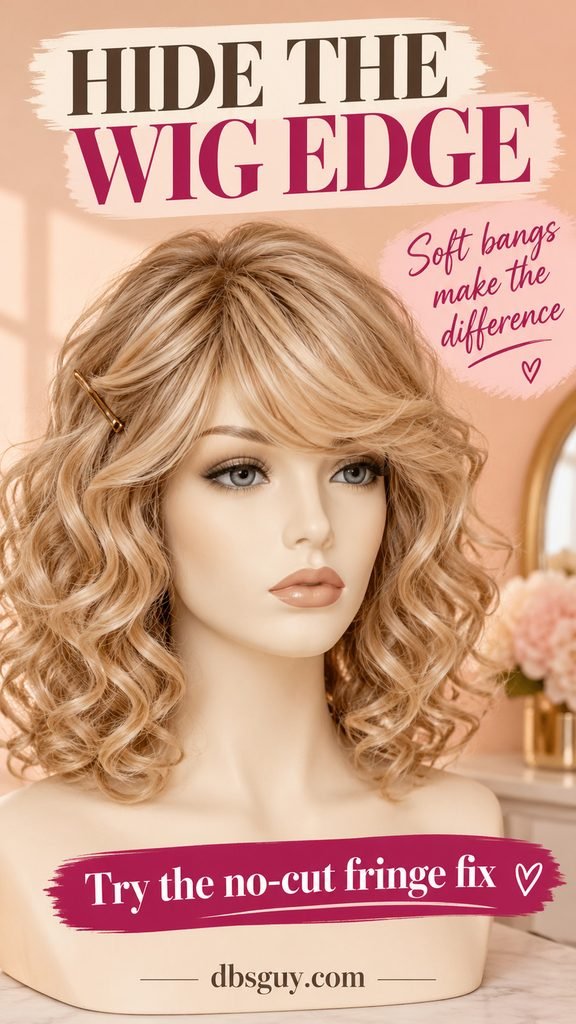
A basic costume wig often has a thick front seam instead of a realistic lace hairline. For this look, a feathered fringe lets you work with that construction. You don’t need to expose a perfect part or glue the whole front down.
Try the wig on again before adjusting the bangs. Check that the cap hasn’t slipped backward during styling. A fringe can cover the edge, but it shouldn’t have to cover several inches of misplaced cap.
- Bring the existing front hair forward over the seam.
- Use your fingers to sweep it gently to one side, leaving a little curve instead of pulling it tight across your forehead.
- If the ends are too long, fold the excess under or carry it toward the temple. Hide a blonde bobby pin beneath a side curl without pushing it through delicate lace.
- Loosen the surface slightly and check that you can see clearly, turn your head and wear your glasses if needed.
The pictured fringe uses a soft sweep and a small temple pin. A wig with short, straight bangs will keep more of its original shape; you can separate them lightly, but don’t expect them to turn into long feathered layers.
Skip the scissors for the first attempt. Pin the fringe into place and look at it with the whole costume on. If it still needs a permanent cut, a stylist who works with synthetic wigs can judge the length and density before removing hair.
Also read: Dolly Parton Costume Guide for a Fun and Authentic Look.
5. Define the Curls and Do a Final Wear Check
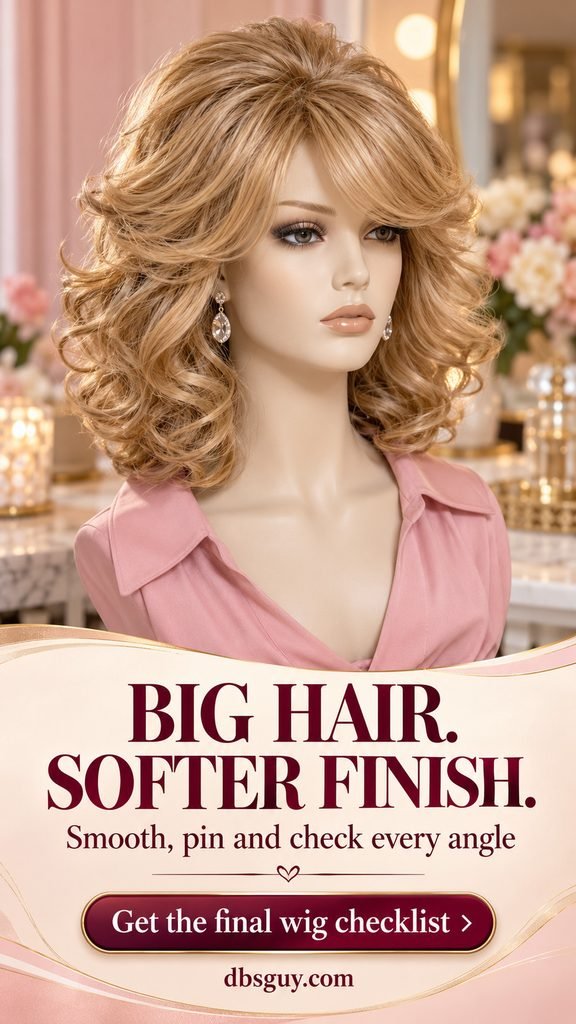
Once the crown and fringe are in place, treat the remaining curls as the frame. Separate only the clumps that look stuck together, then follow each curl’s existing direction with your fingers. Let some curls sit forward near the cheeks while others fall toward the shoulders.
You’re arranging the wig’s existing curl pattern here. Finger-twisting a straight synthetic wig or leaving it in cool rollers does not guarantee a lasting new curl. If your starting wig is straight, choose a simpler interpretation or borrow a curly one rather than improvising with heat.
Finish by checking these details with the wig on your head:
- Front: the cap edge is covered, the bangs stay out of your eyes, and the crown has a clear rounded shape.
- Both sides: the lifted area flows into the curls instead of ending in an abrupt ledge.
- Back: no bare tracks, exposed teasing or obvious pin ends show through.
- Movement: turning your head and looking down doesn’t pull the wig out of position.
- Costume: earrings and collars aren’t catching the fibers or squashing the curls.
Take a front, side and back photo in ordinary light. Fix the most visible problem first, then stop handling the style. If you use holding spray, choose one approved for the wig and let it dry fully before wearing.
When you remove the wig, support it on a suitable stand away from heat. Work out any small tangles gently from the ends before putting it away; don’t yank a comb through the backcombed crown.
Also read: Last-Minute Dolly Parton Costume: 13 Things in Your Closet That Work.
Cheap Dolly Wig Makeover: Common Questions
Can I use a curling iron if the package only says “synthetic”?
No. That wording doesn’t establish heat resistance. Keep hot tools off an unknown fiber. If the maker explicitly identifies the wig as heat-friendly, use only its specified tools, temperatures and method. This tutorial doesn’t require heat.
What if the crown keeps falling flat?
Check that the smooth top section isn’t pulling the lift down. Reduce its tension and try a smaller rounded shape. If more teasing exposes tracks or creates heavy knots, the wig may not have enough density for the height you want.
Do I need a lace-front wig for a Dolly costume?
For this bangs-forward interpretation, a basic cap can work because the fringe covers the front edge. An exposed, swept-back hairline asks more of the wig’s construction. Choose your hairstyle around the wig you have.
How can I improve it when I’m nearly out of time?
Prioritize the fit, a covered front seam, a little crown lift and a few defined curls around the face. Skip washing when there isn’t time for complete air-drying. Those focused adjustments are more manageable than changing the entire style before leaving.
For a paired outfit, the Dolly Parton and Kenny Rogers couples costume ideas can help you coordinate the finished hair with the rest of the look.