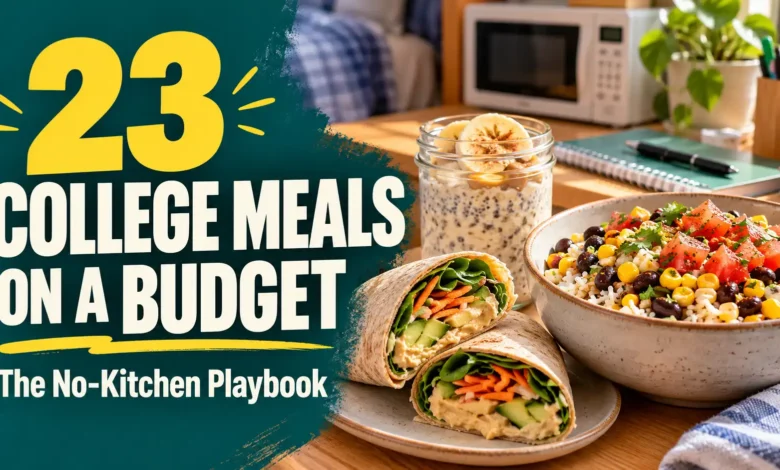
You can make college meals on a budget without a stove, oven, or full-size fridge. The trick is choosing a meal that fits the equipment you actually have—and buying ingredients you can use again before they go to waste.
Start here: Try the peanut butter–banana wrap if you have no appliances, the hummus crunch wrap if you have a fridge, or the black bean salsa rice bowl if you have a microwave. All 23 meals below serve one.
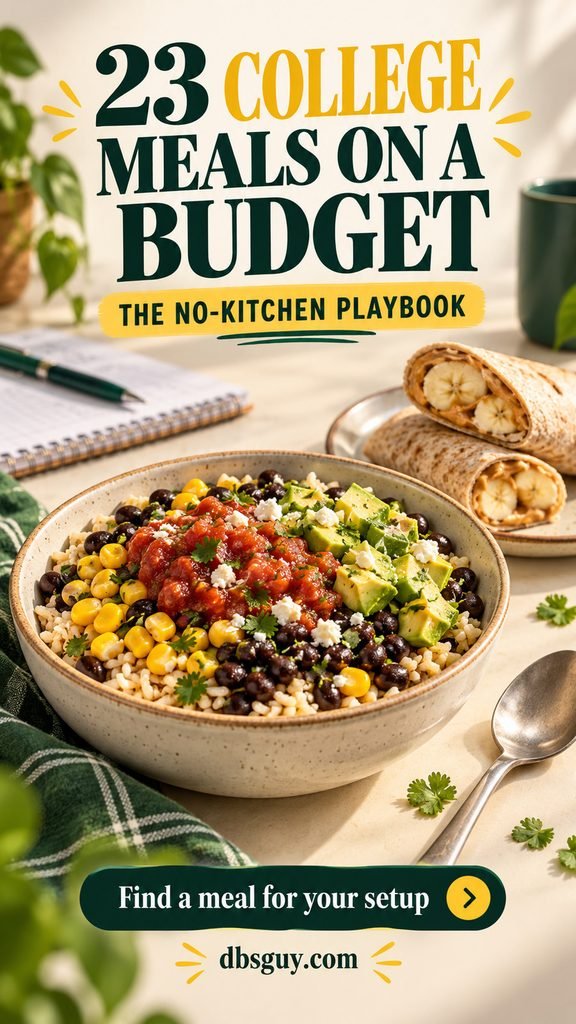
Recipe note: These are research-informed meal ideas, not kitchen-tested recipes. Preparation times are estimates. The AI-generated visuals illustrate serving concepts rather than photographed test batches.
Choose the Meals Your Room Can Handle
- No fridge and no heat: Meals 1–6 use ingredients that can be stored unopened without refrigeration. Assemble them when you are ready to eat.
- Fridge, no cooking: Meals 7–14 use chilled ingredients. You still do not need a microwave.
- Microwave access: Meals 15–23 make warm food without a stove. Most also need refrigeration for ingredients or opened packages; frozen vegetables require proper freezer storage.
Check your residence hall’s appliance rules before buying anything. A shared microwave may be enough. For these meals, the useful basics are a large microwave-safe bowl, a safe plate or vented lid, a fork, spoon, can opener if needed, small knife and cutting board, and a way to wash them. Keep soap and clean drinking water available.
Food Storage Rules Worth Getting Right
Keep refrigerated foods at 40°F or below; a thermometer tells you more than the dial setting. Refrigerate perishables within 2 hours, or 1 hour above 90°F. An opened can, tuna pouch, or shelf-stable milk carton is no longer a food you can leave on your desk. Follow its label after opening.
Use microwave-safe dishes, vent covers, stir during heating, and follow package standing times. Reheat leftovers to 165°F. Handle hot bowls with a mitt or folded towel, and open covers away from your face. The FDA’s safe food handling guidance explains the heating and chilling basics.
Wash hands, utensils, and produce as appropriate. Check labels for allergens and dietary restrictions; hummus, noodles, sauces, nut butters, and dairy substitutes can vary.
No Fridge, No Heat: Open and Assemble
These meals need no cooking, but package size matters. Buy commercially prepared, ready-to-eat foods and shelf-stable condiments; check storage labels. For canned ingredients, use a small portion pack or share the remaining contents immediately. If you cannot refrigerate or share the excess, discard it—and count the full package price as your cost. The wrap and cereal bowl are the easiest choices for avoiding partly used cans.
1. Peanut Butter–Banana Wrap
Choose this when you want breakfast without opening a can or saving half a carton. A whole banana fits neatly inside a large tortilla.
Estimated total time: 3 minutes. Makes: 1 serving.
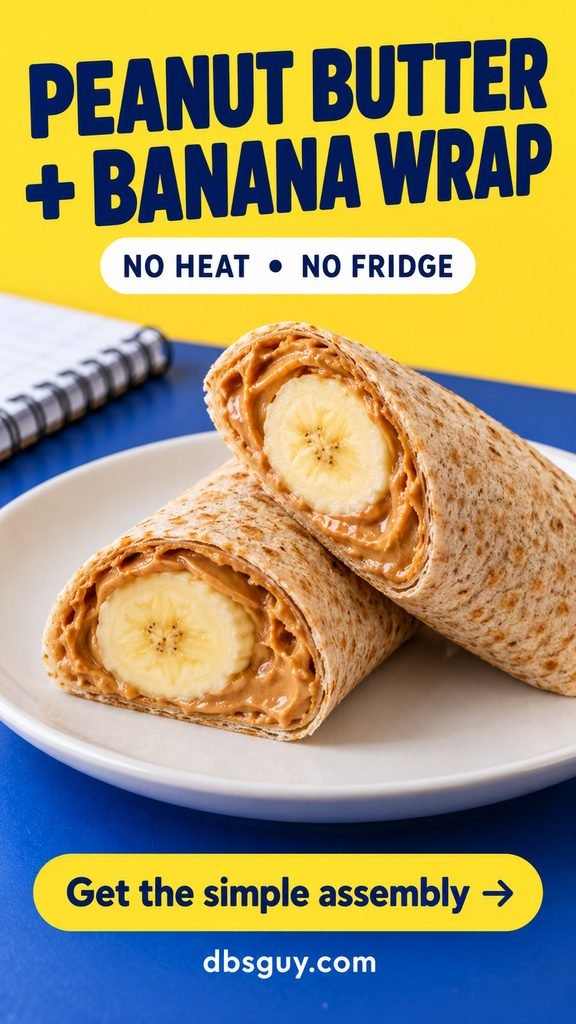
What you need
- 1 large whole-wheat tortilla
- 2 tablespoons peanut butter
- 1 medium banana
- Spread the peanut butter over the tortilla, leaving a small border.
- Peel the banana, place it near one edge, and roll the tortilla around it. Cut in half if you like.
Sunflower seed butter works as a peanut-free swap if its label suits your needs. Check whether your particular spread needs refrigeration after opening.
2. Tuna–White Bean Cracker Plate
White beans stretch a small tuna pouch into a more substantial lunch. A lemon dressing means you do not need an open jar of mayonnaise.
Estimated total time: 5 minutes. Makes: 1 serving.
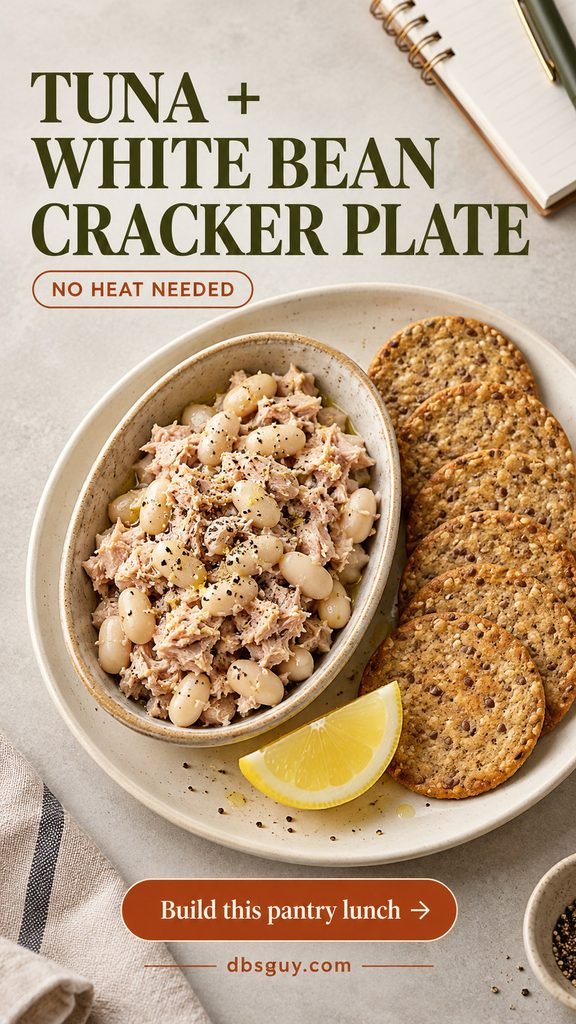
What you need
- 1 ready-to-eat light tuna pouch, about 2.6 ounces
- ½ cup drained, rinsed canned white beans
- 1 teaspoon lemon juice and 1 teaspoon olive oil
- Black pepper; 1–1½ ounces whole-grain crackers
- Mix the tuna, beans, lemon juice, oil, and pepper in a bowl. Mash a few beans to help the mixture hold together.
- Scoop onto crackers as you eat so they stay crunchy.
Without a fridge, share the remaining beans immediately or choose a smaller ready-to-eat portion. Count the whole package in your spending if you cannot use the rest.
3. Apple–Peanut Cereal Bowl
This is the cupboard breakfast for a morning when the dining hall is closed. A single-serving shelf-stable milk carton avoids the problem of storing an opened jug.
Estimated total time: 4 minutes. Makes: 1 serving.
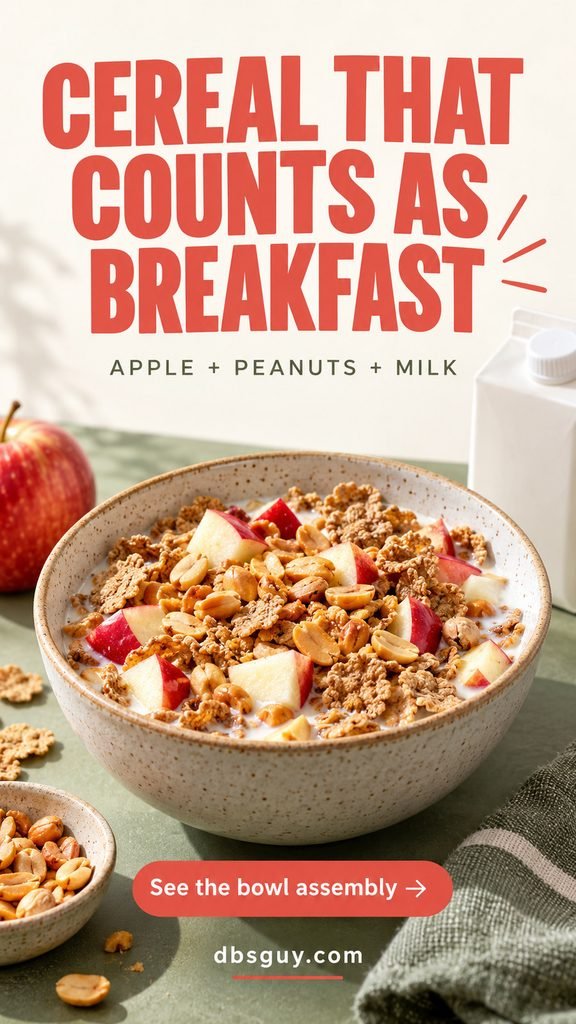
What you need
- 1 cup whole-grain cereal
- 1 unopened 8-ounce shelf-stable milk or fortified soy milk carton
- 1 small apple, washed and chopped
- 2 tablespoons unsalted roasted peanuts
- Put the cereal, apple, and peanuts in a bowl.
- Open the milk, pour it over, and eat immediately.
Shelf-stable describes the unopened carton. Refrigerate any remaining milk after opening, or discard it if you have no cold storage. Use a nut-free crunchy topping if needed.
4. Lemon Chicken–Corn Pita
Ready-to-eat chicken makes a savory lunch without a stove or deli counter. Corn adds a little sweetness and uses the same pantry ingredient as the bean bowl below.
Estimated total time: 5 minutes. Makes: 1 serving.
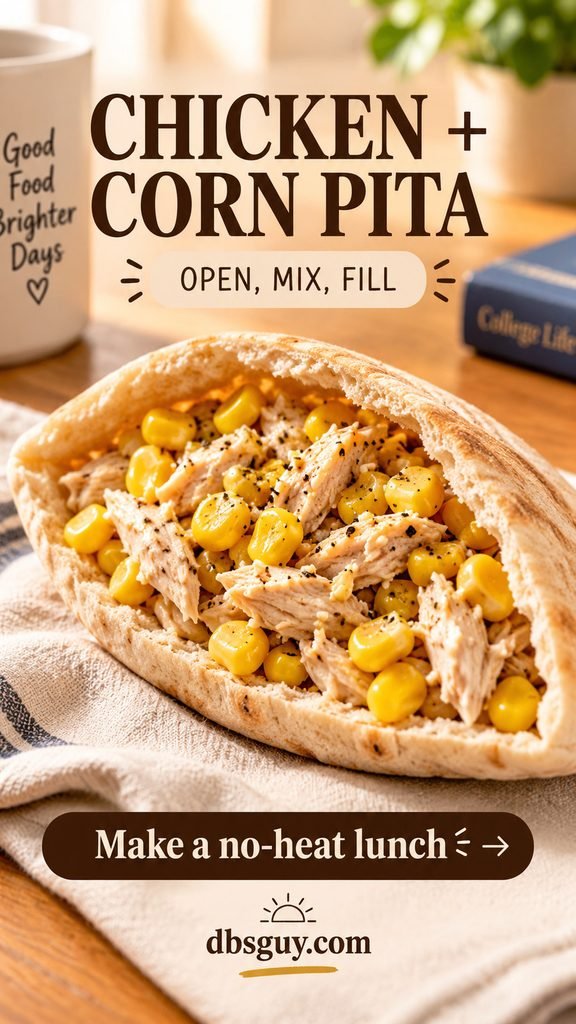
What you need
- 1 soft whole-wheat pita
- 3 ounces fully cooked, ready-to-eat pouched or canned chicken, drained
- ⅓ cup drained canned corn
- 1 teaspoon each olive oil and lemon juice; black pepper
- Flake the chicken with a fork, then mix it with the corn, oil, lemon juice, and pepper.
- Open the pita pocket and spoon in the filling. Serve without heating.
Use chicken explicitly labeled fully cooked and ready to eat. A pouch can reduce unused leftovers, but compare its total price with a can you can share at the meal.
5. Chickpea–Raisin Pita
This sweet-savory filling uses raisins for contrast rather than a second sauce. It suits a pantry that already has chickpeas, oil, and a small spice supply.
Estimated total time: 5 minutes. Makes: 1 serving.

What you need
- 1 whole-wheat pita
- ¾ cup drained, rinsed canned chickpeas
- 2 tablespoons raisins
- 1 teaspoon olive oil, 1 teaspoon lemon juice, and a pinch of ground cumin
- Mash about half the chickpeas with the oil, lemon juice, and cumin. Leave the rest whole for texture.
- Fold in the raisins and fill the pita.
Skip the cumin if you do not already have it. Buying a whole spice jar for one lunch will not help a tight checkout budget.
6. Black Bean–Corn Tortilla Scoops
Keep this one chunky enough to scoop. It is an easy lunch when you have beans and corn but no way to heat rice.
Estimated total time: 5 minutes. Makes: 1 serving.
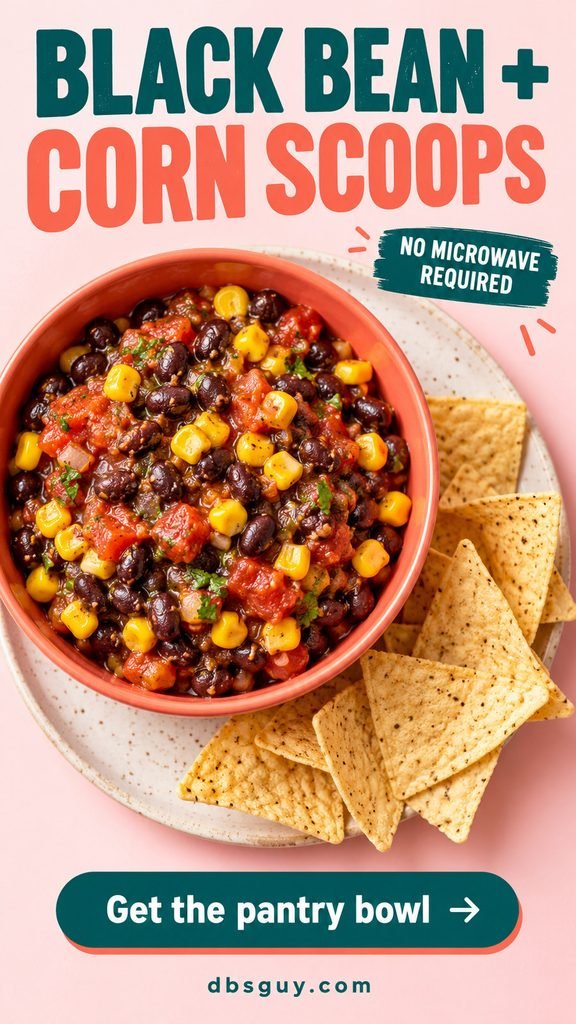
What you need
- ¾ cup drained, rinsed canned black beans
- ⅓ cup drained canned corn
- 2–3 tablespoons salsa, from shelf-stable single portions if you have no fridge
- 1–1½ ounces tortilla chips
- Stir the beans, corn, and salsa in a bowl. Mash a spoonful of beans if the mixture feels too loose.
- Eat with the chips, adding them a few at a time rather than stirring them into the wet filling.
If you have no refrigeration, open this meal with someone who can eat the remaining beans and corn immediately. Otherwise the unused portions still count toward your cost.
Fridge-Only Meals: No Cooking Required
Keep these ingredients cold, and take out only what you need. A tub of plain yogurt, one bag of slaw, and a few cans of beans can cover several different meals; you do not need to buy every ingredient below.
7. Banana–Granola Yogurt Bowl
Plain yogurt is useful here because the same tub can also bind sandwich fillings. Granola supplies crunch without needing a toaster.
Estimated total time: 3 minutes. Makes: 1 serving.
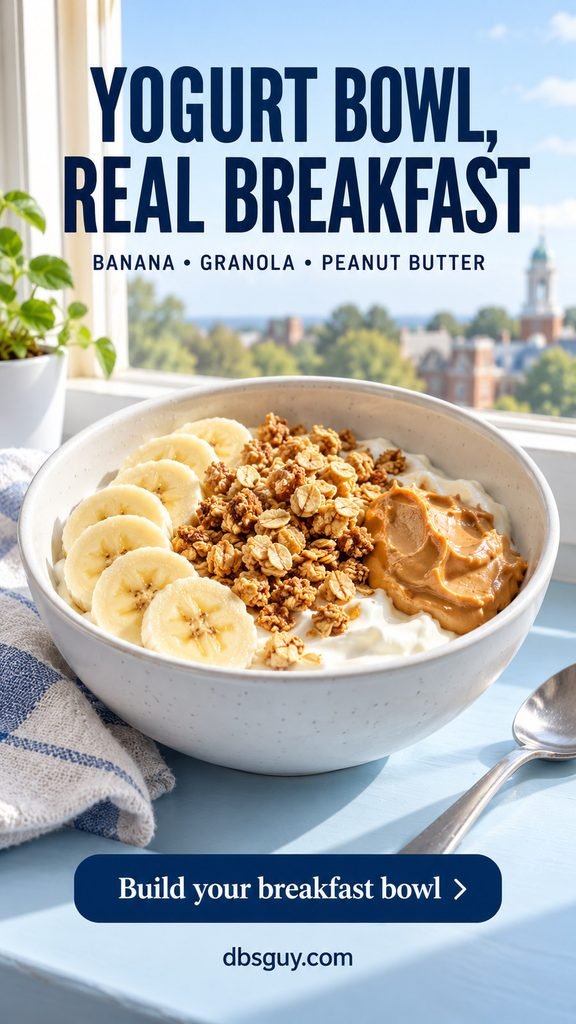
What you need
- ¾–1 cup plain Greek yogurt
- 1 banana, sliced
- ⅓ cup granola
- 1 tablespoon peanut butter
- Spoon the yogurt into a bowl and add the banana.
- Add the granola and peanut butter just before eating.
Compare the price per ounce of a tub and individual cups, then choose the amount you can finish. A bigger tub is only a saving if it fits your fridge and gets used.
8. Hummus–Chickpea Crunch Wrap
Hummus acts as the spread, while whole chickpeas make the filling more substantial. Cucumber and carrot add texture without a bag of delicate salad greens.
Estimated total time: 5 minutes. Makes: 1 serving.
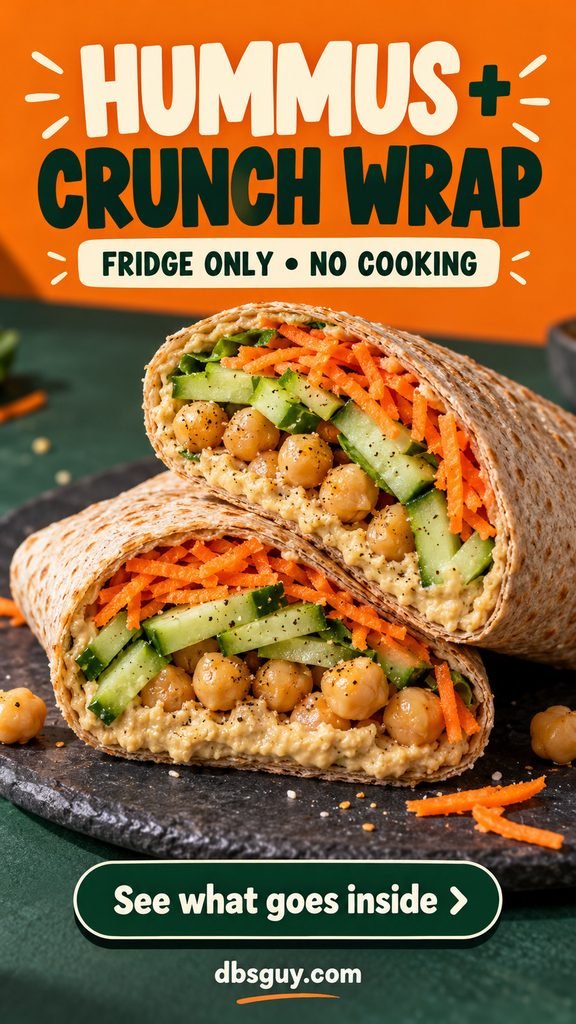
What you need
- 1 large whole-wheat tortilla
- 3 tablespoons refrigerated hummus
- ½ cup drained, rinsed canned chickpeas
- ¼ cup cucumber sticks and ¼ cup shredded carrot
- Pat the cucumber dry and lightly crush the chickpeas with a fork.
- Spread hummus across the tortilla. Add the chickpeas, cucumber, and carrot, tuck in the sides, and roll.
Use the same carrot or slaw mix in the chicken salad and peanut noodles. You do not need a different vegetable bag for every recipe.
9. Mustard-Smashed Chickpea Sandwich
This filling is creamy without needing a separate mayonnaise jar. Mash it fairly well so whole chickpeas do not tumble out of the sandwich.
Estimated total time: 5 minutes. Makes: 1 serving.

What you need
- ¾ cup drained, rinsed canned chickpeas
- 1 tablespoon plain Greek yogurt
- 1 teaspoon mustard; black pepper
- 2 slices whole-wheat bread
- Mash the chickpeas with the yogurt, mustard, and pepper until most are broken up.
- Spread onto one slice of bread and close the sandwich. Add another teaspoon of yogurt only if the filling is too dry.
Keep the sandwich chilled if you pack it for later. For a backpack lunch, use an insulated bag with adequate cold packs.
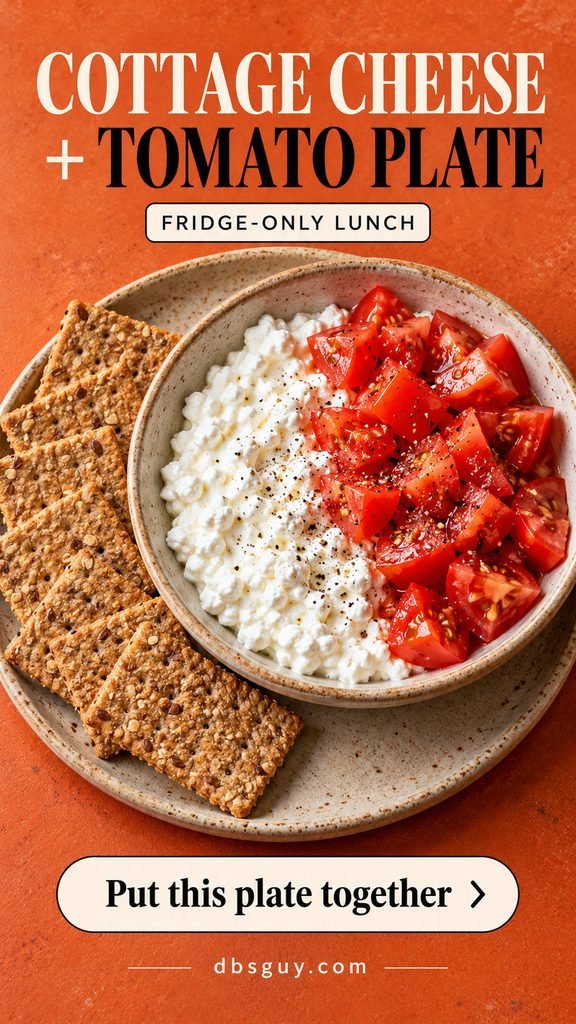
10. Cottage Cheese–Tomato Cracker Plate
A bowl-and-cracker lunch is useful when you do not want to assemble a sandwich. Choose this if cottage cheese is already part of your weekly shop.
Estimated total time: 4 minutes. Makes: 1 serving.
What you need
- ¾–1 cup cottage cheese
- 1 medium tomato, washed and chopped
- 1–1½ ounces whole-grain crackers
- Black pepper
- Spoon the cottage cheese into a bowl and add the chopped tomato.
- Season with pepper and serve with crackers for scooping.
Buy a small tomato rather than a large container of cut vegetables if you only need enough for today. Drain very juicy tomato pieces before packing them beside crackers.
11. Ready-Cooked Egg Salad Pita
Start with refrigerated, commercially hard-boiled eggs. This version gives you egg salad without finding a way to boil eggs in your room.
Estimated total time: 5 minutes. Makes: 1 serving.

What you need
- 2 store-bought hard-boiled eggs, peeled
- 1 tablespoon plain Greek yogurt and 1 teaspoon mustard
- ¼ cup diced cucumber; black pepper
- 1 whole-wheat pita
- Chop the eggs, then gently stir in the yogurt, mustard, cucumber, and pepper.
- Spoon into the pita and eat, or refrigerate promptly until needed.
If ready-cooked eggs are expensive locally, choose the chickpea sandwich instead. It is worth checking the price before adding eggs to your basket.
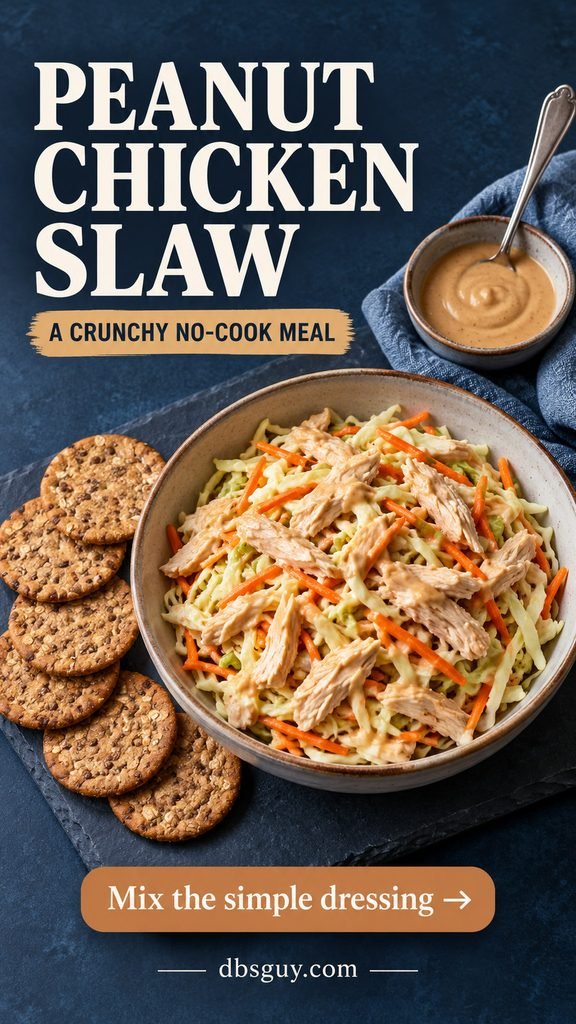
12. Peanut Chicken Slaw
A small bag of cabbage-carrot slaw does more work than a salad kit with a sauce you may not want. Here it becomes a crunchy chicken lunch.
Estimated total time: 6 minutes. Makes: 1 serving.
What you need
- 3 ounces fully cooked, ready-to-eat chicken, drained and flaked
- 1–1½ cups ready-to-eat cabbage-carrot slaw mix
- 1 tablespoon smooth peanut butter and 1 tablespoon water
- 1 teaspoon reduced-sodium soy sauce and 1 teaspoon lemon juice
- 1 ounce whole-grain crackers
- Stir the peanut butter, water, soy sauce, and lemon juice together until pourable. Add another teaspoon of water if needed.
- Toss the chicken and slaw with the dressing. Serve the crackers alongside.
Check the vegetable label: use it as sold only if it is marked ready to eat or prewashed. Wash other produce before preparing it.
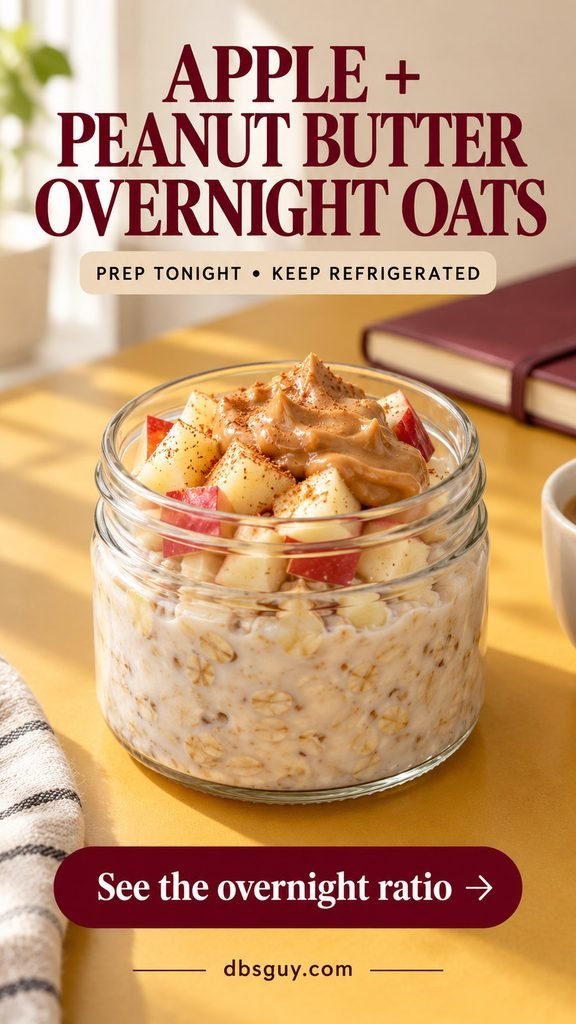
13. Apple–Peanut Butter Overnight Oats
This is the make-ahead breakfast in the playbook. Use rolled oats whose package or manufacturer provides an overnight-oats preparation method.
Estimated total time: 5 minutes, plus overnight refrigeration. Makes: 1 serving.
What you need
- ½ cup rolled oats suitable for overnight soaking
- ½ cup milk or fortified soy milk
- ¼ cup plain yogurt and 1 tablespoon peanut butter
- ½ apple, washed and chopped
- Mix the oats, milk, yogurt, and peanut butter in a covered container.
- Refrigerate overnight. In the morning, stir well, loosen with a splash of milk if needed, and add the chopped apple.
These need a real refrigerator. Leaving the jar on your desk overnight is not an alternative. If your oat package requires cooking, choose its cooked method instead.
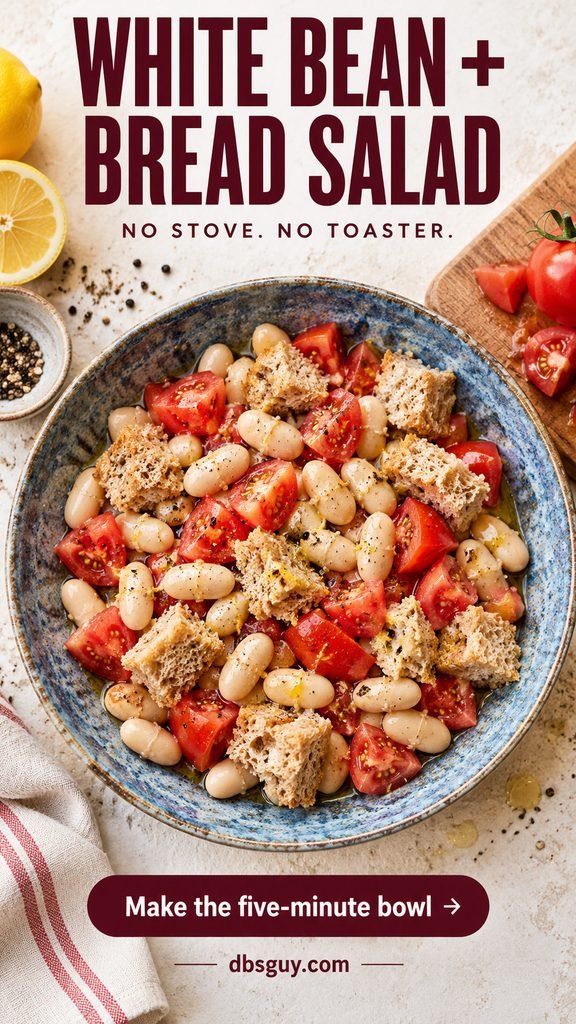
14. White Bean–Tomato Bread Salad
Soft bread works here; you do not need croutons or a toaster. Tomato juice and a small amount of dressing moisten the cubes.
Estimated total time: 5 minutes. Makes: 1 serving.
What you need
- ¾ cup drained, rinsed canned white beans
- 1 cup bite-size whole-wheat bread pieces, about 1–2 slices
- 1 medium tomato, washed and chopped
- 1 teaspoon olive oil and 1 teaspoon lemon juice; black pepper
- Stir the tomato, beans, oil, lemon juice, and pepper in a bowl.
- Fold in the bread and let it sit for about 2 minutes before eating.
Use bread that is still good to eat. This is a way to use the end of a loaf, not to rescue moldy bread. Pack bread separately if you want a firmer texture later.
Microwave Meals: Warm Food Without a Stove
Microwave wattage, bowl size, and starting temperature change heating times. Use the package method when one is provided, stir between short heating intervals, and allow standing time. Never microwave cans, foil pouches, or packaging that is not explicitly microwave-safe.
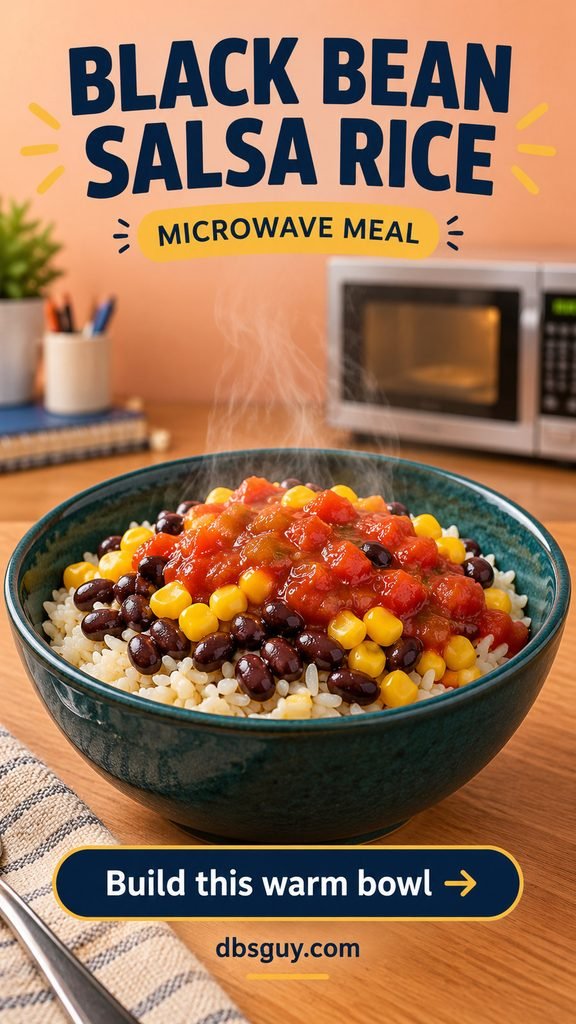
15. Black Bean Salsa Rice Bowl
This is a good first warm meal because the rice is already cooked. Use a microwave rice portion, not dry rice with the same short heating time.
Estimated total time: 6–8 minutes. Makes: 1 serving.
What you need
- 1 cup fully cooked microwave rice
- ¾ cup drained, rinsed canned black beans
- ⅓ cup drained canned corn
- 2–3 tablespoons salsa
- Prepare the rice using its package directions.
- In a roomy microwave-safe bowl, combine the beans, corn, and salsa. Cover loosely and heat in 30-second intervals, stirring between them, until hot throughout.
- Fold in the hot rice. Let stand briefly and handle the bowl with a towel or oven mitt.
For a no-fridge version, open shelf-stable rice, beans, corn, and salsa only when you are ready to cook; share unused portions immediately. Optional cheese or avocado costs extra and needs appropriate storage.
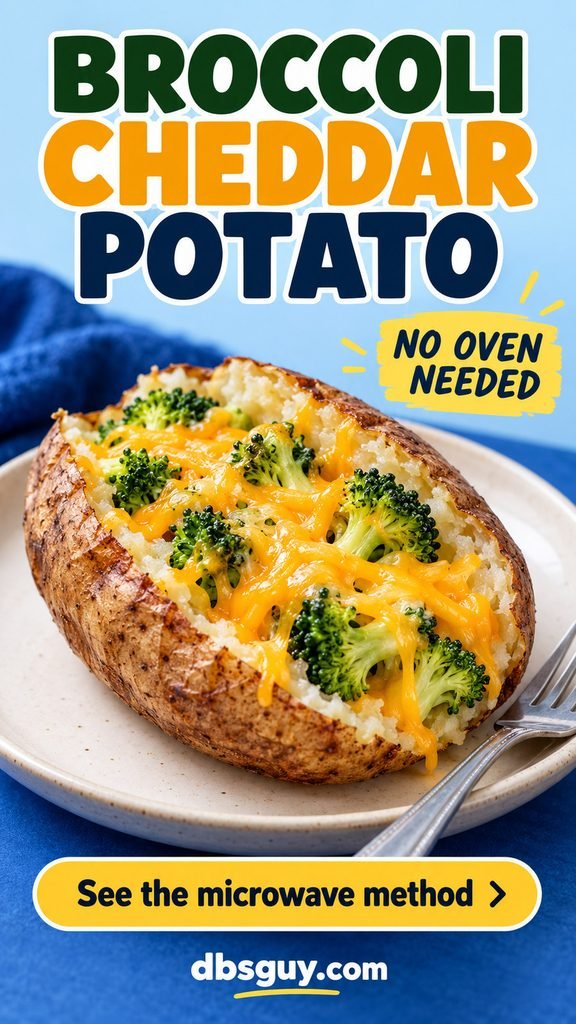
16. Broccoli–Cheddar Microwave Potato
One potato makes a warm base without buying a rice pouch. Size affects the timing, so check tenderness rather than relying on one exact number.
Estimated total time: 10–15 minutes. Makes: 1 serving.
What you need
- 1 medium russet potato, about 7–9 ounces
- ¾ cup frozen broccoli
- ¼ cup shredded cheddar
- 1 tablespoon water for the broccoli; black pepper
- Scrub the potato, prick it several times with a fork, and place on a microwave-safe plate. Microwave on high for 4 minutes, turn carefully, then heat in 1-minute intervals until tender all the way through. Let stand for 2 minutes.
- Cook the broccoli separately according to its package directions. Drain carefully and cut large florets into smaller bites.
- Split the potato, fluff the center, and add broccoli and cheese. Heat briefly in 15–20-second intervals until the cheese melts. Add pepper.
Without a freezer, buy only the broccoli you will cook right away, or use fresh florets cooked in a vented, covered microwave-safe bowl with the tablespoon of water until tender. Frozen broccoli needs proper freezer storage until you cook it.
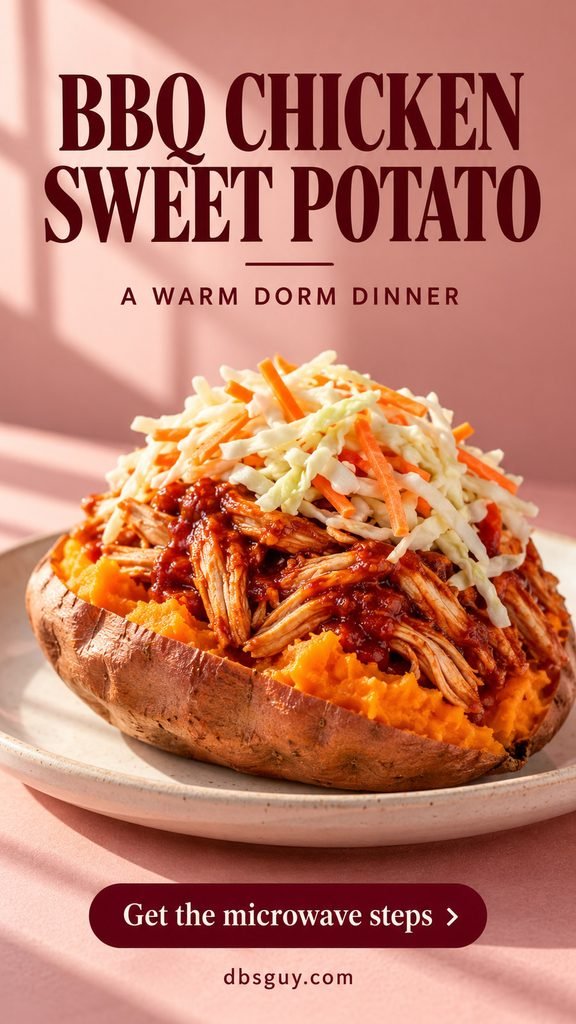
17. BBQ Chicken Sweet Potato
Sweet potato, tangy barbecue sauce, and crunchy slaw give you three textures with very little preparation. Fully cooked chicken keeps raw poultry out of the dorm setup.
Estimated total time: 12–16 minutes. Makes: 1 serving.
What you need
- 1 medium sweet potato, about 8 ounces
- 3 ounces fully cooked, ready-to-eat chicken, drained
- 1 tablespoon barbecue sauce
- ½ cup ready-to-eat cabbage-carrot slaw
- Scrub and prick the sweet potato. Microwave on a safe plate for 4 minutes, turn, and continue in 1-minute intervals until soft through the center. Let stand for 2 minutes.
- Mix the chicken and barbecue sauce in a separate microwave-safe bowl. Cover loosely and heat in short intervals, stirring, until hot throughout. If using refrigerated leftover chicken, reheat to 165°F.
- Split the potato, add the chicken, and finish with the cold slaw just before eating.
Start with a tablespoon of sauce; you can add more at the table. An oversized sweet potato takes longer and can leave you with more food than you wanted.
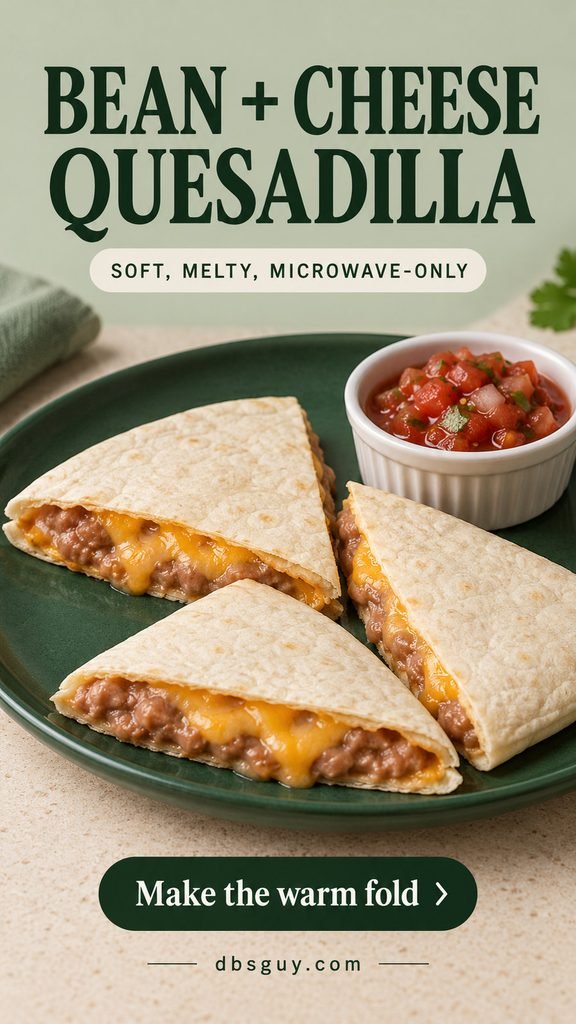
18. Soft Refried Bean–Cheese Quesadilla
A microwave melts the filling but will not toast the tortilla. Think of this as a soft, warm bean-and-cheese fold.
Estimated total time: 5–7 minutes. Makes: 1 serving.
What you need
- 1 large flour tortilla
- ½ cup canned refried beans
- ¼ cup shredded cheddar
- 2 tablespoons salsa, for serving
- Warm the beans in a loosely covered microwave-safe bowl, stirring every 30 seconds until hot.
- Spread the beans over half the tortilla and add cheese. Fold and microwave on a safe plate in 20-second intervals until the cheese melts.
- Let cool slightly, then cut into wedges and serve with salsa.
A thin layer heats more evenly and leaks less than an overstuffed tortilla. Check refried-bean ingredients if you want a vegetarian option; some contain lard.
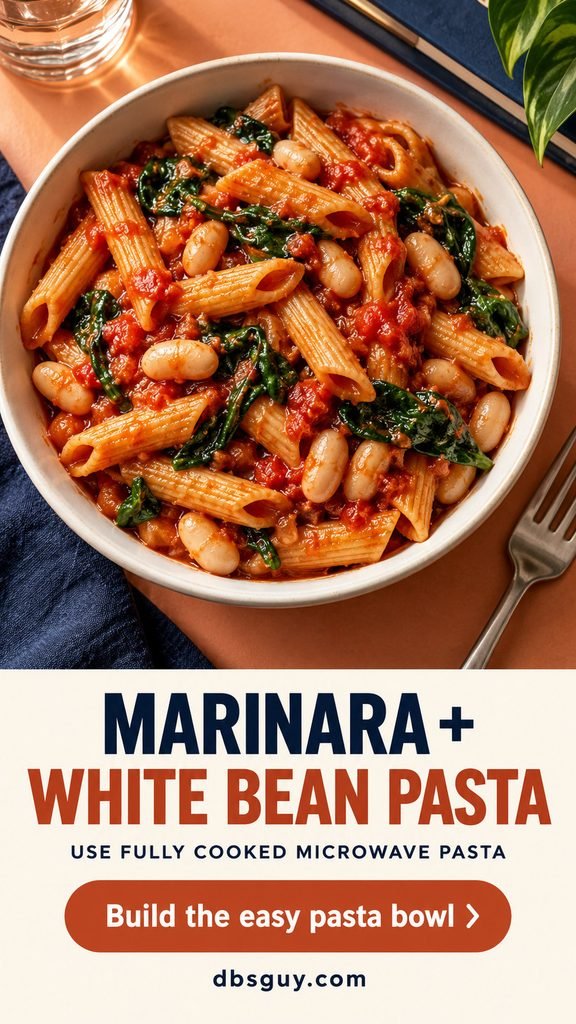
19. Marinara–White Bean Pasta Bowl
A pouch of fully cooked pasta is a convenience choice for nights when you cannot manage dry pasta. Compare its cost with the other warm meals before stocking several.
Estimated total time: 7–10 minutes. Makes: 1 serving.
What you need
- 1 cup fully cooked microwave-ready short pasta
- ½ cup drained, rinsed canned white beans
- ½ cup marinara sauce
- ½ cup baby spinach, washed or labeled ready to eat
- Heat the pasta as its package directs.
- Combine the beans, marinara, and spinach in a roomy microwave-safe bowl. Cover loosely and heat in 30-second intervals, stirring, until bubbling and hot throughout.
- Stir in the pasta, adding 1 tablespoon water if the sauce is too thick. Let stand briefly before eating.
Do not substitute dry pasta and keep this timing. Dry pasta needs enough cooking water and its own microwave-tested package directions.
20. Tomato–White Bean Soup with Bread
Beans turn a small bowl of tomato soup into a more substantial dinner. Buy ready-to-serve soup, or dilute condensed soup exactly as its label says.
Estimated total time: 7–10 minutes. Makes: 1 serving.

What you need
- 1¼ cups prepared ready-to-serve tomato soup
- ¾ cup drained, rinsed canned white beans
- ½ cup baby spinach, washed or labeled ready to eat
- 2 slices whole-wheat bread
- Pour the soup into a large microwave-safe bowl with plenty of headroom. Stir in the beans and spinach.
- Cover with a vented microwave-safe lid. Heat in short intervals, stirring frequently, until the soup reaches a boil throughout. Follow any longer package heating and standing directions.
- Let cool enough to eat safely and serve with the bread.
A full bowl can boil over even when the microwave timer is correct. Use a bigger bowl rather than filling a mug to the rim.
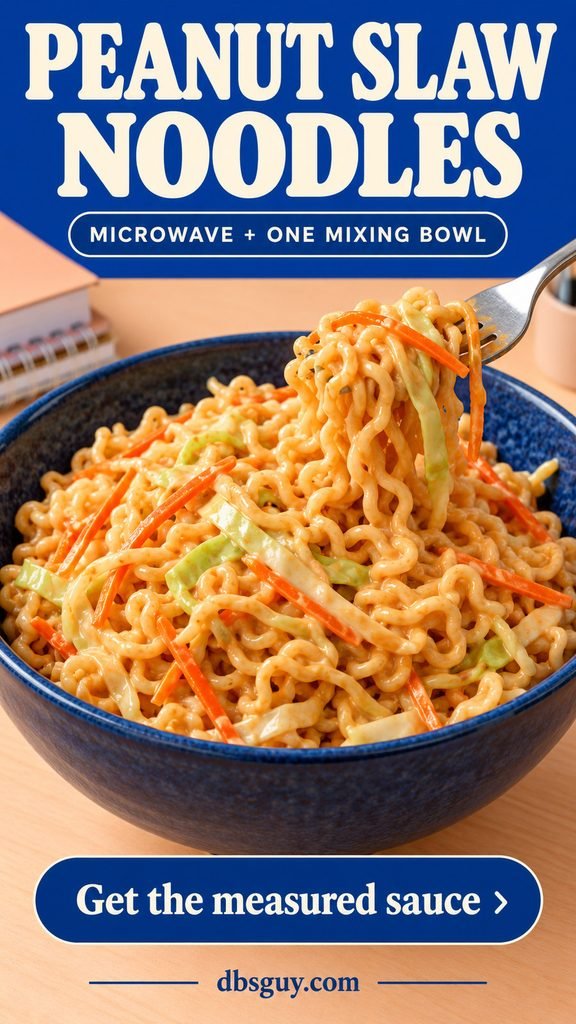
21. Peanut Slaw Noodles
A measured peanut sauce gives instant noodles a different flavor without buying a bottle of stir-fry sauce. Use noodles whose package allows microwave cooking.
Estimated total time: 8–12 minutes. Makes: 1 serving.
What you need
- 1 plain instant ramen cake, about 3 ounces; omit the seasoning packet
- 1 cup ready-to-eat cabbage-carrot slaw
- 1 tablespoon smooth peanut butter and 2 tablespoons warm water
- 1 teaspoon reduced-sodium soy sauce and 1 teaspoon lemon juice
- Cook the noodles with the water amount and microwave method on the package. Do not put an unsuitable takeout or noodle container in the microwave.
- Microwave the slaw separately in a loosely covered safe bowl with 1 tablespoon water for 30–60 seconds, just to soften. Drain excess liquid.
- Mix the peanut butter, warm water, soy sauce, and lemon juice. Drain the noodles carefully, then toss them with the slaw and sauce. Add a little more water if needed.
Put a microwave-safe plate under the noodle bowl to catch splashes. If your noodles only provide stovetop directions, choose a product with a microwave method for this meal.
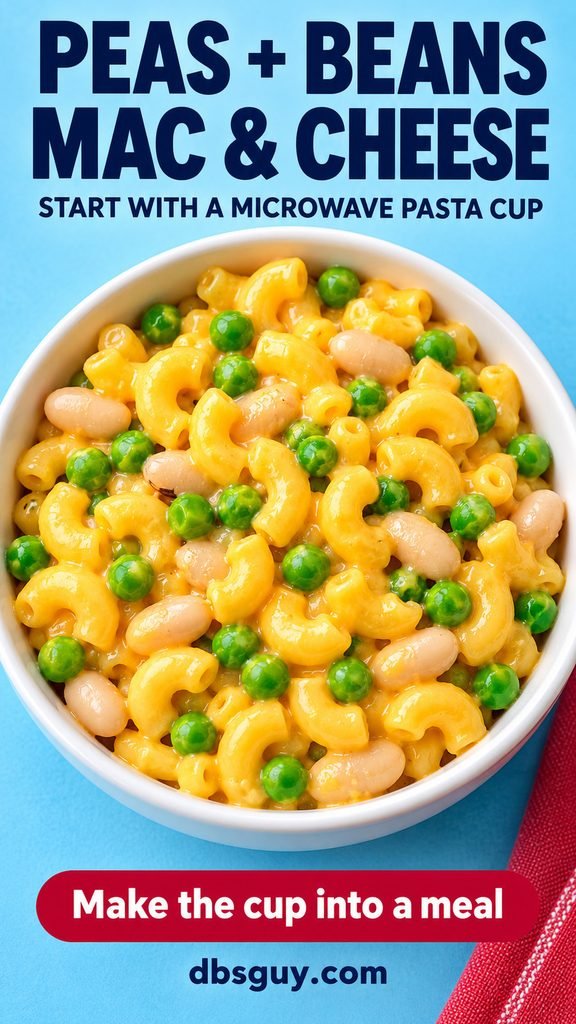
22. Peas-and-Beans Mac and Cheese
A microwave macaroni cup is a starting point, not the entire meal. Peas and white beans add texture and make it a larger bowl.
Estimated total time: 8–12 minutes. Makes: 1 serving.
What you need
- 1 single-serving microwave mac-and-cheese cup, including its sauce packet
- ½ cup frozen peas
- ½ cup drained, rinsed canned white beans
- Water as specified on the macaroni package
- Prepare the macaroni in its original microwave-safe cup exactly as directed, including the fill line and sauce timing. Do not add extra ingredients before it cooks.
- Cook the peas separately according to their package. Drain, then heat the beans separately until hot.
- Transfer the prepared macaroni to a roomy bowl and stir in the peas and beans. Loosen with a teaspoon of warm water if needed.
Without a freezer, use drained canned peas heated separately. Adding ingredients to the cup before cooking can upset the water ratio and cause a messy overflow.
23. Savory Spinach–Cheddar Oats
Quick oats can be a warm dinner base as well as breakfast. Beans, spinach, cheese, and pepper take them in a savory direction without needing an egg.
Estimated total time: 7–10 minutes. Makes: 1 serving.

What you need
- ½ cup plain quick oats
- 1 cup water, or the quantity your oat package specifies
- ½ cup drained, rinsed canned white beans
- ½ cup baby spinach, washed or labeled ready to eat
- 2 tablespoons shredded cheddar; black pepper
- Cook the oats in a large microwave-safe bowl using the package’s microwave directions. Leave room for bubbling.
- Heat the beans and spinach separately in a loosely covered safe bowl with a tablespoon of water, stirring in short intervals until hot and wilted.
- Stir them into the oats, then add cheese and pepper. Add a splash of water if you prefer a looser bowl.
Use plain oats. Maple-flavored packets will not give you the same savory result, and steel-cut oats cannot use the short quick-oat timing.
Keep the Grocery Bill Small by Choosing Three Meals First
Pick three meals that share ingredients and fit the storage you have. Build a short shopping list around those choices before trying anything else.
- No appliances: Start with tortillas, peanut butter, bananas, cereal, single-serving shelf-stable milk, apples, and peanuts. Those cover meals 1 and 3 without leaving open cans. Add a canned-food meal when you can share it at the table.
- Fridge only: Choose meals 7, 8, and 9. Shop for yogurt, bananas, granola, peanut butter, tortillas, hummus, chickpeas, cucumber, carrot, bread, and mustard. Check your pantry first; several are repeat ingredients.
- Microwave and fridge: Meals 15, 18, and 23 reuse beans and everyday staples in rice, a tortilla, and oats. Buy the right bean types for each: whole black beans, refried beans, and white beans. The cheese can cover both the quesadilla and savory oats.
Compare the price per ounce and the amount you can finish. For scale, a 42-ounce store-brand quick-oat canister listed at $4.38 with 30 labeled servings works out to about $0.15 for the oats in one serving. Milk, fruit, nut butter, and other toppings cost extra; that is a price example, not a promise about your store.
Your checkout total is different from the cost of the small amount used in one recipe. You still pay for the jar of peanut butter or the whole pack of tortillas today. If cash is tight, choose meals around what you already own before adding a new sauce or topping.
With a fridge, label opened ingredients and plan the next meal around them: chickpeas can go from a wrap into a sandwich; slaw can move from chicken salad to noodles; white beans can finish in soup or savory oats. Without reliable cold storage, a smaller package may be the better buy even at a higher unit price.
Questions That Come Up in a Dorm
What can I eat if I have neither a fridge nor a microwave?
Use meals 1–6, paying attention to the opened-package notes. The peanut butter–banana wrap is especially simple because you can use the whole banana and close the tortilla package. Buy spreads and bread products that suit your storage conditions, and follow their labels.
Can I keep frozen vegetables in the small ice compartment?
Only if it maintains proper freezer temperature—0°F—and the appliance is designed for that use. Some mini-fridge compartments do not. If yours cannot, choose canned vegetables or buy a portion you will cook immediately.
What if the shared microwave is unavailable?
Keep one no-heat backup you will actually eat, such as the wrap or a tuna-and-bean cracker plate. Do not start a meal that needs heating and then leave opened perishable ingredients sitting out while you wait.
Do I need to make a whole week of food at once?
No. In a small fridge, preparing one meal at a time can be more manageable. Prep a dressing or portion an ingredient only when you have room to store it safely. Overnight oats are an option for the next morning, not a reason to crowd the fridge with a week of jars.
What if I cannot afford enough food this week?
Contact your college’s basic-needs office, student affairs team, or campus food pantry and ask what is available and how to access it. If you already paid for a meal plan, use the meals and permitted takeout options you have before buying groceries to replace them.
For your next grocery trip, choose one breakfast, one no-heat lunch, and one warm meal from this list. Cross out ingredients you already have, check the storage space, and buy enough for those meals first.