11 Valentine Art Projects With Step-by-Step Instructions for Handmade Keepsakes

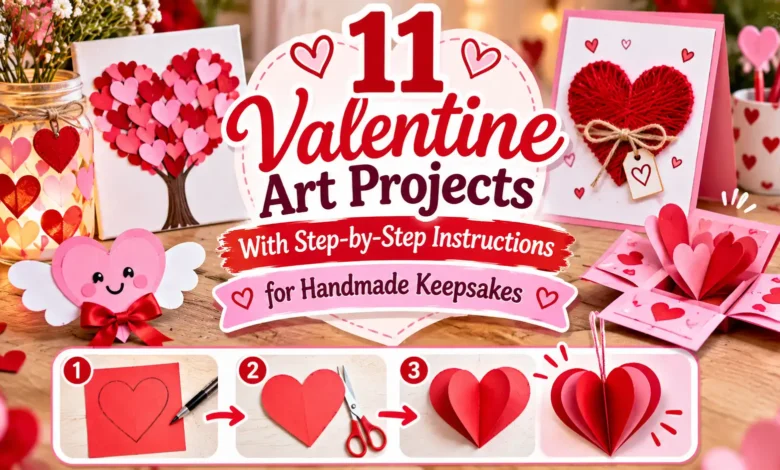
Make a Valentine you can pull out again next February. A few petals can become a bookmark, a favorite corner of town can become a framed map heart, and five ordinary snapshots can tell a story in a pocket-size book. These 11 Valentine art projects include the supplies and steps to finish each keepsake.
For a project you can finish in one sitting, start with the map collage or photo book. If you’re making a gift for a specific day, give the clay tag several days to dry and buy already-pressed flowers for the bookmark.

The images are AI-generated illustrations of the projects.
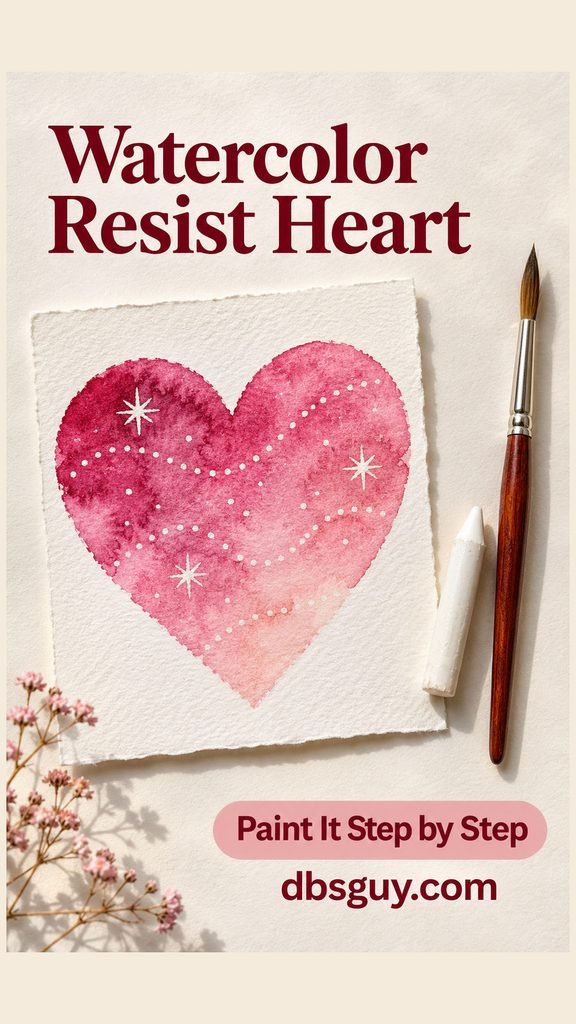
1. Paint a Watercolor Resist Heart
White crayon marks show up as pale stars and dots under a pink wash. This is a good first painting if you want something small enough to frame or slip into an envelope.
Supplies — 5-by-7-inch white watercolor paper, a pencil, a white wax crayon, pink or raspberry watercolor, a round brush, and water.
- Draw a heart lightly in pencil, leaving about an inch of white space around it.
- Press firmly with the white crayon to draw stars and clusters of dots inside the heart. Tilt the paper toward a lamp to check where you’ve drawn. You can add a tiny initial here, too.
- Brush clean water inside the heart until the surface looks evenly damp. Touch diluted pink paint to one lobe, then add deeper raspberry to the other lobe or near the point. Keep the brush inside the pencil outline and let the colors meet on their own.
- Set the painting flat to dry. Once the paper is fully dry, erase any visible pencil outside the paint and write the date on the back.
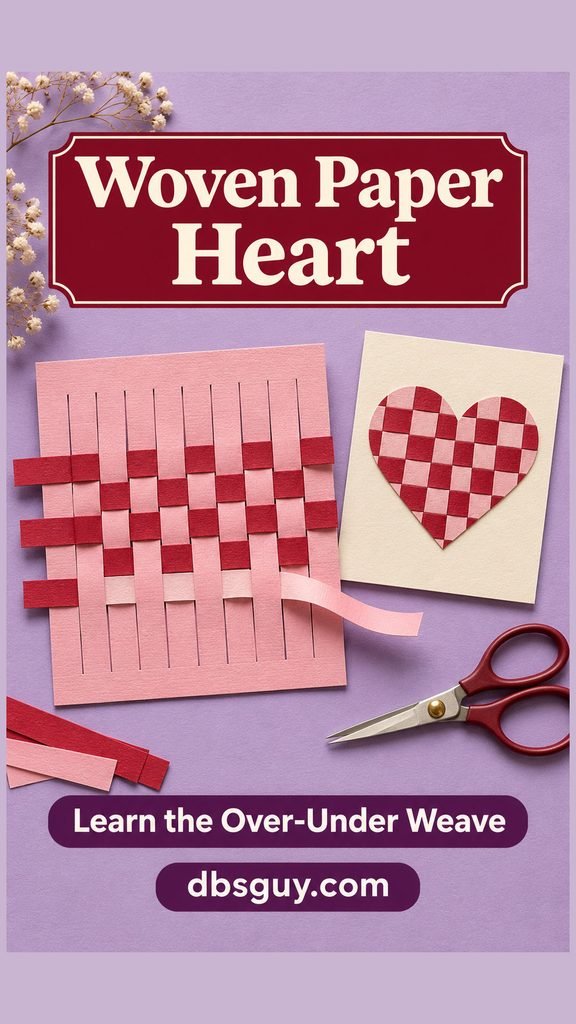
2. Weave a Paper Heart for a Frame
Use blush for the base and alternating pink and red strips for a checkerboard heart. Thin, flexible cardstock is easier to weave than thick board. For a 5-by-7-inch frame, plan on a finished heart about 3 inches wide.
Supplies — A 5-inch square of light cardstock, two colors of paper cut into ½-inch-wide strips slightly longer than the square, a ruler, a pencil, scissors, clear tape, and a glue stick.
- Mark a line ½ inch in from the top and bottom edges of the square. Draw vertical guides ½ inch apart between those two lines.
- To start each slit without cutting into the border, bend the sheet gently at the midpoint, snip into the guide, then unfold it and cut out toward both stop lines. The top and bottom edges should stay intact.
- Slide the first strip across the slits, going over one band of cardstock and under the next. Start the second strip under the first band. Alternate the starting position on each new row and nudge the strips together as you go.
- Tape the strip ends to the back. Trace a 3-inch heart over the middle of the weave. Before cutting it out, secure the crossing strips on the back across the traced area with overlapping pieces of tape so the cut edges stay together.
- Cut out the heart and glue it to a 5-by-7-inch backing sheet. Add a small date or leave the paper border blank.
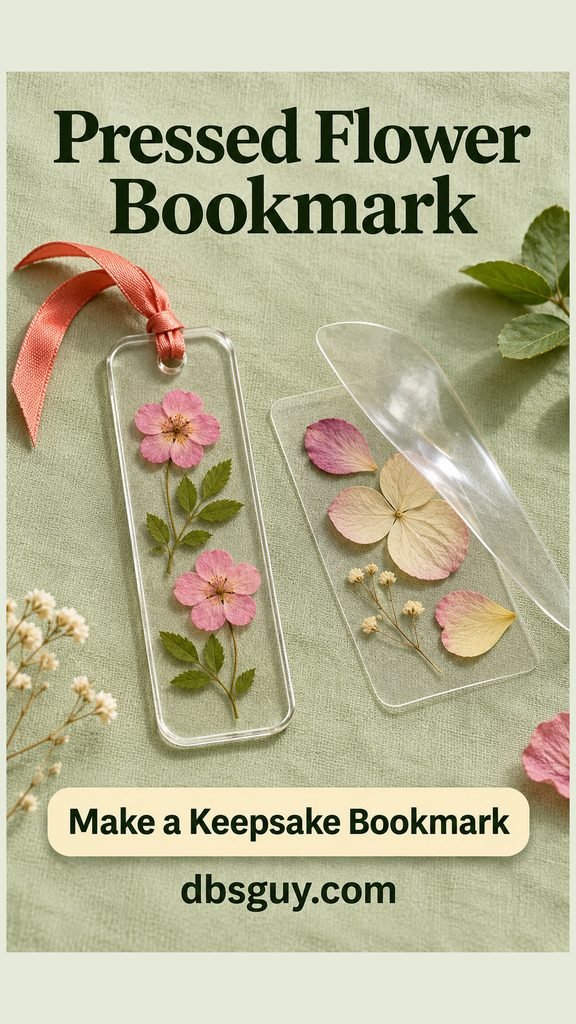
3. Seal a Pressed Flower Bookmark
A thin pressed petal can carry the memory of a bouquet without making the book bulge. Pick two or three flat flowers or petals, especially if you’re adding a ribbon at the top.
Supplies — Fully dried pressed flowers, two 2-by-6-inch pieces of clear self-adhesive laminating film, scissors, a hole punch, and thin ribbon.
- Peel the backing from one piece of film and lay it sticky side up. Arrange the flowers in a narrow line down the center. Leave at least ¼ inch of clear film along the sides and about ¾ inch empty at the top.
- Start at one short edge with the second film sheet, sticky side down. Peel its backing away gradually as you press the two sheets together from that edge. Use your fingertips to smooth around the petals without shifting them.
- Trim the edges and round the corners, keeping a continuous clear seal around the flowers. Punch a hole in the empty space at the top and tie the ribbon loosely through it.
- Run a fingertip around the border before using it in a book. If there’s a gap around a thick stem, start over with a thinner stem or use petals alone.
4. Pull a Set of Foam Plate Heart Prints
One foam plate can make a small edition of matching gifts. The heart and dash marks are drawn into the foam, so they show up as white lines on the finished red print.
Supplies — A smooth craft foam printing sheet cut to about 3 by 4 inches, a blunt pencil, red water-based block-printing ink, a small brayer, a washable tray, and smooth white cardstock.
- Use the blunt pencil to press a heart outline and a few corner marks into the foam. Deepen any faint grooves with a second pass, stopping before you poke through the sheet.
- Roll a small dab of ink out on the tray until the brayer has an even coat. Roll a thin layer over the foam. If ink pools in the lines, wipe the plate and use less.
- Place cardstock over the inked plate and hold it still. Rub across the back with your palm or the back of a spoon. Lift a corner and peel the paper off in one motion.
- Lay the print flat to dry. Re-ink the plate before each new print. Once they’re dry, number them in pencil if you’re making a set, or mount one on a folded card.

Giving a print as a card? Pair it with a line from these Valentine card ideas that sounds like something you’d actually say.
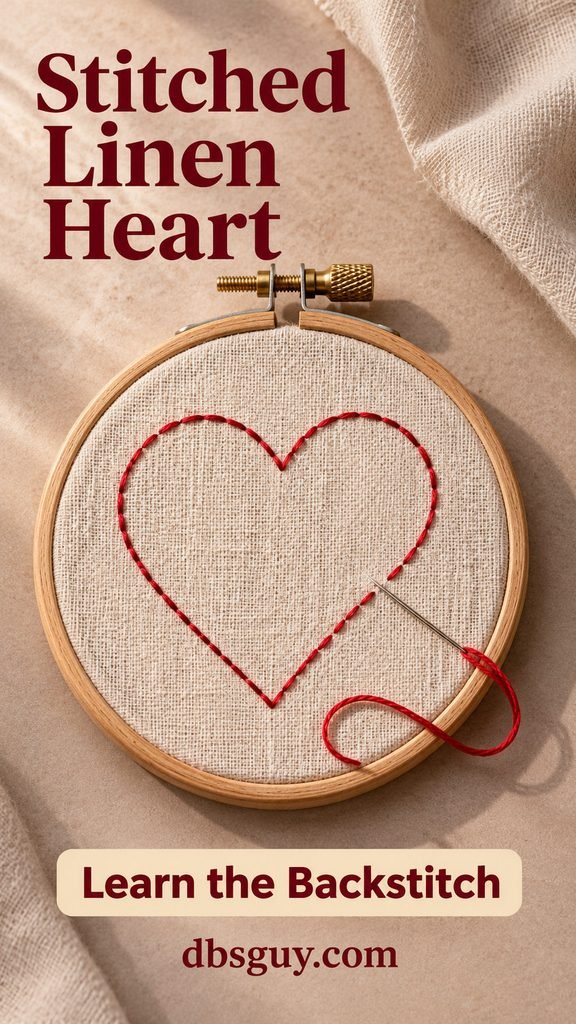
5. Backstitch a Linen Heart in a Hoop
A single red outline gives the stitches room to show. A 4-inch hoop works as both the stitching tool and the frame, so the piece is ready to display once you tidy the back.
Supplies — A 4-inch embroidery hoop, a 6-inch square of linen or tightly woven cotton, red embroidery floss, an embroidery needle, scissors, and a removable fabric marker.
- Test the marker on a scrap. Draw a heart about 2 inches wide on the fabric, then center it in the hoop and tighten the screw until the cloth is taut.
- Separate two strands of floss from the bundle and thread the needle. Knot the two strands together at one end and leave a short tail at the needle. Bring the needle up on the outline and make a short stitch forward, roughly ⅛ inch long.
- Bring the needle up one stitch-length ahead of where the first stitch ended. Take it down at the end of the first stitch. Repeat around the heart, shortening the stitches at the notch and point so the line turns cleanly.
- On the back, slide the needle under a few stitches to secure the end. Remove the guide marks as directed on the marker. Trim the fabric to about an inch beyond the hoop then sew a loose running stitch around the excess fabric. Pull the thread snug to gather the fabric behind the hoop and tie it off.
6. Press a Botanical Print Into a Clay Gift Tag
Tie this tag onto a wrapped present, then let the recipient move it to a pinboard or a drawer pull. A sprig with a fine stem makes a readable impression without taking over the heart.
Supplies — White air-dry clay, a rolling pin, two ¼-inch-thick spacers, a small heart cutter, a thin sprig of rosemary or similar greenery, a narrow drinking straw, and ribbon.
- Roll the clay between the spacers on a smooth work surface. Cut a heart about 2 inches across and lift away the excess clay.
- Lay a sprig across the heart, press lightly, and lift it out. Make a hole with the straw in the upper lobe, leaving about ¼ inch of clay between the hole and the edge. Clear the plug of clay from the hole.
- Let the tag dry according to the package directions before adding the ribbon. Crayola’s sealing guidance calls for a fully dry piece after 72 hours before sealing and advises keeping the finished clay away from water even if you seal it.
- Thread a narrow ribbon through the dry tag. To personalize it, add a date to the back with a fine paint marker and let the writing dry before wrapping.

7. Frame a Map Heart From a Place You Share
A map works best when the spot has a story. Use the park where you meet a friend for walks, the town where you grew up, or the block where you both learned to ride a bike.
Supplies — A printed copy of a map or a spare paper map, scrap paper, ivory cardstock, scissors, a glue stick, a tiny red paper dot, and a 5-by-7-inch frame.
- Fold scrap paper in half and cut half a heart along the fold. Open it and adjust the outline until it’s about 3 inches across.
- Move the template over the map until the spot you want sits well inside the outline. Trace and cut the map heart. If you’re printing a map, print a section that shows both the spot and at least one recognizable nearby feature.
- Glue the map heart to the cardstock, smoothing from the center outward. Put the red dot beside the relevant street corner or landmark so it stays recognizable.
- Write the place and what happened there on the back of the cardstock. Frame it once the glue has dried.

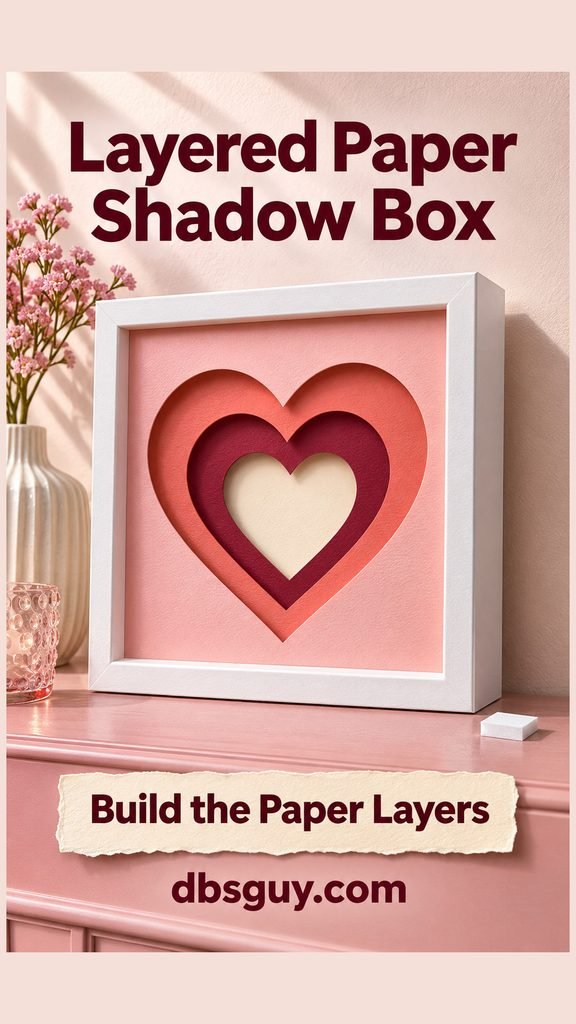
8. Build a Layered Paper Heart Shadow Box
Three heart-shaped openings reveal the backing in the center. Thin spacers create the shadows that make the layers readable, even if you work in three close shades of pink.
Supplies — A square shadow box, three sheets of cardstock in blush, coral, and burgundy, an ivory backing sheet, pencil, ruler, scissors, and thin foam mounting squares.
- Measure the frame’s inner opening and depth. Cut all four sheets to fit the insert and check that they slide in easily before cutting the hearts.
- Mark a centered heart on each colored sheet. For a 6-inch-square insert, try widths of 4, 3, and 2 inches. To center the openings, use the same vertical centerline and center each heart’s height on the sheet. Start each cut with a small snip entirely inside the heart, then cut along the outline.
- Stack the ivory backing, then the burgundy sheet with the smallest opening, the coral middle sheet, and the blush sheet with the largest opening. Look through the front to check the borders before you stick anything down.
- Place foam squares near the corners between the sheets, outside the view through the heart. Check the assembled depth against the frame recess, then secure the stack behind the glazing.
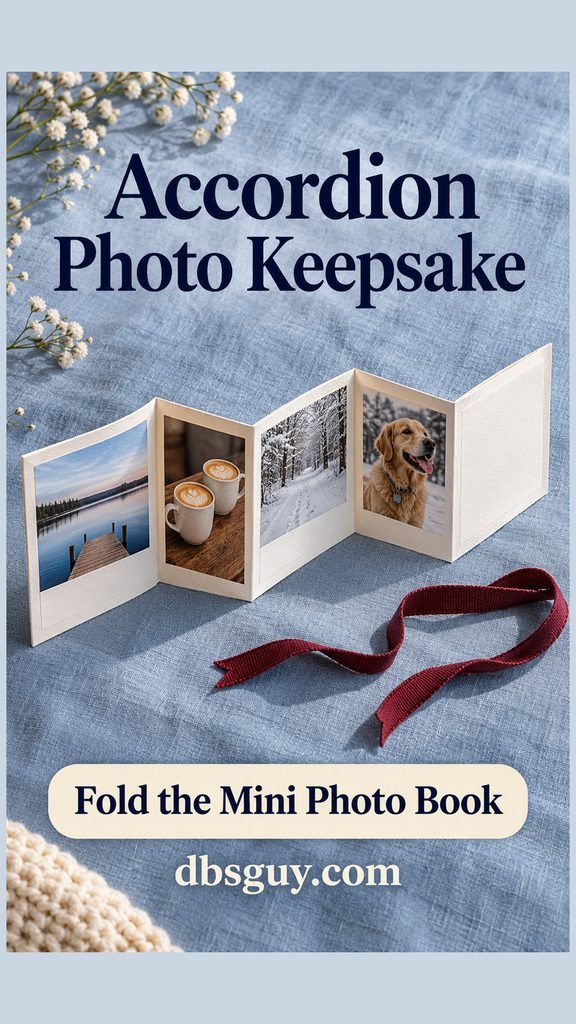
9. Fold an Accordion Photo Book
Give it a storyline small enough for five photos, like a Saturday trip from the first coffee to the last walk. Leave one panel blank if you want to end with a note. Short captions can carry the details the pictures leave out.
Supplies — A 3-by-15-inch strip of cardstock, a ruler, a bone folder or blunt scoring tool, four or five photo copies trimmed to about 2 inches square, photo corners or photo-safe adhesive, a pen, and ribbon. Use cardstock cut from a larger sheet to make the continuous strip.
- Mark the strip at 3, 6, 9, and 12 inches. With the ruler as a guide, score the four lines lightly so the stock folds without tearing.
- Fold at the first line, then reverse the direction at each new crease to make a zigzag. Flatten the folds with the bone folder and open the strip again.
- Arrange one print per panel, keeping photo corners and captions clear of the folds. Attach photo copies with photo corners or photo-safe adhesive, then write a few words under each one.
- Wait for ink and any adhesive to dry, collapse the book, and tie a ribbon around it. Write a title and date on the blank outside panel.
10. Paint a Wooden Memory Tile
Turn a house, library, or favorite café into a simple painted shape. One detail, such as a blue door or a striped awning, can make the place recognizable at this scale.
Supplies — A smooth 4-inch-square unfinished wood craft plaque, pencil and scrap paper, acrylic craft paint, a small flat brush, a detail brush, and water for rinsing brushes.
- Sketch the building as two or three big shapes. For a house, begin with a rectangle, a triangle for the roof, and a smaller rectangle for the door. Keep just one or two identifying details.
- Lightly transfer the shapes to the plaque. Paint the largest area first with a thin coat. Let it dry before painting the roof or door so neighboring colors stay separate.
- Use the detail brush to add the doorframe, awning, or a tiny heart above the door. Let the paint dry according to the label before handling the front.
- Write the address or a nickname for the place on the back. Display it indoors on a small easel or hang it if your plaque came with a hanger.

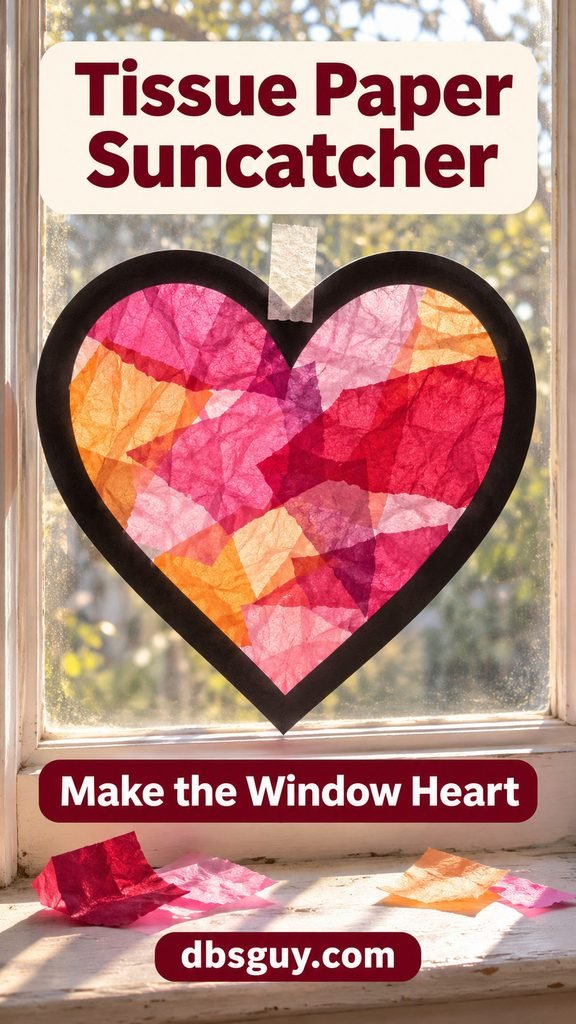
11. Make a Tissue Paper Window Heart
Overlapping tissue makes deeper patches of color when the light comes through. This is a good shared project for kids who like tearing and arranging paper. An adult can handle the inside cut and the sticky film.
Supplies — Black cardstock, pink, red, and apricot tissue paper, two pieces of clear self-adhesive contact film, scissors, and removable tape suitable for your window.
- Draw a heart about 6 inches wide on black cardstock. Draw a second heart just inside the first, leaving a border about ½ inch wide. Cut out the outer heart, then make a small starter snip in the middle and cut out the inner heart.
- Place the cardstock outline on clear film, sticky side up. Tear tissue into small pieces and place them inside the opening. Overlap a few edges to blend colors, leaving the outer edge of the outline free of scraps.
- Lay a second sheet of film sticky side down over the heart. Start from one edge and smooth across. Trim around the outside, leaving a narrow sealed clear margin.
- Tape the heart to the window so light can pass through. When you take it down, store it flat in a folder with its date written on the cardstock border.
Questions About Making Valentine Keepsakes
Which Valentine art projects work well for younger kids?
Try the watercolor heart or the tissue paper suncatcher. Children can make the crayon marks or choose and tear the tissue, while an adult handles the inside cuts or sticky film. The map heart is another easy option if an adult cuts out the shape and the child adds the dot and a note.
What can I make the night before Valentine’s Day?
Choose the map collage or accordion book if you already have the paper and prints. A small watercolor can also work if you can leave it flat until dry. Save the clay tag for a project with several days of lead time.
How can I use an old photo or a favorite handwritten note?
Scan or photograph it and use a printout. A copy gives you room to trim, glue, or frame the piece while keeping the original in a safe place. If you’re making the photo book, a line from a handwritten note can take the place of one picture.