Christmas Table Decor With Bows: 15 Small Touches That Change the Whole Look

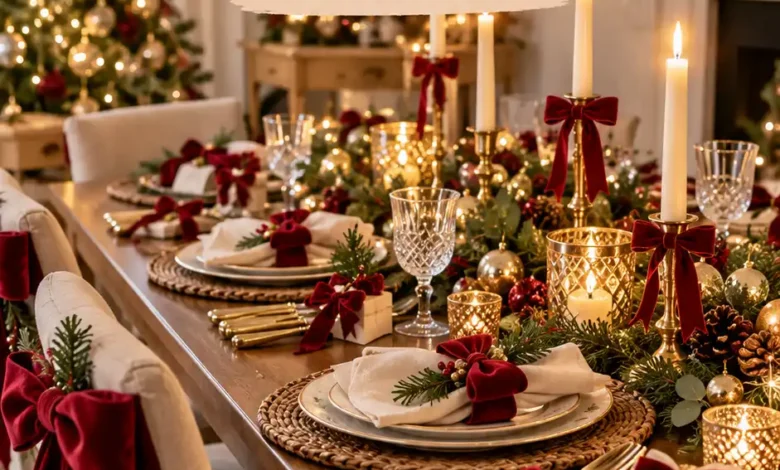
The easiest way to try Christmas table decor with bows is to tie a velvet bow around each napkin, then add one matching accent to a low centerpiece. Plain plates and simple linens can do the rest. If your table is already full, put the extra bow on a chair back or tablecloth corner instead.
These 15 ideas give you different places to use ribbon, from a tiny place-card detail to a dressed-up dessert stand. Choose the touches that suit your dinner; you do not need all 15 on one table. Each idea includes a useful starting ribbon size, a way to attach it, and a detail that keeps the setting comfortable to use.
The images are AI-generated styling concepts to help you picture each idea. Ribbon measurements below are suggested starting points; test one bow on your own item before cutting a full set.
Choose the bow placements before buying ribbon
Set one place with the plates, glasses, napkin, and serving dishes you actually plan to use. That makes it easier to see where a bow will show up and where it will get in the way.
For a simple starting scheme, choose one detail at each seat and one shared detail. Napkin bows and a vase bow suit a traditional dinner. Small place-card bows and a basket bow feel more relaxed. On a narrow table, a menu bow plus a tablecloth-corner bow keeps the middle available for food.
Use the ribbon texture to set the mood: velvet adds a soft, rich finish, satin brings a little shine, gingham feels casual, and cotton suits woven baskets and natural linens. Pick colors alongside your existing dishes. Burgundy works with cream, emerald with white, and champagne with silver. A patterned tablecloth usually needs less extra pattern than a plain one.
1. Tie a burgundy velvet bow around an ivory napkin
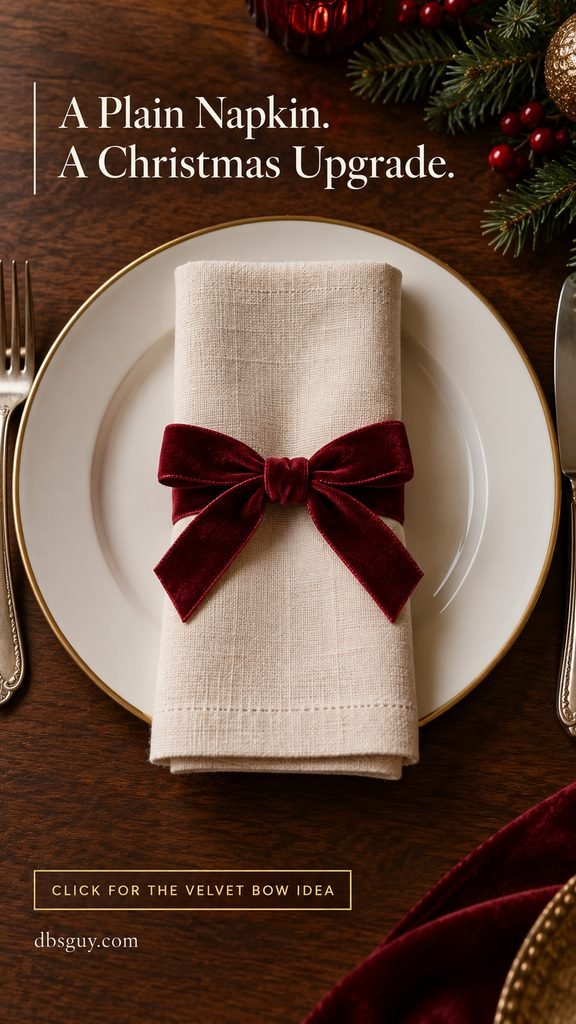
This is a useful first choice if you want the whole table to feel festive without changing the centerpiece. Burgundy velvet stands out against an ivory napkin, and the soft texture gives even a plain white plate something interesting to frame.
Fold a cloth napkin into a rectangle and wrap about 3/4-inch-wide, unwired velvet ribbon around its middle. Start with a roughly 24-inch length for a compact bow, leaving it untrimmed until you have checked the loops. Tie loosely enough that the napkin can slide out without a struggle. Keep the finished tails inside the plate’s edge.
The most useful adjustment is the knot: rotate the ribbon so the velvet face shows on both loops, then ease the center back into place. A flat, modest bow is easier to live with than a bulky arrangement. Skip extra greenery tucked into the tie if you want guests to unfold their napkins in one easy movement.
2. Add a satin bow to the top of a dinner menu
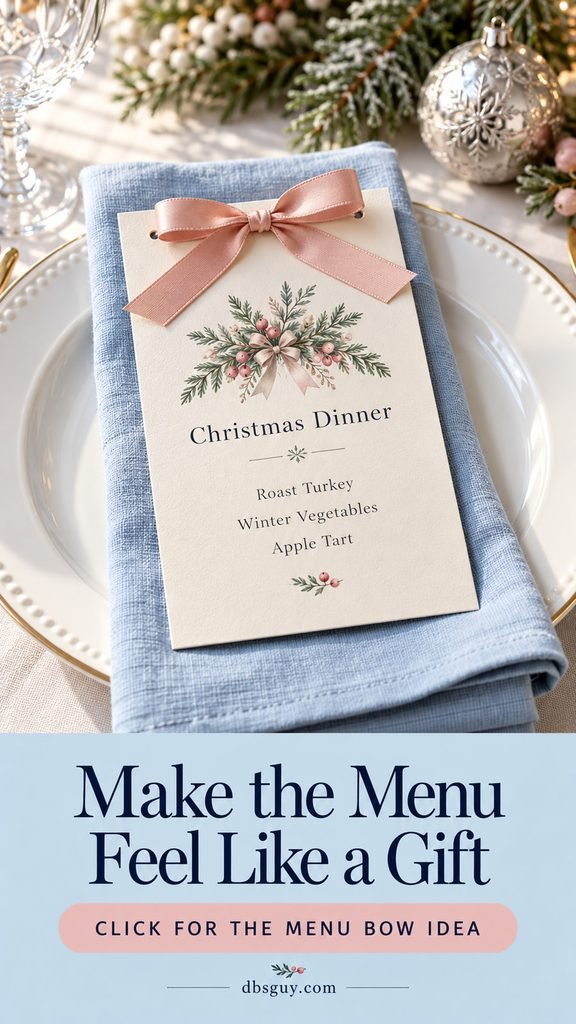
A menu can carry the decorative detail while the napkin stays simple. The blush satin and pale blue linen in this concept make a softer Christmas setting, especially with white dishes and silver accents.
Leave a generous blank margin above the menu heading. Punch two small holes in that margin, roughly an inch apart, and thread 3/8- to 1/2-inch satin ribbon through them from the back. Bring the ends forward and tie a small bow. Position the menu flat on the napkin, where the top detail remains visible.
Keep the loops and tails clear of the printed dishes. Before making every card, read the sample at arm’s length: a pretty ribbon should not hide the dinner options or any useful dietary information. You can assemble these cards ahead of time and store them flat, without adding ribbon to another part of the same place setting.
3. Give each place card a tiny emerald bow
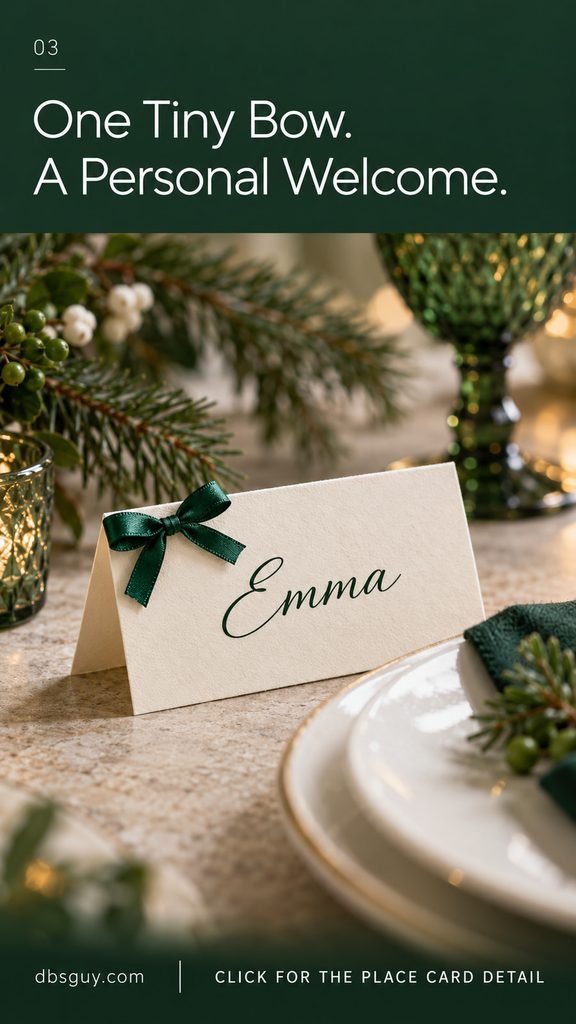
A bow on the corner of a tent card makes a small, personal welcome. Because the detail sits beside the plate, it also works when you are serving the first course before guests sit down.
Use a sturdy folded card and 1/4-inch satin ribbon. Make a miniature bow separately, trim the tails to suit the card, and attach the knot near the upper-left corner with a small piece of double-sided craft tape. Keep the adhesive on the card. The emerald ribbon in the image looks especially clear against warm ivory cardstock.
Write or print the name before attaching the bow, leaving enough open space around it. Set the finished card on the table and check that the added ribbon does not make it tip forward. If the card is small, reduce the bow rather than squeezing the name beneath it. This is a good way to use short ribbon offcuts that are too small for napkin ties.
4. Finish a cutlery bundle with red-and-white gingham
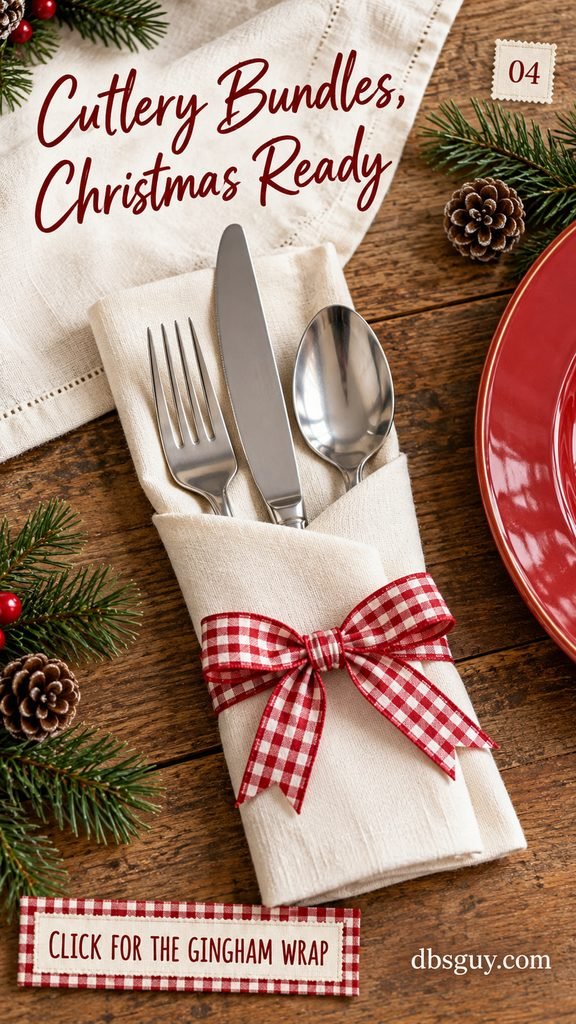
For a buffet or casual Christmas lunch, a ready-to-pick-up cutlery bundle can be more useful than a formal place setting. A gingham bow gives the bundle a cheerful finish without needing extra ornaments.
Fold a cloth napkin into a pocket, place the utensils inside with their handles down, and tie 1/2- to 3/4-inch cotton gingham ribbon around the lower part of the cloth. The bow belongs over the wrapped handle area. Leave the fork tines, spoon bowl, and knife blade clear of the ribbon.
Make one bundle and lift it before preparing the rest. The utensils should stay inside the napkin without requiring a tightly cinched knot. Guests should be able to undo the bow easily. For a serving station, stack the finished bundles in a shallow tray; at a seated dinner, place one beside each plate. Keep loose greenery on the table rather than inside the pocket.
5. Tie a sheer bow near the base of a glass stem
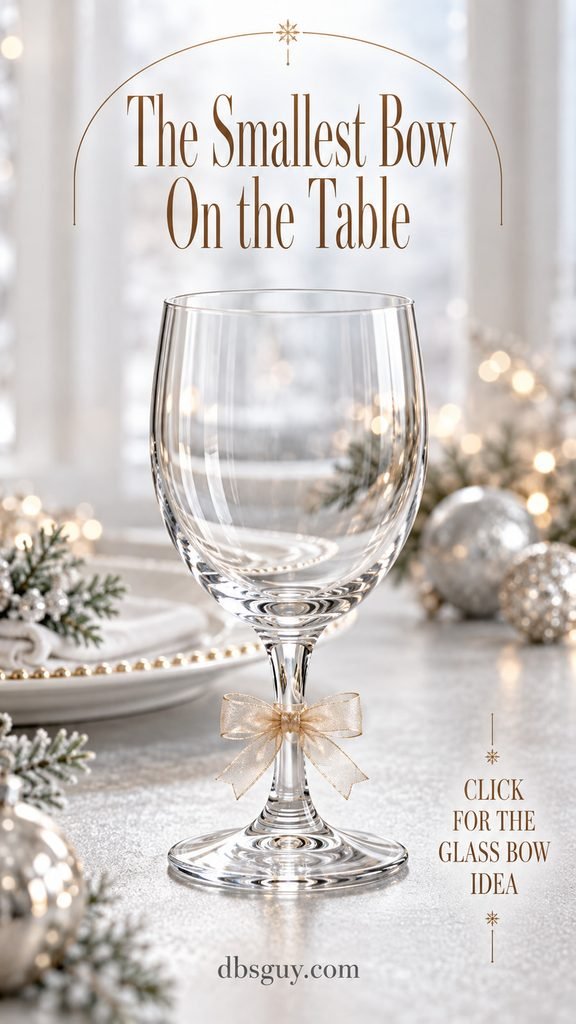
Champagne organza adds a light detail to clear glassware without hiding its shape. This idea suits a silver-and-white setting where a darker ribbon would feel visually heavy.
Choose a sturdy stemmed glass and about 1/4-inch unwired organza ribbon. Tie a very small bow low on the stem, just above the foot. Keep the tails short enough that they cannot reach the bowl, rim, or table beyond the base. The glass should sit level and be easy to pick up.
Treat this as an arrival detail: remove the tie before guests use the glass. That keeps ribbon out of the grip area and makes washing straightforward afterward. Skip this placement on delicate stems, on glasses that children will handle, or when you would rather have every decoration stay in place through dinner. A place-card bow gives a similarly small accent with less handling.
6. Dress an everyday vase with one burgundy bow
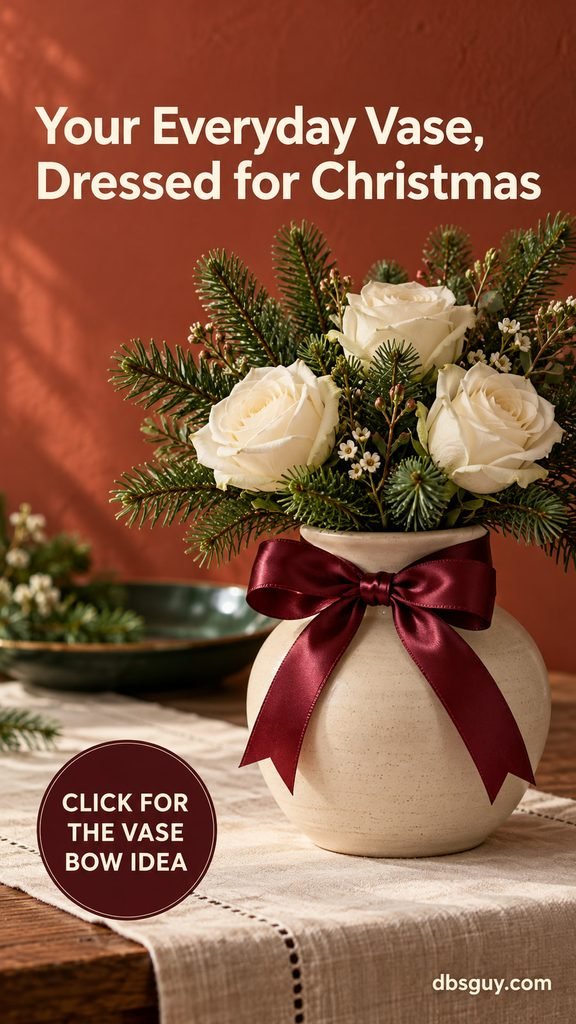
You can make a familiar vase feel ready for Christmas simply by changing its neck detail. In this concept, a burgundy satin bow brings color to a cream ceramic vessel holding white roses and fir sprigs.
A vase with a slightly narrowed neck gives the ribbon a natural place to sit. Arrange the flowers, dry the outside of the vessel, and tie roughly 1-inch satin ribbon below the foliage. Adjust the bow so it faces the main view of the table, with tails that finish above the tabletop.
Check the arrangement from a seated position before calling it finished. Guests across from each other should have a clear view, and the vase needs a stable footprint. If your vase has straight, slippery sides, use a different vessel rather than tightening the ribbon harder or adding glue to a valued finish. A small arrangement leaves the bow visible and makes room for serving dishes.
7. Put a forest-green bow at the end of a greenery runner
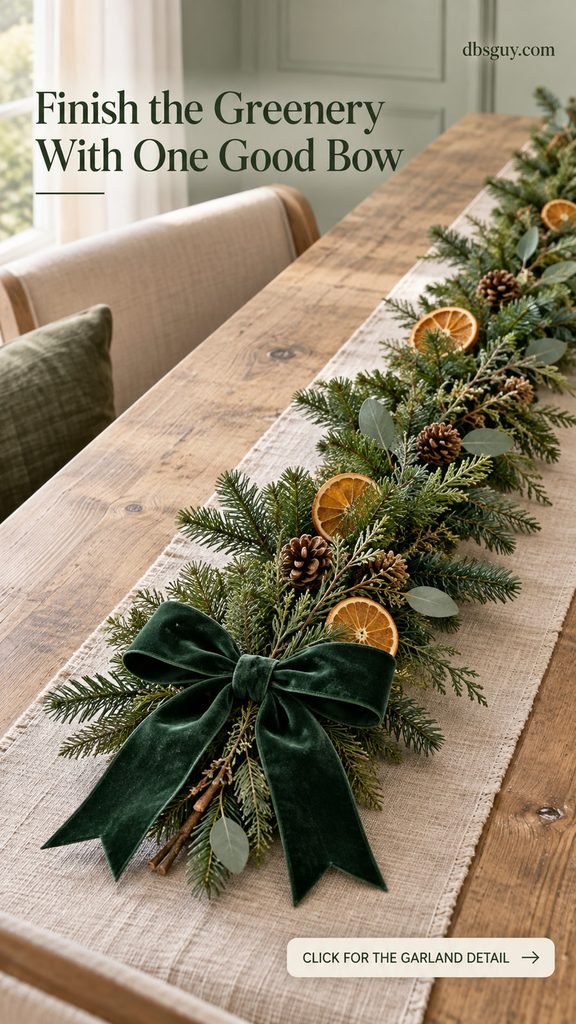
A low strip of greenery can look a little unfinished where the branches stop. A bow at one visible end gives that edge a deliberate finish without adding another object to the center of the table.
Lay a narrow faux evergreen garland along a linen runner, then tie 3/4- to 1-inch forest-green velvet ribbon around an exposed section of its central support. Keep the bow flat beside the foliage. The concept uses a few dried orange slices and pinecones, with the green ribbon blending into the branches.
Put the serving bowls down before deciding how long the greenery should be. You may need a shorter strip than you first imagined. Keep decorative branches and dried accents outside food dishes, and leave the ribbon tails clear of hot platters. On a round table, the same idea can finish one side of a short, curved greenery arrangement rather than stretching across the whole surface.
8. Add a tartan bow to a mini wreath at each place
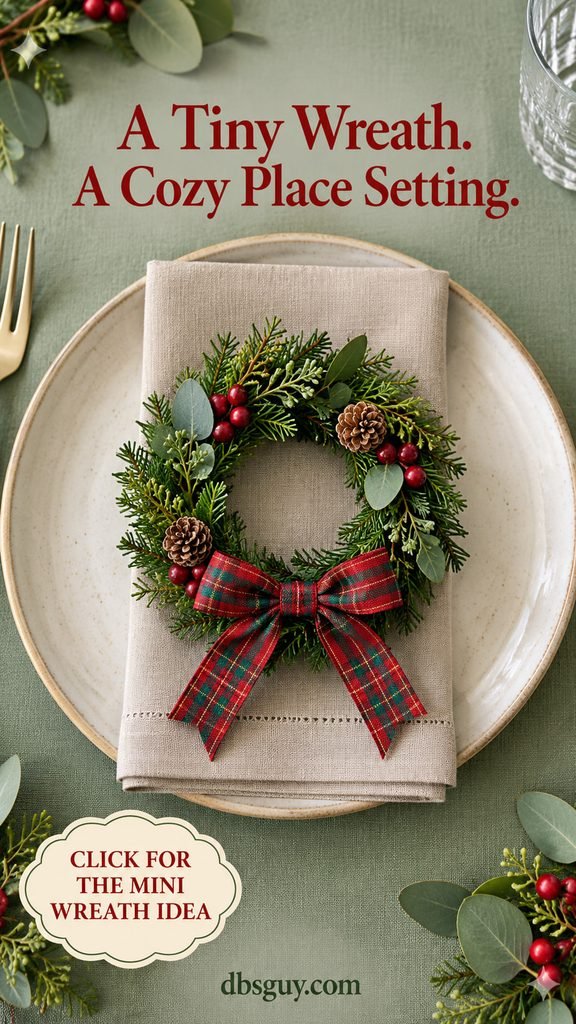
A miniature wreath gives the place setting a clear Christmas shape. A small tartan bow at the bottom supplies enough pattern that the rest of the linens can stay quiet.
Choose a lightweight faux wreath around 4 inches across and tie 3/8- to 1/2-inch tartan ribbon to its lower edge. Rest the wreath on a folded napkin on an empty plate. The napkin provides a barrier between the decorative material and the dinnerware.
Check the wreath for loose needles, exposed wire, or shedding before setting it out. Move it away before food arrives, and give guests an obvious place to put it, such as a sideboard tray. This is best for a dinner where plates begin empty. If you serve a salad in advance, stand the wreath beside the setting instead. Use tartan as the main print here; plain napkins keep its tiny pattern easy to see.
9. Tie an airy bow to the back of an end chair
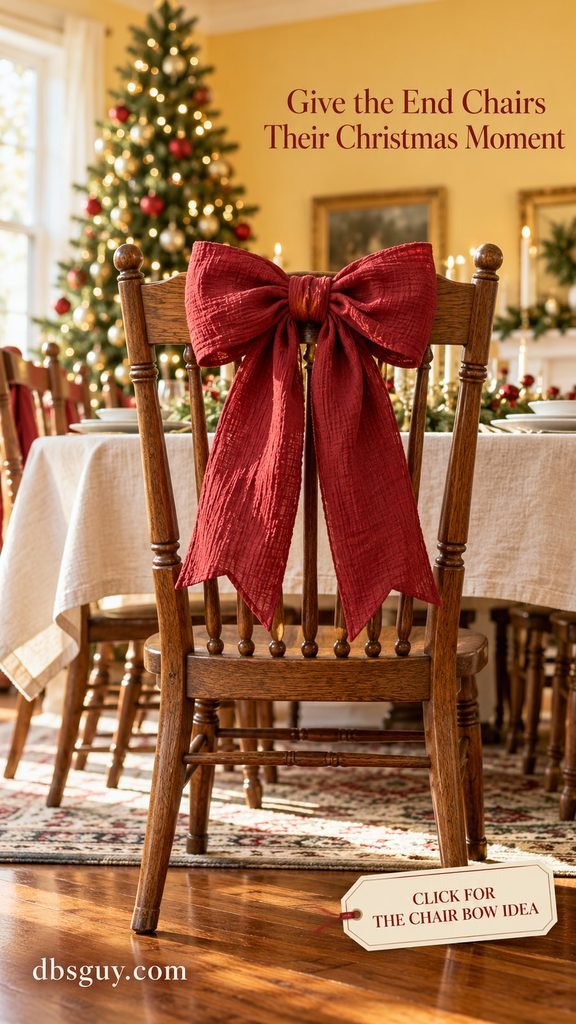
Chair bows are useful when the tabletop needs to stay available for dinner. A cranberry gauze bow on a visible end chair brings festive color into the room without taking any serving space.
Use 2- to 3-inch soft cotton gauze ribbon or a narrow fabric sash. On an open-back chair, tie it to the upper rail from behind, then spread the loops gently. Keep the tails above the seat and the seating side free of bulky knots.
Pull the chair out and sit down to check the placement. The bow should not catch on clothing, press against someone’s back, or trail toward the floor. One or two visible chairs may be enough, especially in a small dining room. For upholstered chairs, choose a removable sash that works with their shape; avoid pinning directly into fabric or applying adhesive to the upholstery.
10. Attach a tiny silver bow to the exposed charger rim
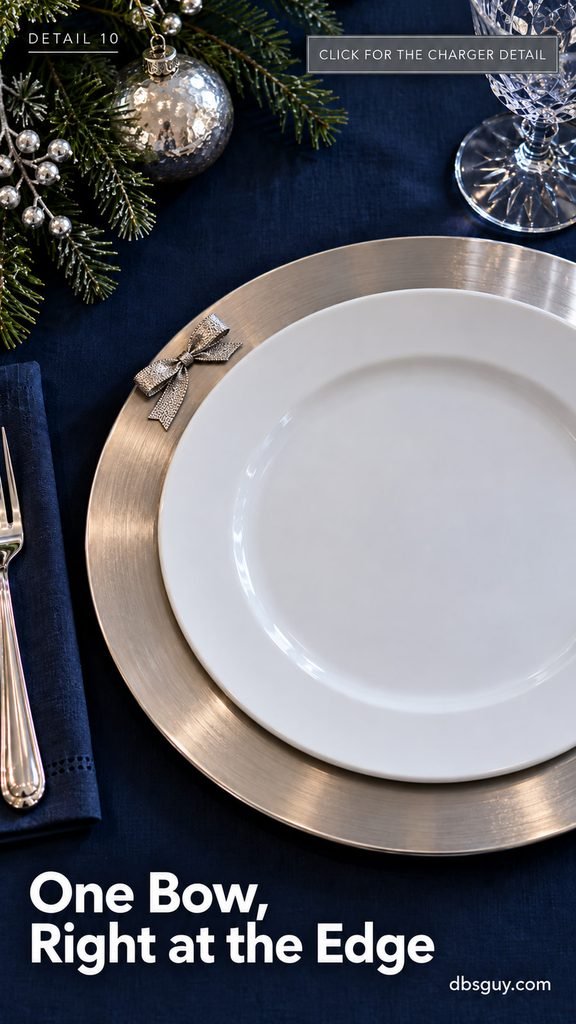
For a setting that already has patterned napkins, a small bow at the outer edge can be a quieter accent. Silver ribbon against a silver charger gives texture and shine while a navy tablecloth supplies contrast.
Use a charger with a broad, flat rim and a dinner plate small enough to leave that rim visible. Make a bow from 1/4-inch metallic woven ribbon and position it near the 10 o’clock edge. A tiny piece of removable craft tape under the knot can hold it to a smooth, nonporous charger; test compatibility with the finish first.
Keep the entire bow outside the dinner plate, with no ribbon trapped beneath it. This placement should never make the plate wobble or interfere with lifting it. Remove the decoration when clearing the charger. If the rim is narrow, textured, delicate, or an heirloom surface, use the place-card idea instead of trying to force this attachment.
11. Tie a natural cotton bow to a bread basket handle
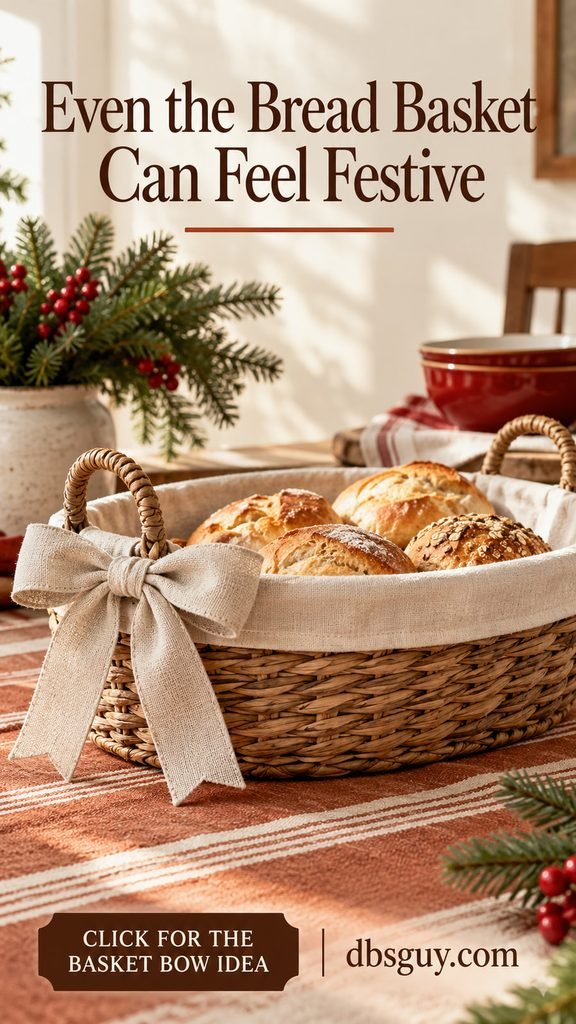
A bread basket is already part of dinner, so dressing its handle gives a useful serving piece a festive role. Oatmeal cotton ribbon suits wicker and linen particularly well, especially beside red dishes or striped cloth.
Line the basket with a clean napkin, then tie about 1-inch cotton ribbon to the outside of one handle. Turn the loops toward the guests and trim the tails so they remain outside the basket. The ribbon should not touch bread or fall into the lined interior.
Leave a clear place to grip the handle. If the basket travels around the table, keep the bow small and test lifting it when full. A lidless basket with no handles is a less useful candidate: choose another serving piece rather than threading decorative ribbon through the food area. The bow can be untied after dinner and reused on a gift or another basket.
12. Put a red bow on a little favor box
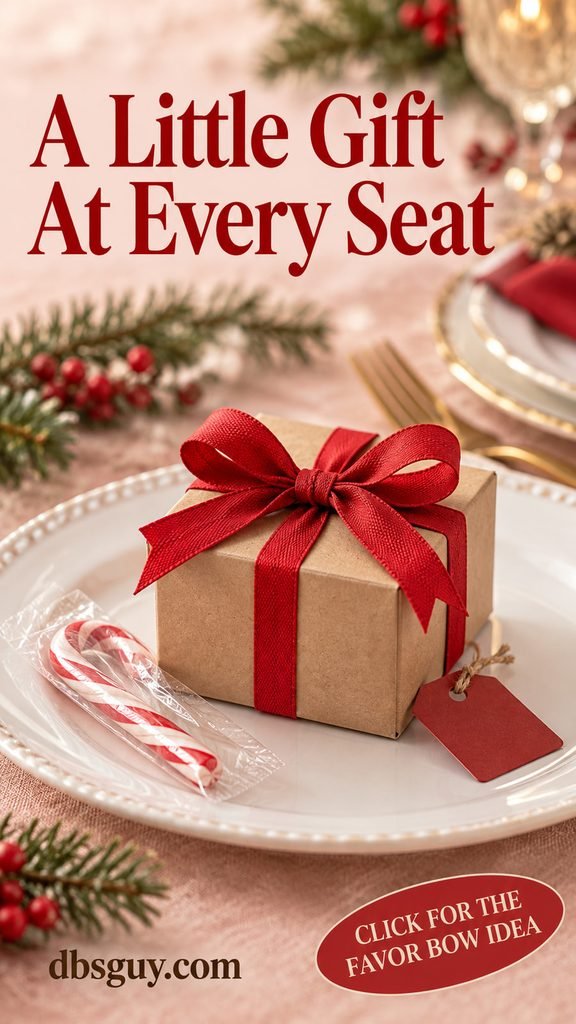
A small gift at each seat adds a welcoming detail and gives guests something to take home. A red ribbon against kraft paper is enough to make the box feel festive, without elaborate wrapping.
Choose a box around 2 to 3 inches wide, add a wrapped treat or small nonfood favor, and close it before decorating. Wrap 3/8- to 1/2-inch cotton ribbon around the box in two directions and tie the bow on top. Place it on an empty side plate or beside the place card.
Fill the boxes first, then work through the ribbon ties as a batch. Keep any ingredient or allergy information with edible favors. Do not assume a loose homemade treat is suitable for everyone; a nonfood option can make planning simpler. Keep boxes out of the main dinner plate when food is already being served, and leave any extra candy wrapped until it is eaten.
13. Add a navy velvet bow below a bottle cap
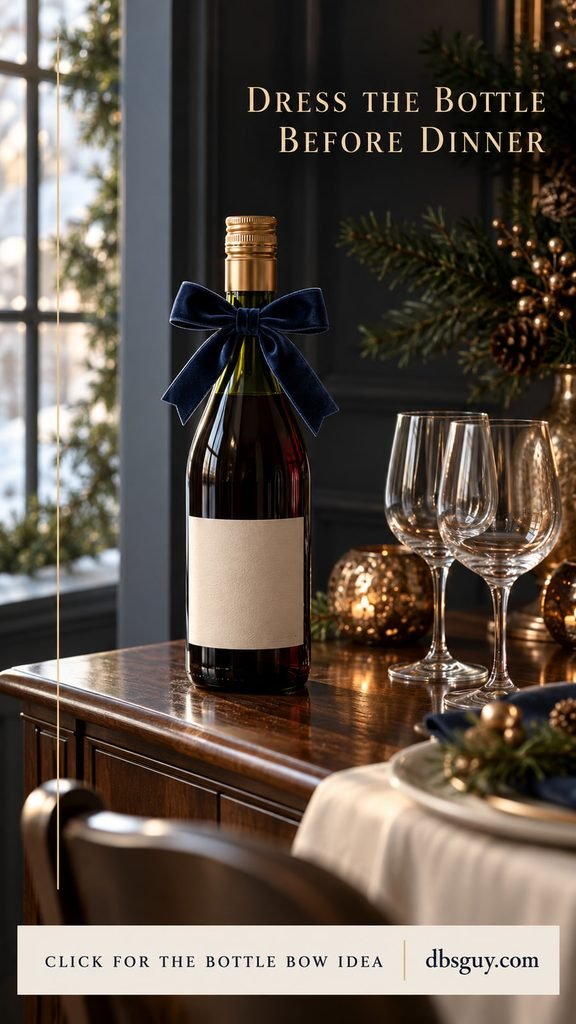
A bottle on a drinks station can carry the ribbon accent when your dinner table has no spare room. Navy velvet works with dark green glass and warm metallic details, giving the setting a more understated color choice.
Choose a closed beverage bottle with an accessible neck and tie about 1/2-inch velvet ribbon below the cap. Keep the bow small, leave the cap clear, and shorten the tails so the label remains readable. This works as an arrival detail for wine, sparkling juice, or another bottled drink.
Remove the ribbon before opening or pouring. That keeps it away from drips and lets the bottle be handled normally. If you are chilling the drink, keep its bow off until just before display; a wet bottle makes a poor surface for fabric. For a crowded drinks station, one decorated bottle can provide the accent while the rest remain easy to grab.
14. Clip a green bow to a hanging tablecloth corner
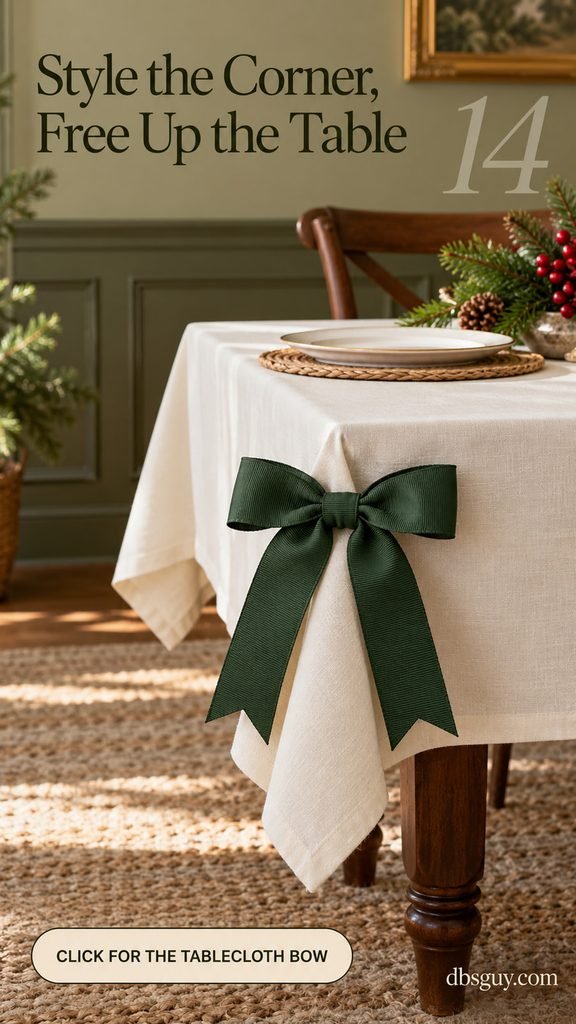
The hanging corner of a tablecloth is an overlooked place for color. A forest-green bow there can show from the room entrance while the entire tabletop remains available for plates and shared dishes.
Make a bow from 1- to 1 1/2-inch grosgrain ribbon and fasten its back to the outside corner with a small padded fabric clip hidden behind the cloth. Try the clip on a spare fold first. It needs to hold without leaving a mark, pulling the hem out of shape, or sliding down.
Keep the tails short and well above the floor. Choose a corner outside the chair and walking paths, then pull out nearby chairs to check clearance. Do not use the bow to cinch the whole cloth; the surface should still lie flat. If guests will brush past that corner repeatedly, move the detail to a chair back or serving basket instead.
15. Tie an emerald bow around a dessert stand’s pedestal
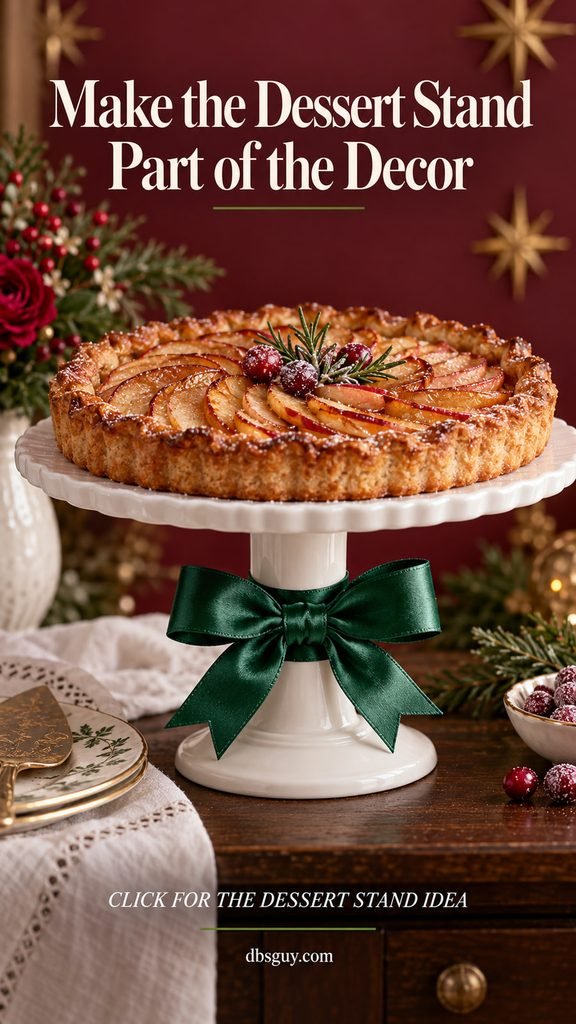
A footed dessert stand offers one more place to repeat the holiday color after dinner. An emerald satin bow on a white pedestal makes an apple tart or cake feel part of the table’s decor without adding decoration to the food.
Use a stable stand with a narrow central column and tie 3/4- to 1-inch satin ribbon around that column below the platter. Keep the loops and tails away from the serving surface, the dessert, and the stand’s foot. Tie the ribbon while the stand is empty.
Check that the bow does not interfere with carrying or placing the stand. Set it on the dessert table, then add the tart or cake once the stand is in position. Skip wide, loose loops that can catch a sleeve or serving utensil. If your stand has no pedestal, use a nearby favor box for the matching ribbon accent rather than wrapping the food platform.
Make one sample bow, then prepare the set
Ribbon quantities depend on the item, loop size, and tail length. Rather than buying by a fixed number of bows per roll, tie a sample on the actual object, untie it, and measure the length used.
For example, if your finished napkin tie uses 24 inches, eight settings use 192 inches, or 16 feet. Allowing roughly 20% extra gives you about 19.2 feet; a 7-yard roll provides 21 feet. That is a planning example, not a guarantee for every ribbon or napkin. Measure chair sashes and shared accents separately.
For a simple two-loop bow, loosely cross the ribbon ends around the item and make the first knot. Form a loop with one end, wrap the other end around it, and pull a second loop through. Ease the loops into shape, rotate any twisted ribbon so its face shows, and trim the tails last. If an awkward vessel makes tying difficult, make the bow separately and use an attachment suited to that surface.
Prepare menus, cards, and favors ahead of time; attach bows to glassware or chilled bottles shortly before guests arrive. Keep decorative ribbon off food and hot serving surfaces. For a ribbon-heavy setting, choose flameless lights. The U.S. Fire Administration’s candle guidance recommends battery-operated alternatives and says burning candles should stay at least 12 inches from anything that can burn.
Questions about decorating a Christmas table with bows
How do you keep the table from looking overdecorated?
Begin with one ribbon placement per guest and one shared accent. Leave the other objects plain, then look at the table with serving dishes in place. If a detail crowds the food or makes a name hard to read, remove it. The bow ideas here are options to choose among, rather than a checklist for one dinner.
Can you use the same ribbon everywhere?
You can repeat a color, but the same width may not suit every object. A place card needs a much smaller bow than a chair. Buy compatible widths or use one feature ribbon on the napkins and leave the shared accent simpler.
Is wired ribbon a good choice for place settings?
For ties guests will handle, unwired ribbon is a straightforward choice because there are no cut wire ends to manage. Reserve wired ribbon for decorations away from food and hands, covering any exposed ends and checking the item before use. The place-setting concepts in this article use unwired ribbon.
Which bows should come off before eating?
Remove glass-stem ties before drinking, bottle ties before opening or pouring, and mini wreaths before food is served. Guests will also undo napkin and cutlery ties. The vase, greenery, basket, chair, and cloth accents can stay if they remain secure and clear of food, heat, clothing, and walking paths.
What can you do if satin loops keep looking uneven?
Leave extra length until the bow is shaped. Loosen the knot slightly, pull one loop at a time, and turn twisted sections outward before trimming. Double-face satin makes the finish easier to arrange because both sides have a polished appearance. Aim for balanced loops rather than pulling the knot tighter and tighter.




