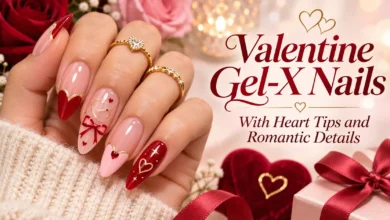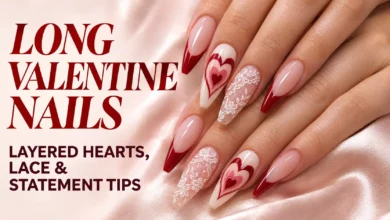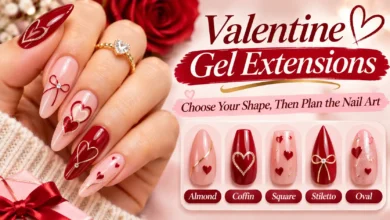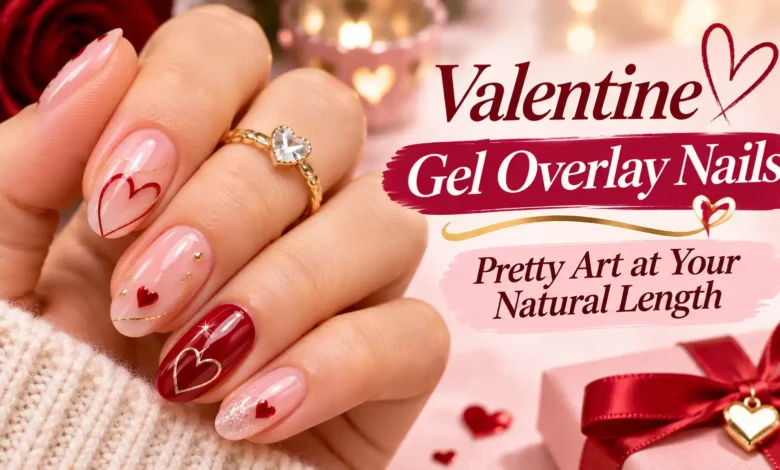
Ask for a gel overlay on your natural nails at their current length. A structured overlay adds a shaped layer of gel over the nail you already have. You can keep it sheer or wear gel color over it. If your goal is simply glossy color and Valentine art, a regular gel-polish manicure can give you the same design with a simpler service.
Look at your nails from above before you choose the art. A flat edge gives a cranberry corner a crisp starting point. A short, rounded nail has room for a dot flower in the middle. And if you want a bow with actual loops and tails, give it the width of a thumbnail.
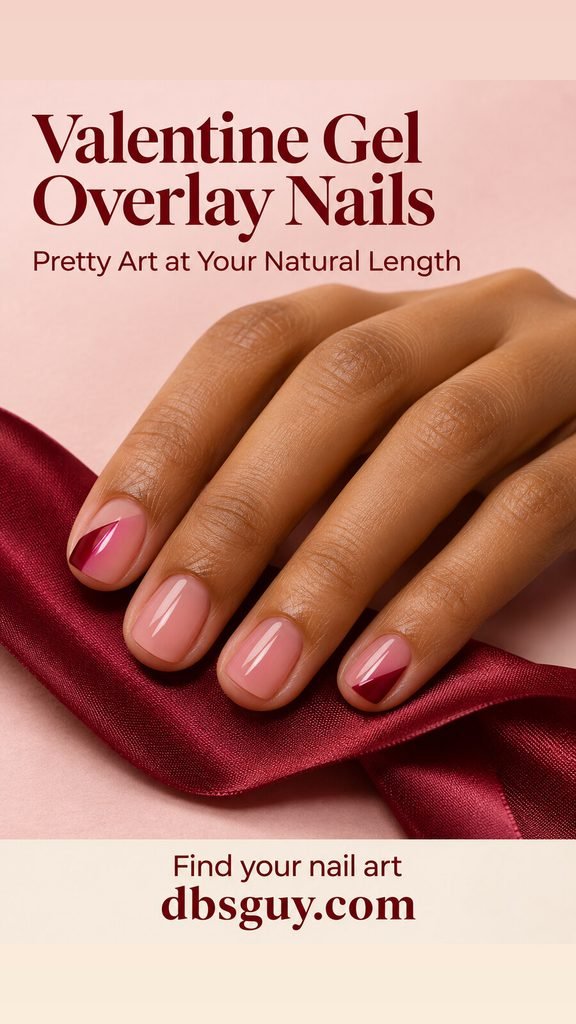
The images are AI-generated design concepts for dbsguy.com. Use them as references for color, placement, and finish.
1. Cranberry Corner Blocks
Put a small wedge of deep cranberry in one tip corner of two soft-square nails. The diagonal is the whole design. Leave the other corners and the rest of the nails in sheer blush so each red shape has a clean outline. This works especially well if you like the crispness of red tips and want less color across the edge.
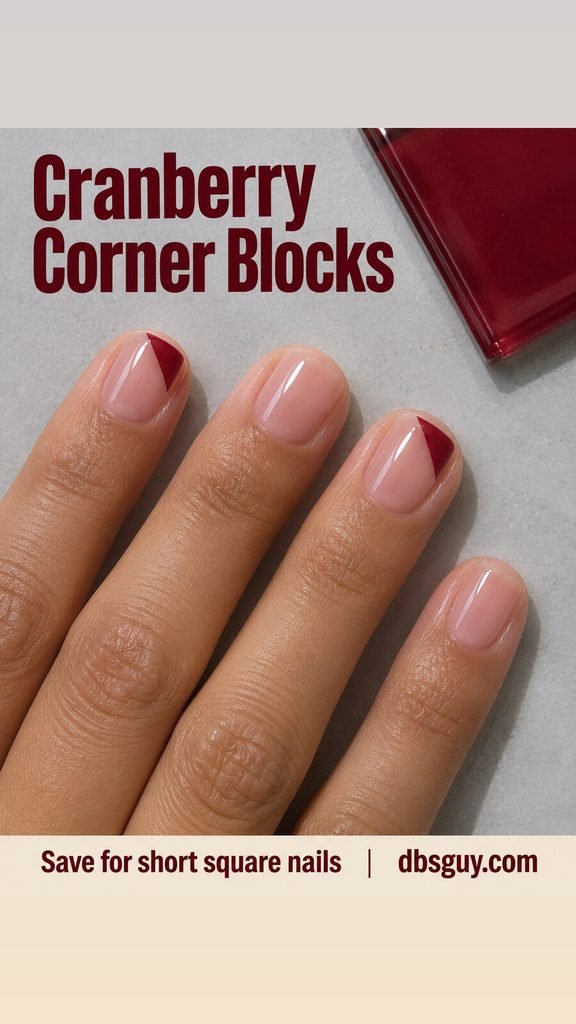
If your nails end at your fingertips, the wedge can sit entirely on the visible nail plate. Have it meet the front corner and keep its diagonal shallow. For a rounder edge, ask your tech to soften the outside boundary to follow the curve. If a flat front is what you like about the look, browse these square Valentine nail ideas for other ways to use it.
2. Lilac Dot Blossoms
On sheer lilac, five ivory dots around one raspberry center make a flower small enough for a short, rounded nail. Put one blossom near the middle of a nail and set the second a little to the side on its neighbor. The matching colors tie them together even when the placement varies.
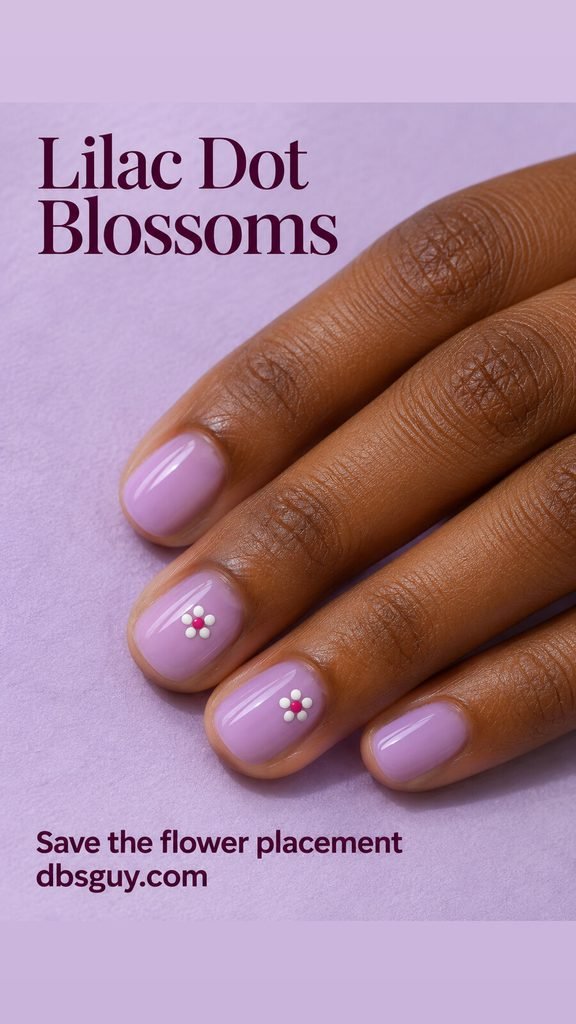
Choose your two widest fingers after the nails are shaped. If one blossom would crowd a narrow nail, wear a single flower per hand and keep the others lilac. Leave a little lilac showing around the petals so the flower still reads at a glance.
3. Rose-Quartz Pearl With a Silver Crescent
A fine pearl finish gives blush pink a soft shift when you turn your hand. Add one slender silver crescent near the base of a nail to pick up the look of a silver ring. The curve works on a short oval because it follows the rounded base and leaves the center open.
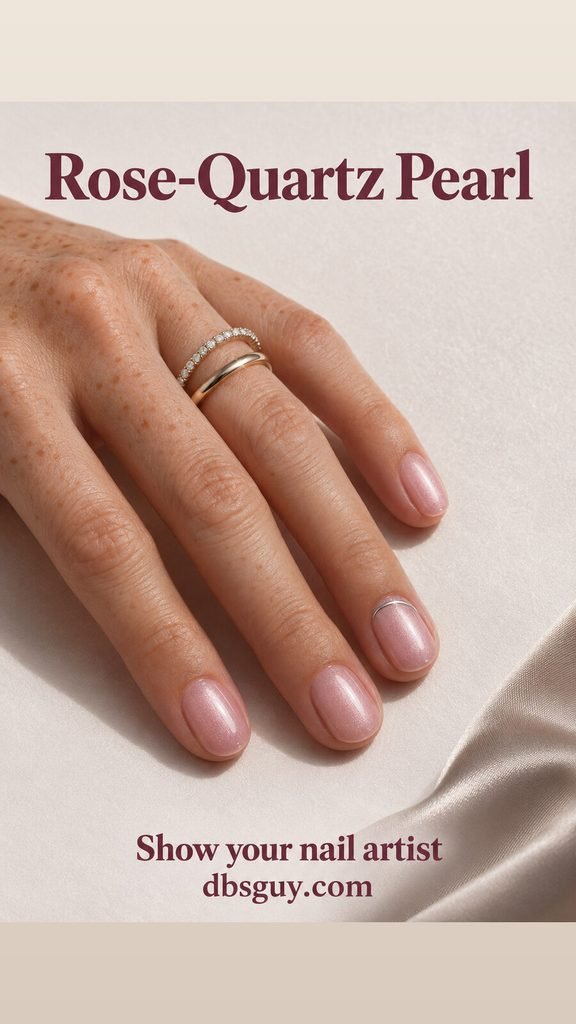
Ask for a painted curve with a sliver of pink between the silver and the cuticle. Check the pink swatch from the front and at an angle. For this look, you want the pink to show through the pearl in both views.
4. Black-Cherry Nails With an Open Heart
Use glossy, opaque black cherry across the whole set and draw a pale blush heart outline on one nail per hand. Let the dark color show through the middle. A heart with a clear dip between its two lobes stays recognizable at a small scale.

Center it on the broadest nail you want to accent and leave dark polish visible below the point and on both sides. If a ring nail is too narrow, move the heart to the middle finger and give it breathing room there. The single outline gives the whole set its Valentine detail.
5. Dusty Rose With a Painted Thumb Bow
Paint the set a muted dusty rose and put a little ivory bow on each thumbnail. A thumb usually gives you the width to see both loops. Two short tails keep the bow in proportion with a short nail, and a flat painted finish suits a manicure you’ll wear every day.
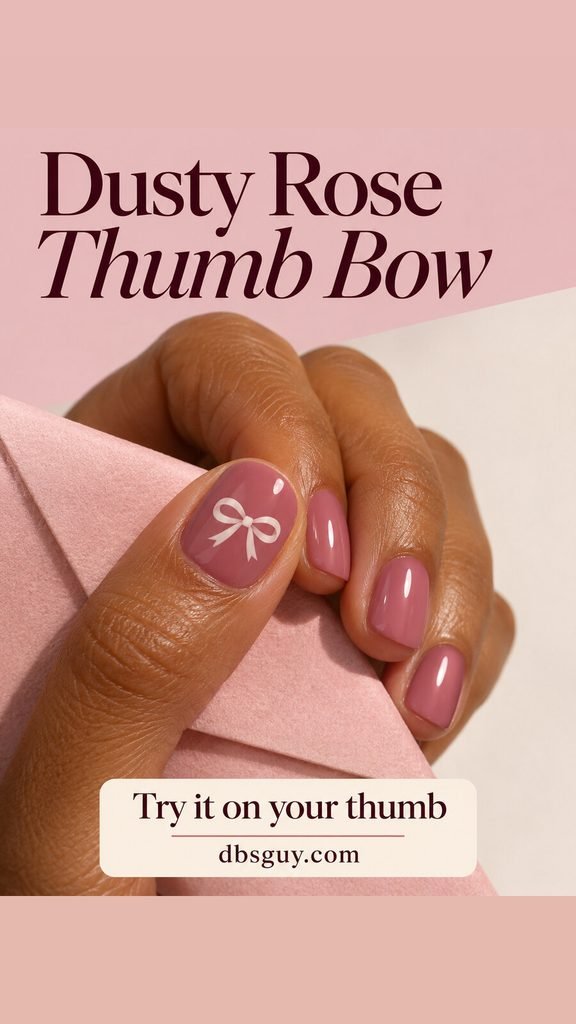
If your thumbnails are especially short, ask for wider loops and shorter tails. Put the bow across the middle of the nail so it stays easy to see when you hold a phone or a coffee cup.
What to Ask for at the Salon
When you book, you can say, “I’d like a structured gel overlay at my current natural length. Can we keep my shape close to what I have and do this design? Which gel would you use, and how would you remove or maintain it?” Send your reference with the booking so the salon can plan time for the nail art.
Say how much of your own nail you want to see. A sheer pink or lilac can let the natural edge show through, especially on a nail with a little length. For more even coverage, ask to see a milky or opaque swatch before choosing. Mention any existing gel and any past reaction to nail products when you book. If you’ve reacted before, get advice from a dermatologist before another gel service.
Can You Get an Overlay With Barely Any Free Edge?
An overlay can sit on a short natural nail. The free edge is the part that extends past the fingertip, and the designs here mostly use the surface you can already see. When that edge is hard to see, start with a blossom or the silver crescent. Your nail tech can assess your nails and decide which service suits them.
How Do You Take a Gel Overlay Off?
Ask for the exact product name and its removal method. Some overlay gels soak off. Others need professional filing. If you plan to keep the overlay, ask whether the salon can maintain the existing product as your nails grow. If it starts to lift, have your tech look at it and leave the lifted edge alone. The American Academy of Dermatology’s gel manicure guide explains how to avoid picking and protect your hands during a gel service.