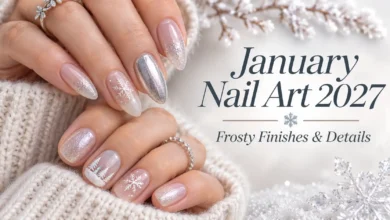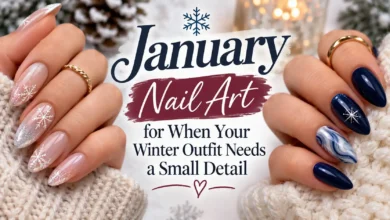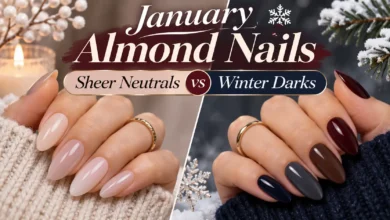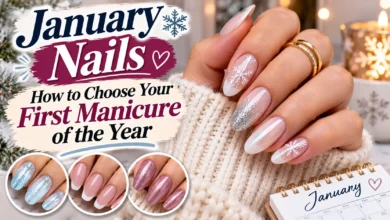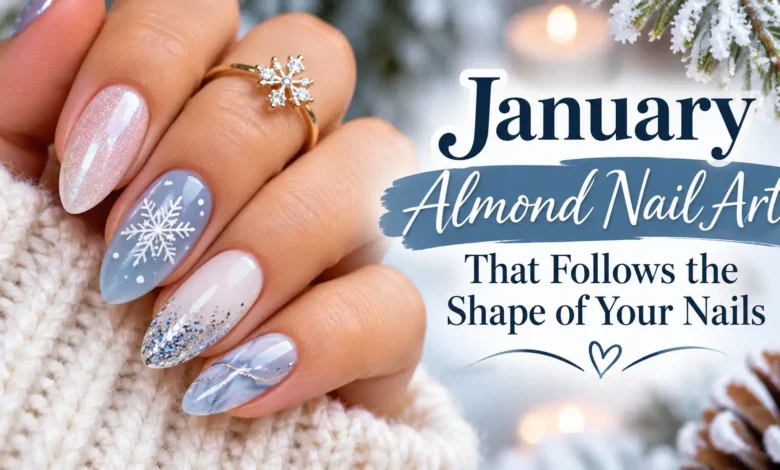
For January almond nail art that works with your shape, let the decoration travel along the taper: a curved French edge, a line down one side, or a ribbon that narrows toward the tip. Leave enough space around that detail to see the softly pointed outline beneath it.
The six designs below use different parts of the nail as their starting point. Choose the placement first, then the winter color. A narrow blue tip feels quite different from a gold crescent at the base, even when both use very little artwork.
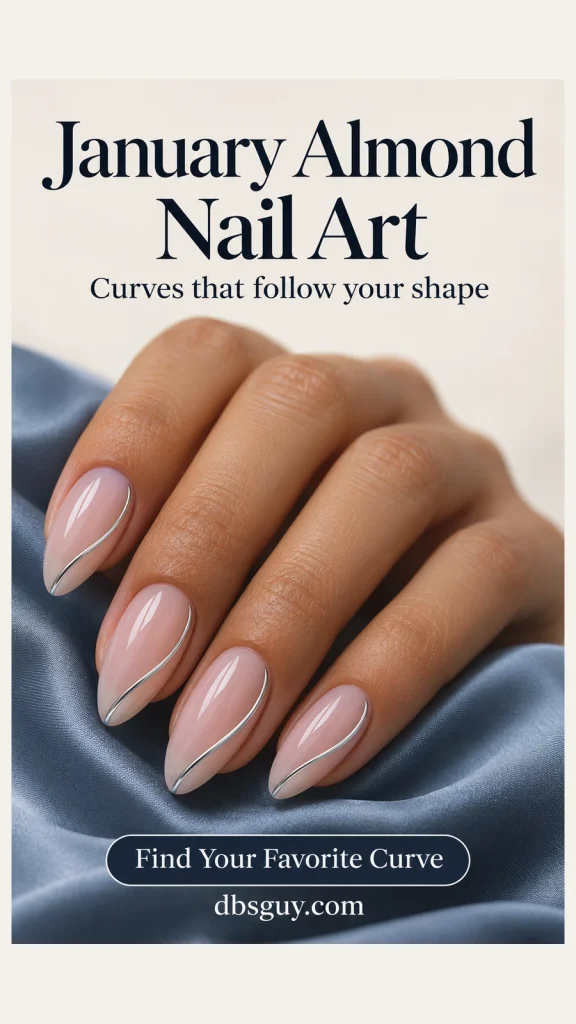
The visuals are AI-generated manicure concepts. They show intended colors and placement, rather than document salon work or wear testing. Real polish, lighting, and your own nails will affect the result.
Let Your Nail Outline Set the Direction
An almond nail tapers through the sides toward a softly rounded point. Look at each nail straight on before choosing the art: where does it begin narrowing, and where does the tip sit? Those two landmarks are more useful than copying the exact proportions of someone else’s manicure.
You do not need to file your nails narrower to suit a picture. If your natural nails are short and closer to oval, use a shallow curve or a small dotted trail on that outline. Save the longer, open tip frame for a nail with enough room to show its center.
- To define the end: choose the slate-blue French or navy outline tip.
- To draw the eye along the nail: try the silver side contour, cocoa ribbon, or graduated dots.
- To keep the tip plain: put a fine gold crescent at the base.
For sheer designs, compare the base color on your own hand. A translucent rose, peach, or caramel can provide the quiet background you want; matching the model’s exact shade is less useful than seeing the artwork clearly.
1. Slate-Blue French Tips With a Deep Curve
A muted blue edge gives a familiar French manicure a cool January palette. The important part is the shape of the band: it wraps around the softly pointed tip and reaches a little farther down the sides. Most of the peach-pink base remains visible.
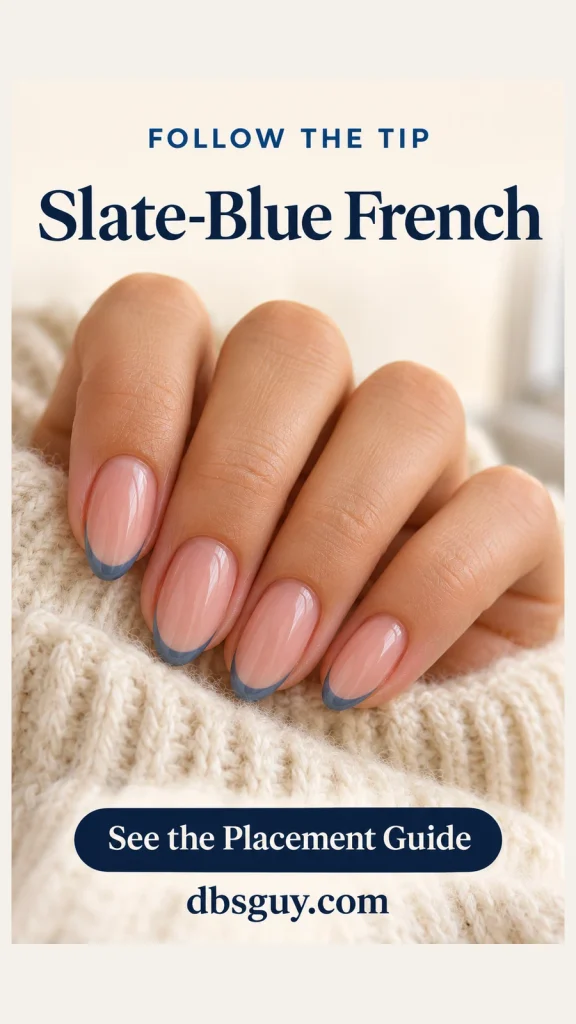
Ask your nail artist for a narrow band with tapered ends, checking that the curve sits comfortably around each nail’s center. Copying one identical curve across a thumb and pinky can make the set look less balanced because the nails have different widths.
On a shorter almond, reduce the depth of the blue before increasing the length of the nail. A broad painted cap can hide the very taper you wanted to highlight. If you are painting with regular polish, build the curve in small brush strokes and compare both corners before filling the edge.
For more ways to change the border, explore 17 January French Tip Nail Ideas Beyond the Classic White Edge.
2. A Silver Side Contour on Graphite
This design follows one side of the nail rather than painting a band across the end. A fine silver line sits just inside the graphite edge, then bends around the tip. The opposite side stays dark, so the reflective detail has a clear path.
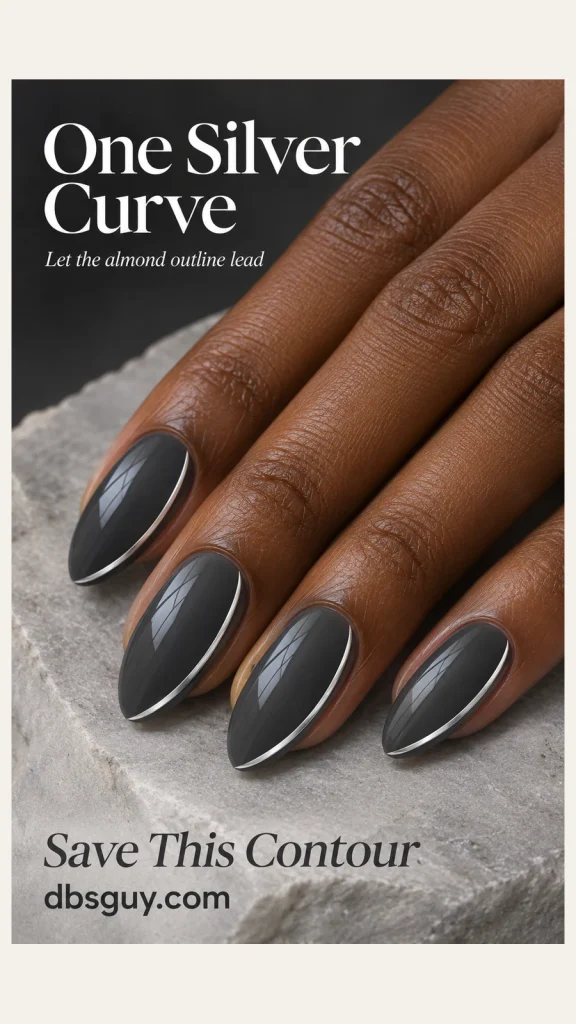
The line should remain separate from the surrounding skin. In the reference, it is a slim painted accent, not a raised metal strip. A metallic silver nail polish can communicate the idea without requiring a particular chrome-powder system.
Ask for one continuous-looking sweep on each decorated nail. Keep its visual weight similar across the hand, and let it become finer as it reaches the tip. A heavy outline around every edge would create a different effect and leave less of the graphite visible.
The cover shows a softer adaptation of this idea: the same single-sided silver sweep over a sheer pink base. Choose that version if you want the contour to stand out without a full dark manicure.
3. One Cocoa S-Curve Over Cream
A lengthwise ribbon introduces movement through the middle of an almond nail. The cocoa line in this concept bends gently across a creamy beige base, with slender ends and a slightly fuller middle. It is one flowing S, with room to see the base on either side.
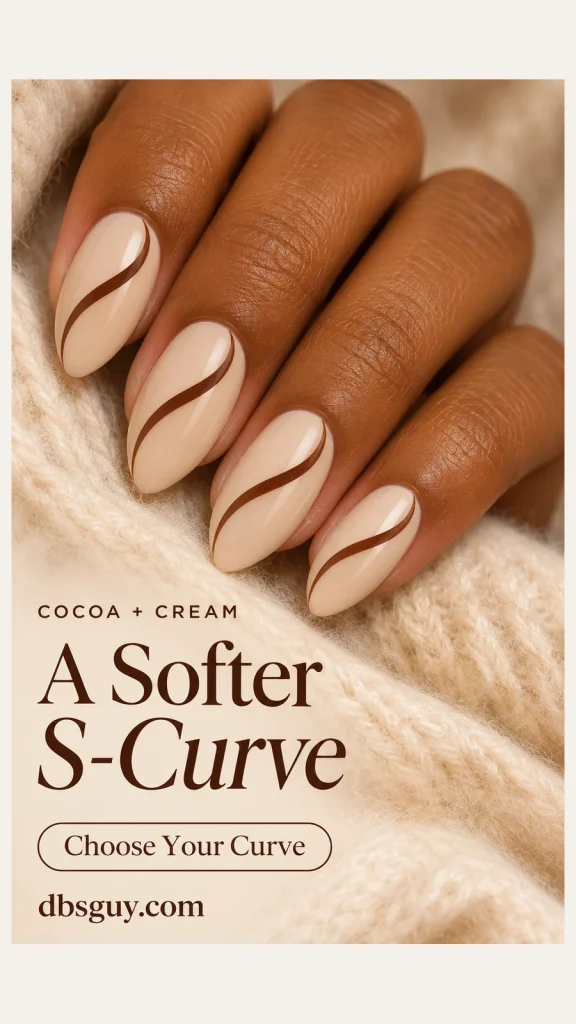
Before committing to the set, ask your artist to show the curve on one nail. Its upper end should travel toward the tip instead of stopping abruptly across the widest part. A soft bend can echo the tapered outline without tracing it exactly.
This is a useful warm alternative if icy blue does not fit your wardrobe. Keep the brown distinct from the beige; two nearly identical colors can make the placement hard to read. For a shorter nail, use a gentler bend and a finer ribbon so the middle does not become a large brown patch.
4. Navy Outline Tips With an Open Center
Two fine navy curves create a small hollow frame at the end of the nail. One follows the outer free edge. The other forms a softly pointed arch inside it, leaving a translucent, leaf-like center. That open space is the feature to preserve.
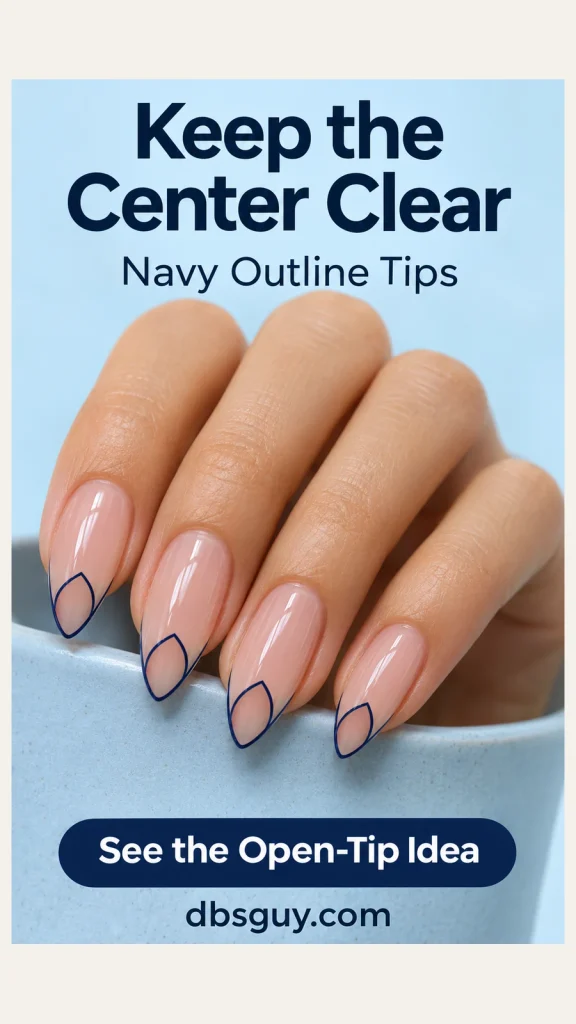
Show your nail artist where the inner point should sit: along the nail’s centerline, facing the actual tip. If it drifts sideways, the frame can make an otherwise balanced nail appear tilted. Keep the inner arch in the tip area rather than pulling it halfway toward the cuticle.
This option benefits from enough length to separate the two borders. On very short nails, choose the single French curve in design 1 instead of squeezing two dark lines into a tiny space. If a natural white free edge shows through your sheer base, ask to compare a slightly more covering base before painting the navy.
5. A Pale Gold Crescent at the Base of Plum Nails
Here, the decoration changes direction completely. A slim gold crescent follows the rounded base of the nail, while the plum tip stays plain. The contrast lets you enjoy a dark winter color and a small metallic detail without filling the nail with artwork.
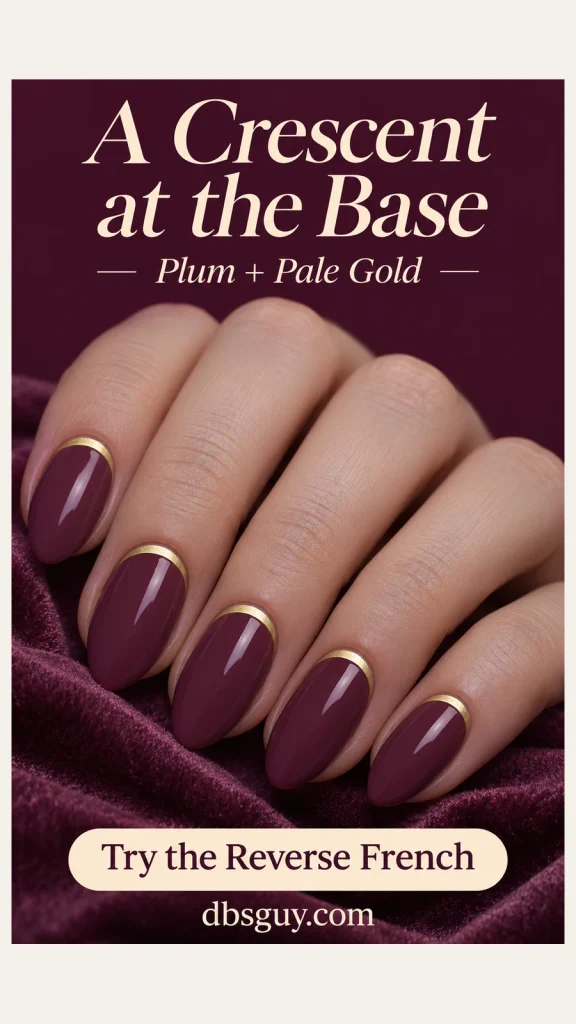
Request a painted reverse-French crescent with a clean margin between the color and skin. Its curve should follow the individual nail base, which may be rounder or flatter than the next finger’s. Keep the gold narrow enough to read as an accent rather than a large half-moon.
This is a good placement to discuss when you like your almond tips exactly as they are and want the detail elsewhere. The base border is precise work, so a salon reference may be more useful than trying to reproduce it on your nondominant hand. As the nail grows, a visible gap will appear below the crescent; choose it for the design itself, rather than expecting it to conceal regrowth.
6. A Tapered Navy Dot Trail on Pale Blue
Separate dots can suggest a curve without a continuous brush line. On this pale-blue set, the navy trail follows one side and gets finer as it approaches the tip. The larger dots establish the beginning; the smaller ones let the design finish lightly.
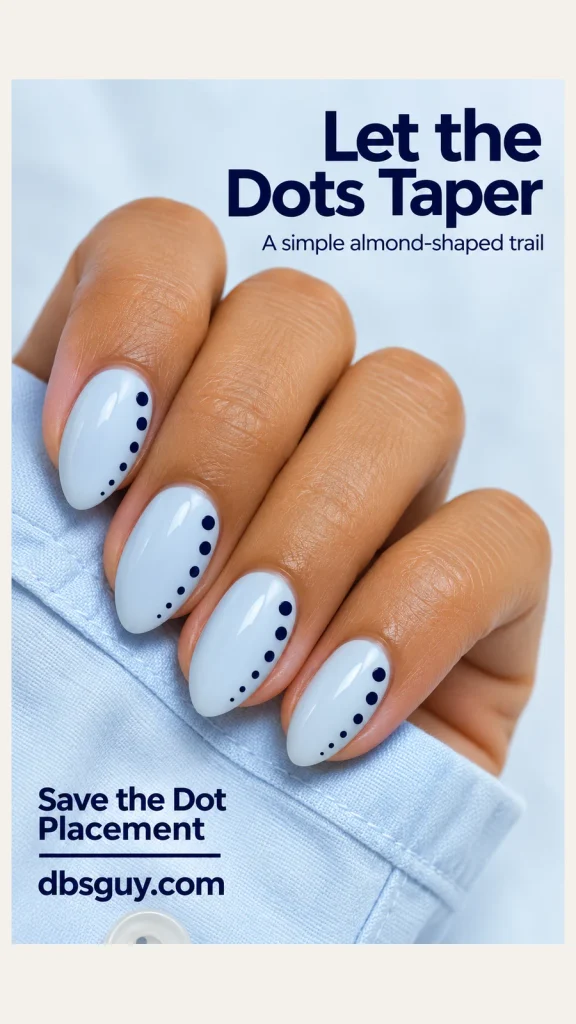
For a home version with regular polish, try the spacing on a practice tip first. Place a larger dot near the upper side of the nail, then work toward the free edge with progressively smaller marks. A dotting tool with different ball sizes gives you more control than trying to force the same loaded tip to make every size.
Leave visible gaps between the dots. If they merge, the trail becomes a scalloped stripe and loses its separate points. On a small nail, three or four graduated dots may communicate the curve better than copying the longer trail in the reference.
If you prefer even smaller details, see Easy Short Nail Designs for January: Tiny Dots, Fine Tips and Soft Shimmer.
Make the Curves Look Intentional
For the home painting suggestions above, use regular, air-drying nail polish with a suitable base coat and top coat. A fine detail brush is helpful for the French edge, contour, and ribbon; a dotting tool suits the graduated trail. Follow your products’ preparation and drying instructions rather than treating one waiting time as right for every formula.
Let the base color dry before drawing over it. Keep a small amount of detail polish on the brush so you can build the line instead of depositing a thick bead. Essie’s French manicure guide explains using a fine brush and short strokes to establish a curved smile line; the same careful control is useful when you are practicing these painted curves.
Check the hand with the fingers relaxed and viewed straight on. A line can look balanced while the finger is turned sideways, then appear off-center when the nail faces you. Compare the direction of the artwork before adding more polish to correct its thickness.
Apply your compatible top coat as directed once the art is ready for it, using a light touch to reduce dragging. Leave the cuticles intact and keep the product on the nail. These air-dry suggestions are not curing instructions for gel products.
Questions to Settle Before Your Appointment
Can these designs work on short almond nails?
Yes, with less detail. Start with a shallow blue French or a short dotted arc. A small nail may not have room for the open navy frame, and nails with little free edge may be closer to oval than almond. Keep the comfortable outline you have and scale the artwork to it.
Do I need acrylic or Gel-X extensions for almond nail art?
No. Almond describes the outline; acrylic, gel polish, and Gel-X describe different products or services. The artwork can be adapted to suitable natural nails or extensions. If extensions are part of your plan, compare the finish options in Almond Gel-X Nail Designs for January: Icy Tips and Soft Winter Shimmer, then discuss fit and length with your nail artist.
What should I say when showing a reference?
Name the placement, the width, and the finish. For example: “Keep my current length, use a graphite base, and add one fine silver curve down one side toward the tip. Leave the other side plain.” That gives your artist a clearer brief than asking for the picture without identifying which detail matters to you.