
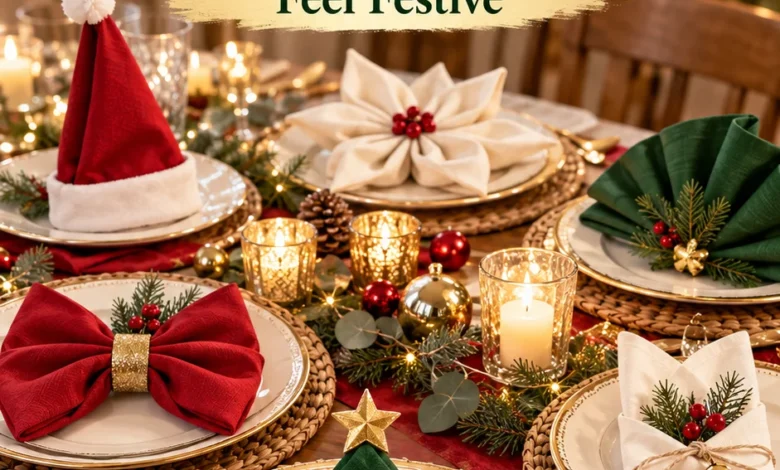
You can make a familiar dinner plate feel ready for Christmas with one good napkin fold. Choose a little green tree for an unmistakably festive look, a ribbon-secured bow tie when you want something easy, or a soft knot when your napkins refuse to hold sharp creases.
These seven Christmas napkin folding ideas include the materials, folding directions, and small adjustments that make each look usable at a real dinner table. Keep the dishes you already own; let the napkin supply the holiday detail.
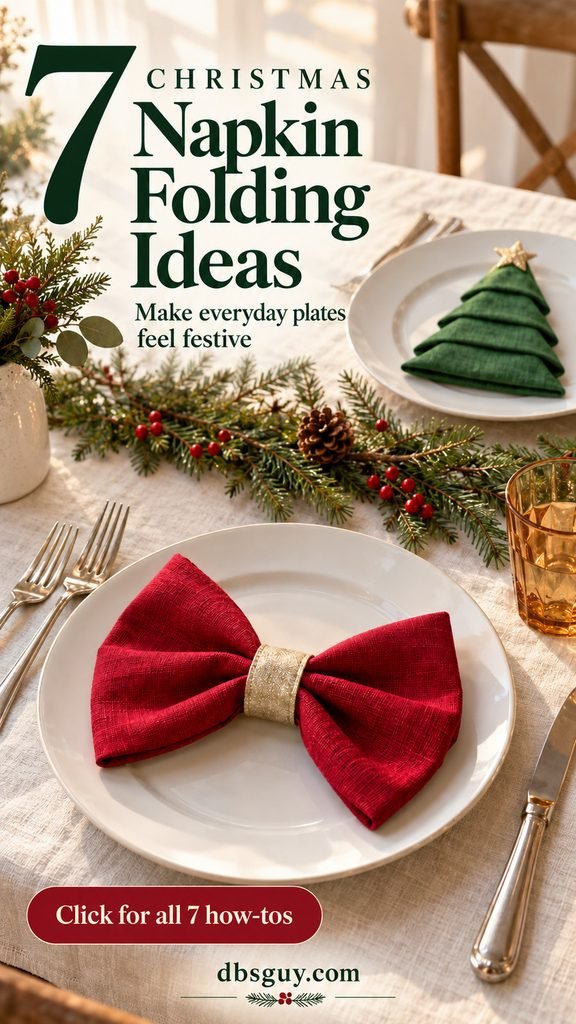
The images are AI-generated styling concepts. Fabric thickness and napkin size will affect the finished shape; follow the written directions for the fold itself.
Before You Start: Try One Napkin on Your Actual Plate
For cloth folds, a square dinner napkin around 20 inches across is a useful starting point. Test the finished shape on your plate before folding the whole set. A compact envelope needs different proportions from a fan that stands upright.
Wash and dry cloth napkins, then press them according to their care labels. Work on a clean, dry surface. Smooth fabric makes the tree, envelope, and fan easier to read; softer fabric suits the bow, rose, and knot. If a napkin is thick, slippery, or heavily fringed, choose a forgiving shape rather than fighting it into tiny folds.
You need one napkin per place setting. Only the bow tie requires a separate ribbon. A place card is optional for the envelope, and the other folds work without rings, pins, glue, or extra decorations.
1. A Layered Christmas Tree for Plain White Plates
The tree is the clearest Christmas statement in this group. Its stacked triangular folds turn a solid green napkin into the decoration, so you can leave the rest of the plate empty. It is especially useful when you want a festive table without buying patterned dishes.
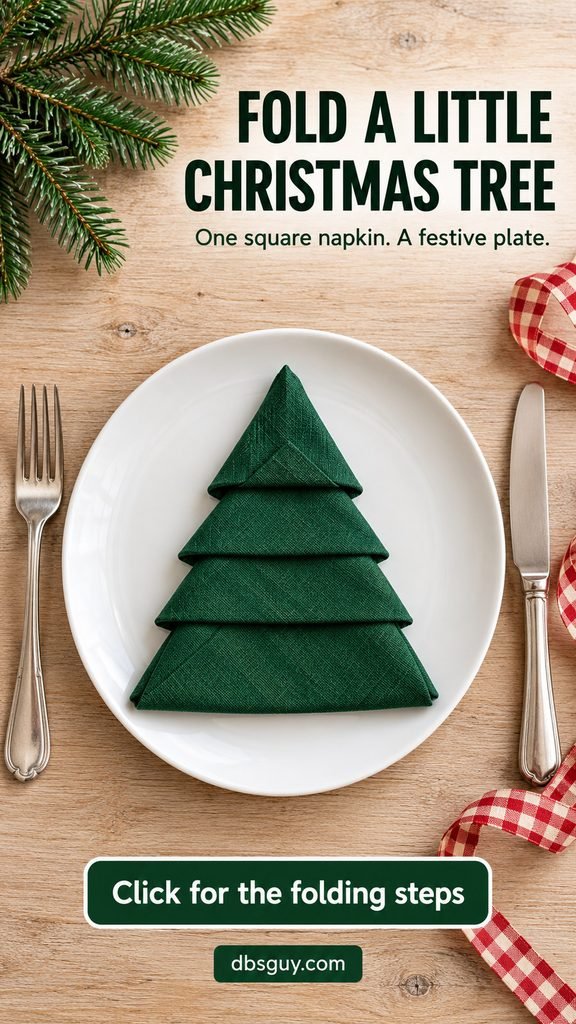
Use: A square green cotton or linen napkin that holds a crease. Practice with a plain color first so you can see the separate layers.
How to Fold the Christmas Tree
- Fold the napkin in half, then in half again to make a smaller square.
- Turn it into a diamond with the four loose corners pointing toward you.
- Lift those corners toward the top one layer at a time. Leave roughly ¾ to 1 inch between successive points to form an evenly spaced stack.
- Hold the layers in place and turn the napkin over. Fold the right side diagonally inward, then the left side across it, creating a narrow kite shape.
- Turn it over again with the loose flaps pointing toward you. Fold the top flap upward to make the tree tip.
- Fold each remaining flap upward and tuck its point beneath the layer above. Tuck the final thick flap neatly, then lay the tree flat on the plate.
If the tree looks lopsided: Check the spacing in step three before adjusting the sides. Uneven layers make the branches appear crooked. Premier Table Linens’ illustrated tree-fold tutorial shows the side folds and final tucks.
Face the tree tip toward the far edge of the plate. A white plate gives the green a clear outline; silver flatware and one red ribbon elsewhere on the table finish the setting. The cover shows an optional loose star topper, but the fold needs no topper at all.
2. A Burgundy Bow Tie That Makes the Plate Feel Like a Gift
This is a useful first fold if you are decorating several places and want a result that is easy to repeat. The napkin becomes two broad bow-tie wings, with a narrow ribbon holding the center. You get the feeling of a wrapped present without covering the plate in gift-wrap accessories.
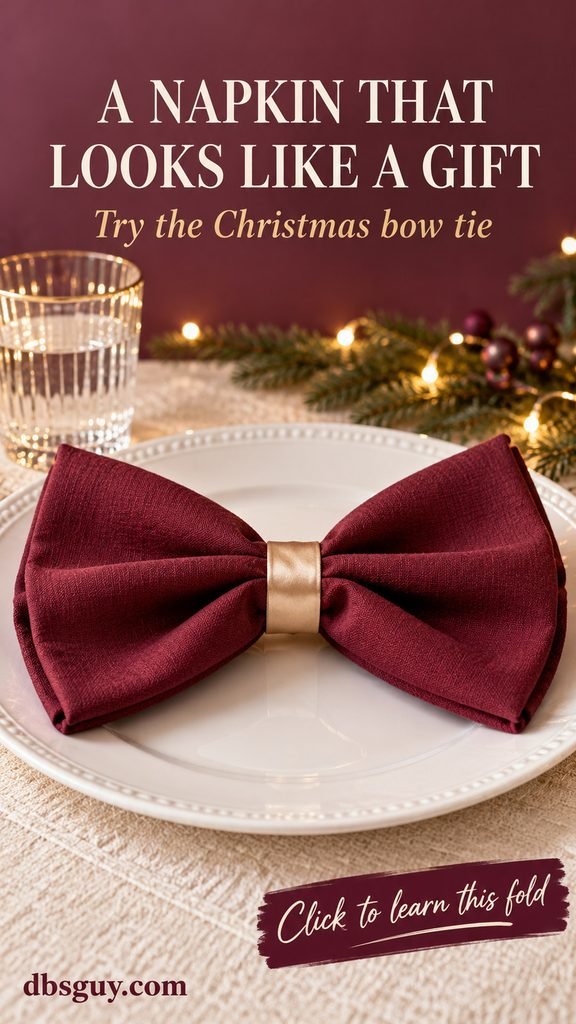
Choose a flexible cloth napkin and a clean, soft ribbon long enough to wrap around the center and tie at the back. Burgundy and champagne give ordinary white dishes a warm holiday look. Keep the ribbon narrow enough that the folded fabric remains the main feature.
Make the Bow Tie
- Lay the napkin face down. Fold the left and right sides inward in thirds to create a long rectangle.
- Bring the short top and bottom ends toward the middle so they meet, making a shorter rectangle.
- Pinch the center into gentle pleats. Keep the two wings about the same width.
- Wrap the ribbon around that pinch and tie it behind the napkin. Turn the bow over and ease the wings outward.
The method follows the simple construction in Howcast’s bow-tie demonstration. This version has short folded wings, rather than the long tails of a tied fabric bow.
A common mistake is pulling the ribbon so tightly that both wings collapse. Tighten it only enough to keep the center gathered. Tuck the ribbon ends behind the bow, and leave the knot accessible so guests can release the napkin easily.
3. A Christmas Envelope With a Little Greeting
For a quieter table, fold a pale blue or white napkin into an envelope and place a small greeting over the flap. It adds a personal detail to each setting while keeping the arrangement low and flat. Try it for Christmas brunch, where glasses and serving dishes already take up space.
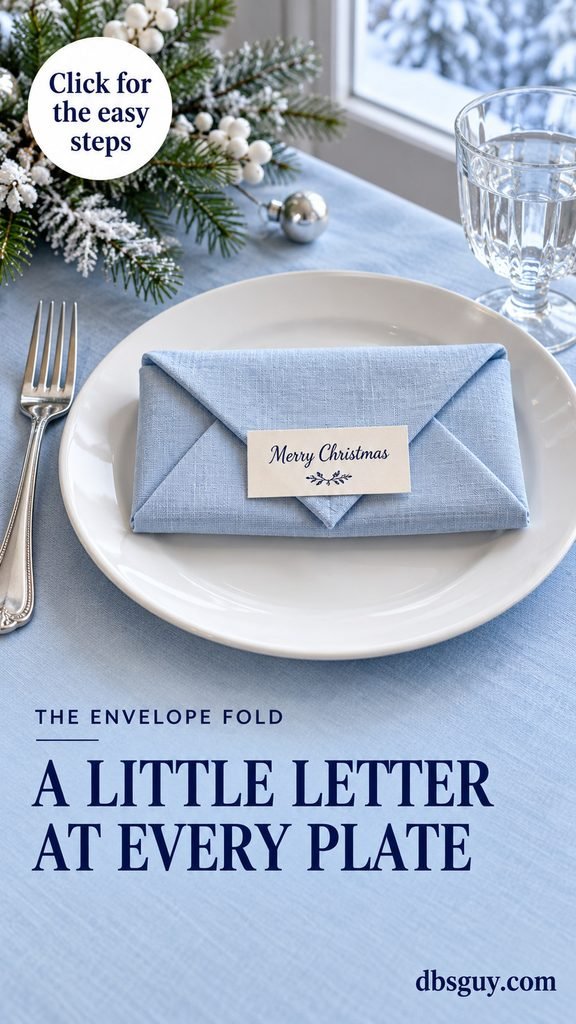
What you need: One square cloth napkin and, if you like, a small card. Write a guest’s name, “Merry Christmas,” or a short welcome. The card can rest on the flap as shown; it does not need to fit inside a deep pocket.
Fold the Envelope
- Lay the opened napkin in a diamond, with one point at the top.
- Fold the left side inward about a third of the way, then bring the right side across it. You should have a narrower shape with a pointed top.
- If a side point extends past the opposite edge, fold that small tip back inside.
- Fold upward from the bottom in three roughly equal turns, each about a quarter of the shape’s original height. Stop with the top triangle still exposed.
- Bring the top triangle down over the rectangular base to form the envelope flap. Smooth it and add your card.
Vintage Home Designs’ envelope tutorial provides photos of the side folds and upward turns.
If the flap barely reaches the front, make the base a little shorter. If the envelope feels bulky, use thinner cloth. Set it horizontally in the center of the plate, with the point facing the guest. Silver cutlery and a blue tablecloth make the fold feel wintry without adding more objects to the dish.
4. A Standing Winter Fan for White Napkins
Already own white napkins? A fan gives them presence without adding a print or ribbon. The height is the attraction here: crisp pleats rise above a simple plate and catch the light. Against blue or gray stoneware, the same white fabric looks deliberately chosen for a winter table.
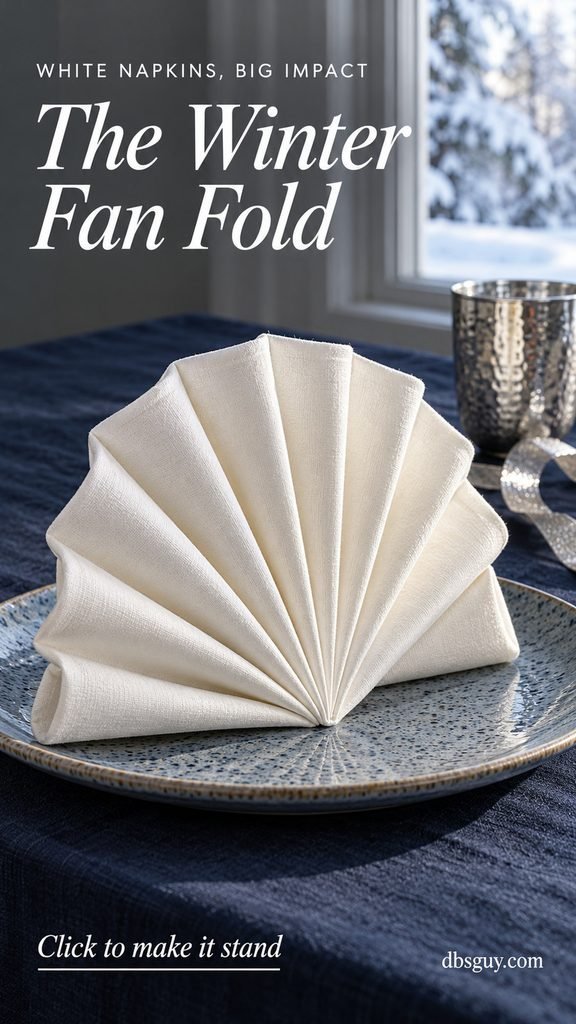
Use a square napkin with enough body to keep its pleats. This fold includes a triangular support at the back; that support matters as much as the visible fan.
Make the Fan and Its Stand
- Lay the napkin face down and fold it in half into a rectangle. Keep the open long edge toward you.
- Starting at a narrow end, make accordion pleats across the rectangle, alternating the fold direction. Aim for even pleats around 1 inch wide.
- Stop with about 2 to 3 inches left unpleated at the other end. This remaining fabric forms the support.
- Fold the bundle in half so the pleated portions are on the outside.
- Bring the two unpleated corners together and fold them diagonally, tucking their points under the accordion folds to form a triangular stand.
- Set the base on the plate and gently spread the pleats. Keep the triangular support behind the fan.
The Standing Fan instructions from Napkin Folding Guide show how the support tucks into the pleats.
If it falls forward, close the fan and check the back tuck before opening it again. A slippery or very soft napkin may be better used for the knot. Keep the fan on the plate until guests sit down, and leave the surrounding setting simple so its shape remains visible.
5. A Cranberry Napkin Rose for a Soft Holiday Accent
A rose changes the mood of the setting. Instead of sharp corners or straight pleats, it gives you a rounded coil of fabric. Deep red keeps it connected to Christmas, especially beside a tartan runner or warm cream dishes.
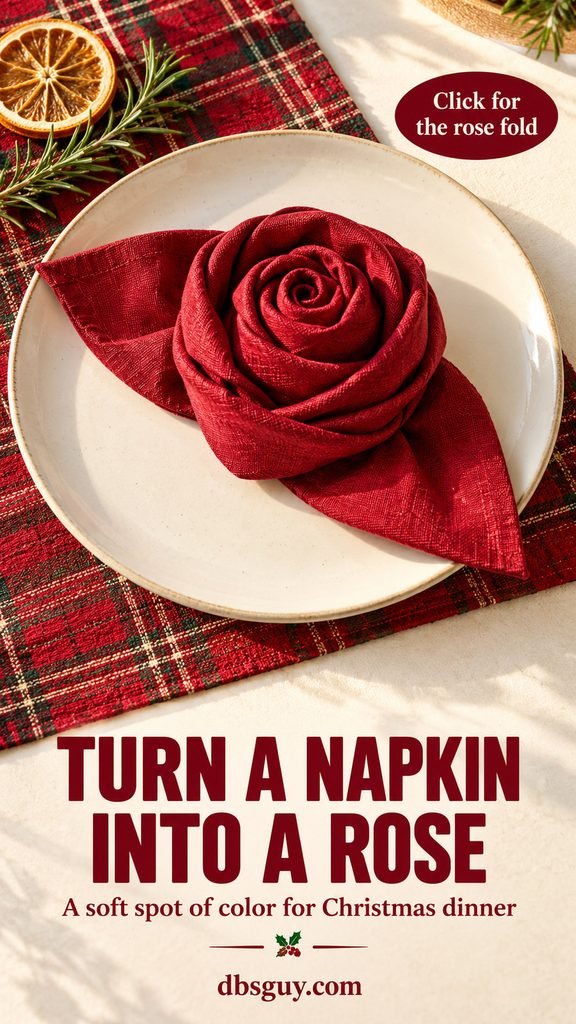
Pick a flexible square napkin that rolls comfortably. A very stiff, thick napkin can make the flower hard to shape. The two leaf-like points in this version come from the same red napkin; you do not need a second green napkin.
Roll the Rose
- Fold the napkin diagonally into a triangle, with the long closed edge nearest you.
- Roll that long edge toward the point, stopping around halfway up the triangle. Leave the loose triangular corners unrolled.
- Turn it over so the rolled band is underneath. Starting at one end of the band, coil it across into a compact spiral.
- Leave a few inches at the end and tuck that tail securely into an outer fold of the coil.
- Separate the two remaining triangular corners, pull them outward as leaves, and turn the rose so its spiral faces up.
Christine’s Crafts’ photographed rose tutorial is helpful for seeing the final turn and tail tuck.
The important adjustment is the last tuck. If the flower unravels, secure the tail more deeply rather than squeezing the entire rose tighter. Aim for a visible spiral, not a perfectly sculpted flower. Put it in the center of the plate and keep any rosemary or dried-orange styling on the table beside it, where guests can leave it when they unfold the napkin.
6. A Cream Candle Fold for a Little Height
The candle fold creates a narrow upright shape through rolling, so it offers a different kind of height from the fan. Cream cloth looks particularly good on a blush tablecloth with copper-colored flatware. It is a fabric decoration that guests can simply unroll for dinner.
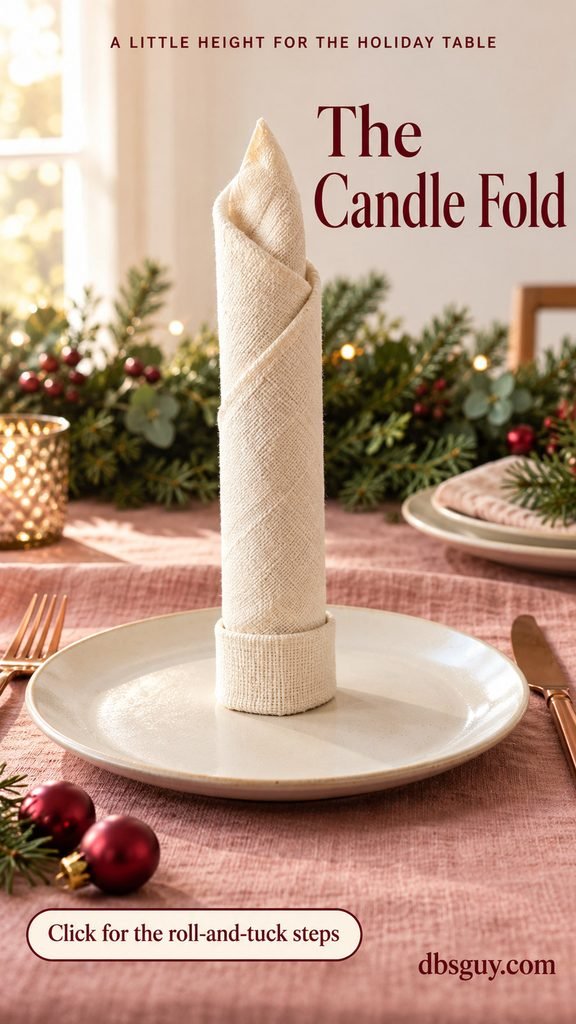
Use a square napkin that rolls firmly without becoming bulky. The folded base needs to sit evenly on your plate, so make one sample before choosing this fold for every setting.
Roll and Tuck the Candle
- Lay the napkin face down and fold it diagonally into a triangle.
- Put the long closed edge nearest you, with the loose points facing away.
- Fold that long edge upward by about 1 inch. Press the narrow fold flat.
- Starting at either side corner, roll tightly across the triangle into a cylinder. Keep the bottom edge aligned as you roll.
- Tuck the final end into the folded base at the back, then stand the roll on the plate. The remaining cloth point forms the top.
Napkin Folding Guide’s candle tutorial shows the base fold and the final tuck.
If the roll leans, unroll it and straighten the base rather than propping it up with table decorations. Choose a flatter plate if the center of yours slopes sharply. Keep this napkin away from real flames, and leave enough space for guests to lift and unroll it without catching their glass.
7. A Relaxed Plaid Knot for a Cozy Christmas Meal
The knot is the forgiving option for soft napkins and casual gatherings. It does not depend on precise corners, and its loose ends let a plaid pattern show. On an everyday stoneware plate, a green-and-red tartan napkin can provide nearly all the holiday color you need.
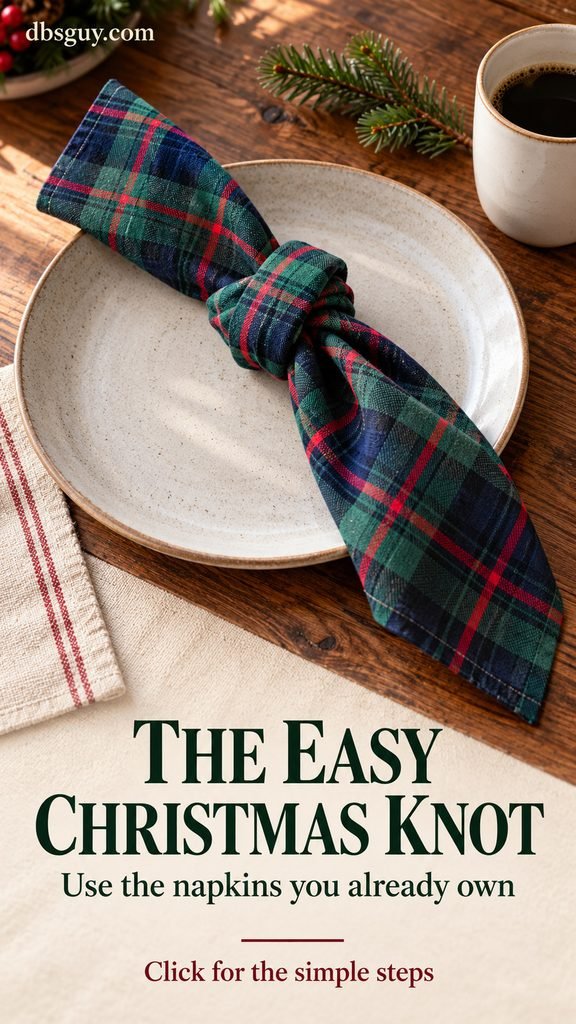
Choose a flexible cloth napkin large enough to leave two ends after tying. If your napkin is small or thick, test the knot before buying a matching set. The finished knot should feel easy to untie.
Tie a Soft Overhand Knot
- Lay the napkin in a diamond. Fold the top and bottom points toward the center.
- Fold those edges inward again until you have a long, soft strip. Keep the pointed ends loose.
- Cross one end over the other, pass it under and through the loop, and draw the ends apart gently to make an overhand knot.
- Adjust the knot to the middle and let both ends drape across the plate.
This folded-strip approach keeps the knot tidy. For a looser finish, WebstaurantStore’s knot instructions show another way to gather the cloth before tying.
Stop tightening as soon as the knot holds its shape. Pulling hard turns a relaxed detail into a dense lump that is awkward to undo. Place it diagonally so both ends remain visible, and keep any greenery beside the plate. This is a good choice for a Christmas breakfast or an informal dinner where a softly folded napkin fits the meal.
Make the Fold Work With the Rest of Dinner
Once you have chosen a shape, repeat it across the table. That repetition gives the setting a clear rhythm, even when the plates or glasses do not match perfectly. Use one napkin color, or alternate two colors while keeping the fold the same.
Leave room for the meal you are actually serving. If soup bowls will arrive first, place flat folds beside the dinner plate and set upright folds there only after checking their stability. Avoid building a place setting that guests must dismantle before they can eat.
For advance preparation, keep trees and envelopes flat on a clean tray without piling heavy items on top. Give roses and bows room so their shapes are not crushed. Prepare fans with the pleats closed and open them during the final table setup. Set candle rolls upright after transporting them.
Christmas Napkin Folding Questions
Which fold is easiest for a beginner?
Start with the relaxed knot if your napkins are soft, or the bow tie if you have ribbon. Both let you adjust the shape as you go. Choose the tree when you want a recognizable Christmas motif and can spend a little longer learning the layer tucks.
Can I use paper napkins?
Square paper napkins can work for the tree and envelope; check the unfolded size and try one first. Avoid pulling hard on paper when making final tucks. For the bow and knot, cloth is the more forgiving choice. Use a firmly structured napkin for a standing fan, since thin paper may not support the finished shape.
Do I need napkin rings or starch?
None of these versions requires a napkin ring. The bow uses ribbon, and the other shapes rely on their folds, rolls, or knot. Start with pressing rather than adding starch. If your napkin will not hold an upright shape, switch to a flat tree, envelope, bow, rose, or knot.
How can I make patterned everyday plates feel festive?
Use a solid napkin that picks up one color already in the dishes. Green, burgundy, cream, or blue can all work. Keep the napkin shape easy to see, and skip extra objects on the plate. A small change repeated at every seat usually looks more intentional than several competing decorations.
Should every napkin look exactly alike?
Aim for a similar size, direction, and placement. Small differences in a rose’s coil or a knot’s drape are fine. If one napkin behaves differently because its fabric is thicker, adjust the whole set toward the simpler version. The table should feel welcoming, and the napkins should still be comfortable to use.




