3D Valentine Nail Designs With Sculpted Hearts, Bows and Raised Details

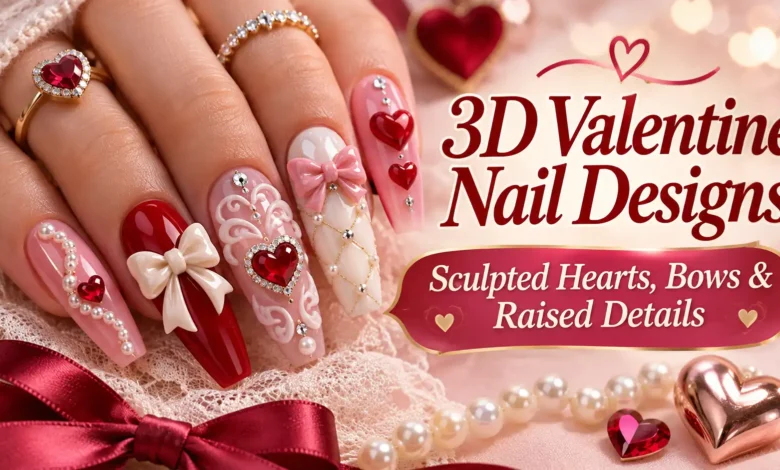
The most useful starting point for 3D Valentine nail designs is deciding how much texture you want to feel. A small domed heart makes one nail the focus. A sculpted bow has more shape and height. Fine raised lines give you a dimensional detail without filling the whole nail.
These six looks cover hearts, bows, pearls, and ribbon-like relief. Pick the accent first, then choose a length that leaves room around it. You can take the design notes to a nail artist rather than trying to identify a gel or attachment method from a picture.
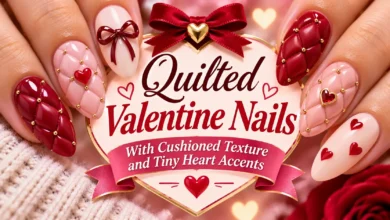
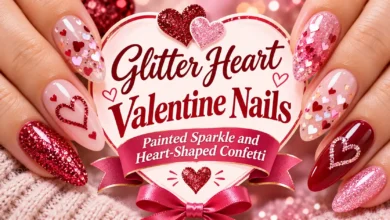
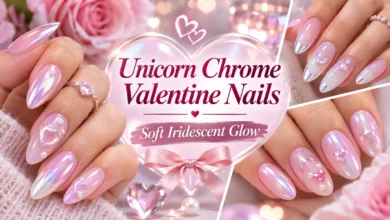
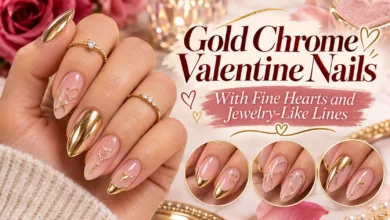
The images are AI-generated manicure concepts made for dbsguy.com. They illustrate color, placement, and texture; they are not photographs of completed salon work or wear tests.

Choose the Texture Before the Color
“3D” can mean several different things. Sculpted art is shaped from a nail-art material, while a premade charm is a separate piece attached to the nail. Raised linework sits closer to the surface. Two manicures can look similar from above and feel quite different when you run a finger over them.
For a first dimensional set, our suggestion is one decorated nail per hand with plain color on the others. Ask to see the proposed accent from the side, too. Rounded edges and short bow tails are sensible design choices if you regularly handle hair, sweaters, or gloves, although no raised detail is guaranteed to be snag-free.
- Prefer a small accent? Start with the fine wine-colored outline or red ribbon relief.
- Want the texture to stand out? Choose the jelly heart or ivory bow.
- Like detailed, jewelry-inspired art? Consider the pearl cameo.
- Want a darker Valentine palette? Use the chocolate-and-cream design.
1. A Cherry Jelly Heart on Sheer Blush
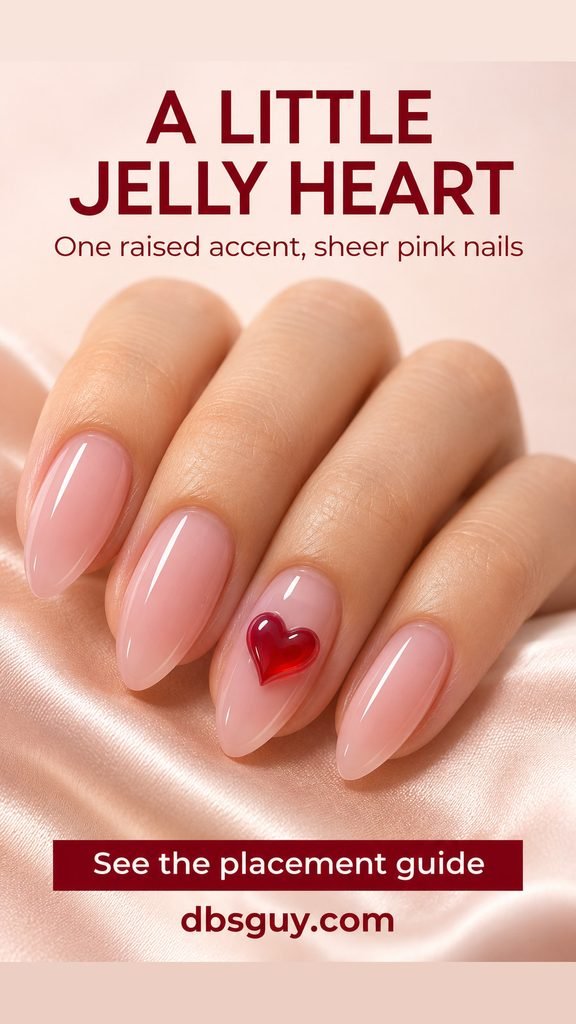
A translucent red heart gives a sheer pink manicure a candy-like focal point. The important detail is the silhouette: two rounded lobes, a visible notch at the top, and a pointed bottom. If the heart becomes too round, it loses its shape even when the color looks beautiful.
Keep the heart near the center of the ring nail with blush visible on every side. Medium almond nails give the heart room without needing extra decoration. Leave the neighboring nails plain so the curved surface and translucent color stay easy to see.
Ask your artist: “I’d like one small, rounded, translucent cherry heart on a sheer blush ring nail. Please keep it within the nail edges and show me the planned height.”
On shorter nails, reduce the heart’s footprint instead of stretching it toward the cuticle or tip. The inspiration is the rounded jelly effect; the artist should choose a product and construction suitable for that shape.
2. An Ivory Sculpted Bow With Pink French Tips
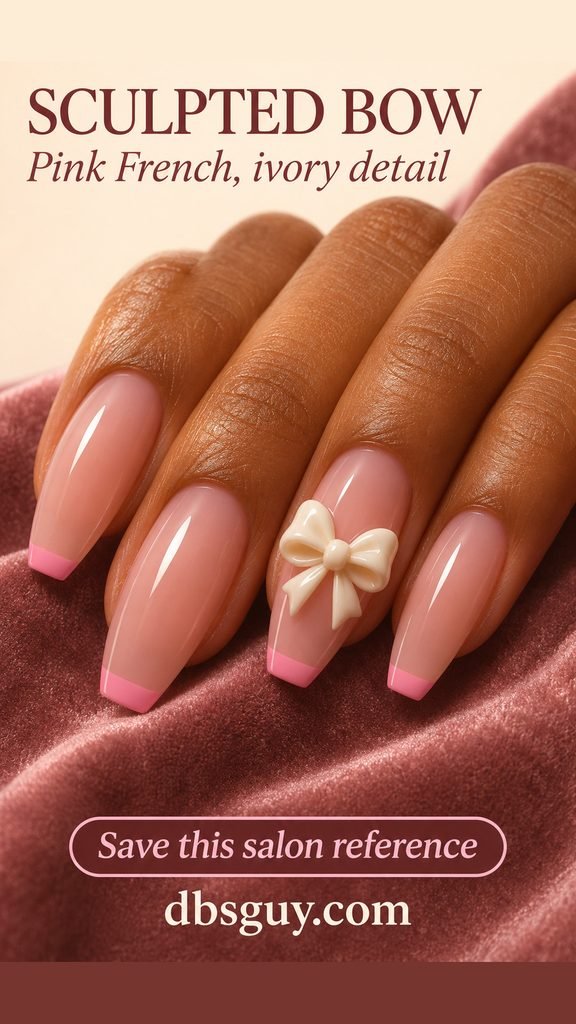
This bow gets its character from thick, softly rounded loops and a defined central knot. A sheer pink base and narrow rose-pink French edge give it a setting without adding another competing motif.
Place the bow on one ring nail, with its short tails facing the tip. The loops should sit inside the side edges of the nail. A charm that extends beyond those edges may photograph well, but it also introduces an exposed edge that can catch during everyday tasks.
Medium coffin nails offer a broad enough area for two readable loops. If your nails are narrower, ask for a smaller bow with shorter tails; a flat painted ribbon can supply the same color story if a sculpted version feels too bulky.
Salon detail to settle: Do you want a bow shaped by the artist or a premade bow charm? Ask to see the actual charm if one will be used. Its underside, width, and profile matter as much as its appearance from above.
Also read: 13 Medium-Length Valentine Nail Ideas With Space for Hearts, Swirls and Bows.
3. A Fine Raised Wine Heart on Short Squoval Nails

A narrow burgundy outline is a good direction when you like texture but want most of the nail to remain smooth. Keep three nails solid wine and give the ring nail a sheer beige-blush base. The open heart links the accent back to the darker color.
The center needs to stay visibly open. Ask for a fine, rounded raised line rather than a thick border that nearly fills the heart. On a short squoval nail—a mostly straight tip with rounded corners—the design can sit in the central area with space between the outline and every nail edge.
Bring up height explicitly: “I want to see a little relief from the side, with a fine outline and no large dome.” If you need the accent flatter, have the heart painted instead. A glossy finish alone does not make a design three-dimensional.
Also read: 17 Short Valentine Nail Ideas With Details Scaled to a Smaller Canvas.
4. A Pearl-Framed Heart Cameo on Mauve

This is the most detailed accent in the group. A small raised ivory heart sits inside a milky blush oval, with tiny half pearls arranged around it. Plain mauve nails repeat the background color and give the cameo some breathing room.
The spacing does the work here. Leave blush visible between the heart and the pearl halo, then leave a mauve border outside the oval. Without those gaps, the individual pieces merge into one pale cluster.
Medium oval nails suit the elongated arrangement. On a short or narrow nail, simplify the halo to a few pearls along one side rather than shrinking every part until the heart becomes unreadable. Use the photo as a layout reference and ask the artist which arrangement fits your actual nail width.
This is a design for someone comfortable with multiple raised elements on an accent nail. Before committing, discuss how the pearls will be attached and how the finished nail will be removed. There is no single attachment or removal method that suits every product.
5. Fine Red Ribbon Relief on Milky Square Nails

Two raised red lines can suggest a wrapped Valentine gift without a full sculpted bow. On the ring nail, run one slender line lengthwise and another across it, with a small rounded knot where they meet. Keep the remaining nails milky ivory.
This version suits short square nails because the artwork uses the surface rather than relying on extra length. The red lines should remain slim enough that the white base is the main thing you see. Their ends should meet the nail boundaries cleanly, with no loose tails or overhang.
What to specify: “Fine raised ribbon lines and a tiny knot, with no large bow loops.” That distinction separates this restrained layout from the plump ivory bow above.
If you work with your hands or wear fitted gloves, discuss whether even shallow relief suits your routine. You can keep the crossed-ribbon placement and switch to flat red linework when needed.
6. A Chocolate Heart With Cream Piping

For a Valentine manicure outside the usual pink-and-red pairing, combine glossy cocoa nails with one milk-chocolate accent. A small raised cream heart and a scalloped cream tip make that accent look like a decorated chocolate from a gift box.
Keep the piped border along the free-edge tip, with a clear band of brown between it and the heart. The border should not wrap around the whole nail; leaving the sides open prevents the design from becoming crowded.
The reference uses a longer coffin shape, which leaves room for two separate details. On a shorter nail, keep the heart and remove the piped edge. That preserves the chocolate-and-cream idea without squeezing the elements together.
These are color and texture references, not food materials. Ask for purpose-made nail-art products and a smooth, finished edge. You can also request a smaller cream heart if you want the dark polish to remain the focus.
What to Confirm Before Your Appointment
Send the reference ahead of time and ask whether your artist offers sculpted nail art. A salon may have suitable charms but not offer hand-shaped bows, or it may use a different technique to create a similar effect. Confirm what is included in the quote and whether detailed art needs extra booking time.
- Shape and length: Share a picture of your current nails as well as the inspiration. Let the artist adapt the proportions.
- Placement and quantity: Specify which nail gets the art and whether you want the same layout on both hands.
- Height and finish: Agree on a small relief, rounded dome, or more sculptural accent. Ask to see the side profile before the design is finalized.
- Product and removal: Ask which parts are sculpted, which are attached pieces, and how each will come off.
Gel products have their own application, lamp, thickness, and curing requirements. A cure time from a different tutorial is not a substitute for the instructions for the actual product. Keep uncured nail products off the surrounding skin, and leave unfamiliar sculpting systems to a trained professional.
Wearing and Removing Raised Nail Art
Choose the amount of decoration around your routine. Hair washing, pulling on knitwear, and handling small fasteners are worth considering before choosing wide loops or multiple pearls. Use your fingertips rather than the decorations to open or pry things.
If a piece loosens or starts catching, arrange a repair or removal instead of pulling it off. Removal depends on the base and the embellishment: do not assume a hard-gel sculpture, attached charm, and soak-off gel polish all come off the same way.
The American Academy of Dermatology’s gel-manicure guidance recommends avoiding picking and protecting your hands from curing-light UV with broad-spectrum, water-resistant SPF 30 or higher sunscreen or dark, opaque fingertip-free gloves. If you develop redness, swelling, or pain around a nail, stop applying nail products and seek medical advice.
Questions About 3D Valentine Nails
Can you have 3D nail art on short natural nails?
Yes, the design does not have to depend on extensions. A fine heart outline or small ribbon accent can be scaled to a short nail. Your artist still needs to assess your nails and choose a suitable product. Avoid enlarging the decoration until it reaches the skin or projects beyond the nail.
Is every builder gel suitable for sculpting a bow?
No. Products differ in how much they flow, what they are intended to build, and how they cure. A bottle labeled “builder” does not tell you that it can hold a thick bow loop. Let the artist select a product intended for the planned use and follow its instructions.
Can you get the look with press-on nails?
Predecorated press-ons are an option if you want finished raised art without sculpting it yourself. Check the accent’s size and the set’s fit before applying it. Use the manufacturer’s specified adhesive and follow its application and removal instructions.
How long will the raised details last?
There is no reliable wear-time promise for these concepts. The base, material, attachment, design height, and daily use all affect the result. Ask your artist about maintenance for the chosen set and what to do if a detail lifts.
What should you save for the salon?
Save the image and the specific detail you want: the jelly heart’s translucency, the bow’s rounded loops, or the fine outline’s small profile. Add your preferred shape, length, and number of accent nails. Those choices give your artist a much clearer brief than “Valentine nails with texture.”