17 New Year Nails Design Ideas That Bring a Little Midnight Magic to Your Manicure

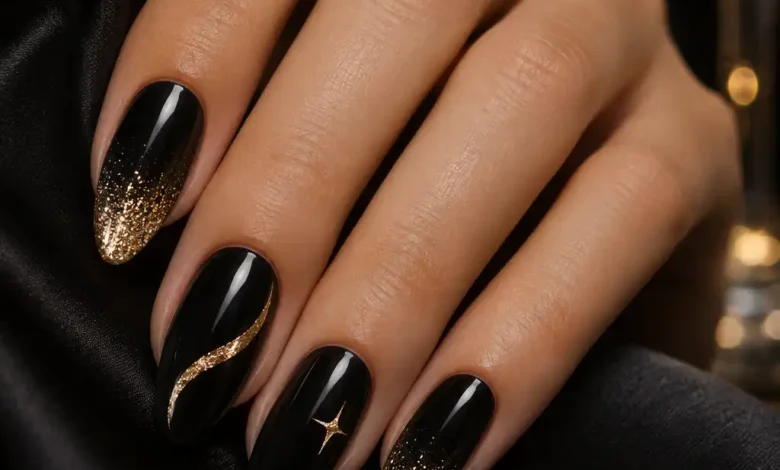
For New Year’s Eve nails that feel like midnight, start with the detail you want people to notice. A gold eclipse is small enough for short navy nails, two painted coupe glasses make a playful pair for a dinner party, and emerald velvet gives a plain black outfit all the sparkle it needs. If you’re painting at home, the all-over aurora polish and amber bubble trail are the easiest places to start.

The images are AI-generated manicure concepts for dbsguy.com/. Use them as references for color, finish, and placement.
Pick a design that fits your plans
- Very short nails have room for a gold eclipse (1), all-over aurora polish (4), or a sliver of gold foil (9).
- Painting at home? Try the aurora shift (4) with one color or the cider bubbles (10) with a dotting tool.
- Booking a salon visit? Bring the liquid-silver (8) or the Deco fan (11) reference and point out which nails carry the detail.
- Keeping the set into January? The plum orbits (3), emerald velvet (12), and tiny prism tip (14) are easy to pair with everyday winter clothes.
Midnight skies and city lights
1. Ink-Navy Nails With a Gold Eclipse
On glossy ink navy, one thin curve of muted gold looks like the light at the edge of an eclipse. Put it on the upper half of the ring nail, with enough blue around it to see the curve. Keep the other nails solid so the accent feels intentional even on very short ovals.
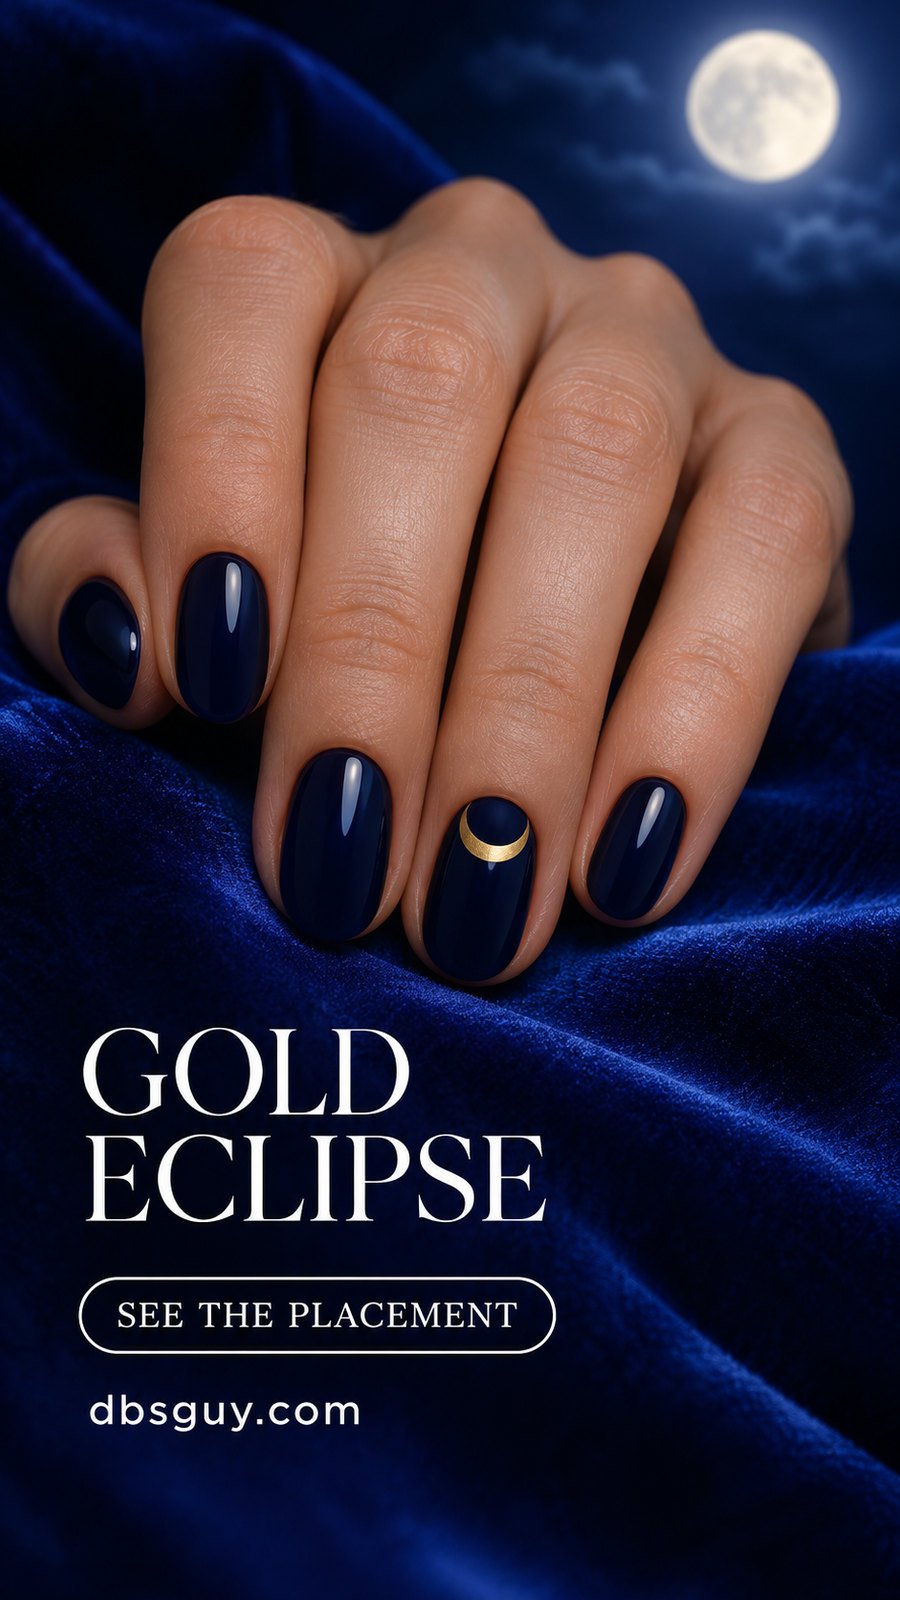
To paint it, make one small gold disk and let it dry. Overlap it with a slightly offset dot of the same navy, leaving a narrow crescent. If you’re using a flat decal, check the size against your smallest ring nail before painting either hand.
2. City-Window Lights on Blackened Indigo
Think of the few lit windows you can see across the street after midnight. Set six tiny warm-gold rectangles on one blackened-indigo nail, in two columns of three. Use the nail’s flat center so the windows stay straight and evenly spaced when seen from above.

A short soft square echoes the rectangular pattern. If the nail is narrow, use two rows of two and keep the gaps generous. At home, a small flat nail-art brush makes cleaner corners than a round dotting tool.
3. Plum Nails With Two Rose-Metallic Orbits
Keep the plum glossy and give one oval nail two fine rose-metallic loops that cross like tilted orbits. Ask for long, narrow ovals angled in different directions. The thin lines leave plenty of plum visible and pick up warm-toned jewelry without covering every nail in shimmer.

On a short nail, make one loop slightly smaller and keep both away from the sidewalls. If the two shapes start to look like a filled knot on a swatch, thin the lines or open up the space between them before the design goes on.
4. Peacock Aurora on Short Ovals
Choose a dark peacock-green shifting polish that flashes blue or violet when you tilt your hand. The finish supplies movement across the whole nail, so short ovals show it as well as a longer set. It’s the easiest option here if you want a dramatic look with a regular polish brush.

Look at a finished swatch straight on and at an angle in both daylight and warm indoor light. Ask for more green at rest if you want the base to read teal at dinner. Follow the polish maker’s directions on whether the color needs a dark base.
5. Wine-Red Nails With a Silver Constellation
Space four tiny silver dots in a tilted, uneven shape on one deep wine-red nail. Join the points with fine strokes so the angled outline reads like a small star chart. Start the motif near one side of the nail and leave the rest of the wine color uninterrupted.

Choose a flat silver nail decal if you want the connected lines and have trouble drawing with your other hand. On an extra-short nail, three points and two lines still give you a recognizable pattern without crowding the edges.
6. One Gold Clock at Midnight
On a glossy black soft square, paint a small gold clock with a fine round face, a few tick marks, and both hands meeting at the top. The dial makes the countdown obvious and the solid black nails around it give the little face a clean frame.

Ask for the longest nail on each hand if you want the clock twice. For shorter nails, keep just the top tick and the hands pointing up, with a thin circle around them. A small flat clock decal is another option if you can find one that fits.
Also Read · January Nail Art Designs With One Detail Worth Zooming In On
Champagne, foil, and reflective details
7. Diagonal Champagne-Dipped Tips
Give a sheer blush base a clean diagonal corner of opaque champagne metallic. The hard edge does the work here. Start near one side of the free edge and sweep down the opposite side so the metallic forms an angled patch and leaves open blush near the base.

For a regular-polish version, wait until the blush has dried thoroughly before using a nail-art guide. Paint the champagne corner, then lift the guide carefully before the metallic sets. On very short nails, make the dip shallower so the sheer base still shows.
8. Liquid-Silver Drops on Glossy Black
Ask for irregular rounded pools of mirror silver on one or two black nails. A few separate drops let the black show between the reflections and give the set the look of liquid metal. If you’ll be wearing gloves or handling delicate sleeves, ask for a flat painted interpretation of the shapes.
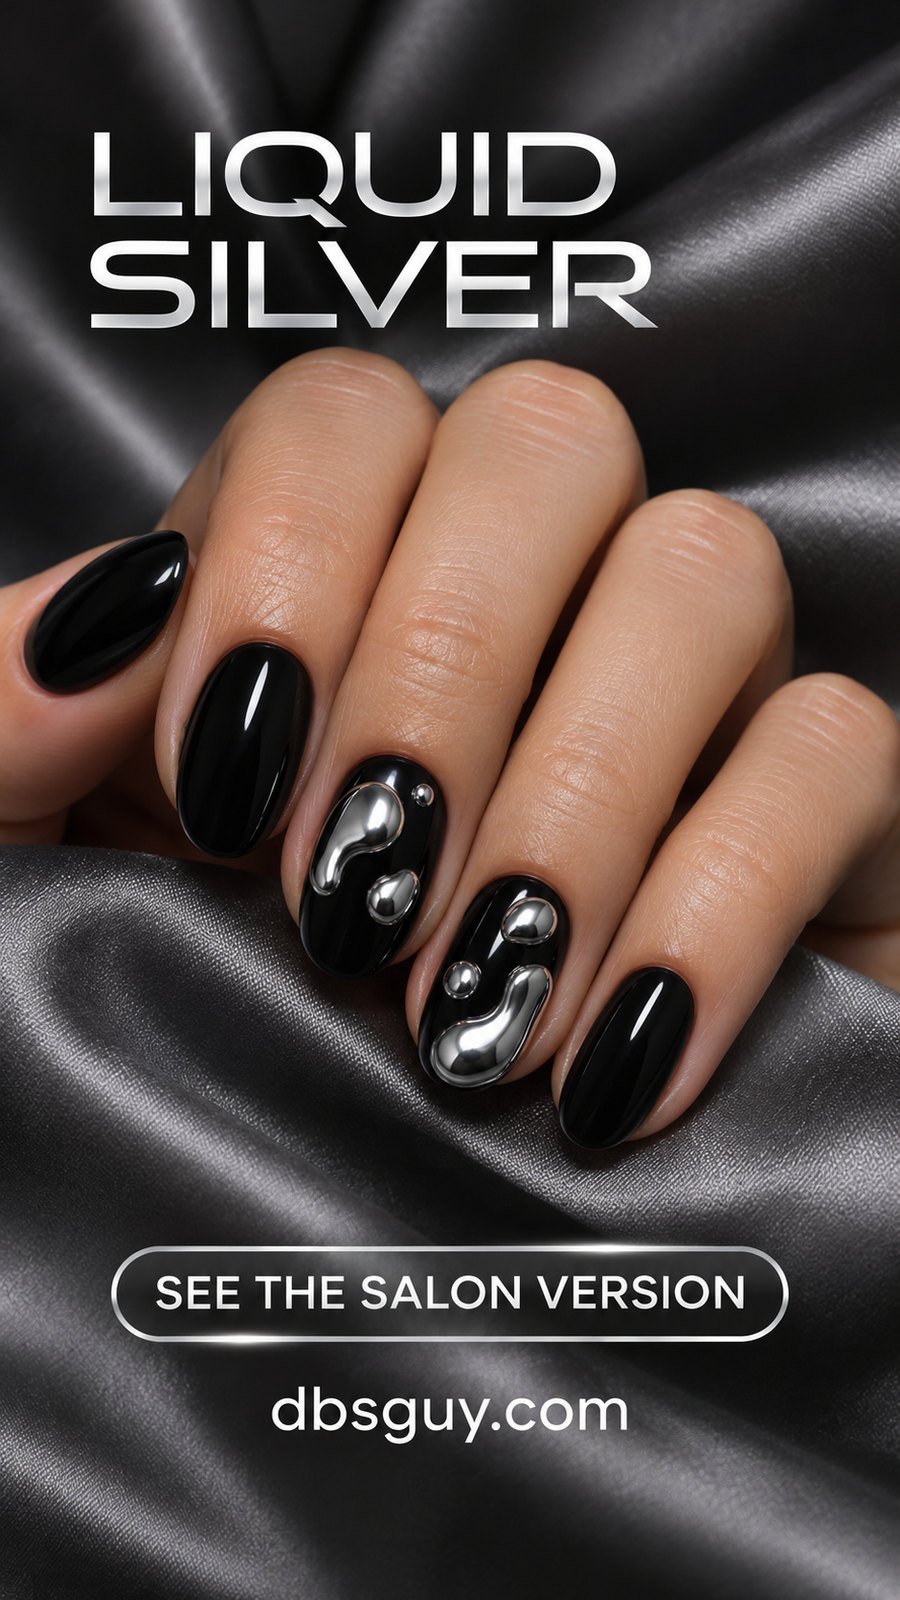
Bring the reference to a salon if you want a mirror finish. For an easier regular-polish take, use a metallic silver and place two or three different-sized dots on one black accent nail. Leave a little room between the drops so they keep their outlines.
9. Cobalt With a Torn Edge of Gold Leaf
Bright cobalt gives warm gold foil a sharp background. Keep the foil to one uneven patch at the outside corner of an accent nail, with a fragment or two nearby. The torn edge is the design, so a small piece looks more convincing than a uniform band across the tip.

Choose flat foil made for nail art and follow its transfer directions. If you’re asking a salon for the look, point to the one corner you want covered and specify that the rest of the nail should stay glossy cobalt.
10. Sparkling Cider Bubble Trail
Try sheer amber if you want a warm party color that reads softer than dark caramel. Paint a short trail of pale-gold dots up the side of the ring nail. Keep the dots small enough to leave space between them. For a tapered trail, start with a slightly larger dot low on the nail and use smaller ones above it.

Put a small drop of gold polish on a palette and pick up a fresh amount for each mark. A dotting tool gives you more control if you barely touch the surface. Three dots are enough on a narrow nail. Let them dry before floating top coat over the design.
11. Black French Tips With One Art Deco Fan
Paint glossy black French tips over a translucent pink-beige base, then add thin gold rays to one accent. Have the rays meet at the free edge and open up toward the center. Let one or two fine ends extend onto the sheer base if you want a taller fan like the one shown.

On short squovals, use three rays and keep them inside the black tip. On medium almonds, center the point of the fan at the tip. Show your nail artist the accent close up and point out where you want the longest rays to stop.
Also Read · 21 December Nail Ideas That Work for Both Christmas and New Year’s Eve
Jewel tones and small party motifs
12. Emerald Velvet With a Broad Center Glow
Deep emerald feels dressy even on short rounds. The velvet version has a wide pool of light through the center and deeper green at the edges. Show that broad glow in your reference so your nail artist knows how you want the magnetic shimmer arranged.

Ask to see the swatch straight on and with a slight tilt. For a home version, choose a magnetic polish and use the magnet and timing specified for that formula. Try the effect on a swatch before starting the manicure so you can see how much the highlight moves.
13. Ruby Lacquer With a Matte Black Sash
A curved black sweep along one side gives glossy ruby nails the look of a ribbon caught across the nail. On the accent, let the black band widen around the middle and taper toward one end. Leave most of the ruby visible so the two finishes are easy to distinguish.

Once the ruby is dry and glossy, add a matte black nail-art polish to the side. If your system uses a separate matte coat, keep it inside the black section. An all-over top coat would flatten the difference between the two finishes.
14. Milky Ice Blue With a Prism Corner
One small iridescent triangle at the free edge makes milky ice blue feel festive without changing the whole set. Put the widest side of the triangle along the edge and angle its point toward the center. Pick a foil or flat nail decal that flashes lilac or pink beside the blue.

Hold the piece over the dry nail before applying it. If it reaches the sidewall or sticks out past the tip, choose a smaller piece and seal it according to the product directions. This is a good one-nail accent for a set you’ll wear into the first week of January.
15. Smoky Teal With a Silver Sound Wave
For a music-night or dance-floor manicure, add one thin silver waveform across a smoky teal accent nail. A short horizontal line on either side of one high point and one low point is enough. Leave space at both ends so it sits neatly in the center.

Try it on a flat swatch first. If a curved nail makes the line wobble, paint the peaks with two short, controlled strokes, then join the horizontal ends. A light teal base softens the contrast for daytime. Deeper teal makes the silver easier to see under warm evening light.
16. Two Coupe Glasses in a Tiny Toast
Paint one fine gold coupe on the middle nail and another on the ring nail, with one bowl tipped slightly toward the other so they read as a pair when your fingers are together. A sheer taupe-pink background keeps the pale outline visible. Each glass needs only a shallow bowl, a stem, and a short foot.

Pick the two nails before planning the artwork and look at them together. The same drawn glass can look larger on a narrower nail. If you’re using decals, choose a small pair or repeat the same upright coupe on both fingers.
17. A Satin Bow on Matte Black Cherry
Start with matte black cherry and paint a small satin-black bow outline on the ring nail. Place it slightly off-center and keep the loops open so the dark design still reads under soft light. The dark base keeps the bow subtle enough to pair with sequins or velvet.

Keep the bow flat if you’ll be in knit sleeves. Give it two loops and short tails so the silhouette stays clear. If the two dark finishes disappear into each other in your swatch, ask for a slightly lighter cherry base to show off the bow.
Also Read · 11 Short New Year’s Press-On Nail Sets That Bring the Countdown Sparkle Without Extra Length
Before you paint or book your appointment
Save the image and point to the part you want to keep when you change the length or shape. For the eclipse, it’s the narrow gold curve. On the velvet nails, it’s the broad center glow. If you’re booking, mention how many nails you want decorated and whether your existing manicure needs removal so the salon can allow time for both.
For regular polish, let the base dry before applying guides, decals, or fine line art, and follow the products’ directions for layering and sealing. If you choose a lamp-cured set, ask how it should be removed before you leave the salon. Follow the American Academy of Dermatology’s guidance on gel manicures and avoid picking or peeling the polish when it lifts.
New Year’s Eve nail questions
Which design is easiest on extra-short nails?
The aurora finish is the easiest way to add movement with no detail work. For one small accent, pick the eclipse or gold foil and keep it on your widest nail. The clock and the paired coupes need a little more room to read clearly.
Can I do these ideas with regular nail polish?
Yes. Regular lacquer works for the eclipse, cider bubbles, simple line art, and the aurora effect if you choose a shifting lacquer. For liquid silver, metallic polish gives you the droplet shape with a softer reflection. Ask for a salon chrome swatch if you want a mirrorlike finish.
Which ideas will still look good after the countdown?
Choose emerald velvet, the pale prism corner, or the plum orbits if you’ll keep the manicure for winter outfits. For more ideas that carry into the first week of January, browse January Holiday Nails That Keep the Sparkle Going After New Year’s Eve.
Also Read · 13 New Year Nails Ideas Simple: A Little Sparkle for Your Last-Minute Plans