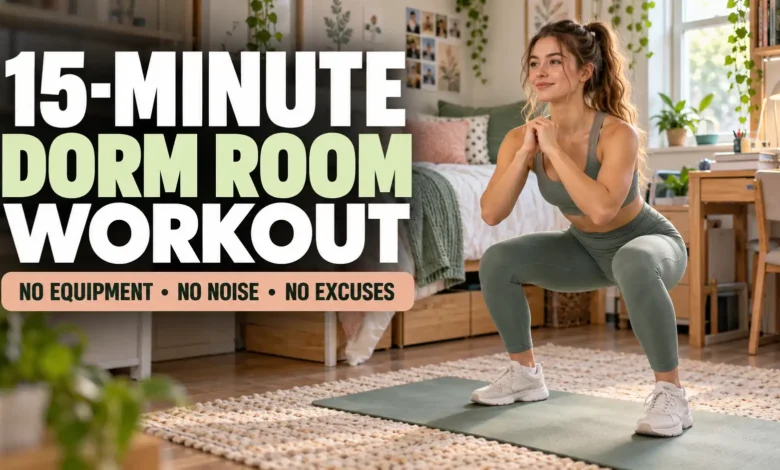
This 15-minute dorm room workout uses a 3-minute warm-up, two 5-minute rounds, and a 2-minute cool-down. You’ll do slow squats, wall push-ups, alternating knee lifts, glute bridges, and bird dogs. There are no jumps, weights, or furniture exercises.
“No noise” means keeping impact and footfalls low. A creaky floor or thin shared wall can still carry sound, so follow your hall’s quiet hours. And “no excuses” is an invitation to keep the setup simple—not a reason to push through pain, illness, or exhaustion.

The images are AI-generated exercise concepts, not photographs of a tested session. Use the written form cues to guide each movement.
Your 15-Minute Workout at a Glance
- 0:00–3:00: Warm up gently.
- 3:00–8:00: Round 1. Do the five moves below in order.
- 8:00–13:00: Round 2. Repeat the same order.
- 13:00–15:00: Cool down with easy movement.
Each exercise gets a one-minute slot: 40 seconds of controlled movement, then 20 seconds to rest and change position. Five slots make one 5-minute round. The rest after bird dog is already included; use it to stand up slowly before round 2.
Set your timer before starting and learn the moves once. Choose a silent display or headphone cue if you use an interval timer. If you need more time to warm up, recover, or reach the floor safely, take it; the clock is a guide.
Clear a Safe Space Before You Start
Use a clear patch of floor long enough to lie down and extend an arm and leg without hitting the bed, desk, or roommate’s belongings. You also need a solid, clear wall for push-ups. Avoid doors, mirrors, shelves, and furniture that might move.
Choose secure footing: grippy training shoes on a suitable floor, with no loose rug, cords, or slippery socks. The floor moves need a comfortable, nonslip surface. You don’t have to buy a mat; if your floor is too hard or uncomfortable, use the standing substitution below instead.
This is a general routine for adults who can comfortably do the movements. If an injury or health condition affects exercise, ask a qualified clinician about suitable adjustments. Stop for pain, dizziness, or feeling unwell. Seek urgent medical help for chest pain, fainting, or severe or unusual shortness of breath.
Minutes 0–3: Start Gently
Spend the first minute marching slowly with low knee lifts and soft foot placement. During the next minute, continue easy steps while gently rolling your shoulders. Use the final minute for a few shallow squats and easy wall push-ups, with relaxed steps between them.
Gradually increase your movement rather than starting at circuit pace. This is a brief opening; if you still feel cold or stiff, warm up longer. During the circuit, keep breathing and choose a pace that lets you speak comfortably. You don’t need to finish every 40-second interval without a pause.
1. Slow Bodyweight Squat
Work: 40 seconds, followed by 20 seconds of rest. This is the main standing leg exercise.
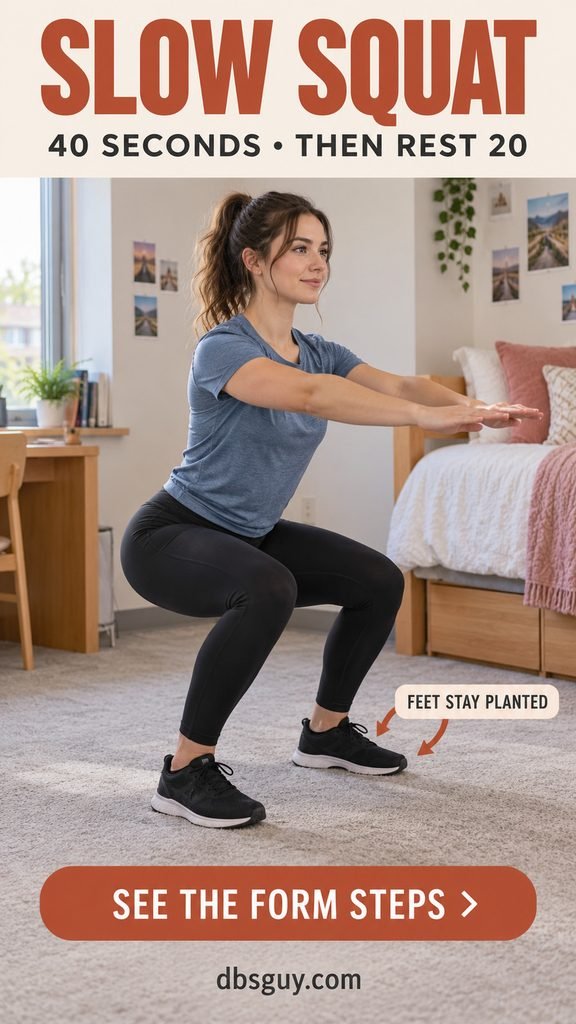
- Stand with your feet around shoulder-width apart, toes in a comfortable forward or slightly outward position.
- Send your hips back and bend your knees. Keep your heels down, your back neutral, and your knees tracking in the same direction as your feet.
- Lower only as far as feels comfortable, then press through your feet to stand. Keep the movement smooth.
Try taking about two seconds to lower and two to stand. There’s no rep target to chase. Stop the set if your knees collapse inward or your balance becomes uncertain.
Make it easier: Use a smaller knee bend. Keep it quiet: Leave both feet in place; don’t spring up or stamp at the top.
2. Wall Push-Up
Work: 40 seconds, followed by 20 seconds of rest. A wall gives you a manageable starting point for upper-body pushing.
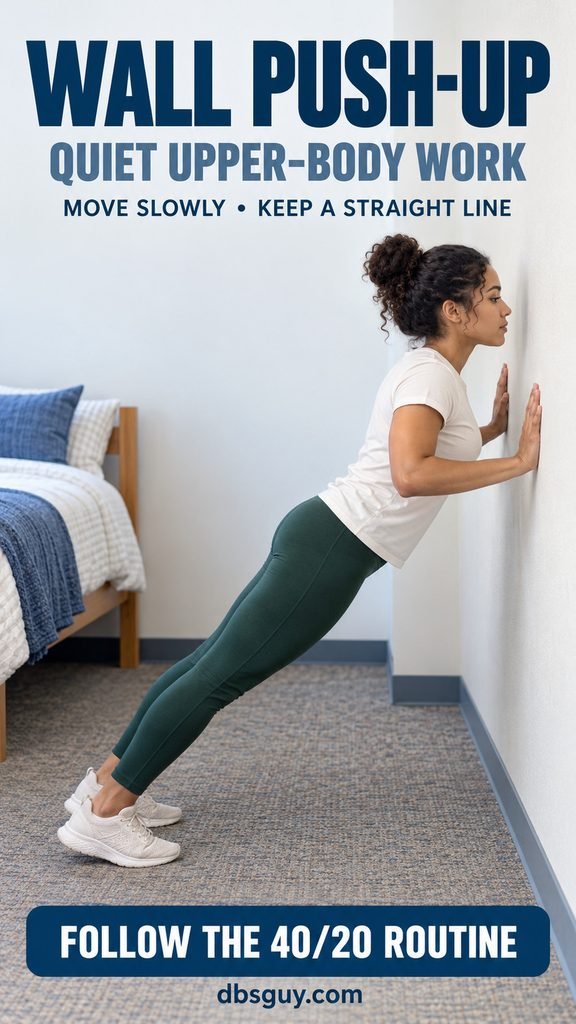
- Face the wall. Place your palms at shoulder height, slightly wider than your shoulders, and step back a comfortable distance.
- Gently tighten your middle. Bend your elbows to bring your chest toward the wall while your head, trunk, and hips move together.
- Press smoothly back to the starting position. Keep your neck in line with your back and avoid sagging through your waist.
Keep secure contact with the floor and use a range you can control. Your face does not need to touch the wall.
Make it easier: Stand closer to the wall. Keep it quiet: Keep your palms in place, and press gradually instead of pushing off sharply against a shared wall.
3. Alternating Standing Knee Lift
Work: 40 seconds total, alternating sides, followed by 20 seconds to rest and get down to the floor.
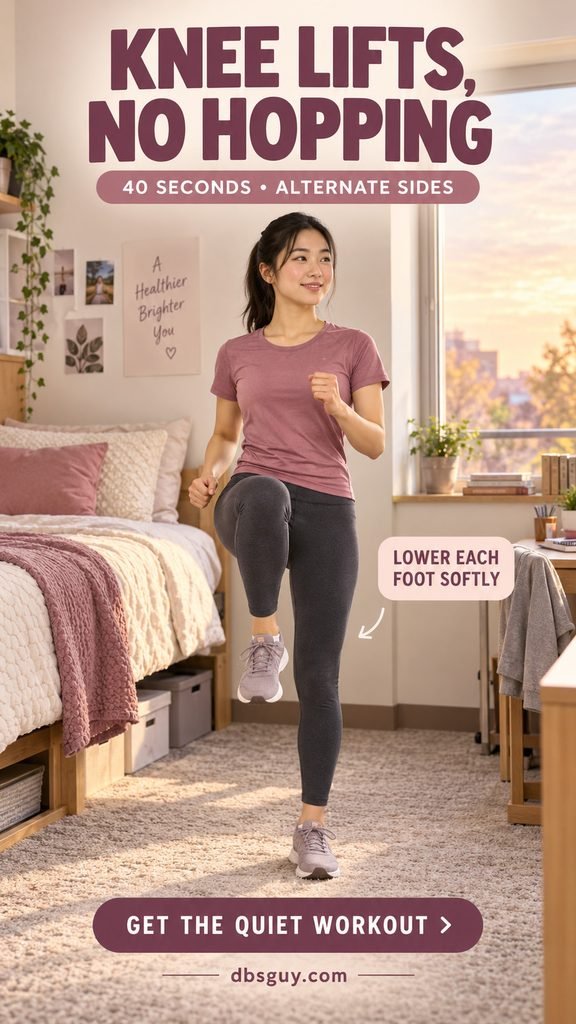
- Stand tall with your feet about hip-width apart and your arms relaxed or gently bent.
- Lift one knee to a comfortable height without leaning backward. Keep the other foot on the floor.
- Lower softly, regain your balance, and change legs. Keep alternating without bouncing.
This is controlled marching, so a lower knee lift is fine. You should be able to stop and balance briefly rather than relying on momentum.
Make it easier: Lift each foot only a little, and use light fingertip contact with the solid wall for balance if needed. Keep it quiet: Slow the lowering phase if you hear your shoe slap the floor.
4. Glute Bridge
Work: 40 seconds, followed by 20 seconds to roll to your side and move onto hands and knees.
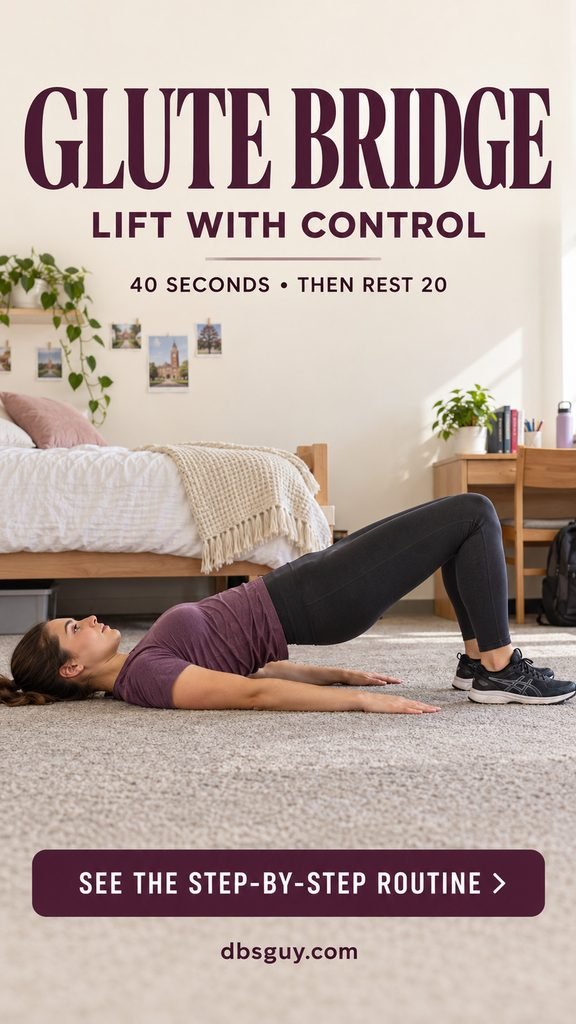
- Lie on your back with knees bent and feet flat, about hip-width apart. Rest your arms beside you.
- Gently brace your middle and lift your hips until your shoulders, hips, and knees form a line. Keep your head and shoulders supported.
- Pause briefly while breathing, then lower slowly without dropping your hips onto the floor.
The lift comes from your hips; don’t chase extra height by arching your lower back. Keep your knees from falling inward or spreading far apart.
Make it easier: Use a smaller lift, or stop before the interval ends. Keep it quiet: Control the last inch of the descent as carefully as the first.
5. Bird Dog
Work: 40 seconds total, alternating sides, followed by 20 seconds of rest and a slow transition to standing.
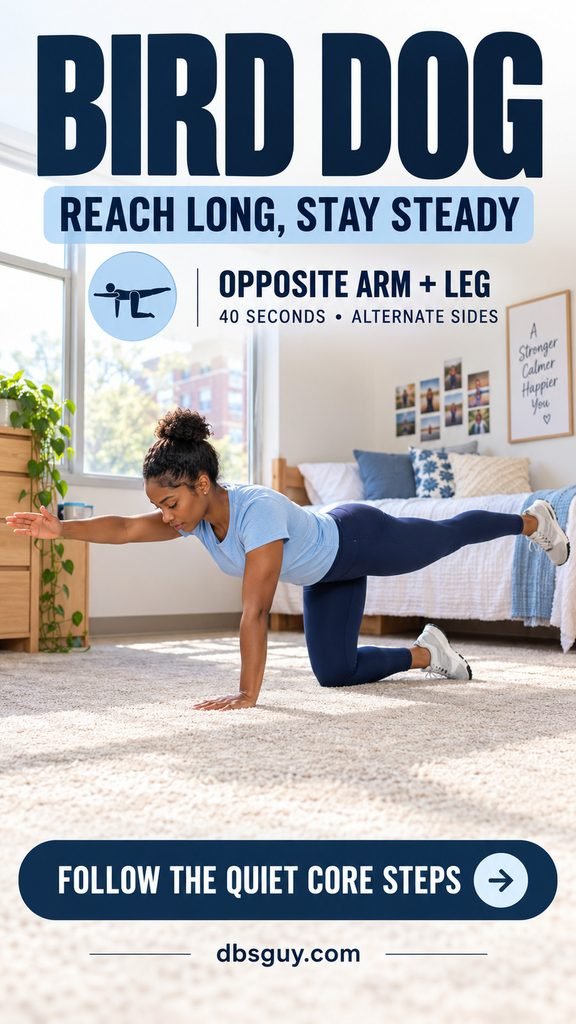
- Start on hands and knees, with hands under shoulders and knees under hips. Look down and keep your back in a comfortable neutral position.
- Reach one arm forward and the opposite leg back, stopping around trunk height. Keep your hips facing the floor.
- Pause for a breath, return your hand and knee gently, then switch sides.
Reach long rather than high. If your back arches or your trunk twists, shorten the reach. A few steady repetitions are enough for the interval.
Make it easier: Move just one arm at a time while both knees stay down. If pressure on your wrists or knees is uncomfortable, skip the position. Keep it quiet: Set each hand and knee down softly.
Minutes 13–15: Ease Out of the Workout
After the second round, rise slowly, using the final rest interval to change position. Spend the next two minutes taking easy steps or low marches, gradually making them smaller and slower. Let your breathing settle instead of stopping abruptly.
If you need more recovery time, keep moving gently for longer. There’s no benefit to rushing the finish just to preserve a 15-minute total.
Also Read: When you’re ready for a simple dorm meal, try 23 Easy Microwave Recipes for Dorm Rooms: No Kitchen Needed.
Adjust the Routine to Your Room and Energy
- New to exercise? Use 20 seconds of movement and 40 seconds of rest in each one-minute slot. Keep the same order and two rounds.
- Floor work isn’t suitable? Repeat gentle standing knee lifts in the bridge and bird-dog slots. This keeps the timing but changes the emphasis; it doesn’t replace their core work.
- The floor creaks? Slow down, shorten your steps, and stay in a clear, stable spot. If it still disturbs others, choose a different time or location.
- The routine feels easy? First improve control: lower more slowly or pause briefly during squats and bridges. Change one thing at a time, keeping comfortable form.
How This Fits Into Your Week
For a manageable starting schedule, try two sessions on nonconsecutive days, such as Monday and Thursday. Give the muscles a day between strength sessions, and adjust for soreness and recovery. Campus walks can add movement on other days.
The CDC’s adult activity guidance recommends at least 150 minutes of moderate aerobic activity a week, or an equivalent vigorous combination, plus muscle-strengthening activity on at least two days that covers all major muscle groups.
This short circuit is one part of that picture. It doesn’t include a pulling exercise with resistance for your back, and an easy march may not reach moderate intensity. Don’t count all 15 minutes automatically as moderate cardio. For aerobic activity, moderate effort generally means you can talk but would struggle to sing.
Dorm Workout Questions
Can a workout without jumping still be useful?
Yes. Squats, wall push-ups, and bridges use your body weight for resistance without a jump. Their challenge depends on your ability, range, and control. Sweating heavily or making noise isn’t a requirement.
Do I need a workout mat?
No special gear is required. You do need comfortable, secure contact with the floor. If your room doesn’t provide that, use the standing substitution rather than kneeling on an uncomfortable surface.
Will this burn belly fat?
It isn’t a belly-fat program, and it doesn’t promise fat loss from one area. Use it as a practical movement break and a starting point for consistent activity.
What if I can’t finish both rounds?
Finish one round and cool down, or use the easier work/rest split next time. Stop sooner if you feel unwell or your form breaks down. You can build from a shorter session.
Also Read: For a less pressured approach to healthy habits, see Wellness Became Another Job—25 “Anti-Optimization” Habits People Are Using To Feel Human Again.