Guests Arriving Soon? 10 Last-Minute Christmas Table Decor Ideas That Still Feel Thoughtful

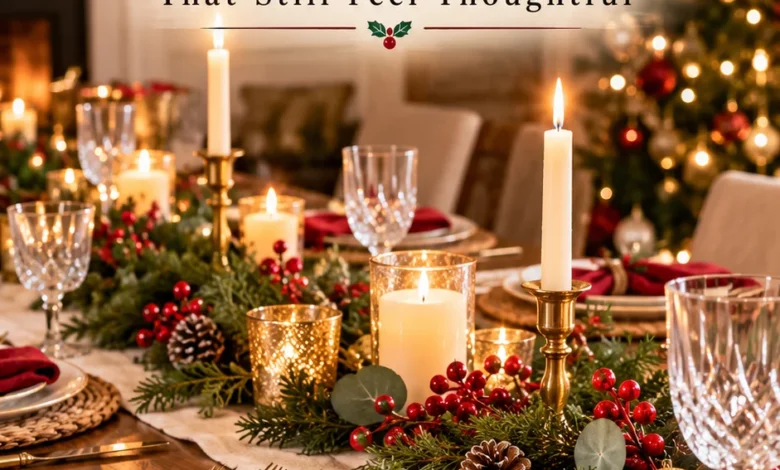
If guests are already on their way, start with the things dinner actually needs: plates, napkins, glasses, and space for the food. Then add one Christmas centerpiece and one small detail at each seat. A shallow bowl of spare ornaments plus ribbon-tied napkins is an easy combination; handwritten name cards are a useful choice when the middle of the table needs to stay clear.
These last-minute Christmas table decor ideas use ordinary serving pieces, decorations you can borrow from another room, and a few things you may already have in the kitchen. Choose the ideas that fit your supplies and the way you plan to serve dinner.
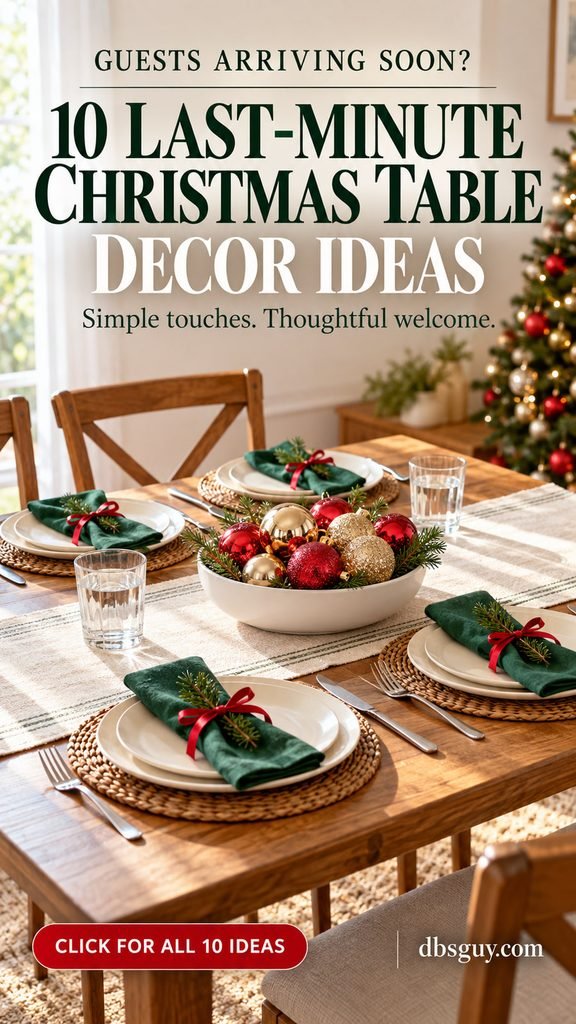
The images are AI-generated styling concepts to help you picture each arrangement. Setup times are estimates with supplies already gathered; place-setting estimates allow for six guests.
Make room for dinner before adding decorations
Put the largest serving dish, or an empty dish of the same size, on the table first. Add the plates and glasses around it. The space left over tells you how much decorating room you have. For family-style dinner, choose a centerpiece that lifts away in one piece. If food will be served from the kitchen, you can use a little more of the center.
Pick one accent color from something you already own: red ribbon, green napkins, silver ornaments, or a patterned plate. Repeat it in two places to connect the setting. You can stop there.
1. Fill a shallow bowl with spare Christmas ornaments
Estimated setup: 3–5 minutes. Gather: one low bowl and roughly 8–12 spare ornaments, depending on their size.
This is a good first choice when you have decorations but no time to arrange flowers. A cereal serving bowl, small salad bowl, or shallow decorative dish can become the whole centerpiece.

Start with the largest ornaments at the bottom, then nestle smaller ones into the gaps. Keep most of the arrangement below or just above the rim. The example combines dusty rose, blue, and silver, with smooth and ribbed surfaces adding interest without extra materials.
Choose shatterproof ornaments for a busy dining table. Keep them contained so they cannot roll toward a plate, and use a bowl you will not need for dinner. A low bowl works especially well on a round table: it gives the center a focal point while guests can still see one another.
The thoughtful touch: use ornaments that pick up a color in your napkins or dishes. The connection makes everyday tableware feel part of the arrangement.
2. Tie an ordinary folded napkin with a little ribbon
Estimated setup: 6–10 minutes for six settings. You need: six napkins, scissors, and leftover ribbon.
A simple rectangle is enough. Fold one napkin to fit comfortably on its plate, wrap a narrow ribbon around it, and tie a loose bow. Test the ribbon length on this first napkin before cutting the other five pieces.
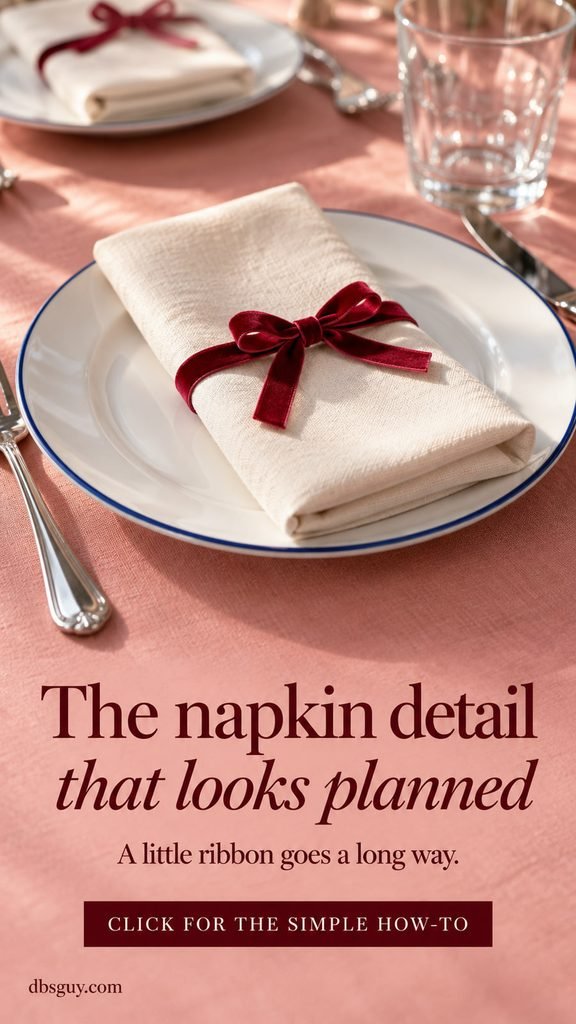
A ribbon about ¼–½ inch wide gives a small folded napkin a neat accent. Cream fabric with cranberry ribbon works with white dishes, blue-rimmed plates, or patterned china. Satin, velvet, and ordinary gift ribbon all offer different textures; use whichever you have.
Keep the knot loose enough to undo easily and trim the tails so they stay on the napkin. This helps the detail feel welcoming when someone sits down, rather than becoming something they have to dismantle before eating.
Paper napkins work too. Fold them into rectangles and use a light ribbon, taking care not to crease or tear the paper while tightening the bow.
3. Write a name card for each guest
Estimated setup: 8–12 minutes for six cards. Gather: cardstock or index cards and a pen.
A name on the table says that you made room for that particular person. It also helps everyone settle in when several guests arrive at once. You do not need a printer, a craft cutter, or calligraphy skills.
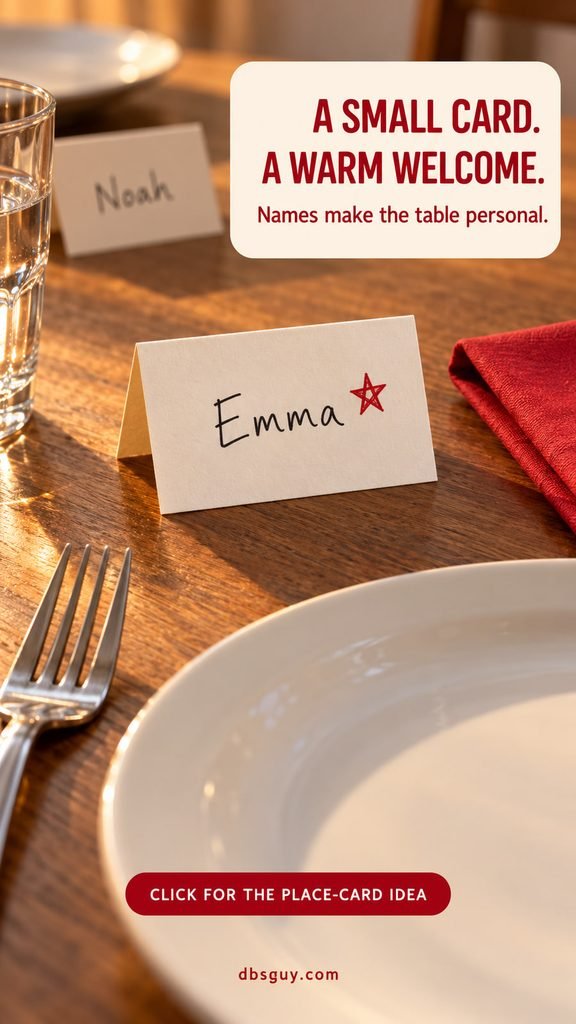
For small tent cards, cut cardstock into rectangles about 4 by 3 inches, then fold each one in half to make a card about 2 inches tall and 3 inches wide. Write the name in clear, ordinary handwriting. A tiny red star in one corner adds a Christmas detail without slowing you down.
Place the card above the plate or beside the water glass, with the name facing the arriving guest. Keep it away from the spot reserved for serving utensils. If your paper is too thin to stand, lay the card flat just above the plate instead.
Check names and spellings before arranging the seats. That small bit of attention matters more than perfectly matching handwriting.
4. Arrange whole fruit in a low serving dish
Estimated setup: 4–6 minutes. Use: a shallow dish and whole fruit already in your kitchen.
Clementines and red apples bring a cheerful Christmas palette to an otherwise simple table. The image uses five clementines and three apples in a white oval dish. Adjust the quantity to your dish; the fruit should sit securely rather than forming a tall mound.

Set the larger apples down first and tuck the clementines around them. Keep the fruit whole. This saves preparation time and leaves you with something guests can enjoy later. Whole pears or pomegranates can also work if those are what you have.
If the fruit will be eaten, wash it under running water and dry it before arranging. The FDA’s produce guidance recommends washing produce before preparing or eating it and advises against using soap or detergent.
Leave decorative glitter, paint, and artificial berries out of this dish. Its appeal is the natural color of the fruit, especially beside green napkins or plain white plates.
5. Group LED candles on a tray you can move
Estimated setup: 3–5 minutes. Gather: two or three battery-operated candles and one stable, flat tray.
For an evening meal, a small pool of warm light can do most of the decorating. Arrange short LED pillar candles on a tray, placing the tallest toward the back and the shortest near the front. Turn them on before guests arrive so you have time to replace a battery if needed.
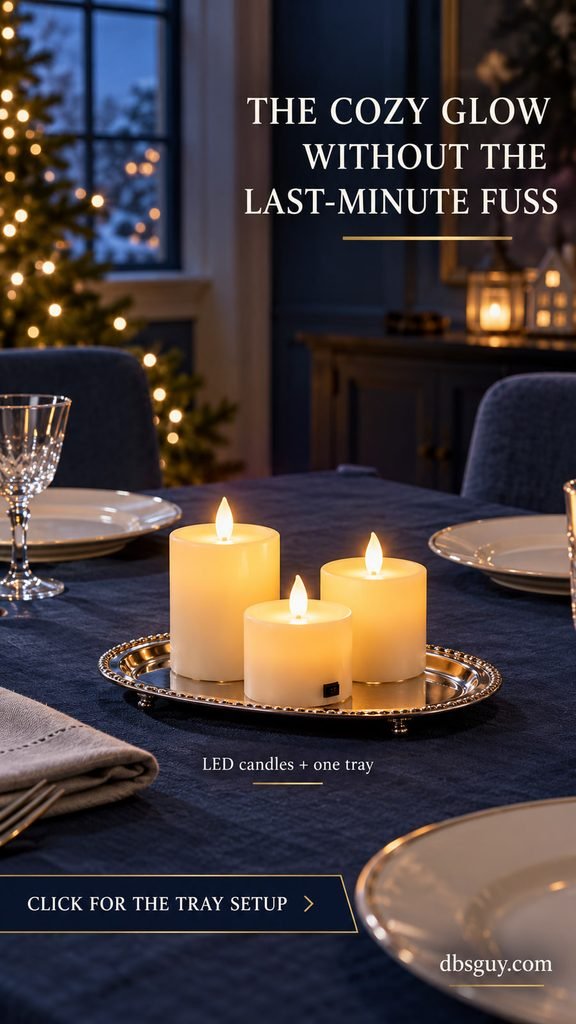
Keep the tray simple. A silver serving tray, plain wooden tray, or sturdy platter gives the candles a defined footprint. Set it where nobody needs to reach across it to pass a hot dish.
The tray is the useful part of this idea: you can lift the whole centerpiece onto a sideboard when dinner needs more room. Choose a size you can comfortably move with the candles in place.
The U.S. Fire Administration recommends considering battery-operated flameless candles. If you use real candles elsewhere, its guidance calls for stable holders, at least 12 inches of clearance from anything that can burn, and extinguishing them when you leave the room.
6. Divide a few flower stems among small vases
Estimated setup: 7–10 minutes. You need: three small, stable vases or clean bottles, water, scissors, and a few flower stems.
If you already have a bouquet, pull out three stems for the table. A single bloom in each little vase has a lighter footprint than a full arrangement, and the separate vessels can fit around serving dishes.
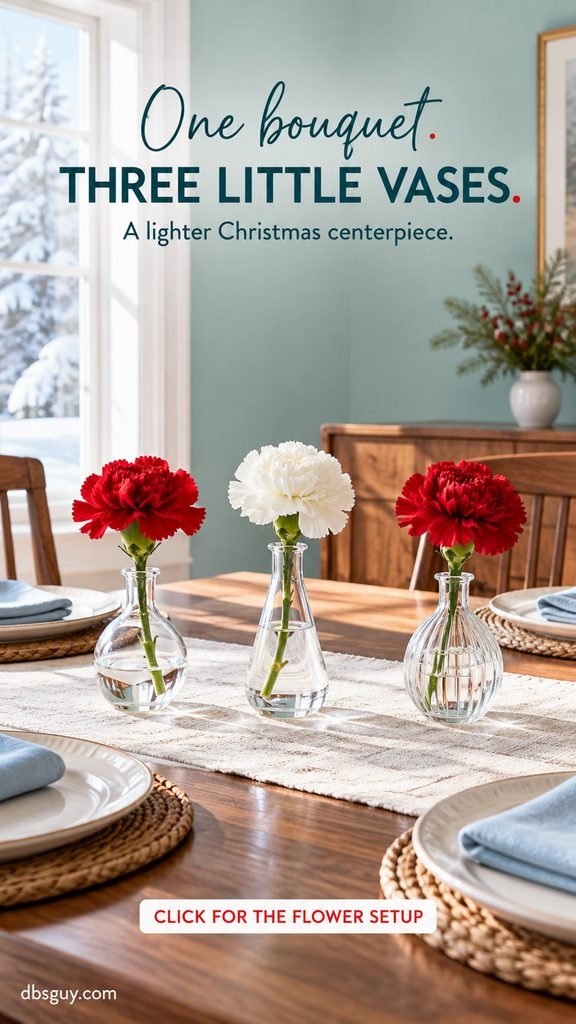
The concept shows two red carnations and one white carnation, each in its own clear glass bud vase. That restrained red-and-white mix works with everyday dishes and does not require floral foam, elaborate greenery, or extra supplies.
Add water at the sink, remove any leaves that would sit below the waterline, and trim the stems so the flowers stay comfortably below seated eye level. Arrange the three vases loosely down the center rather than packing them into one large cluster.
Give each vase a little space from glassware so guests can tell which vessel is their drinking glass. For a crowded table, use just one vase at the end and save the other flowers for another room.
7. Cut a simple runner from leftover wrapping paper
Estimated setup: 5–8 minutes. Gather: wrapping paper, scissors, and a ruler or straightedge if one is handy.
A strip of patterned paper gives a bare table an immediate Christmas backdrop. This works well when you have plain dishes and no festive tablecloth. Choose one quiet pattern, such as small stars, stripes, or a traditional check.
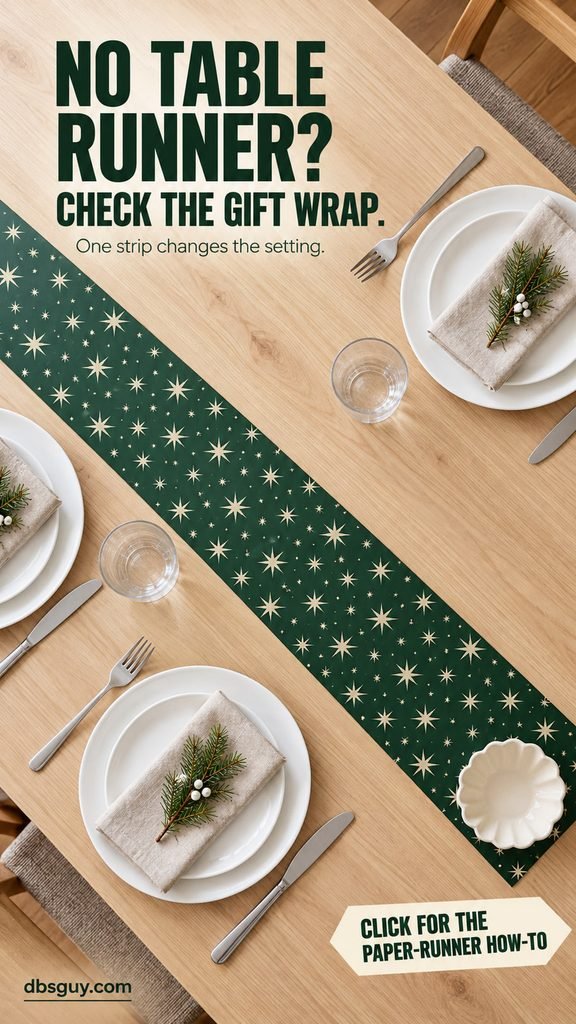
Measure the open center of your table, then cut a strip that fits between the place settings. Around 10–14 inches wide is a starting point for many dining tables, but use the actual space between your plates as the guide. Let the ends finish on the tabletop so they are easy to manage.
The example also uses small decorative evergreen sprigs on the napkins to echo the green paper. Add this detail if suitable artificial sprigs are already in your decorations; set them aside before using the napkins.
Unroll the paper early and gently flatten it. If the ends curl, anchor them with a low decorative bowl or another stable object you already planned to use. Put plates, glasses, and food on their proper surfaces; wrapping paper is a decorative layer, not a food-contact surface or a hot-dish trivet.
Use LED candles with a paper runner. Keep real flames away from the paper, following the candle clearance guidance above.
8. Borrow a tiny Christmas scene from another room
Estimated setup: 3–5 minutes. Use: one small decorative house, two miniature trees, and a narrow tray or board.
Look at the mantel, a bookshelf, or an entry console before searching for new decorations. Three small pieces you already display elsewhere can become a dinner-table centerpiece in one trip.
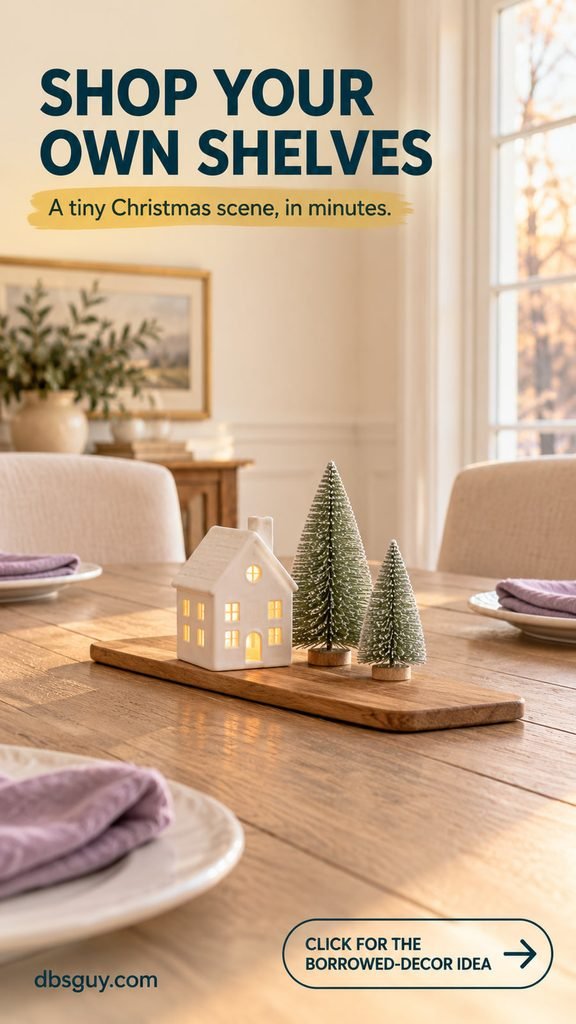
Here, one white ceramic house sits with two bottlebrush trees on a narrow wooden board. Grouping the pieces gives the little scene a clear boundary. The empty tabletop around it keeps the setting relaxed.
Choose pieces low enough to preserve conversation across the table. If the house lights up, use its intended battery-operated light source and follow its instructions. Skip loose artificial snow, which adds cleanup and can drift toward the food.
This idea suits a small household dinner or a Christmas breakfast table. It is also easy to put back after the meal: lift the board and return the pieces to their original spot.
9. Let ready-made Christmas cookies decorate the table
Estimated setup: 3–5 minutes. Gather: cookies you already have, a food-safe serving plate or low cake stand, and serving tongs.
A plate of star-shaped cookies, gingerbread people, or simply decorated sugar cookies adds color and gives guests something to look forward to. Use bakery cookies, packaged treats, or cookies already baked; this is a display shortcut, so it does not add baking to your hosting list.
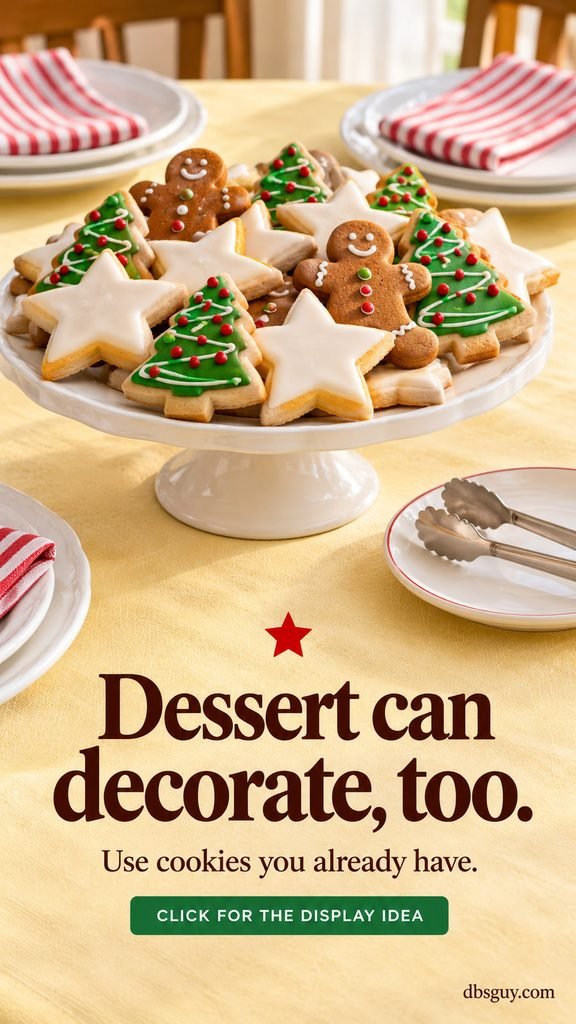
Arrange the cookies in a loose overlapping ring with a few in the middle. A pale plate makes red, white, and brown details easy to see. Keep decorations separate from the food: the cookies supply the Christmas shapes themselves.
A low pedestal can suit a table where dinner will be plated in the kitchen. For family-style serving, a flat plate is easier to move and takes less visual space. Set tongs on a small side plate so guests can help themselves without handling the whole display.
Keep packaging or ingredient information available for guests with food allergies. If you are serving several types of treats, use separate dishes and utensils and check guests’ needs before setting them out.
10. Group three small, already-wrapped gifts
Estimated setup: 3–5 minutes if the gifts are already wrapped. Use: three small wrapped boxes and a clear patch of tabletop.
Small gifts waiting under the tree can do a second job before they are opened. Borrow three modest boxes, place the largest at the bottom, and arrange the other two on or beside it in a stable little group.
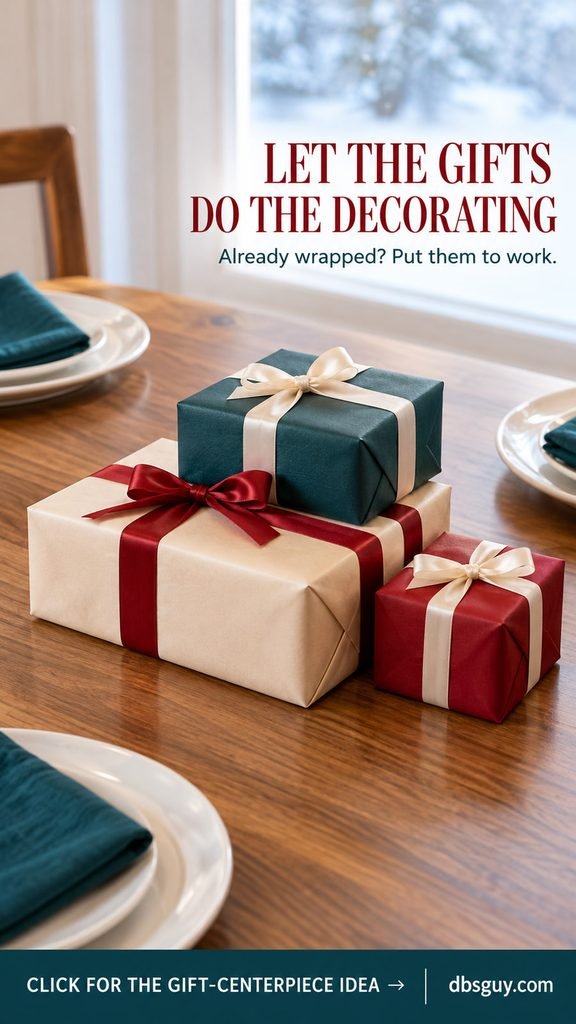
The concept uses deep teal, cranberry, and cream wrapping. Matching paper is optional; one repeated ribbon color can connect different packages. Turn gift labels toward the back of the arrangement while it is being used as a centerpiece.
Keep the group below seated eye level and away from drinks. Use sturdy boxes that can sit securely; delicate contents and unstable stacks belong elsewhere. Move the gifts back to the tree before serving if you need the space.
This is a quick idea when wrapping is already done. If you would need to find boxes and start wrapping from scratch, choose the ornament bowl or fruit dish instead.
A practical 15-minute setup plan
When the arrival time is close, give yourself a small decorating budget of time. This sequence assumes the supplies are within reach; simplify it if you still need to finish the food.
- First 3 minutes: clear the surface and set out plates, glasses, and utensils, leaving the serving area open.
- Next 4 minutes: make one centerpiece: an ornament bowl, LED candle tray, or a group of already-wrapped gifts.
- Next 6 minutes: add one detail at each seat. Use ribbon if it is ready to cut, or write simple flat name cards.
- Last 2 minutes: sit down in one chair, check the view across the table, and try placing the serving dish in its reserved spot.
Leave any unfinished extras for another day. Once everyone has a comfortable place to eat and one welcoming detail, the table has done its job.
Questions about last-minute Christmas table decorating
What can I use if I do not own Christmas table decorations?
Start with whole fruit, handwritten name cards, or a few flower stems. Plain white dishes and a red or green napkin can carry the setting. If your tableware is neutral, the personal name cards are enough to make each place feel prepared.
How do I decorate a small table without crowding dinner?
Use the place settings as your decorating space: ribbon around the napkins or a small card above each plate. If you want a centerpiece, choose one compact bowl or a movable tray. Keep the actual serving dish on the table while you arrange everything so you can see the room it needs.
Can a Christmas table look thoughtful with paper napkins?
Yes. Choose one color or pattern, fold the napkins consistently, and put one at every seat. A light ribbon or a handwritten card can add a personal detail. Soft paper folds more easily; avoid pulling ribbon tightly around it.
How can I make mismatched dishes feel coordinated?
Repeat the same napkin color and the same small detail across the seats. Keep the centerpiece’s palette simple so it connects the different patterns. Set each place in the same arrangement, even when the plates themselves differ.