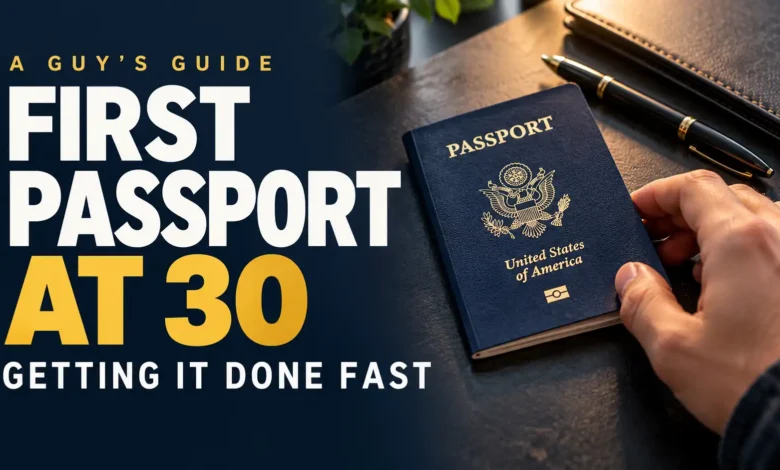
Getting your first passport at 30 is a perfectly normal place to start. You do not owe anyone an explanation for the trips you have not taken yet. What you need now is the right paperwork, an appointment, and a realistic deadline.
The fastest practical move: choose your service based on your departure date, reserve an authorized appointment, and arrive with a complete application. A first-time U.S. adult applicant uses Form DS-11 and applies in person. Filling out a form online gets your paperwork ready; it does not submit your first application.
Current numbers: routine processing is 4–6 weeks; expedited processing is 2–3 weeks. Both exclude mailing time. A first adult passport book costs $165 in standard government fees, or $225 with expedited processing, before photos and optional shipping.
This guide covers eligible adults applying for a first U.S. passport from inside the United States. Requirements and fees were checked October 13, 2026. Applicants abroad and readers seeking another country’s passport need their own government’s application process.

The visuals are AI-generated editorial concepts. Document props and screens are illustrative; the portrait below is not a passport photo to submit.
For forms, the facility locator, current fees, photos, urgent appointments, and application tracking, use the U.S. Department of State passport hub. The official pages linked from that hub take priority if requirements change.
1. Pick the service that fits your actual travel date
Start with the date you need the passport in your hand. That one decision controls the rest of the plan.

- Routine service: 4–6 weeks of processing. Reasonable when your trip is comfortably beyond the full application-and-delivery window. If you can apply a few months ahead, you have more room for a missing document or a photo redo.
- Expedited service: 2–3 weeks of processing, plus $60. Useful when the shorter processing window matters. Paying extra does not turn the estimate into a guaranteed arrival date.
- Urgent travel: an appointment at a State Department passport agency or center. The qualifying window is international travel within 14 calendar days, or within 28 days if you need a foreign visa. You need proof of your travel and an available appointment.
Build in mailing time. State Department guidance allows up to two weeks for your application to reach it and up to two weeks for the finished passport to reach you. That can make a 2–3-week expedited processing estimate roughly 6–7 weeks end to end with ordinary mailing, before any appointment wait or application problem. Faster shipping can reduce transit time.
If your flight is already close
If you have not applied, use the official urgent-appointment system when you qualify. If an application is already pending and travel becomes urgent, call the National Passport Information Center at 1-877-487-2778 with your application locator number and travel date.
An acceptance appointment at a post office collects your application; an urgent appointment at a passport agency handles a different service. Booking the first one does not automatically give you the second.
There is no government fee to book an urgent agency appointment. Availability and issuance timing vary, so treat any promise of a guaranteed same-day passport carefully. Private expeditors charge extra; the State Department says they do not get your passport processed faster than applying directly through its agency options.
Choose a passport book if you plan to fly abroad
The cheaper passport card cannot be used for international air travel. It has limited land-and-sea uses involving Canada, Mexico, Bermuda, and certain Caribbean destinations. For a guy planning his first overseas flight, the passport book is the practical starting choice.
Also Read: First Cruise: 29 Things Nobody Tells Beginners if your first international trip might be a cruise.
2. Build one folder with the form, originals, and copies
This is where you can save yourself a second trip. Reserve an appointment early, then give yourself time to replace a missing document before that appointment.
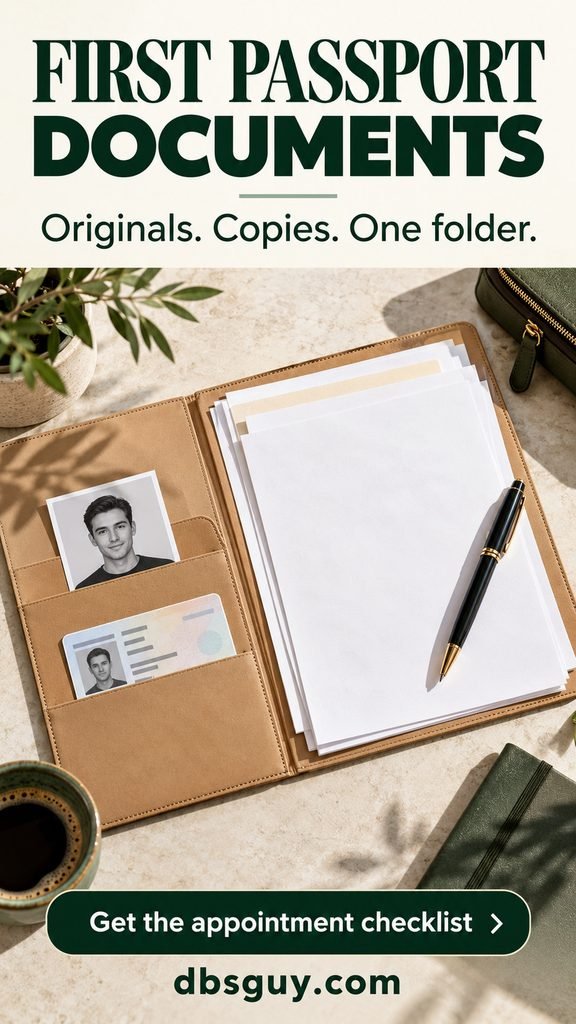
Fill out DS-11, then leave it unsigned
Use the official Form Filler and print the completed application on single-sided paper. If you use the blank paper form instead, follow its current instructions. Wait to sign until the acceptance agent tells you to.
Have your Social Security number, if one has been issued to you, and the personal and parent information requested by the form ready before you start. If you have never been issued a Social Security number, follow the form’s specific instructions for that situation.
Slow down for names, birth dates, and the mailing address. A quick review while you are still at your desk is easier than sorting out an error after submission.
Bring acceptable proof of citizenship
For many U.S.-born applicants, this is a government-issued birth certificate with the issuing office’s seal or stamp, registrar’s signature, parents’ full names, and your birth details. It normally must have been filed within one year of birth. An original or an acceptable certified replacement is different from an ordinary photocopy.
Other common primary evidence includes a Consular Report of Birth Abroad, Certificate of Naturalization, or Certificate of Citizenship. If you do not have acceptable primary evidence, check the official citizenship-evidence instructions before your visit; an unusual case may need additional documents.
Submit the citizenship document with a photocopy of its front, plus its back if there is printed information there. Use white, single-sided 8.5-by-11-inch paper. A phone image or electronic birth certificate does not replace the physical document.
Bring physical photo ID and both sides copied
A fully valid, in-state driver’s license is a common primary ID. Bring the actual ID and photocopies of its front and back on single-sided, white 8.5-by-11-inch paper; do not shrink the copied image. Digital or mobile ID is insufficient.
If you are applying in a different state from the one that issued your license, bring additional ID as the official instructions require. If you lack a standard primary photo ID, review the accepted alternatives before booking your visit.
A useful folder order: unsigned form, citizenship document and copies, physical ID and copies, one compliant photo, then payment and appointment details. Keep originals easy to reach instead of burying them in your backpack.
3. Get a passport photo that follows the rules
The goal is a clear, compliant image. A plain dark shirt is an easy styling choice against a light background; a suit is optional. Use a photo service familiar with U.S. requirements if you would rather avoid setting up the shot yourself.
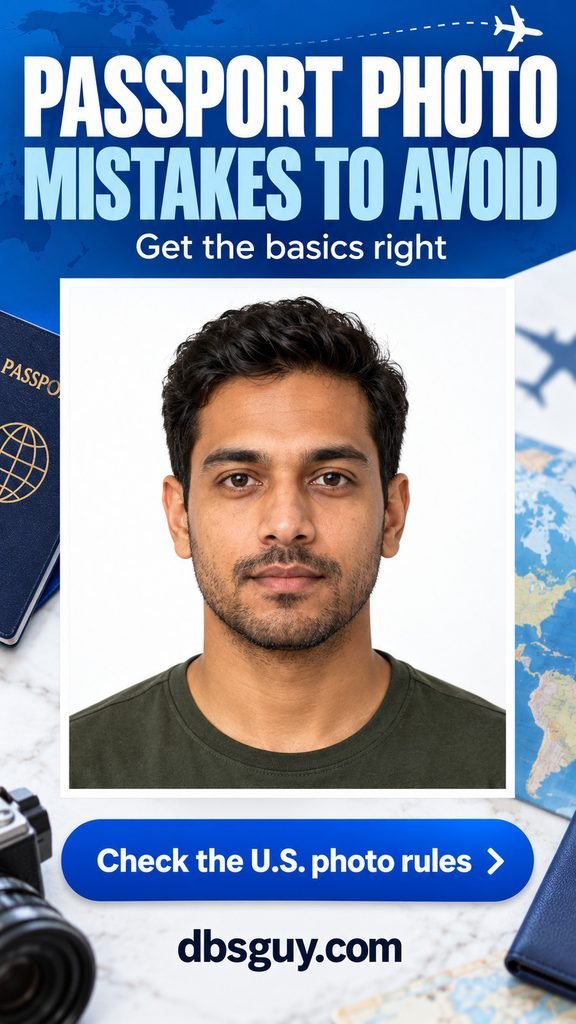
For a paper application, the main photo requirements are:
- One color photo taken within the past six months, printed at 2 by 2 inches.
- Your head measures 1 to 1⅜ inches from the bottom of your chin to the top of your head.
- A plain white or off-white background and even lighting, without shadows.
- Your face looks directly at the camera, with a neutral expression, open eyes, and closed mouth.
- No eyeglasses, except the documented medical exception, and no routine hats or face coverings; special religious or medical situations have specific rules.
- An original, unedited image, without filters or digital alterations.
Inspect the print before leaving the photo service. Make sure your full head is visible and the image is sharp. Bring the separate printed photo to your appointment and follow the agent’s instructions for attaching it.
4. Arrive ready for the appointment and the two payments
Use the official facility locator to find authorized post offices, libraries, and local government offices. Check their appointment rules, photo services, hours, and payment methods. If the closest location is booked, search nearby ZIP codes and compare availability.

Budget for the passport book
For a first-time adult applying at an acceptance facility, the government charges are:
- Routine passport book: $165 total — $130 application fee plus $35 acceptance fee.
- Expedited passport book: $225 total — those same fees plus $60 expedited service.
- Expedited book with 1–3-day return delivery: $251.87 total — add $26.87 for the finished book’s return delivery.
Photo services, replacement documents, and faster outbound shipping can cost extra. Return delivery speeds up the trip after the passport is mailed; it does not shorten processing. Prices can change, so recheck the official fee calculator before preparing payment.
Prepare separate payments
At an acceptance facility, pay the State Department application fee, plus selected expedite and return-delivery fees, by check or money order payable to “U.S. Department of State.” Put the applicant’s name and date of birth in the memo. Pay the separate $35 acceptance fee using that facility’s accepted method.
For example, an expedited book without return-delivery service means $190 to the State Department and $35 to the facility. Call ahead rather than assuming a debit card covers everything. Urgent passport agencies have different payment arrangements; follow your appointment instructions.
Your last check before walking out the door
- Completed DS-11, still unsigned.
- Acceptable original or certified citizenship document, plus the required copies.
- Physical photo ID, front-and-back copies, and extra ID if needed.
- One compliant printed passport photo.
- The correct separate payments.
- Appointment confirmation and, for urgent agency service, the required travel proof.
At the appointment, the agent checks your materials and instructs you when to sign. Your citizenship evidence is sent with the application; your photo ID is presented for review. Keep your receipt and any mailing information provided.
5. Track the application, then check the passport when it arrives
Once you have submitted everything, give the paperwork time to enter the system. Save your receipt somewhere you will actually find it, such as a dedicated travel folder on your phone.
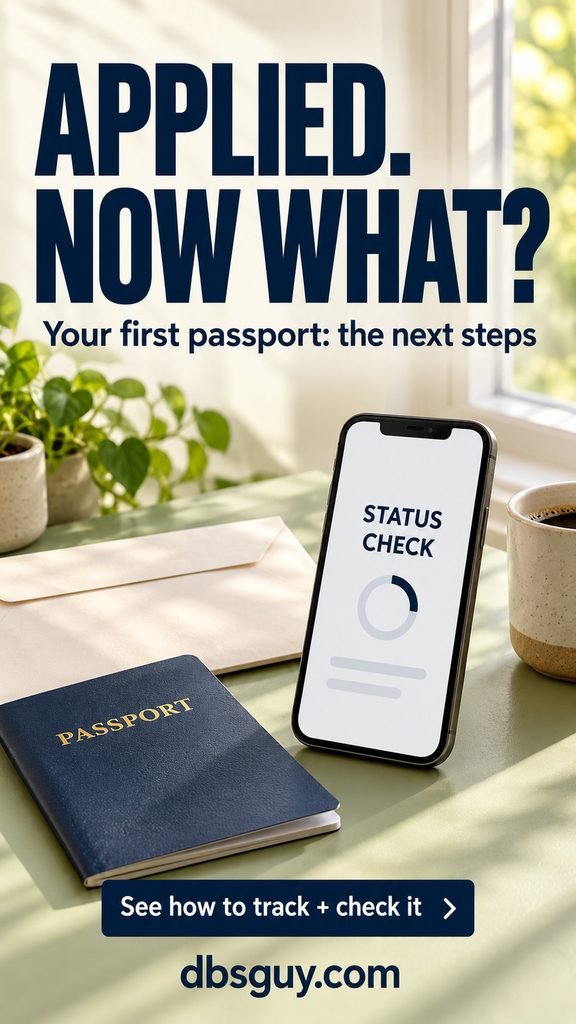
Use the official application-status service and sign up for updates. It may take up to two weeks after you apply for your application to show as “In Process.” Manual status checks use your last name, date of birth, and the last four digits of your Social Security number.
If more than two weeks have passed and payment has not been processed, contact your acceptance facility about the application’s transit. If payment was processed but you cannot find your status, call the National Passport Information Center. Respond promptly to any official request for more information.
When your passport arrives, check your name, birth date, photo, and other personal details immediately. Follow the signing instructions, keep it in a safe place, and make a secure backup of the identification page for travel.
Your citizenship evidence can arrive separately from the passport. Keep watching for it instead of assuming every document will be in the first envelope.
Before locking in the trip, check the destination’s entry and visa rules and its required passport validity. Requirements vary; a new passport is one part of getting ready to cross a border.
Also Read: Airport Outfit Ideas: What To Wear When Traveling when you are ready to plan your travel day.
First passport questions worth clearing up
Is 30 too late to get your first passport?
No. At 30, you follow the standard adult application process. Having an empty travel history is not something you need to justify. Start with the appointment you can make and the trip you want to take.
Can I apply for my first passport completely online?
No. Online passport renewal serves eligible people who already have a qualifying passport. A first-time applicant can prepare DS-11 digitally, but still submits the application in person.
Can I get a passport in a week?
Regular expedited processing is not a one-week service. If you qualify for urgent travel, an agency appointment may be an option, subject to availability and your application. Use the official route and keep backup travel plans; there is no universal one-week guarantee.
Should I pay for expedited processing without a trip booked?
It depends on how much the shorter processing estimate matters to you. With a flexible deadline, routine service may be enough. You can apply before choosing a destination; getting the paperwork started now gives you more freedom later.
When is a good time to apply?
Before your travel deadline becomes tight. The State Department identifies late winter through summer as its busiest period and recommends planning ahead during the less busy October–December stretch. That is useful timing advice, not a promise of faster approval.
Should I book a nonrefundable flight before the passport arrives?
If your deadline is uncertain, choose travel arrangements you can change or wait until the passport is in hand. An urgent appointment requires evidence of qualifying travel, but buying a ticket does not guarantee an appointment or passport issuance.
Your move today: check your departure date, locate your citizenship document, and reserve the right appointment. Once those pieces are in motion, the rest becomes a short list of tasks you can finish one by one.