My son asked for a treehouse for his eighth birthday.
That was it. No toys, no video games. No expensive gadget he would forget about a few months later.
He wanted a treehouse, like the one his cousin had.
I said yes almost immediately, thinking it would be a simple weekend project.
Six weekends later, I finally understood what I had signed up for.
We had one big oak tree in the backyard. It looked sturdy enough—or so I thought. Once we actually started measuring and planning, we realized how much more there was to consider. Some branches were too low. Others were too close together. There wasn’t nearly as much usable space as the tree seemed to offer from the ground.
That was our first major lesson: with a DIY treehouse, choosing the right location and support system matters far more than choosing the prettiest design.
My husband and I spent an entire evening arguing about whether to build a platform around the trunk or support the structure with posts instead. Eventually, we chose posts.
Honestly, it was one of the best decisions we made.
Once the base was solid and level, everything else became easier. Not easy, exactly. The first walls went up crooked. Then we took them down and fixed them. The windows were simply square openings with no glass because our son insisted that “real treehouses don’t have windows that close.”
Fair enough.
By the end of summer, we had something that actually looked like a treehouse instead of the plywood disaster I had imagined halfway through the project.
There was a rope ladder. A little flag on top that he painted himself. When his friends came over, they stood underneath it staring up like it was a castle.
And that’s the thing about building a DIY treehouse.
It rarely turns out exactly like the picture in your head.
Somehow, though, it can turn out even better.
If you’re already thinking about the area underneath the structure, you may also want to plan your landscaping early. The patch of dirt under ours turned into a mud pit within a week. That was another lesson learned: one backyard project has a funny way of creating another.
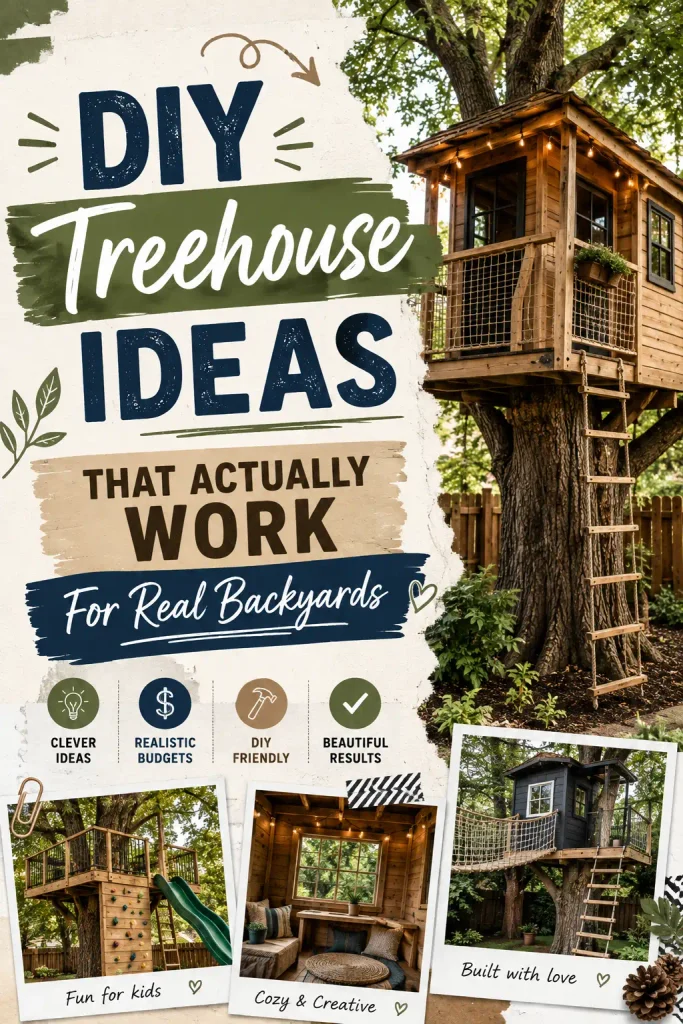
If you’re dreaming about building one of your own, these DIY treehouse ideas are designed around something more useful than picture-perfect inspiration: what can actually work in a real backyard.
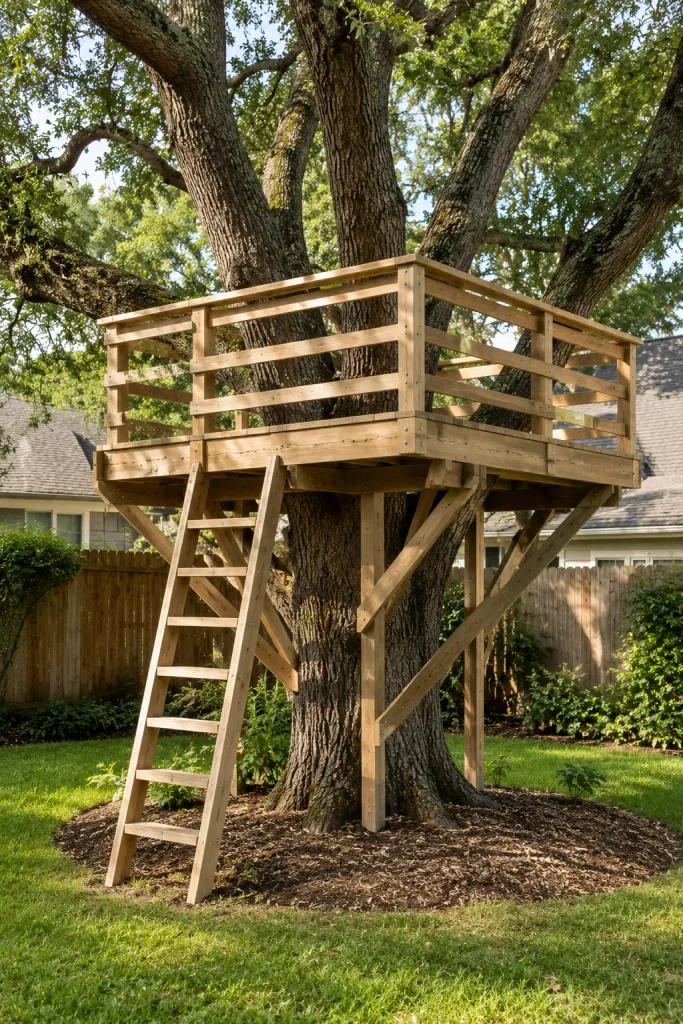
1. A Simple Deck With a Ladder Is the Most Forgiving Place to Start
Starting with a straightforward platform and a sturdy access ladder is one of the most manageable ways to begin a DIY treehouse, especially if this is your first serious backyard build.
There is no need to commit to walls, windows, a complicated roof, or multiple levels from day one. A strong, level platform gives you the foundation for everything else you might want to add later.
A simple railing helps define the space and adds an important layer of protection, while a straight ladder keeps the access design easier to manage than elaborate climbing systems.
The biggest advantage of this idea is flexibility. You can build the platform first, use it as a basic play deck, and then decide whether the project really needs walls or a roof.
Sometimes it doesn’t.
A simple elevated deck can already feel like a complete treehouse to a child.
Why this idea works: It allows you to build in stages instead of trying to complete an entire miniature house in one project.
Budget Guide: Basic decking, framing, railing materials, and hardware may cost roughly $200 to $450, depending on the size of the platform, local material prices, and the support method you choose.
2. A Second-Level Platform Turns One Tree Into Two Play Spaces
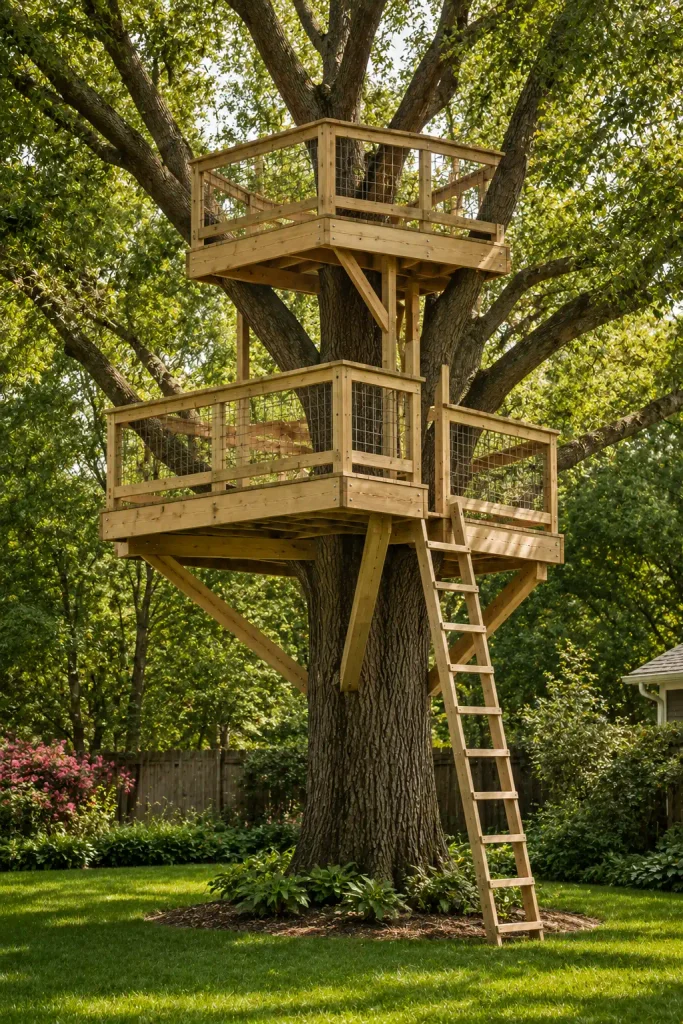
If you have a mature tree, enough usable space, and a design that can safely accommodate it, adding a second smaller platform can dramatically increase the play value of one structure.
The lower deck can become the everyday hangout space, while the upper level creates a lookout spot that feels more adventurous.
You don’t necessarily need to build two complete rooms. In fact, keeping the upper section smaller and simpler often makes more sense. A basic elevated platform can provide all the excitement of a second level without requiring the materials and complexity of another enclosed cabin.
Connecting the levels with a ladder keeps the structure feeling interactive and gives kids a sense that they are moving through different spaces rather than simply climbing into one box.
This type of design works best when the entire structure is planned as a system from the beginning rather than adding a second level as an afterthought.
Why this idea works: It creates two distinct play areas while keeping the project concentrated around one main backyard location.
Budget Guide: Adding a second platform may require approximately $150 to $300 or more in additional framing, decking, connectors, railings, and hardware.
Mega Mom Moment
I spent an entire evening researching the perfect paint color before my husband gently reminded me that our kids just wanted to climb something.
We picked a color in about ten minutes after that and got back to building.
Some decisions genuinely matter. Structural support, safe access, proper railings, and a realistic plan deserve your time.
The exact shade of paint you choose? Probably not three hours of research.
Sometimes the best thing you can do for a backyard project is stop trying to make every detail perfect and simply keep moving forward.
3. Adding a Rock Wall and Slide Makes the Climb Part of the Fun
A treehouse doesn’t have to be only a place to sit.
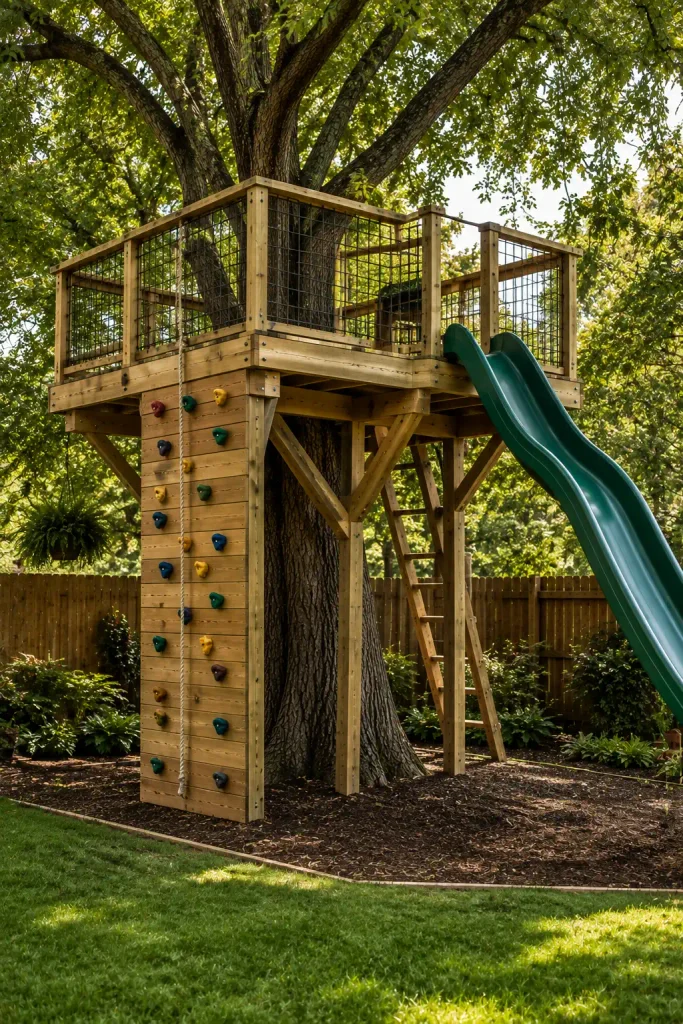
Adding a climbing wall and a slide can turn the structure into a much larger part of your backyard play area.
Instead of treating the route up as something kids have to do before reaching the fun, the climb itself becomes part of the experience. A climbing wall gives children an active challenge, while a slide can make coming back down just as exciting.
The design works particularly well when the main platform is large enough to allow for clearly defined access points.
If you add multiple ways to climb or exit, don’t leave safety features until the end. Plan railings, barriers, secure attachment points, and appropriate clear space before the fun accessories are installed.
The best-looking backyard play structures are still only successful if the practical details were considered first.
Why this idea works: It transforms a simple treehouse into a more complete backyard adventure space without requiring a much larger building.
Budget Guide: Basic climbing holds may cost around $20 to $40, while slides can range from roughly $150 to $300 or more, depending on the material, size, and design.
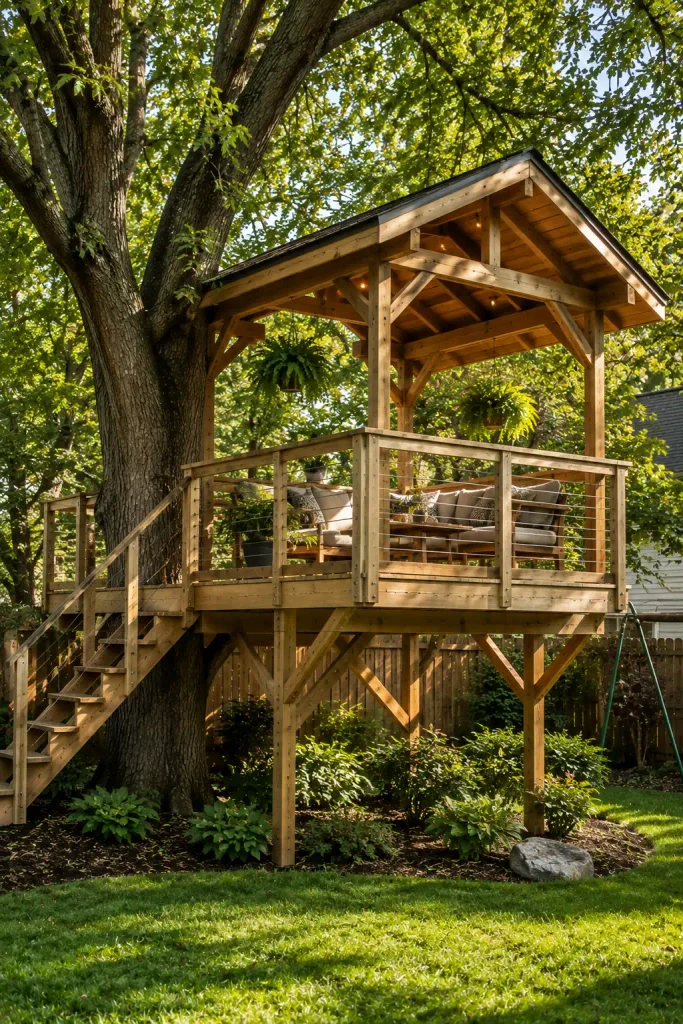
4. An Open-Air Pavilion Style Skips Walls Entirely
When most people imagine a treehouse, they picture a tiny enclosed cabin with four walls, windows, and a little door.
But an open-air design can be just as appealing—and often much simpler.
Think of it as a small treetop porch.
Instead of surrounding the platform with walls, the structure uses a roof for shade and weather protection while leaving the sides open behind protective railings.
This creates plenty of airflow and natural light, which can make the space much more comfortable during warmer weather.
It also has a practical advantage for parents. Open sides make it easier to see what is happening inside from the ground without constantly climbing up to check.
This style can look surprisingly sophisticated while requiring less wall construction than a traditional enclosed treehouse.
Why this idea works: It gives you the feeling of an elevated retreat without the complexity and cost of building a complete miniature cabin.
Budget Guide: Skipping wall construction can reduce material costs, although roofing and structural requirements will still affect the final budget. Roofing materials alone may cost roughly $100 to $250 or more, depending on the size and material.
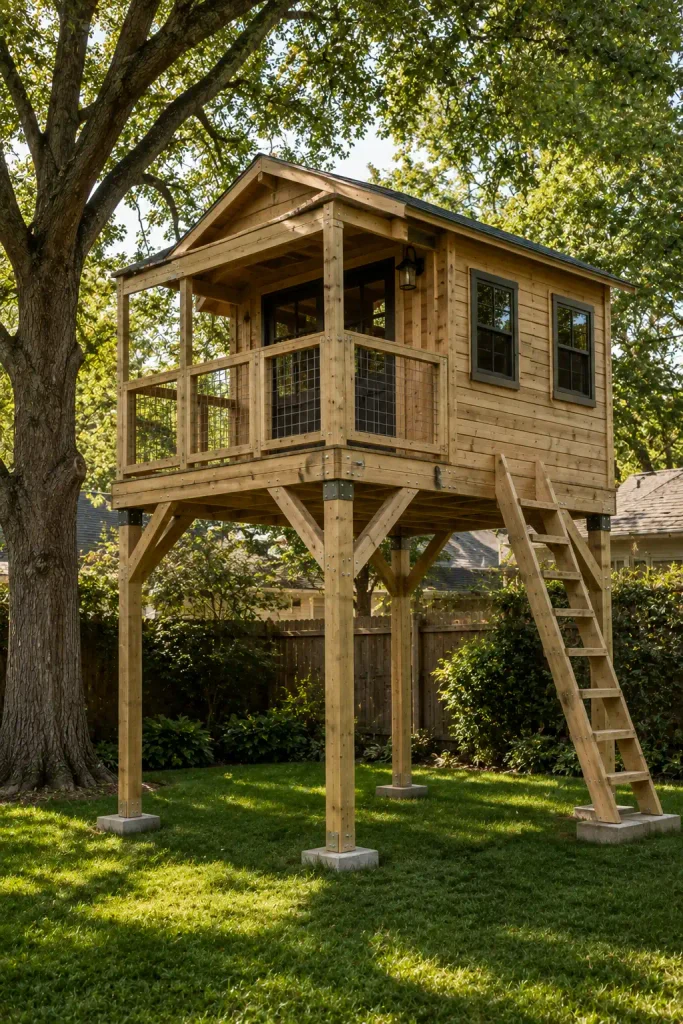
5. A Freestanding Design Works Even Without a Perfect Tree
Not every backyard has a tree with the right trunk size, branch placement, or overall structure for a traditional tree-supported build.
That doesn’t mean the treehouse idea is over.
A freestanding design supported by its own posts can offer much more flexibility. The nearby tree can still provide shade and the visual charm that makes the project feel like a true backyard treehouse, while the structure carries its weight independently.
This can be an especially practical option when you want more control over the size, height, and exact location of the building.
The trade-off is that the foundation becomes even more important. Properly designed support posts and suitable footings need to handle the structure’s load and the conditions of your specific site.
It requires more planning upfront, but the result can be easier to design around than an awkwardly shaped tree.
Why this idea works: You’re no longer dependent on finding the “perfect” tree. The structure can be designed around the available space instead.
Budget Guide: Posts, footings, anchors, and framing for a mid-sized freestanding structure may cost approximately $250 to $500 or more, depending on site conditions and overall design.
Family Win
One of the smartest things we did was slow down before buying materials.
If you’re considering a DIY treehouse, spend serious time looking at the location first.
Pay attention to:
- The health and condition of the tree
- Trunk size and branch placement
- The amount of usable space around the tree
- Ground slope and drainage
- Clearance from fences and nearby structures
- How children will climb in and get back down
- Whether a post-supported design would make more sense
A beautiful design is only useful if it actually works in your backyard.
Start simple, get the structural and safety details right, and add the fun features after the foundation of the project is solid.
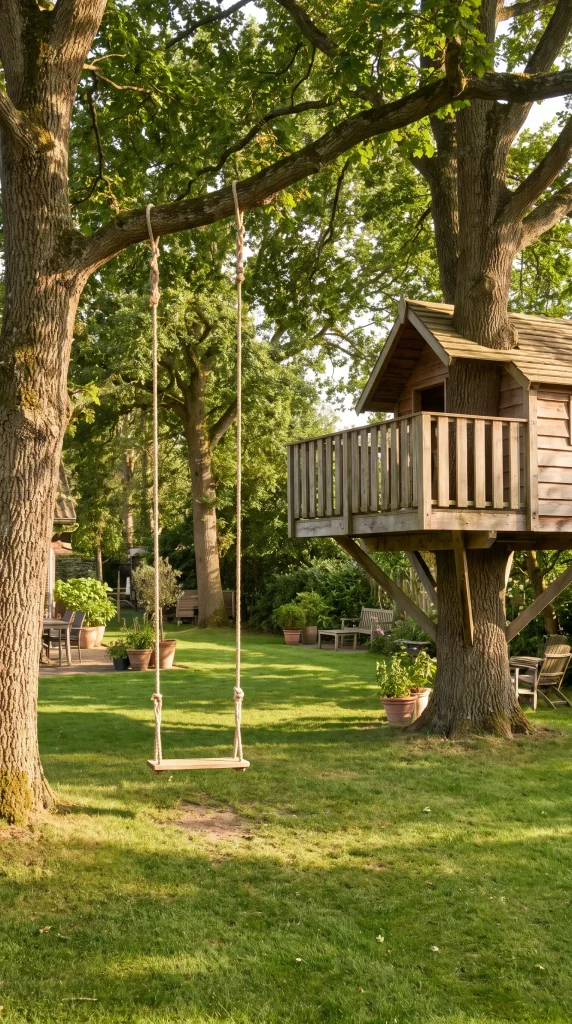
6. A Rustic Rope Swing Adds Charm Without Extra Building
Sometimes the simplest addition creates the biggest change.
A rope swing can extend the fun of a treehouse without requiring you to expand the main structure itself.
It gives kids another activity in the same area and makes the entire tree feel like part of the play space rather than simply a support for the platform.
A swing can also be easier to update as children grow. The seat or hardware can be replaced when needed without rebuilding the treehouse.
As with every feature that carries weight or involves movement, choose appropriate outdoor-rated materials and hardware and make sure there is adequate clear space around the swing path.
Why this idea works: It adds another reason to use the backyard without significantly increasing the size or complexity of the main treehouse.
Budget Guide: Basic outdoor rope swing setups may cost around $25 to $60, depending on the rope, seat, hardware, and installation requirements.
7. A Compact Corner Platform Fits Smaller Spaces Beautifully
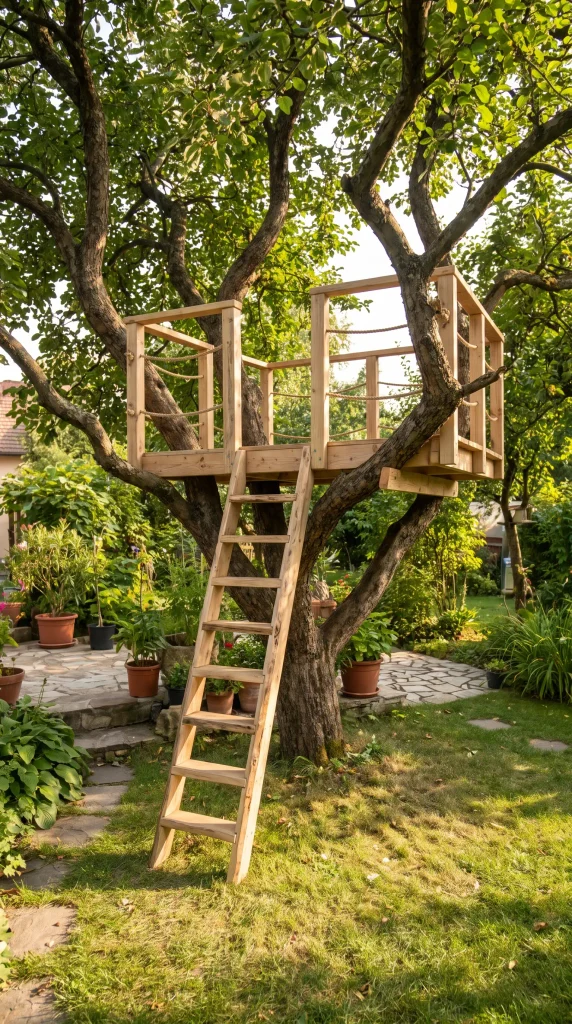
A DIY treehouse doesn’t need to dominate the entire backyard to feel special.
For smaller yards—or situations where a massive structure simply isn’t practical—a compact platform can deliver much of the same excitement with far less material.
Instead of trying to force a full-size cabin into limited space, focus on creating one well-designed elevated nook.
A small platform can become a reading spot, a secret hideout, a lookout point, or simply a place where kids can sit and imagine that they’re somewhere far away from the backyard.
Compact builds are also easier to complete. Less lumber, fewer walls, and a smaller footprint can make the project feel much more achievable.
The goal isn’t to make the biggest treehouse.
It’s to make one that works.
Why this idea works: A smaller design can fit more naturally into an ordinary backyard and often requires less time and material.
Budget Guide: Compact platform projects may cost roughly $150 to $350, depending on the support method, materials, access system, and size.
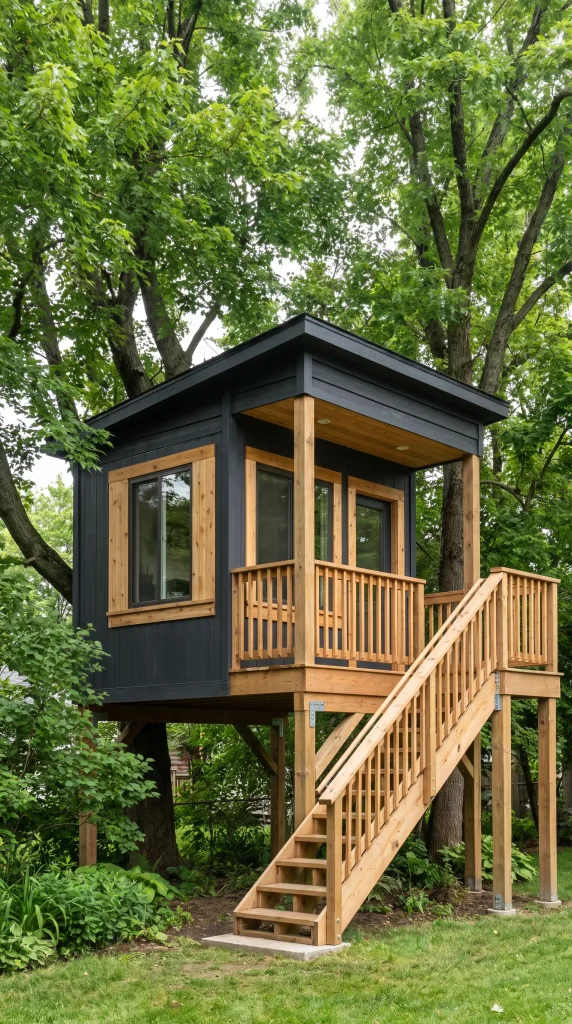
8. A Bold Painted Exterior Makes a Modern Statement
Not every treehouse needs to look rustic.
A bold exterior color can completely transform a simple wooden structure and make it feel like an intentional part of your backyard design.
Deep charcoal, dark green, navy, or another rich outdoor-friendly shade can stand out beautifully against surrounding leaves.
The key is not simply choosing an interesting color. The finish itself needs to be suitable for outdoor conditions.
Sun, rain, moisture, and seasonal temperature changes can take a toll on exposed wood. Proper surface preparation and an exterior-rated finish can make a major difference in how the structure looks over time.
A bold paint choice is also one of the easiest ways to give a relatively simple design more personality.
Why this idea works: Paint can dramatically change the visual impact of a treehouse without requiring a major redesign.
Budget Guide: A gallon of quality exterior paint may cost approximately $35 to $60, with total costs depending on the size of the structure and the number of coats required.
What Building Our Own Treehouse Taught Me About Backyard Projects
Every photo I saved before we started looked polished and finished.
That turned out to be one of the most misleading parts of the entire process.
Real backyard building happens in stages.
It can be messy. It can be slow. Sometimes you spend an entire afternoon measuring, adjusting, and fixing something that barely looks different when you’re finished.
Then, on another weekend, three things suddenly click into place and the project finally starts looking like what you imagined.
I learned to expect that uneven rhythm.
Not every weekend will produce a dramatic before-and-after moment.
That doesn’t mean the project isn’t moving forward.
It just means you’re building something real.
Real Talk: Most DIY Treehouses Take Longer Than You Expect
A lot of online inspiration makes building a treehouse look like a quick weekend transformation.
For most families, it simply isn’t.
And honestly, it probably shouldn’t be.
Give yourself permission to build in stages across several weekends or even an entire season.
Start with the planning. Make sure the location and support system make sense. Build the foundation and main platform. Complete the access and protective features. Then move on to walls, roofing, paint, and the details that make the structure feel finished.
A DIY treehouse built slowly and thoughtfully is better than one rushed simply because you want it done.
Choosing the right support system mattered more to us than any individual design decision. Whether you’re working with a tree-supported structure, a freestanding design, or a combination of supports, that decision deserves serious consideration before you start purchasing lumber.
And here’s something else I learned.
Kids usually don’t care nearly as much about perfection as parents do.
Our son loved the platform when it was still just a platform.
Before the paint.
Before the little details.
Before it looked anything like the finished pictures I had saved for inspiration.
He could already see the castle.
The pirate ship.
The secret hideout.
I was looking at unfinished wood.
He was looking at possibilities.
That’s probably the best reason to build one in the first place.
A treehouse doesn’t have to be perfect to become the favorite place in the backyard.