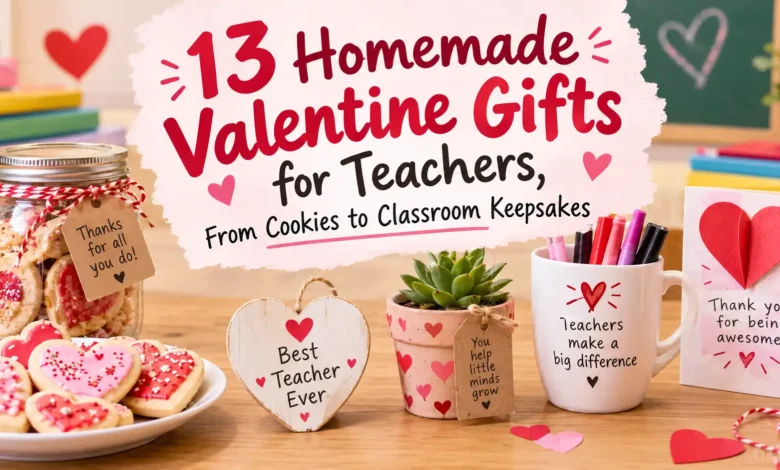
13 Homemade Valentine Gifts for Teachers, From Cookies to Classroom Keepsakes

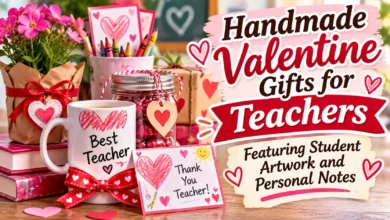
For a small homemade Valentine gift, start with what your child can contribute: a drawing on a bookmark, a few sentences in a tiny book, or heart cookies packed with a handwritten thank-you. If you are unsure about food, choose one of the paper or fabric projects.
These 13 homemade Valentine gifts for teachers include three edible options and ten crafts, with supplies, assembly details, and ways to keep each gift easy to carry. Pick one idea; it does not need a basket of extras to feel complete.

The images are AI-generated concepts illustrating the gift ideas. The craft projects have not been hands-on tested; follow the directions on your own materials, baking recipes, and food packages.
Choose a gift that fits the teacher and your time
- For a quick paper project: choose the watercolor bookmark or four-panel thank-you book.
- For a teacher who welcomes homemade treats: try cookies, brownie hearts, or dipped pretzels.
- For a useful desk gift: make the pencil cup, felt mug mat, or lightweight supply tray.
- For a keepsake: choose the fingerprint tree or clay paperweight and add the child’s first name and year.
Before making anything, check school gift rules, the classroom celebration date, and whether homemade food is welcome. For edible gifts, ask about the teacher’s preferences and dietary needs rather than guessing. When that information is unavailable, a nonfood gift is the simpler choice.
For any food you send, include all ingredients, including those in icing, coatings, and sprinkles, and keep the original package labels available. The FDA’s allergen-label guidance explains why reading the whole ingredient list matters. An ingredient card does not remove cross-contact risk in a home kitchen; do not promise an allergen-free gift. Follow each recipe’s storage directions, and skip perishable fillings when you cannot arrange suitable chilled transport and storage.
Use age-appropriate supplies. Let adults handle ovens, hot coatings, sharp tools, needles, irons, and frame glass. The measurements below are suggested starting sizes; check them against the supplies you have.
Homemade treats to pack in small portions
1. Heart-cookie thank-you packets
Choose cookies when you already know the teacher welcomes homemade food. Four small hearts make a manageable gift; a large platter leaves the teacher figuring out how to carry and store it.
Gather: your usual cutout-cookie dough, a 2-inch heart cutter, ready-to-use cookie icing that dries firm, sprinkles, parchment, and a food-safe box. A refrigerated dough or mix specifically labeled for cutout cookies is a workable shortcut.
- Prepare, roll, cut, and bake according to your recipe or the package, including its thickness, chilling, temperature, and doneness directions. A drop-cookie dough may spread too much to hold the heart shape.
- Let the cookies cool completely. Spread or pipe a thin layer of red icing, then add white dots or sprinkles. Follow the icing label for setting and storage.
- Pack four cookies in a parchment-lined box. Keep them in one layer, or separate fully set cookies with parchment. Tie the note outside the food packaging.
For a batch of six teacher gifts, plan on 24 giftable cookies plus a few extras for breakage. Write the baking date and ingredient information on a separate card. The homemade detail can be your child’s drawing on the sleeve; elaborate piping is optional.

2. Two brownie hearts in a small box
A pair of brownie hearts suits someone who would pick chocolate over decorated cookies. Use a plain, cohesive brownie that will hold a cut edge; a heavily swirled or very gooey version is harder to lift neatly.
Bake one pan using a familiar brownie recipe or mix, following its pan size, preparation, baking, and storage directions. Use a parchment sling if the recipe allows it, and leave enough overhang to lift the cooled slab.
Once completely cool, lift it onto a board. Press a roughly 2½-inch heart cutter straight down, then gently release the brownie. Place two hearts in individual food-safe paper liners inside a shallow box. A light dusting of powdered sugar gives the surface definition without a soft frosting to smear against the lid.
Cut the hearts close together and keep the scraps for home. Yield depends on the pan and cutter, so cut your batch before deciding how many teachers it will cover. Package the brownies separately from crisp cookies, and follow the recipe’s storage directions rather than assuming every brownie keeps the same way.

3. A trio of dipped pretzel rods
For a project without baking, dip three pretzel rods per gift. The bare lower half becomes a handle, while the decorated tops make a tidy little bundle.
For four gifts: set out 12 intact pretzel rods, one package of candy coating, a small dish of sprinkles, parchment, and four food-safe bags. You may have coating left over; the amount used depends on the rods and how thickly you coat them.
Have an adult melt the coating according to its package using completely dry utensils. Spoon coating over the upper half of each rod, let the excess drip away, and add sprinkles while it is still wet. Rest the rods separately on parchment until the coating is fully set, then bag three together.
Keep the ribbon and gift tag outside the bag. If you use two coating colors, alternate them within each trio. Check the pretzel, coating, and sprinkle labels individually; a different color or flavor can have different ingredients.

Paper gifts with a personal message
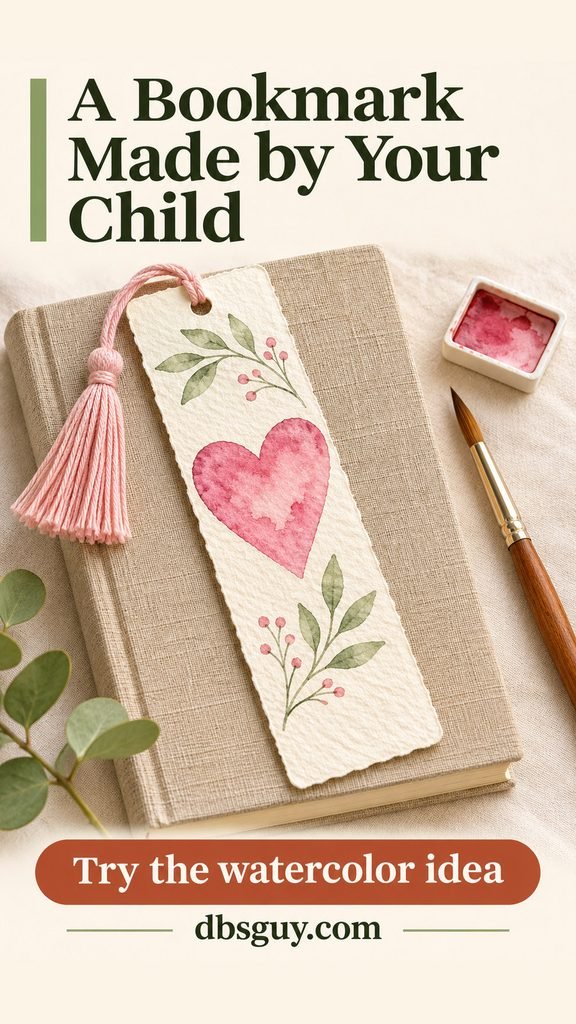
4. A watercolor-heart bookmark
This is the easiest pick when you have paper and paints but little time. It is also small enough to slip inside a thank-you card.
Cut watercolor paper into a 2-by-7-inch strip. Paint one pink heart in the center, leaving room at the top for a hole and at the bottom for your child’s first name. Add a few green leaves if your child enjoys the extra detail; a single heart works just as well.
Let it dry flat before writing on the back: “Thank you for helping me enjoy reading.” Make the message more specific by naming a book or reading milestone. Punch a hole about ½ inch below the top, fold a short length of yarn in half, pass the loop through the hole, and pull the ends through the loop.
Keep decorations flat so the bookmark can close inside a book. For a younger child, an adult can cut the strip and write down the child’s own words.
5. A four-panel thank-you book
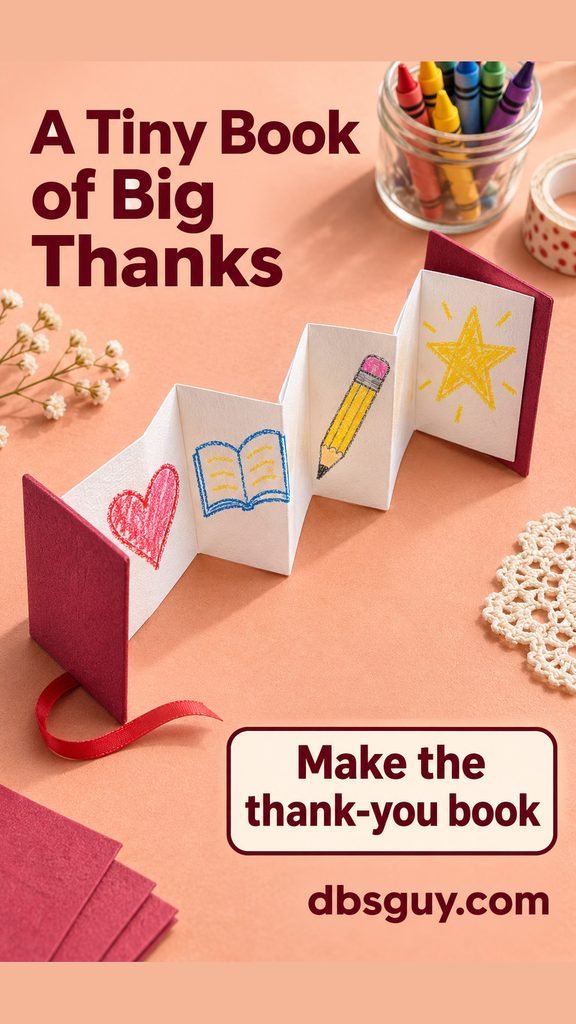
A tiny accordion book gives a child room to show several things their teacher helped them learn. It folds into a small keepsake instead of becoming another full-size classroom poster.
Cut a strip of sturdy paper 3 inches high and 12 inches long from a sheet of 12-inch scrapbook paper. Mark it at 3, 6, and 9 inches, then fold at those marks in alternating directions. You will have four connected 3-inch panels. Cut two cardstock covers just slightly larger than a panel.
Use the four panels for a heart drawing, a favorite book, something learned, and a thank-you. Let a beginning writer dictate one short sentence for you to add beneath each drawing. Glue the first and last panels to the inside faces of the covers, keeping glue away from the folds.
If you want a ribbon closure, secure its midpoint across the outside back cover with tape and cover the tape with a paper heart. Leave both ends free to wrap around the closed book and tie. Check that the book folds shut before adding anything else.
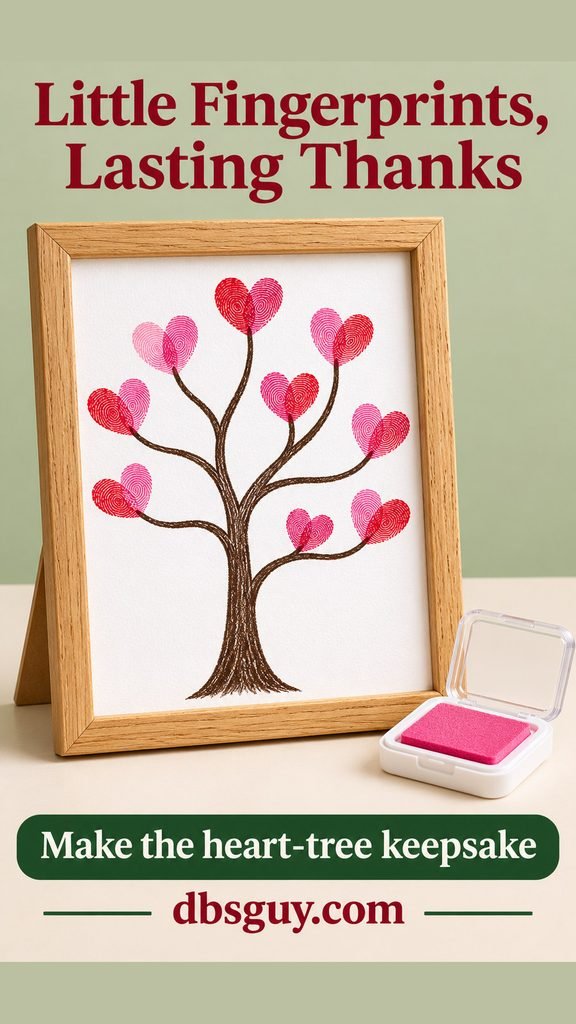
6. A framed fingerprint heart tree
Use this for a child who likes making marks more than writing sentences. The heart-shaped leaves carry the child’s contribution, while a small frame makes the finished paper easy to display.
Start with a 5-by-7-inch piece of cardstock and a frame that fits it. Draw a trunk with several branches, leaving room around the edges for the frame. Use a washable ink pad specifically labeled for children’s fingerprint activities.
Practice on scrap paper: angle one fingertip impression to the left and another to the right so their lower ends overlap into a heart. Add these paired prints at the branch tips, leaving space between them. Let the ink dry, then add the child’s first name and year beneath the tree or on the back.
An adult should handle the frame and any glazing. For a class version, coordinate with the room parent and use a larger sheet so each child has space. A child who prefers not to touch ink can contribute a drawn heart instead.
7. A three-stem paper tulip bouquet
Paper tulips give the teacher flowers without a vase to carry or water to spill. Three stems are enough for a small bouquet that fits into a backpack’s main compartment.
Gather: colored paper, three green paper straws, glue, scissors, kraft wrapping paper, and ribbon. Make a simple tulip template about 2½ inches tall: a rounded cup shape with three points at the top.
Cut nine matching tulip shapes, three for each bloom. Fold each vertically. Glue one half of the first shape to one half of the second, then add the third. Before joining the remaining free halves, place the top of a paper straw along the center seam and glue the final halves around it.
Add one folded green paper leaf per straw and let the glue dry. Gather the three stems, wrap them in kraft paper, and tie loosely. Use paper straws rather than pointed skewers for this version. The folded petals should stay visible above the wrapper.

Useful crafts and small classroom keepsakes
8. A stitched felt mug mat
Choose this when an older child wants to try a small sewing project. A square is easier to stitch evenly than a detailed animal or letter shape.
Cut two 5-inch squares of craft felt and a small contrasting heart. Stitch the heart onto the corner of the top square first, so the attachment stitches will be hidden between the layers. Then stack the squares and join them with a running stitch about ¼ inch from the edge.
Use embroidery floss and a needle suited to the felt, with an adult handling the needle or closely supervising. Keep the mat flat and leave out stuffing, beads, and raised decorations where the mug will sit.
Include a small note saying it is a handmade mug mat for a desk. Craft felt can vary in fiber and care requirements, so follow the felt’s care label. This project is not a potholder or a trivet for hot cookware.

9. A heart-patterned pencil cup
A decorated pencil cup gives your child’s artwork a job. Start with a sturdy unfinished wooden pencil cup with a smooth rim; check for splinters before a child begins decorating.
Paint the outside with a thin coat of paint suitable for the wood, following the paint label. Once dry, add a few contrasting hearts with a stencil or a small brush. Keep the bottom level, the rim smooth, and the interior free of bulky glued decorations.
For a clean pattern, trace three or four hearts before painting rather than filling every gap. A cream base with red hearts looks festive, while sage and pink can work on a desk after February.
Let the paint fully dry and complete any curing time on its label before wrapping. Add a few new pencils if you wish, but the cup can be the whole gift. Put the child’s name and year underneath so the teacher can remember who made it.

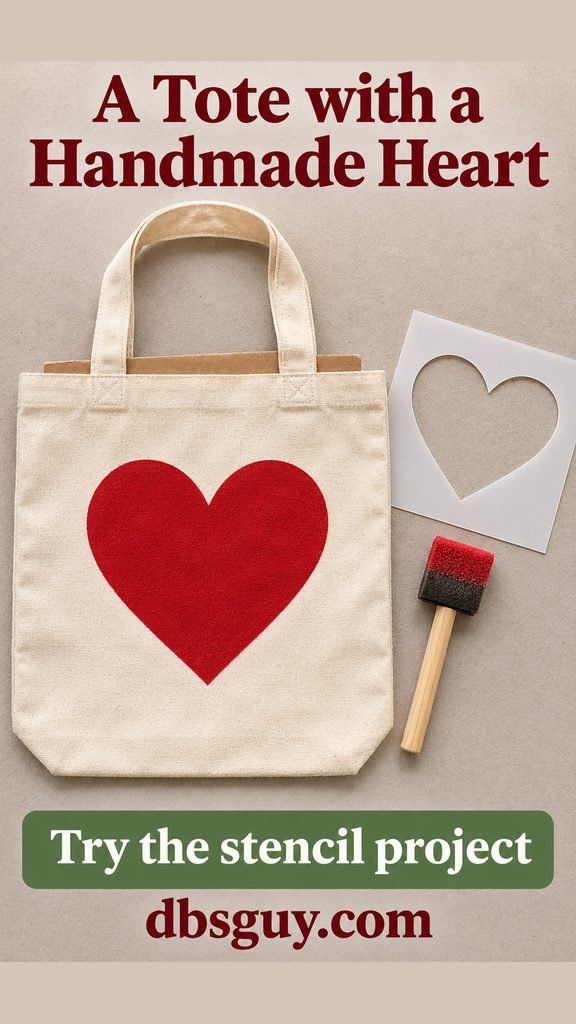
10. A heart-stenciled cotton tote
A plain cotton tote is a useful canvas when the gift should hold books or papers. One large heart is easier to recognize than a crowded collection of tiny stamps.
Check the fabric-paint instructions before starting. If they require prewashing the tote, do that first and let it dry. Slide cardboard inside the bag so paint cannot transfer to the back.
Position a reusable heart stencil on the flat front panel and secure it as its instructions recommend. Dab on a small amount of fabric paint with a sponge or stencil brush, working from the stencil edge inward. Thin coats reduce the chance of paint bleeding beneath the stencil.
Lift the stencil carefully and let the design dry. Follow the specific paint’s curing, heat-setting, and washing directions; an adult should handle any iron. Include those care directions with the gift. A child can add a small handwritten initial beside the heart once the paint is ready for the next layer.
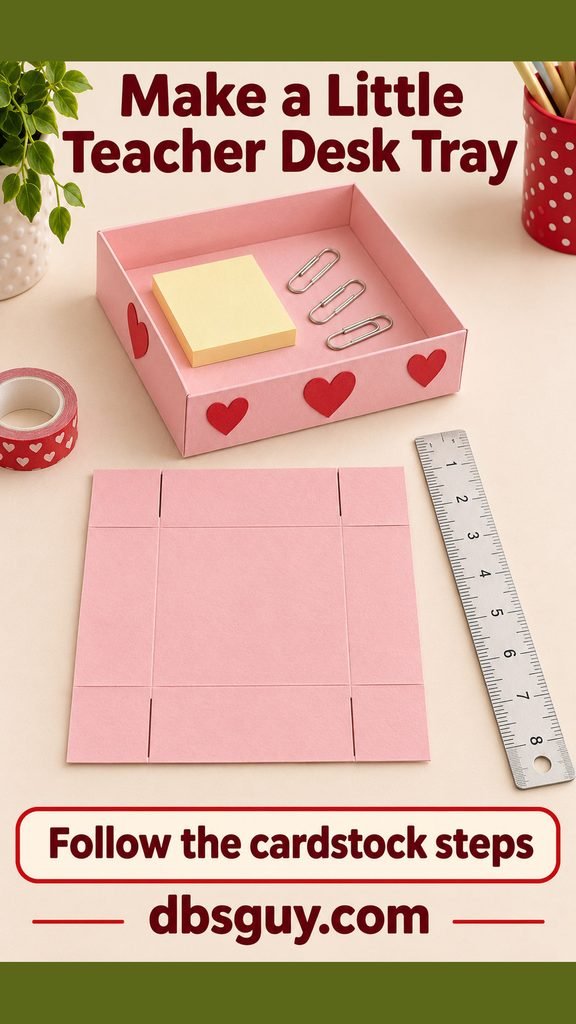
11. A folded-cardstock desk tray
This shallow tray is a paper-craft option for holding lightweight sticky notes or paper clips. A 6-inch square base gives it a practical use without taking over the desk.
Cut sturdy cardstock to 8 inches square. On the reverse, draw a line 1 inch in from each edge. These lines make a central 6-inch square and a 1-inch square at each corner.
- Crease along all four lines with a ruler and a blunt folding tool.
- On the top edge, cut along the two vertical crease lines only as far as the first horizontal line. Repeat from the bottom edge. You now have four corner tabs; do not cut the squares off.
- Fold all sides upward. Tuck the corner tabs inside the adjoining walls and secure them with glue or double-sided tape suitable for the cardstock.
Keep the tray square while the adhesive sets. Decorate the outside with flat paper hearts, then place a small sticky-note pad inside. Carry it in a box: cardstock is suitable for light desk supplies, but it will not hold up like a wooden organizer.
12. A soft felt-heart key ring
A felt heart makes a small bag charm for a teacher who prefers a portable keepsake. Keep it lightly padded so it does not become a bulky addition to a work bag.
Cut two matching felt hearts about 3 inches across. Fold a short piece of sturdy ribbon into a loop and place its two raw ends between the hearts at the top, with the loop projecting outward.
Join the heart edges with small stitches, sewing securely through both ribbon ends several times. Leave a short opening, add a little polyester fiberfill, and close the seam. Thread a split key ring through the exposed ribbon loop; an adult should fit the hardware and handle the needle.
Use a plain contrasting stitch instead of glued beads or buttons. Attach it to a card with a specific thank-you from your child. Treat the result as a decorative charm rather than something to pull hard, and keep loose hardware away from small children.

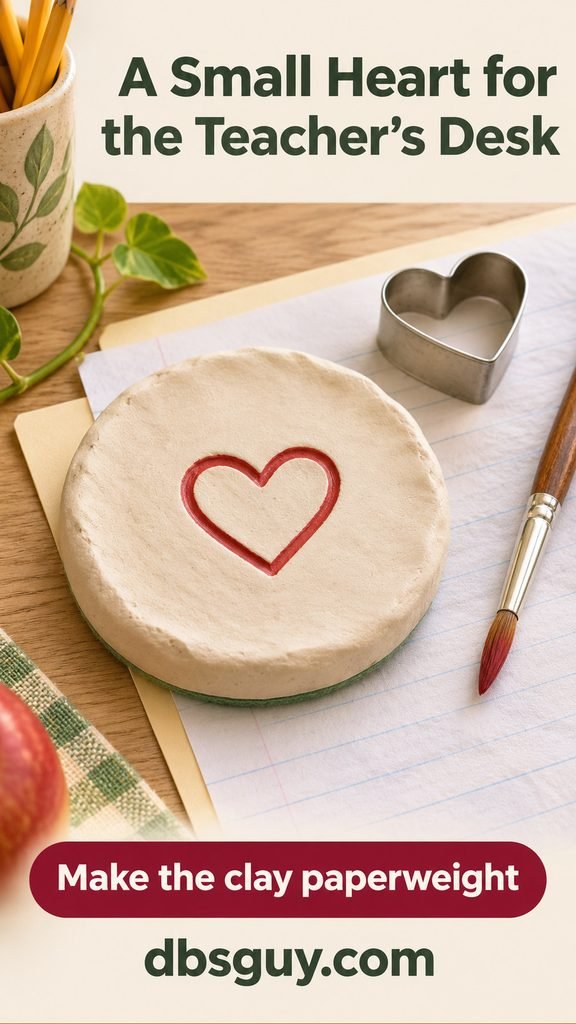
13. A clay-heart desk paperweight
Make this one several days ahead. A simple air-dry clay disk with an impressed heart becomes a small classroom keepsake, and its broad base is easier to finish than a fragile freestanding shape.
Use age-appropriate air-dry clay and follow its recommended thickness. Shape a flat disk about 3 inches across on the work surface recommended by the manufacturer. Press a small heart cutter shallowly into the top to leave an outline, rather than cutting all the way through. An adult can add the child’s first name and year with a suitable blunt tool.
Dry it according to the clay’s directions before painting. For context, Crayola says its Air-Dry Clay generally takes about 72 hours to dry completely, with size and conditions affecting the time. A surface that feels dry is not necessarily ready to paint.
Once fully dry, paint the heart and let that finish dry as directed. Add a thin felt base with compatible craft glue, keeping it flat. Mark it for indoor, dry use: sealing Crayola Air-Dry Clay does not make it waterproof. This is a desk object, not a food-contact piece.
Finish with one specific thank-you
Let your child name something the teacher actually did. “Thank you for helping me sound out long words” or “I liked the way you explained our science project” says more than a generic message copied onto every tag. Use the child’s own words, even if the sentence is short.
Put the teacher’s name on the outside, the child’s first name and class on the card, and any care or ingredient information on a separate slip. Keep food sealed away from painted or glued crafts. Choose a bag or box the child can carry upright.
If you are making a card to go with the gift, the simple layouts in these Valentine card ideas can give a drawing and a short message room to stand out.
Questions about homemade teacher Valentine gifts
What if the school does not allow homemade food?
Choose a bookmark, thank-you book, paper bouquet, or another approved nonfood project. Check the school’s material rules too; a craft does not automatically fit every classroom’s needs. A handwritten card can be the entire gift.
Can a young child make these gifts?
A young child can paint the bookmark, dictate the thank-you book, decorate a prepared pencil cup, or contribute prints to the tree with appropriate supervision. Prepare cutting and assembly steps in advance. Save sewing, heat-setting, and hot-food steps for an adult or a suitably supervised older child.
How far ahead should we start?
Paper projects can be made ahead once their paint or glue is dry. Check material labels for the tote, pencil cup, and clay: curing and drying can take longer than the decorating itself. For food gifts, work backward from the recipe’s storage directions and the actual school handoff date.
Do we need to add a purchased gift?
No. Keep the gift within school rules and your own budget. If you want an extra, choose something connected to the project, such as pencils for the cup or sticky notes for the tray. The personal note can do the rest.