17 Valentine Bedroom Decor Ideas for Teens With Heart Art and Photo Displays

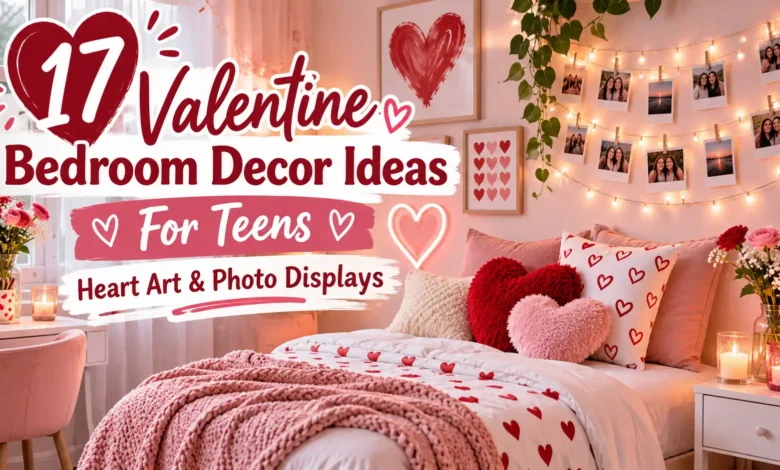
A heart-shaped photo board gives a teen bedroom a Valentine focal point without changing the furniture. A painted poster works when you want color, and a desktop album suits a room where the walls are already full. Start with the spot you want to decorate, then choose a display that fits it.
These 17 Valentine bedroom decor ideas for teens mix heart art, friendship notes, and photo displays. Pick one main project and repeat its color in a small detail you already own. Friends, family, pets, and favorite places all belong in the pictures.

The visuals are AI-generated styling concepts that illustrate the projects, not photographs of tested, completed rooms.
Choose a display that fits your room
- For lots of photos: try the heart collage, two-row clip display, or wire grid.
- For a small desk: choose the flip album or embroidery hoop on a compact stand.
- For a wall you cannot alter: use an easel-backed poster, tabletop shadowbox, or folding display.
- For a room with an established style: pull one color from your bedding into the art. Burgundy works with charcoal; lilac softens a cream room; red gives black-and-white photos a clear border.
Use photo copies for anything you will pin, trim, tape, or clip. Measure the available space before printing. If a parent is helping with the room, let the teen choose which pictures and artwork stay on display.
For wall-mounted pieces, match the hardware to the wall, the complete display weight, and the product instructions. Removable adhesive is not a promise that every paint finish will stay intact. For example, Command’s picture-hanging strip instructions prohibit hanging over beds or on wallpaper and specify waiting seven days after painting and one hour before rehanging the frame during installation. Follow the directions for the exact product you use. The wall displays below belong beside a desk or dresser.
1. Arrange snapshots into a heart silhouette
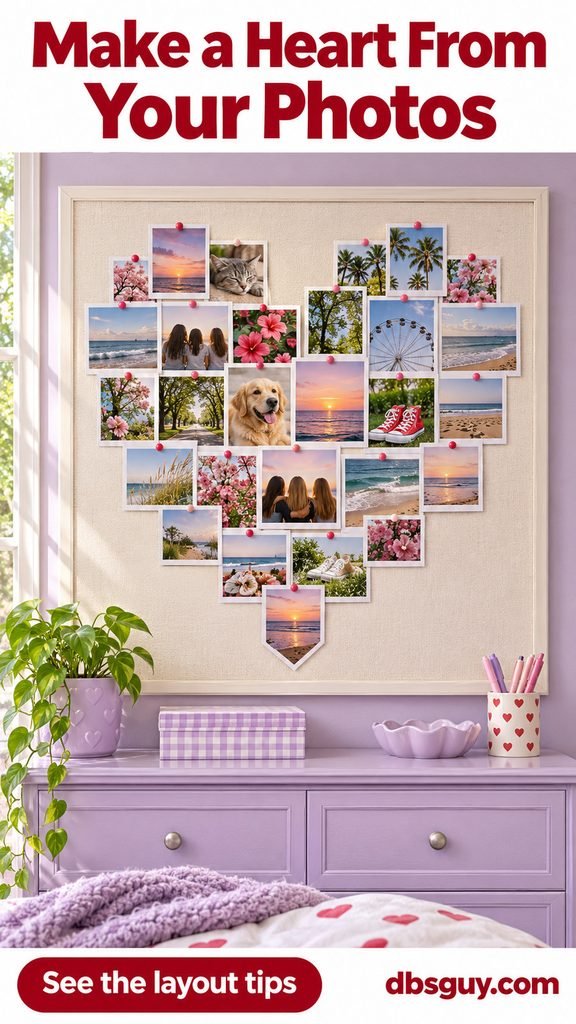
A photo heart makes the people and places in the pictures the decoration. Use a large cream pinboard so the outline has room to stand out. Small prints of different heights can work together if their borders are similar.
Lay the arrangement on a table first: make two rounded clusters at the top, bring them together across the middle, and narrow the lower rows to one point. Take a phone picture before transferring the prints to the board. Keep pale photos and darker ones spread across both halves so one side does not feel heavier. Pin through the borders of copies, and leave a clear margin around the finished heart.
2. Hang a three-heart art series above the desk
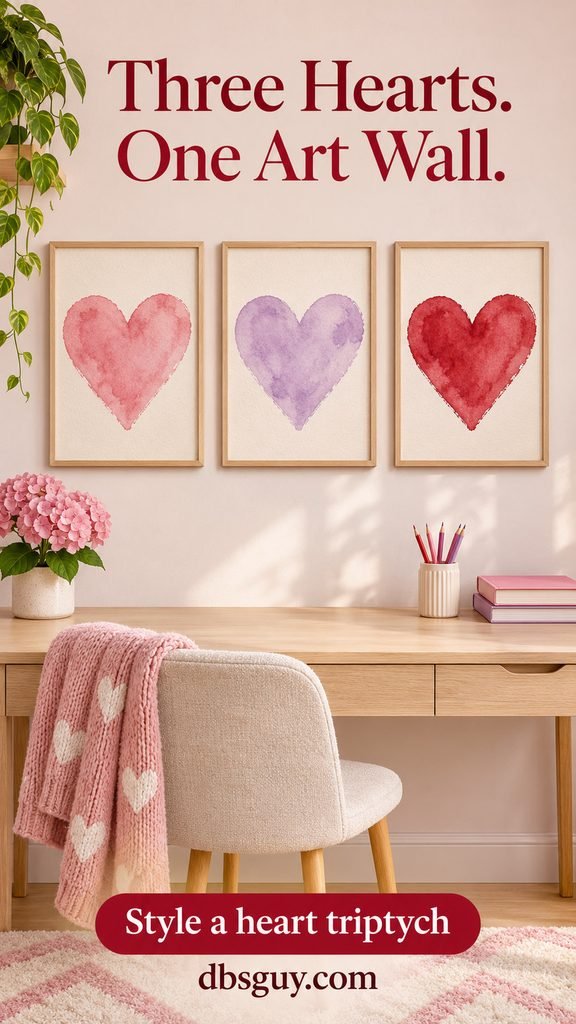
Three matching frames make loose, handmade paintings feel like a set. Paint one rose heart, one lilac heart, and one cherry heart on separate sheets of watercolor paper. Keep the hearts roughly the same size and leave white space around each.
As a starting layout, three portrait 8-by-10-inch frames with 2-inch gaps need 28 inches of wall width. Adjust the size to your desk, and make paper frame templates to check the placement before mounting. Align the frame tops; the hearts themselves can keep their uneven painted edges.
For different painting techniques, browse 17 Valentine Art Ideas With Watercolor, Collage, and Colorful Hearts.
3. Make a two-row photo clothesline
A pair of cotton-twine lines suits someone who regularly swaps pictures. Mount two pairs of suitable hooks above a dresser, then tie a separate line between each pair. Allow a shallow dip; a deep swoop bunches the prints together.
Clip lightweight photo copies along the twine with mini wooden clothespins. Add a few small paper hearts between them, keeping the pictures easy to see. Space the rows far enough apart that the upper prints clear the lower line. Test with blank paper first, and stop adding clips if the line or its supports begin to pull out of position.

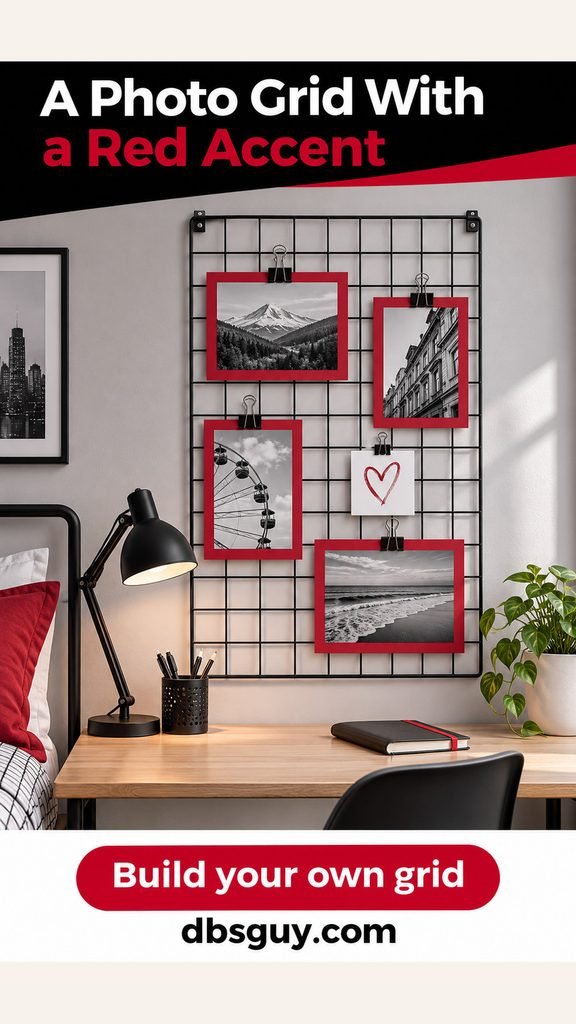
4. Give a black wire grid red photo mats
This is a good fit for a room with a black lamp, dark furniture, or graphic bedding. Print a small selection of photos in black and white, mount each on red cardstock with an even visible border, and attach them to a black wire grid with binder clips.
Leave some empty grid between the pictures. One small heart drawing can carry the Valentine theme without filling every square. Use the grid’s specified wall fixings, accounting for the clips and photos as part of the load. After February, replace the heart card or change the red mats while keeping the same display.
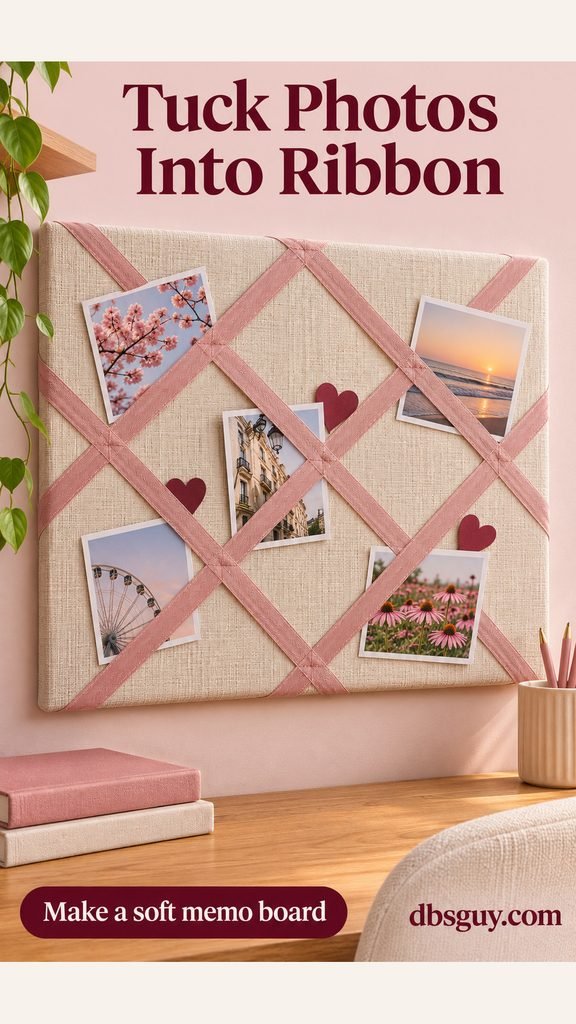
5. Tuck pictures into a fabric-and-ribbon memo board
A ribbon board adds a soft surface to a room with lots of screens and hard furniture. Choose a ready-made board with a snug ribbon lattice, or cover a rigid backing with fabric and secure the fabric on the back. Stretch ribbon diagonally in both directions, fasten its ends behind the board, and secure the crossings so the lattice stays in place.
Tuck photo corners beneath the ribbons, checking that each print stays put when the board is upright. Use a few burgundy paper hearts as accents. If a picture slides, move it to a tighter crossing; avoid covering the face or main subject with ribbon.
6. Paint a checkerboard heart poster
A large checkerboard heart gives the room one bold piece of art. Draw a heart lightly on sturdy art paper, then pencil a square grid inside it. Paint alternating squares cherry red and pale pink, keeping the outside of the heart plain.
Try the pattern on scrap paper before starting the poster. Once the paint is dry, erase visible pencil marks and put the artwork in an easel-backed frame that fits fully on the dresser. A narrow frame and a clear surrounding surface let the pattern do the work. Keep the frame toward the back, away from an edge where a backpack could catch it.

7. Attach photo strips to a wide mirror frame
A broad mirror frame can hold a few memories while leaving the glass useful. Print narrow strips with three small photos stacked vertically. Check their width against the frame before printing a full set; the strip should fit on the frame without covering the mirror.
Place two strips down one side and one on the other, with a few flat paper hearts in the gaps. Use a removable attachment suitable for the frame’s finish, testing an inconspicuous spot first. Keep everything flat so it does not catch on a sleeve or hairbrush. This works best on a sturdy mirror already installed as intended.

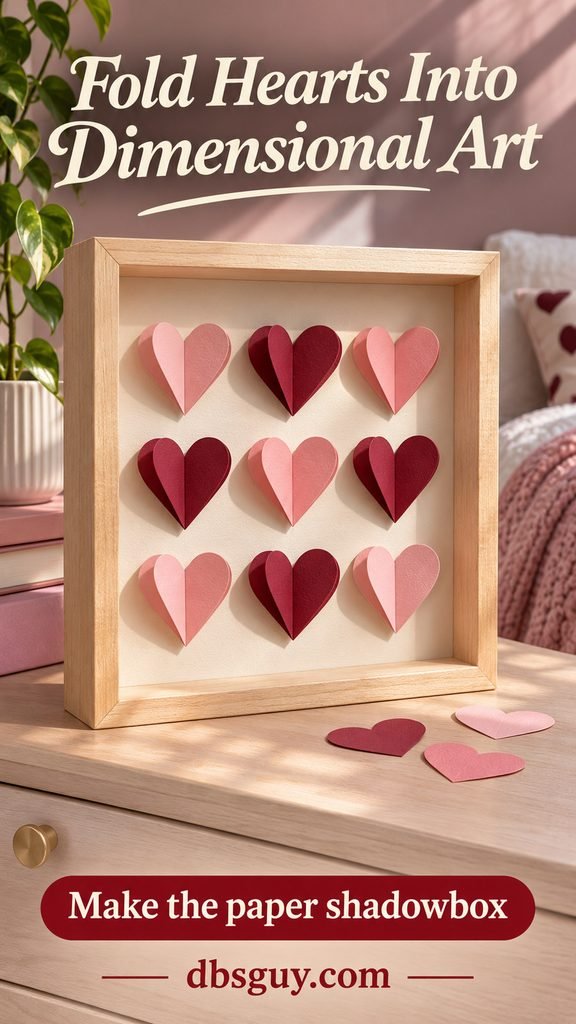
8. Fill an open shadowbox with folded paper hearts
Nine folded hearts turn a small box frame into dimensional art. Cut one heart template and use it to make nine matching shapes from blush and burgundy paper. Fold each vertically, then open it slightly so the two sides lift away from the backing.
Mark a three-by-three arrangement on a separate backing sheet. Apply a thin line of craft glue along each heart’s back crease and attach it, keeping the raised sides free. Let the glue dry flat before placing the sheet in an open-front shadowbox. Set the box where side light catches the folds, and check that its depth gives the paper room to lift.
9. Display friendship notes in little envelopes
Use six small kraft envelopes in two rows of three on a corkboard. Pin each through its open top flap into the cork, keeping the pocket clear. A red heart on the front ties the envelopes together; the notes inside can stay private.
Fill them with a thank-you, a shared memory, or something you appreciate about a friend. Leave enough room above each pocket to pull the card out. A blank card peeking from one envelope makes the display feel inviting without putting the message on show. For more ways to pair a message with paper art, see 21 Valentine Card Ideas That Make a Simple Message Feel Personal.

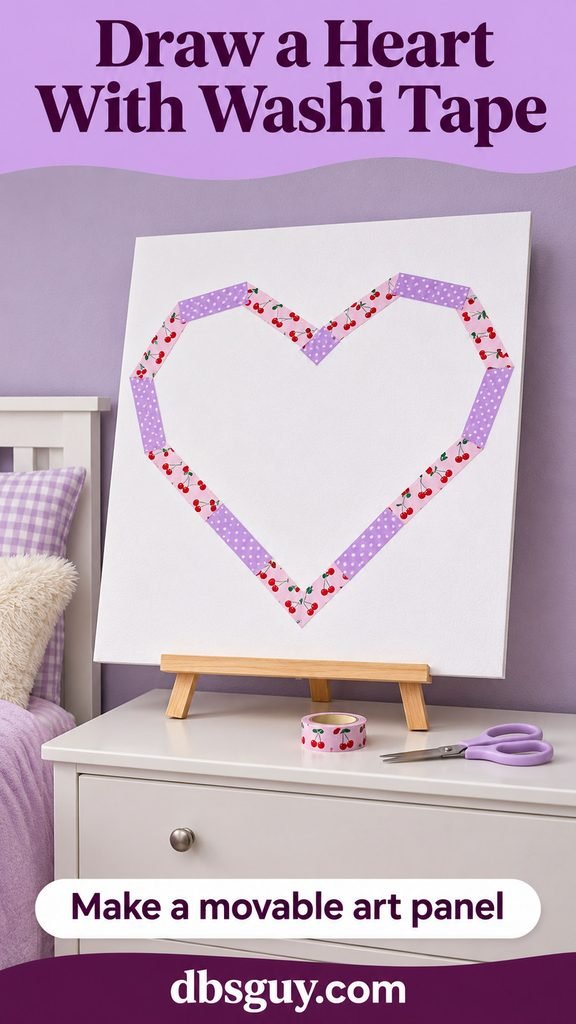
10. Make a washi-tape heart on a movable panel
Put the tape on a display board when you want a large heart outline without attaching it to a painted wall. Start with a clean white panel and sketch a faint heart. Build the outline from short strips of patterned washi tape, changing direction gradually around the curves.
Overlap the ends slightly, then trim awkward corners with scissors. Lilac tape and a red-heart pattern give the outline variation while the center stays open. Stand the panel on an easel rated for its size. Lift it by the board, rather than the tape, when moving it. The whole piece can go into storage after Valentine’s Day.
11. Use an existing picture ledge for a tiny gallery
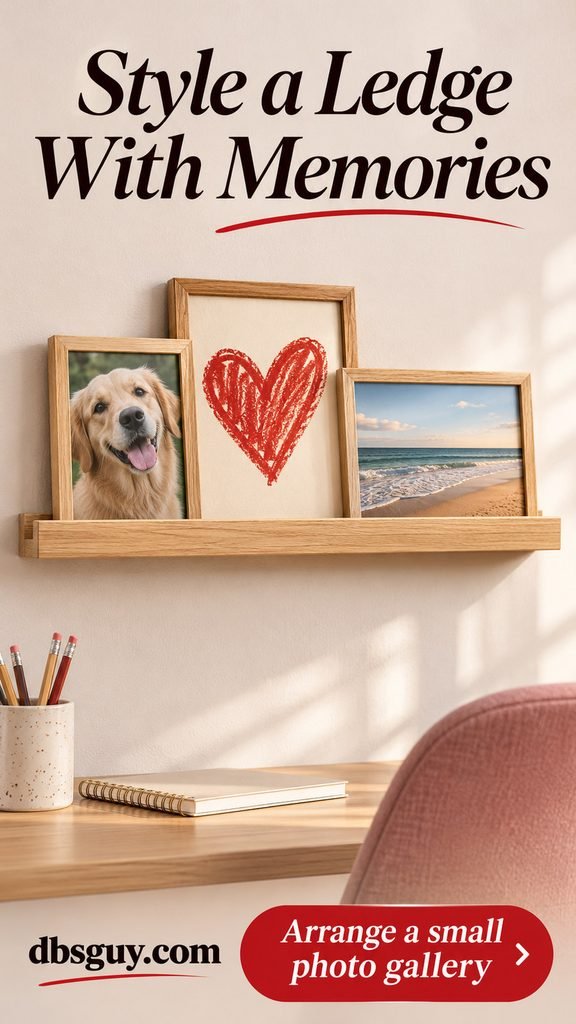
If the room already has a properly mounted picture ledge, change its contents for February. Try one pet portrait, one larger heart drawing, and one landscape photo. Keeping the frames in a similar wood finish makes different images feel connected.
Put the tallest frame behind the smaller ones and overlap only the edges, leaving the subjects visible. Each base should sit completely on the ledge behind its retaining lip. Stay within the shelf’s load limit and keep this arrangement away from the bed. The advantage is the easy reset: you can change the art without adding more wall attachments.
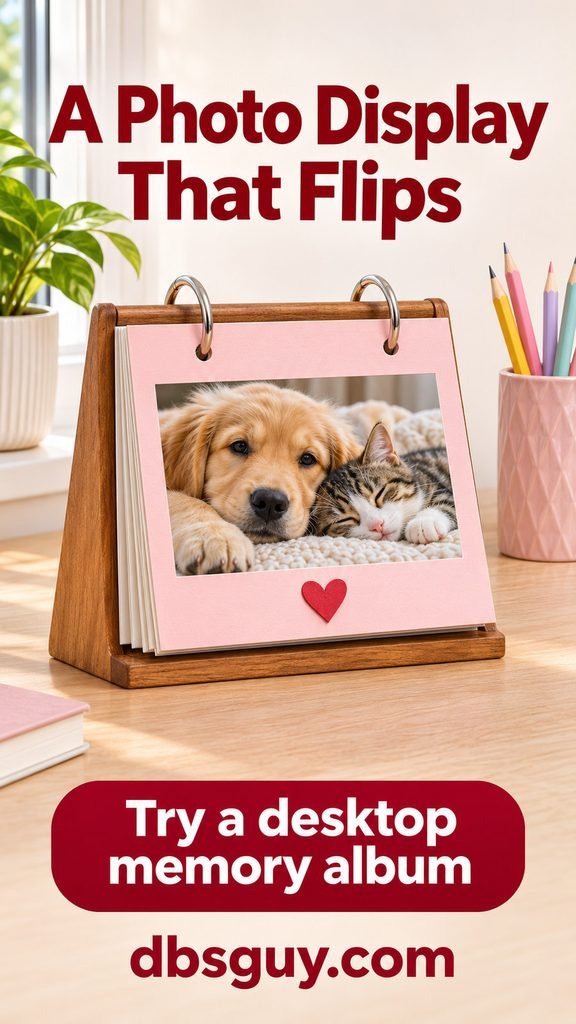
12. Keep a flip photo album on the desk
A freestanding flip album gives one photo the front spot and stores the others behind it. Choose a stable tabletop album with top rings and pages that suit your print size. Add pink or cream cardstock mats and one small paper heart below each picture.
Use photo corners to hold the copies, leaving the ring holes and turning edges clear. Flip through the full stack before choosing its desk position; the pages need space to move over the top. This is useful when you want several memories close by but only have room to display one at a time.
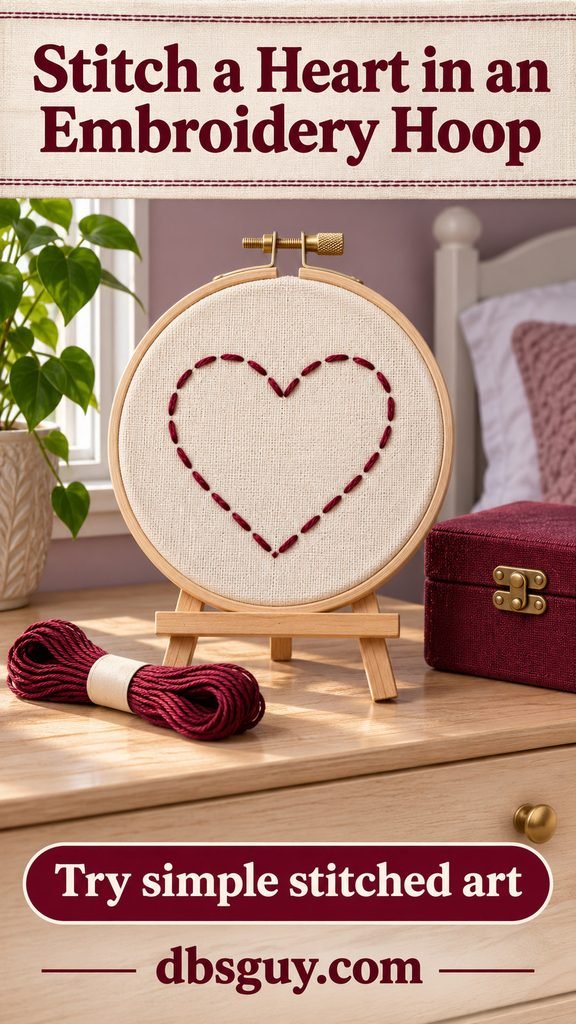
13. Stitch one heart inside an embroidery hoop
A running-stitch heart suits a teen who wants a quiet craft project and a small finished piece. Stretch plain woven cotton in an embroidery hoop, tightening it until it lies smooth. Lightly draw a heart in the center with a fabric marker that can be removed according to its instructions.
Use embroidery floss and a suitable needle to follow the outline with short, evenly spaced running stitches. Keep the tension gentle so the fabric does not pucker. Secure the thread ends at the back and remove the marking as directed. Put the hoop on a small stand, with the needle returned to its sewing case.
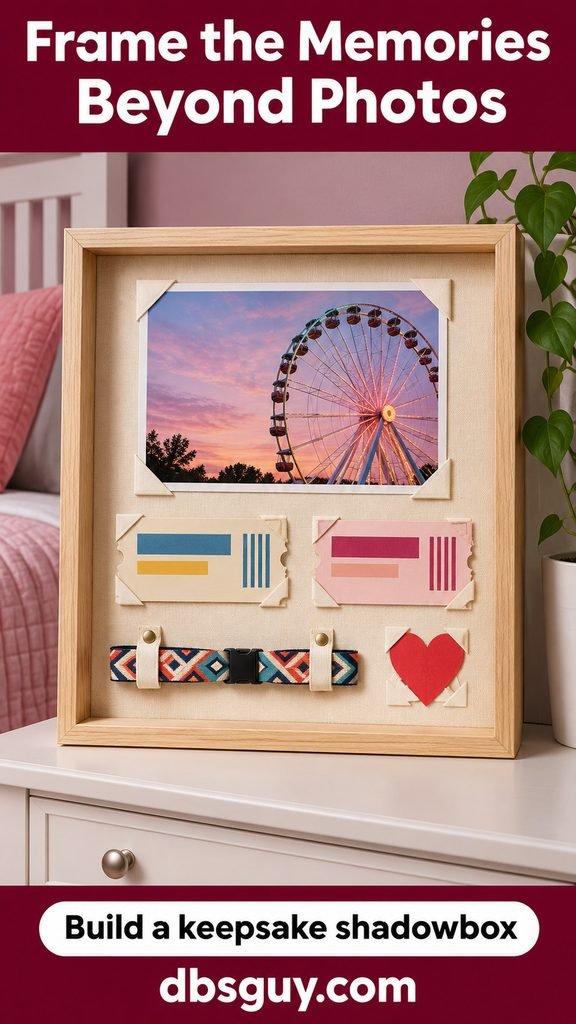
14. Frame tickets and a wristband with one photo
A keepsake shadowbox tells more of a story than a photo alone. Start with one picture from a day out, then add copies of ticket stubs and a fabric wristband. A small red paper heart gives the collection a Valentine detail.
Arrange everything on the backing before fastening it. Hold paper copies with photo corners and use small fabric loops secured through the backing for the wristband. Choose a box deep enough that the band does not press against the front. Keep irreplaceable originals stored separately if you are unsure how the display materials will affect them. Use scans when you want to preserve the originals untouched.
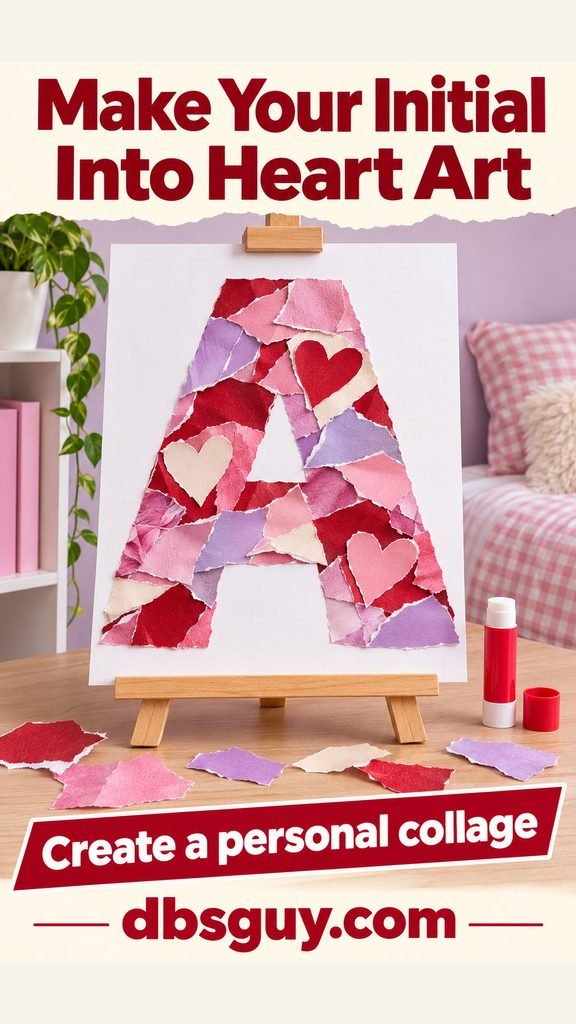
15. Turn an initial into a torn-paper collage
Make the room’s Valentine art personal with one large initial. Draw a broad block letter on sturdy white paper, leaving a generous outside border. The example uses an A; choose the letter that belongs in your room.
Tear colored paper or word-free magazine scraps into small pieces and dry-fit them inside the shape. Mix red, lilac, pink, and cream, then glue them down with light overlaps. Add a few heart cutouts while keeping the letter’s inner spaces clear. Let the collage dry flat before putting it on a tabletop easel. Wide letter strokes give you more room to work than a thin script initial.
16. Sew a heart pocket onto a pillow cover
A felt heart pocket brings the art off the wall and onto the bed. Remove the pillow insert from a plain cover. Cut a heart from felt, checking that its widest part will hold a small folded note.
Place it on the front of the cover and stitch down the sides and around the point, leaving the upper edge open as the pocket entrance. Keep the back of the pillow cover out of the stitches. Secure the ends, remove all pins and needles, and replace the insert. Tuck in a card for display and take it out before using the cushion. Follow the care requirements of both the cover and felt when cleaning.

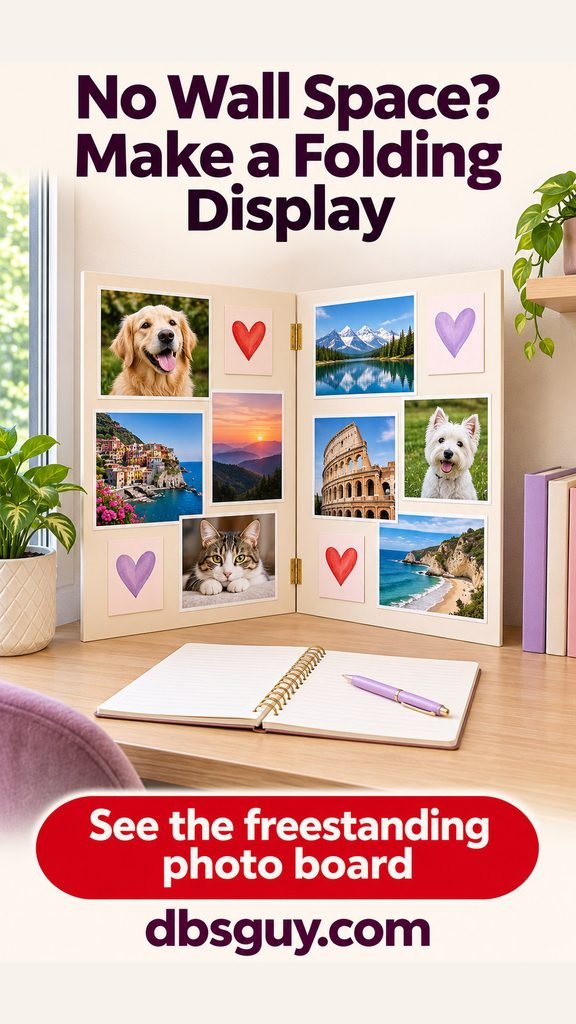
17. Stand a folding memory board in a desk corner
A small hinged, two-panel display creates a photo spot without a wall attachment. Choose one that stands steadily when partly open and fits at the back corner of the desk. Check the open width before decorating so it leaves room for a notebook and your arms.
Arrange photo copies and small heart-art cards across both panels, using photo corners to make them replaceable. Keep pictures clear of the hinge so the board closes properly. Try opening and folding it before attaching the last pieces. When you need the desk for a larger project, fold the display and store it upright in a suitable spot.
A few questions before you start
Which idea uses the fewest new supplies?
Start with what is already in the room. An existing corkboard can become the envelope display, a spare frame can hold the checkerboard heart, and leftover paper can fill the initial collage. Printing fewer photos and reusing a display base keeps the project smaller.
How can I make Valentine decor fit a room that is not pink?
Keep the room’s usual colors and change one detail. Use burgundy thread on cream fabric, red mats around monochrome pictures, or paper hearts in the same lilac as a blanket. A heart shape can carry the theme even when the palette stays neutral.
What if I cannot hang anything on the walls?
Choose the flip album, embroidery hoop stand, easel-backed poster, shadowbox, or folding memory board. Check that the base fits fully on the furniture and does not interfere with drawers, a desk lamp, or your working space.
Can the photo displays stay up after Valentine’s Day?
Yes. Remove the seasonal heart cards, change the mats if you want, and keep the photos you enjoy seeing. Before posting a picture of the finished room online, check what is visible in the display and ask friends before sharing recognizable photos of them.