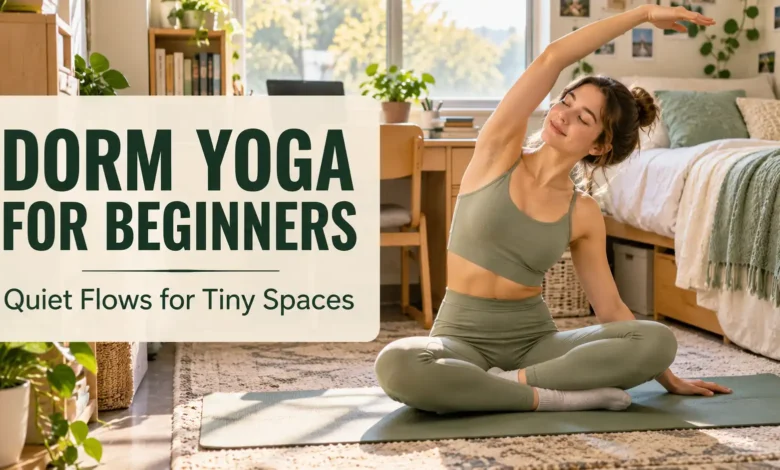
Dorm yoga for beginners can start with a sturdy chair or a mat beside your bed. Choose one of the three quiet routines below, move within a comfortable range, and let each transition take its time. You do not need to touch your toes or follow a fast video to begin.
- Only have room around a chair? Try the 5-minute seated flow.
- Have a clear stretch of floor and feel comfortable getting up and down? Try the 8-minute mat-to-standing flow.
- Want to finish the day with less moving around? Try the 6-minute wind-down.
These are suggested practice schedules, including pauses and transitions—not a treatment plan or a promise of a particular result. Read your chosen sequence once before starting so you can put your screen aside.
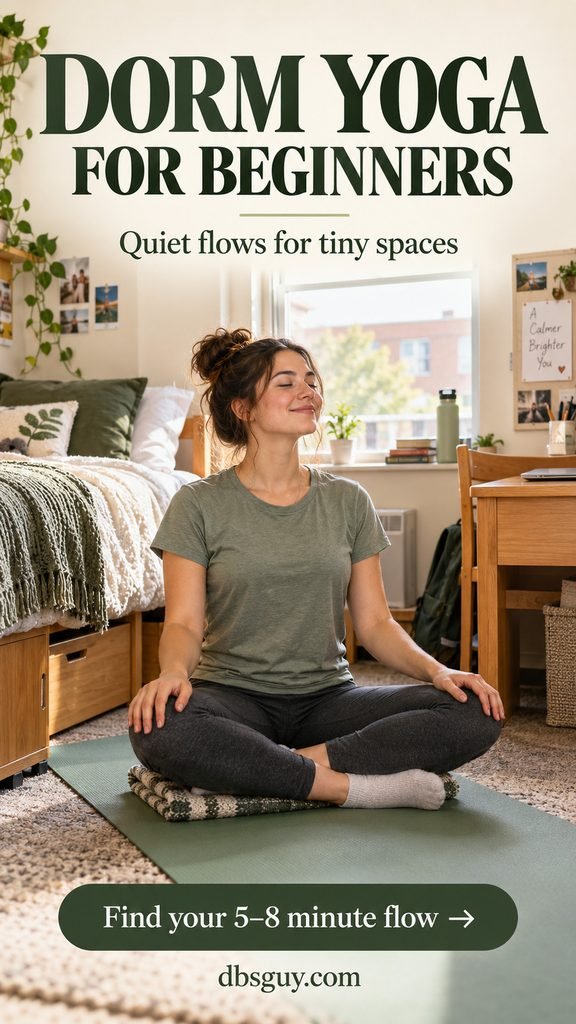
The visuals are AI-generated concepts illustrating the room setup and selected positions. Use the written cues for the movements; the images do not document a supervised class.
Before You Start: Keep the Practice Comfortable
If you are completely new, a qualified yoga instructor can help you learn the positions and adapt them. The National Center for Complementary and Integrative Health’s yoga guidance recommends instruction and advises beginners to avoid extreme poses and forceful breathing.
Use a smaller movement if a stretch feels too strong. Stop for pain, tingling, numbness, or dizziness. If you are pregnant, have an injury or a health condition, or are unsure whether these movements suit you, ask your health care professional about appropriate changes first. Choose the chair routine if getting to the floor and back up is difficult.
Set Up a Small Space You Can Actually Move In
A mat that fits between the bed and dresser is a starting point. Your body also needs clearance. Before practicing, stand and sit in that spot, then check the reach of the movements you plan to use. Keep the door, exit route, and your roommate’s path clear.
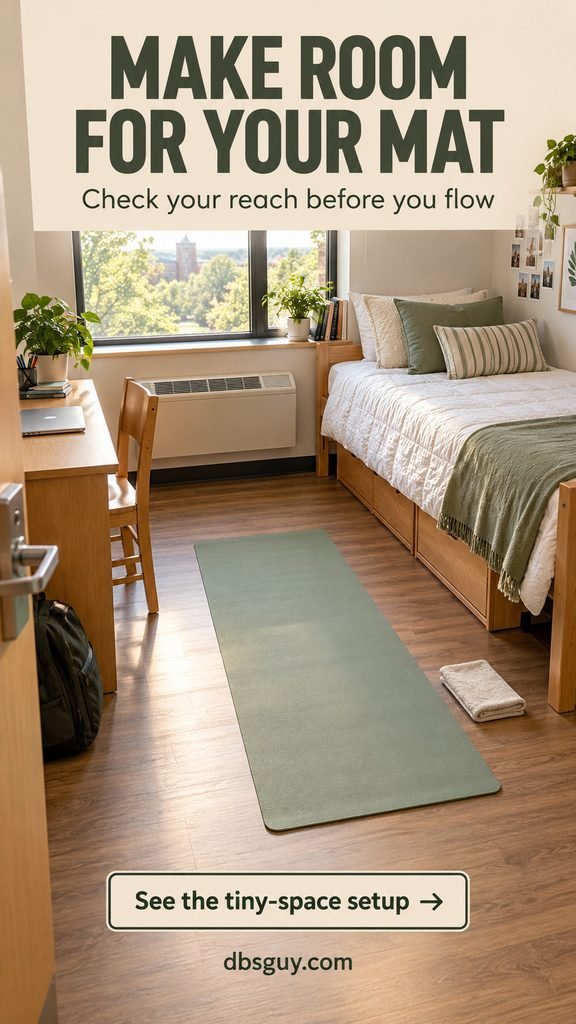
- Use a firm, stable surface. A non-slip mat should lie flat without sliding or bunching. A soft mattress is a poor base for standing or hands-and-knees movements.
- Check above and beside you. Look for a lofted bed, low shelf, desk corner, or ceiling fan before raising an arm. Keep your hands lower when clearance is limited.
- For chair yoga, choose a solid, armless chair without wheels. Your feet should rest flat, with knees bent comfortably near a right angle. Do not substitute a rolling desk chair or a swiveling stool.
- Keep one small towel nearby. A thin fold under your knees may make kneeling more comfortable. Keep it out from under your hands and feet, where it could slip.
- Put guidance where you can see it. Read the next step while resting rather than twisting your neck to watch a phone on the floor.
You do not need candles, fragrance, decorative props, or new workout clothes. Start with clothing that lets you move and breathe comfortably. If your room cannot accommodate the movements without blocking access, use the chair option or find an appropriate campus space.
Flow 1: A 5-Minute Chair Yoga Break
This seated sequence suits a room with little usable floor space. It also keeps weight off your wrists and avoids kneeling. You still need enough room beside the chair for a small side bend.
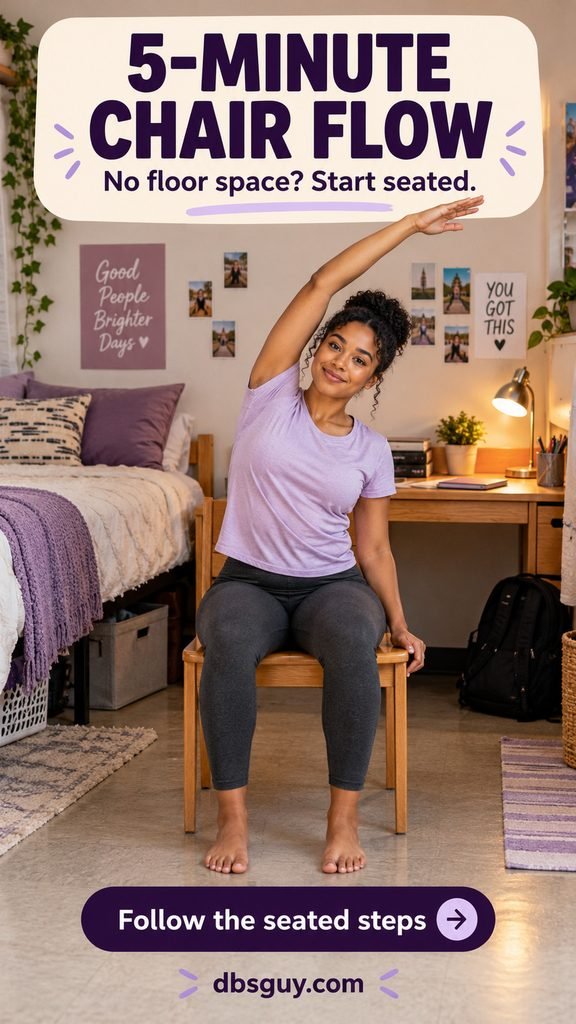
Setup: Sit toward the front of the seat while keeping both sitting bones supported. Plant both feet about hip-width apart. Rest your hands on your thighs and let your shoulders settle.
- 0:00–1:00 — Arrive in your seat. Sit comfortably upright without stiffening your back. Notice the contact of your feet and the chair. Let your breathing stay easy; there is no need to make it deeper or louder.
- 1:00–2:00 — Roll your shoulders gently. With arms relaxed, make a few small circles up, back, and down. Reverse the direction if comfortable, then pause with your shoulders resting. Keep your head still rather than circling your neck.
- 2:00–3:00 — Try a seated cat–cow movement. Keep your hands on your thighs. As you inhale, gently tip your pelvis forward and lift your chest a little. As you exhale, tip it back and softly round your back. Try four to six easy rounds, returning to neutral whenever you need a pause. Avoid throwing your head back.
- 3:00–4:00 — Add a small side reach. Hold the left seat edge lightly with your left hand. Lift your right arm and lean a little to the left, keeping both sitting bones on the chair. Take one or two comfortable breaths, return upright, and switch sides. Repeat once if time allows. Keep the raised hand on your shoulder instead if overhead reaching is uncomfortable or space is tight.
- 4:00–5:00 — Finish upright. Return both hands to your thighs. Let your breathing settle and notice how you feel before reaching for your notebook.
The minute windows include rests. You are not meant to hold a side bend for a full minute or keep repeating a movement that stops feeling comfortable. If the chair creaks or shifts, pause and check it before continuing.
Flow 2: An 8-Minute Mat-to-Standing Flow
Choose this one when you have a clear mat area and can confidently move between the floor and standing. It stays narrow: hands and knees, a gradual rise, then small standing movements. There are no jumps or fast step-backs.
Minutes 0–3: Set Up and Move Through Cat–Cow
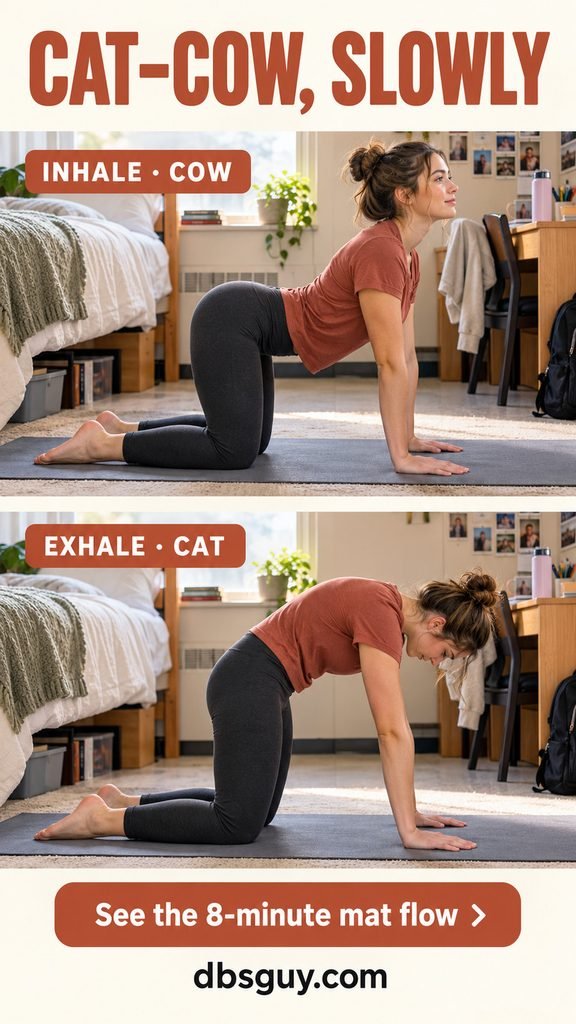
0:00–1:00 — Find a comfortable tabletop. Come onto hands and knees. Place hands about shoulder-width apart under your shoulders and knees about hip-width apart under your hips. Spread your fingers and keep your neck in line with your back. Check that your mat stays still.
1:00–3:00 — Alternate small curves. On an inhale, allow your belly to lower slightly as your chest and pelvis tilt gently upward for cow. On an exhale, softly round your back for cat and let your gaze come down. Return through a neutral back between the two. Keep the motion modest instead of pushing for the biggest arch.
Try four to six slow rounds, pause in neutral, and repeat only while comfortable. Let your breath set the pace. If weight on your hands hurts, or your knees remain uncomfortable with light padding, stop this section and use the seated version in Flow 1.
Minutes 3–8: Rise Slowly and Keep Your Feet Grounded
3:00–4:00 — Make one unhurried transition. Come up using a method you already find steady and comfortable, with a solid chair for support if needed. Place each foot deliberately. Avoid pulling on a rolling chair, lightweight furniture, or the mattress edge. Take longer than a minute if you need it; shorten the next section instead of rushing.
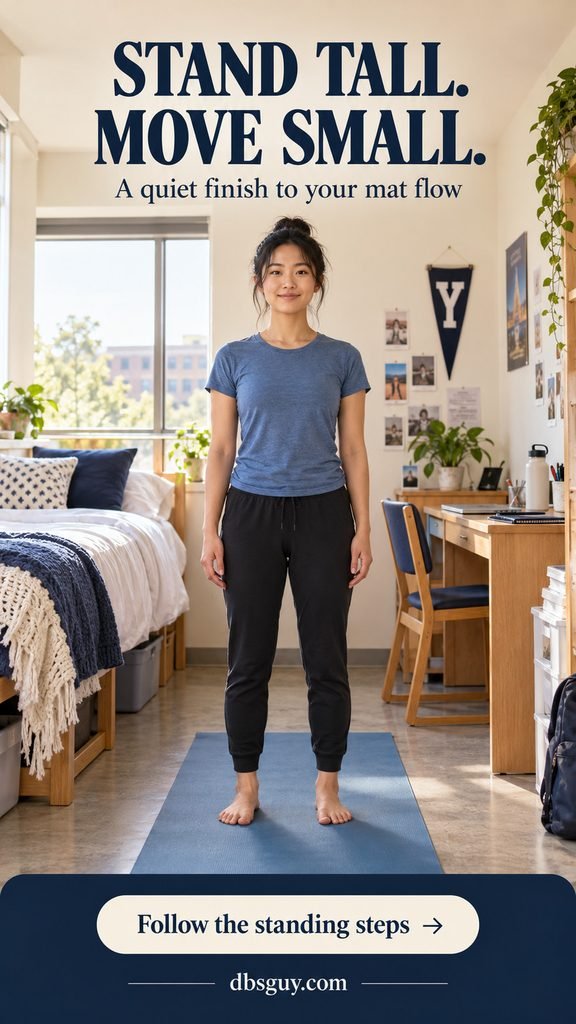
4:00–6:00 — Start in mountain pose, then add a small reach. Stand with feet parallel, about hip-width apart, and knees softly unlocked. Let your arms rest by your sides. If you have checked the clearance and reaching feels comfortable, slowly raise your arms in front of you to a comfortable height, then lower them. Repeat a few times with quiet, regular breathing. Shoulder height is enough; overhead reaching is optional.
6:00–7:00 — Try a short side glide. Keep both feet planted. Slide your left hand a little down the outside of your left thigh, allowing a small sideways bend without turning your chest toward the floor. Return to center and switch sides. Try two or three gentle repetitions each way, resting between them.
7:00–8:00 — Finish with stillness. Return to mountain pose, or sit in your stable chair. Keep breathing normally. If you felt the need to brace, grip your toes, or squeeze between furniture, make more room or choose the seated flow next time.
Flow 3: A 6-Minute Evening Wind-Down
This sequence uses a little seated movement followed by rest on your mat. It can mark the end of a study session without another demanding routine. It does not need to make you sleepy to be useful, and it is not a treatment for insomnia.
0:00–1:00 — Sit and settle. Use your stable chair. Place your feet flat and let your hands rest on your thighs. Choose enough light to see the floor clearly when you move down.
1:00–2:00 — Repeat a familiar movement. Do a few gentle shoulder rolls and one small side reach each way from Flow 1. Keep your range easy; this is not the moment to test how far you can stretch.
2:00–3:00 — Move to the mat without hurrying. Lower yourself in your usual comfortable way. Sit, then use your arms to help you come onto your side and roll onto your back. If floor transfers are difficult, stay in your chair for the remaining minutes.
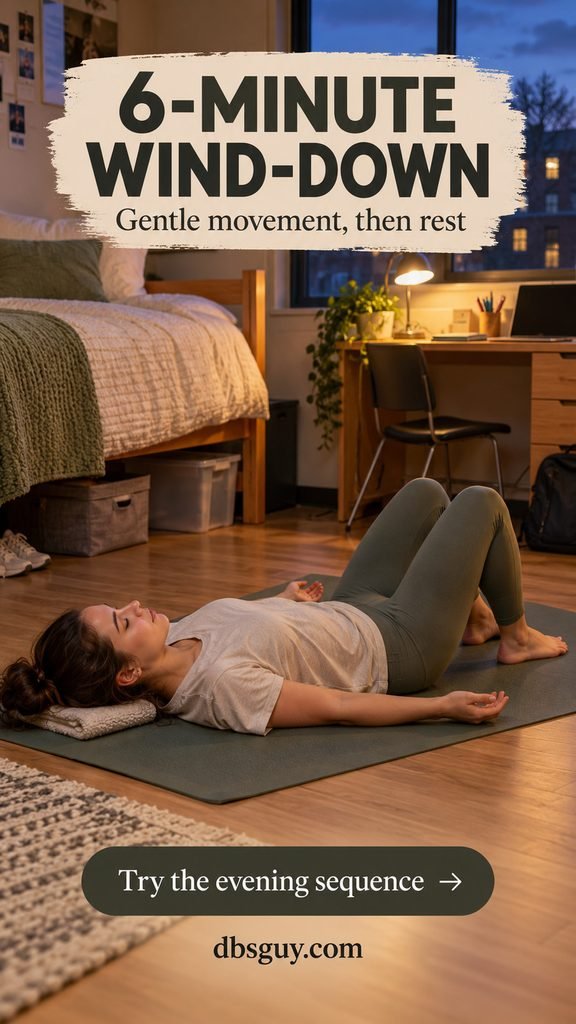
3:00–5:00 — Rest with your knees bent. Lie on your back with knees pointing upward and feet flat, roughly hip-width apart. Let your arms rest near your sides, palms up if comfortable. A thin folded towel under your head is optional if it makes your neck more comfortable. Let your breath come and go gently, without holding it or forcing a long exhale. Shift position or return to sitting if lying this way is uncomfortable.
5:00–6:00 — Come back gradually. Notice the room, roll onto your side, and pause. Use your arms to help you sit up. Take your time before standing. Stop and sit safely if you feel dizzy.
Keep the final two minutes seated if that works better for you. Rest your feet on the floor and use the chair back for support. The point is to finish comfortably, not to complete a particular floor position.
How to Keep Dorm Yoga Quiet
Quiet practice comes mostly from how you change positions. Place your hands, knees, and feet gently instead of dropping into the next movement. Keep both feet on the floor during the standing section, and skip any transition you cannot do with control.
A mat is not soundproofing. Old floorboards, chair legs, and furniture can still make noise. Ask your roommate about timing, keep guidance audio low or use earphones when appropriate, and stop if the space needs to become a walkway. There is no need for forceful breathing or an audible “yoga breath.”
Afterward, follow your mat’s cleaning instructions and let it dry before storing it. Put the chair and mat away so your short practice does not become your roommate’s next obstacle.
Questions Beginners Usually Have
Can I do dorm yoga without a mat?
Use the chair flow if you do not have a suitable floor surface. For the mat routine, you need dependable grip and comfortable support for your hands and knees. A loose towel or sliding rug is not a good substitute. You can start seated without buying equipment.
What if I am not flexible?
Use the smallest comfortable range and return to your starting position between repetitions. Keep your arm lower, make the curve of cat–cow smaller, or skip a movement. Nothing here requires a deep forward fold, a split, or sitting in lotus.
Can I practice on my bed?
A bed can be a comfortable place to rest and breathe, but keep the standing and hands-and-knees sequence on a firm, stable surface. If the floor is unavailable, choose the chair flow rather than balancing on a mattress.
Do I need to do all three flows?
No. Pick one that fits your space and energy today. You can also stop after a comfortable movement and a short pause. These timings are planning guides, not targets you need to push through.
What should I change if my wrists or knees bother me?
Skip tabletop and use the chair routine. Light knee padding may improve comfort, but it is not a reason to continue through pain. Get advice about persistent symptoms rather than trying to stretch them away.
Make the Next Session Easy to Start
Choose the chair, mat, or wind-down sequence before opening a video or moving furniture. Leave yourself enough time to change positions slowly. After your first session, remember which setup felt comfortable and which movement you would rather skip—that is useful information for your next practice or a conversation with an instructor.
Also Read
- First Week of College: The Freshman Survival Guide (Orientation to First Friday) — for fitting everyday needs and small routines around your class schedule.
- 23 Easy Microwave Recipes for Dorm Rooms: No Kitchen Needed — for another practical part of living well in a small dorm.