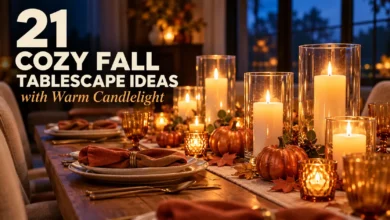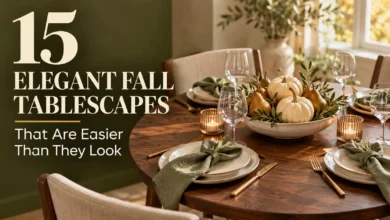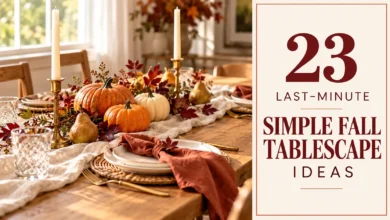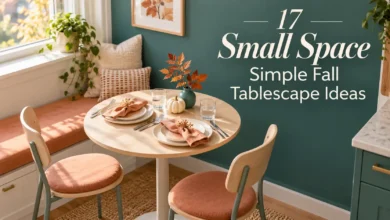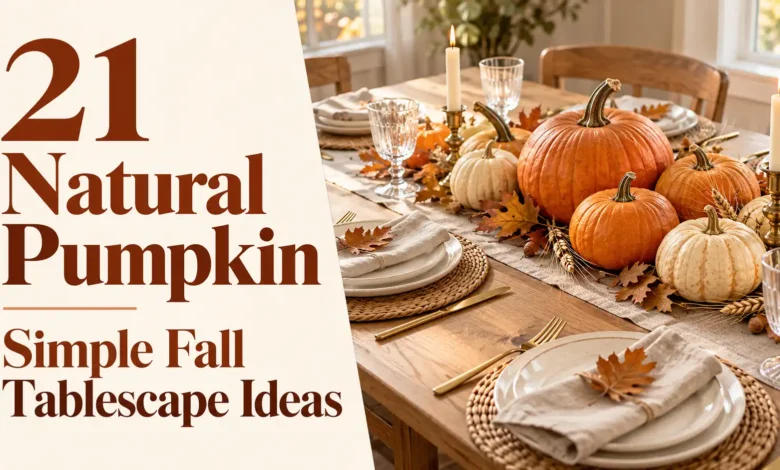
A real pumpkin can do most of the decorating for you. Give it a clear place on the table, repeat one of its colors in your napkins, and leave the rest of the surface useful for dinner.
These 21 simple fall tablescapes use natural, unpainted pumpkins in different ways: a single sculptural centerpiece, a row of minis, individual place cards, and arrangements built around flowers, herbs, or linens you may already own. Choose one complete look rather than trying to fit several onto the same table.
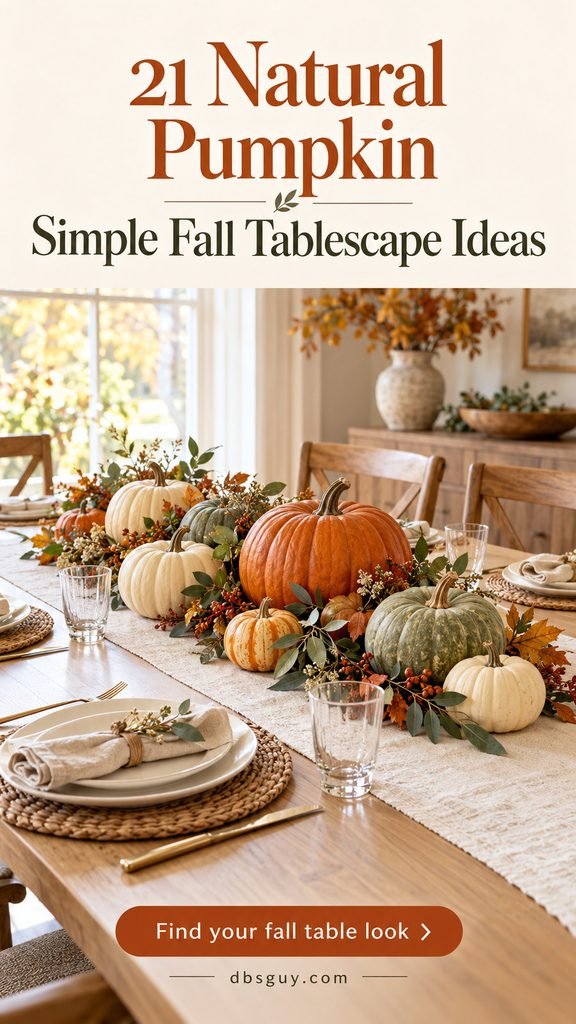
The visuals in this guide are AI-generated styling concepts. They illustrate the arrangements rather than document completed or tested tables.
Choose a Pumpkin Layout Before You Shop
- Fewest pieces: use one distinctive pumpkin in idea 1.
- Small table: contain the arrangement in the bowl from idea 3.
- Family-style dinner: choose place cards in idea 5 or the end arrangement in idea 17.
- No flowers to refresh: try wheat, a flat wreath, or the harvest basket in ideas 11, 20, and 21.
Here, “natural” means real pumpkins with their original skin and stems. Mini pumpkins suit place settings and narrow runners; a squat larger pumpkin works as a single focal point. Choose firm pumpkins without soft spots, cuts, or cracks. Support them from underneath instead of lifting them by the stem.
Start with a runner, a bowl, or bare wood according to the table you have. For a broader range of materials and color schemes, browse our fall table decor ideas.
1. Let One Heirloom Pumpkin Be the Centerpiece
Choose a squat pumpkin with deep ribs, a crooked stem, or a softly mottled surface. Set it on a plain oatmeal runner and surround it with white plates and clear glasses. The pumpkin’s shape supplies the detail, so there is little reason to add flowers or a garland.
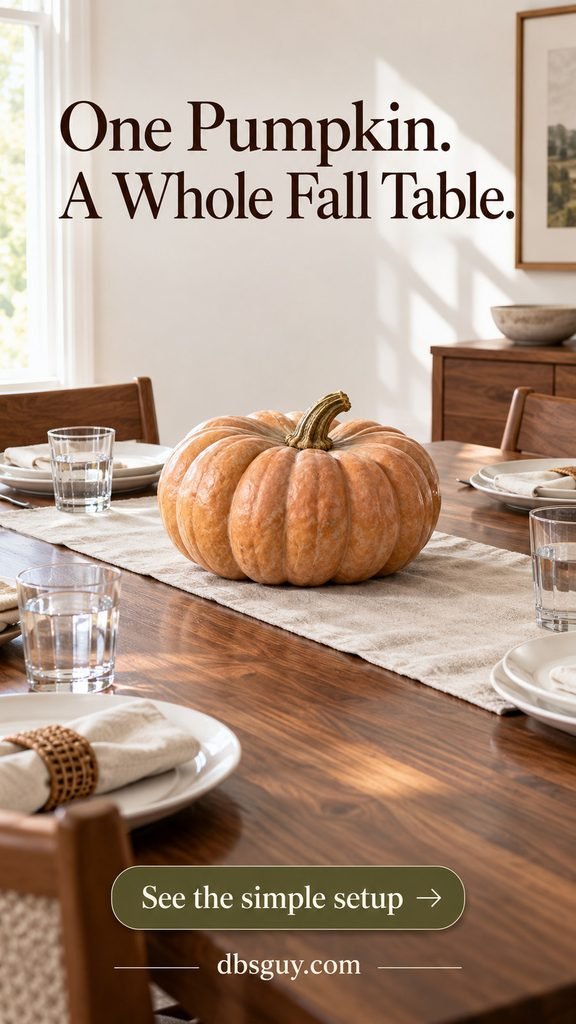
Look at its width before buying: a broad pumpkin can crowd a narrow table even when it is short. Put your largest serving bowl on the table first, then choose a pumpkin that fits the space left over. A small saucer underneath can help protect the linen.
2. Space Mini Pumpkins Down a Narrow Runner
For a rectangular table, try five mini orange pumpkins in a loose line. Keep each one separate instead of filling the gaps with leaves. A narrow cream runner connects them visually while rust napkins repeat the orange at the seats.
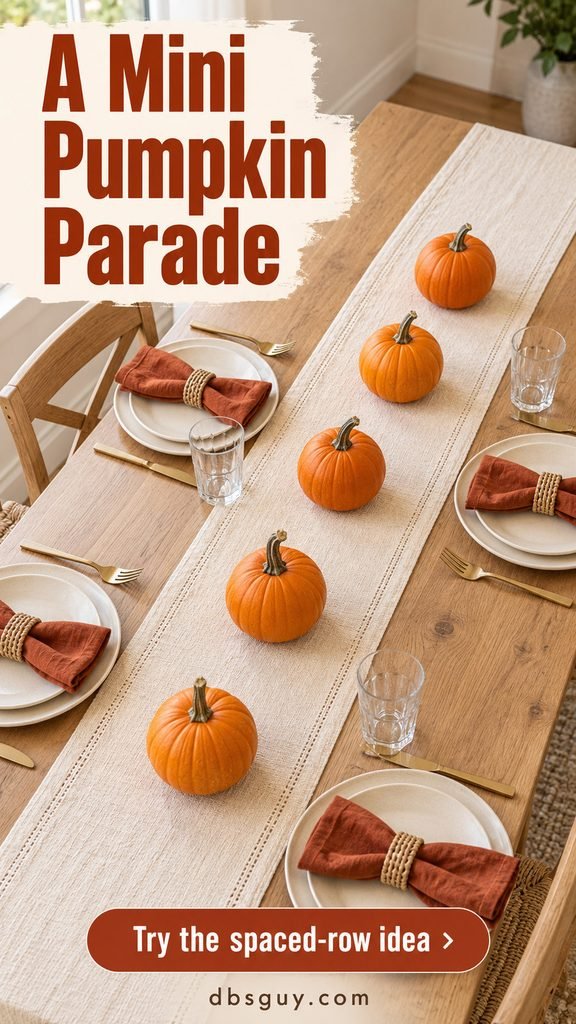
Five is a starting arrangement, not a rule. On a shorter table, use three; on a longer one, add pumpkins only after checking the serving space. Leave a deliberate gap where a bread basket or gravy boat will go. The open stretches are what make this layout practical for an everyday meal.
3. Contain a Round-Table Centerpiece in One Shallow Bowl
A small round table usually needs a compact center rather than a long runner. Nestle three mini pumpkins in a shallow bowl: one ivory, one muted green, and one orange. Their shared size keeps the different colors from feeling busy.
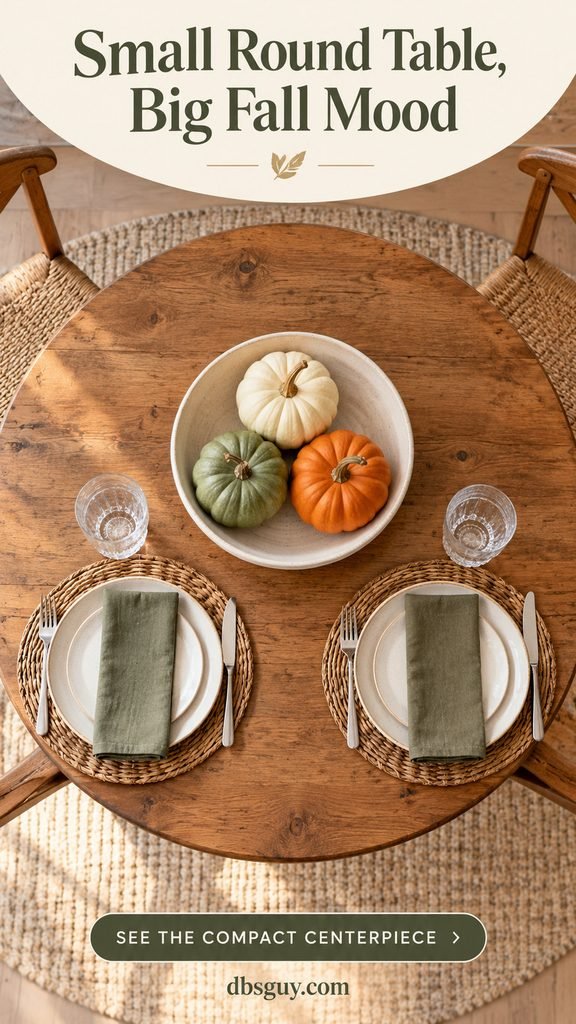
Use a bowl wide enough for a single layer, with the stems pointing up. A deep vessel hides the pumpkins; a piled arrangement adds height without helping anyone eat. Set out both place settings before positioning the bowl. If there is no easy place for a shared dish, move the bowl to a nearby counter when dinner arrives.
4. Put the Pumpkin Arrangement on a Handled Tray
A tray is useful when the same table needs to look finished before guests arrive and hold several dishes afterward. Group three small orange and cream pumpkins on a wooden tray with handles. A folded linen napkin softens the base without adding loose pieces.
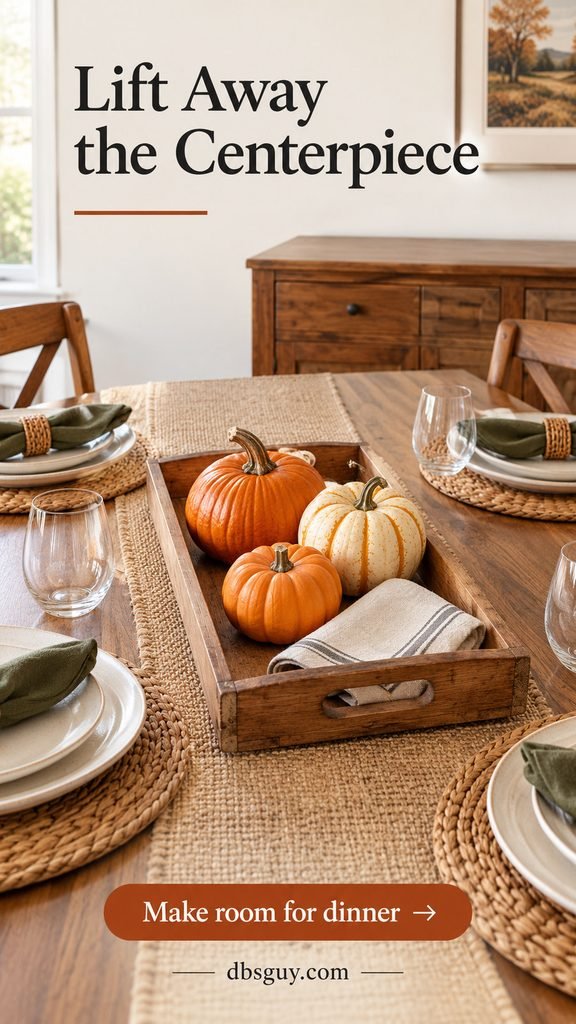
Leave the handles clear and test the weight before the meal. Then clear a landing spot on a sideboard. Moving the whole arrangement should take one trip, without balancing an oversized pumpkin or catching fabric on a glass. Use a tray you can comfortably lift; its appearance matters less than its grip and stability.
5. Turn Mini Pumpkins into Place Cards
Give each guest a mini pumpkin with a small paper name tag loosely tied around the stem. Put it beside the plate rather than on the eating surface. This brings the fall detail to each seat and lets you keep the center of the table open.
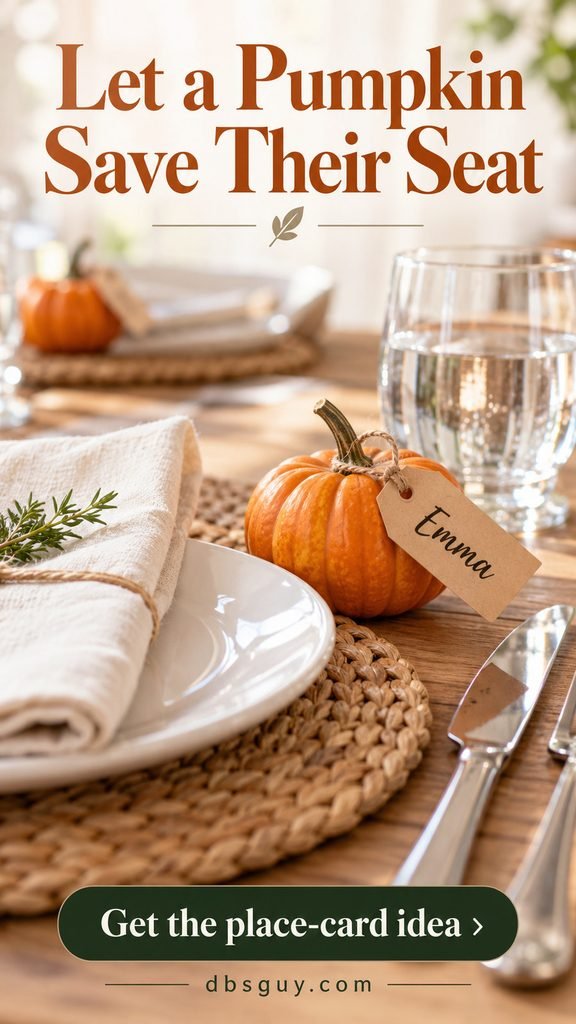
Write and punch the tags before setting the table, then turn each name toward its guest. Choose pumpkins small enough to sit clear of the water glass and cutlery. Carry them from underneath when moving them; the decorative stem is not a handle. If the place setting feels tight, leave the pumpkin on a sideboard with the guest’s name instead.
6. Warm Up White Pumpkins with Amber LED Lights
Pair three small ivory pumpkins with two low amber-glass holders containing battery-operated tea lights. The warm glass gives a pale table some depth, especially with flax linen and cream dishes. A few short greenery sprigs can soften the line, as shown, but the pumpkins and lights are enough on their own.
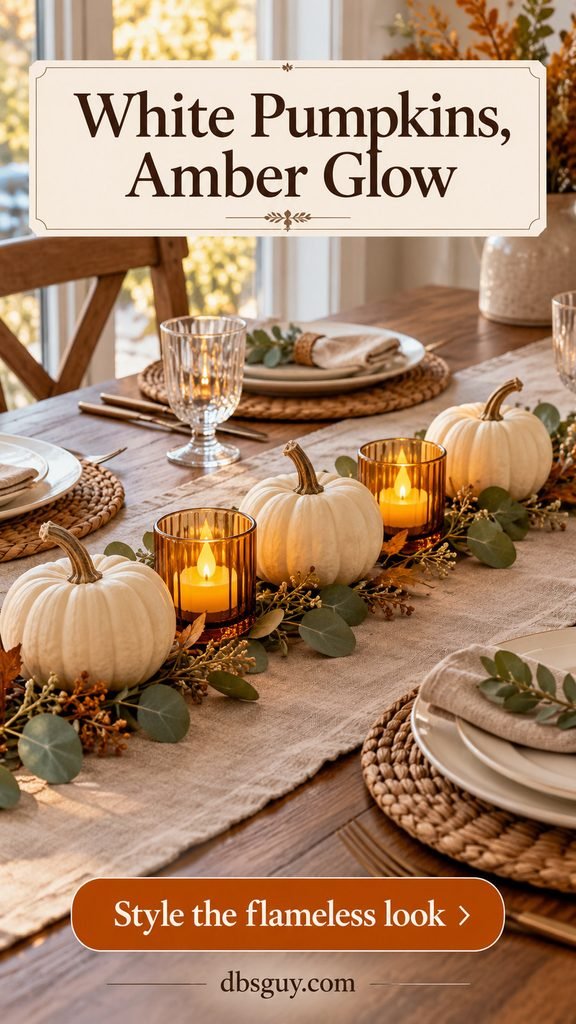
Check the lights inside the holders before guests arrive: dark amber glass can mute a weak LED. Keep the holders low and stable, and follow the lights’ instructions. This is an evening option for a table that already has enough room; do not squeeze glass between a guest’s plate and elbow just to complete the pattern.
7. Pair Sage-Gray Pumpkins with Copper Accents
Naturally gray-green pumpkins work well with sage napkins and warm metal. Place one beside a smaller cream pumpkin, then use a copper-colored tumbler or another copper accent you already own. Bare wood keeps the combination earthy.
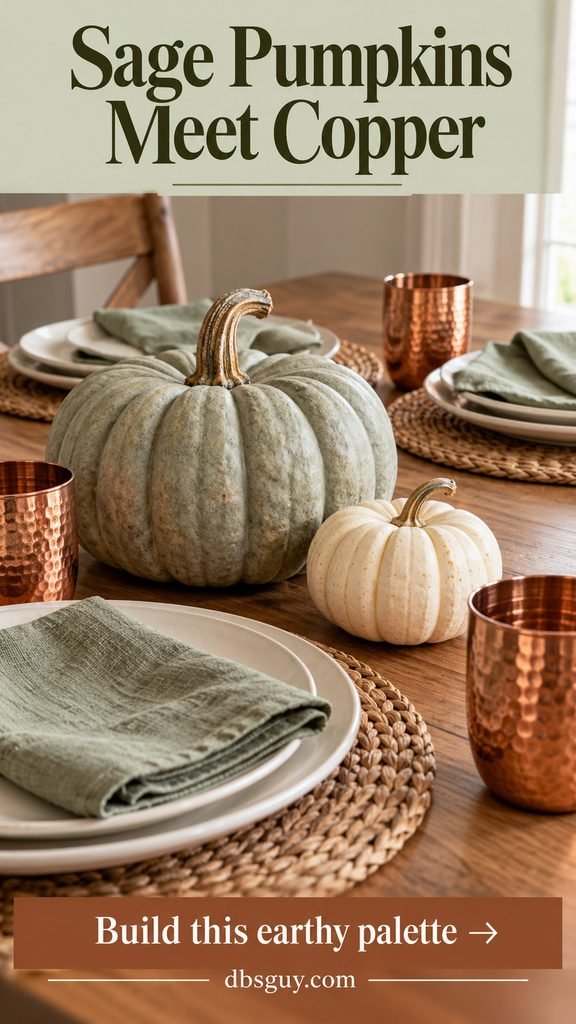
Buy by the actual skin color rather than relying on a variety name; the shade you find may lean blue, gray, or green. Match the napkins loosely. You do not need copper at every seat, and you can use ordinary clear glasses if that is what you have. For drinks, use vessels intended for food use and follow their care instructions.
8. Use Gingham for a Casual Pumpkin Brunch
A terracotta-and-white gingham cloth turns a small group of orange pumpkins into a relaxed brunch setting. Add plain cream plates and everyday coffee mugs. The check supplies the pattern, so a second patterned runner would make the table harder to read.
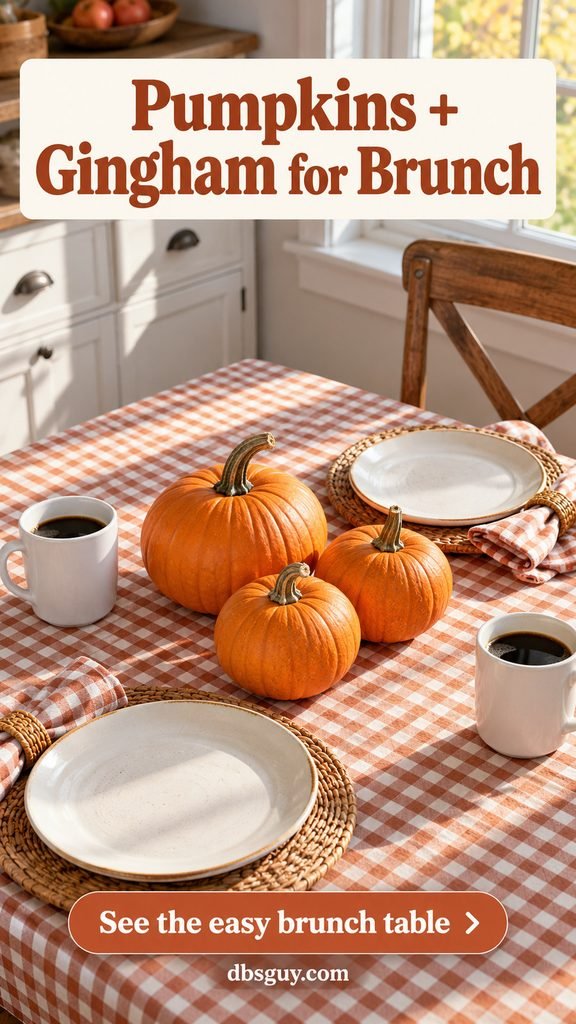
Keep the pumpkins in one low cluster and give the coffee pot, milk, and breakfast platter their own clear spot. If your cloth is already strongly patterned, choose solid napkins; using matching gingham is another option when the dishes stay plain. This look suits a kitchen breakfast table as easily as a casual Thanksgiving morning meal.
9. Make a Dinner-Time Pumpkin-and-Pear Bowl
Arrange two small orange pumpkins and three whole golden-green pears in a broad, shallow bowl. The pear shapes interrupt the round pumpkins, while their green tones work with olive napkins. Leave the fruit uncut so the arrangement stays easy to move.
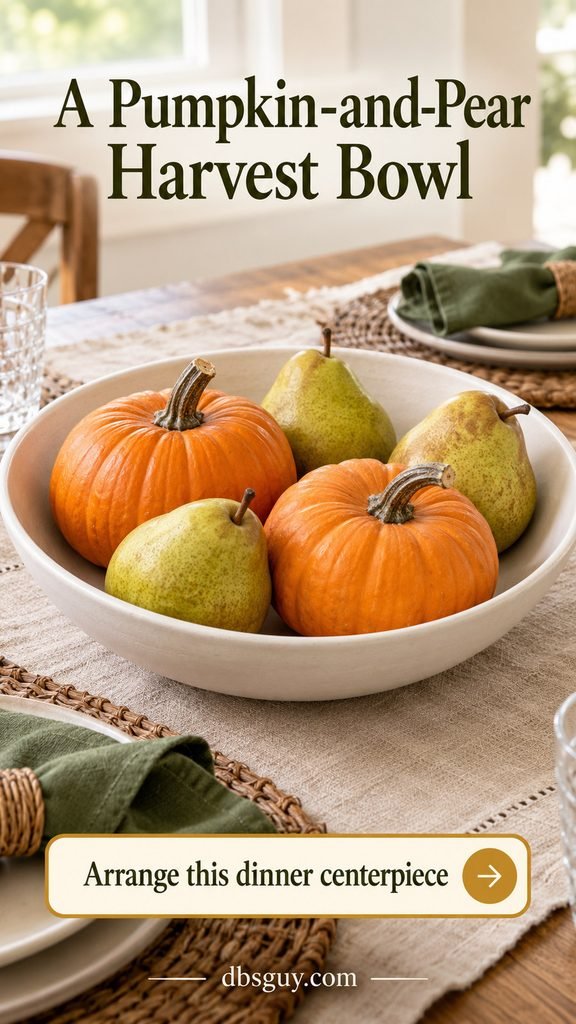
Treat this as a display for the gathering, not a long-term storage arrangement. After dinner, separate the pears from the pumpkins: ripening fruit can shorten pumpkin storage life. Use a clean bowl and produce without decorative coatings if you plan to eat it later. Do not add floral foam, paint, or glitter to an arrangement intended to return to the kitchen.
10. Alternate Pumpkins with Two Short Bud Vases
Three cream mini pumpkins and two squat bud vases can fill a runner without requiring a large bouquet. Put one short rust-colored dahlia in each vase, then alternate pumpkin, flower, pumpkin, flower, pumpkin. The repeated spacing makes the small number of blooms feel intentional.
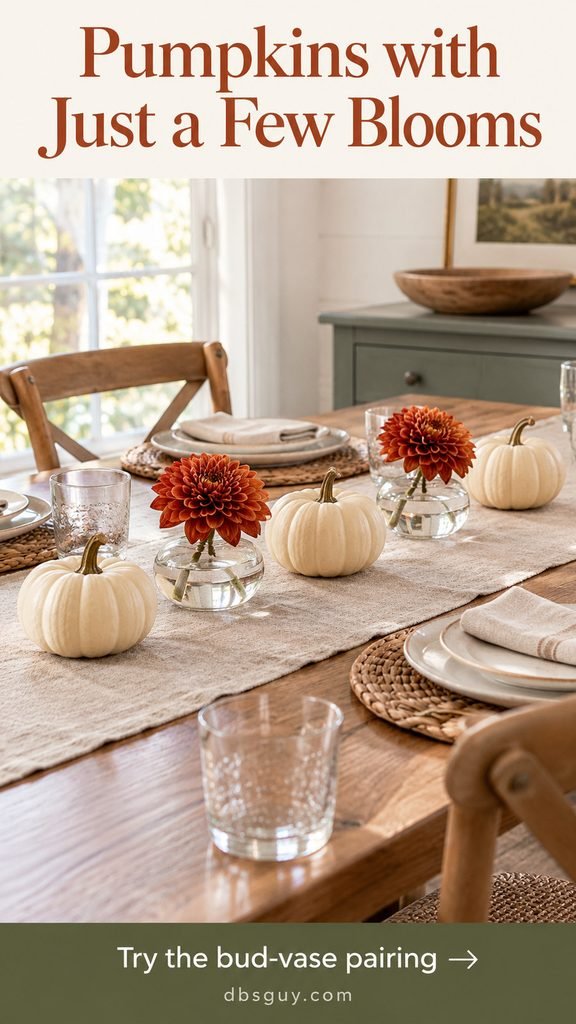
Trim the stems to suit the vase, keeping foliage out of the water. Sit down before finalizing the height: the flowers should leave an easy view of the person opposite. Broad-based vases are easier to place securely than narrow bottles. Recheck the water before dinner, and move the arrangement if serving bowls will bump it.
11. Lay Wheat Bundles Flat Beside a Pumpkin
For a harvest look without a tall dried arrangement, tie two small wheat bundles with cotton twine and lay them horizontally beside one squat orange pumpkin. Point the wheat heads toward opposite ends of the table. A plain runner gives the fine stems a quiet background.

Keep the bundles within the runner rather than letting the tips reach into plates or sleeves. Gently shake out loose material away from the dining area before arranging them, and use flameless lights if you want illumination. On a narrow table, one bundle is enough. Loose stems scattered over the entire tabletop make cleanup and serving less convenient.
12. Tuck Maple Leaves Under the Charger
Let a few flat maple leaves frame the outside of a woven charger, with a mini orange pumpkin beside it. Keep the actual dinner plate above and clear of the leaves. This gives a place setting an autumn outline without building another centerpiece.
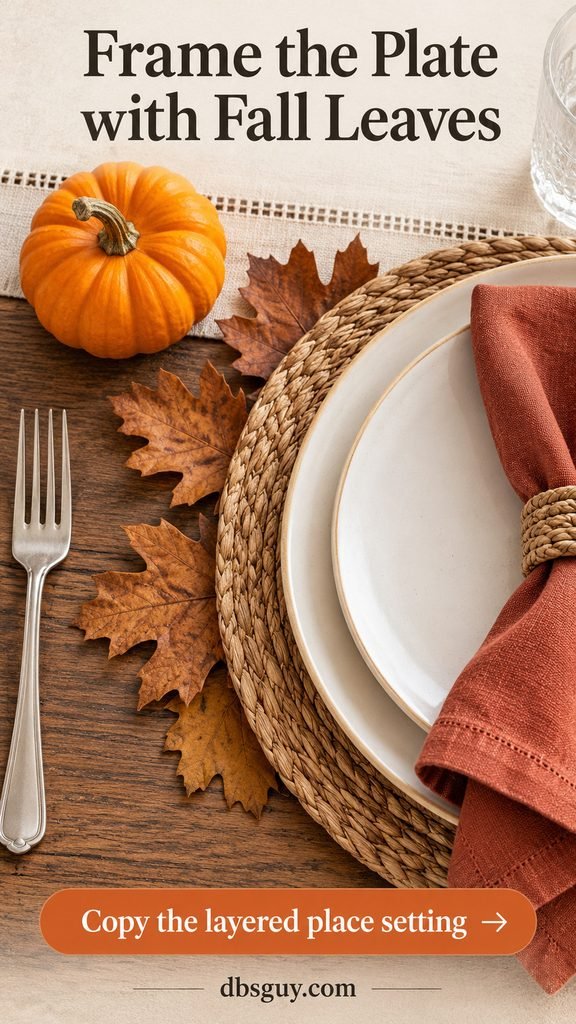
Use clean, dry leaves and tuck the inner edge of each leaf beneath the charger so it stays put. Skip crumbly leaves that shed when touched, and do not place outdoor foliage directly on food or eating surfaces. A plain rust napkin repeats the warm color. If you have no chargers, put the leaves beneath a separate decorative mat instead.
13. Give Orange Pumpkins a Black-and-Ivory Stripe
A narrow striped runner makes orange pumpkins look crisp and graphic. Use two pumpkins, white plates, and folded black napkins. With no other Halloween props, the setting can work for an October dinner and stay useful later in fall.
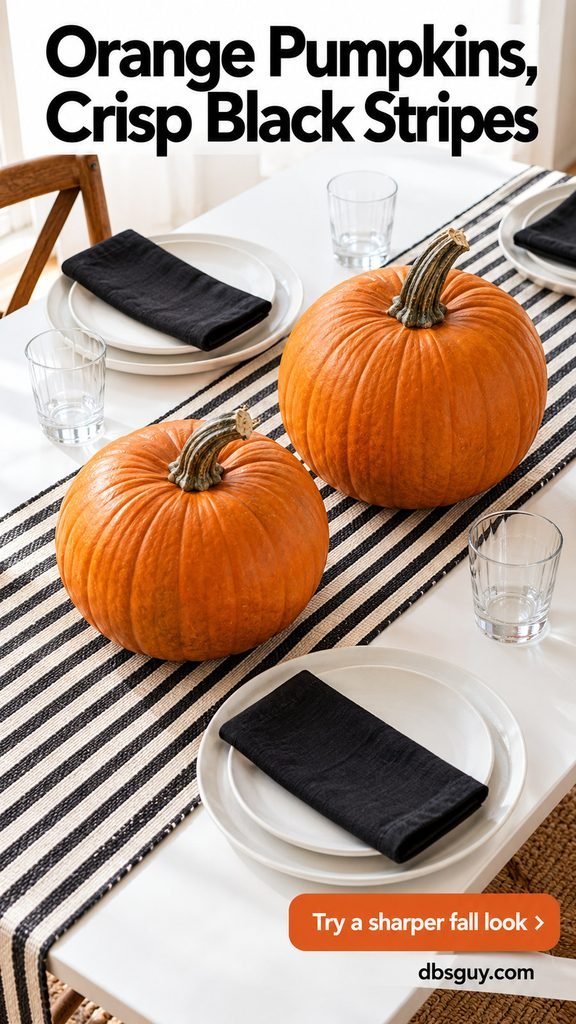
Choose stripes that are easy to see from across the room, then keep the rest of the table mostly solid. If your dinnerware already has a strong rim or pattern, use a quieter runner or plain napkins. Leaving visible white tabletop around the fabric prevents the black elements from taking over a small or dim dining space.
14. Soften Ivory Pumpkins with Blue Ticking
Use three small ivory pumpkins on a blue-and-cream ticking runner for a lighter fall table. Dusty blue napkins connect the fabric to the place settings. The pumpkins provide the seasonal cue, so you can leave shells and other coastal accessories in storage.
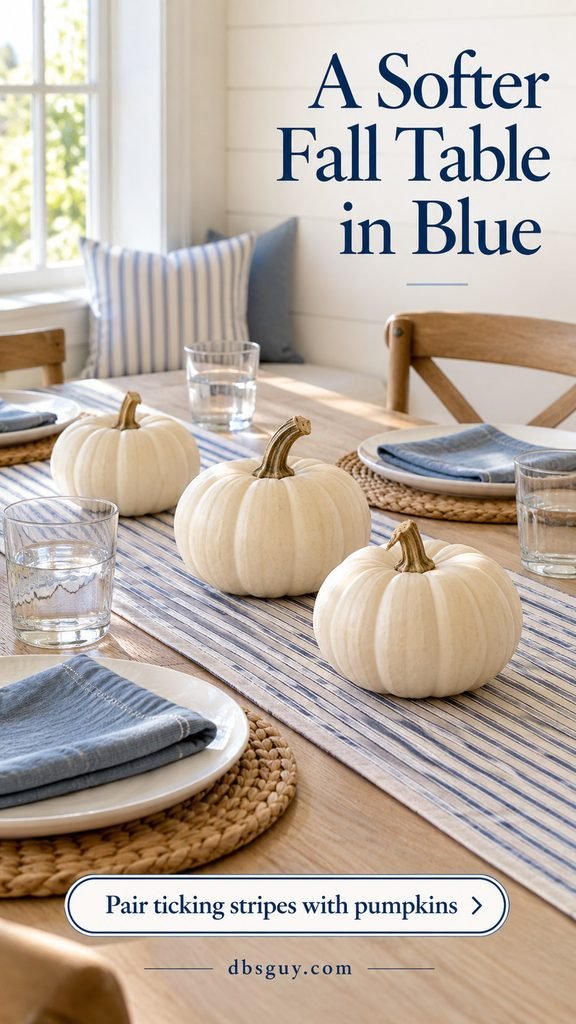
This is a useful direction when your room already includes blue upholstery, dishes, or curtains. Match the overall softness rather than hunting for an exact blue. Warm wood or woven placemats keep the pale colors from feeling chilly. If the runner’s stripes are fine, plain plates help the pumpkin silhouettes remain easy to see.
15. Bring Out a Crocheted Runner and Vintage Plates
An ivory crocheted runner gives two small muted-orange pumpkins a cottage-style setting. Mix simple cream plates rather than buying a matched seasonal set. Place each pumpkin on a small plain saucer so its base does not sit directly against delicate lace.
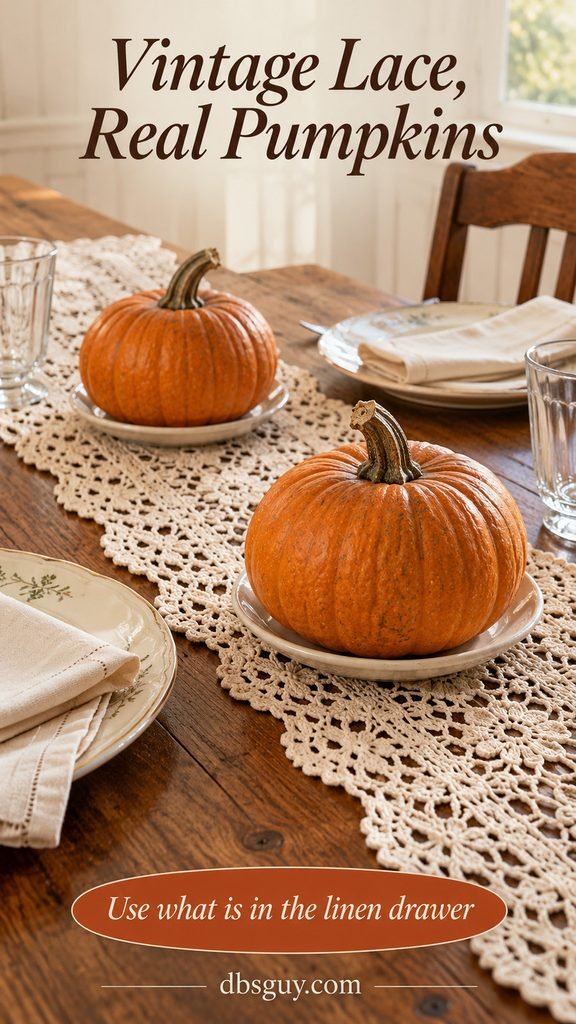
Keep the saucers visually quiet and check the pumpkin undersides before putting them near a treasured textile. If your runner is fragile, save it for a sideboard and use a washable cotton version on the dining table. The charm comes from the open crochet and familiar dishes; extra ribbons, flowers, and ornaments can obscure those details.
16. Pair Pumpkins with a Small Rosemary Pot
On a sheltered porch, place two small orange pumpkins beside a compact rosemary plant in a terracotta pot. The living herb adds upright texture without a cut-flower arrangement. Keep the place settings simple with cream plates and flax napkins.
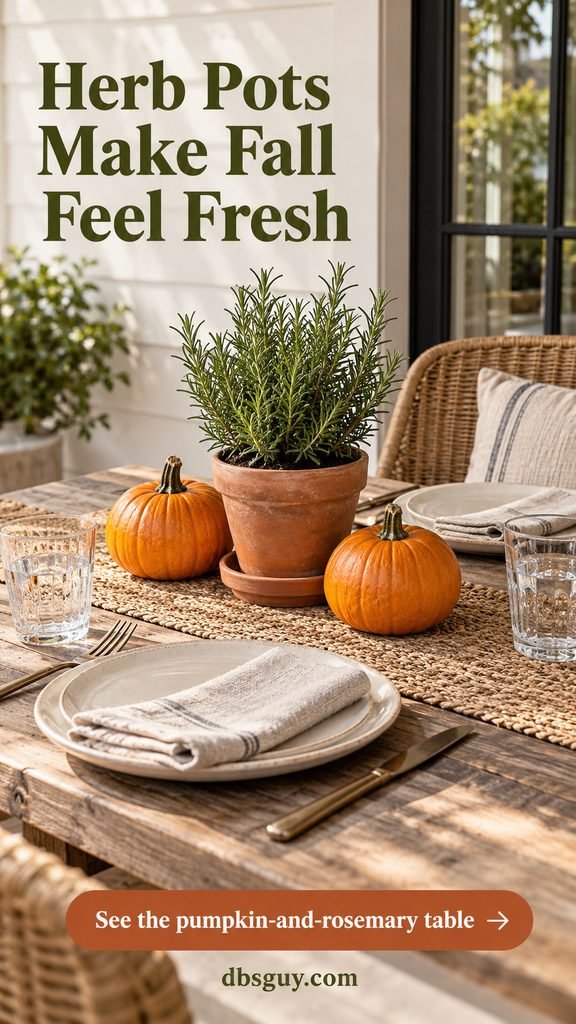
Use a waterproof saucer beneath the pot and check for drips after watering. Choose a plant short enough to see over, or move it toward an unoccupied corner. Bring the arrangement indoors when weather threatens; this is a dining setup, not outdoor storage advice. If you plan to use the rosemary in cooking, choose a plant sold for culinary use.
17. Move the Pumpkin Cluster to an Unoccupied End
For a family-style meal, group three pumpkins at an end of the table where nobody will sit. Keep the middle clear for platters and bowls. Orange, cream, and sage pumpkins give the end arrangement variety without needing foliage to connect them.
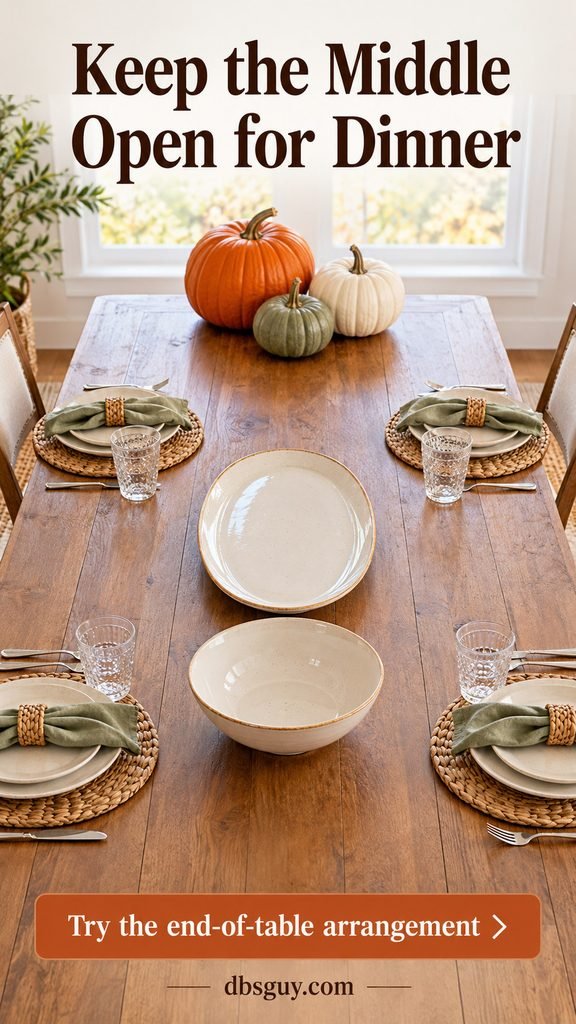
Check the seating plan first. A pumpkin cluster behind an occupied place setting is likely to compete with the guest’s glass and plate. If both ends are needed for seating, move the display to the buffet instead. Set empty serving pieces in the center while decorating so you reserve their actual footprint before the food is ready.
18. Anchor a Gratitude Runner with Small Pumpkins
For Friendsgiving, roll a strip of kraft paper along the table and set a small pumpkin at each end. Leave a few pens or markers nearby so guests can add a short note of thanks before dinner. The paper becomes both decoration and a shared activity. A few short greenery sprigs around the bases are optional; keep them away from the space reserved for writing.
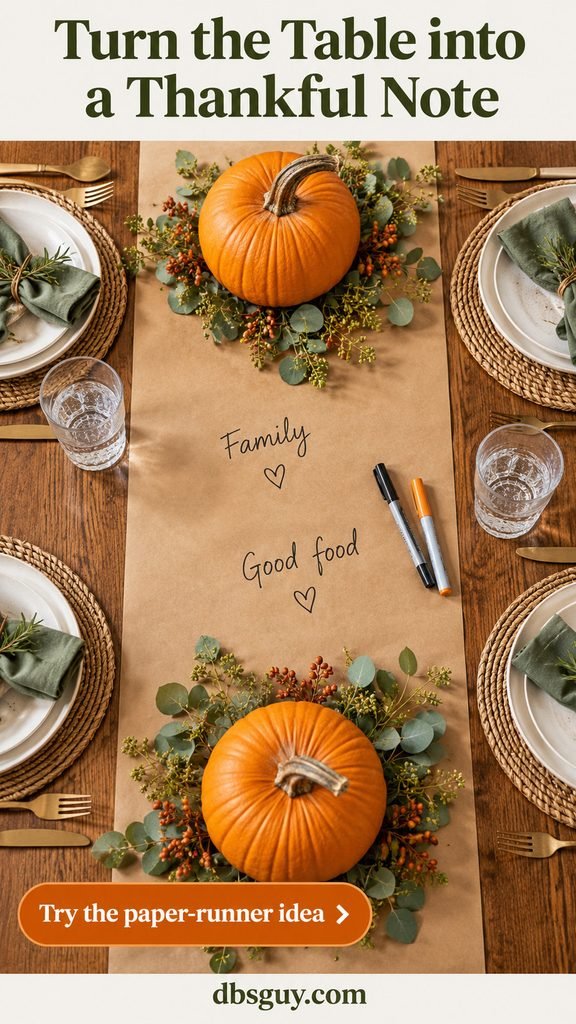
Test the ink on a scrap over a protective layer first; some markers bleed through thin paper. Keep writing away from place settings and remove the pens before serving. You can start with one small prompt, such as “Something good from this year.” For more gathering activities, see our Friendsgiving ideas.
19. Give One Pumpkin a Low, Broad Pedestal
A low cake stand can make one small pumpkin feel like a deliberate centerpiece. Choose a stand with a broad foot and a top wider than the pumpkin. White ceramic gives a dusty-orange pumpkin a clean outline against a wood table.
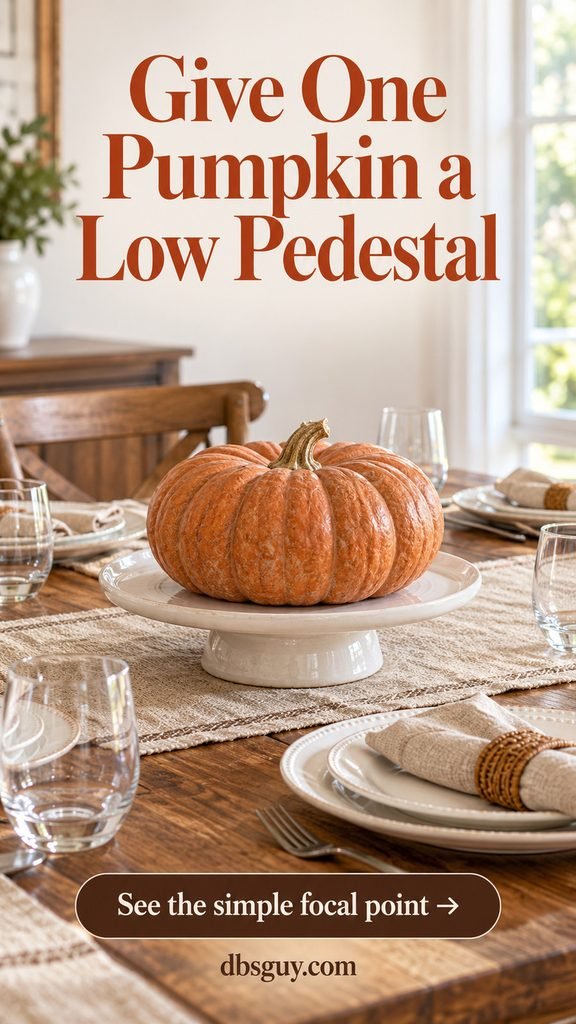
Keep the lift modest; a stand around three inches high is a useful styling starting point, provided the pumpkin itself is short. Check the finished height from a chair. Skip stacking pumpkins, and remove the stand if it wobbles when the table is nudged. A flat serving plate is a better choice when your available stand is tall or narrow.
20. Set a Pumpkin Inside a Flat Grapevine Wreath
Lay a small grapevine wreath flat on a shallow platter and place a cream mini pumpkin in the open center. Its base should rest on the platter, with the twigs forming a ring around it. One orange mini pumpkin beside the ring adds a second shape and color.
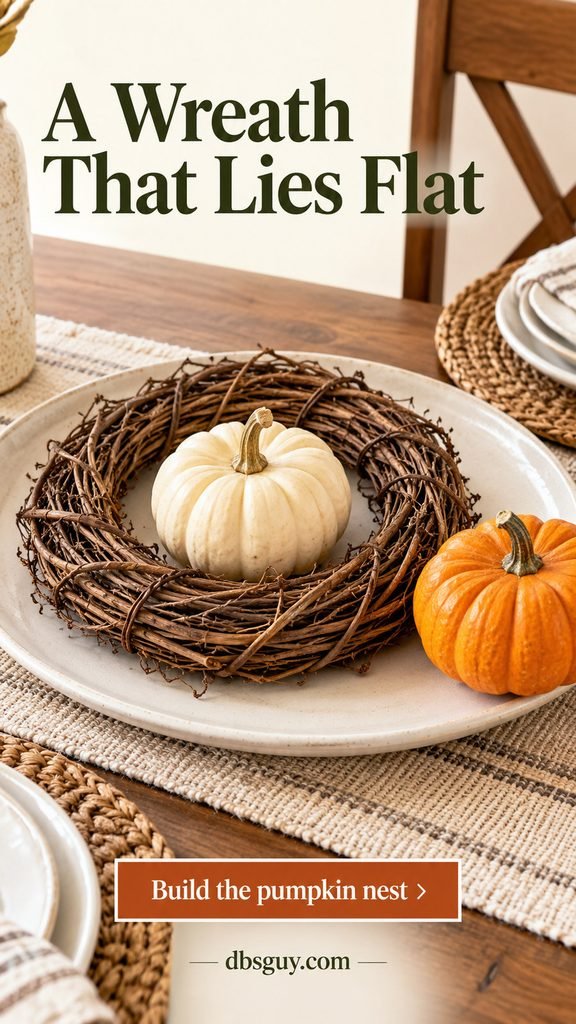
Check the opening against your pumpkin before arranging it. A tight ring can leave the pumpkin perched unevenly on the vines. Use a clean wreath without loose wire ends, shake off debris away from the table, and keep the whole piece on its platter. There is no need for moss, glue, or floral foam to hold this low arrangement together.
21. Fill a Shallow Harvest Basket with Pumpkins and Squash
A low oval basket lets you combine two small orange pumpkins, a striped delicata squash, and a dark green acorn squash. The different outlines make the collection interesting without flowers or filler. Arrange everything in one layer so the shapes stay visible.
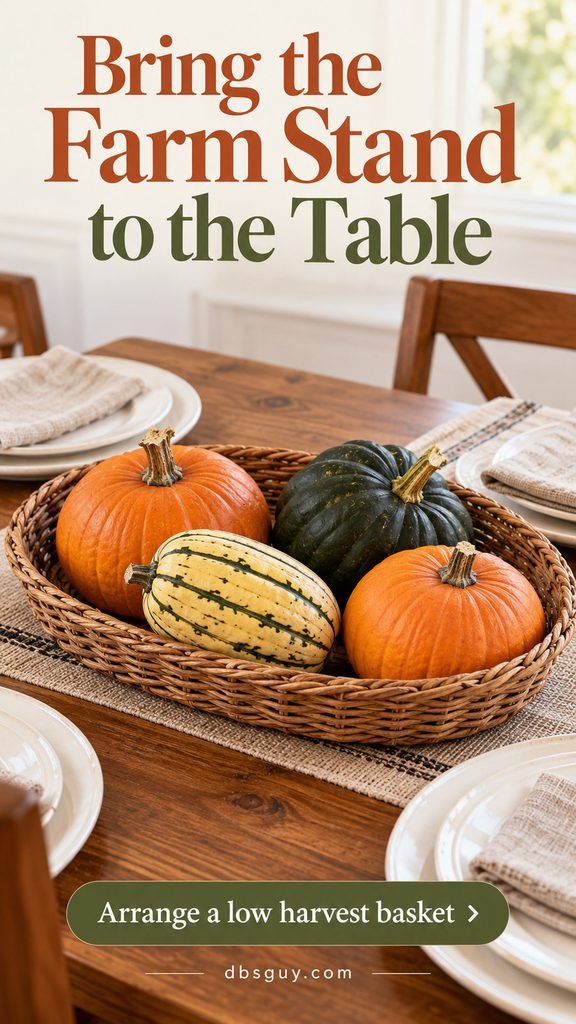
Choose a basket without a tall handle and keep the vegetables below a comfortable sightline. A clean liner can catch dirt without showing above the rim. If cooking the squash later is part of your plan, buy identified edible varieties and leave them free of decorative treatments. Use a smaller basket instead of adding more produce just to fill a large one.
Set the Table Around the Food
Before buying more decorations, lay out the plates, glasses, utensils, and empty serving pieces you expect to use. That shows you how much room the centerpiece can actually occupy. For most of these looks, one pumpkin arrangement and one textile are enough.
- Choose the serving plan. A buffet frees the dining table for a longer display. A family-style meal needs open space for hot dishes and hands reaching across.
- Place the largest object first. Add the pumpkin, bowl, or basket, then work outward. Stop when the arrangement is clear; you do not need to fill every gap.
- Check from each chair. Look across the table and reach for the serving spoon. Shift anything that blocks conversation, catches a sleeve, or makes a glass awkward to lift.
If you are planning a dressier holiday meal, our Thanksgiving tablescape looks offer other directions for linens and place settings.
Keep Natural Materials Away from Flames
The lighted concept in this guide uses battery-operated lights. If you substitute real candles, follow the U.S. Fire Administration’s candle safety guidance: use stable holders, keep candles at least 12 inches from anything that burns, and put them out when leaving the room. If that clearance will not fit around paper, wheat, greenery, or linens, use flameless lights.
Keep Real Pumpkins Looking Their Best
Inspect the undersides before arranging pumpkins and check them regularly while they are displayed. Remove any that become soft, moldy, or leaky. Keep the arrangement away from heaters and prolonged direct sun, and move pumpkins to a cool, dry, ventilated spot when you are no longer displaying them.
A stacked centerpiece and proper storage are different things. For storage, give pumpkins room for air to circulate and keep them apart from ripening pears and apples. How long they last depends on their condition, variety, and surroundings; a warm dining room is not a controlled storage space.
Questions About Natural Pumpkin Tablescapes
How many pumpkins do I need for a six-person table?
Start with three to five minis along a runner, or one squat pumpkin as the focal point. These are styling starting points, not measurements that suit every table. Put the six place settings and serving pieces out first, then reduce the pumpkins until everyone has room.
Can I prepare the table the day before?
Yes, if it will stay clean and undisturbed. Arrange dry linens, dishes, name tags, and firm whole pumpkins ahead. Add or check fresh flowers on the day, recheck pumpkin bases, and turn on battery lights shortly before guests arrive. Leave the pear arrangement until the gathering rather than storing the produce together.
Can I cook the pumpkins after using them as decorations?
Only plan on cooking pumpkins sold for eating that remain sound, uncut, and free of decorative treatments. Pie pumpkins are generally better suited to cooking than large carving pumpkins. Do not assume an unidentified decorative gourd is an edible pumpkin. Wash edible produce under running water before preparing it; do not use soap.
How do I make the table feel like fall without orange?
Use naturally ivory or gray-green pumpkins and let linen, wood, wheat, or woven textures carry the season. Ideas 6, 7, and 14 offer different versions. Keep one warm element, such as amber glass or wood, if the pale colors look too cool in your room.
Do natural pumpkins need to be carved for a centerpiece?
No. Every arrangement here keeps the pumpkins intact. Separate bud vases hold the flowers, and tags tie around the stems. You can get a finished table without cutting a pumpkin into a vase or candle holder.
Pick the arrangement that fits your serving plan, then use the dishes and linens already in your cupboard. One well-placed pumpkin can be enough for a weeknight; the same starting point can grow into a Thanksgiving table when you need it.