
A small jar of homemade cocoa can feel more personal than a bigger gift chosen in a hurry—especially when the tag tells someone exactly how to enjoy it. These 19 handmade Christmas gift ideas include seven edible gifts, five beauty and self-care projects, and seven useful or sentimental crafts.
For a quick project, start with the cocoa mix or finishing salt. For someone who enjoys a daily routine, try washable face rounds or a scrunchie in their favorite color. For a keepsake, choose the felt ornament or little photo book.
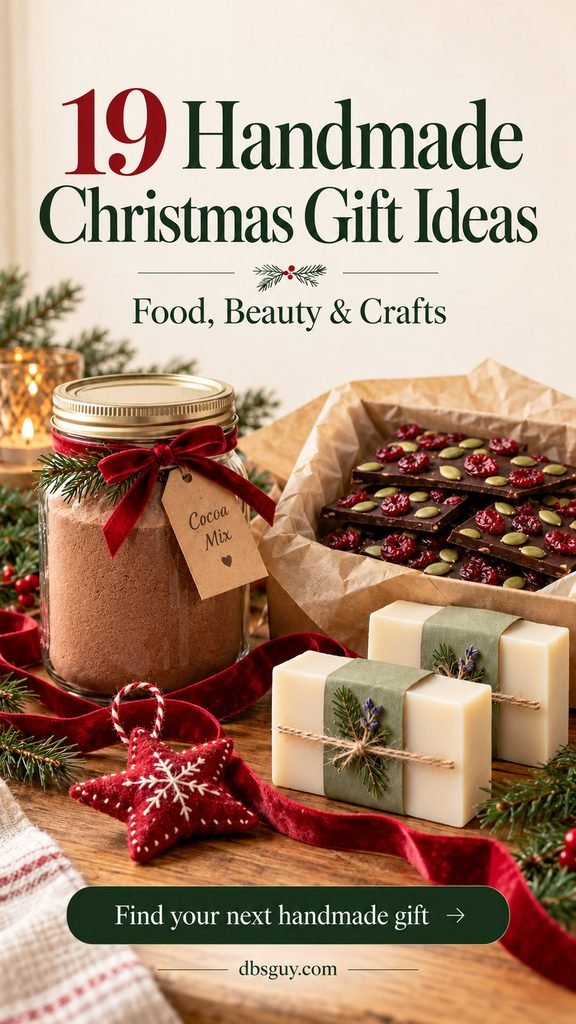
The images are AI-generated styling concepts, not photographs of tested recipes or completed projects. Use the written quantities, materials, and directions below.
Choose a gift you can comfortably finish
- About 15–30 minutes: cocoa mix, mulling sachets, finishing salt, bath-soak blend, or a small sugar-scrub batch.
- An afternoon, including cooling or sewing: chocolate bark, granola, shortbread, almonds, soap, face rounds, scrunchies, or coasters.
- Allow extra drying or detail time: pressed-flower bookmarks, felt stars, clay dishes, embroidery, photo books, and recipe boxes.
These are planning estimates, not tested production times. Before buying supplies, check food allergies, fragrance preferences, and whether the recipient would actually use the gift. Count the container and wrapping in your budget; a reused box with fresh tissue can be enough.
Handmade food gifts for Christmas
The small-batch recipes here are original starting points and have not been kitchen-tested. Make a trial batch before preparing several gifts. Use food-safe containers, cool baked food completely before packing, and include the ingredients, preparation date, and serving directions. Never describe a gift as allergen-free unless you can support that claim.
1. Hot cocoa mix with a useful serving tag
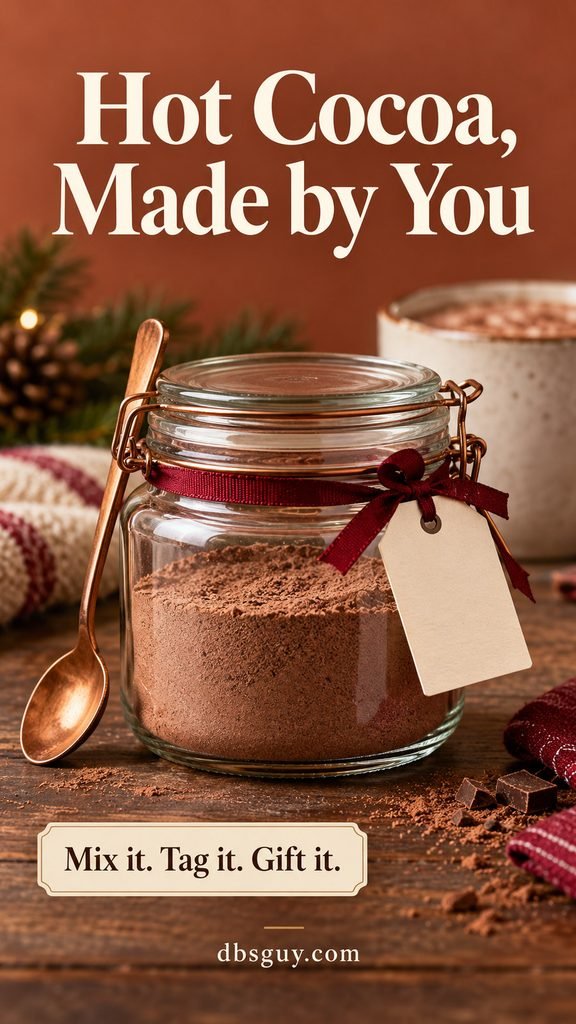
A cocoa jar suits a neighbor, coworker, or someone who loves a quiet evening at home. Keep the mix simple; the useful part is the serving card, not a jar crowded with decorative ingredients.
For about four servings: whisk together ½ cup unsweetened cocoa powder, ½ cup granulated sugar, and a small pinch of fine salt. Break up lumps, then spoon into a clean, completely dry jar with a tight-fitting lid.
- Write this on the tag: “Whisk ¼ cup mix with a splash of milk in a small saucepan to make a paste.”
- Add: “Gradually whisk in enough milk to total 1 cup. Warm gently, stirring, until hot. Makes one generous mug.”
- List the actual cocoa brand’s ingredients and any relevant allergen information. The recipient chooses their milk.
Store the dry mix tightly closed in a cool, dry cupboard. A ribbon around the lid and a handwritten note give the jar a finished look without putting anything extra into the food.
2. Dark chocolate bark with cranberries and pumpkin seeds
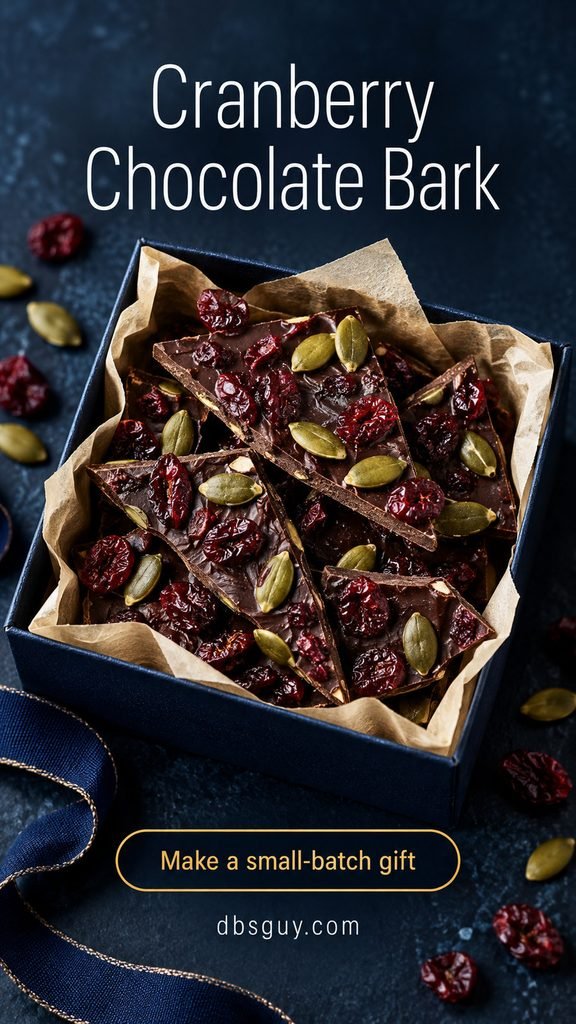
This is a good choice when you want something decorative without cutting identical cookies. Dark chocolate, red cranberries, and green pumpkin seeds create a festive finish on their own.
For one small slab: use 12 ounces chopped dark chocolate, ⅓ cup dried cranberries, and ¼ cup roasted, ready-to-eat pumpkin seeds.
- Line a small baking sheet with parchment. Melt the chocolate according to its package directions, keeping water out of the bowl.
- Spread roughly ¼ inch thick. Scatter the cranberries and pumpkin seeds over the surface and press them in lightly.
- Let the chocolate set somewhere cool, then break it into irregular pieces.
Separate layers with parchment in a food-safe box. This version contains no added nuts, but chocolate, seeds, and dried fruit may carry allergen or cross-contact statements: copy the labels accurately. Avoid a warm delivery route that could melt the gift; this simple method is not a tempering procedure.
3. Maple-cinnamon granola for a slower morning
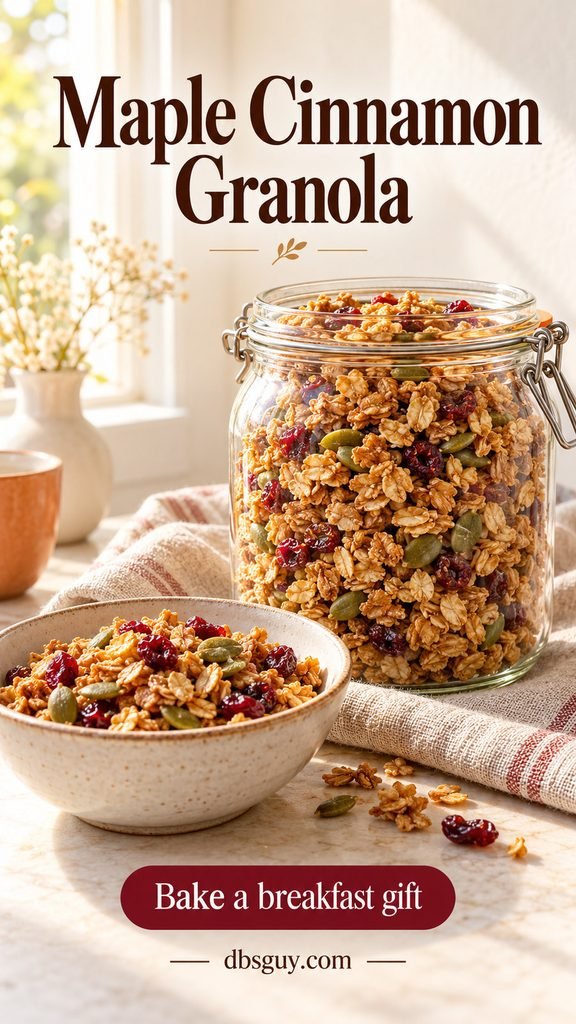
Granola gives someone breakfast after the holiday sweets are gone. A wide-mouth jar is convenient, but a food-safe bag inside a reused gift box works just as well.
For roughly 4 cups: combine 3 cups old-fashioned rolled oats, ½ cup pumpkin seeds, ⅓ cup maple syrup, ¼ cup neutral oil, 1 teaspoon ground cinnamon, and ¼ teaspoon fine salt. Set aside ½ cup dried cranberries.
- Heat the oven to 325°F. Spread the coated oat mixture evenly on a parchment-lined rimmed baking sheet.
- Bake for approximately 25–35 minutes, stirring every 10 minutes, until the oats look lightly golden. Watch closely near the end.
- Cool completely on the pan; it becomes crisper as it cools. Stir in the cranberries before packing.
Add a tag suggesting yogurt or milk. Choose certified gluten-free oats only when needed, and still check every ingredient and your preparation environment rather than promising the finished gift is gluten-free.
4. Vanilla shortbread in a small tin
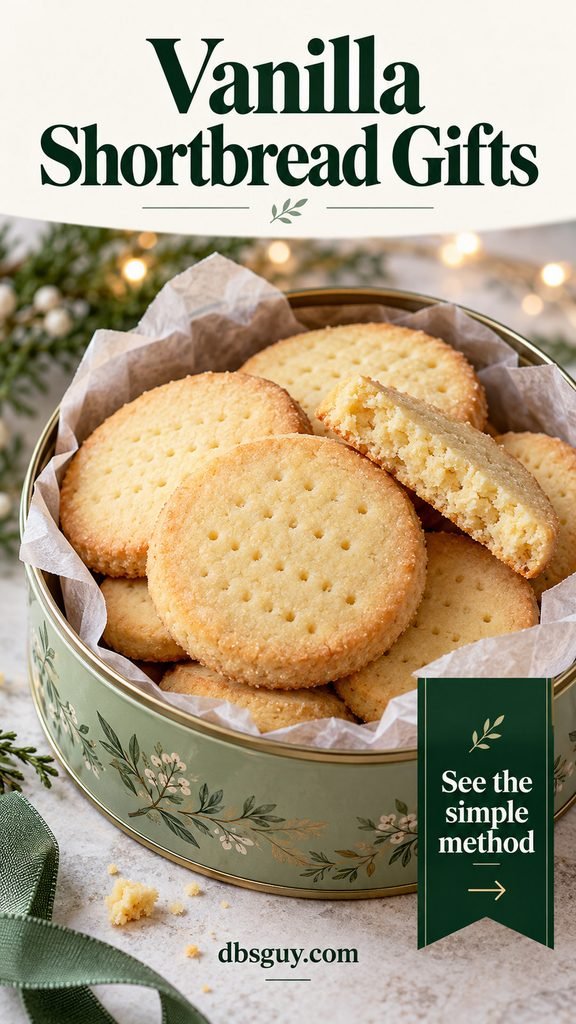
Plain shortbread is easier to pack than a frosted cookie and leaves room for a personal note. A shallow tin keeps the cookies visible without needing a large batch.
For approximately 24 small cookies: use 1 cup softened unsalted butter, ½ cup powdered sugar, 1 teaspoon vanilla extract, 2 cups all-purpose flour, and ¼ teaspoon fine salt.
- Beat the butter and sugar until smooth, then mix in the vanilla. Add the flour and salt and mix just until a dough forms.
- Flatten into a disk, wrap, and chill for 20–30 minutes if too soft to roll. Roll about ¼ inch thick and cut into 2-inch rounds.
- Place on a parchment-lined sheet, prick lightly with a fork, and bake at 325°F for approximately 18–24 minutes, until the edges are pale gold. Cool fully on a rack.
Pack gently with parchment between layers. Label wheat and milk, plus anything else present in your ingredients. Make these close to handoff for better texture, rather than treating a decorative tin as long-term preservation.
5. Mulling-spice sachets for apple cider
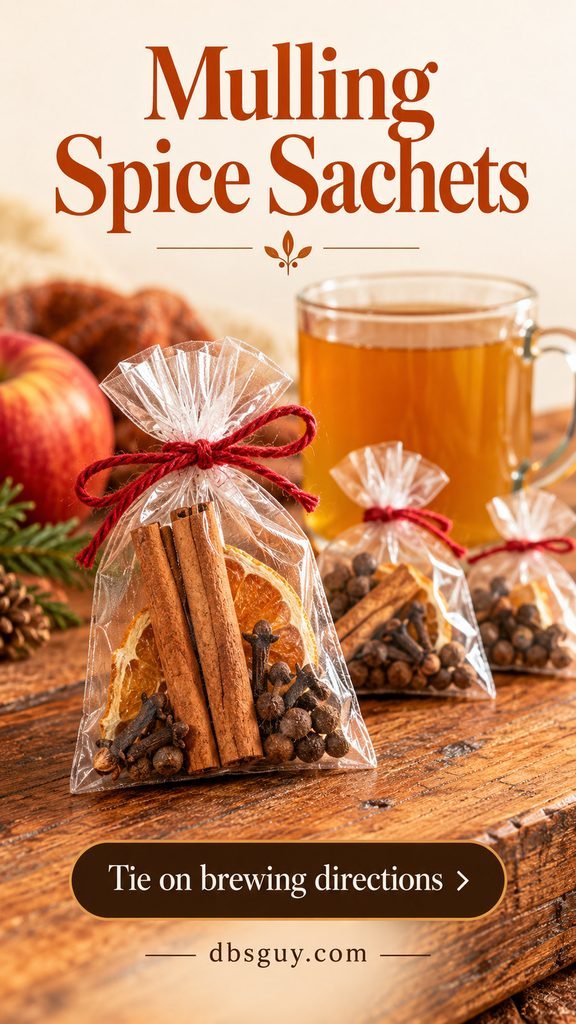
These suit someone who likes a warm seasonal drink but does not need another mug. Keep the spices visible in a food-safe outer bag; put them into a separate food-grade brewing bag for use.
For each sachet: combine two 3-inch cinnamon sticks, four whole cloves, four whole allspice berries, and 1 teaspoon commercially dried, food-grade orange peel. Make three sachets for one small gift.
Attach this direction card: “Empty one sachet into a pot with 4 cups apple cider, or place the spices in a food-grade brewing bag. Bring just to a simmer, then keep on low heat for 15–20 minutes. Strain out all whole spices before serving. Taste and dilute if desired.”
Use purchased dried peel instead of fresh citrus in a package meant to stay dry. The gift contains spices only; the recipient supplies the cider. Keep the sachets sealed away from moisture and include the ingredient list.
6. Rosemary-lemon finishing salt
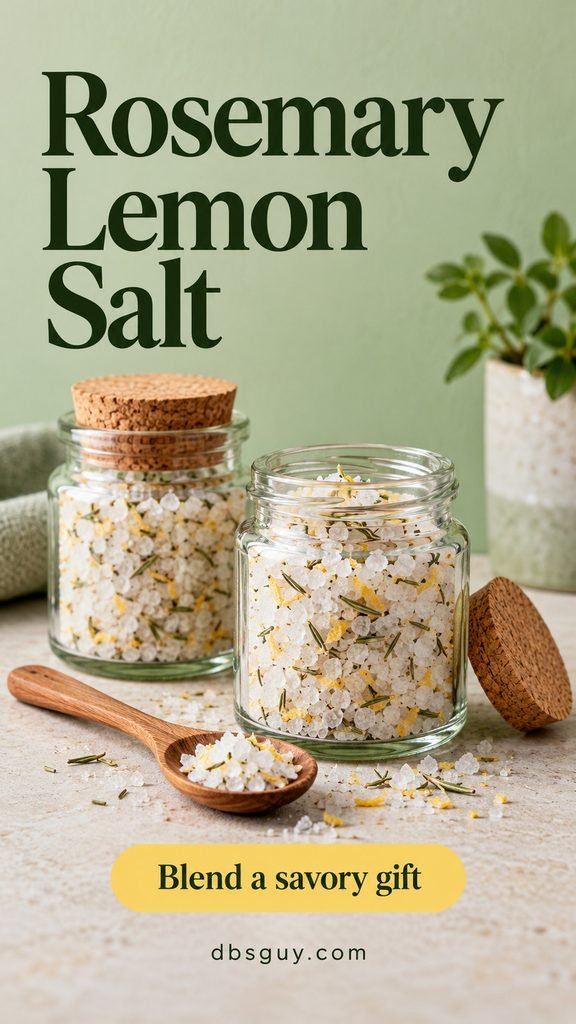
A small savory gift is a welcome alternative for someone who does not want another dessert. This dry blend works as a finishing sprinkle for potatoes, vegetables, or popcorn.
For two small jars: mix ½ cup kosher salt, 1 teaspoon finely crushed commercially dried rosemary, and 1 teaspoon finely chopped commercially dried, food-grade lemon peel. Divide between two clean, dry spice jars.
Crush the rosemary enough that it does not feel like a handful of needles. Tell the recipient to start with a small pinch and taste before adding more; salt crystal sizes differ by brand.
Keep the blend entirely dry. Fresh rosemary, fresh zest, and oil would turn this into a different preparation with different storage needs. Add the preparation date and write “Keep tightly closed in a cool, dry place” on the back of the tag.
7. Maple-cinnamon roasted almonds
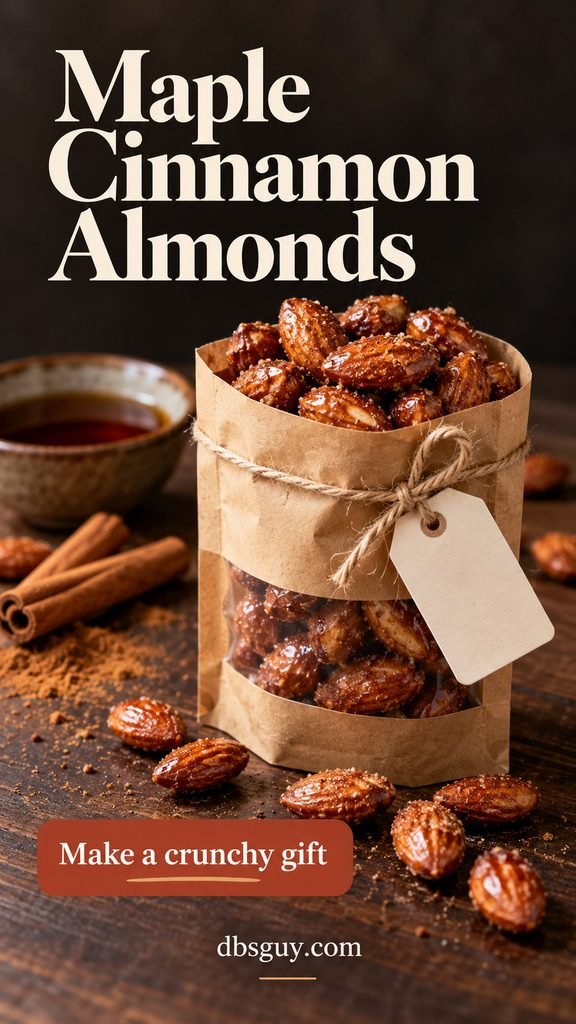
A little pouch of almonds is easy to portion for a host or someone who enjoys a snack at their desk. Give this only when you know a nut gift is welcome.
For about six ½-cup portions: toss 3 cups raw whole almonds with 3 tablespoons maple syrup, 1 tablespoon neutral oil, 1 teaspoon cinnamon, and ½ teaspoon fine salt.
- Spread in one layer on a parchment-lined rimmed baking sheet.
- Roast at 325°F for approximately 18–25 minutes, stirring twice and watching closely so the syrup does not scorch.
- Cool completely, separating the almonds while they are still slightly warm. Pack only after they feel cool and dry.
Use a food-safe pouch or airtight jar, label “Contains almonds” clearly, and include all other ingredients. These have a light coating rather than a thick candy shell; if your trial batch stays sticky after cooling, adjust it before making gifts.
Also read: 30 DIY Christmas Gift Basket Ideas That Are Perfect for Anyone for ways to combine a homemade item with a useful container.
Beauty and self-care gifts to make thoughtfully
Choose familiar ingredients and skip fragrance when you do not know someone’s preferences. Water, raw materials, packaging, and use can introduce contamination into cosmetics; the FDA’s guidance on cosmetic contamination explains why clean tools and containers matter. A water-free mixture is not automatically preserved or proven safe.
For a recipient with sensitive skin or uncertain preferences, choose one of the fabric projects in this section. Do not promise a homemade product treats a skin condition or give it an invented expiration date.
8. Unscented melt-and-pour soap bars
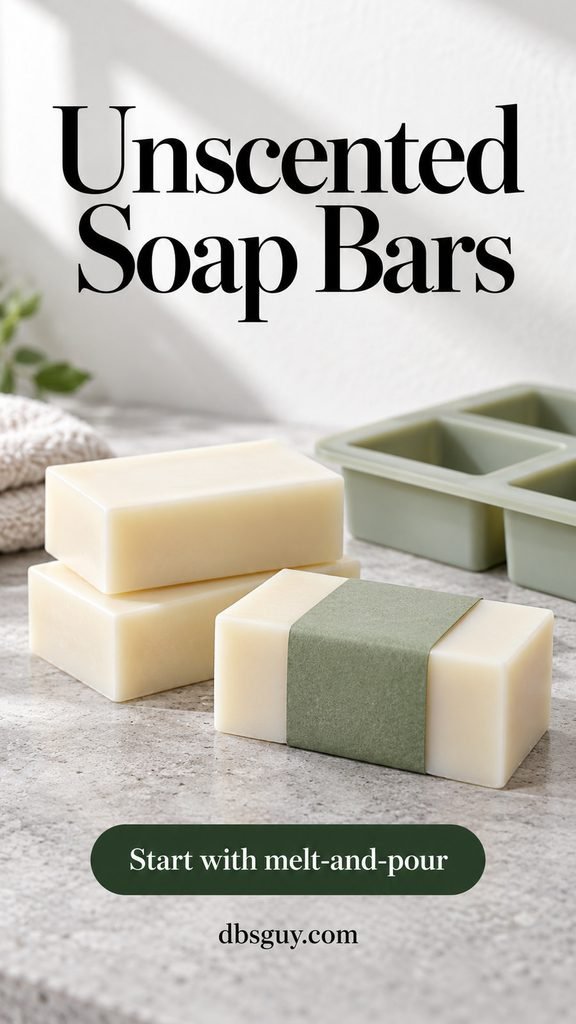
Melt-and-pour base lets you shape a soap gift without handling raw lye. The clean ivory bars here get their character from a paper band, not embedded petals or kitchen ingredients.
Gather: 1 pound of commercially prepared unscented melt-and-pour soap base, a heat-safe pouring container, a spatula, and a silicone soap mold. Yield depends on the mold; a 4-ounce cavity gives roughly four bars.
- Read the base manufacturer’s directions for cutting, heating, and pouring. Use its recommended method and temperature rather than a universal microwave time.
- Melt gently, pour into the mold, and let it cool completely for the stated time. Keep children away from hot base and equipment.
- Unmold and wrap as the supplier recommends; the decorative paper band goes outside the protective wrapping.
Keep the base unmodified for this version. Include its full ingredient list and care directions, and avoid calling the bars hypoallergenic simply because you did not add fragrance.
9. A tiny, water-free sugar scrub
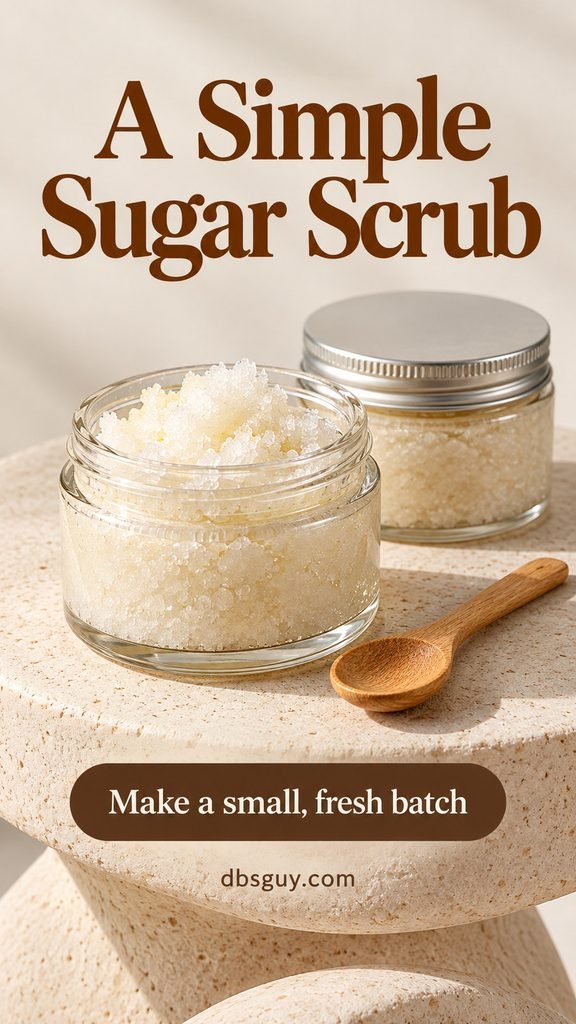
This is a small, close-to-handoff gift for someone who already enjoys body scrubs. It is not the best project for a recipient whose skin preferences you do not know.
For about 125 grams: combine 100 grams plain granulated sugar with 25 grams cosmetic-grade sunflower oil intended for skin use. Mix with clean, dry tools in a clean, dry bowl. Divide into two small cosmetic containers, leaving space under the lids.
Leave out water, fresh fruit, food extracts, color, and essential oils. Include every ingredient, the preparation date, and a clean dry scoop. Ask the recipient to spoon a little into a separate dish before bathing and keep the main container dry.
Label it for body use only, avoiding the face and broken or irritated skin. Stop use if irritation occurs, and take care with slippery surfaces. This untested mixture has no established shelf life or preservative system; discard it if water gets inside. For a gift that will sit for weeks, choose the face rounds instead.
10. A fragrance-free bath-soak blend
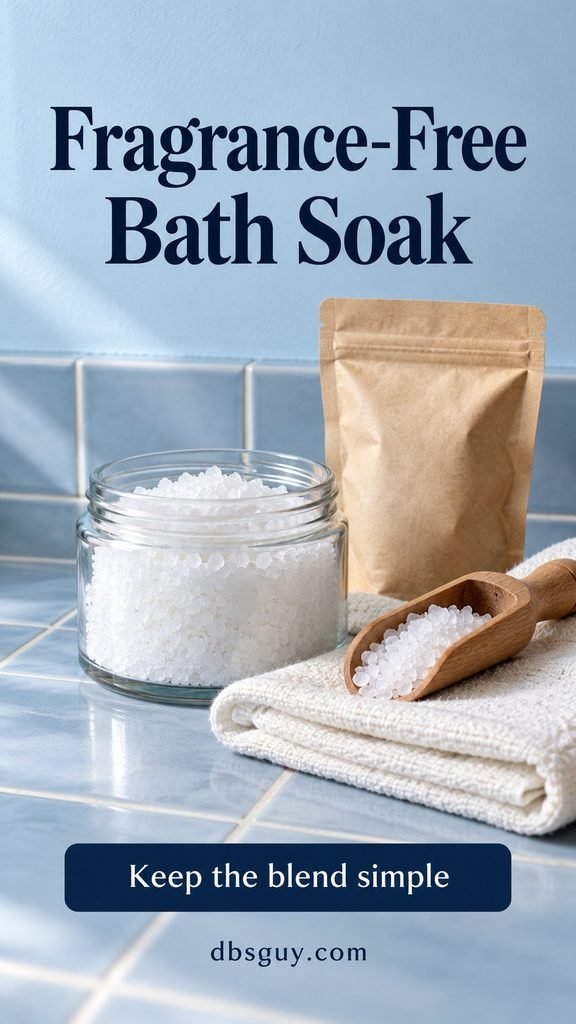
Plain white salts in a simple jar make a calmer-looking gift than a blend full of loose flowers. Check first that the recipient has a bathtub and likes bath salts.
For a small jar: mix 1 cup plain unscented Epsom salt specifically labeled for bathing with ½ cup plain, bath-grade sea salt. Use completely dry equipment and a tightly closing container. Keep the original packaging so you can copy its ingredients, directions, and cautions.
Explain that the blend is two parts Epsom salt to one part sea salt. Do not invent a universal dose: the recipient should follow the applicable bathing directions on the original products. Package those directions with the jar, or leave the products separately packaged if their instructions cannot be followed together.
This is a bath product, not food or a medical treatment. Skip fragrances and decorative botanicals, label it clearly, and keep the mixture dry.
11. Reusable cotton face rounds with a wash bag
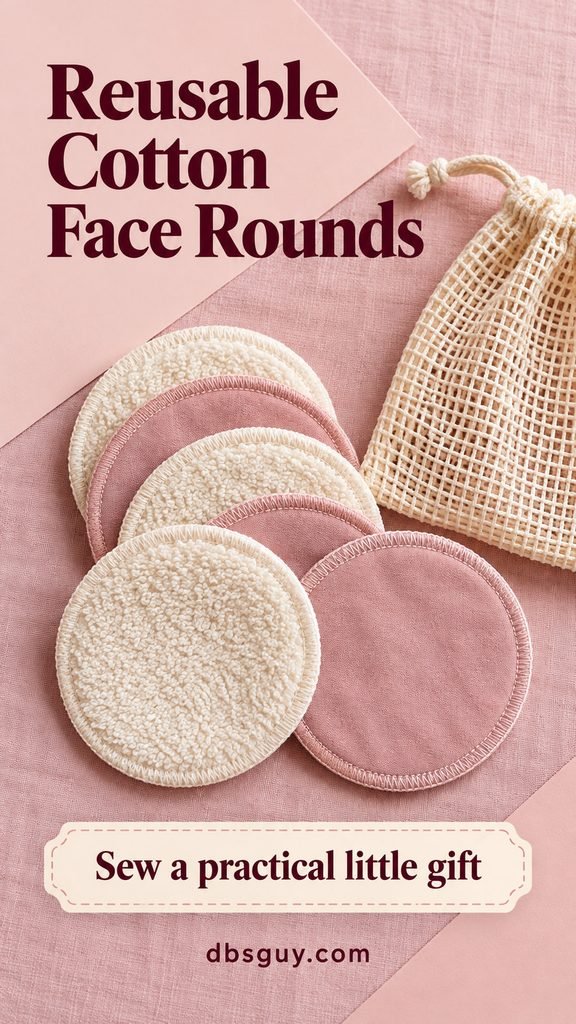
A set of six washable rounds is a useful choice when you want a beauty-related gift without making a skincare formula. Soft fabric and tidy edges matter more than decorative trim.
Gather: about ¼ yard each of soft cotton flannel and cotton terry, matching thread, and a small mesh laundry bag. Prewash and dry the fabric as you intend the finished rounds to be washed.
- Trace and cut twelve 4-inch circles: six from each fabric.
- Pair one of each with right sides together. Sew with a ¼-inch seam allowance, leaving a 1-inch opening.
- Clip the curved seam allowance carefully without cutting stitches, turn right side out, tuck the opening inward, and topstitch around the edge.
The finished rounds are about 3½ inches across. If you already use a serger, an overlocked edge is another finishing option, as shown in the concept image. Include the mesh bag and a tag with the fabric’s washing instructions. Suggest washing before first use and letting rounds dry fully between uses; skip fabric softener if it affects absorbency.
12. A cotton scrunchie in their favorite color
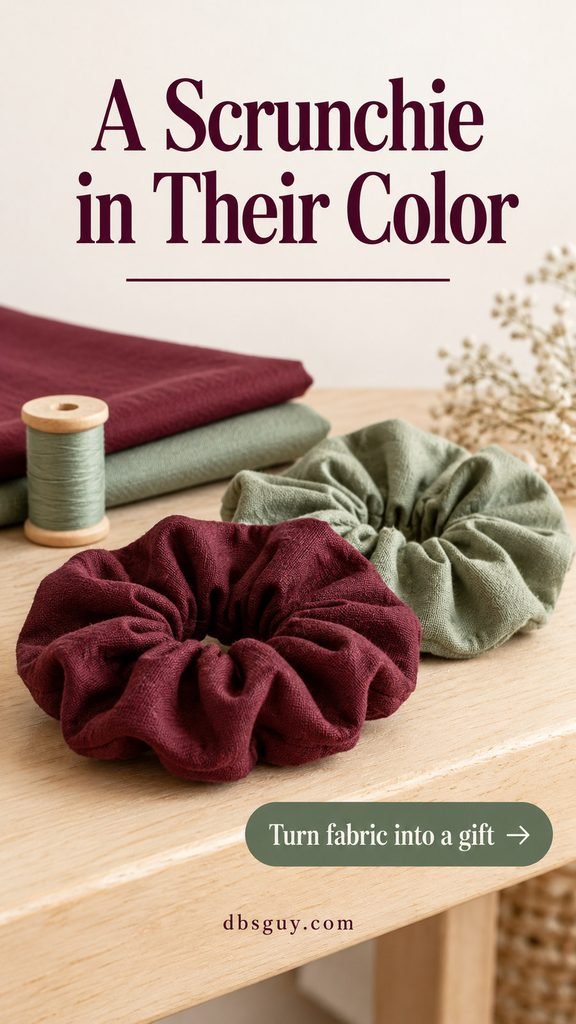
Choose a color the recipient already wears: burgundy, sage, navy, or a small check feels personal without adding a name to everything.
For one adult-size scrunchie: start with a 22-by-4-inch rectangle of prewashed cotton and an 8-inch piece of ¼-inch-wide elastic. Adjust the elastic length after checking the intended fit.
- Fold the fabric lengthwise with right sides together. Sew the long edge with a ¼-inch seam allowance, leaving both short ends open.
- Turn the tube right side out. Use a safety pin to thread the elastic through, securing the other end so it does not disappear inside.
- Overlap the elastic ends by ½ inch and stitch securely. Tuck one fabric end inward, insert the other end, and sew the opening closed without catching the elastic.
Give the elastic seam a gentle pull check. Slip the scrunchie over a plain card rather than squeezing it flat in tight packaging.
Handmade craft gifts with a personal detail
The most useful personal detail is often small: a favorite flower, an initial, a familiar fabric, or a recipe someone has asked for before. Choose one detail and give it room.
13. Pressed-flower bookmarks
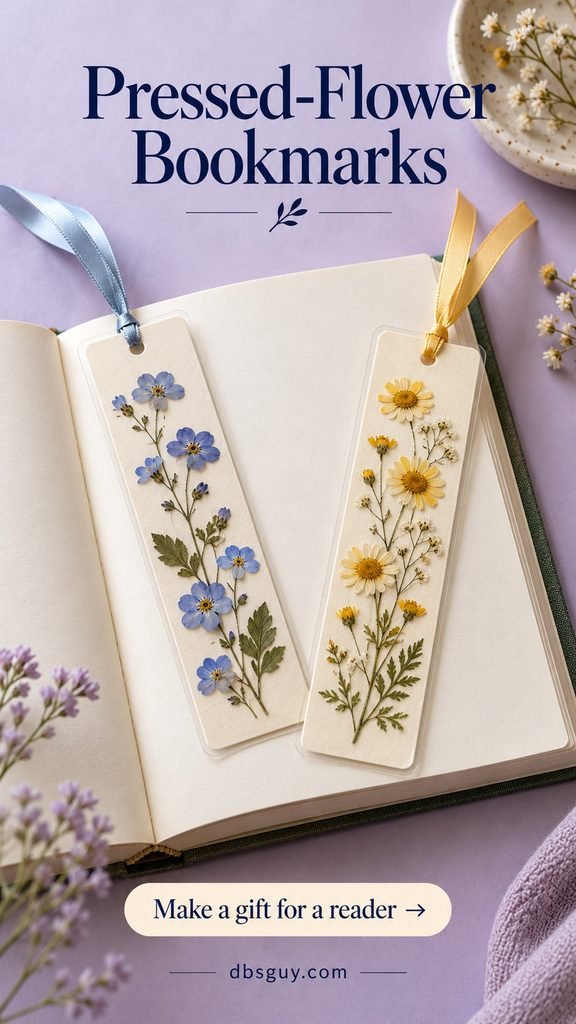
For a reader, make a pair of bookmarks with different flowers so the set feels considered. Commercially pressed, fully dry flowers are a convenient option when you are short on time.
Gather: sturdy cardstock, thin pressed flowers, a small amount of paper craft adhesive, self-adhesive laminating film, a hole punch, and narrow ribbon.
- Cut two cardstock strips about 2 by 7 inches. Arrange a few flowers on each, keeping the layout flat and leaving room at the top.
- Secure sparingly with adhesive and let it dry fully. Cover both sides with the protective film, following its instructions.
- Trim with a narrow sealed film border, round sharp corners, and punch a hole inside the sealed area at the top. Add a short ribbon.
A bulky flower can make a book close unevenly. Use the thinnest petals and stems, then write a book recommendation on the gift envelope.
14. Hand-stitched felt star ornaments
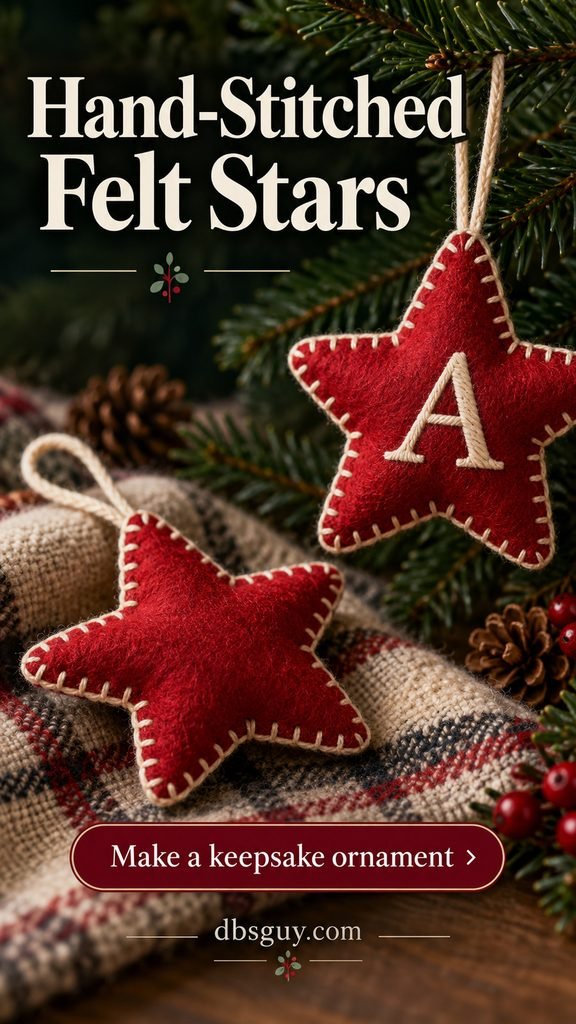
A felt star can become the ornament someone looks for each year. Red felt with cream stitching gives a clear holiday look; an initial makes one star belong to one person.
For each ornament: gather two matching felt stars about 4 inches across, embroidery floss, a little stuffing, and a 6-inch length of narrow ribbon.
- Embroider an initial on the front star before joining the layers.
- Place the layers together and blanket-stitch around the edge. Fold the ribbon into a hanging loop and securely stitch its ends between the layers at a top point.
- Leave a small gap, add just enough stuffing to soften the shape, then finish the edge and knot securely.
A blanket stitch loops each new stitch through the previous edge loop, creating the visible border in the concept image. Keep the points lightly filled so they stay recognizable. This is a decoration, not a child’s stuffed toy.
15. An air-dry clay ring dish
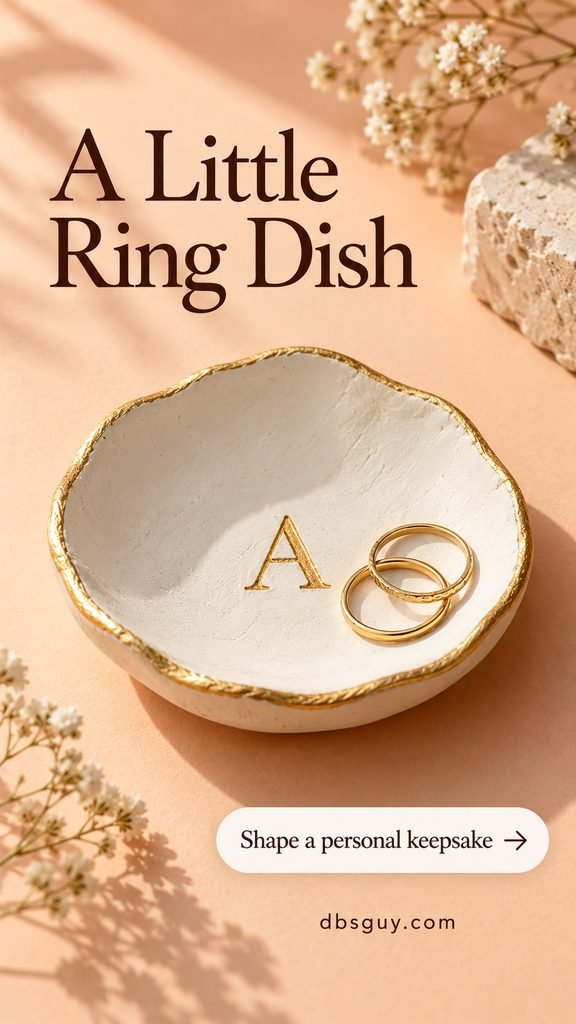
A little dish is useful beside a dresser or bathroom mirror for jewelry taken off before washing. Keep it shallow and simple rather than attempting a complicated sculpted shape.
Gather: air-dry craft clay, a rolling tool, a roughly 4-inch circular cutter or template, fine sandpaper, acrylic paint, and a compatible craft sealer.
- Roll the clay about ¼ inch thick and cut a circle. Gently raise the rim with your fingers, keeping the base reasonably flat.
- Dry for the full time and in the position specified by the clay manufacturer. Turn or support it only as that product directs.
- Once fully dry, smooth rough edges, paint an initial or a fine gold border, and apply a compatible sealer according to its instructions.
Allow the finish to cure before wrapping. Label it “Jewelry only—wipe gently; do not soak.” Ordinary air-dry clay and craft sealer should not be treated as food-safe or waterproof.
16. An embroidered tea towel
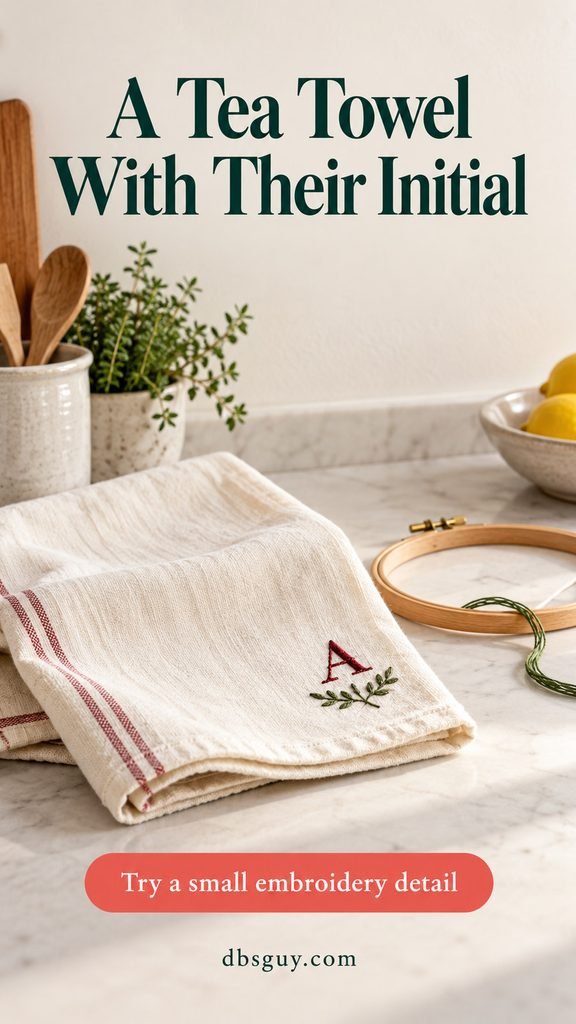
Start with a finished cotton tea towel and add one small design near a corner. That keeps the project manageable and leaves most of the towel useful.
Gather: a prewashed plain cotton towel, an embroidery hoop, a needle, colorfast embroidery floss, and a washable fabric marking tool. Draw an initial about 1–1½ inches tall, with a short leafy line beneath it if desired.
Use two or three strands of floss and a simple backstitch: bring the needle up ahead of the previous stitch, then stitch backward into its end. Work slowly around curves, and avoid pulling so tightly that the fabric puckers.
Secure the thread ends neatly. Remove markings and press according to the fabric and floss instructions. Fold with the embroidered corner showing and include the actual laundering directions. Try the stitch on a scrap first if you have not embroidered before.
17. A pocket-size accordion photo book

This is a good gift for a friend who shares a trip, a grandparent, or someone who prefers a few meaningful photos to a large album. Six panels are enough to tell one small story.
Gather: heavy cardstock, two 4¼-inch-square cover boards, decorative paper or fabric for the covers, photo-safe adhesive, and six photos cropped smaller than 4 inches square.
- Join two 4-by-12-inch cardstock strips with a narrow paper hinge on the back. Score each strip every 4 inches and fold into a six-panel accordion.
- Cover the boards and let the adhesive dry flat. Attach the outer back faces of the first and last panels to the inside covers, keeping glue away from the folds.
- Add photos on the front faces with space around each one. Write a place, date, or sentence below a few pictures.
Use copies of irreplaceable photographs. Check that the little book closes comfortably before adding more layers or decorations.
18. A coordinated set of fabric coasters
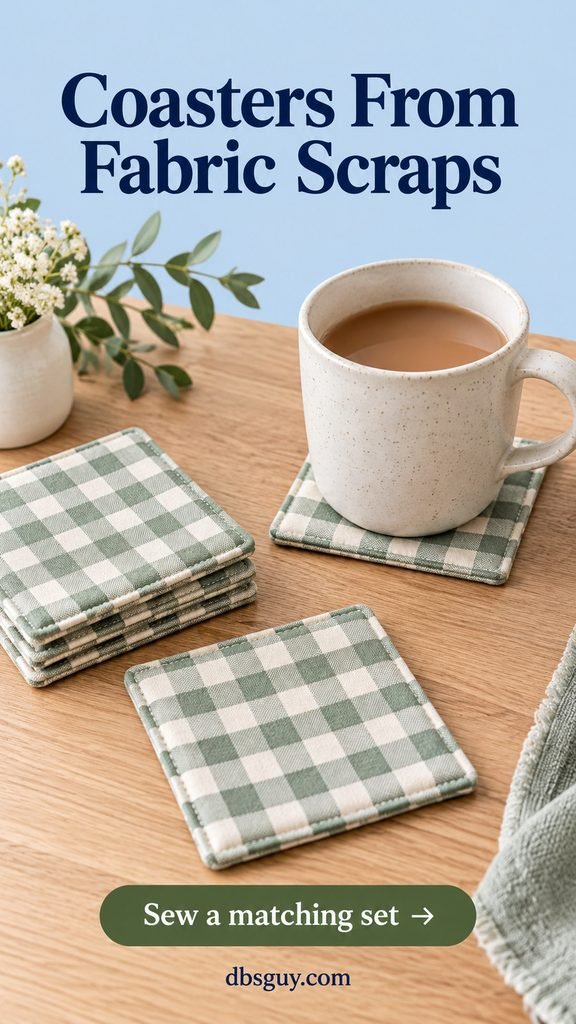
Coasters are a practical way to use small pieces of fabric. Two patterns in the same color family look intentional without requiring every coaster to match exactly.
For four coasters: cut eight 5-inch squares of prewashed cotton fabric and four matching squares of thin cotton batting. You will also need thread and an iron.
- For each coaster, stack two fabric squares right sides together, with one batting square underneath.
- Sew around with a ¼-inch seam allowance, leaving a 2-inch turning gap. Trim the corners and excess batting carefully.
- Turn right side out, tuck the gap inward, press, and topstitch close to the edge. Add a stitched inner square to help hold the layers together.
The finished size is about 4½ inches square. Repeat the steps if you want a larger matching set, like the batch in the image. Include the fabric’s washing instructions. These are drink coasters; do not present them as protective trivets for hot cookware.
19. A recipe box filled with recipes they will use
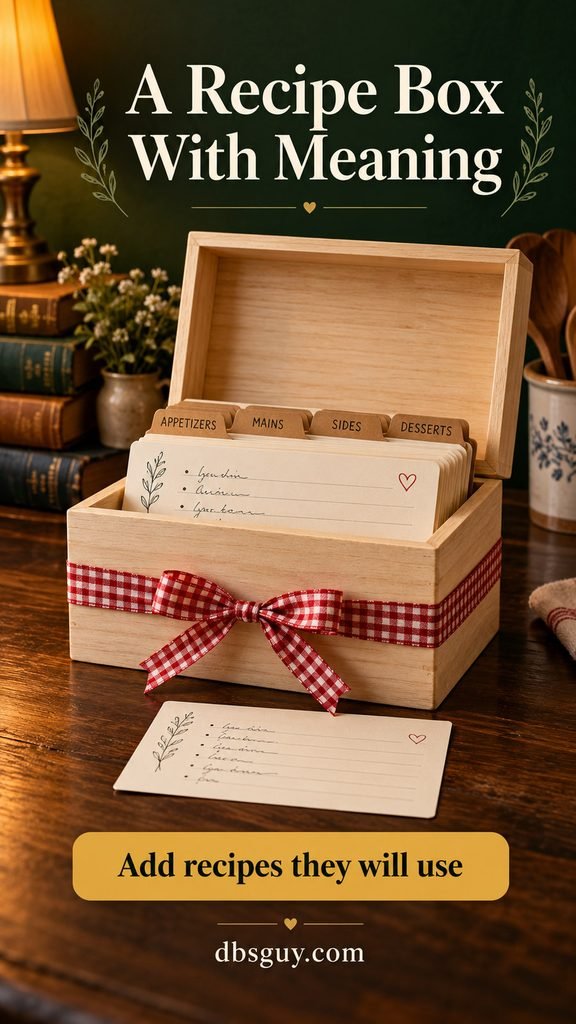
The box is only the container. The meaningful part is choosing recipes the recipient has asked for, meals they enjoyed with you, or a few dependable favorites they can make with their usual equipment.
Gather: a box sized for 4-by-6-inch index cards, sturdy blank cards, dividers, a pen, and optional paint or ribbon. If you decorate the outside, let paint or adhesive cure fully before filling it.
Write six to ten complete recipes, including ingredient quantities, pan sizes where relevant, oven temperatures, cooking cues, and storage directions. Add a short note such as “For the soup you liked last winter,” but only when that memory is true.
Divide the cards into categories the recipient uses—perhaps quick dinners, baking, and family favorites. Leave several blank cards at the back. A handwritten card should still be easy to read while cooking; use dark ink and leave space between steps.
Also read: 13 DIY Paper Christmas Decorations That Look Surprisingly Expensive if you would like matching paper details for your holiday wrapping.
Package the gift so it is easy to enjoy
Pick the container after you know the finished quantity. Food needs food-safe packaging; decorative tins, thrifted containers, and craft bags are not automatically suitable for direct contact. Use a suitable inner bag or liner when needed.
A useful tag answers three questions: What is it? How do I use or care for it? What ingredients or materials does it contain? Add the preparation date for edible and cosmetic gifts. Put instructions on the back so the front can stay simple.
Keep scented products separate from food. If you combine gifts in a basket, seal each item individually and give fragile pieces enough padding. Let clay finishes and glue cure before enclosing them; allow extra time for that stage.
Common questions about handmade Christmas gifts
Which handmade gifts are easiest for beginners?
Cocoa mix, finishing salt, and mulling-spice sachets need measuring and labeling rather than special equipment. A pressed-flower bookmark is a manageable craft if you use already-dried flowers. For a first sewing project, a square coaster is easier to handle than a small curved face round.
How far ahead should I start?
Make craft gifts in November or early December if that gives you a calmer schedule. Buy packaging and write care cards ahead of time. Make edible and cosmetic gifts closer to handoff, following ingredient and product storage instructions. This article does not establish tested shelf lives for the homemade recipes or mixtures.
Which of these gifts are better for mailing?
Flat bookmarks, felt stars, scrunchies, face rounds, and tea towels are easier to cushion than glass jars or clay dishes. Chocolate can melt in transit, and cookies can break. Mailing perishable food requires a suitable cold-shipping plan; choosing a nonfood craft avoids that complication. Check your carrier’s current rules and deadlines before sending.
How do I keep several gifts affordable?
Choose one project you can repeat, buy only the amount you need, and keep packaging consistent. Price the whole gift—including jars, labels, ribbon, and any tools you must buy. Fabric scraps can help with coasters or scrunchies when they are clean, suitable, and large enough.
What if I do not know someone’s allergies or skincare preferences?
Ask before making food or a skin-contact mixture. If asking would spoil the surprise, choose a bookmark, photo book, recipe box, or other gift that does not depend on unknown ingredients. A clear label is helpful, but it cannot remove an allergy or sensitivity risk.
Also read: 30 Genius Last Minute Christmas Gifts Ideas Under $50 when your remaining time calls for a purchased gift.
Start with one person and one project you can finish well. A clear direction card, a color they enjoy, or a familiar recipe often supplies the personal touch that makes the gift feel like theirs.